Home>Technology>Smart Home Devices>How To Connect Wi-Fi To Canon Printer
Smart Home Devices
How To Connect Wi-Fi To Canon Printer
Modified: October 20, 2024
Learn how to easily connect your Canon printer to Wi-Fi and integrate it with your smart home devices. Follow our step-by-step guide for seamless connectivity.
(Many of the links in this article redirect to a specific reviewed product. Your purchase of these products through affiliate links helps to generate commission for Storables.com, at no extra cost. Learn more)
Introduction
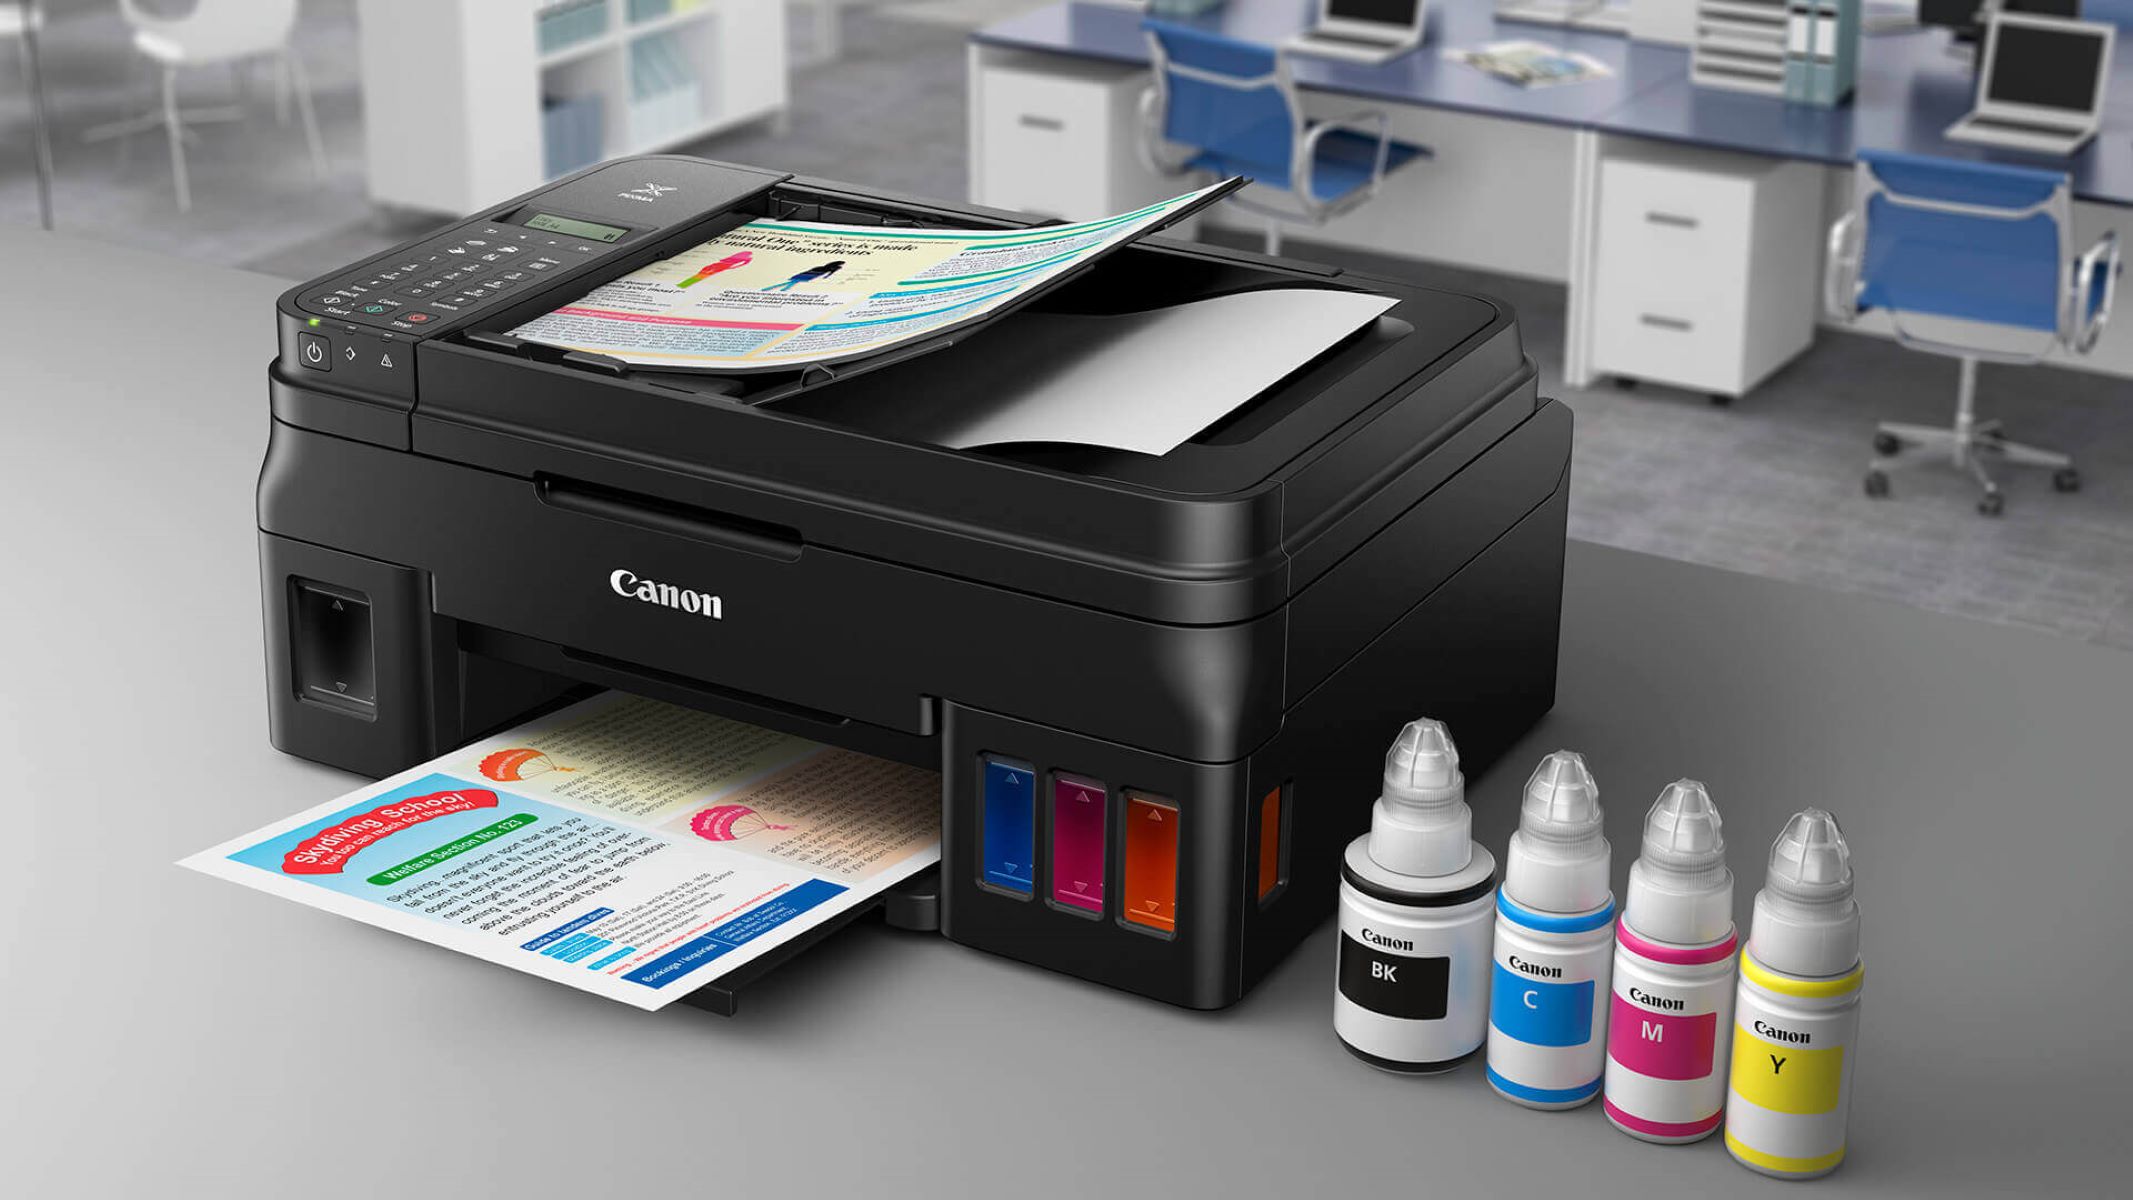
Setting up a Canon printer to connect to Wi-Fi is a convenient way to print from multiple devices without the hassle of using cables. By connecting your Canon printer to Wi-Fi, you can seamlessly print from your computer, laptop, smartphone, or tablet, enhancing your printing experience and productivity. In this comprehensive guide, you will learn how to easily connect your Canon printer to Wi-Fi, allowing you to enjoy the benefits of wireless printing.
Whether you have a Canon PIXMA, MAXIFY, or imageCLASS printer, the process of connecting to Wi-Fi is generally similar across various models. By following the steps outlined in this guide, you can ensure that your Canon printer is connected to your Wi-Fi network and ready to fulfill your printing needs.
Now, let's dive into the step-by-step instructions to seamlessly connect your Canon printer to Wi-Fi and streamline your printing process.
Key Takeaways:
- Connecting your Canon printer to Wi-Fi allows you to print from multiple devices without cables. Just follow the simple steps to enjoy the convenience of wireless printing and enhance your productivity.
- After connecting your Canon printer to Wi-Fi, install the printer software on your computer to unlock advanced features like scanning and mobile printing. Test the connection to ensure seamless wireless printing from any device.
Read more: How To Connect TS3522 Canon Printer To Wi-Fi
Step 1: Prepare Your Canon Printer
Before you begin the process of connecting your Canon printer to Wi-Fi, it’s essential to ensure that the printer is properly prepared for the setup. Here are the key preparatory steps to follow:
- Power on the Printer: Ensure that your Canon printer is powered on and in a ready state before initiating the Wi-Fi setup process. This ensures that the printer is ready to receive the necessary instructions for connecting to your Wi-Fi network.
- Check the Display Panel: Take a moment to inspect the display panel of your Canon printer. Any important messages or prompts related to the Wi-Fi setup process may be displayed here. Address any indicated issues before proceeding with the Wi-Fi connection.
- Keep Wi-Fi Network Details Handy: It’s important to have the Wi-Fi network name (SSID) and password on hand. This information is crucial for successfully connecting your Canon printer to the correct Wi-Fi network.
By ensuring that your Canon printer is powered on, the display panel is clear of any errors, and you have the necessary Wi-Fi network details at your disposal, you can set the stage for a smooth and efficient Wi-Fi setup process. With these preparatory steps completed, you’re ready to move on to the next phase of connecting your Canon printer to Wi-Fi.
Step 2: Turn on Wi-Fi on Your Canon Printer
Enabling Wi-Fi on your Canon printer is a fundamental step in the process of connecting it to your wireless network. Follow these simple instructions to activate the Wi-Fi functionality on your printer:
- Access the Menu: Depending on the model of your Canon printer, locate the menu or settings button on the printer’s control panel. Press the button to access the printer’s menu options.
- Navigate to Wi-Fi Settings: Within the printer’s menu, navigate to the Wi-Fi settings or network settings. This is where you can enable the Wi-Fi functionality on your printer.
- Enable Wi-Fi: Once you’ve accessed the Wi-Fi settings, select the option to enable Wi-Fi on your Canon printer. Confirm the selection to activate the Wi-Fi feature.
- Follow On-Screen Prompts: Depending on your printer model, you may be prompted to select your Wi-Fi network from a list of available networks. Follow the on-screen instructions to choose your network and proceed with the connection process.
By turning on Wi-Fi on your Canon printer and selecting your wireless network from the available options, you are laying the groundwork for establishing a connection between your printer and your Wi-Fi network. Once Wi-Fi is enabled and your network is selected, you can proceed to the next step of the setup process with confidence.
Step 3: Connect Your Printer to Wi-Fi
Now that the Wi-Fi functionality on your Canon printer is activated, it’s time to establish the connection to your wireless network. Follow these steps to seamlessly connect your printer to Wi-Fi:
- Confirm Network Selection: If you haven’t already done so during the Wi-Fi activation process, select your Wi-Fi network from the list of available networks displayed on the printer’s control panel. Enter the network password if prompted.
- Wireless Setup Using WPS: If your Wi-Fi router supports WPS (Wi-Fi Protected Setup), you may have the option to connect your Canon printer to the network using the WPS method. This typically involves pressing the WPS button on your router and then initiating the WPS setup process on your printer. Consult your printer’s manual for specific WPS setup instructions.
- Manual Entry of Network Details: In cases where WPS is not available or preferred, you can manually enter your Wi-Fi network’s SSID and password using the printer’s control panel. Follow the on-screen prompts to input the required network details and complete the connection process.
- Verify Connection Status: After entering the network details, your Canon printer will attempt to connect to the Wi-Fi network. Once the connection is established, the printer’s display panel or indicator lights may confirm the successful connection. Take note of any confirmation messages displayed on the printer.
By following these steps, you can successfully connect your Canon printer to your Wi-Fi network, enabling wireless printing capabilities and expanding the accessibility of your printer across multiple devices. With the Wi-Fi connection established, you’re ready to proceed to the next phase of the setup process.
To connect your Canon printer to Wi-Fi, go to the printer’s settings menu and select the Wi-Fi setup option. Follow the on-screen instructions to choose your Wi-Fi network and enter the password. Once connected, you can print wirelessly from any device on the same network.
Step 4: Install Printer Software on Your Computer
After connecting your Canon printer to Wi-Fi, the next crucial step is to install the necessary printer software on your computer. This software enables seamless communication between your computer and the printer, allowing you to initiate print jobs and access advanced printing features. Follow these steps to install the printer software:
- Download Software: Visit the official Canon website or use the installation CD that came with your printer to download the appropriate printer software for your specific model. Ensure that you download the software compatible with your computer’s operating system.
- Run Installation Wizard: Once the software is downloaded, launch the installation wizard to begin the setup process. Follow the on-screen prompts to initiate the installation of the printer software on your computer.
- Connect to the Printer: During the installation process, you may be prompted to choose the connection method. Select the option to connect to the printer via Wi-Fi to ensure that the software establishes the necessary wireless connection.
- Complete Installation: Follow the remaining steps of the installation wizard to complete the setup of the printer software on your computer. This may involve agreeing to the software’s terms and conditions, configuring print settings, and finalizing the installation.
By installing the printer software on your computer, you enable seamless interaction between your computer and the Canon printer, unlocking the full range of printing capabilities and features. Once the software installation is complete, you’re ready to move on to the final step of testing the connection between your computer and the printer.
Step 5: Test the Connection
After completing the setup process of connecting your Canon printer to Wi-Fi and installing the necessary printer software on your computer, it’s essential to test the connection to ensure that everything is functioning as intended. Follow these steps to verify the successful connection between your computer and the printer:
- Print a Test Page: Initiate a test print from your computer to the Canon printer. This can typically be done by opening a document, selecting “Print,” and choosing your Canon printer as the output device. Print a test page to confirm that the printer receives the print job and produces the expected output.
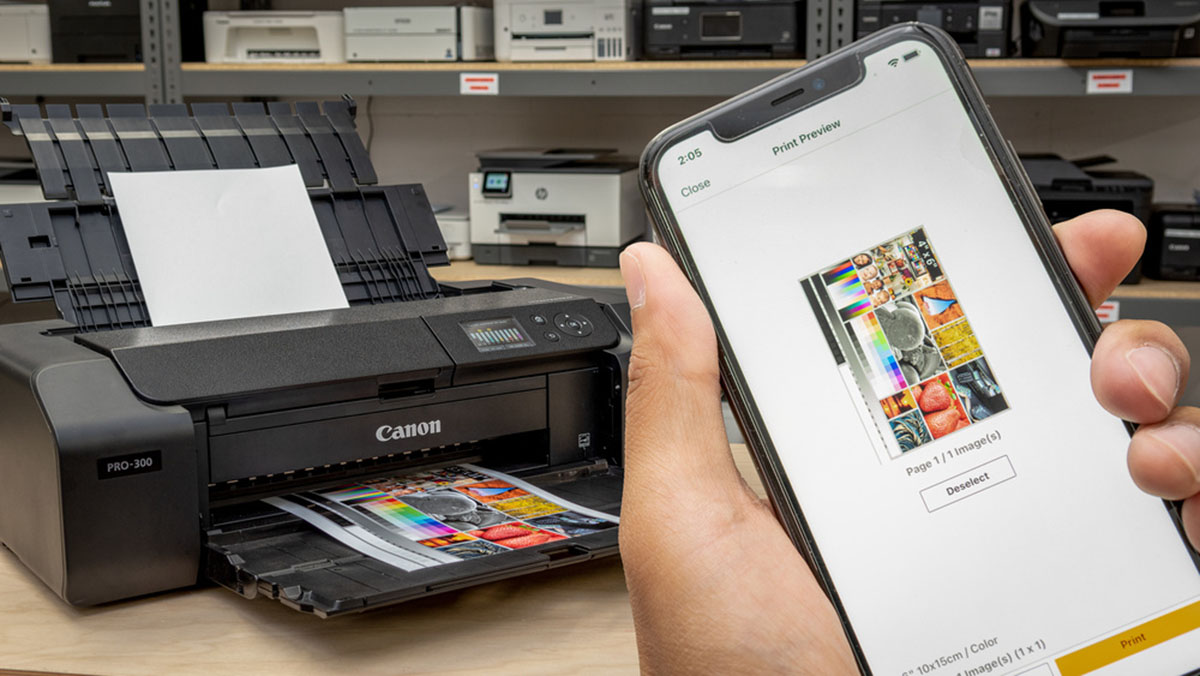
- Check for Wireless Printing: If your Canon printer supports mobile printing or wireless printing from other devices, such as smartphones or tablets, test the wireless printing functionality. Use a compatible mobile app or software to send a print job to the printer wirelessly and ensure that it is successfully executed.
- Verify Advanced Features: If your printer offers advanced features, such as scanning, copying, or cloud printing, test these functionalities to ensure that the wireless connection supports these capabilities seamlessly. This can help you leverage the full potential of your Canon printer’s features.
- Troubleshoot Any Issues: If you encounter any issues during the testing phase, such as print quality issues or connectivity problems, consult the printer’s manual or online resources for troubleshooting guidance. Address any identified issues to optimize the performance of your Canon printer.
By testing the connection and ensuring that the wireless setup enables seamless printing and access to advanced features, you can confirm that your Canon printer is fully integrated with your Wi-Fi network and ready to fulfill your printing needs. With the successful completion of the testing phase, you can confidently enjoy the convenience and flexibility of wireless printing with your Canon printer.
Conclusion
Congratulations! You have successfully connected your Canon printer to Wi-Fi, unlocking the convenience of wireless printing and enhancing your printing experience. By following the step-by-step instructions outlined in this guide, you have empowered your Canon printer to seamlessly communicate with your computer and other devices over your Wi-Fi network, enabling efficient printing from any location within the network’s range.
With your Canon printer now connected to Wi-Fi, you can enjoy the flexibility of initiating print jobs from multiple devices, including laptops, smartphones, and tablets, without the constraints of physical cables. Whether you’re printing documents, photos, or creative projects, the wireless setup ensures that your printing needs are met with ease and convenience.
Additionally, the installation of the printer software on your computer further enhances the printing experience by enabling advanced features, such as scanning, copying, and mobile printing, seamlessly integrated with your Canon printer’s capabilities.
As you test the connection and verify the successful integration of your Canon printer with your Wi-Fi network, take the opportunity to explore the full range of printing possibilities offered by your printer. From high-quality document printing to vibrant photo output, your Canon printer is now poised to deliver exceptional results with the added convenience of wireless connectivity.
Should you encounter any challenges or have further questions about optimizing the performance of your Canon printer, refer to the printer’s manual, online resources, or Canon’s support services for assistance. With the Wi-Fi connection established and the printer software installed, you are well-equipped to make the most of your Canon printer’s capabilities.
Embrace the freedom of wireless printing and enjoy the seamless integration of your Canon printer with your Wi-Fi network, enhancing your productivity and printing experience.
Frequently Asked Questions about How To Connect Wi-Fi To Canon Printer
Was this page helpful?
At Storables.com, we guarantee accurate and reliable information. Our content, validated by Expert Board Contributors, is crafted following stringent Editorial Policies. We're committed to providing you with well-researched, expert-backed insights for all your informational needs.


0 thoughts on “How To Connect Wi-Fi To Canon Printer”