Home>Technology>Smart Home Devices>How To Turn On A Canon Printer
Smart Home Devices
How To Turn On A Canon Printer
Modified: October 19, 2024
Learn how to easily turn on your Canon printer and integrate it with your smart home devices. Follow these simple steps for seamless setup and operation.
(Many of the links in this article redirect to a specific reviewed product. Your purchase of these products through affiliate links helps to generate commission for Storables.com, at no extra cost. Learn more)
Introduction
Welcome to the world of Canon printers, where the seamless blend of cutting-edge technology and user-friendly design meets your printing needs. Whether you're a seasoned professional or a tech-savvy enthusiast, the process of turning on a Canon printer is the first step towards bringing your digital creations to life on paper.
In this comprehensive guide, we will walk you through the step-by-step process of setting up and turning on your Canon printer with ease. From unpacking the printer to loading paper and installing ink cartridges, we've got you covered. By the end of this article, you'll be ready to unleash the power of your Canon printer and embark on a journey of seamless printing experiences.
So, grab your favorite beverage, clear a space on your desk, and let's dive into the world of Canon printers. Get ready to elevate your printing game and unlock the full potential of your digital masterpieces. It's time to turn on your Canon printer and bring your imagination to life, one vibrant print at a time.
Key Takeaways:
- Setting up a Canon printer involves unpacking, connecting to power, installing ink cartridges, and loading paper. Once set up, the printer is ready to bring digital creations to life with vibrant, high-quality prints.
- Turning on a Canon printer is the final step in the setup process, empowering it to transform digital data into tangible, printed output. With the printer operational, seamless and visually captivating printing experiences await.
Read more: Why Won’t My Canon Printer Turn On
Step 1: Unpacking and Setting Up the Printer
Unboxing a new Canon printer is an exciting moment, akin to unwrapping a gift that promises to enhance your productivity and creativity. As you embark on this journey, it’s essential to handle the packaging with care to ensure that your printer arrives in pristine condition.
Begin by locating the tape or seals securing the box, gently removing them to reveal the contents within. Once the top of the box is open, carefully lift the printer out, ensuring that you have a clear and stable surface to place it on. As you unveil the components, you’ll typically find the printer itself, along with essential accessories such as power cords, ink cartridges, and user manuals.
Next, find a suitable location for your Canon printer, preferably close to a power outlet and within reach of your computer or wireless network. It’s important to choose a well-ventilated area to prevent overheating and ensure optimal performance. As you prepare the space, consider the printer’s proximity to your work area, aiming for a convenient and accessible setup that aligns with your workflow.
Once you’ve identified the ideal placement, carefully remove any protective materials or tapes from the printer, taking care not to force or damage any components. These safeguards are in place to secure delicate parts during transit and should be removed with gentle precision. With the protective materials removed, your Canon printer is now ready to take its place as a valuable addition to your workspace.
By following these initial steps with diligence and attention to detail, you’ll set the stage for a smooth and successful setup process. Unpacking and preparing your Canon printer is the first step towards harnessing its capabilities and integrating it seamlessly into your creative and professional endeavors.
Step 2: Connecting the Printer to Power
With your Canon printer unpacked and positioned in its designated spot, the next crucial step is to connect it to a power source. This fundamental task sets the stage for the printer to come to life and prepares it to fulfill your printing needs with precision and efficiency.
Begin by identifying the power cord that accompanied your Canon printer. This essential component is designed to provide the printer with the energy it requires to function optimally. Locate the power input port on the printer, typically found at the rear or side of the device, and ensure that it aligns with the shape and size of the power connector.
Once you’ve identified the power input port, gently insert the power connector into the corresponding slot, taking care to align the prongs and apply even pressure. The connection should fit snugly without excessive force, ensuring a secure and stable link between the printer and the power source.
With the power cord securely connected to the printer, the next step is to locate a nearby power outlet. Choose a grounded outlet that is easily accessible and free from obstructions, allowing the power cord to reach the socket without tension or strain. Before plugging in the power cord, ensure that the outlet is switched off to prevent any electrical surges during the connection process.
Once you’ve identified a suitable power outlet, carefully insert the power cord’s plug, applying gentle pressure to secure the connection. Take a moment to verify that the power cord is free from any kinks or tangles, allowing it to rest naturally without posing a tripping hazard or causing undue strain on the printer or the power outlet.
With the printer successfully connected to a power source, you’ve laid the foundation for seamless functionality and reliable performance. This crucial step brings your Canon printer one step closer to being ready for action, setting the stage for the next stages of the setup process.
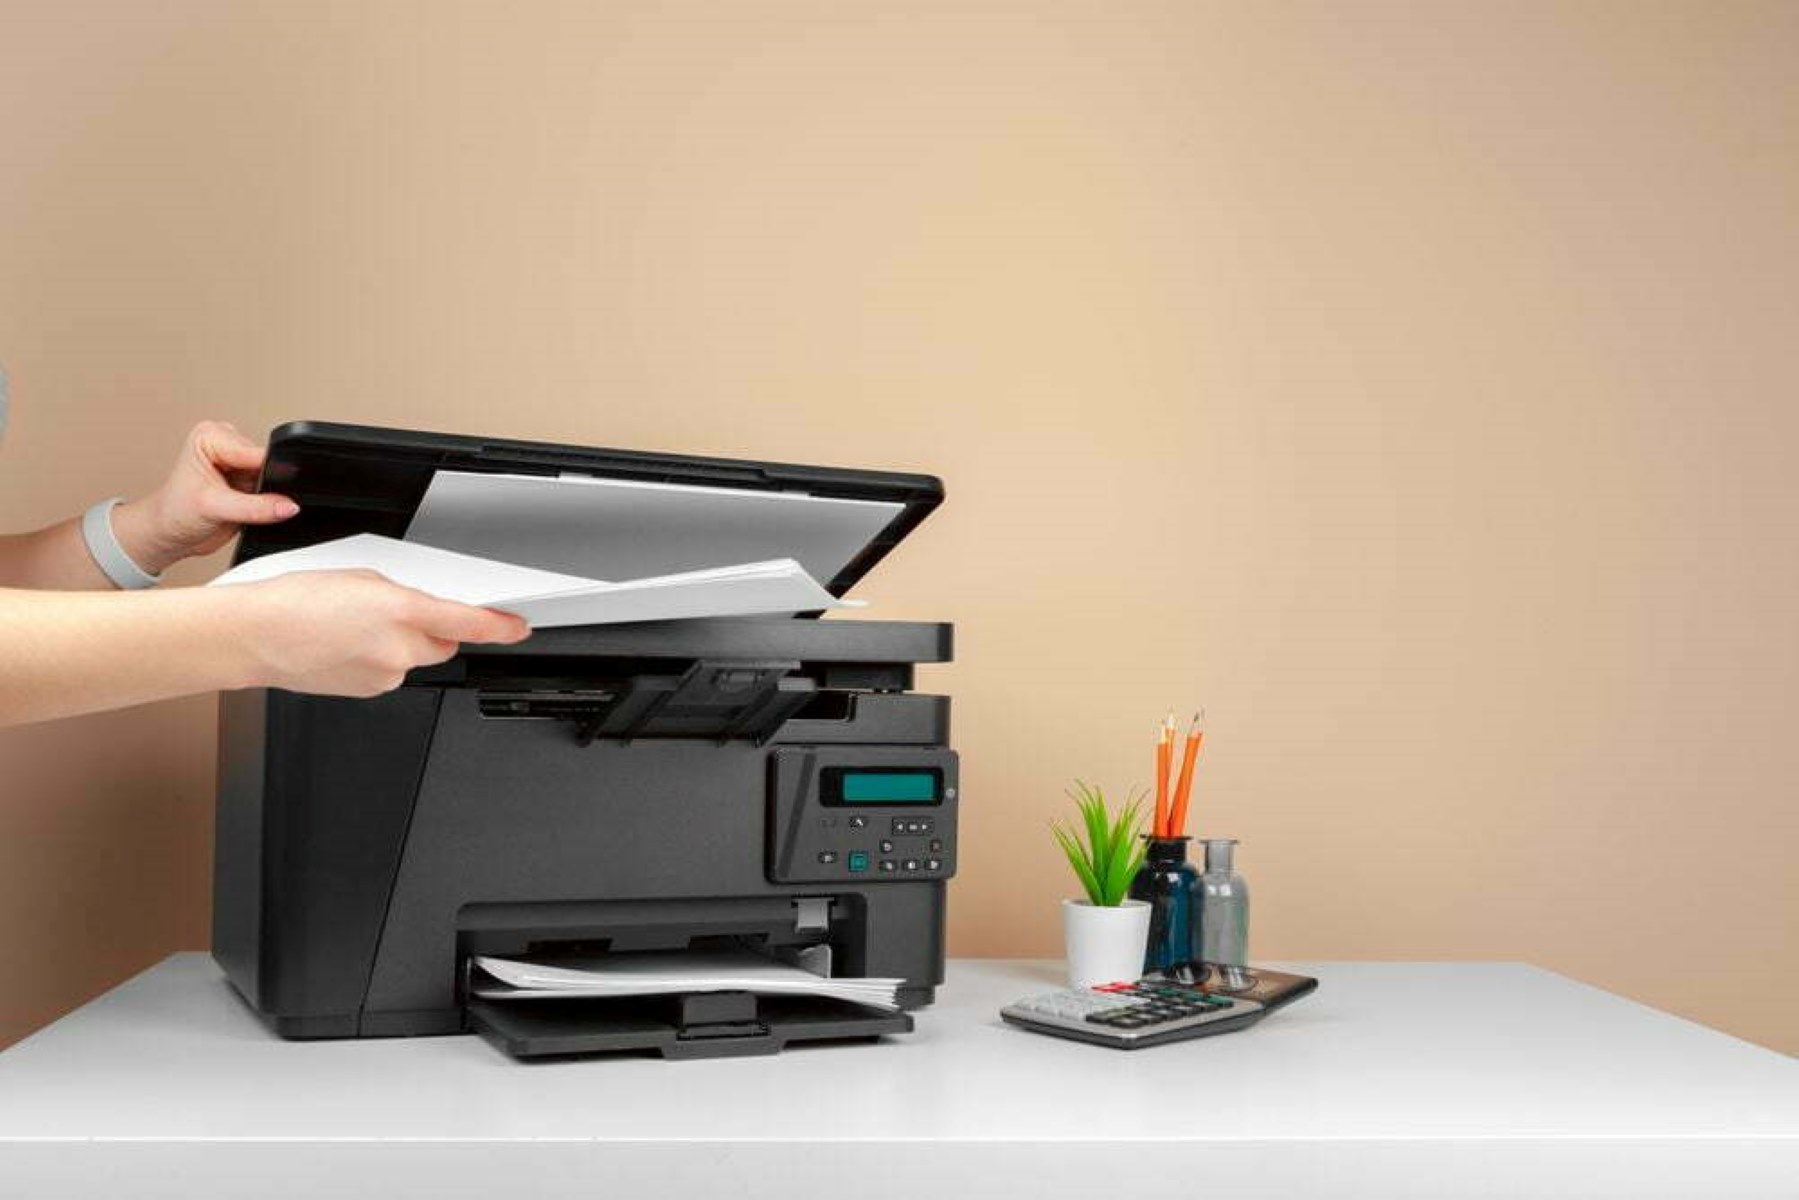
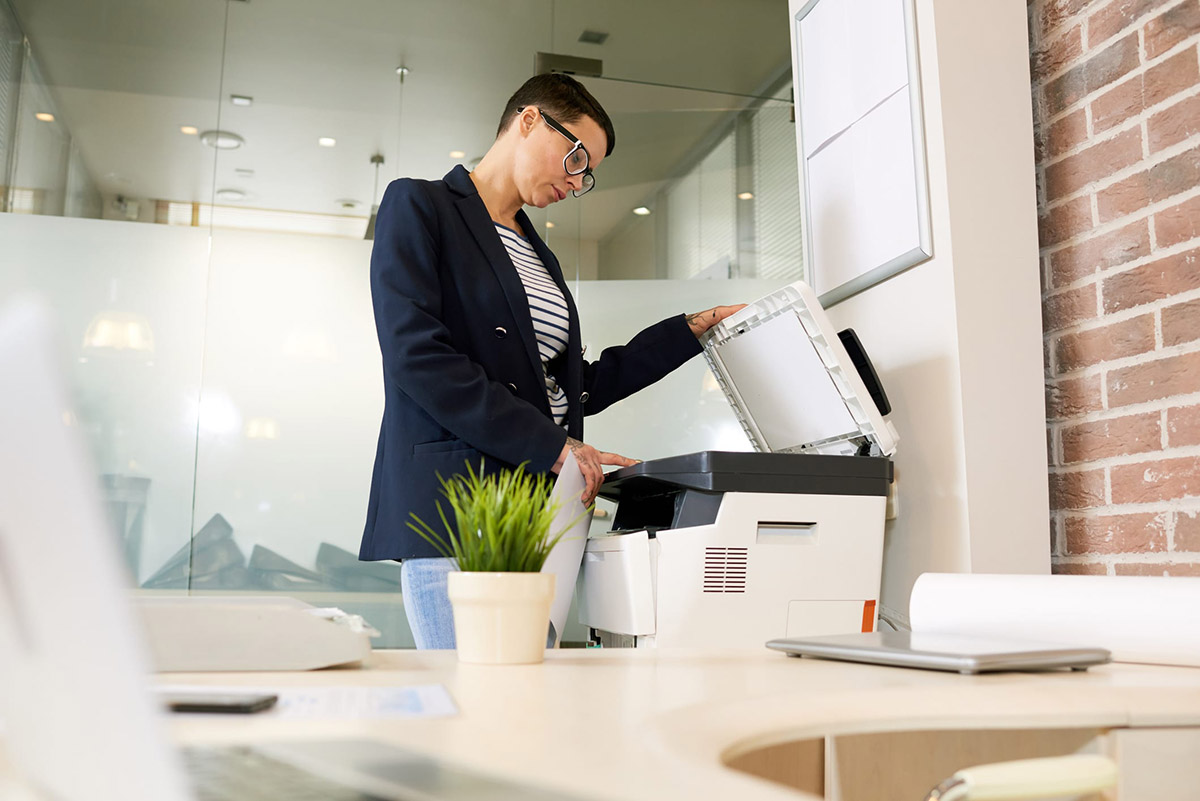
Step 3: Installing Ink Cartridges
As you venture further into the setup process for your Canon printer, the next pivotal task is the installation of ink cartridges. These essential components are the lifeblood of your printer, infusing your prints with vibrant colors and crisp text. By following the manufacturer’s guidelines and handling the ink cartridges with care, you’ll pave the way for stunning, high-quality output from your Canon printer.
Begin by locating the cartridge access door or panel on your printer. This may vary depending on the specific model, but it is commonly positioned at the front or top of the printer. Gently open the access door, taking care to follow any provided instructions to ensure a smooth and safe access to the cartridge compartment.
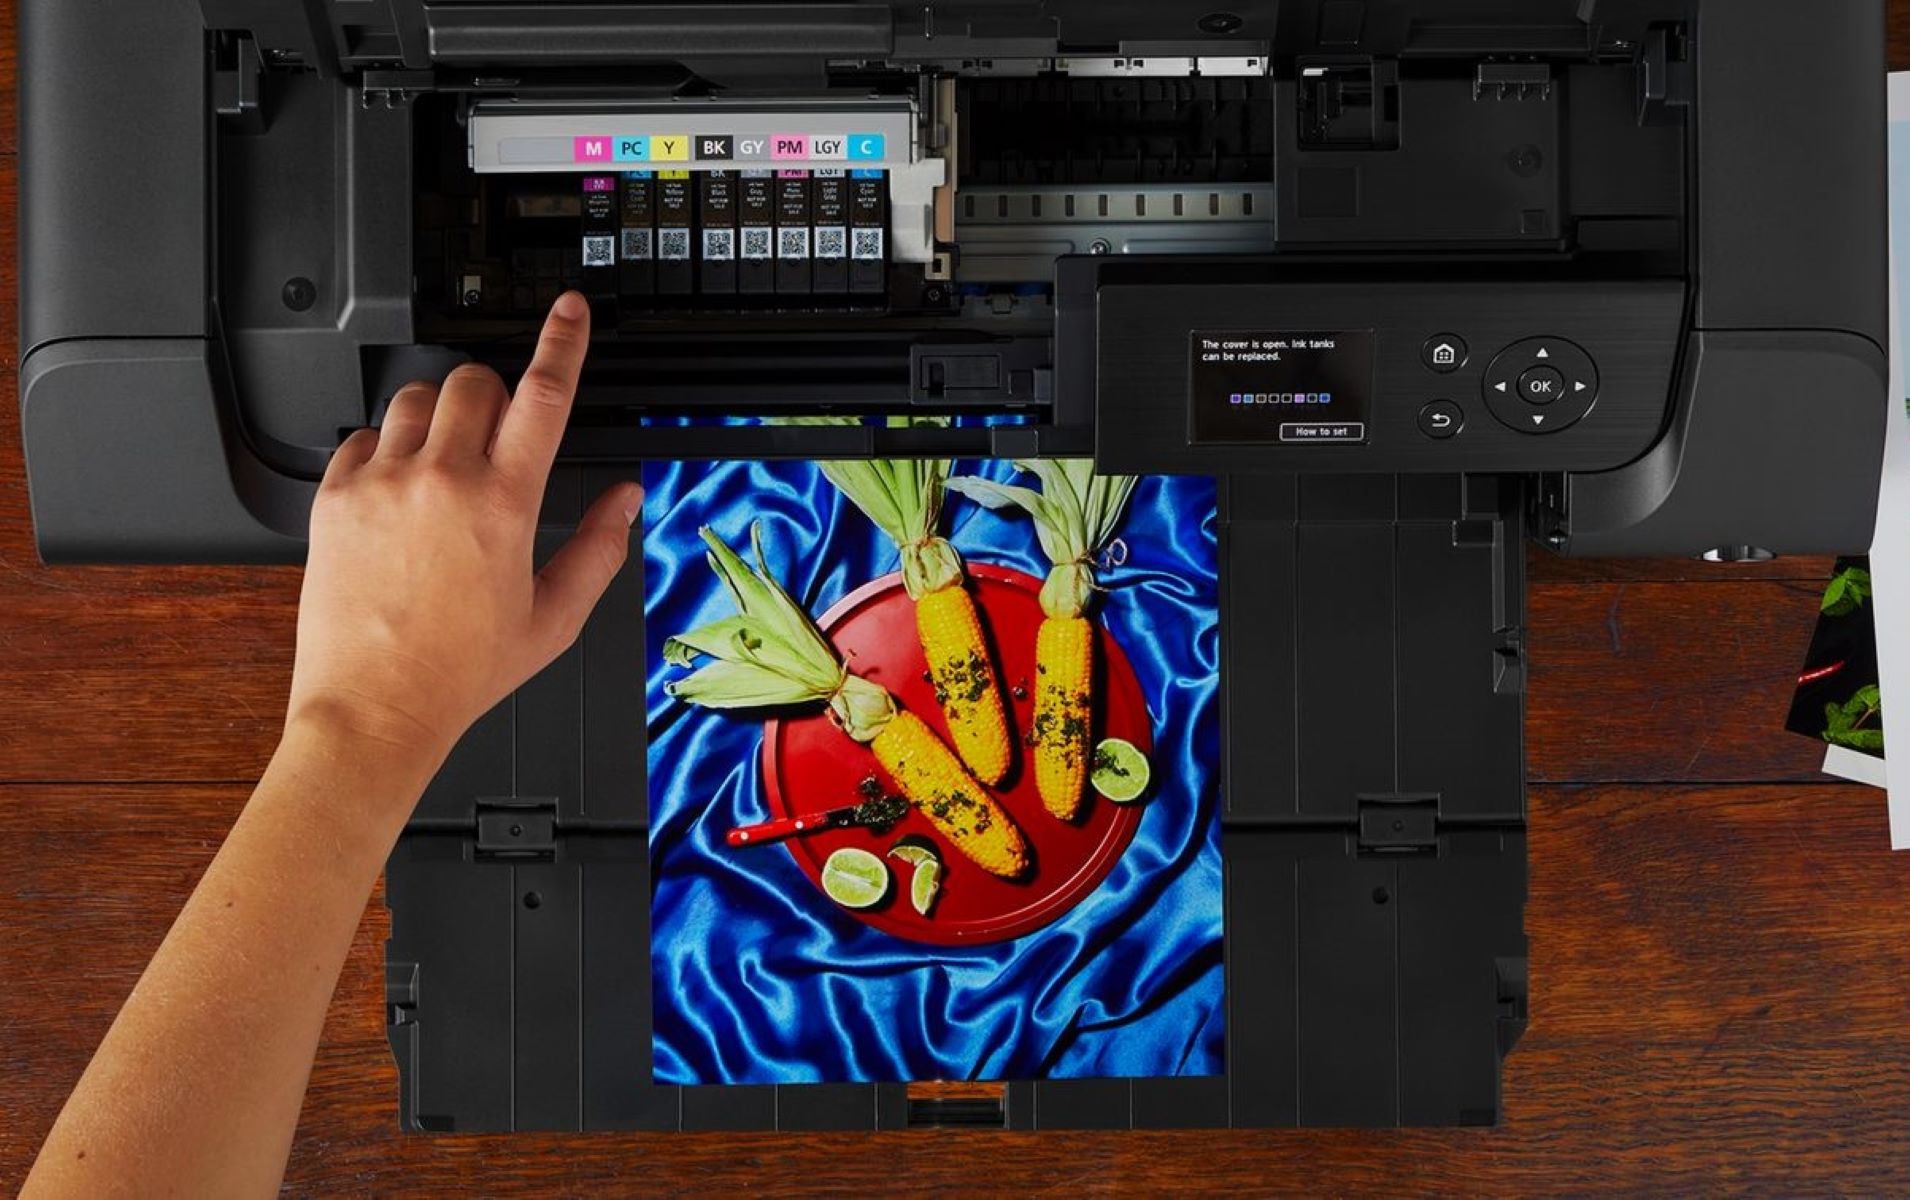
Once the cartridge compartment is accessible, it’s time to unpack the ink cartridges provided with your printer. Take a moment to identify the color-coded cartridges, matching them to the corresponding slots within the cartridge compartment. Canon printers typically utilize a straightforward color-coding system, simplifying the process of identifying and installing the cartridges with precision.
Before proceeding, it’s essential to handle the ink cartridges with care, avoiding contact with the nozzles or electrical contacts to prevent potential damage or ink leakage. Align the cartridge with its designated slot, taking note of any guiding marks or indicators that facilitate a seamless installation process.
Gently insert the ink cartridge into its designated slot, applying even pressure until it clicks into place. This audible confirmation signifies that the cartridge is securely installed and ready to contribute to your printing endeavors. Repeat this process for any additional cartridges, ensuring that each one is correctly positioned and secured within the cartridge compartment.
With the ink cartridges successfully installed, take a moment to close the cartridge access door, securing it with a gentle yet firm motion. This step ensures that the cartridges are protected and that the printer is ready to embark on its printing journey, poised to deliver exceptional results with every page.
By completing the installation of ink cartridges with precision and attentiveness, you’ve equipped your Canon printer to produce stunning prints that capture the essence of your digital creations with unparalleled clarity and vibrancy.
Make sure the printer is plugged in and turned on. Press the power button to turn on the Canon printer. Wait for the printer to initialize and you’re ready to start printing.
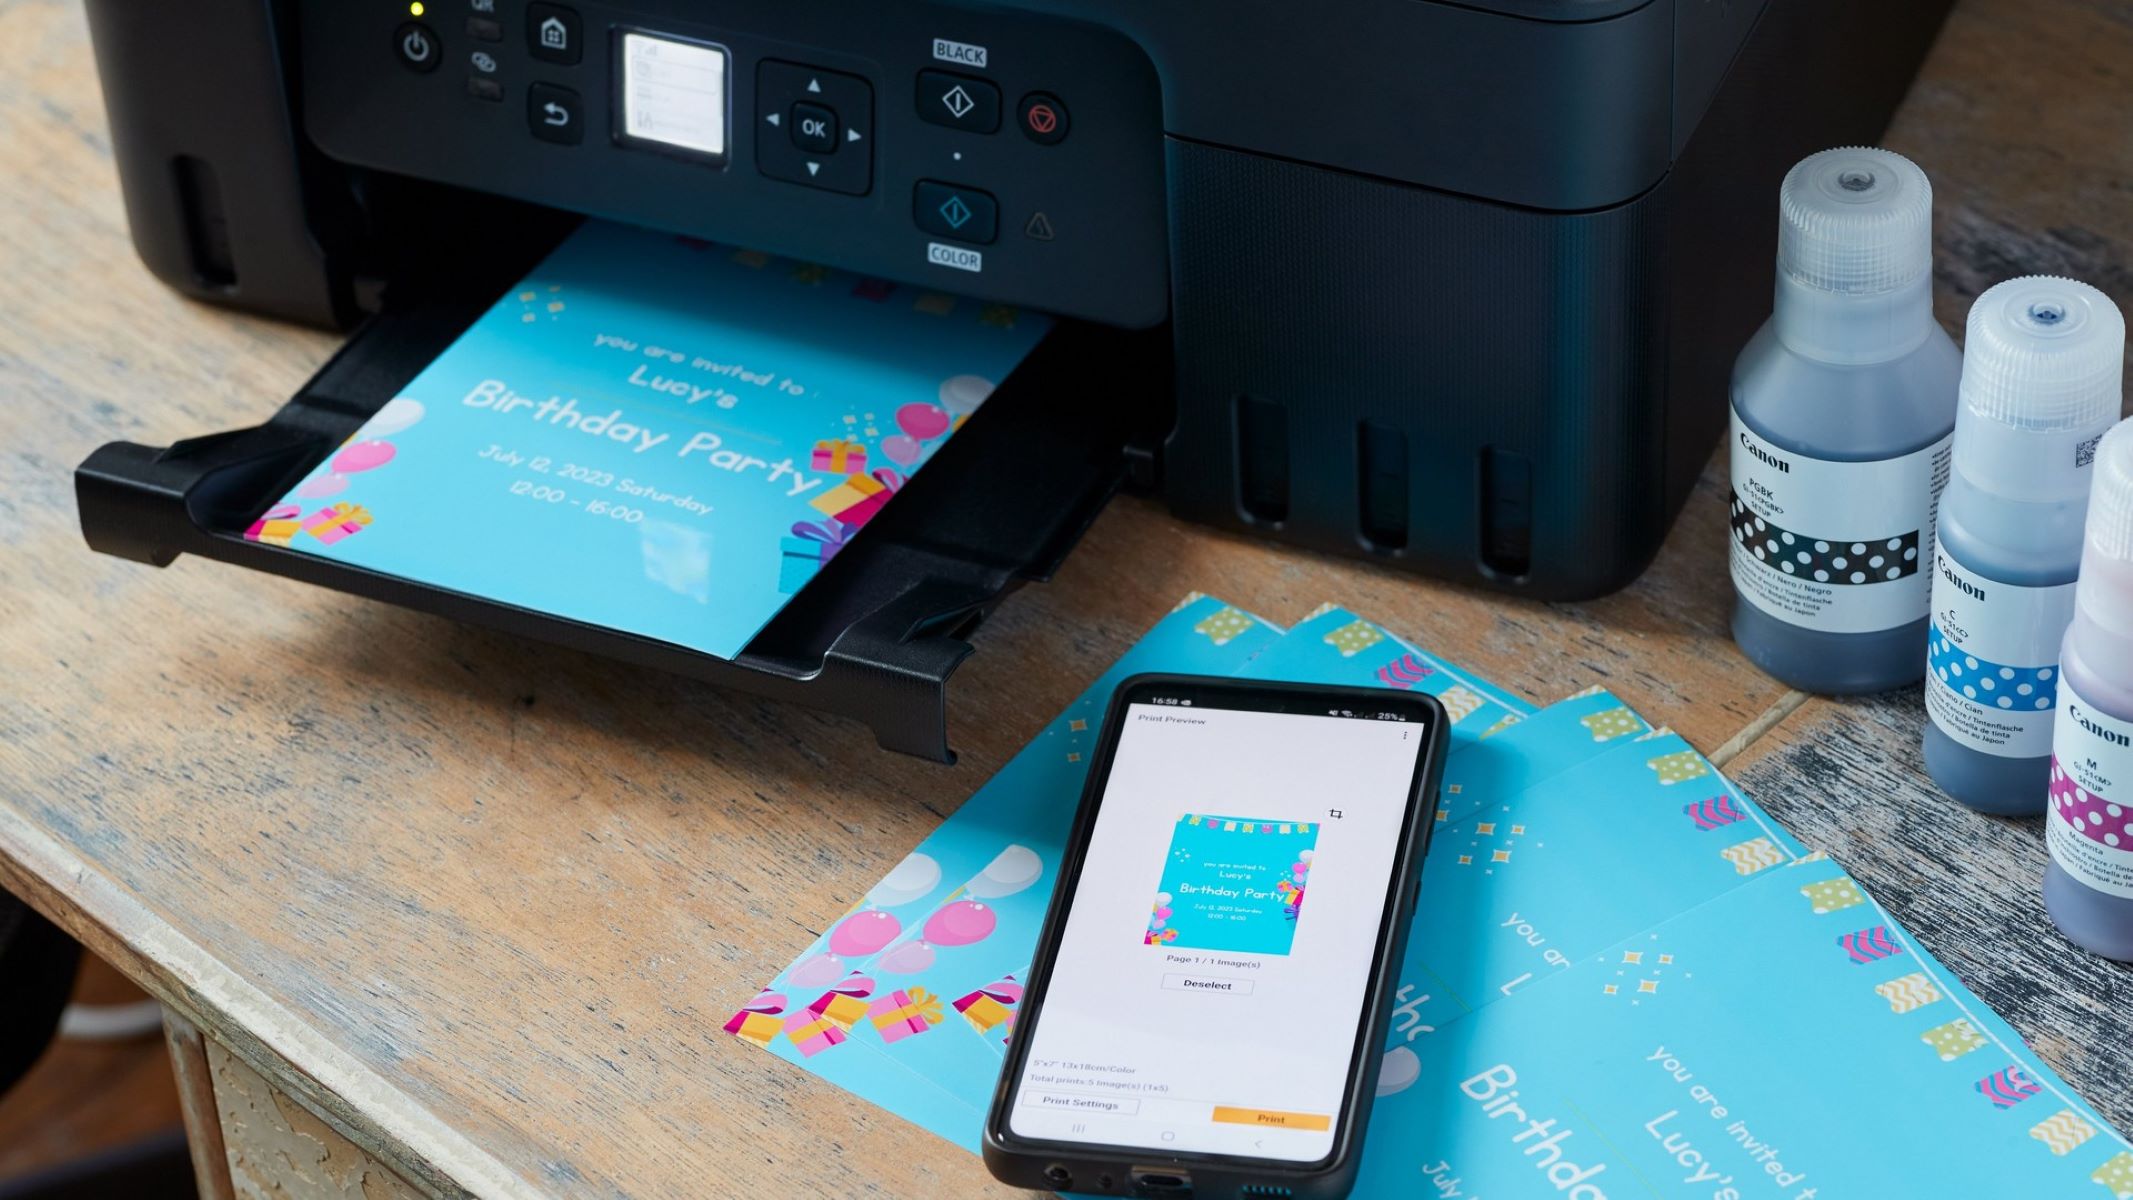
Step 4: Loading Paper
With the essential components of your Canon printer in place, it’s time to prepare the printer to receive your print commands by loading paper into the designated input tray. This straightforward yet crucial step sets the stage for seamless printing and ensures that your printer is primed to bring your digital creations to life on tangible, high-quality paper.
Begin by identifying the paper input tray on your Canon printer. This key component is designed to hold the sheets of paper that will be drawn into the printer for printing. The location and design of the input tray may vary based on the specific model of your Canon printer, but it is typically positioned at the front or bottom of the device.
Once you’ve located the paper input tray, gently pull it out, taking care to extend it fully to accommodate the paper. This step ensures that the tray is ready to receive the paper without any obstructions, allowing for smooth and uninterrupted feeding during the printing process.
Next, take a stack of high-quality paper, ensuring that the sheets are free from wrinkles, tears, or folds that could impede the printing process. Align the stack of paper by tapping it on a flat surface, evening out any potential misalignments and ensuring that the edges are neatly aligned for seamless feeding into the printer.
With the stack of paper aligned and prepared, place it into the paper input tray, taking care to adjust the paper guides to snugly accommodate the width of the paper. The guides help maintain the alignment and prevent the paper from skewing during the printing process, contributing to the production of pristine, accurately printed documents and images.
Once the paper is positioned within the input tray and the guides are adjusted, gently push the tray back into its original position, ensuring that it is securely in place. Take a moment to verify that the paper is loaded with care and precision, ready to be drawn into the printer as needed for your printing tasks.
By loading paper into the input tray with diligence and attention to detail, you’ve prepared your Canon printer to receive your print commands and translate your digital designs into tangible, high-quality prints. This essential step ensures that your printer is fully equipped to deliver exceptional results with every page it produces.
Read more: How To Fax On A Canon Printer
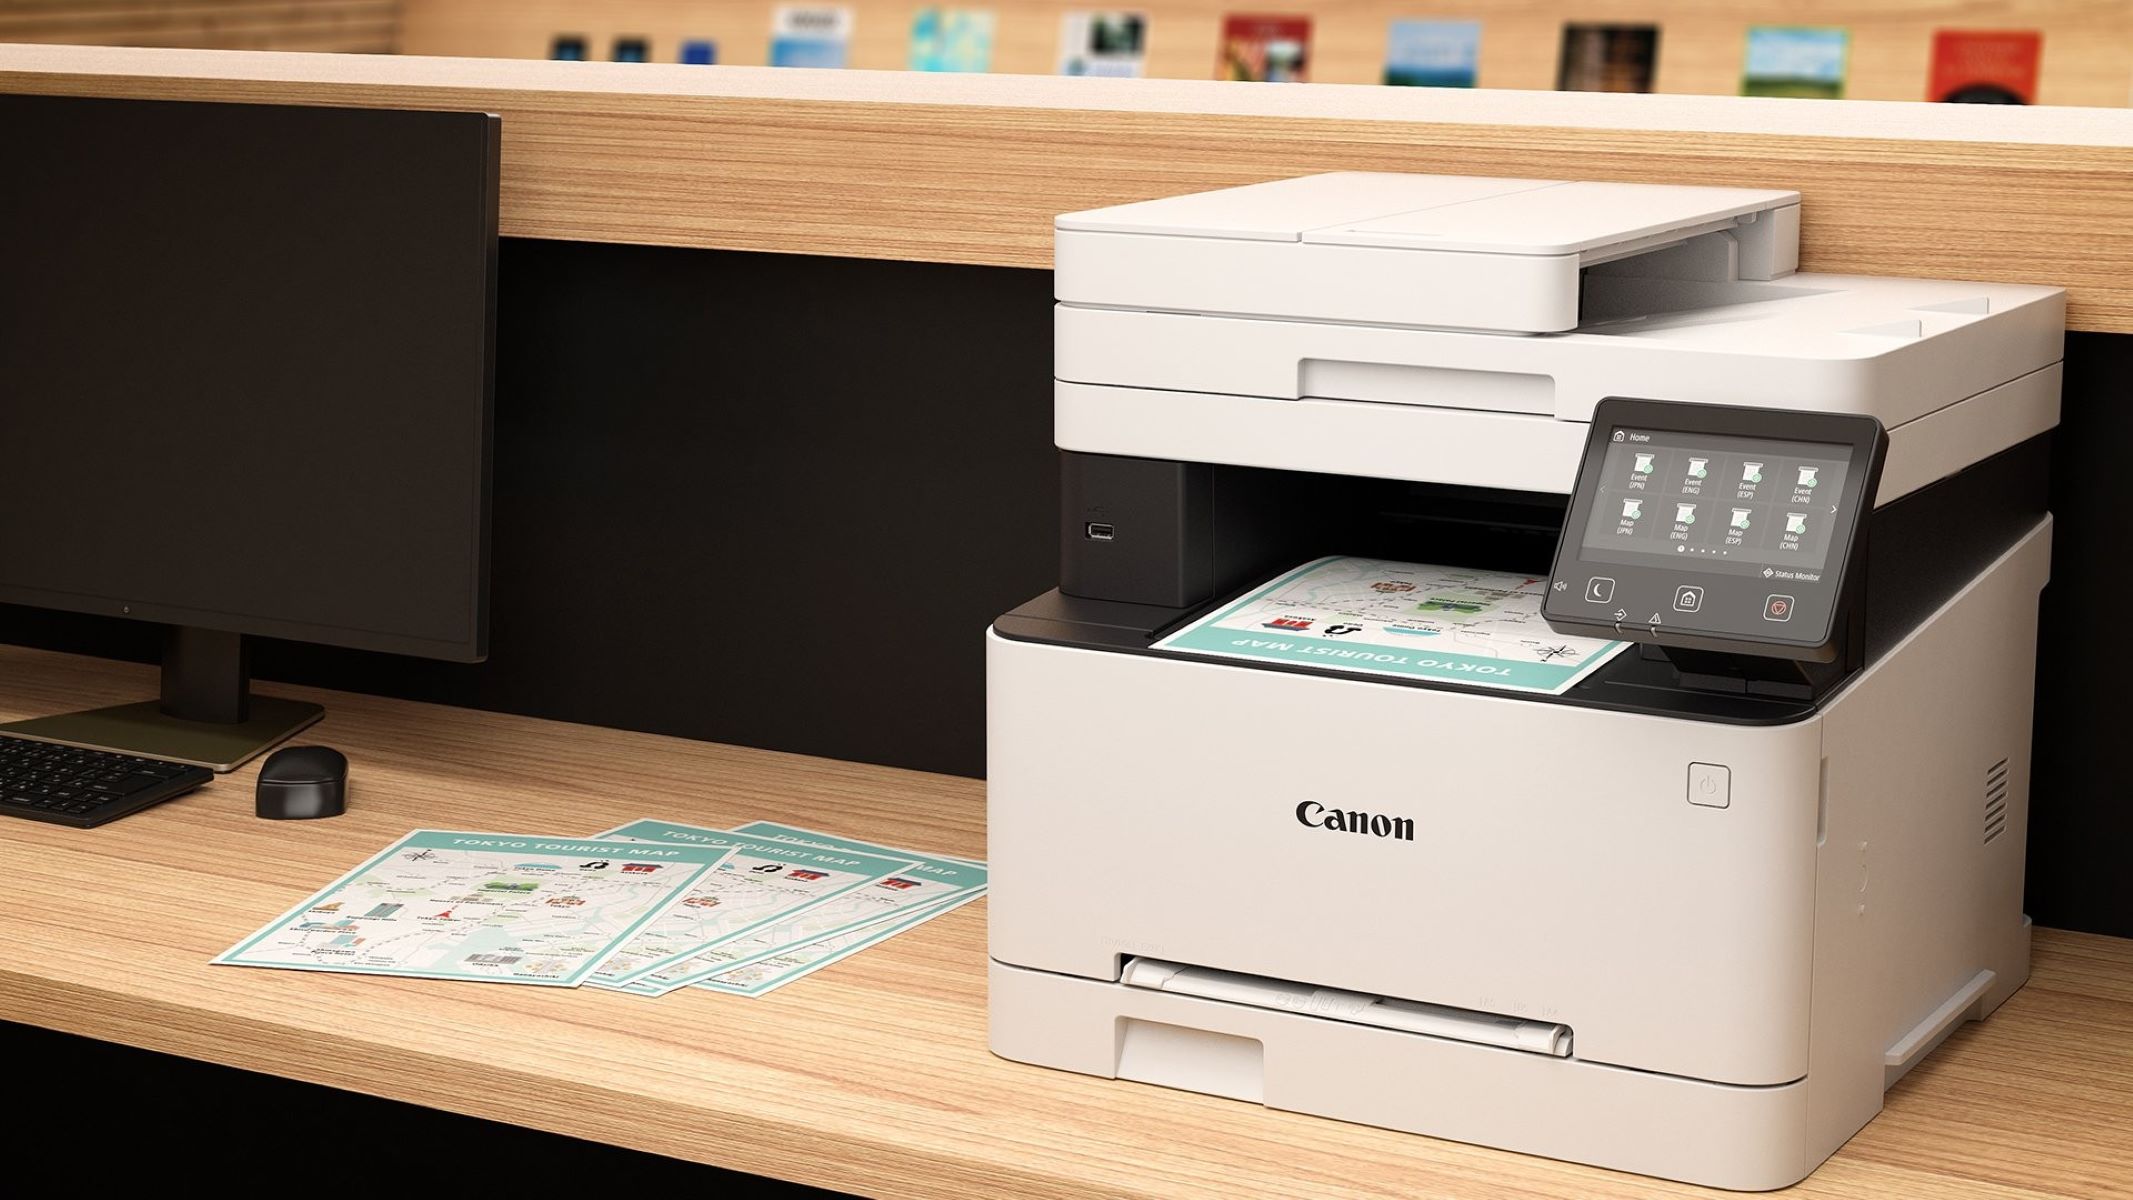
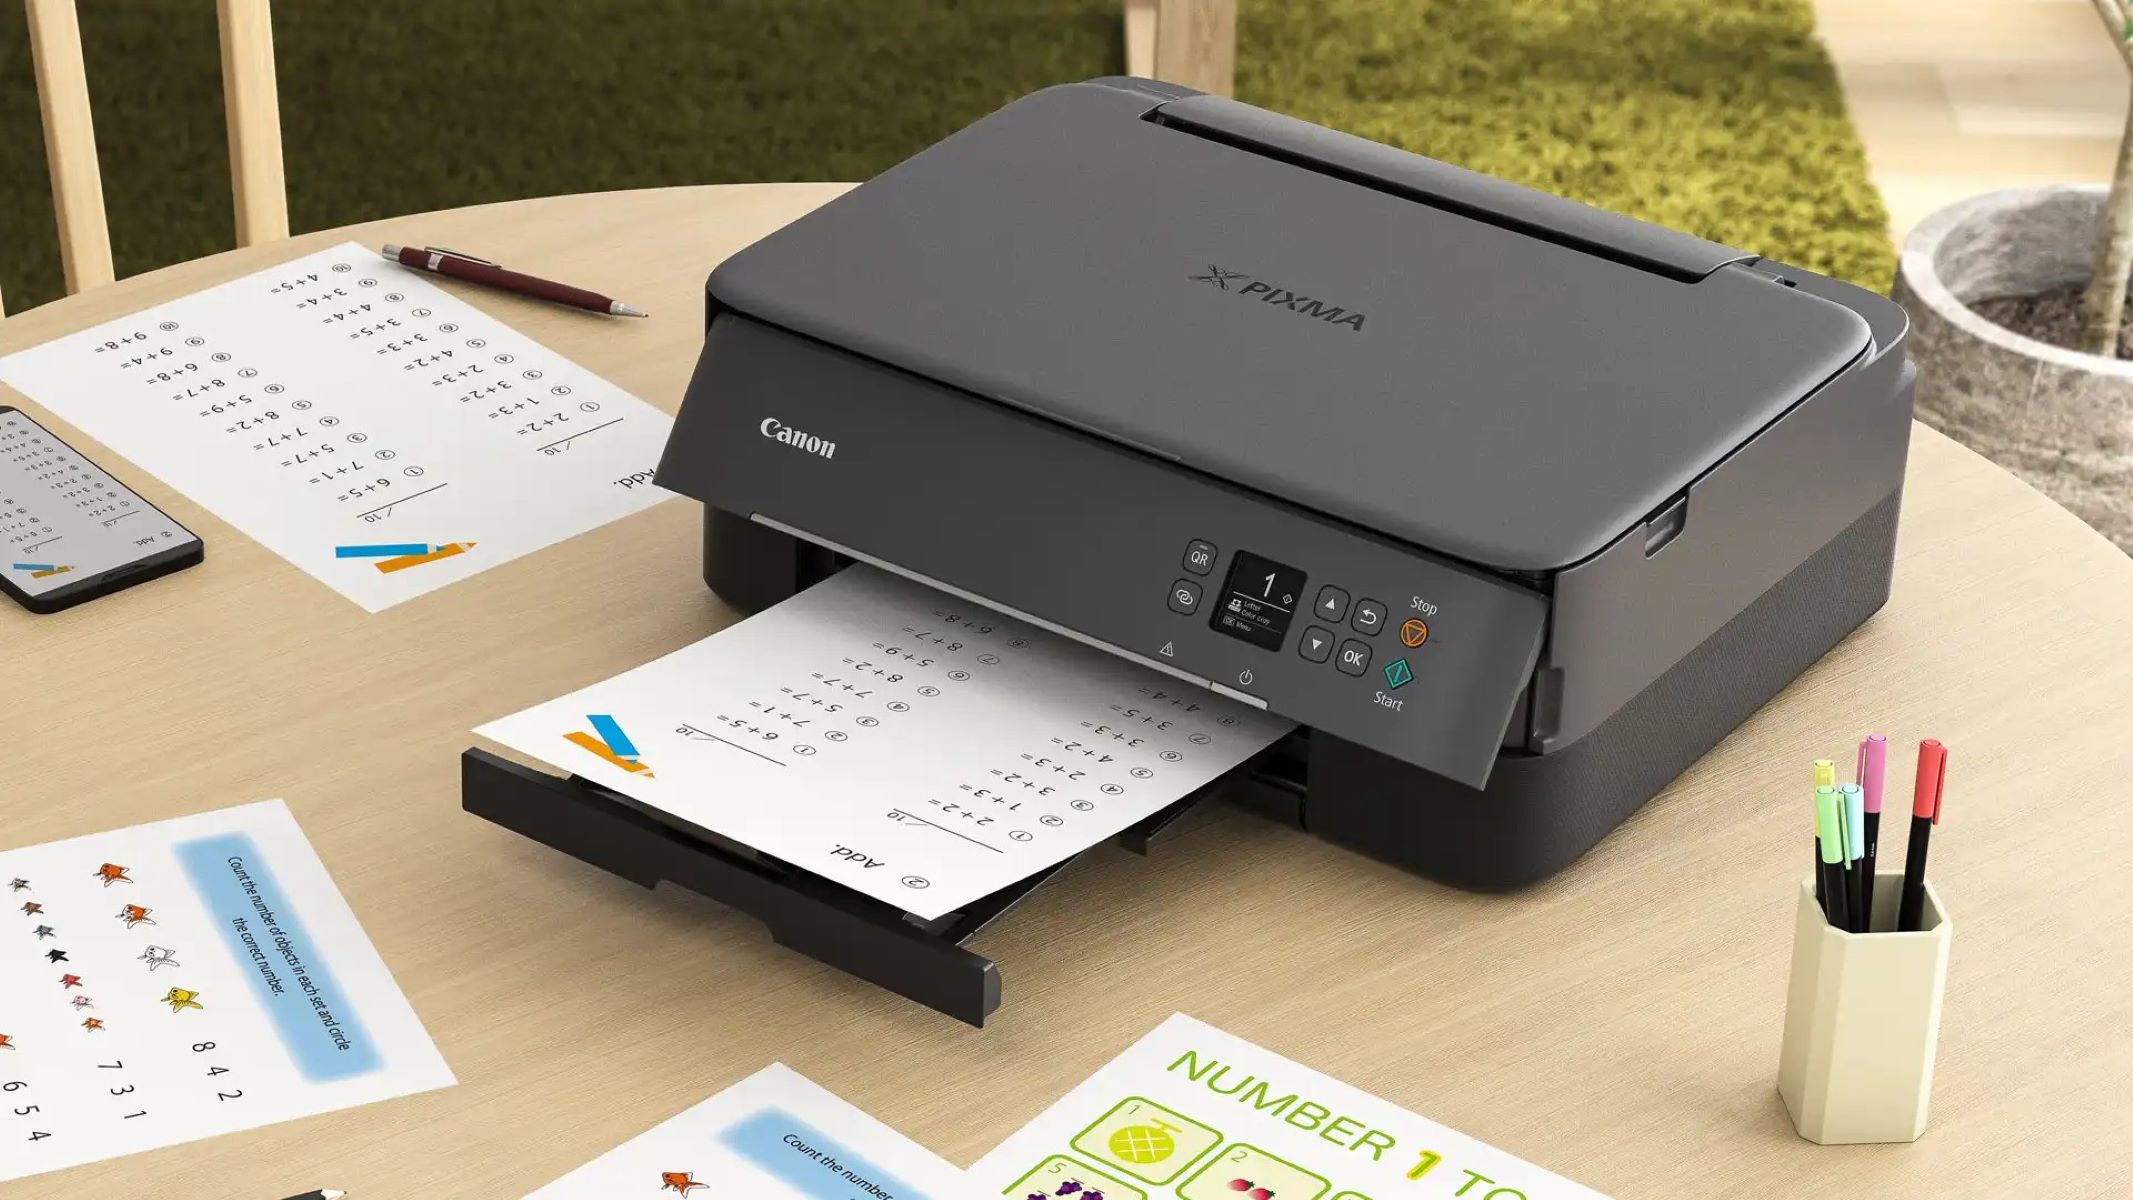
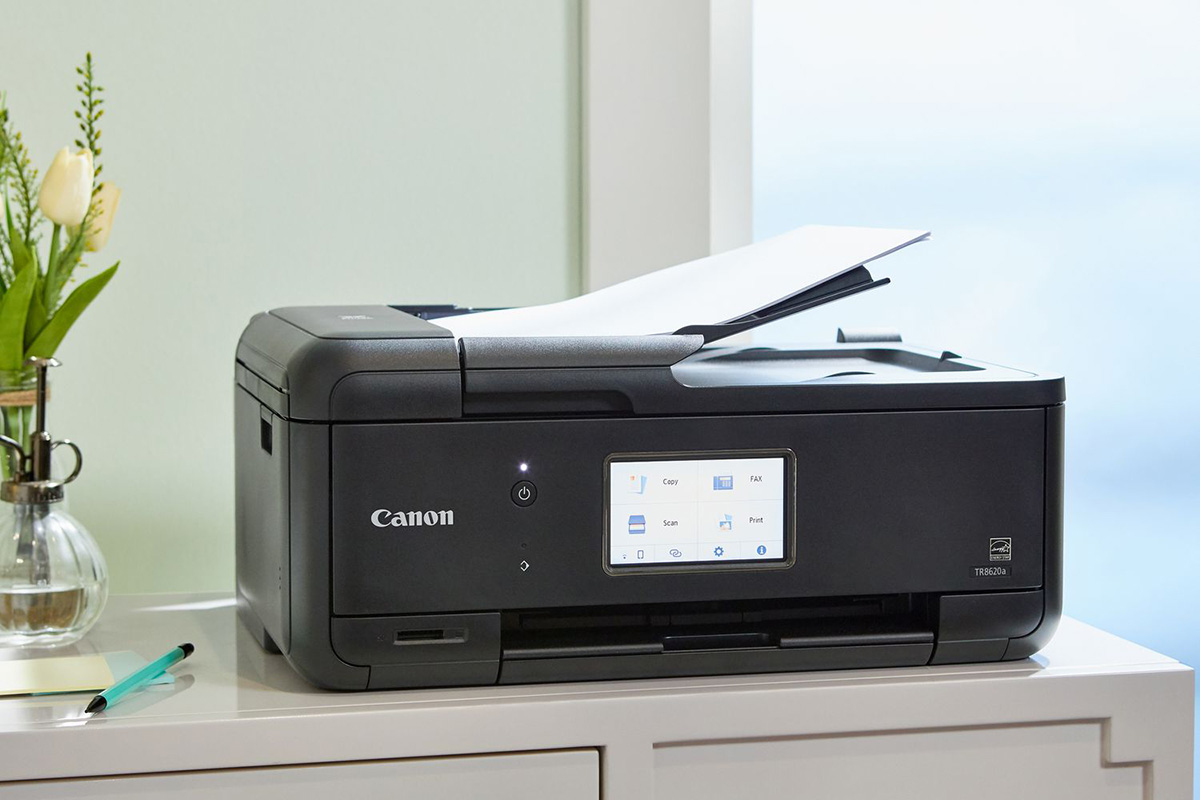
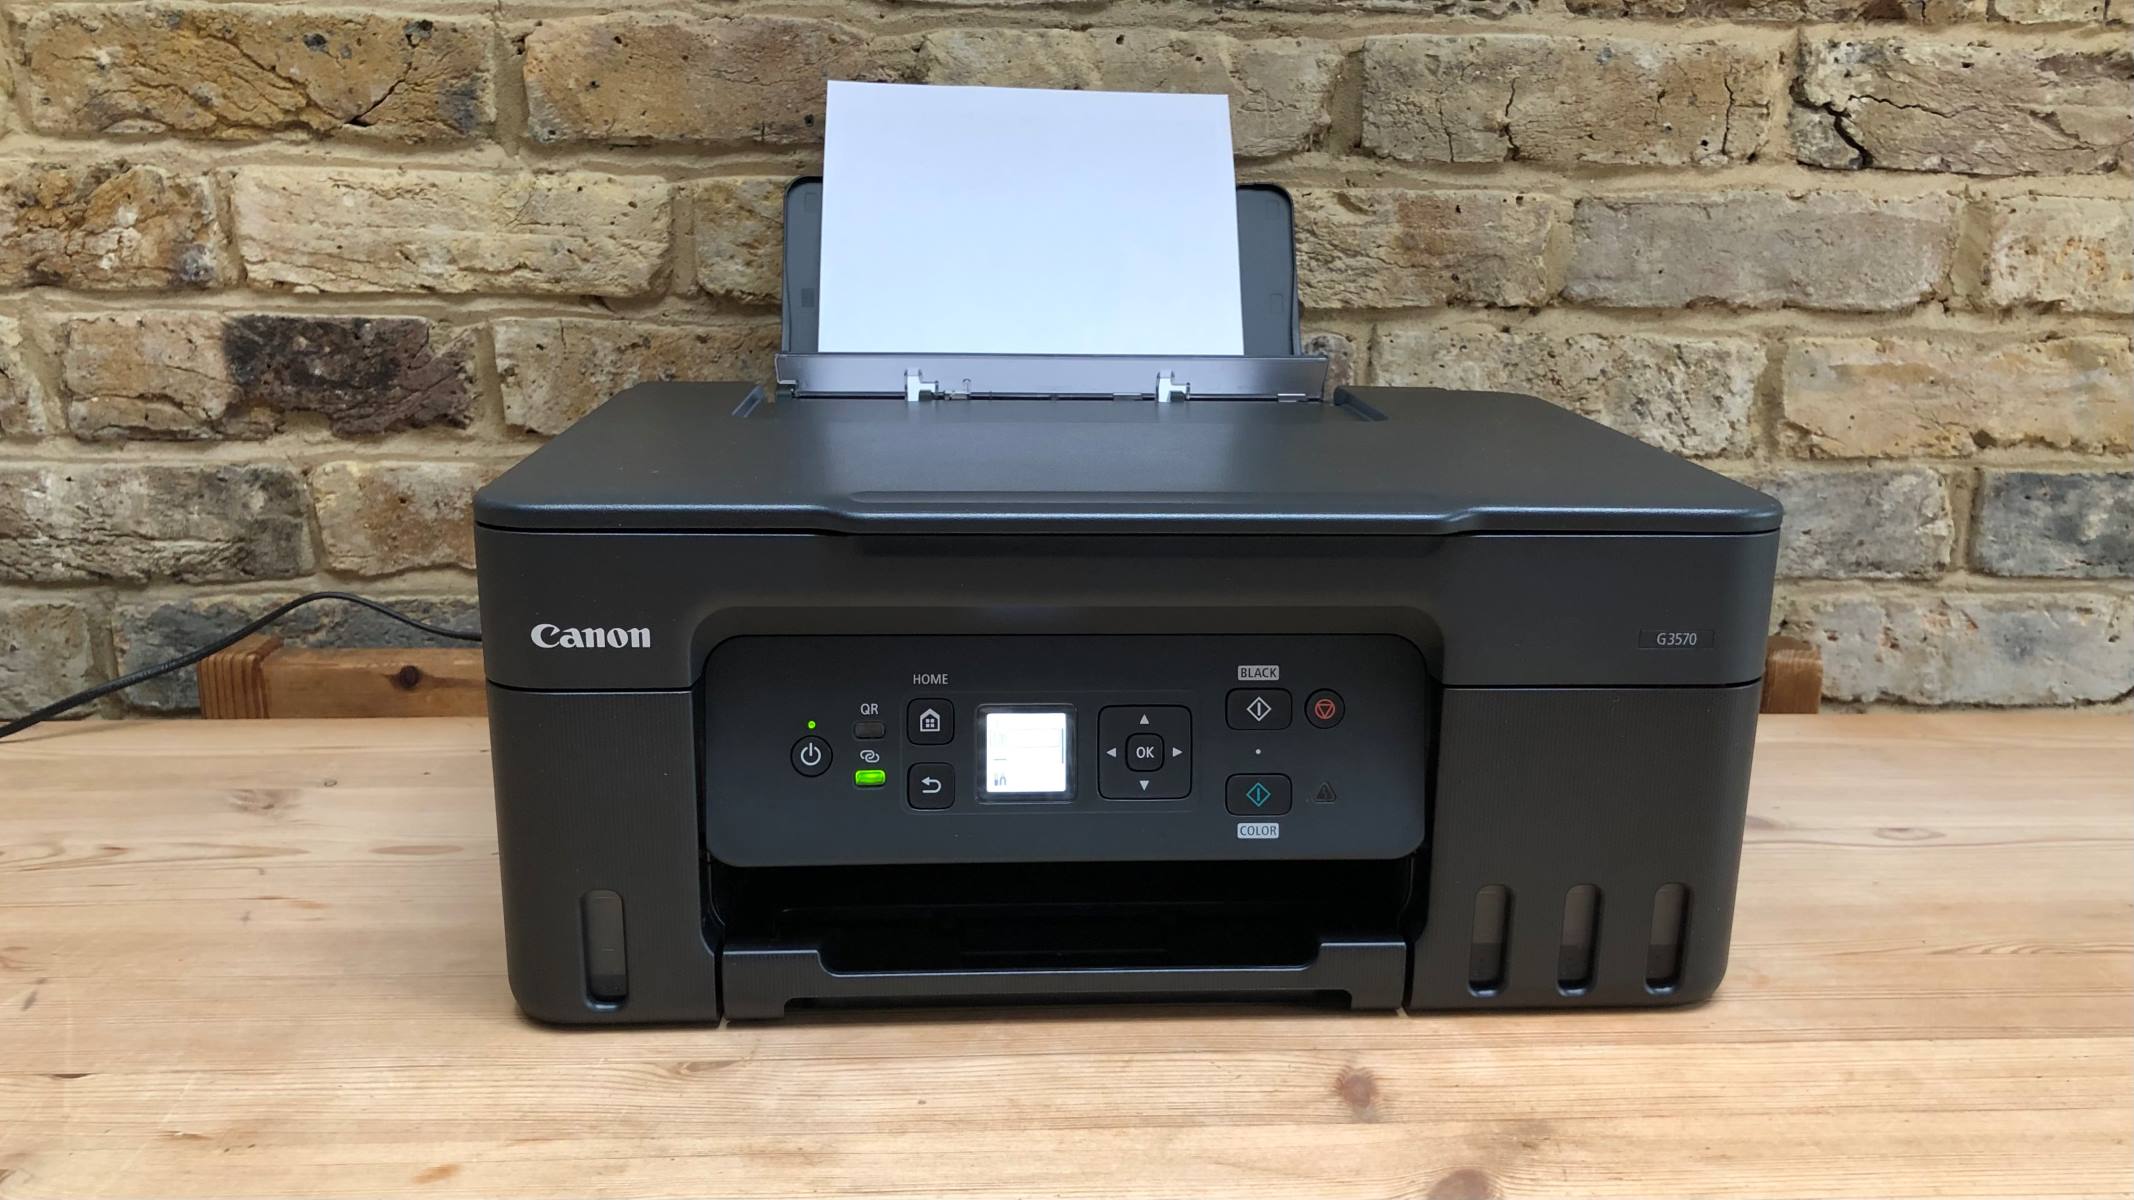
Step 5: Turning On the Printer
With the foundational setup tasks completed, it’s time to bring your Canon printer to life by turning it on. This pivotal step marks the culmination of the setup process, empowering your printer to respond to your commands and embark on its mission to transform digital data into tangible, printed output.
Begin by locating the power button on your Canon printer. This essential control is typically positioned in a prominent and easily accessible location, allowing for straightforward operation. Take a moment to familiarize yourself with the location and design of the power button, ensuring that you can engage it with ease when the time comes to activate the printer.
Once you’ve identified the power button, press it with a confident yet gentle motion, initiating the startup sequence of your Canon printer. As the printer powers on, take note of any indicators or display screens that provide feedback on the startup process, such as LED lights or graphical displays that convey essential information about the printer’s status.
During the startup process, your Canon printer may engage in internal checks and preparations to ensure that all components are functioning optimally. This phase is a crucial part of the printer’s self-diagnostic routine, affirming that it is ready to receive and execute your print commands with precision and reliability.
As the printer completes its startup sequence, you may hear mechanical sounds or observe visual indicators that signify its readiness to accept print jobs. These cues serve as confirmation that your Canon printer is operational and poised to deliver exceptional printing performance, ready to translate your digital creations into tangible, high-quality prints.
With your Canon printer successfully powered on, take a moment to verify that it has entered a ready state, indicating its preparedness to receive print commands from your computer or other connected devices. This confirmation marks the successful completion of the setup process, positioning your Canon printer as a trusted ally in your quest for seamless and reliable printing experiences.
By turning on your Canon printer with confidence and attentiveness, you’ve unlocked its potential to serve as a versatile and dependable tool for bringing your digital designs to life in stunning printed form. With the printer now operational, you’re ready to embark on a journey of productive and visually captivating printing endeavors.
Conclusion
Congratulations! You’ve successfully navigated the setup process and brought your Canon printer to life, setting the stage for a seamless and productive printing experience. By following the step-by-step guidelines outlined in this comprehensive guide, you’ve equipped yourself with the knowledge and confidence to harness the full potential of your Canon printer and unlock its capabilities with ease.
From the initial stages of unpacking and positioning the printer to the pivotal tasks of connecting it to power, installing ink cartridges, and loading paper, you’ve laid the groundwork for a smooth and efficient printing workflow. Each step in the setup process was designed to ensure that your Canon printer is ready to deliver exceptional results, transforming your digital creations into tangible, high-quality prints that capture the essence of your vision.
As you embark on your printing journey with a newly activated Canon printer, take a moment to explore its features and capabilities, familiarizing yourself with the array of printing options and settings at your disposal. Whether you’re producing vivid photographs, crisp documents, or captivating artistic creations, your Canon printer stands ready to translate your ideas into tangible reality.
With the setup process behind you, it’s time to embrace the endless possibilities that your Canon printer offers. Whether you’re a creative enthusiast, a professional in need of reliable printing solutions, or an individual seeking to bring digital content to life, your Canon printer is poised to meet and exceed your expectations with its exceptional performance and user-friendly design.
As you venture into the realm of printing with your Canon device, remember that ongoing maintenance and care will ensure its longevity and consistent output quality. Regularly replacing ink cartridges, keeping the printer clean, and staying updated on software enhancements will contribute to a seamless and rewarding printing experience for years to come.
Embrace the power of your Canon printer, and let your imagination soar as you embark on a journey of vibrant and impactful printing experiences. With each page that emerges from your printer, you’ll witness the fusion of digital innovation and tangible expression, showcasing the remarkable capabilities of your Canon printing companion.
Here’s to a future filled with stunning prints, seamless workflows, and the boundless creativity that your Canon printer empowers. Cheers to your successful setup and the promising printing adventures that lie ahead!
Frequently Asked Questions about How To Turn On A Canon Printer
Was this page helpful?
At Storables.com, we guarantee accurate and reliable information. Our content, validated by Expert Board Contributors, is crafted following stringent Editorial Policies. We're committed to providing you with well-researched, expert-backed insights for all your informational needs.

0 thoughts on “How To Turn On A Canon Printer”