Home>Technology>Smart Home Devices>How To Make A Tattoo Stencil With A Regular Printer

Smart Home Devices
How To Make A Tattoo Stencil With A Regular Printer
Modified: August 17, 2024
Learn how to create a tattoo stencil using a regular printer and elevate your smart home devices with unique, personalized designs. Step-by-step guide for DIY tattoo stenciling.
(Many of the links in this article redirect to a specific reviewed product. Your purchase of these products through affiliate links helps to generate commission for Storables.com, at no extra cost. Learn more)
**
Introduction
**
Tattoos have been an integral part of human culture for centuries, serving as a form of self-expression, cultural representation, and personal adornment. The art of tattooing has evolved over time, with modern technology and techniques revolutionizing the process. One crucial aspect of getting a tattoo is creating a stencil, which acts as a guide for the tattoo artist to ensure precision and accuracy in the final design.
In the past, creating a tattoo stencil was a meticulous and time-consuming task, often requiring freehand drawing or the use of carbon paper to transfer the design onto the skin. However, with advancements in technology, it is now possible to make a tattoo stencil with a regular printer, simplifying the process and enhancing efficiency.
By utilizing a regular printer, tattoo enthusiasts and artists can transfer intricate and detailed designs onto the skin with ease, thereby expanding the creative possibilities and ensuring a more precise outcome. This article will guide you through the step-by-step process of making a tattoo stencil using a regular printer, providing valuable insights and tips to help you achieve professional results from the comfort of your own home or studio. Let's delve into the materials needed for this innovative approach to tattoo stencil creation.
**
Key Takeaways:
- Creating a tattoo stencil with a regular printer simplifies the process, allowing for intricate designs to be transferred onto the skin with ease, expanding creative possibilities for tattoo enthusiasts and artists.
- By following a step-by-step process, individuals can confidently create professional-quality tattoo stencils at home or in a studio, combining modern technology with traditional tattooing practices for personalized and visually captivating designs.
Read more: How To Make A Tattoo Stencil With A Printer
Materials Needed
**
Before embarking on the journey of creating a tattoo stencil with a regular printer, it is essential to gather the necessary materials to ensure a seamless and successful process. The following items are indispensable for this endeavor:
- Computer or Laptop: A reliable computer or laptop with access to a design software program is essential for creating and formatting the tattoo stencil design.
- Design Software: Utilize design software such as Adobe Photoshop, Illustrator, or any other preferred program to craft the tattoo stencil design. These software tools enable precise editing, resizing, and manipulation of the design to suit individual preferences.
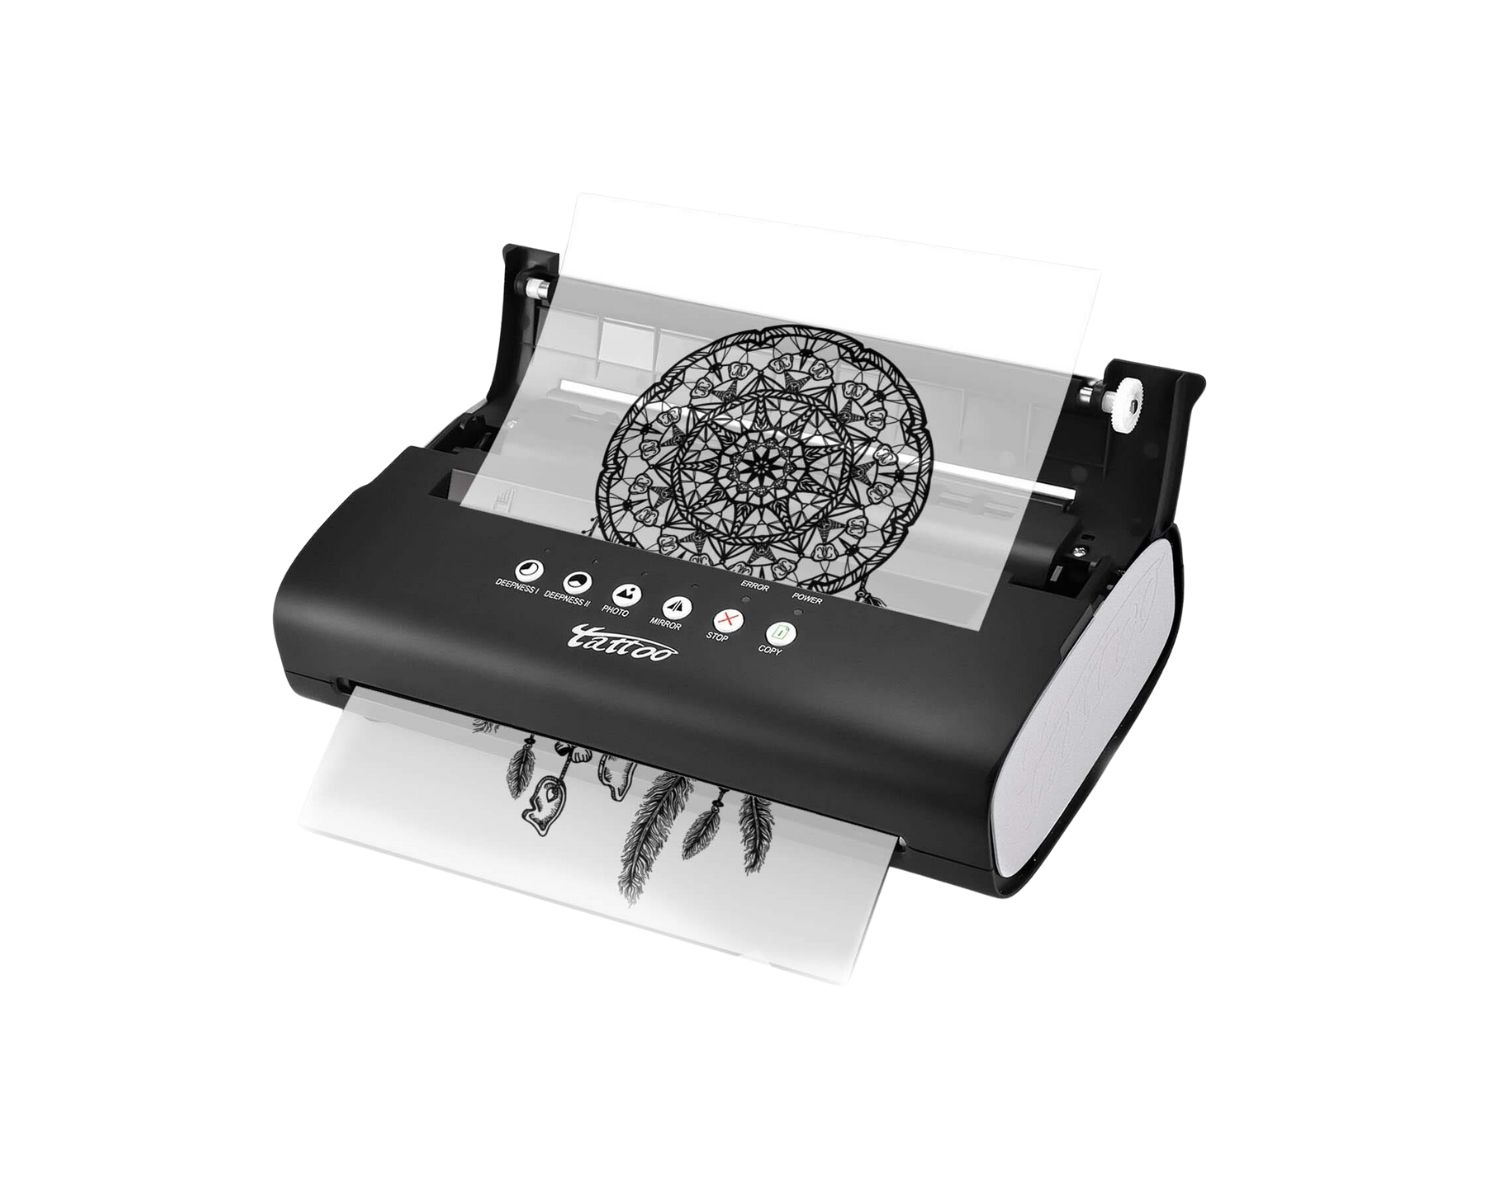
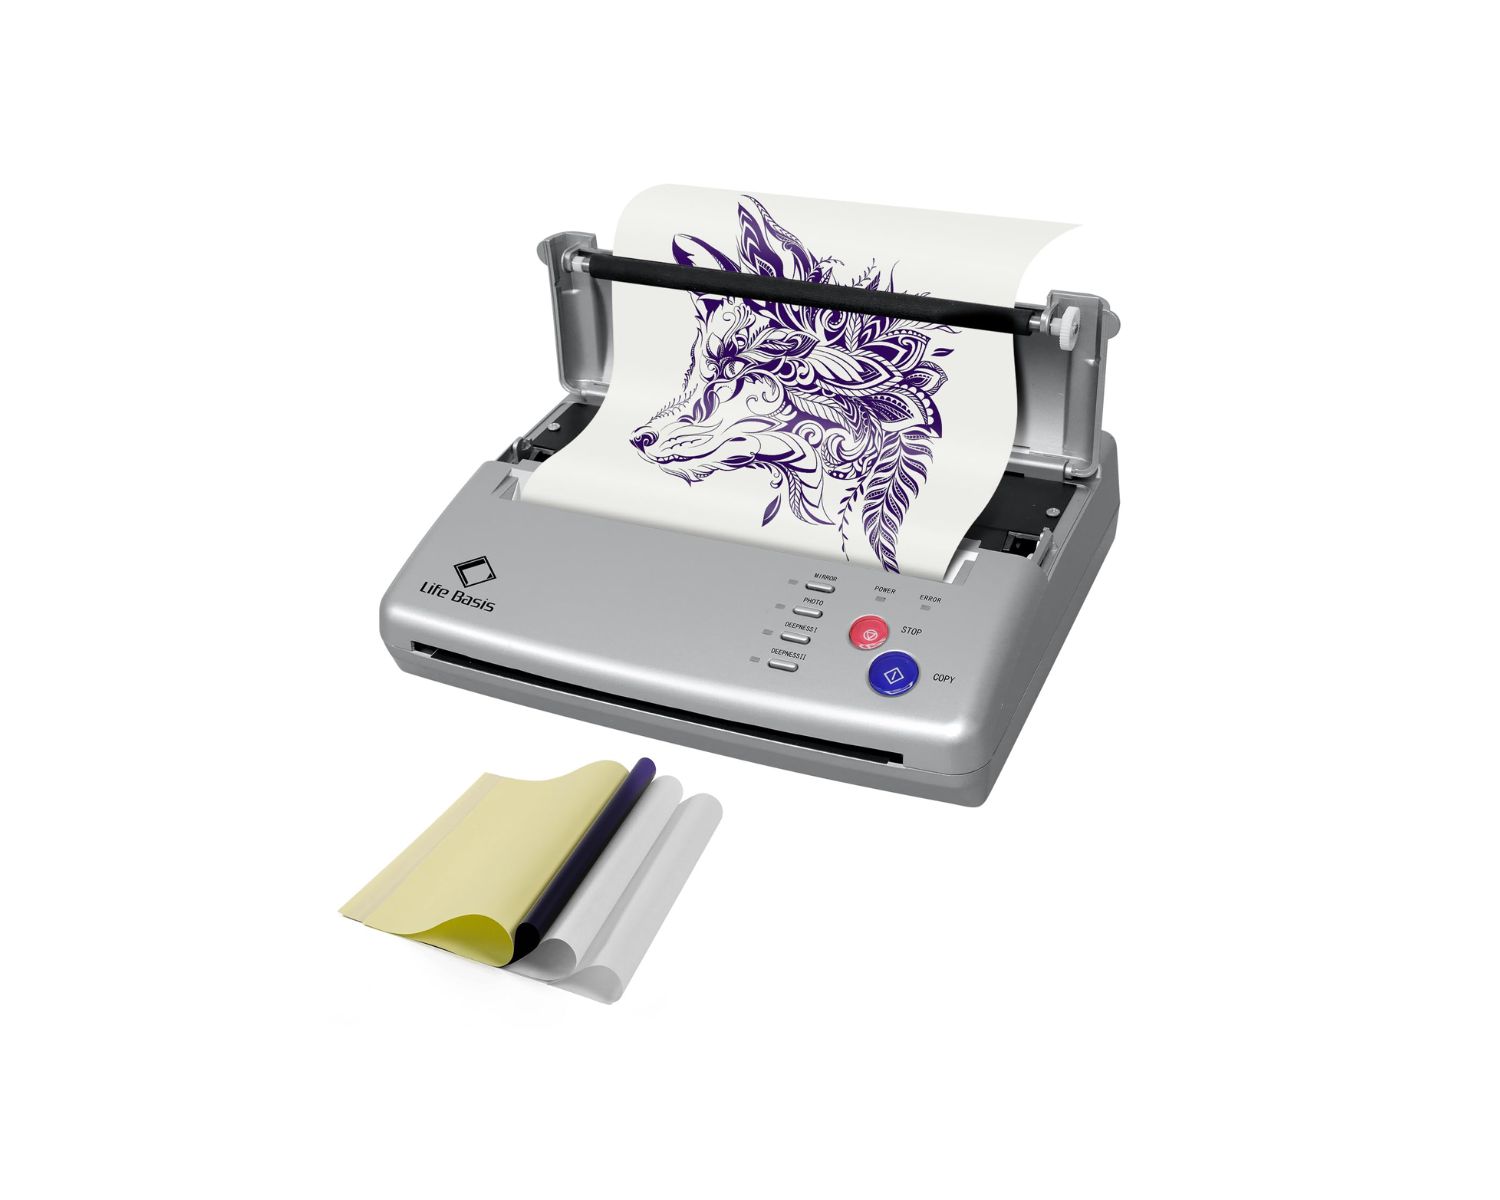
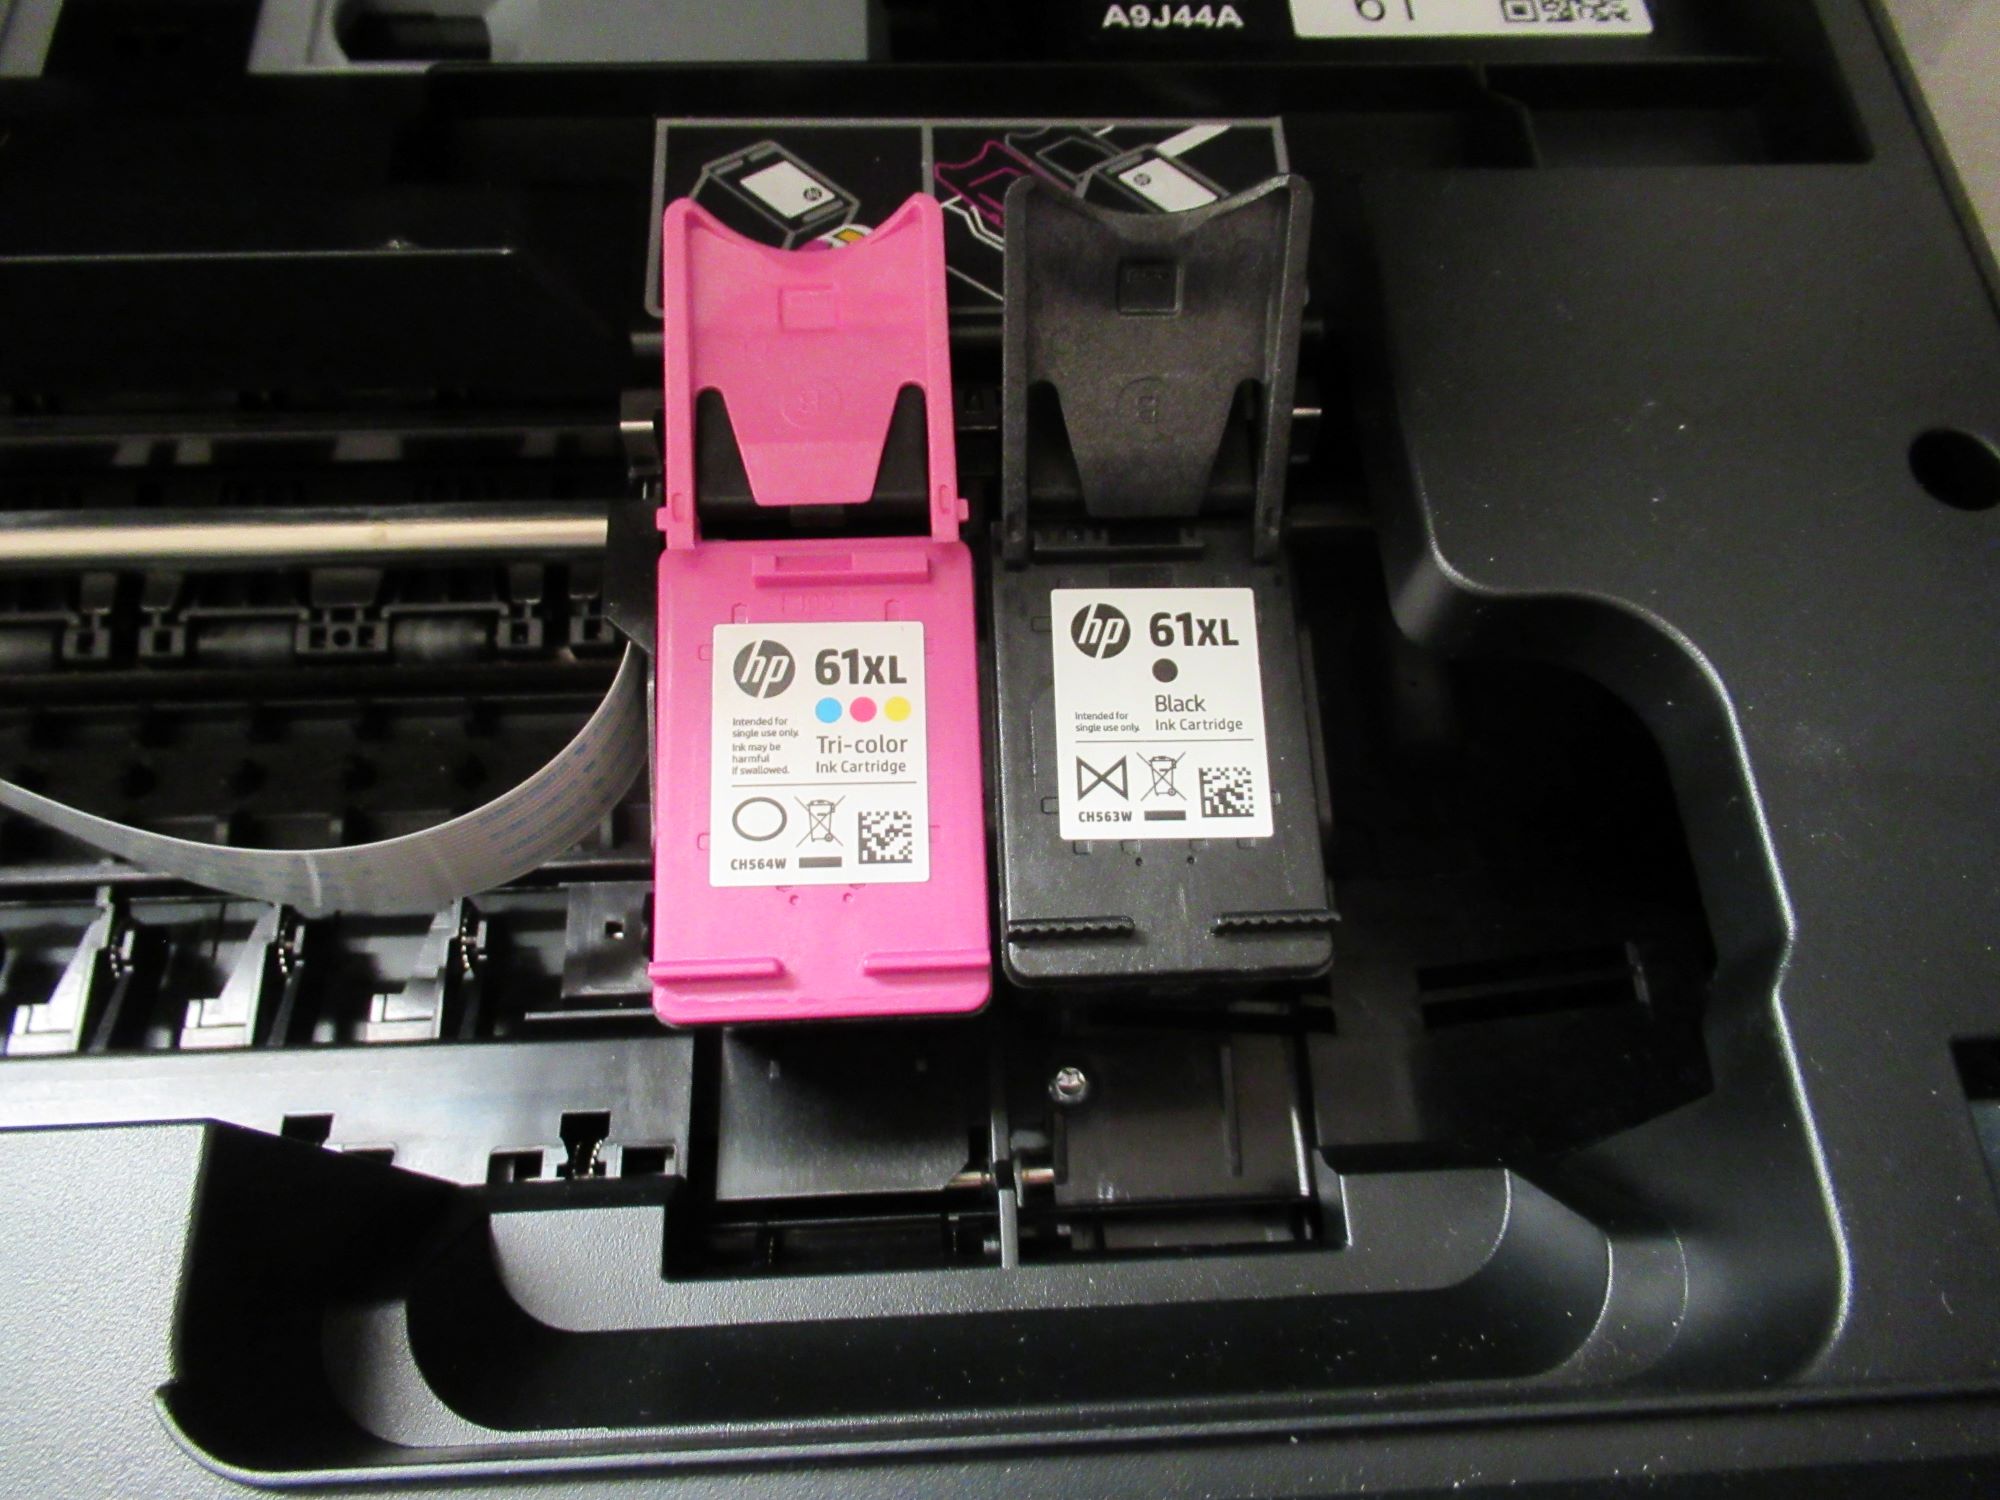
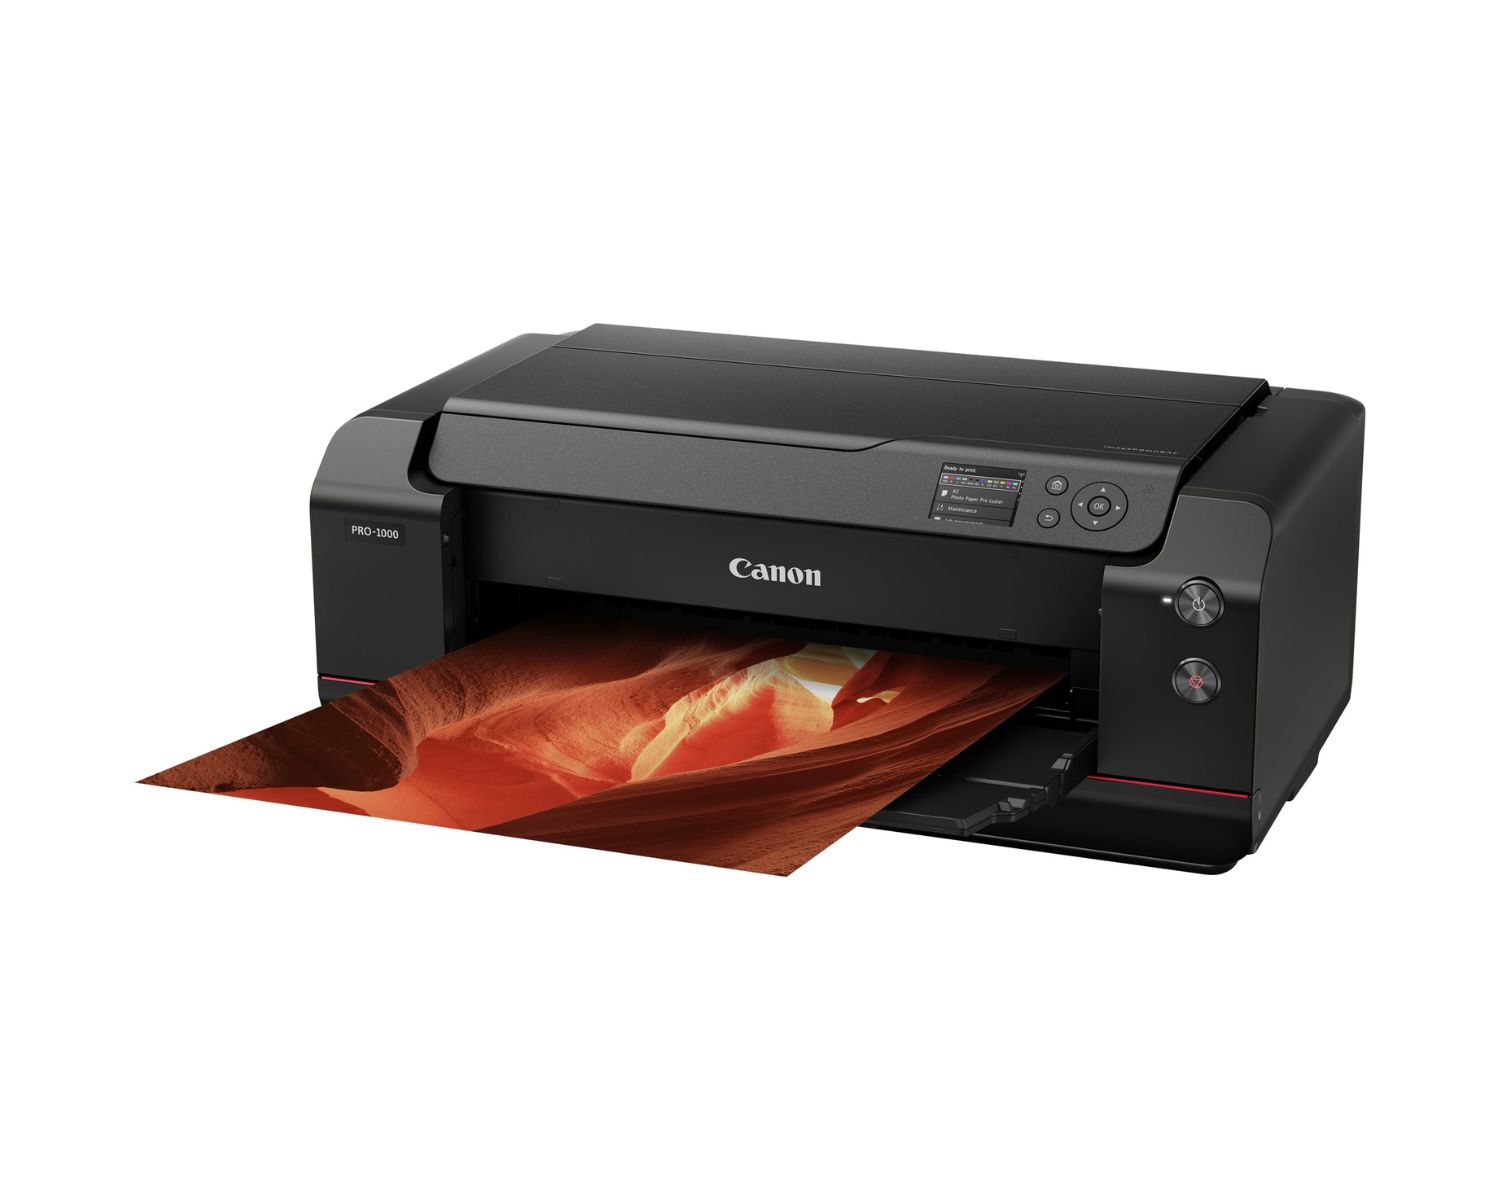
- Regular Printer: A standard inkjet or laser printer capable of producing high-quality prints is required for transferring the stencil design onto specialized tattoo stencil paper.
- Tattoo Stencil Paper: Acquire specialized tattoo stencil paper, which is designed to produce crisp and durable stencils for tattoo application. This paper is equipped to handle the transfer process effectively, ensuring the accuracy of the design.
- Stencil Fluid or Transfer Gel: To facilitate the transfer of the stencil onto the skin, stencil fluid or transfer gel is essential. This product acts as a medium for transferring the design from the stencil paper to the skin, allowing for precise placement and outlining before the tattooing process begins.
- Scissors: A pair of sharp scissors is necessary for cutting the tattoo stencil to the desired size and shape, ensuring that it fits the intended placement area on the skin.
- Cleansing Solution: Prior to applying the stencil, it is crucial to cleanse the skin thoroughly to remove any oils or impurities that may hinder the transfer process. A suitable cleansing solution or alcohol wipes can be used for this purpose.
- Tape or Stencil Application Solution: Depending on personal preference and the type of stencil paper used, tape or stencil application solution may be required to secure the stencil in place on the skin during the transfer process.
By assembling these essential materials, you are well-equipped to embark on the process of creating a tattoo stencil with a regular printer. The next step involves crafting the stencil design, a pivotal stage in achieving a personalized and visually captivating tattoo stencil.
**
Creating the Stencil Design
**
The foundation of a remarkable tattoo stencil lies in the intricacy and precision of the design. Whether you are a seasoned tattoo artist or an individual seeking to immortalize a meaningful symbol on your skin, the process of crafting the stencil design is a crucial step in the tattooing journey. Here are the key steps to creating a captivating and well-defined stencil design:
- Conceptualization: Begin by conceptualizing the desired tattoo design, considering factors such as size, placement on the body, and overall aesthetic appeal. Whether it’s a symbolic image, a meaningful quote, or a custom illustration, clarity in conceptualization is vital.
- Design Software Utilization: Utilize design software such as Adobe Photoshop, Illustrator, or any preferred program to translate the conceptualized design into a digital format. This step allows for precise editing, resizing, and manipulation of the design to achieve the desired look.
- Image Refinement: Refine the design by adjusting elements such as line thickness, shading, and overall composition to ensure optimal clarity and visual impact. Pay attention to details, as these will be instrumental in creating a high-quality stencil.
- Scaling and Placement: Scale the design to the appropriate dimensions for the intended placement on the skin. Consider factors such as body contours, symmetry, and the natural flow of the design to determine the ideal size and placement.
- Reversal for Stencil Application: To ensure the correct orientation of the design when transferred onto the skin, reverse the image using the design software. This step is crucial for creating a mirror image that will appear correctly when applied to the skin.
- Test Print: Before finalizing the design, conduct a test print on regular paper to assess the quality, size, and overall appearance of the stencil. This step allows for adjustments to be made before the design is transferred to the specialized tattoo stencil paper.
By following these steps, you can create a meticulously crafted stencil design that embodies your vision and artistic expression. Once the design is perfected, the next phase involves printing the stencil, a process that requires precision and attention to detail.
**
To make a tattoo stencil with a regular printer, use stencil paper and print the design in reverse. Apply stencil transfer gel and press the design onto the skin.
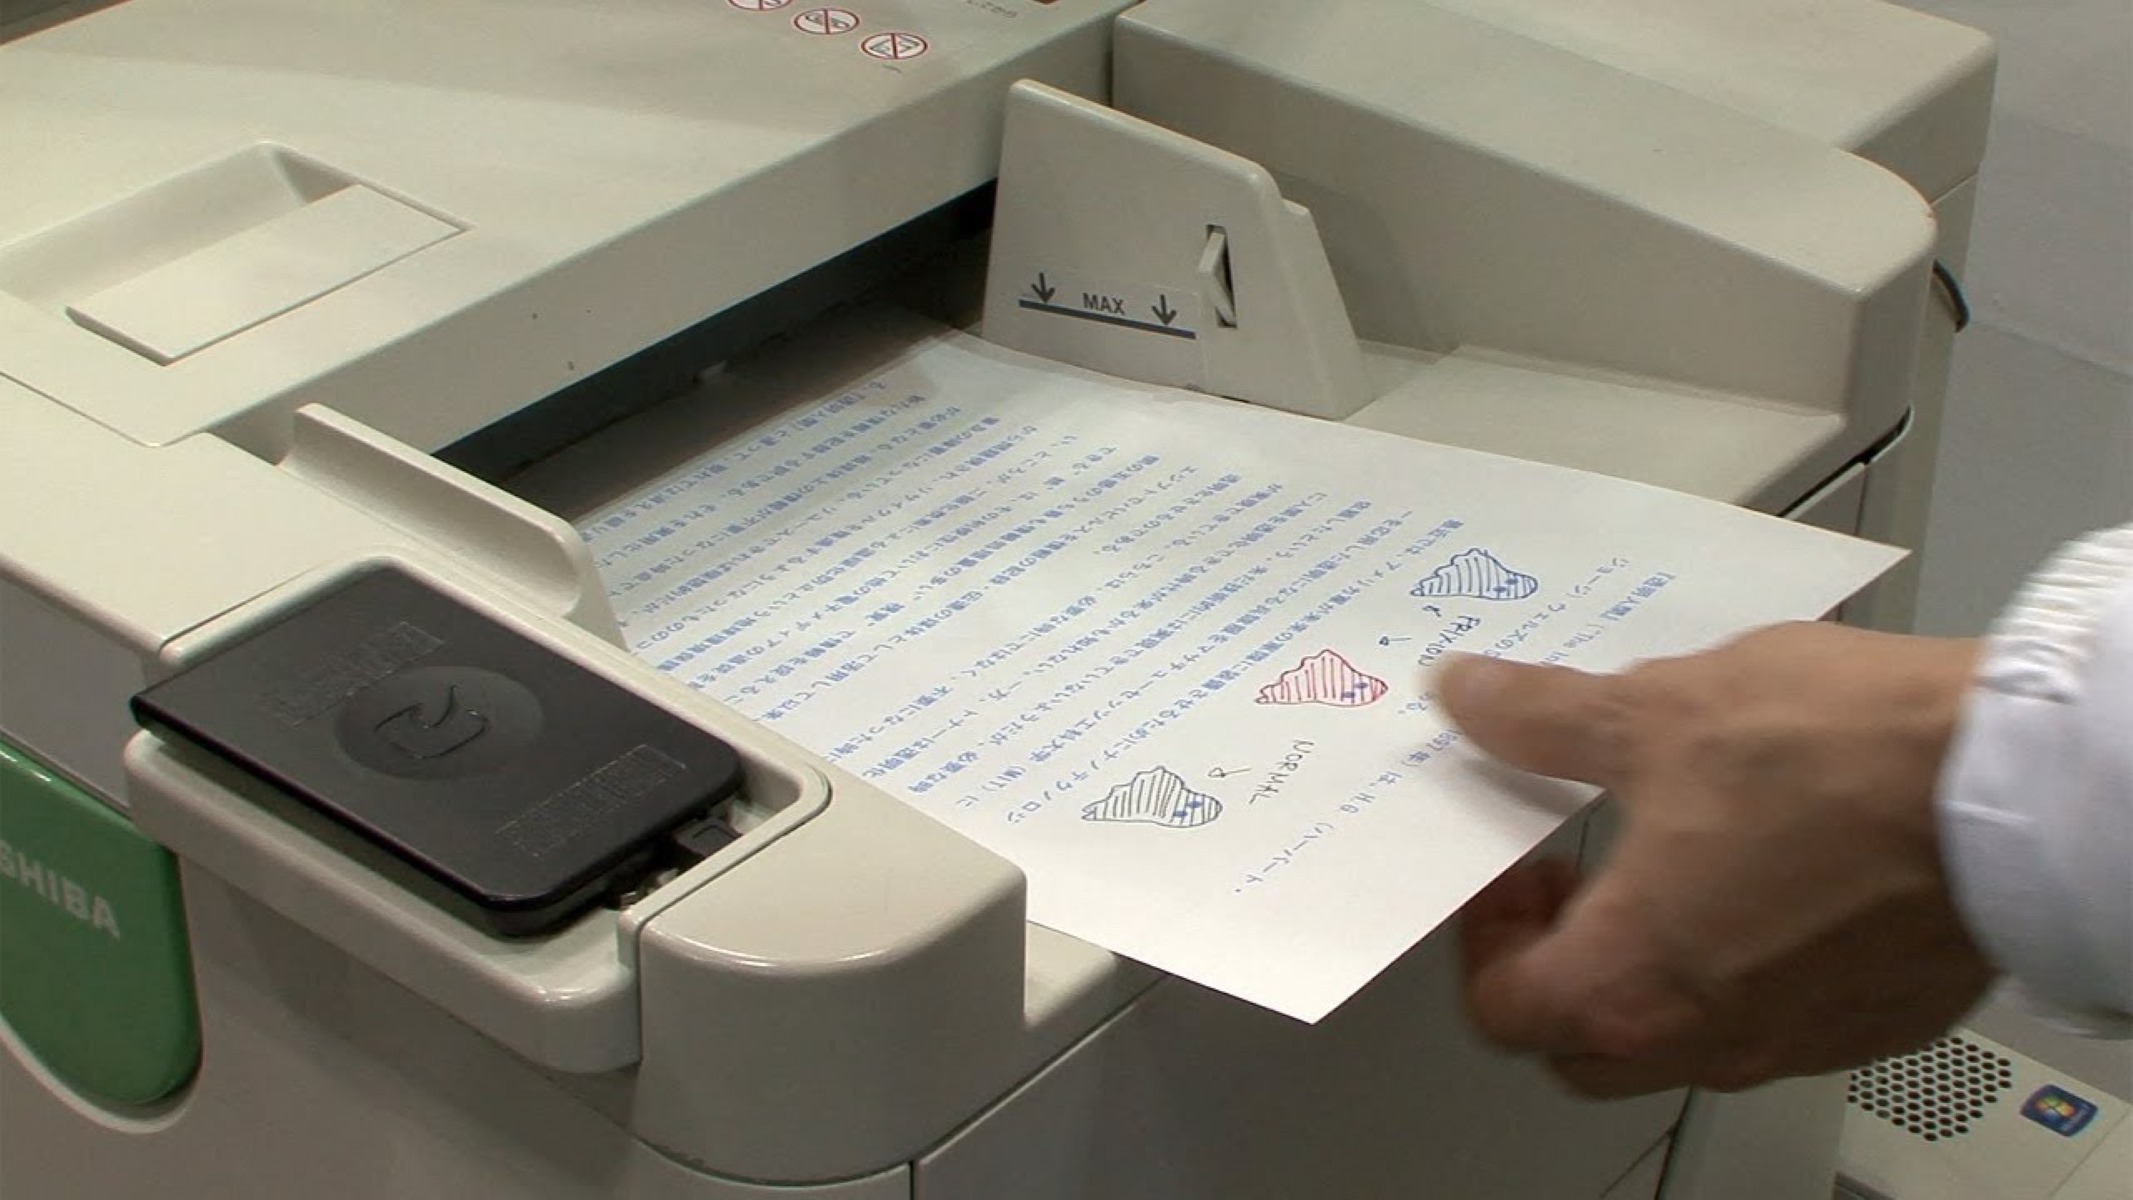
Printing the Stencil
**
With the stencil design meticulously crafted and perfected, the next crucial step in the process of creating a tattoo stencil with a regular printer is the printing phase. This stage requires precision, attention to detail, and the utilization of the appropriate materials to ensure the accurate transfer of the design onto specialized tattoo stencil paper. Here’s a comprehensive guide to printing the stencil:
- Selection of Stencil Paper: Ensure that you have acquired specialized tattoo stencil paper designed for use with printers. This paper is equipped to handle the transfer process effectively, producing high-quality and durable stencils suitable for tattoo application.
- Printer Setup: Prepare the printer for the stencil printing process by ensuring that it is loaded with the appropriate type of tattoo stencil paper. Adjust the printer settings to accommodate the dimensions of the stencil paper and select the highest quality print settings for optimal results.
- Printing the Design: Open the refined stencil design on your computer and proceed to print it onto the tattoo stencil paper. Pay close attention to the orientation and placement of the design on the paper to ensure that it aligns with your intended stencil size and shape.
- Quality Assessment: Once the design has been printed onto the stencil paper, carefully assess the print for clarity, sharpness, and overall quality. Ensure that all intricate details and lines are accurately reproduced on the stencil paper, as these factors are essential for precise tattoo application.
- Cutting the Stencil: Using a pair of sharp scissors, carefully cut out the printed stencil along the outline of the design. Exercise caution and precision during this step to ensure that the stencil is neatly trimmed and ready for the transfer process.
By following these steps, you can effectively print the meticulously crafted stencil design onto specialized tattoo stencil paper, preparing it for the final phase of the process: transferring the stencil to the skin. This pivotal step requires careful execution and attention to detail to ensure the accurate application of the design onto the skin surface.
**
Transferring the Stencil to Skin
**
With the meticulously crafted stencil design printed onto specialized tattoo stencil paper, the final phase of the process involves transferring the design to the skin, preparing it for the tattoo application. This critical step requires precision, proper technique, and the use of specialized products to ensure the accurate placement of the stencil on the skin surface. Here’s a comprehensive guide to transferring the stencil:
- Skin Preparation: Before applying the stencil, thoroughly cleanse the skin in the intended placement area using a suitable cleansing solution or alcohol wipes. This step is essential for removing any oils, dirt, or impurities that may hinder the transfer process.
- Stencil Application Solution: Depending on the type of stencil paper used, apply a thin layer of stencil application solution to the skin to ensure proper adhesion of the stencil. Alternatively, if the stencil paper is self-adhesive, carefully remove the backing and apply the stencil directly to the skin.
- Stencil Placement: Carefully position the stencil on the cleansed skin, ensuring that it aligns with the desired placement and orientation of the tattoo design. Use gentle pressure to secure the stencil in place, paying attention to any intricate details or fine lines that require precise placement.
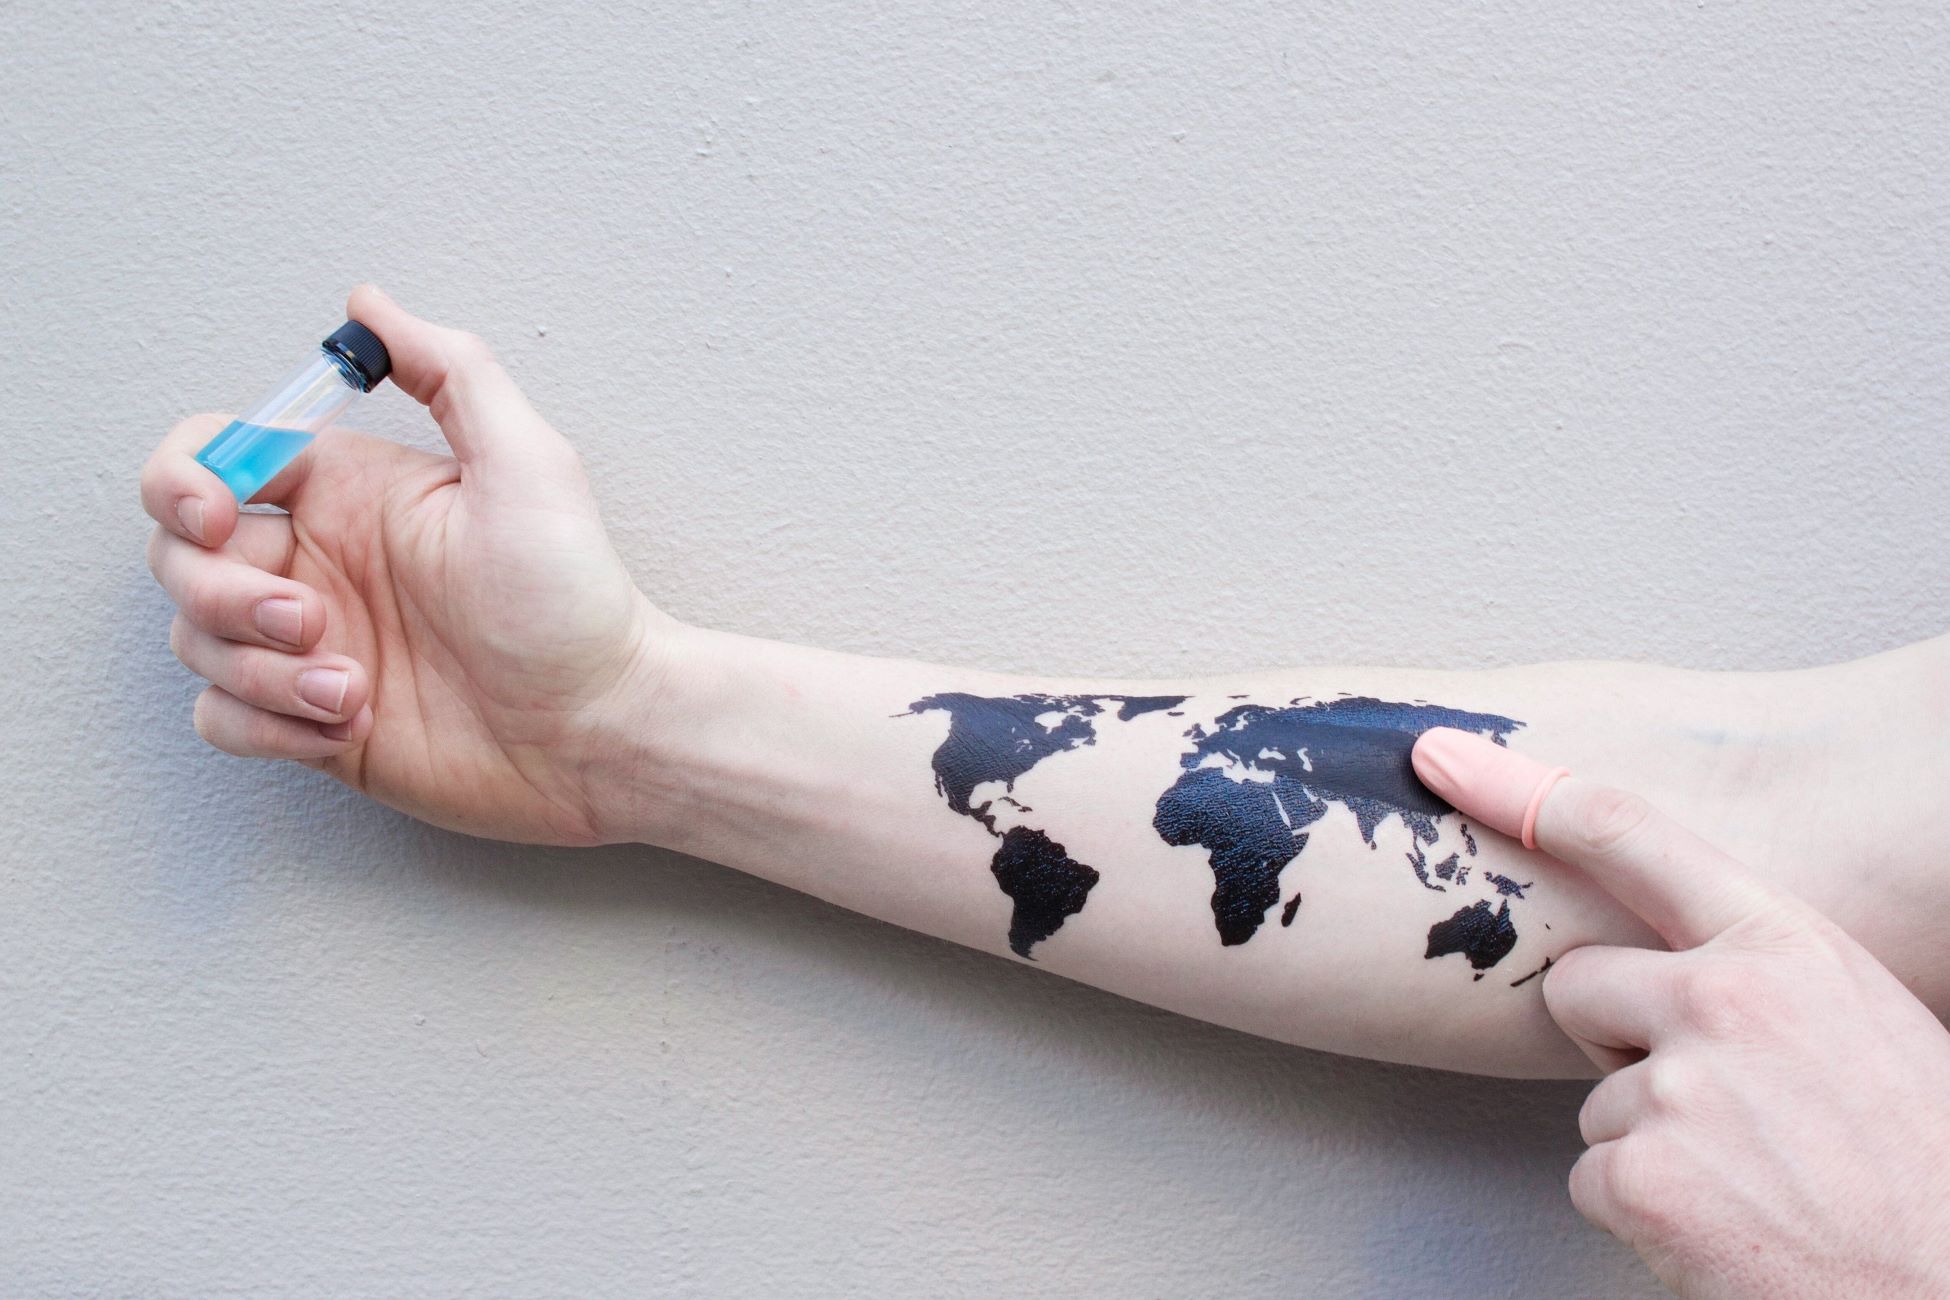
- Stencil Transfer: Once the stencil is securely in place, gently press a stencil transfer gel or stencil fluid over the entire design. Ensure that the product covers the stencil thoroughly, as this will facilitate the transfer of the design onto the skin surface.
- Stencil Removal: After applying the stencil transfer product, carefully lift the stencil from the skin, ensuring that the design has been accurately transferred. Inspect the transferred stencil to verify that all lines and details have been successfully imprinted on the skin.
By following these steps, you can effectively transfer the meticulously printed stencil design onto the skin, providing a precise outline for the tattoo artist to follow during the tattooing process. This crucial stage sets the foundation for a well-executed tattoo, ensuring that the design is accurately rendered on the skin surface before the permanent ink is applied.
**
Conclusion
**
The art of tattooing is a deeply personal and expressive form of body modification, with the creation of a tattoo stencil serving as a pivotal stage in the overall tattooing process. By harnessing the capabilities of a regular printer and specialized tattoo stencil paper, individuals and tattoo artists can streamline the stencil creation process, ensuring precision and accuracy in the transfer of intricate designs onto the skin.
Throughout this comprehensive guide, we have explored the essential materials needed, the meticulous process of creating a captivating stencil design, the precise printing of the design onto specialized tattoo stencil paper, and the accurate transfer of the stencil to the skin. Each phase of this process demands attention to detail, proper technique, and a commitment to achieving professional results.
By following the step-by-step approach outlined in this guide, individuals can embark on the journey of creating a tattoo stencil with confidence and precision, whether for personal use or professional tattoo application. The utilization of modern technology, combined with traditional tattooing practices, opens up a world of creative possibilities and ensures that the vision for the tattoo design is accurately translated onto the skin.
As the tattoo industry continues to evolve, embracing innovative techniques and tools, the process of creating a tattoo stencil with a regular printer exemplifies the fusion of artistry and technology. This approach empowers individuals to bring their unique tattoo visions to life, while providing tattoo artists with a streamlined method for executing intricate designs with precision and clarity.
Ultimately, the creation of a tattoo stencil with a regular printer represents a harmonious blend of creativity, technology, and craftsmanship, offering a pathway to achieving stunning and personalized tattoo designs that resonate with meaning and artistry.
Frequently Asked Questions about How To Make A Tattoo Stencil With A Regular Printer
Was this page helpful?
At Storables.com, we guarantee accurate and reliable information. Our content, validated by Expert Board Contributors, is crafted following stringent Editorial Policies. We're committed to providing you with well-researched, expert-backed insights for all your informational needs.


0 thoughts on “How To Make A Tattoo Stencil With A Regular Printer”