Home>Technology>Smart Home Devices>How To Make A Tattoo Stencil With A Printer
Smart Home Devices
How To Make A Tattoo Stencil With A Printer
Modified: August 28, 2024
Learn how to create a tattoo stencil using a printer and smart home devices. Follow these simple steps for a professional-looking stencil at home.
(Many of the links in this article redirect to a specific reviewed product. Your purchase of these products through affiliate links helps to generate commission for Storables.com, at no extra cost. Learn more)
**
Introduction
**
If you're considering getting a tattoo, you may wonder how tattoo artists create the precise outlines that serve as the foundation for their stunning designs. The secret lies in the use of a tattoo stencil, which acts as a guide for the artist to ensure the tattoo's accuracy and symmetry. While professional tattoo artists often use specialized stencil paper and printers, it's entirely possible to create a tattoo stencil using a regular printer at home. By following a few simple steps, you can transfer your desired design onto stencil paper, making it ready for application and ensuring that your tattoo turns out just the way you envision.
In this comprehensive guide, we'll walk you through the process of making a tattoo stencil with a standard printer. From gathering the necessary materials to printing and applying the stencil, you'll gain valuable insights that will empower you to embark on your tattoo journey with confidence. So, if you're ready to learn how to transform your design into a professional-grade tattoo stencil, let's dive into the details.
**
Key Takeaways:
- Creating a tattoo stencil at home is possible with a regular printer and some basic materials. By following simple steps, you can transfer your design onto stencil paper, ready for application.
- The process involves designing, printing, and applying the stencil to the skin, providing a clear guide for the tattoo artist. With the right materials and preparation, you can create professional-grade stencils for your unique tattoos.
Materials Needed
**
Before you begin creating your tattoo stencil, it's essential to gather the necessary materials. By having everything at your disposal, you can streamline the process and ensure that your stencil turns out as intended. Here's a list of the materials you'll need:
- Computer or laptop with design software
- Printer
- Tattoo stencil paper
- Design or image for the tattoo
- Image editing software (optional, for resizing or editing the design)
- Scissors
- Deodorant soap or stencil transfer gel
- Skin preparation solution
- Disposable razors (if applicable)
By having these materials on hand, you'll be well-equipped to proceed with creating your tattoo stencil. Whether you're using a pre-existing design or crafting a custom one, these materials will play a crucial role in the stencil-making process. Now that you have everything ready, let's move on to the next steps of bringing your tattoo design to life.
**
Creating the Design
**
Before you can transfer your tattoo design onto stencil paper, you need to ensure that the design itself is ready for the process. If you already have a clear and finalized image, you can proceed to the next step. However, if you need to create or modify the design, consider the following tips:
1. Selecting or Creating the Design: If you have a specific image or symbol in mind for your tattoo, you can search for it online or draw it yourself. Alternatively, if you have a concept in mind but need assistance with the design, you can work with a tattoo artist to bring your vision to life. Many artists are skilled at creating custom designs based on their clients' ideas and preferences, ensuring that the final product is both unique and meaningful.
2. Editing and Resizing: If the design requires resizing or minor adjustments, you can use image editing software to achieve the desired dimensions and proportions. This step is crucial for ensuring that the tattoo stencil accurately represents the intended size and placement of the tattoo on the skin.
3. Clarity and Detail: Whether you're working with an existing image or creating a new one, it's important to ensure that the design is clear and detailed. Intricate lines, shading, and fine details can significantly enhance the overall appearance of the tattoo, so it's worth investing time in perfecting these elements.
By taking these factors into account, you can set the stage for a successful transfer of your design onto stencil paper. Once you're satisfied with the clarity, size, and details of your design, you're ready to move on to the next steps of preparing the printer and printing the stencil.
**
Preparing the Printer
**
Now that you have your design ready, the next step is to prepare your printer for the stencil printing process. Follow these steps to ensure that your printer is set up correctly:
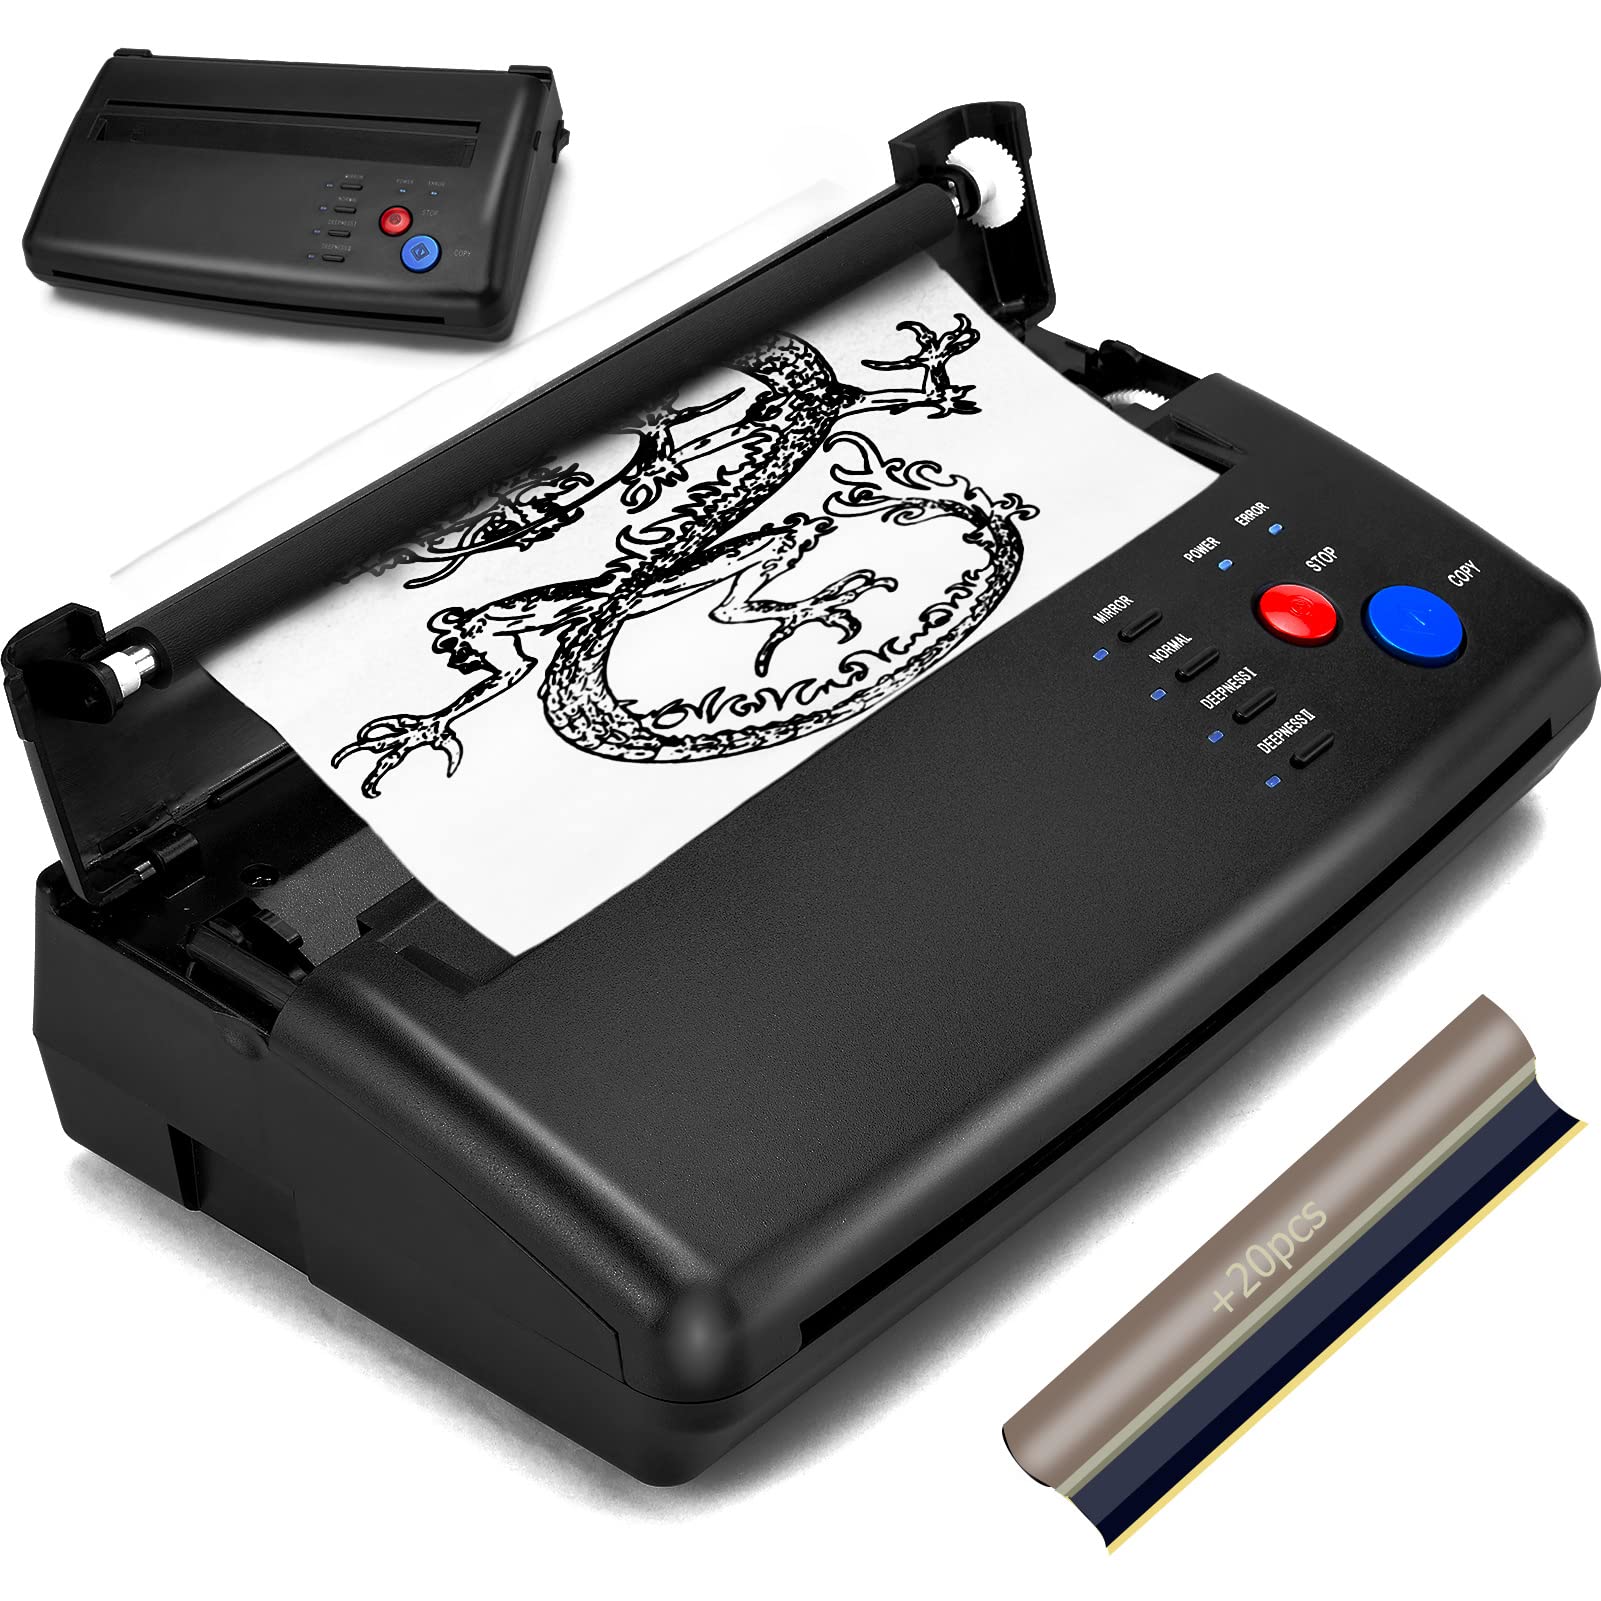
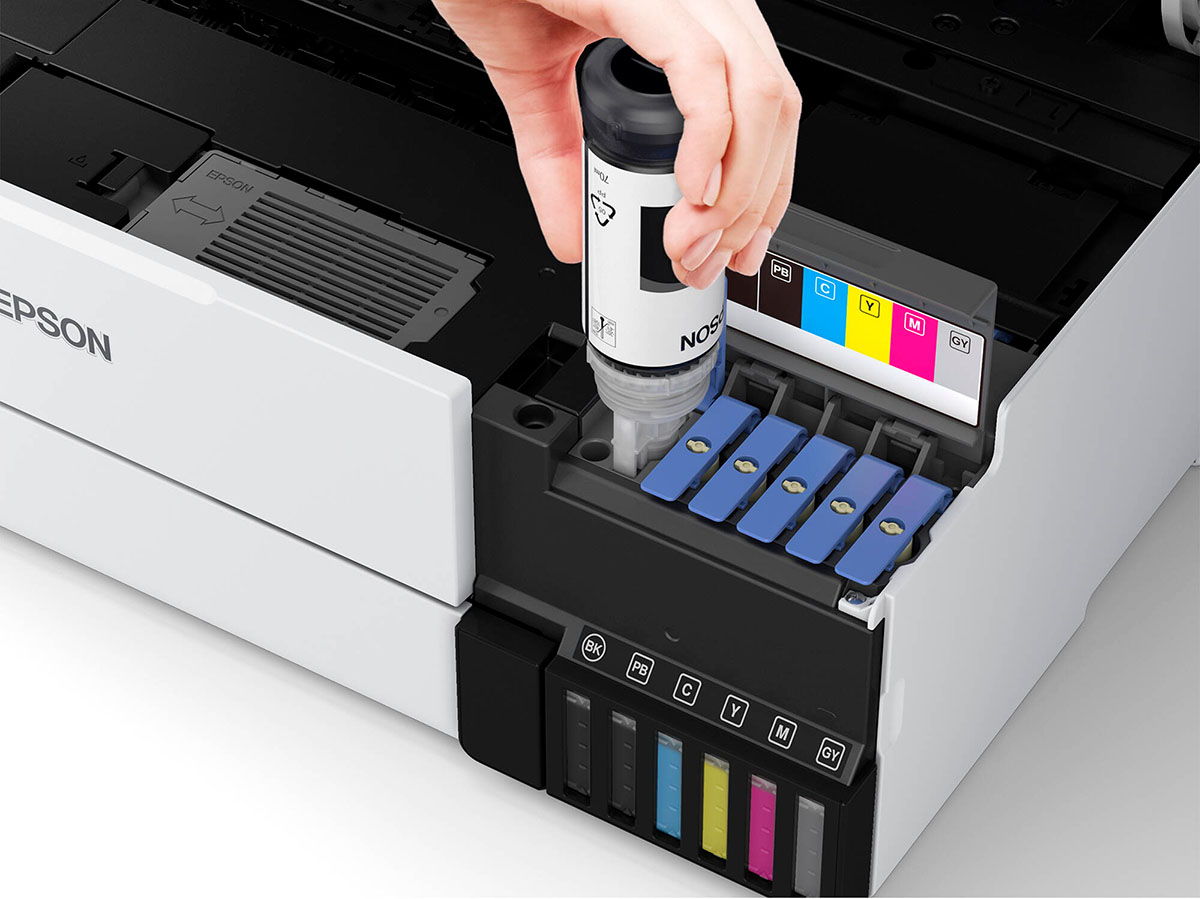
1. Selecting the Right Paper: Tattoo stencil paper is specifically designed for transferring designs onto the skin, so it's essential to use the appropriate type of paper for this process. Ensure that you have tattoo stencil paper on hand before proceeding with the printing.
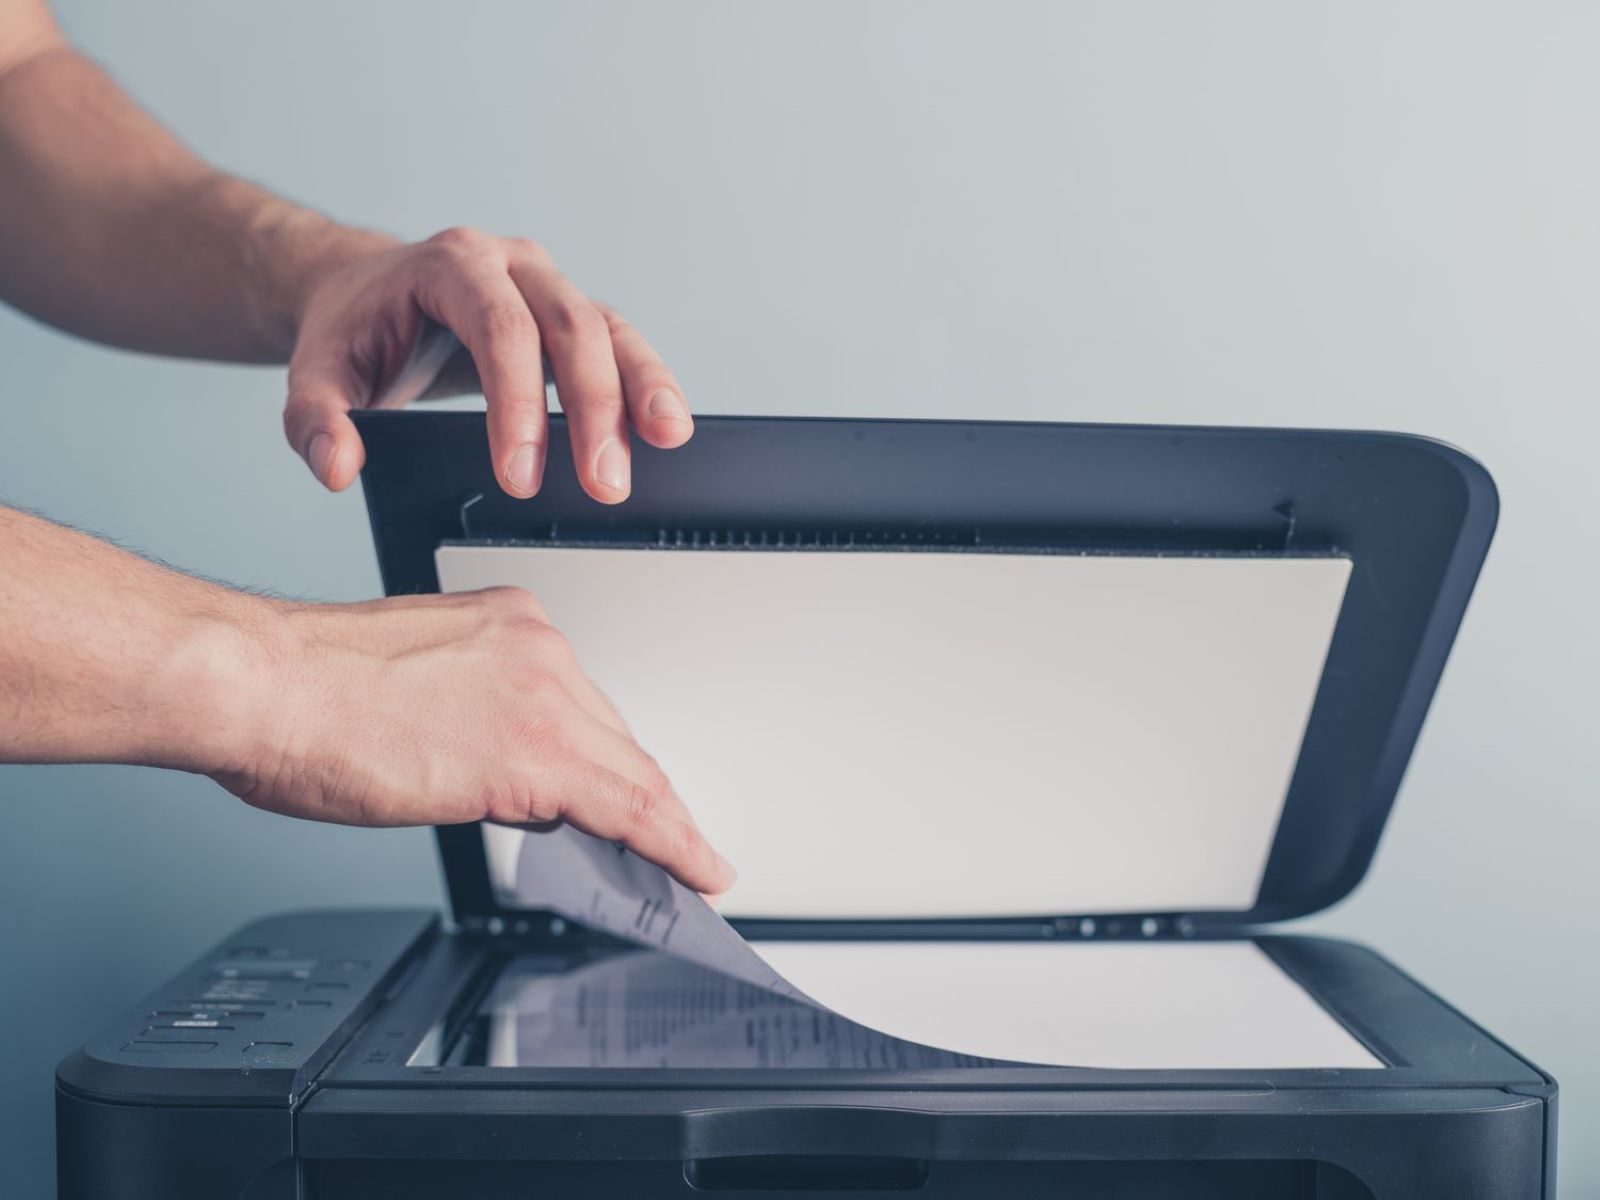
2. Loading the Printer: Open the printer tray and insert the tattoo stencil paper. Adjust the paper guides to secure the stencil paper in place, preventing any misalignment during the printing process.
3. Adjusting Printer Settings: Access the printer settings on your computer and select the appropriate paper type. In most cases, you can choose "tattoo stencil paper" or a similar option from the paper type menu. Additionally, adjust the print quality to ensure that the design is transferred clearly and accurately onto the stencil paper.
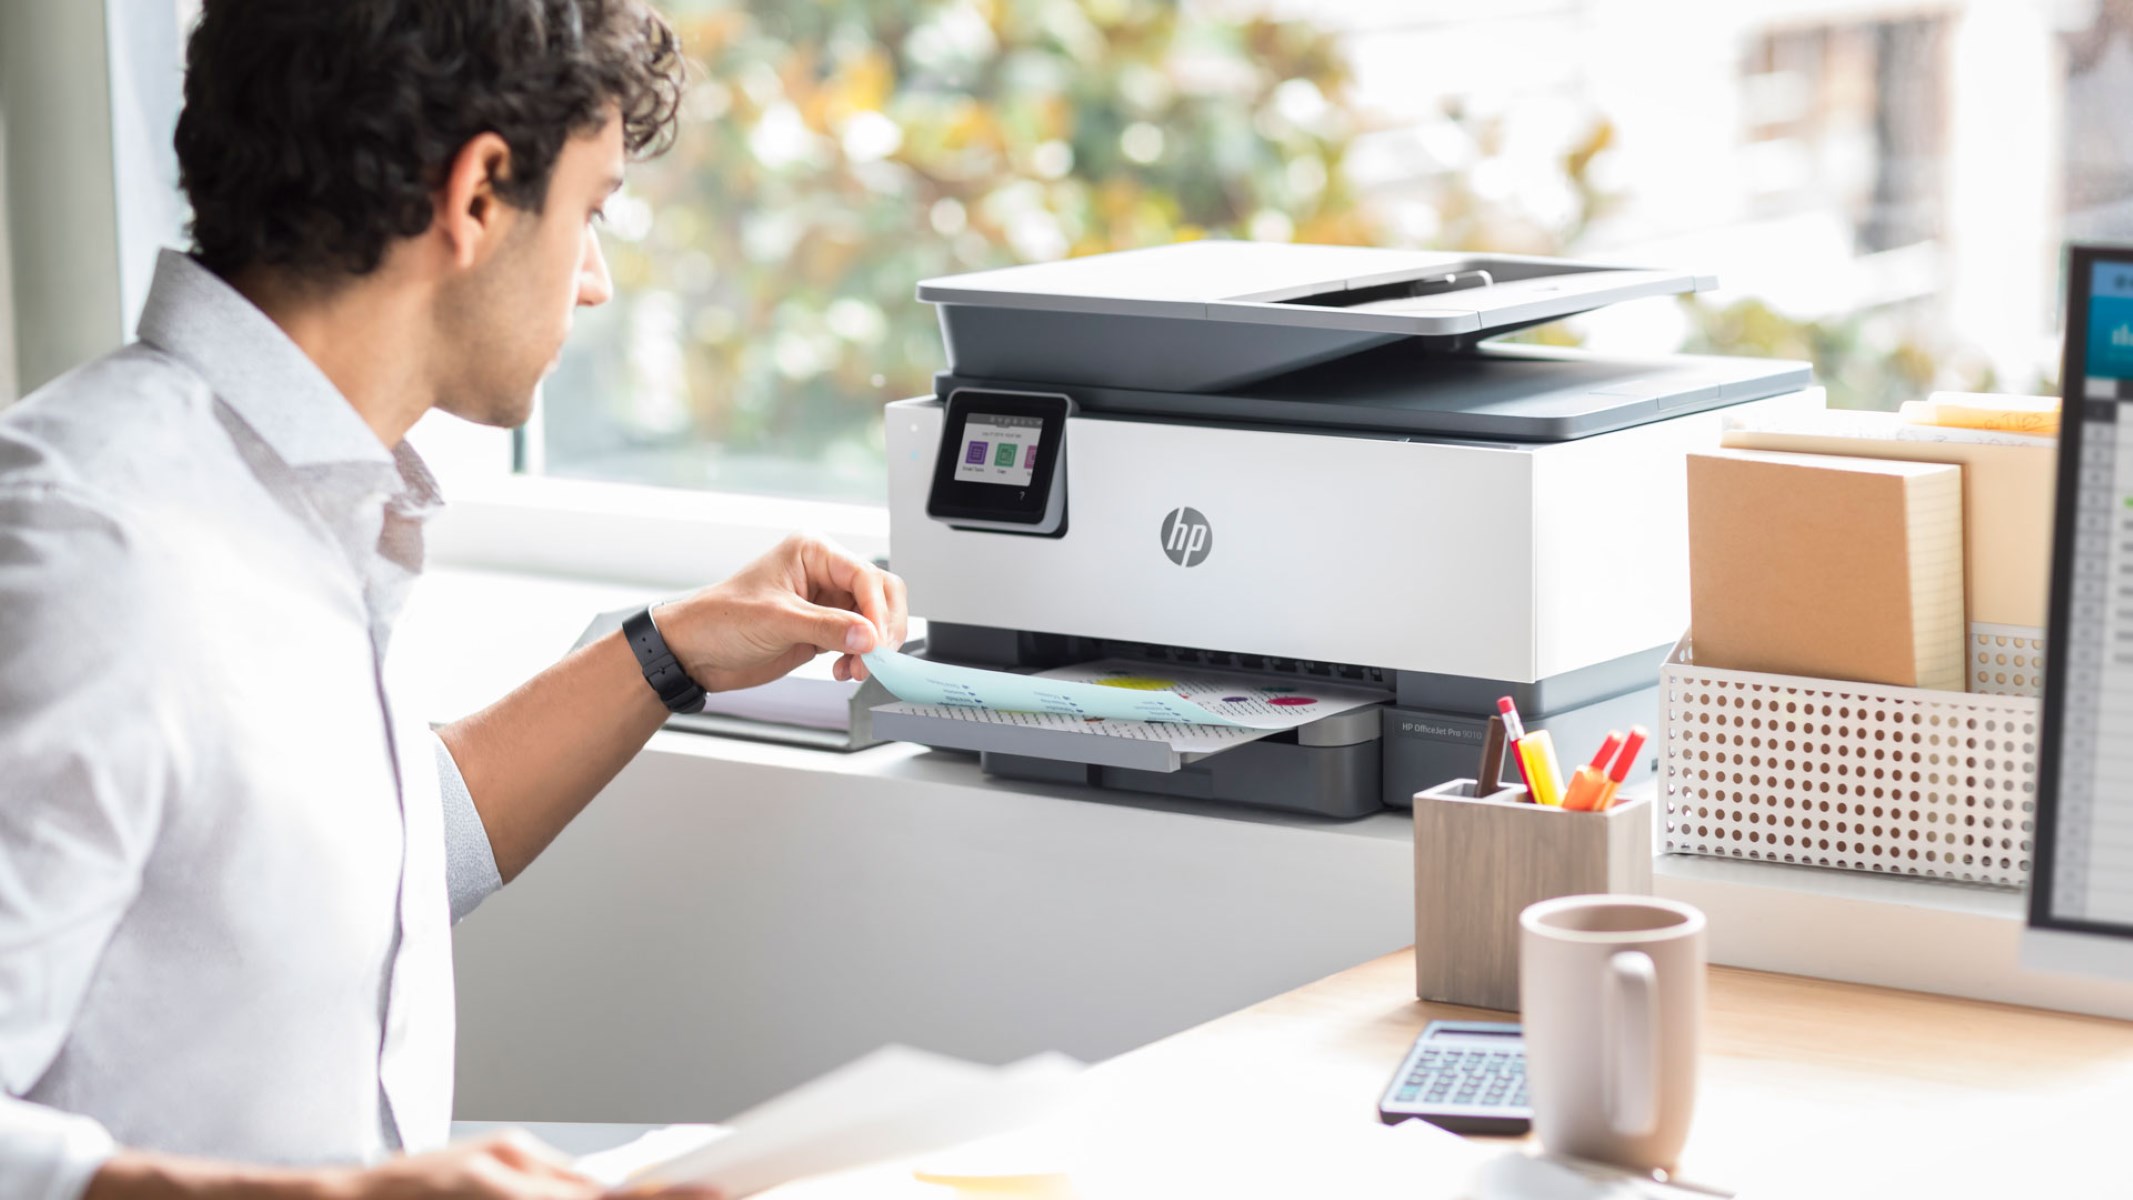
4. Printing a Test Page: Before printing the actual stencil, consider running a test page on regular paper to verify the print quality and alignment. This step allows you to make any necessary adjustments before using the stencil paper, reducing the risk of errors or wasted materials.
By preparing your printer in advance and ensuring that the settings are optimized for stencil printing, you can enhance the accuracy and quality of the final stencil. With the printer ready to go, you're now prepared to move on to the crucial step of printing the tattoo stencil.
**
Make sure to use a high-quality image and adjust the printer settings to the highest resolution for a clear and accurate stencil. Always test the stencil on a small area before applying it to the skin.
Printing the Stencil
**
With the design finalized and the printer prepared, it's time to print the tattoo stencil onto the specialized stencil paper. Follow these step-by-step instructions to ensure a successful and precise transfer of your design:
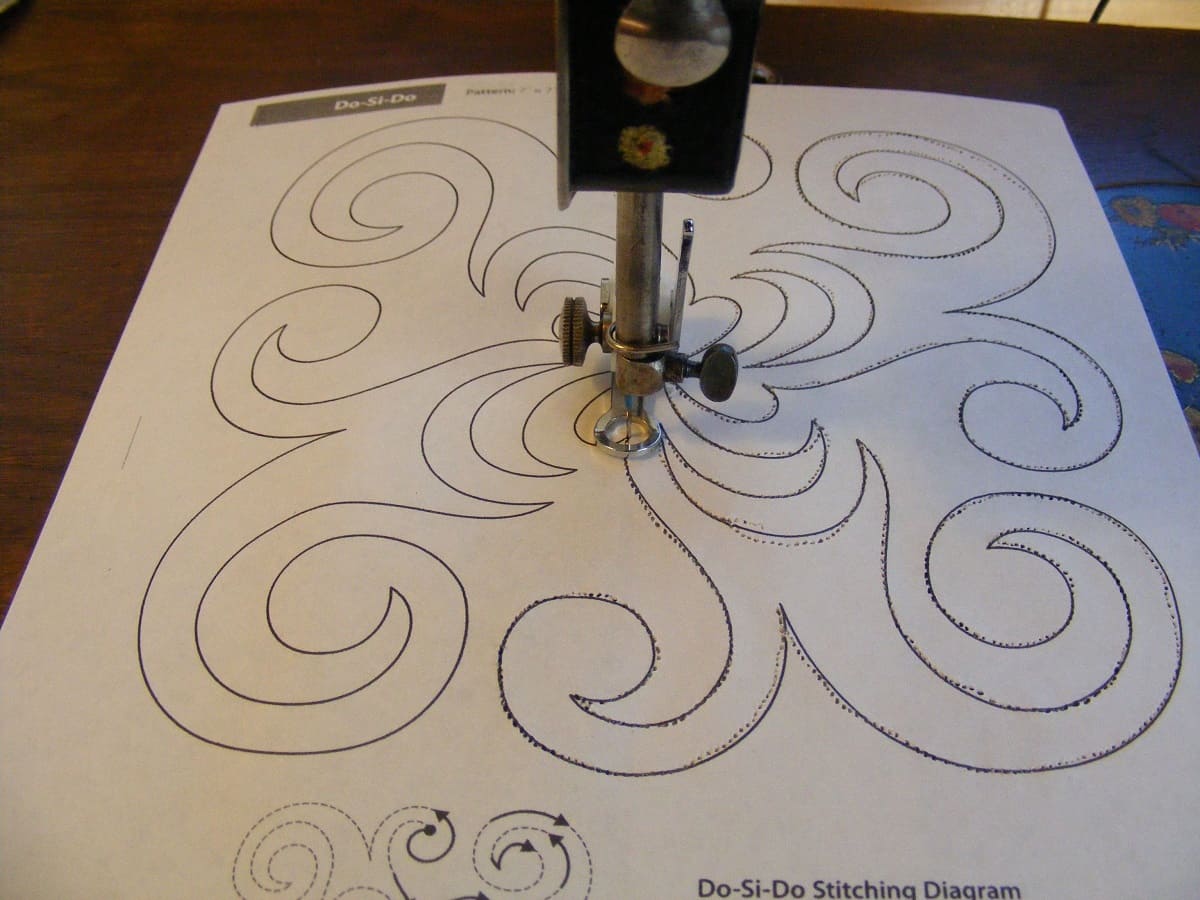
1. Positioning the Design: Open the design file on your computer and ensure that it is correctly aligned and sized for the intended placement on the skin. If necessary, make any final adjustments to the design before proceeding with the printing process.
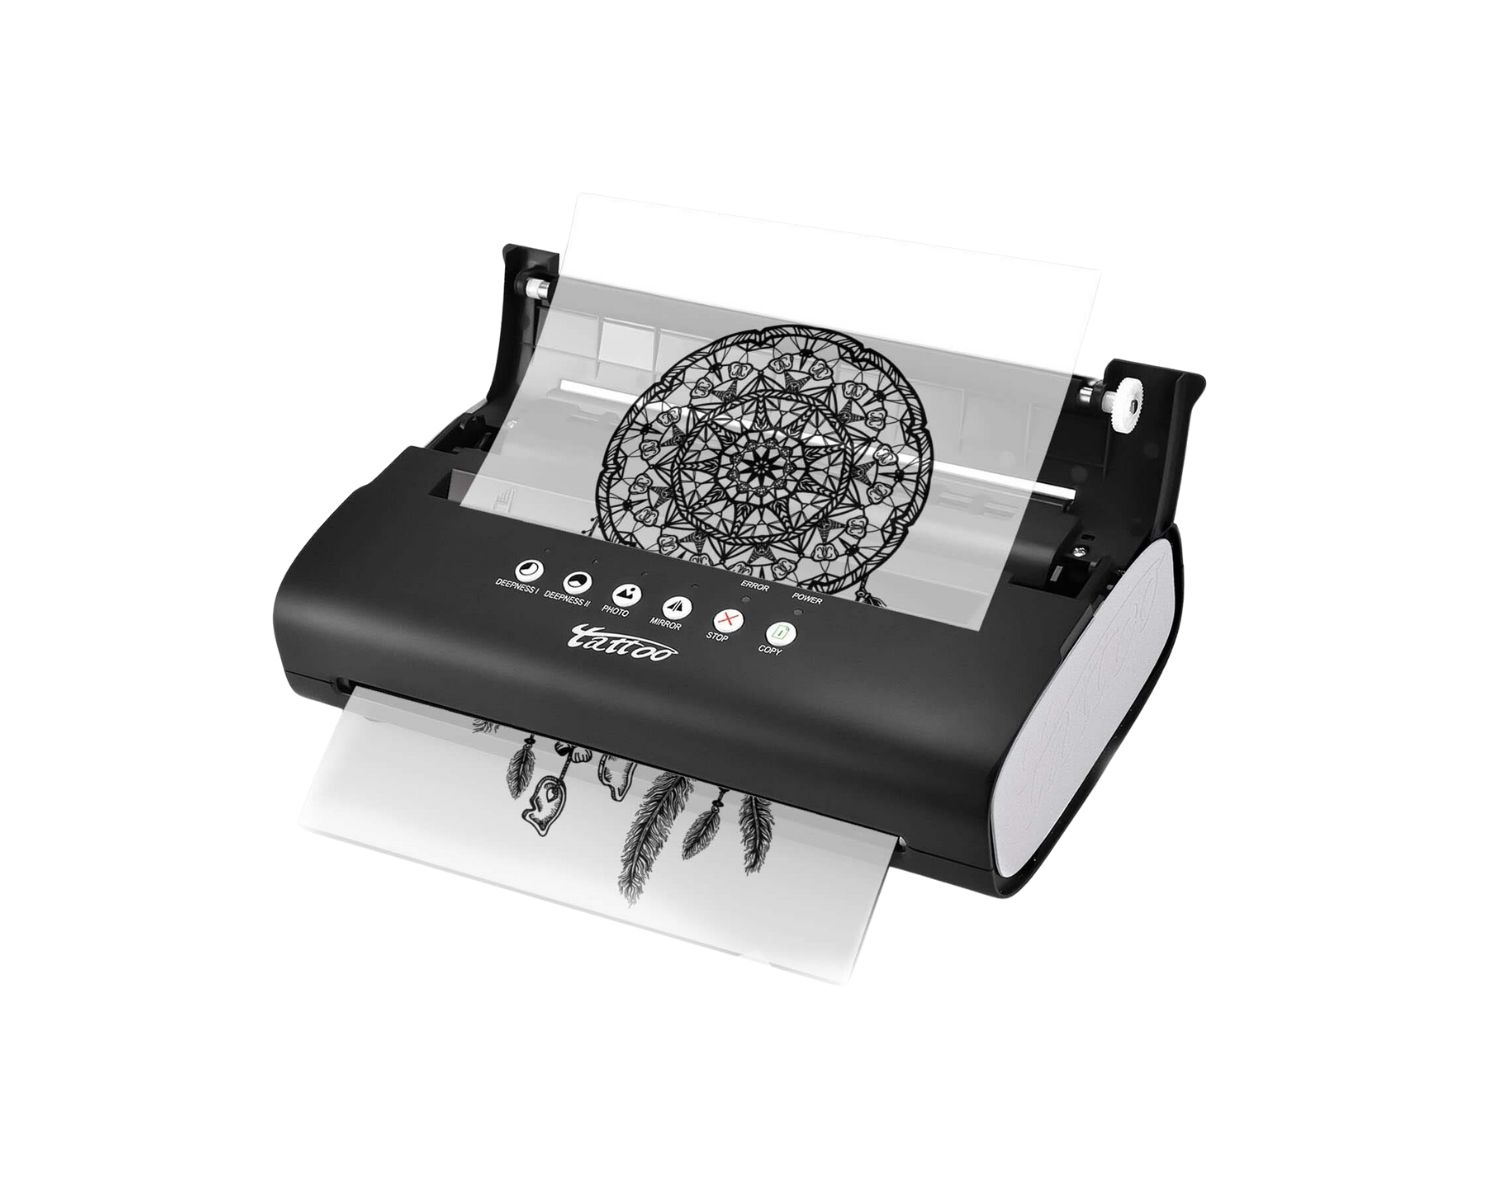
2. Loading the Stencil Paper: Once the design is ready, load the prepared tattoo stencil paper into the printer as per the instructions provided earlier. Ensure that the paper is securely positioned and that the printer settings are optimized for stencil printing.
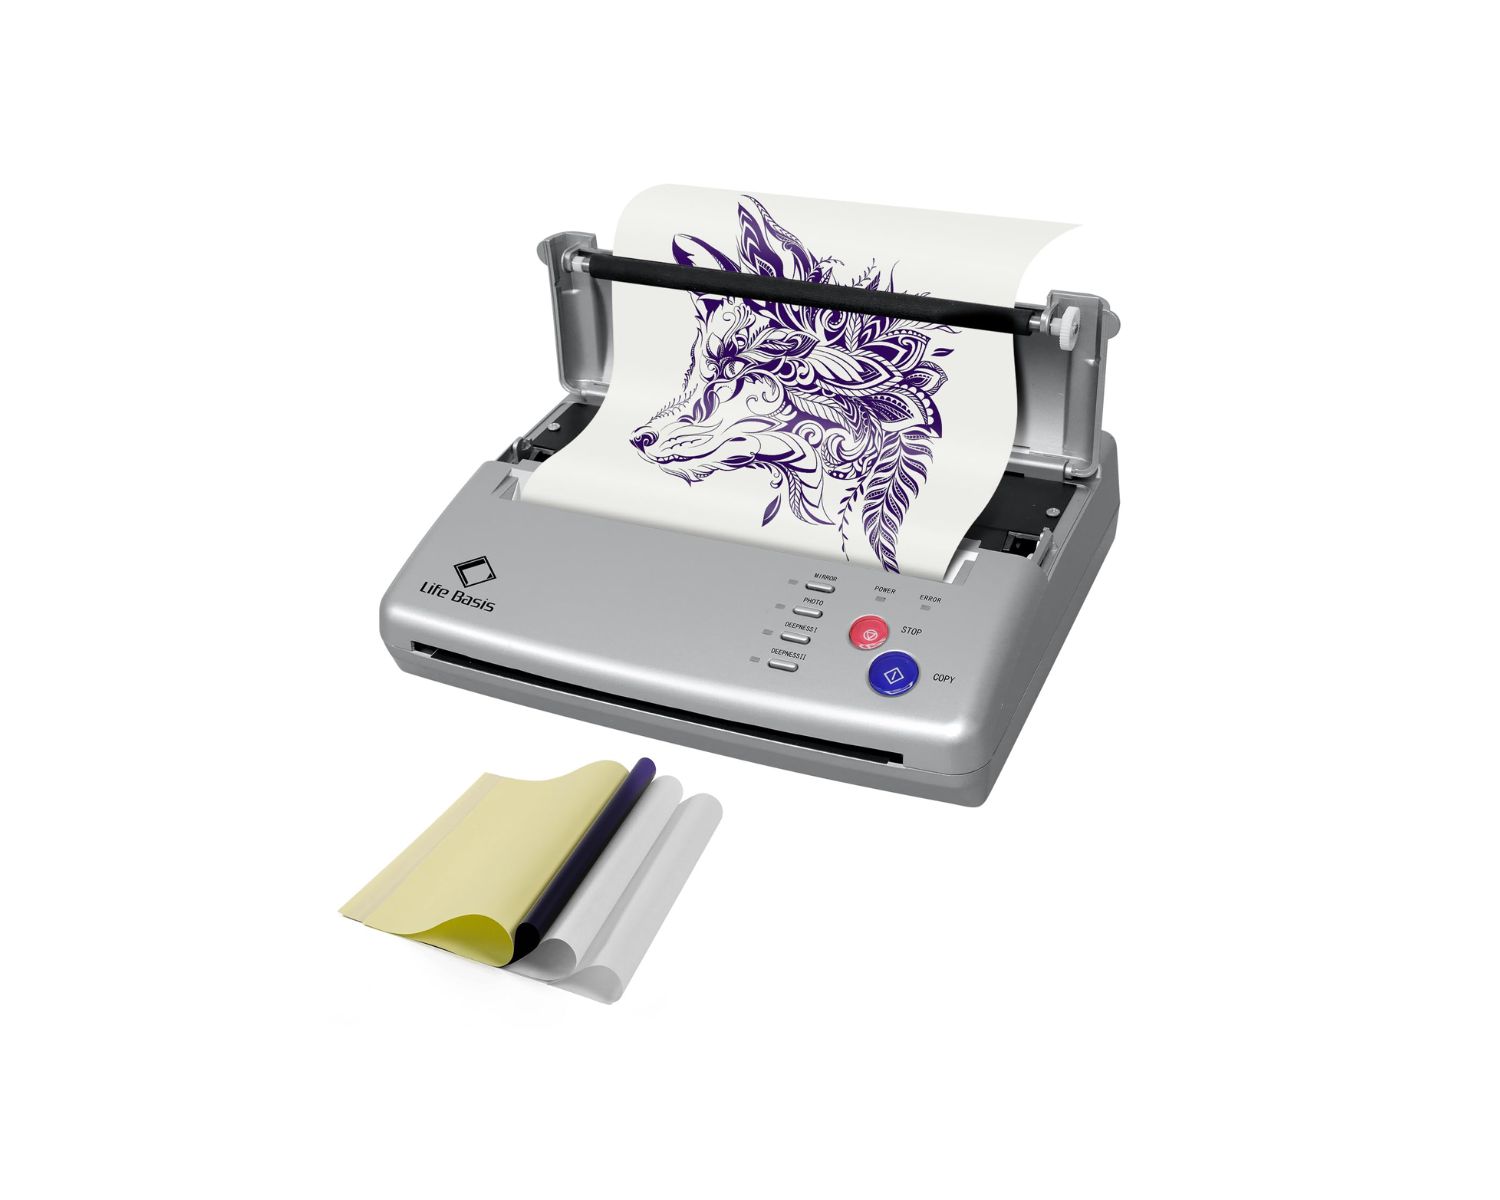
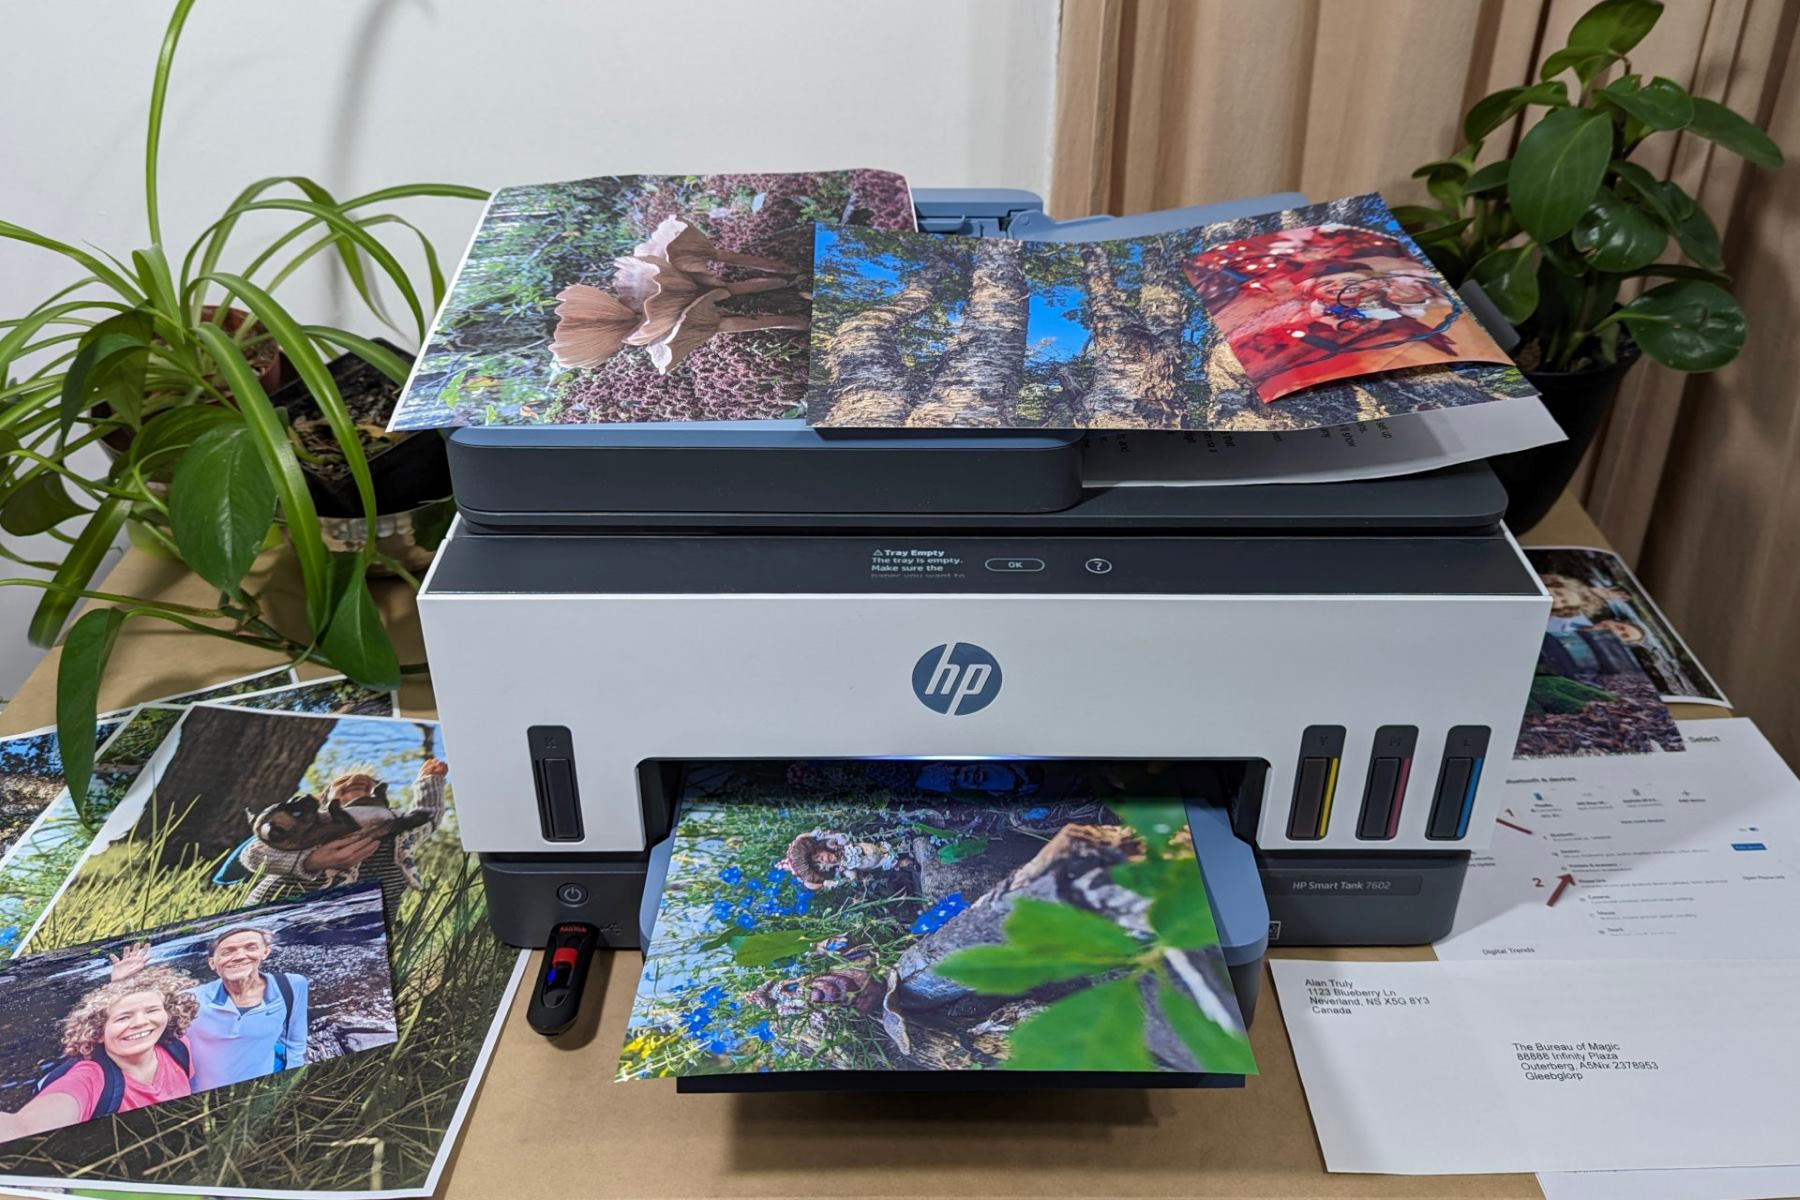
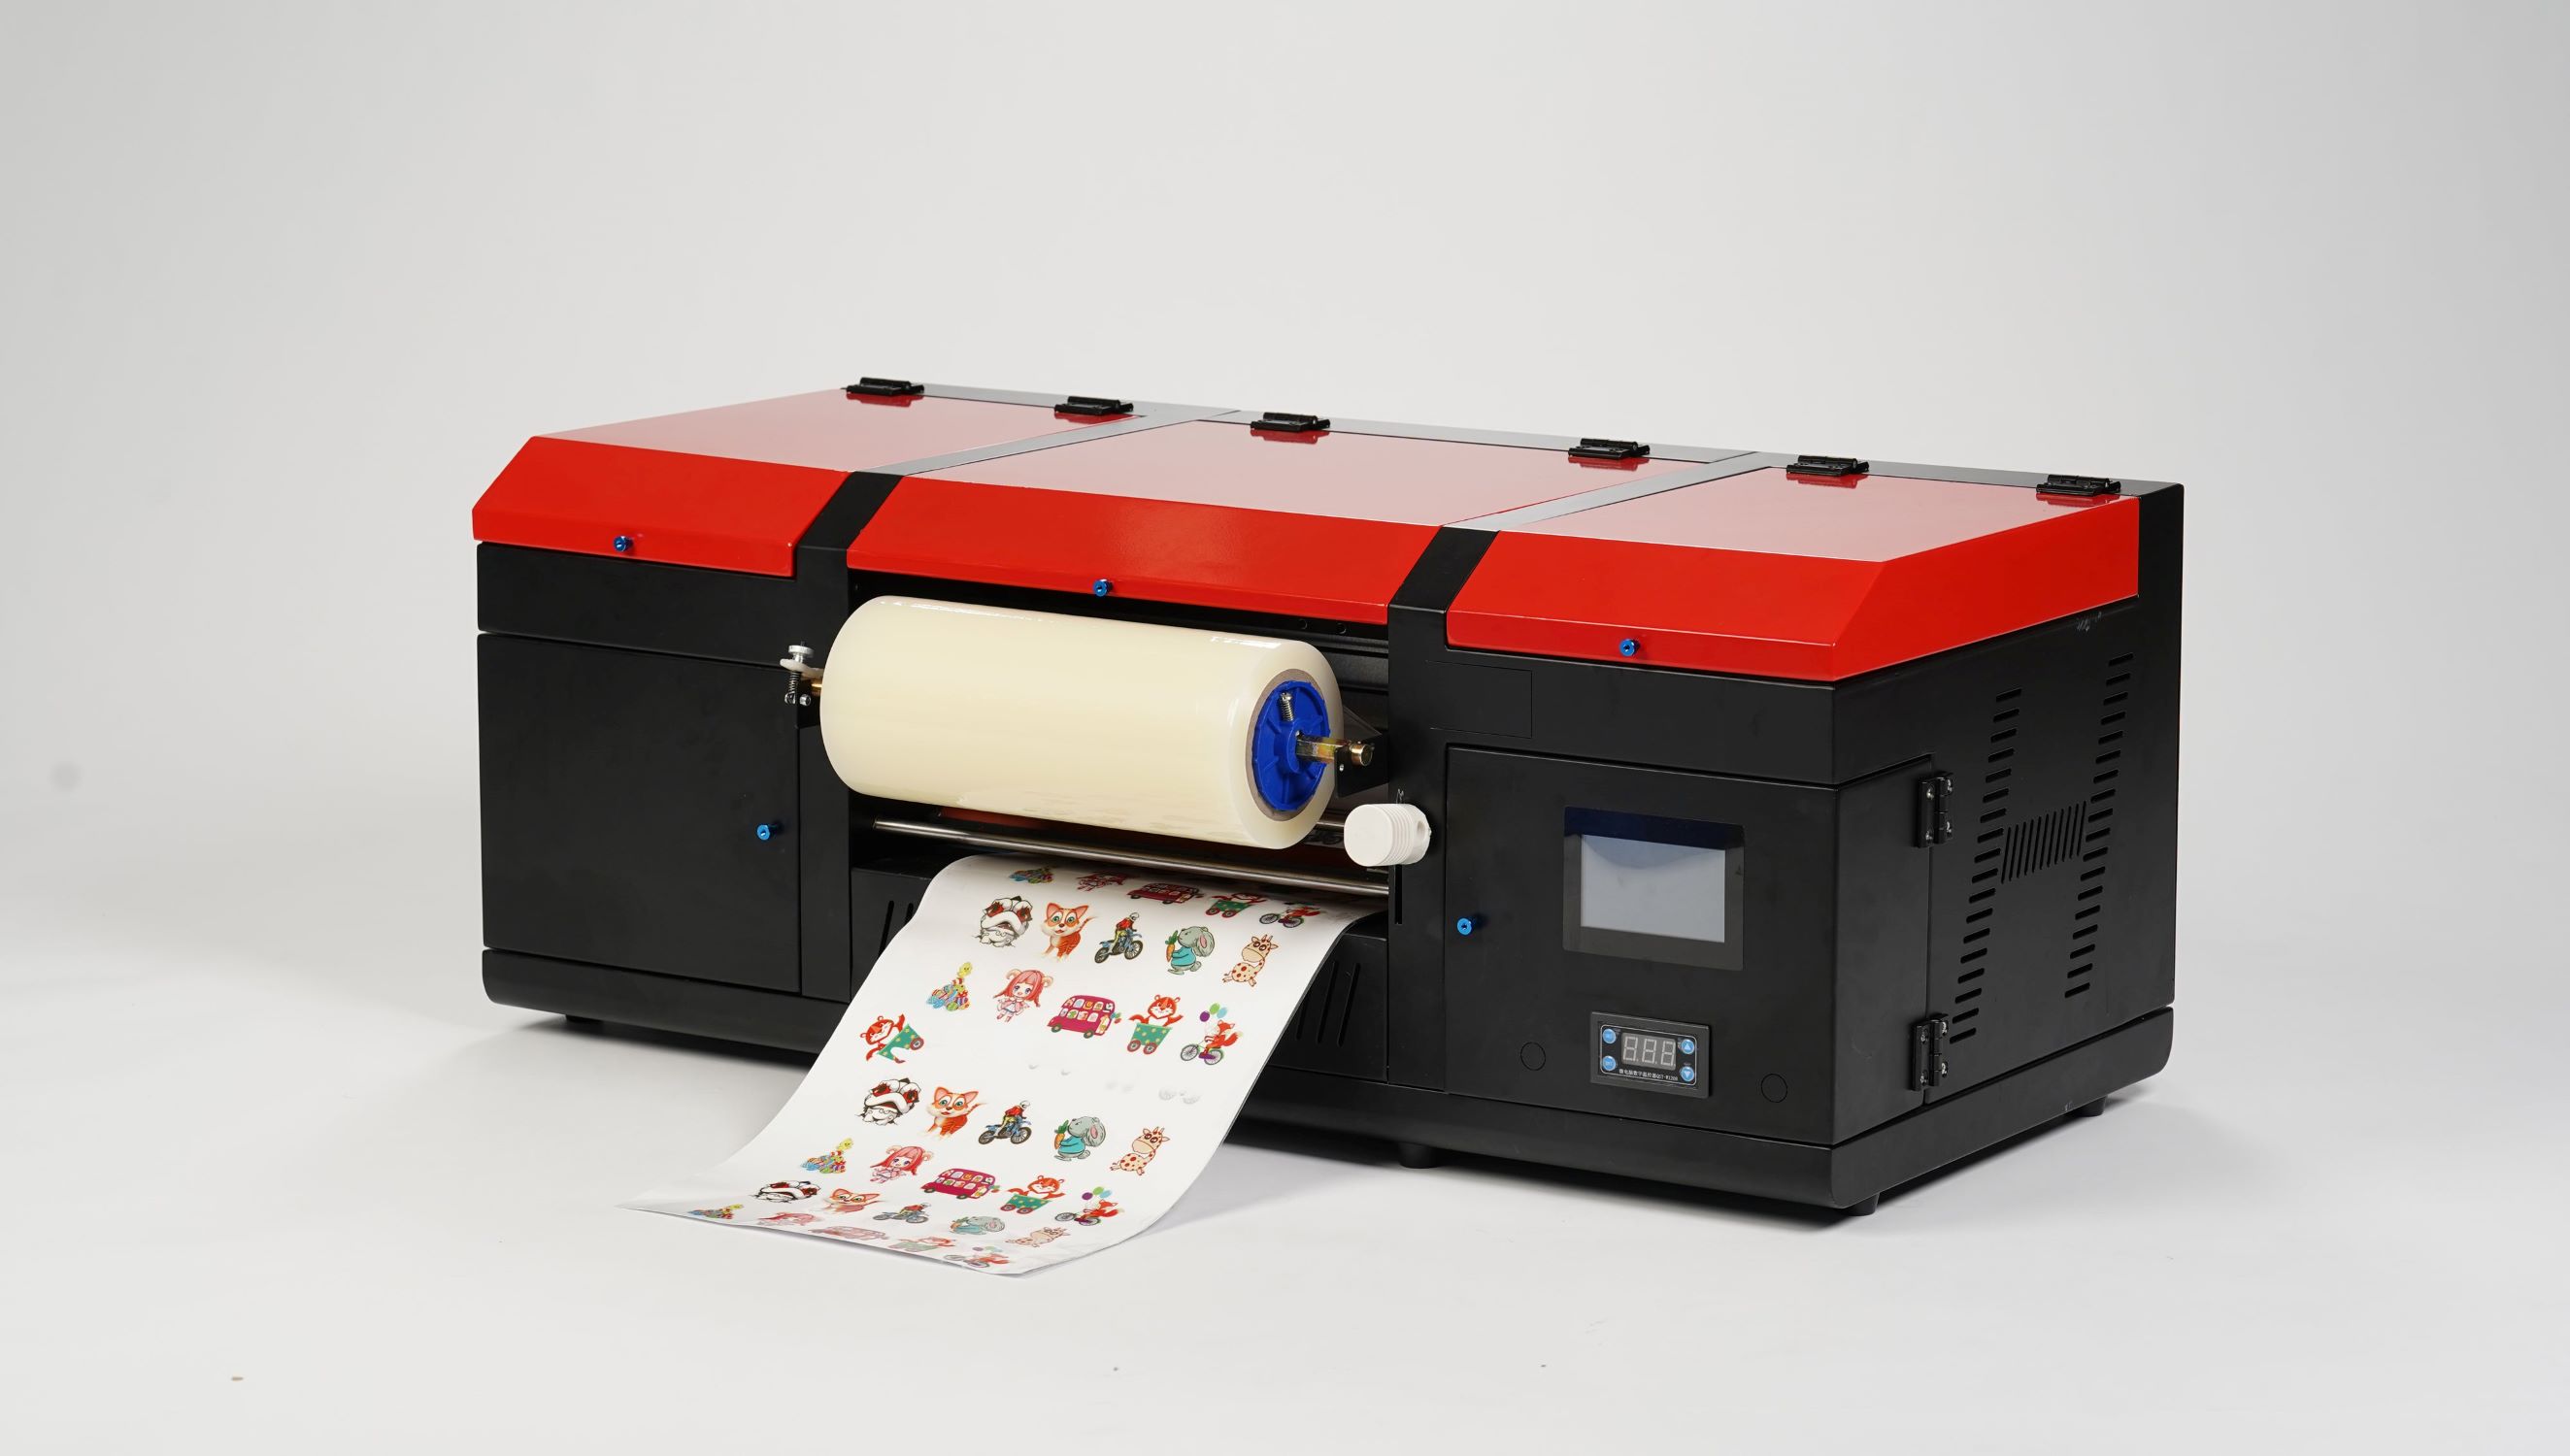
3. Initiating the Print: Click "Print" on your computer and wait for the printer to begin the printing process. As the design is transferred onto the stencil paper, monitor the printing to ensure that the image is clear, detailed, and accurately reproduced on the paper.
4. Inspecting the Stencil: Once the printing is complete, carefully remove the stencil paper from the printer. Examine the printed design to confirm that it meets your expectations in terms of clarity, detail, and overall quality. If any issues are identified, consider reprinting the stencil to achieve the desired result.
By following these steps, you can successfully print a tattoo stencil using a standard printer. With the stencil in hand, you're now ready to proceed to the final stage of applying the stencil to the skin in preparation for the tattooing process.
**
Applying the Stencil
**
With the tattoo stencil printed and ready for use, the final step involves applying the stencil to the skin in preparation for the tattooing process. Follow these essential guidelines to ensure a smooth and effective application of the stencil:
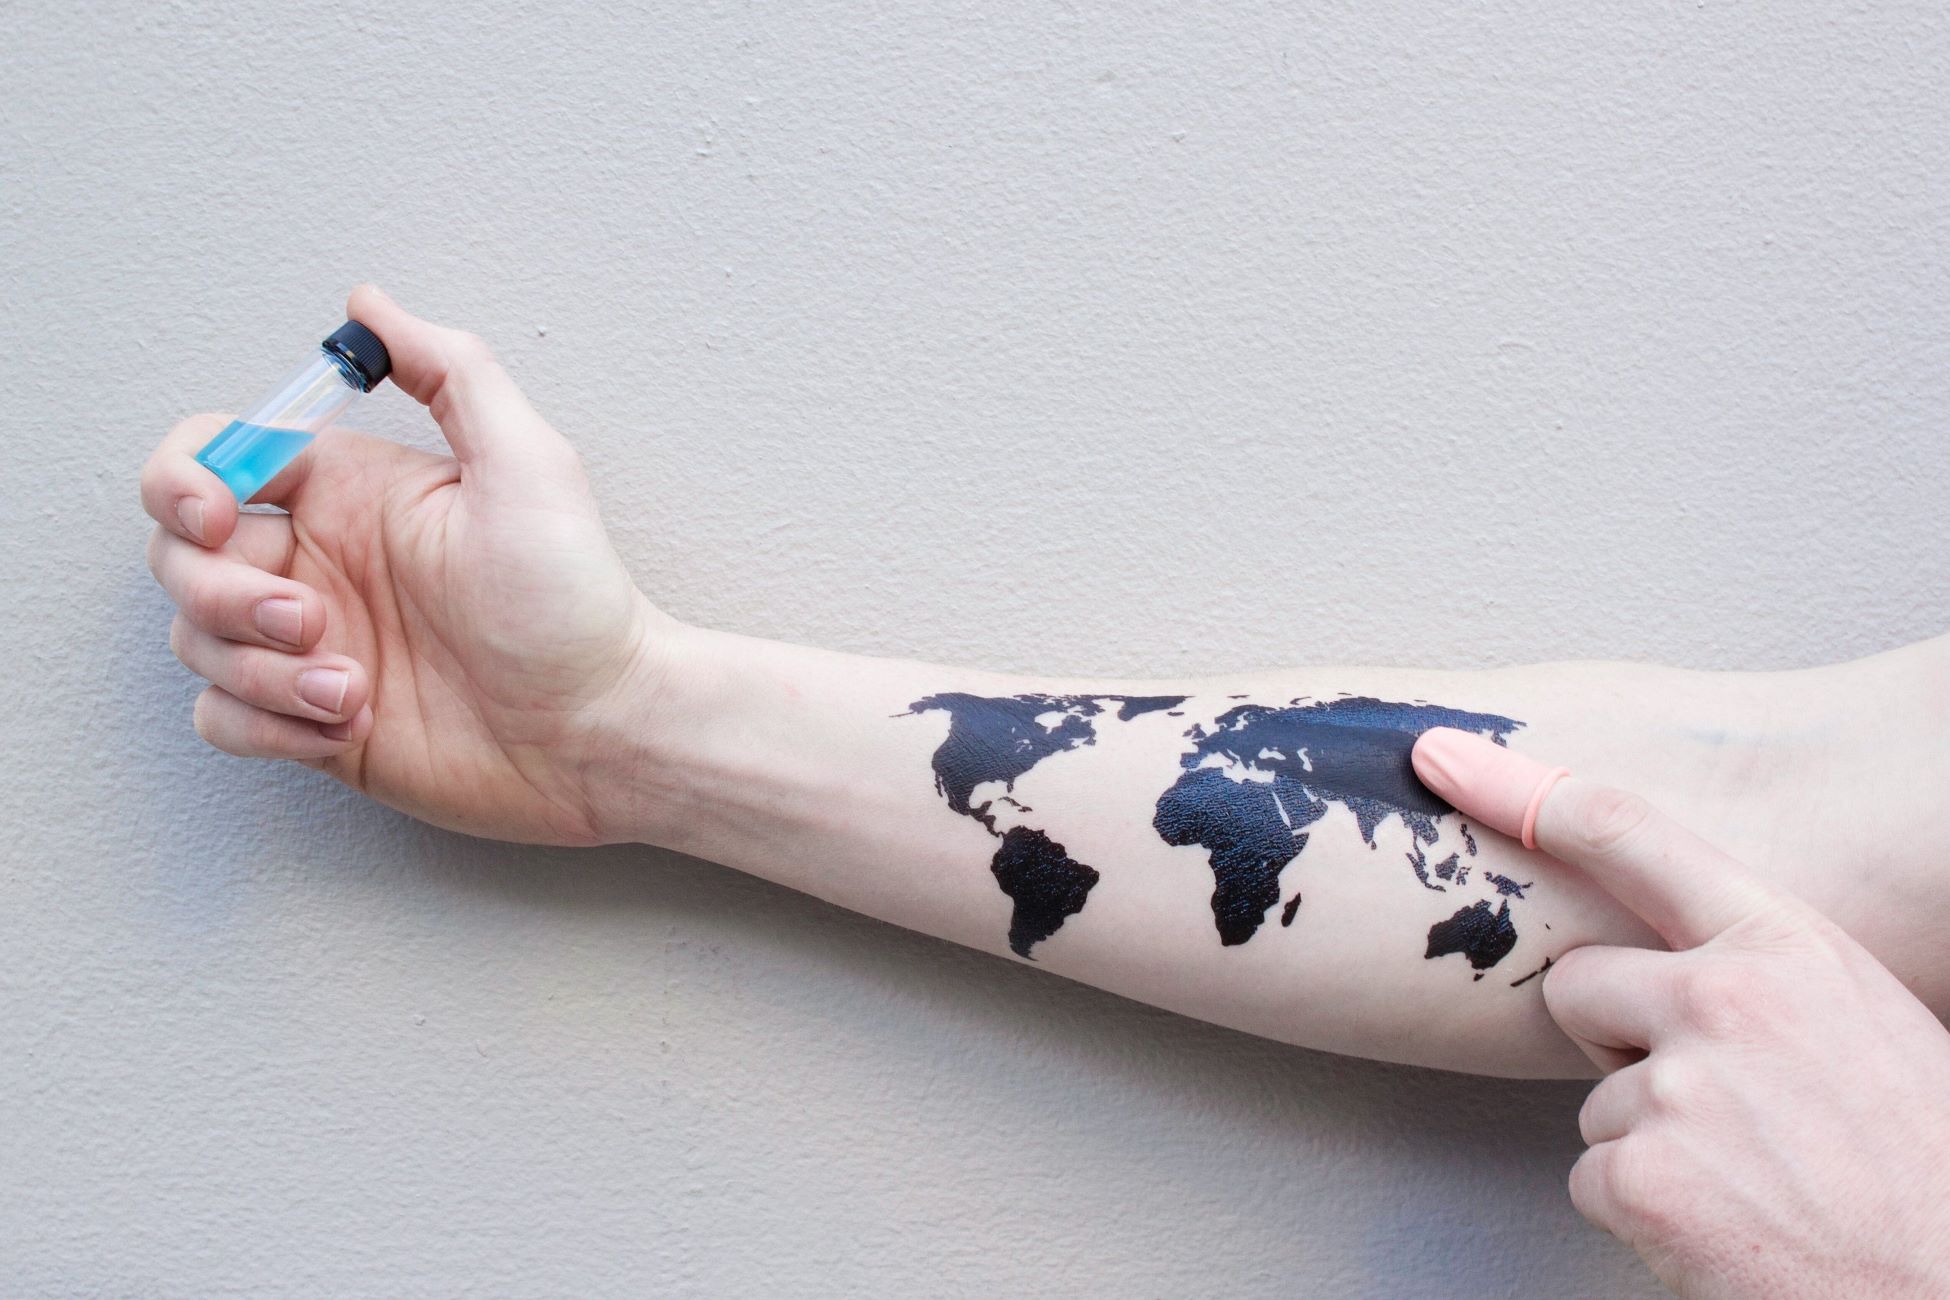
1. Preparing the Skin: Before applying the stencil, ensure that the skin is clean and free of any lotions, oils, or residues that could interfere with the transfer. Use a skin preparation solution to cleanse the area where the tattoo will be placed, promoting optimal adhesion of the stencil.
2. Positioning the Stencil: Carefully place the printed stencil on the desired area of the skin, ensuring that it is aligned and positioned precisely as intended for the tattoo. Once the stencil is in place, avoid shifting or repositioning it to prevent smudging or distorting the design.
3. Securing the Stencil: With the stencil positioned correctly, press it firmly onto the skin to ensure that it adheres securely. Smooth out any air bubbles or creases to facilitate a clear and accurate transfer of the design onto the skin surface.
4. Transferring the Design: Using a stencil transfer gel or a deodorant soap, carefully apply a thin layer over the stencil. Gently rub the area to ensure that the design is transferred from the paper onto the skin, creating a temporary outline that the tattoo artist can use as a guide during the tattooing process.
5. Removing the Stencil: Once the design has been transferred, carefully peel away the stencil paper to reveal the temporary outline on the skin. Inspect the transferred design to confirm that it accurately represents the intended tattoo, making any necessary adjustments or corrections as needed.
By following these steps, you can effectively apply the tattoo stencil to the skin, providing the tattoo artist with a clear and precise guide for bringing your design to life. With the stencil successfully transferred, you're now ready to proceed with the tattooing process, confident in the accuracy and quality of the design outline.
**
Conclusion
**
Congratulations! You have successfully learned how to make a tattoo stencil using a standard printer, empowering you to bring your unique tattoo designs to life with precision and confidence. By following the step-by-step process outlined in this guide, you have gained valuable insights into creating, printing, and applying a tattoo stencil, laying the groundwork for a successful tattooing experience.
Throughout this journey, you have acquired essential knowledge about the materials needed, design preparation, printer setup, stencil printing, and application techniques, all of which are crucial for achieving a clear and accurate outline of your desired tattoo. Whether you're a tattoo enthusiast exploring DIY stencil creation or an aspiring tattoo artist honing your skills, the ability to produce professional-grade stencils using readily available tools and materials is a valuable skill that can elevate your tattooing endeavors.
As you embark on your tattoo journey, remember that the creation of a tattoo stencil is just the beginning. Collaborating with a skilled and experienced tattoo artist who can bring your design to life with precision and artistry is an essential part of the process. By providing them with a high-quality stencil, you set the stage for a collaborative and rewarding tattooing experience, resulting in a tattoo that reflects your vision and individuality.
Armed with the knowledge and confidence gained from this guide, you are well-prepared to engage in the art of tattooing, equipped with the ability to produce professional-grade stencils that serve as the foundation for stunning and meaningful tattoos. Whether you're creating your own designs or working in collaboration with a talented artist, the process of making a tattoo stencil with a printer opens up a world of creative possibilities and ensures that your tattoos are executed with precision and artistry.
Now, armed with the knowledge and confidence gained from this guide, you are well-prepared to engage in the art of tattooing, equipped with the ability to produce professional-grade stencils that serve as the foundation for stunning and meaningful tattoos.
Frequently Asked Questions about How To Make A Tattoo Stencil With A Printer
Was this page helpful?
At Storables.com, we guarantee accurate and reliable information. Our content, validated by Expert Board Contributors, is crafted following stringent Editorial Policies. We're committed to providing you with well-researched, expert-backed insights for all your informational needs.


0 thoughts on “How To Make A Tattoo Stencil With A Printer”