Home>Technology>Smart Home Devices>How To Make Stickers With A Printer
Smart Home Devices
How To Make Stickers With A Printer
Modified: January 24, 2024
Learn how to make custom stickers at home using your printer. Discover creative ideas for smart home devices and personalize your space with unique designs. Step-by-step guide for DIY sticker making.
(Many of the links in this article redirect to a specific reviewed product. Your purchase of these products through affiliate links helps to generate commission for Storables.com, at no extra cost. Learn more)
Introduction
Welcome to the world of smart home devices, where the future meets the present, and technology seamlessly integrates with the comfort of your home. From voice-activated assistants to smart thermostats and security systems, the range of smart home devices continues to expand, offering convenience, energy efficiency, and enhanced security for homeowners.
In this comprehensive guide, we will delve into the fascinating realm of smart home devices, exploring their functionality, benefits, and the latest innovations. Whether you are a tech enthusiast looking to transform your living space into a futuristic hub or a homeowner seeking to streamline daily tasks, this article will provide valuable insights to help you navigate the exciting landscape of smart home technology.
Join us as we uncover the intricacies of smart home devices, from the intricacies of installation and setup to the diverse array of options available on the market. By the end of this journey, you will be equipped with the knowledge and confidence to select and integrate smart home devices that align with your lifestyle and preferences.
So, let's embark on this enlightening exploration of smart home devices, where innovation and convenience converge to elevate the modern living experience.
Key Takeaways:
- Dive into the world of smart home devices for convenience, energy efficiency, and security. Explore installation, setup, and a wide range of options to transform your living space into a futuristic hub.
- Create custom stickers with unique designs using graphic design software, high-quality printers, and precise cutting techniques. Unleash your creativity and personalize your belongings with captivating and meaningful stickers.
Read more: How To Make Your Own Stickers With A Printer
Materials Needed
Before delving into the world of smart home devices, it’s essential to familiarize yourself with the materials required to embark on this transformative journey. Whether you are a novice or a seasoned tech enthusiast, having the right tools at your disposal will streamline the process of integrating smart home devices into your living space.
Here are the essential materials needed to kickstart your smart home transformation:
- Smart Home Devices: The cornerstone of your smart home ecosystem, these devices encompass a wide range of products, including smart speakers, smart thermostats, smart lighting, smart security cameras, and smart plugs. Each device serves a specific function, contributing to the seamless automation and control of your home environment.
- Wireless Network: A robust and reliable wireless network forms the backbone of your smart home infrastructure. Ensure that your home is equipped with a high-speed Wi-Fi router to support the connectivity and communication between your smart devices.
- Smartphone or Tablet: A smartphone or tablet equipped with the corresponding smart home apps is essential for managing and controlling your smart devices remotely. These mobile devices serve as the command center, allowing you to monitor and adjust your smart home ecosystem from anywhere.
- Power Sources: Given that smart home devices rely on electricity to function, it’s important to have accessible power sources, such as electrical outlets or USB charging ports, strategically positioned throughout your home to accommodate the installation and operation of your devices.
- Mounting Hardware: Depending on the type of smart home devices you choose, you may require mounting hardware such as screws, anchors, and brackets to securely install devices such as smart cameras, smart doorbells, and smart sensors in optimal locations.
- Smart Home Hub (Optional): For a more integrated and centralized smart home experience, a smart home hub can serve as a unifying platform to connect and manage multiple smart devices from different manufacturers. While not essential, a smart home hub can simplify device compatibility and automation.
Armed with these essential materials, you are well-prepared to embark on your smart home journey, where the convergence of technology and convenience awaits.
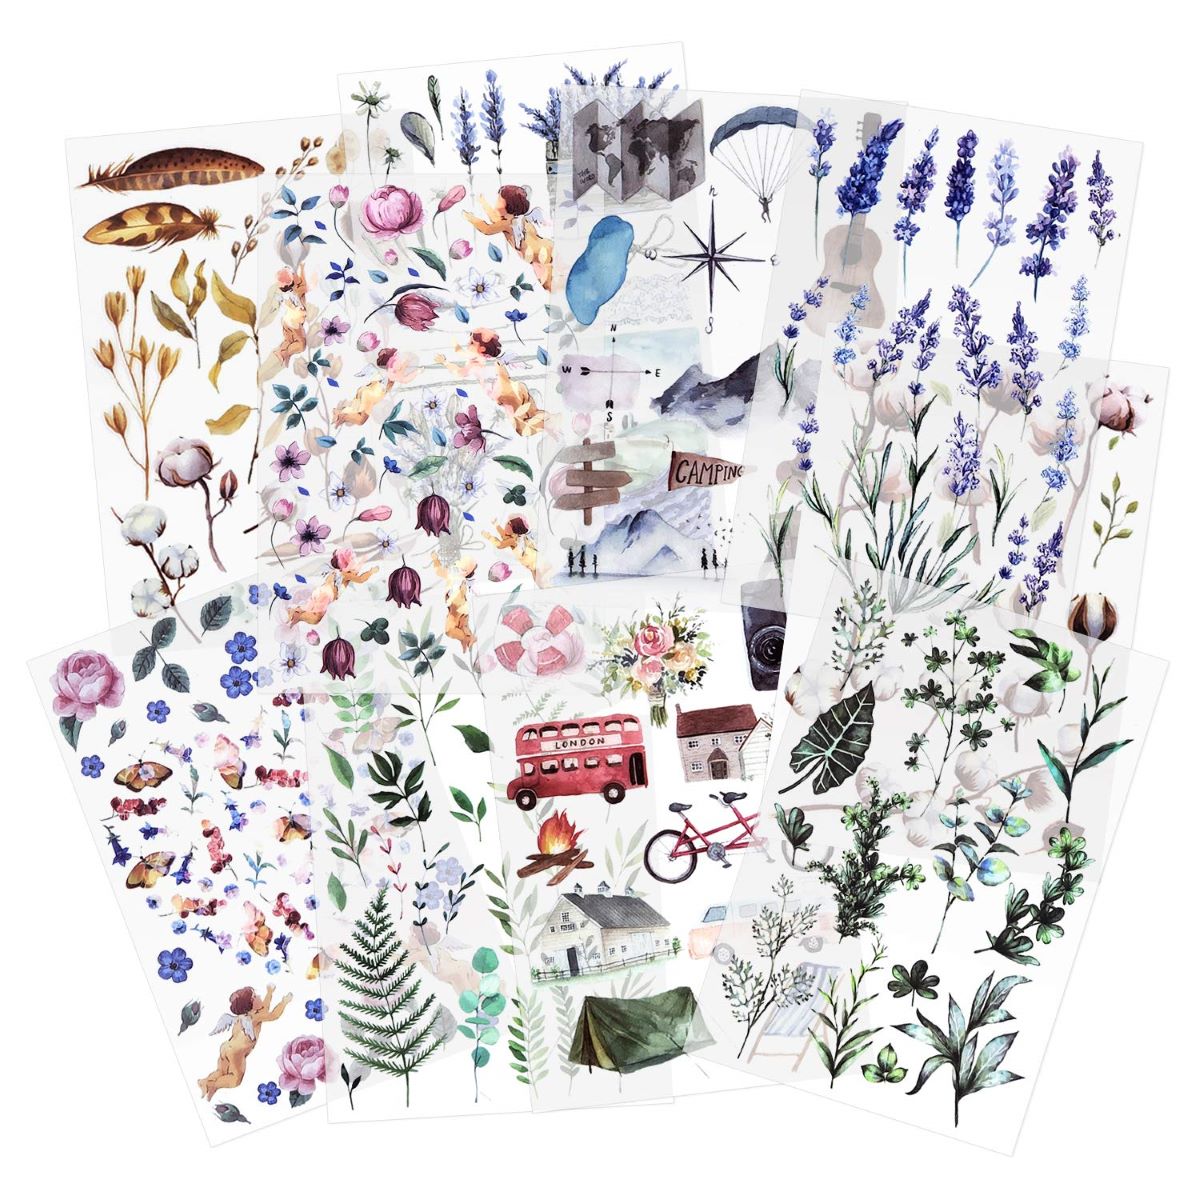
Designing Your Stickers
Creating your own custom stickers is an exciting and fulfilling endeavor, allowing you to unleash your creativity and personalize your belongings with unique designs. Whether you intend to craft stickers for decorative purposes, branding, or personal expression, the design phase is where your vision comes to life.
Here are the key steps to consider when designing your stickers:
- Conceptualization: Before diving into the design software, take some time to conceptualize the purpose and theme of your stickers. Are you aiming for a minimalist aesthetic, vibrant illustrations, or intricate patterns? Understanding the intended use and visual style will guide your design process.
- Graphic Design Software: Utilize graphic design software such as Adobe Illustrator, Photoshop, or free alternatives like GIMP and Inkscape to create your sticker designs. Familiarize yourself with the tools and functions offered by these platforms to bring your ideas to fruition.
- Dimensions and Shape: Determine the dimensions and shape of your stickers based on their intended placement and visibility. Whether you opt for standard shapes like circles and squares or custom outlines, ensure that the proportions and layout complement your design.
- Color Selection: Delve into the realm of color theory to select a harmonious color palette that resonates with your design concept. Consider the emotional impact of different colors and their interplay within your design to evoke the desired visual impact.
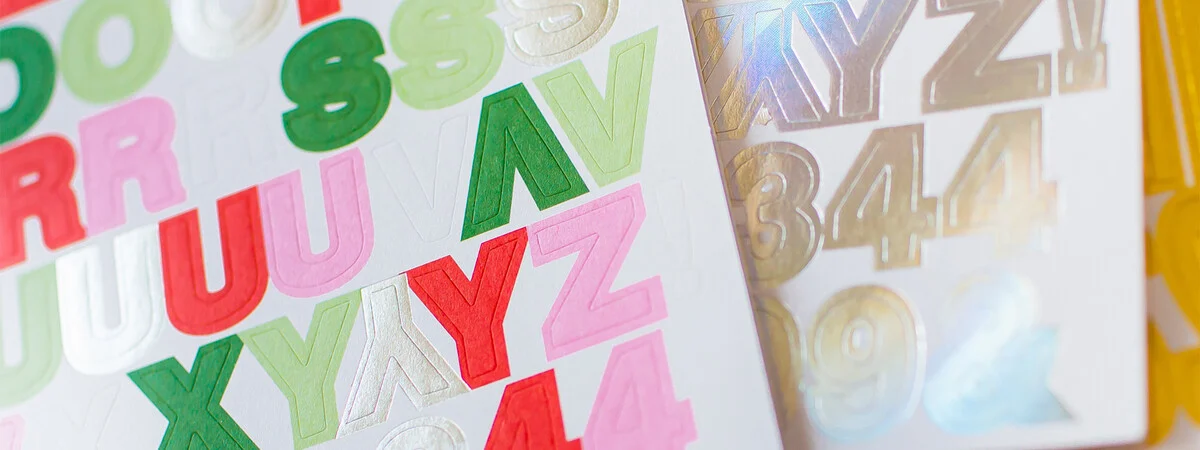
- Typography and Imagery: If your stickers incorporate text, carefully choose typography that aligns with your design aesthetic and enhances readability. For image-based designs, ensure that the resolution and clarity of your graphics are optimized for printing.
- Brand Identity (if applicable): If your stickers represent a brand or business, integrate elements of your brand identity such as logos, slogans, and brand colors to maintain a cohesive visual identity across your marketing materials.
- Iterative Design Process: Embrace the iterative nature of design by refining and revising your sticker concepts. Solicit feedback from peers or conduct test prints to assess the visual impact and appeal of your designs before finalizing them for production.
By immersing yourself in the design process and infusing your creativity into every detail, you can craft captivating and meaningful stickers that resonate with your personal style and artistic vision.
When making stickers with a printer, use sticker paper for best results. Adjust printer settings to the highest quality and let the ink dry before cutting the stickers.
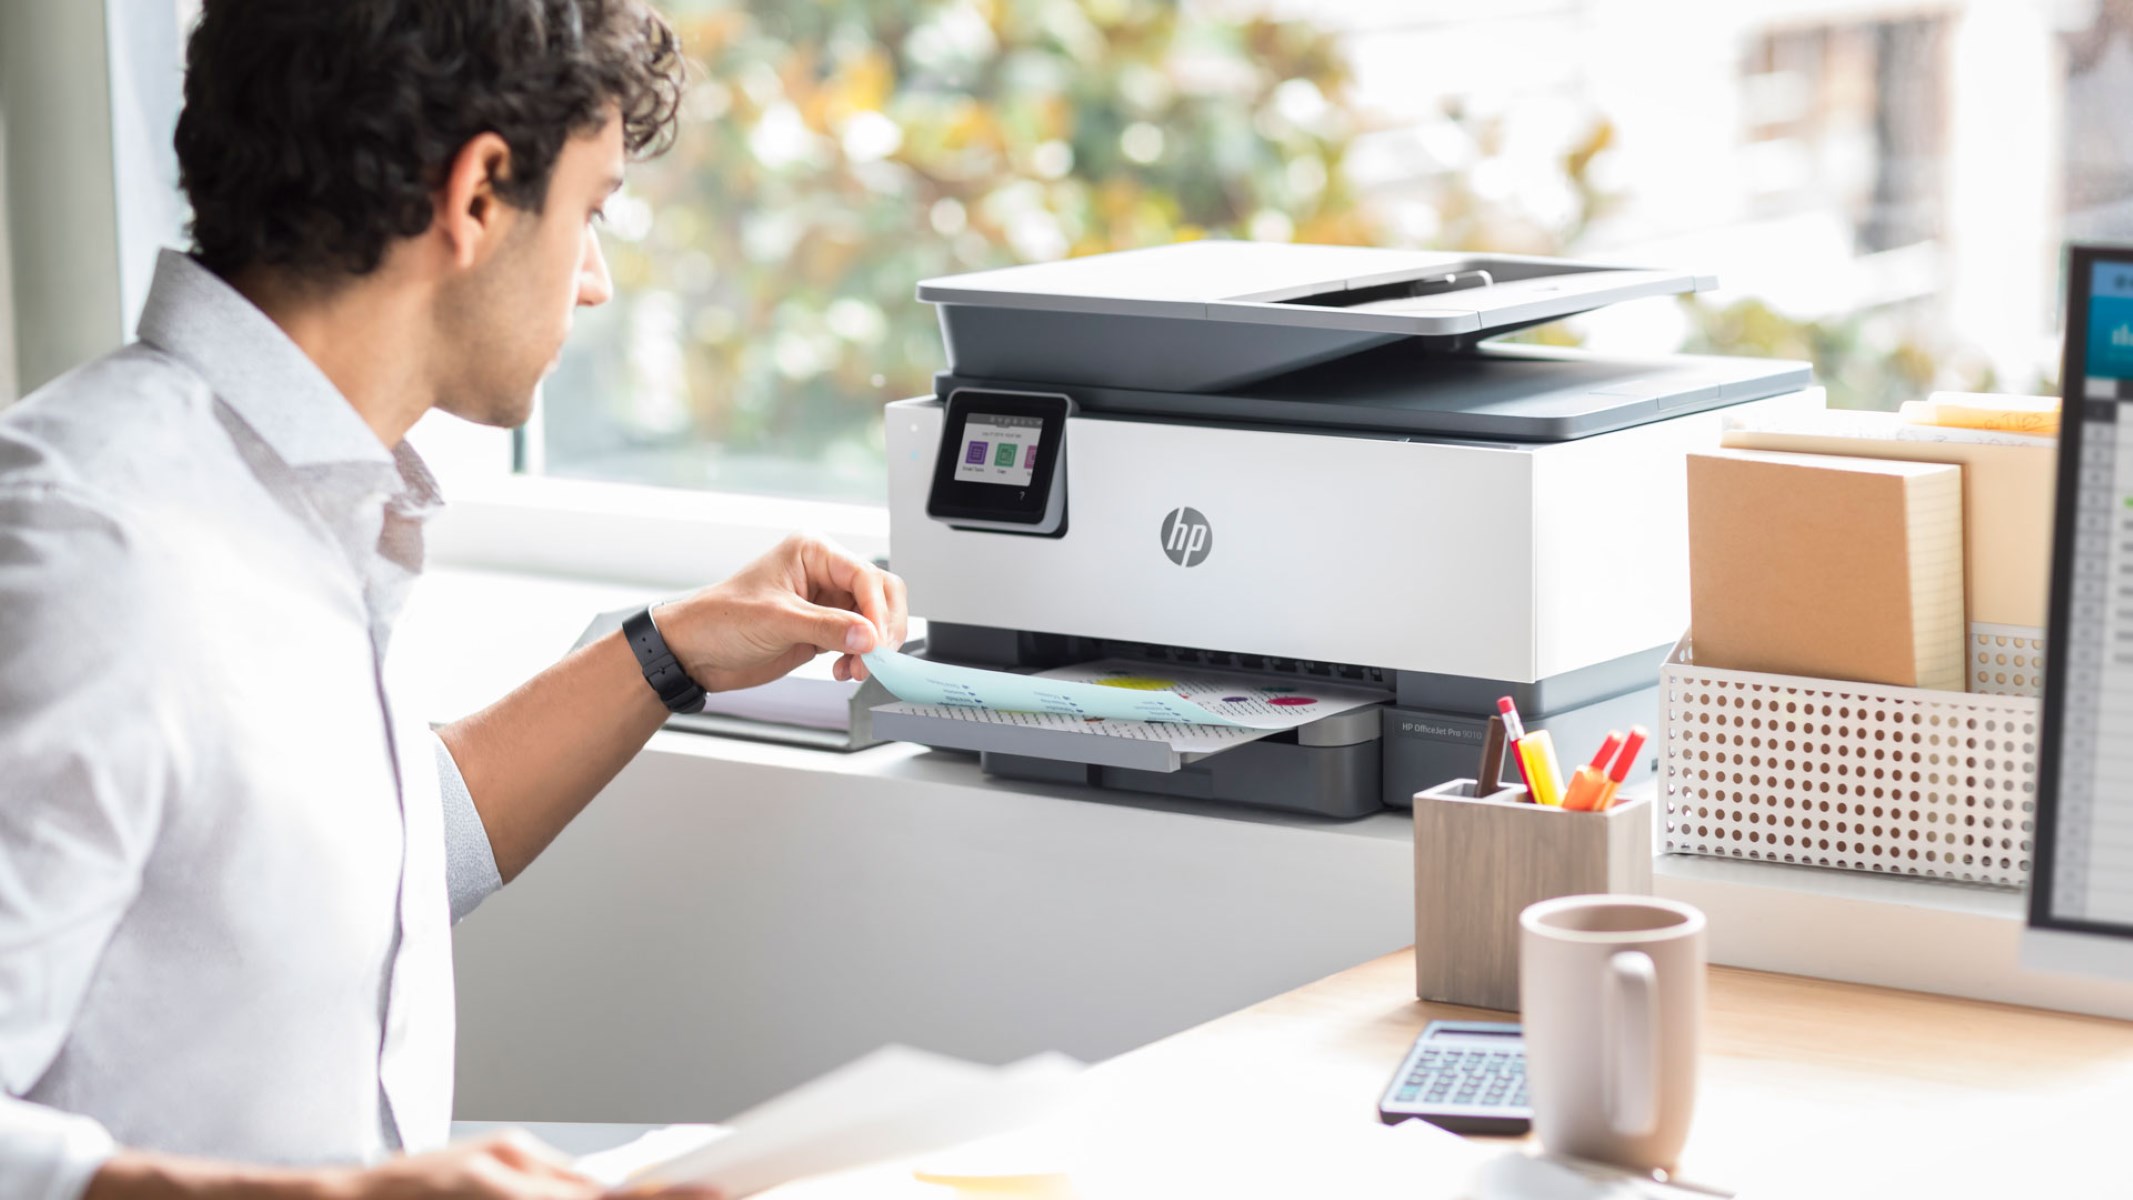
Printing Your Stickers
Once you have meticulously crafted your sticker designs, the next pivotal phase involves bringing your creations to life through the printing process. Whether you are producing a small batch of custom stickers or embarking on a larger-scale printing endeavor, attention to detail and quality are paramount in ensuring the visual impact and durability of your stickers.
Here are the essential steps to consider when printing your stickers:
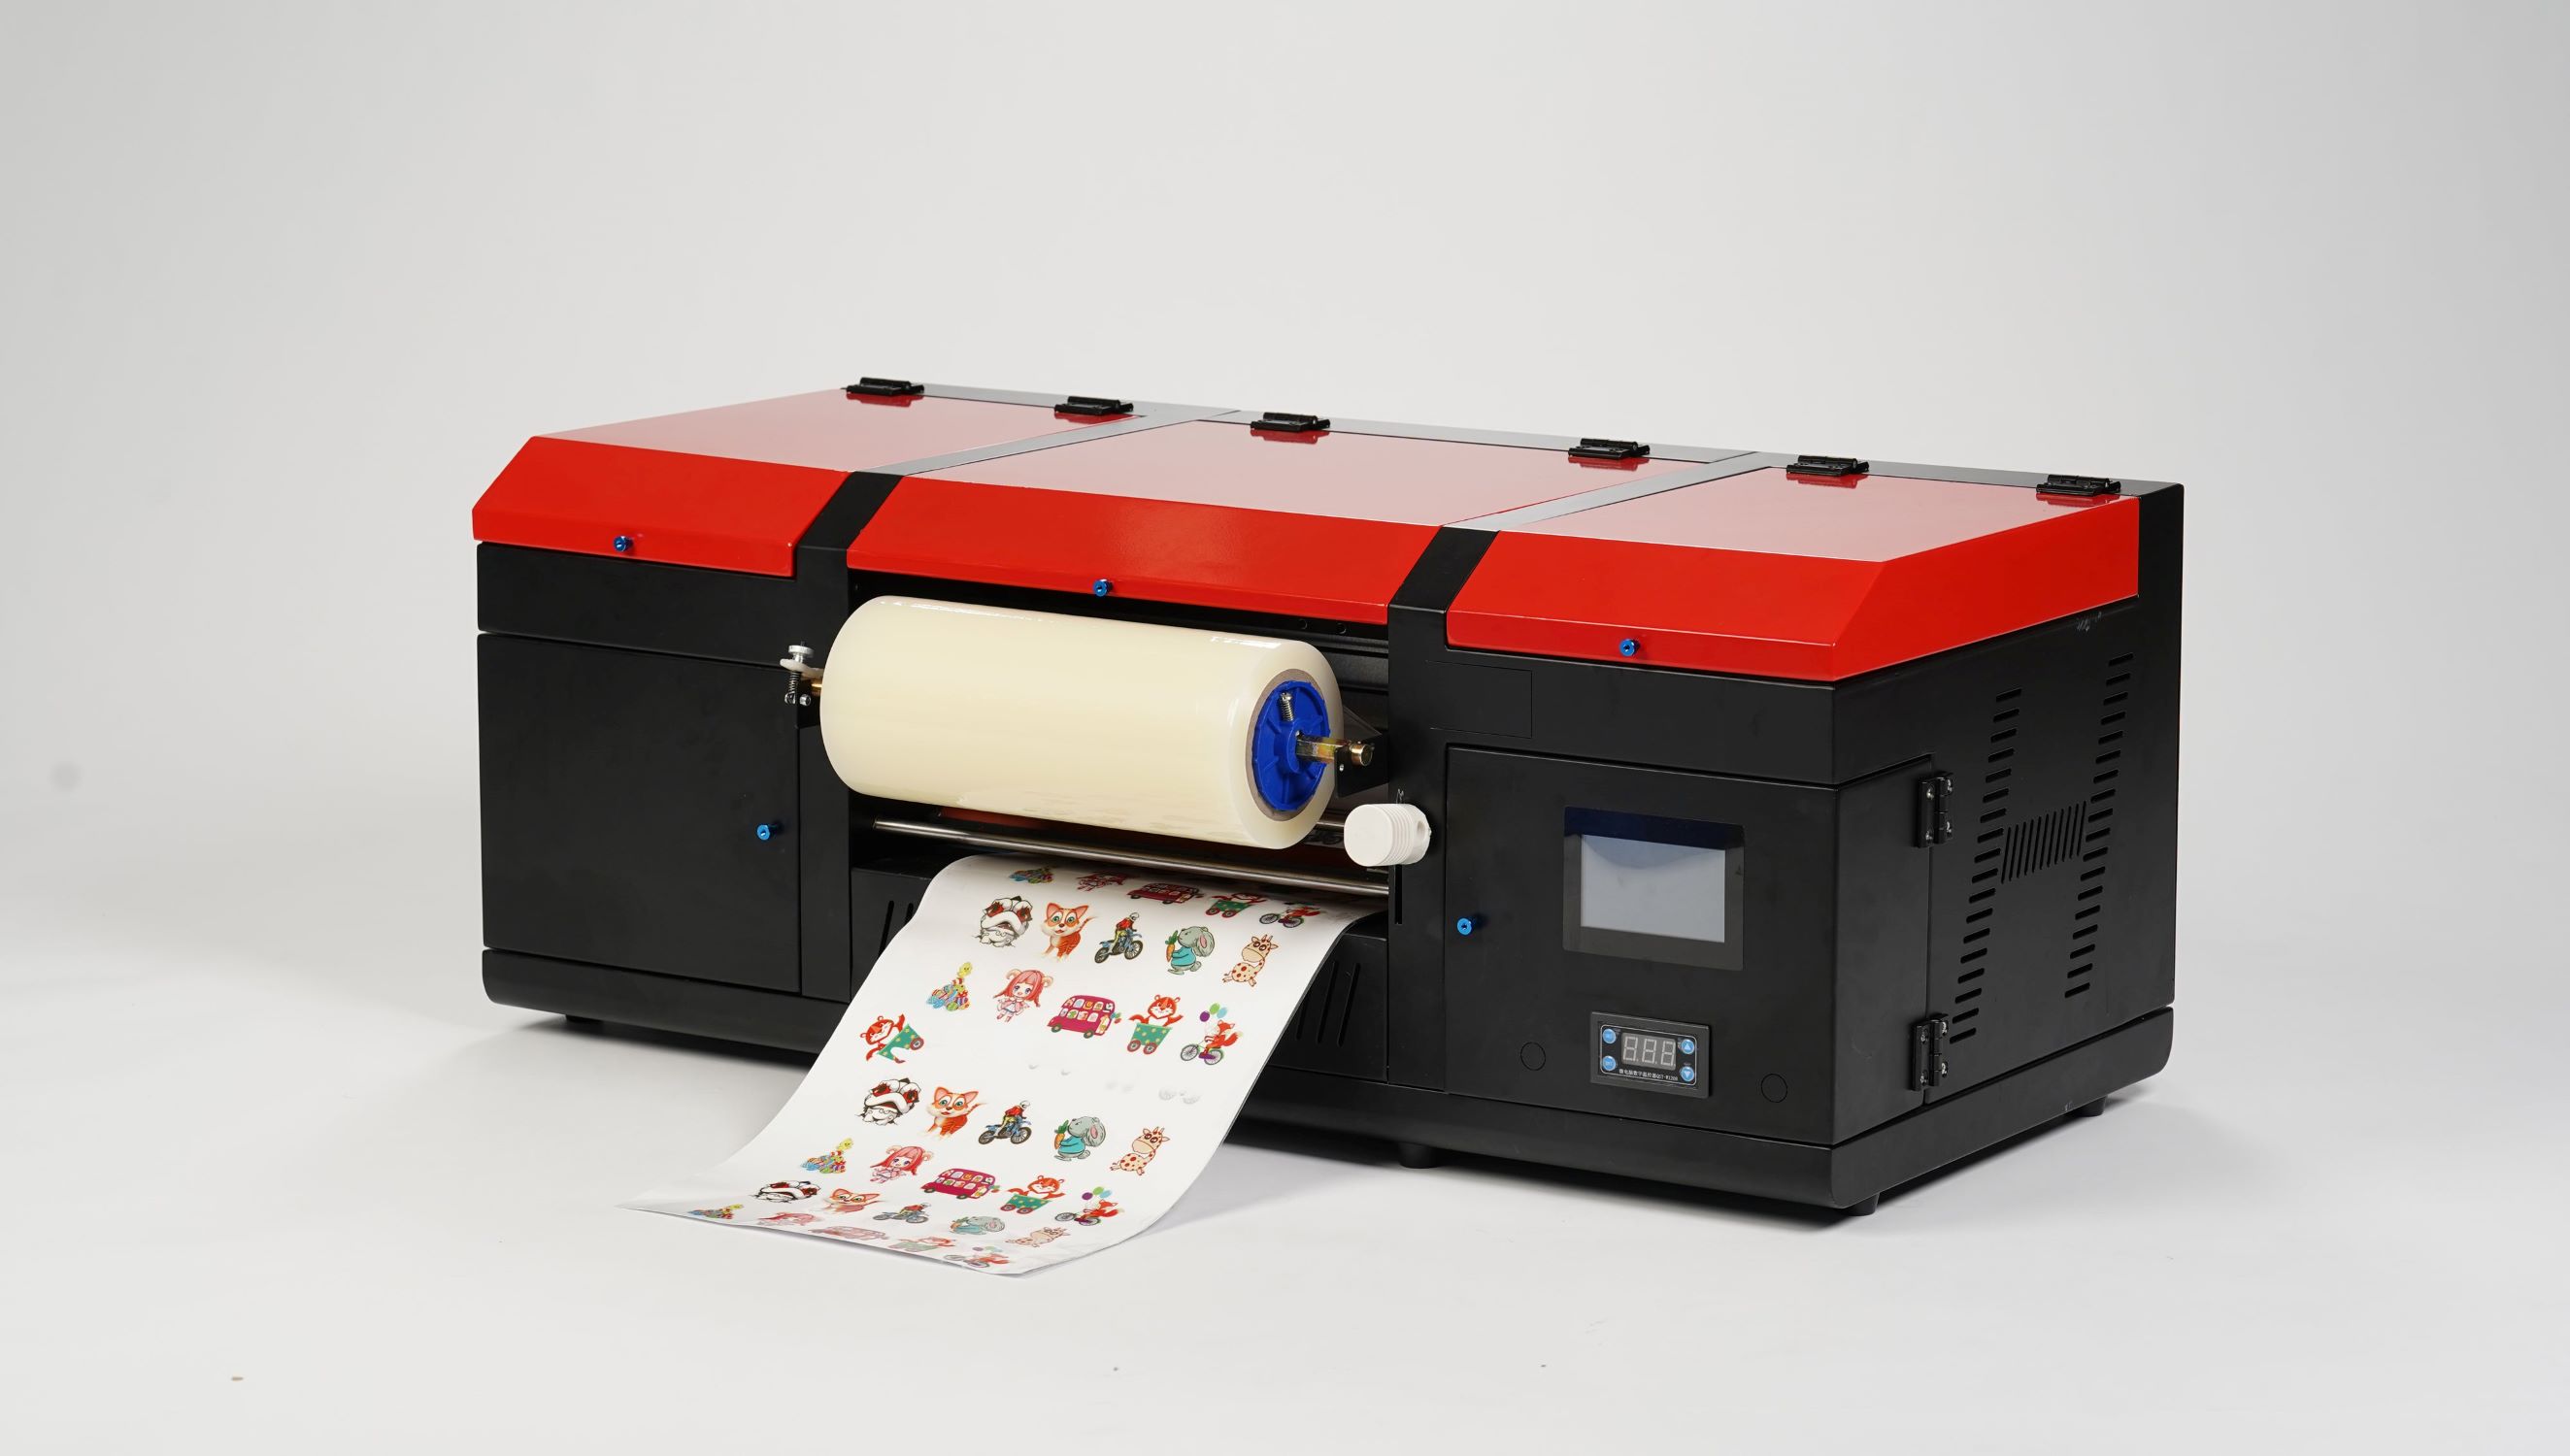
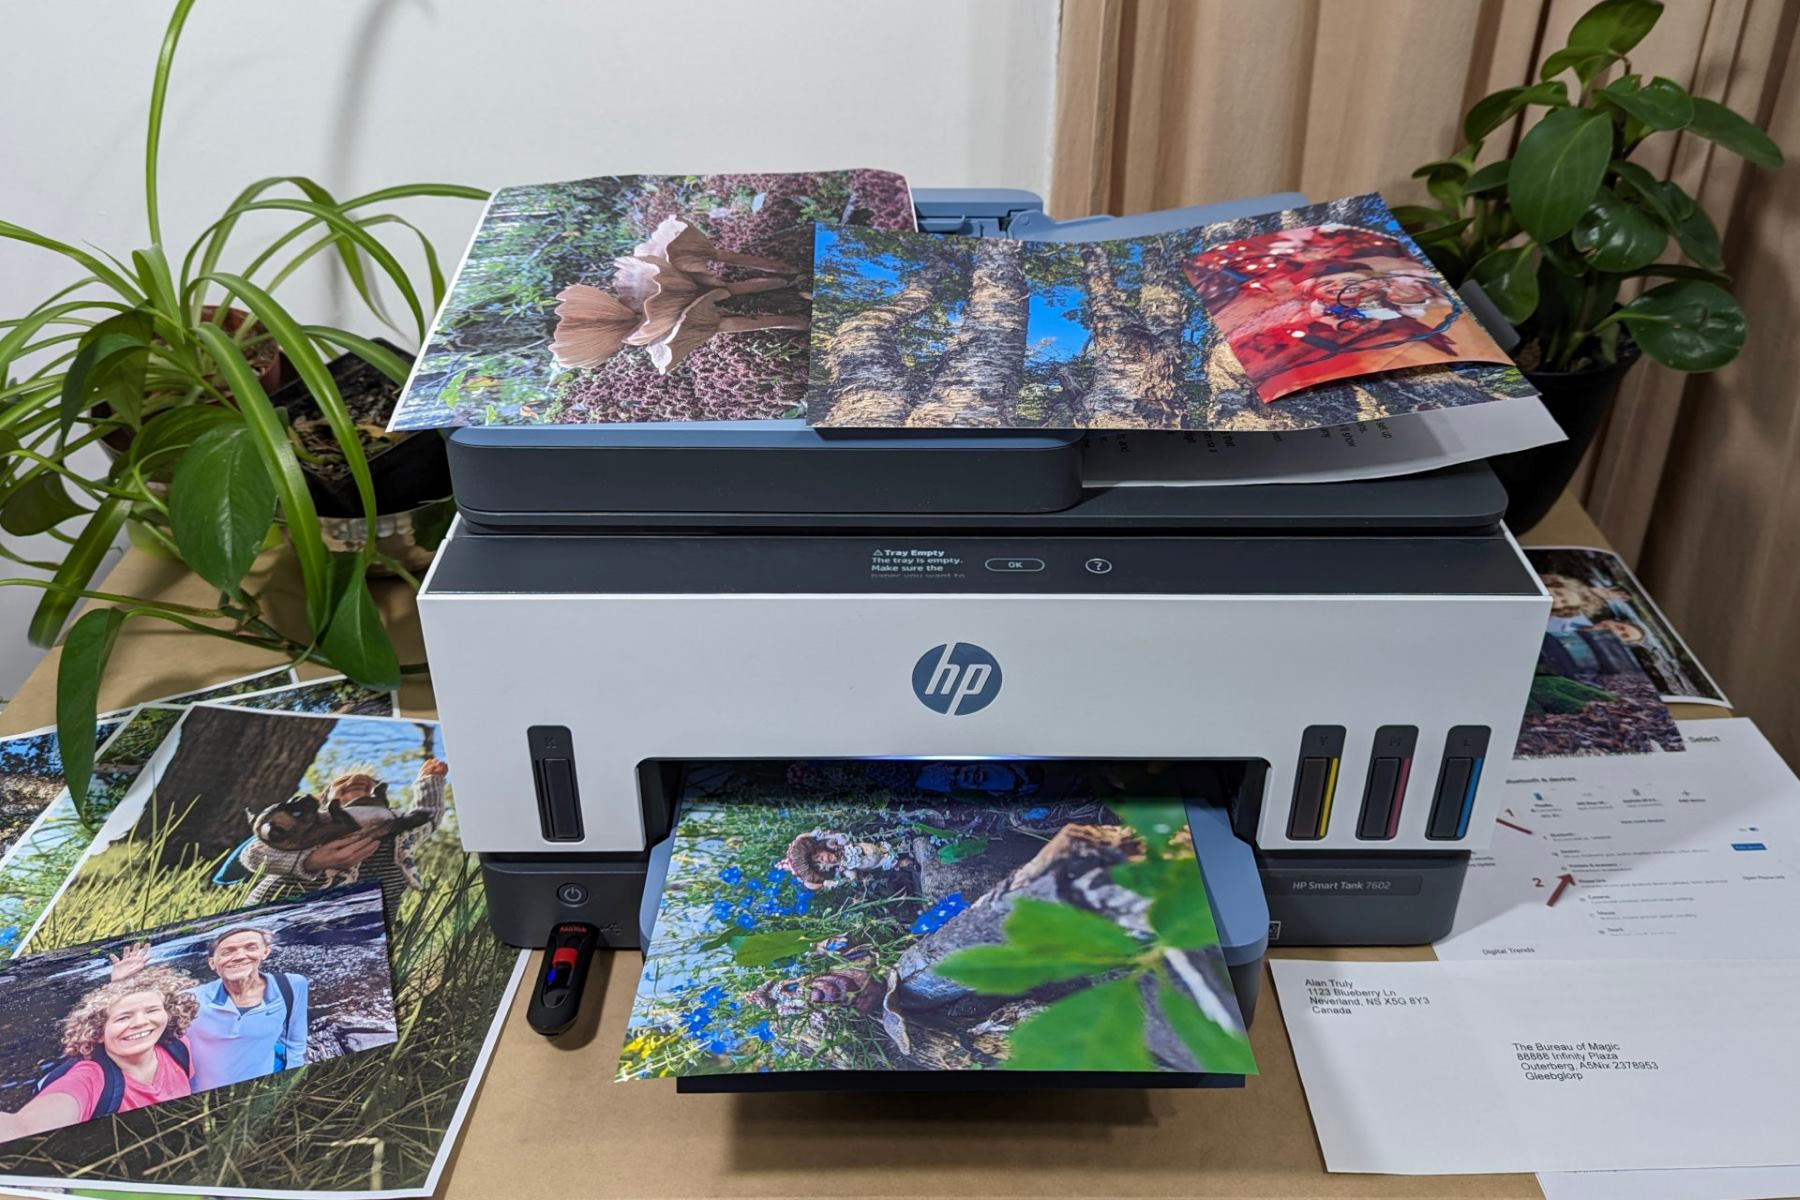
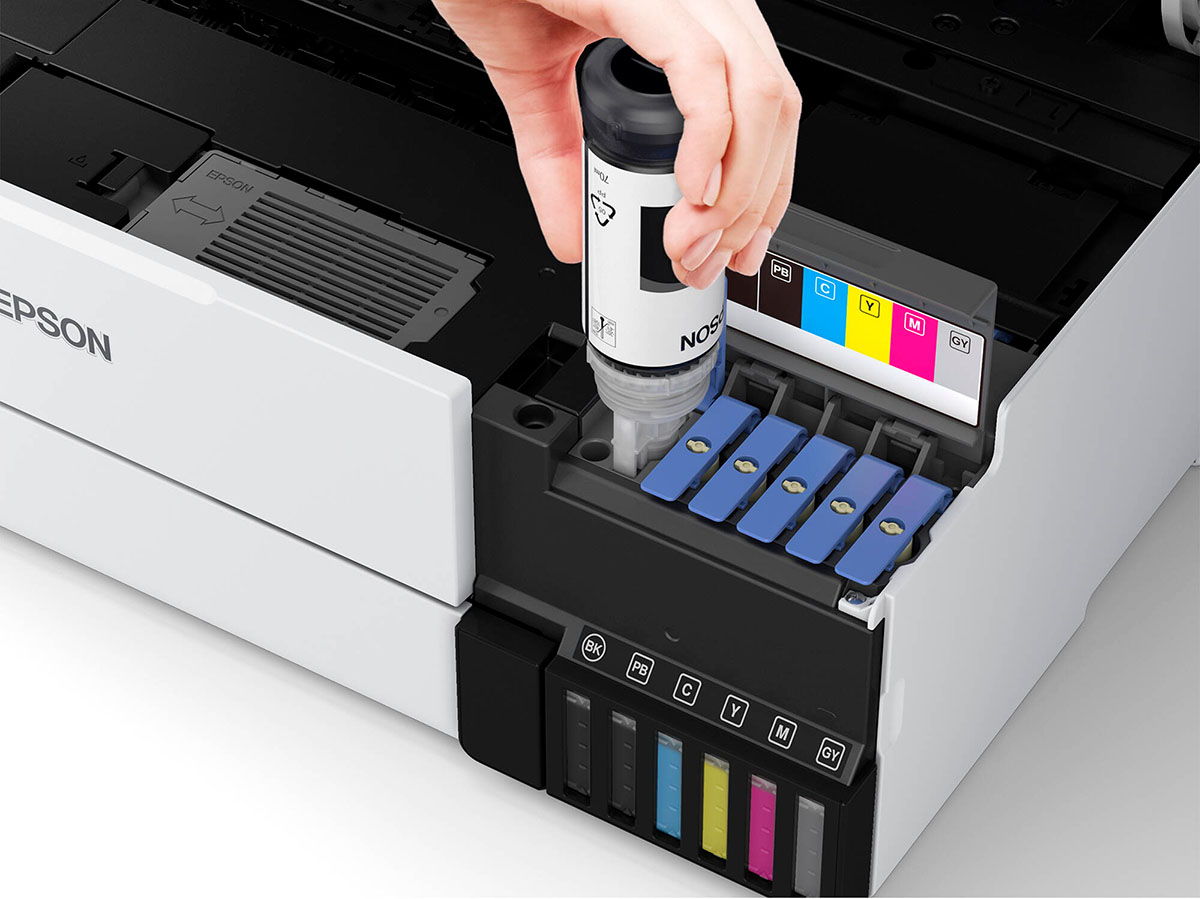
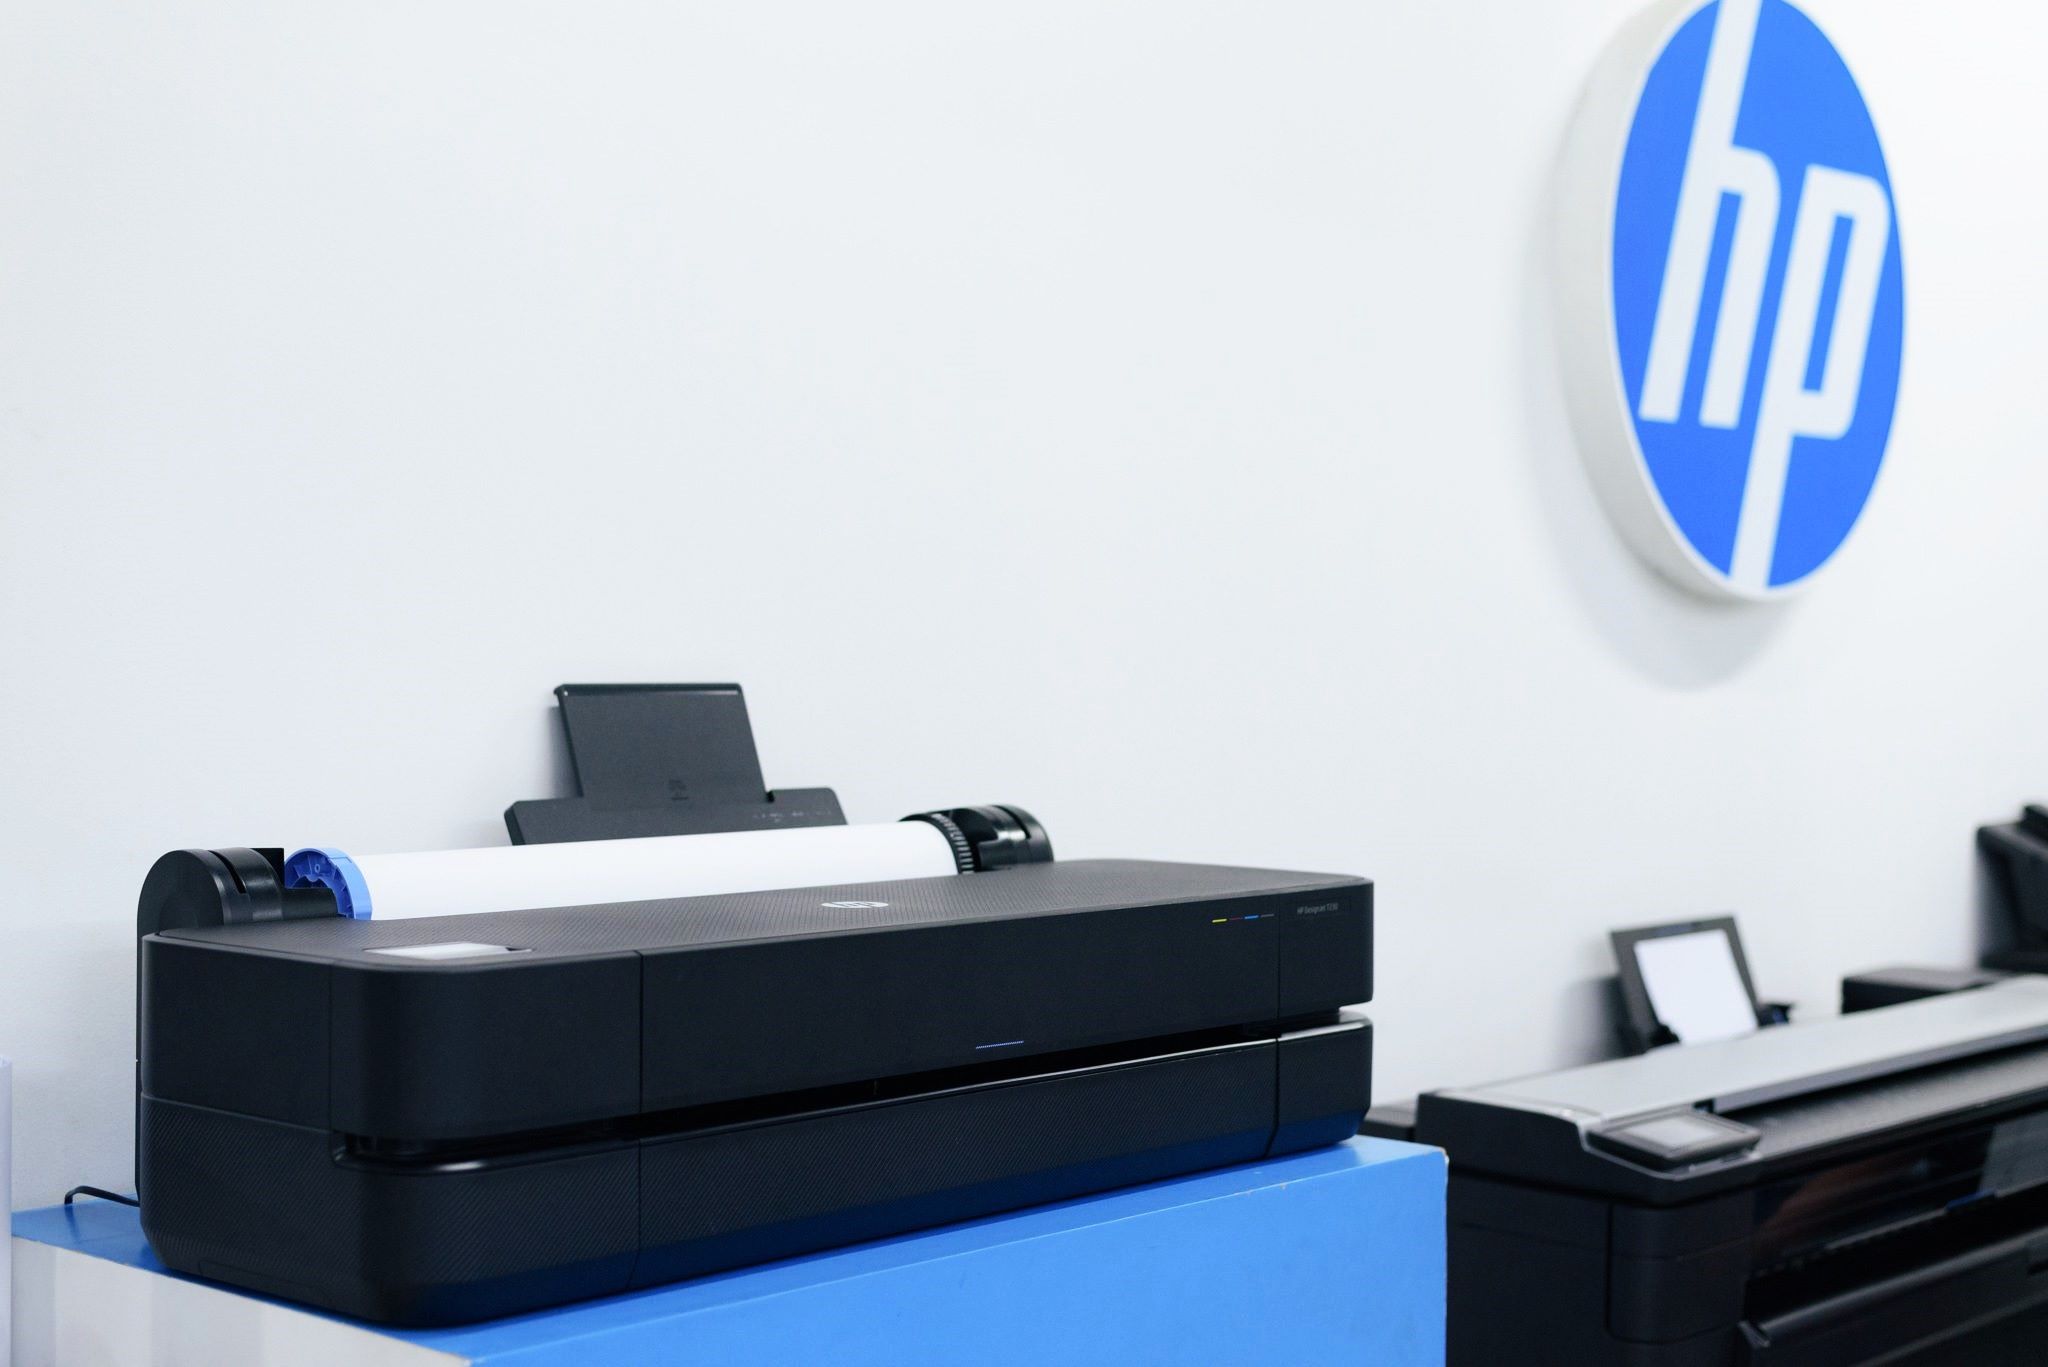
- Printer Selection: Choose a high-quality printer that is suitable for producing stickers. Inkjet printers are commonly preferred for their vibrant color reproduction and versatility in handling various sticker materials. Alternatively, if you are seeking professional-grade results, consider outsourcing the printing to a reputable print service provider.
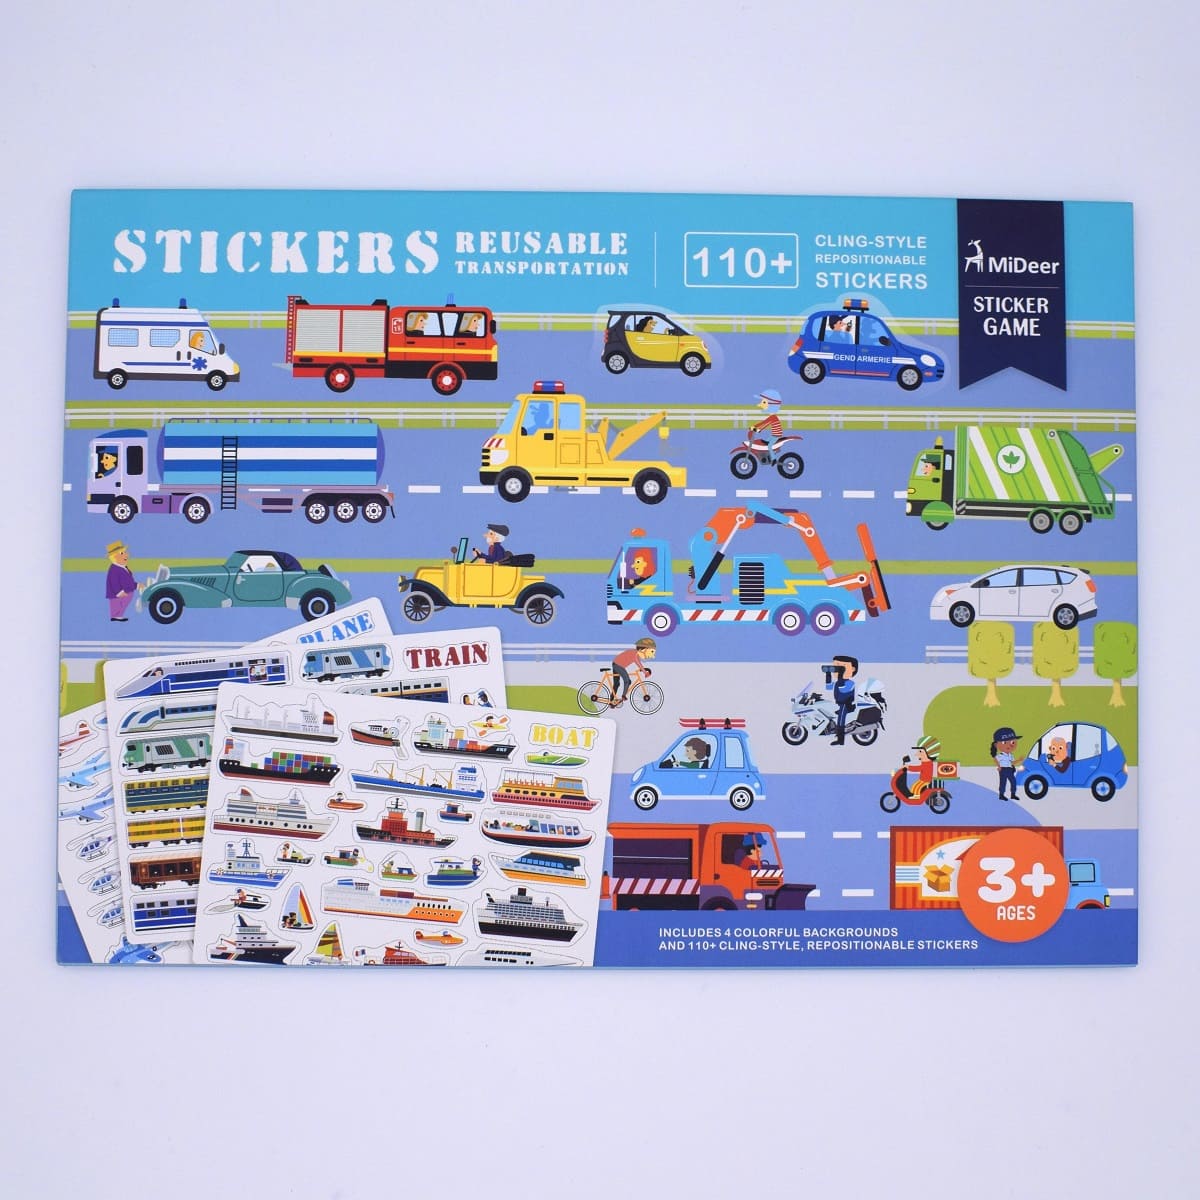
- Sticker Paper or Vinyl: Select the appropriate sticker material based on your intended usage and environmental factors. Sticker paper is ideal for indoor applications and is available in matte, glossy, or clear finishes. Conversely, vinyl stickers offer enhanced durability and weather resistance, making them suitable for outdoor use and product labeling.
- Print Settings: Adjust the print settings on your printer or within the printing software to optimize the output for your chosen sticker material. Ensure that the print resolution, color profile, and paper type settings align with the specifications recommended for the sticker material to achieve crisp and vibrant results.
- Test Prints: Before committing to a full production run, conduct test prints on regular paper to assess the color accuracy and overall appearance of your designs. This preliminary step allows you to make any necessary adjustments before proceeding to print on the actual sticker material.
- Printing Technique: When printing on sticker paper, ensure that the adhesive side of the paper is positioned correctly in the printer to avoid any printing mishaps. For vinyl stickers, verify that the printer is equipped to handle the thickness and rigidity of the vinyl material to prevent paper jams or misfeeds.
- Cutting Guides: If your sticker designs incorporate intricate shapes or require precise cutting, consider adding cutting guides or registration marks to the print file. These visual indicators assist in aligning and cutting the stickers accurately after printing, facilitating a professional and polished end result.
- Printing Quantity: Determine the quantity of stickers needed based on your intended distribution or usage. Whether producing a limited run for personal enjoyment or a larger quantity for promotional purposes, plan the printing volume accordingly to avoid unnecessary waste or shortages.
By approaching the printing process with meticulous attention to detail and precision, you can transform your digital designs into tangible and visually captivating stickers that reflect your creative prowess.
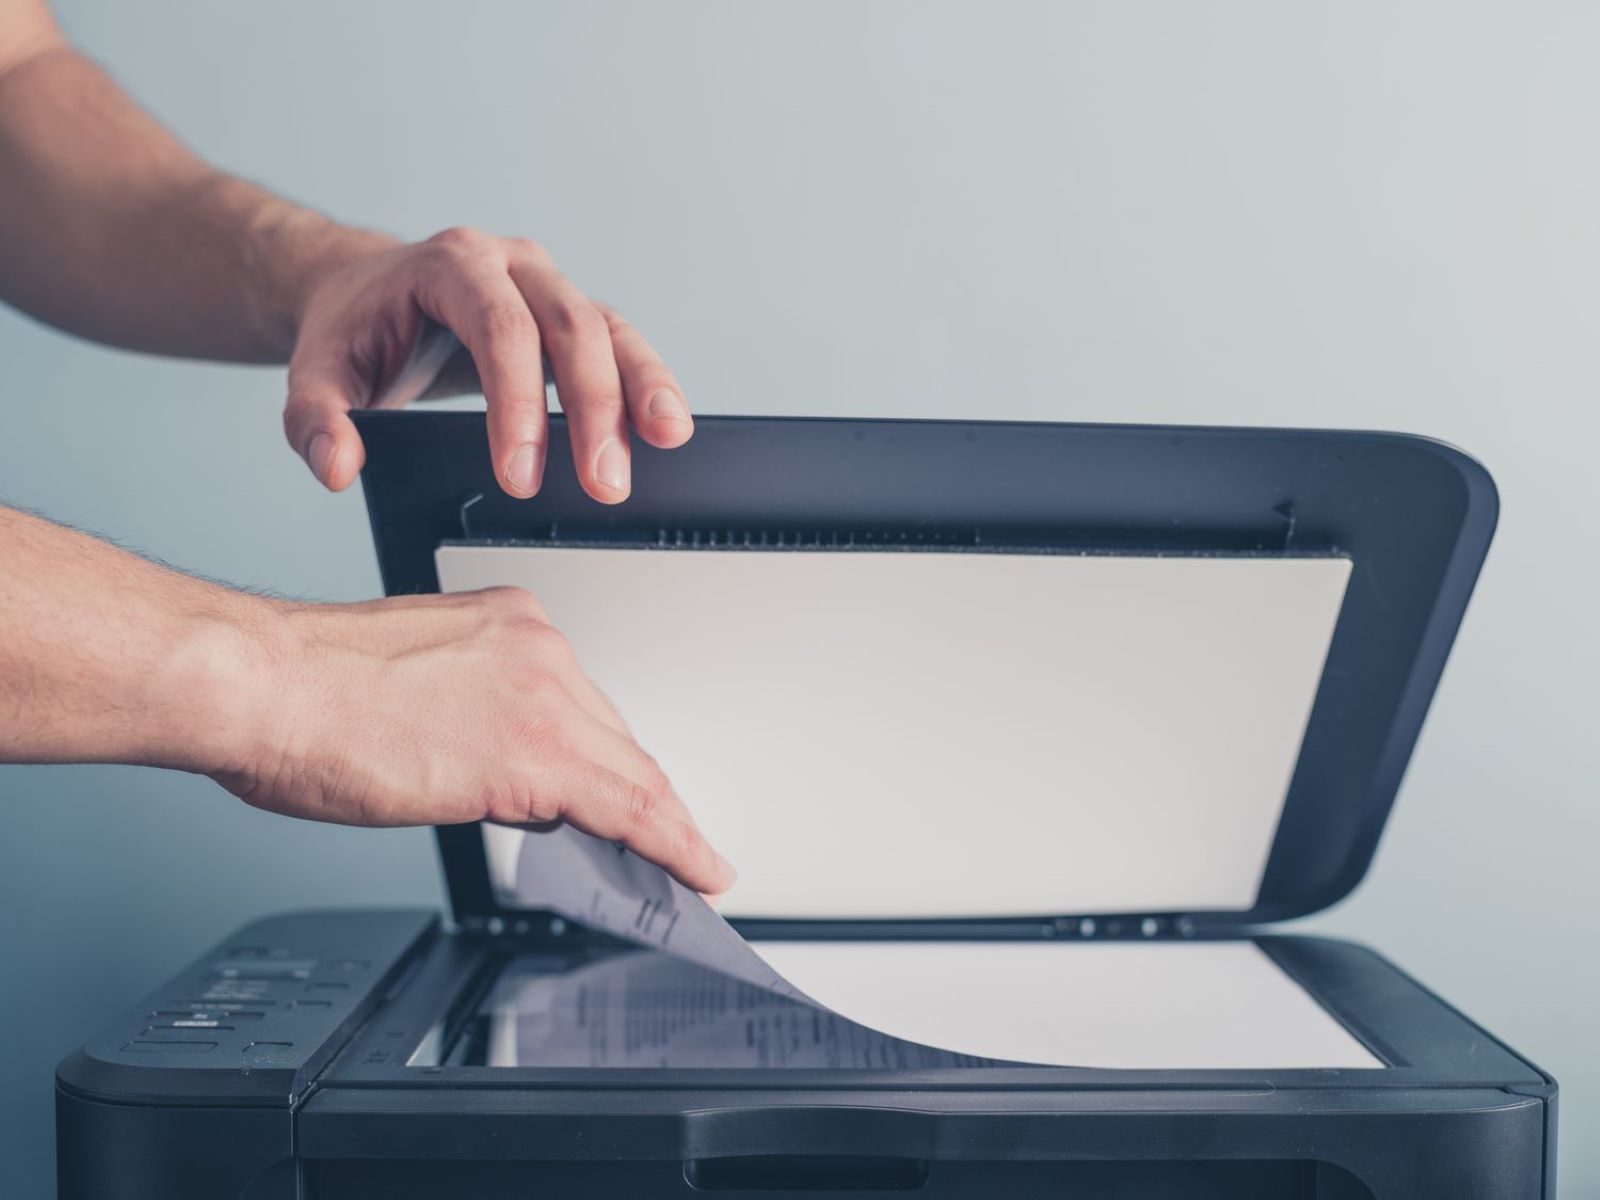
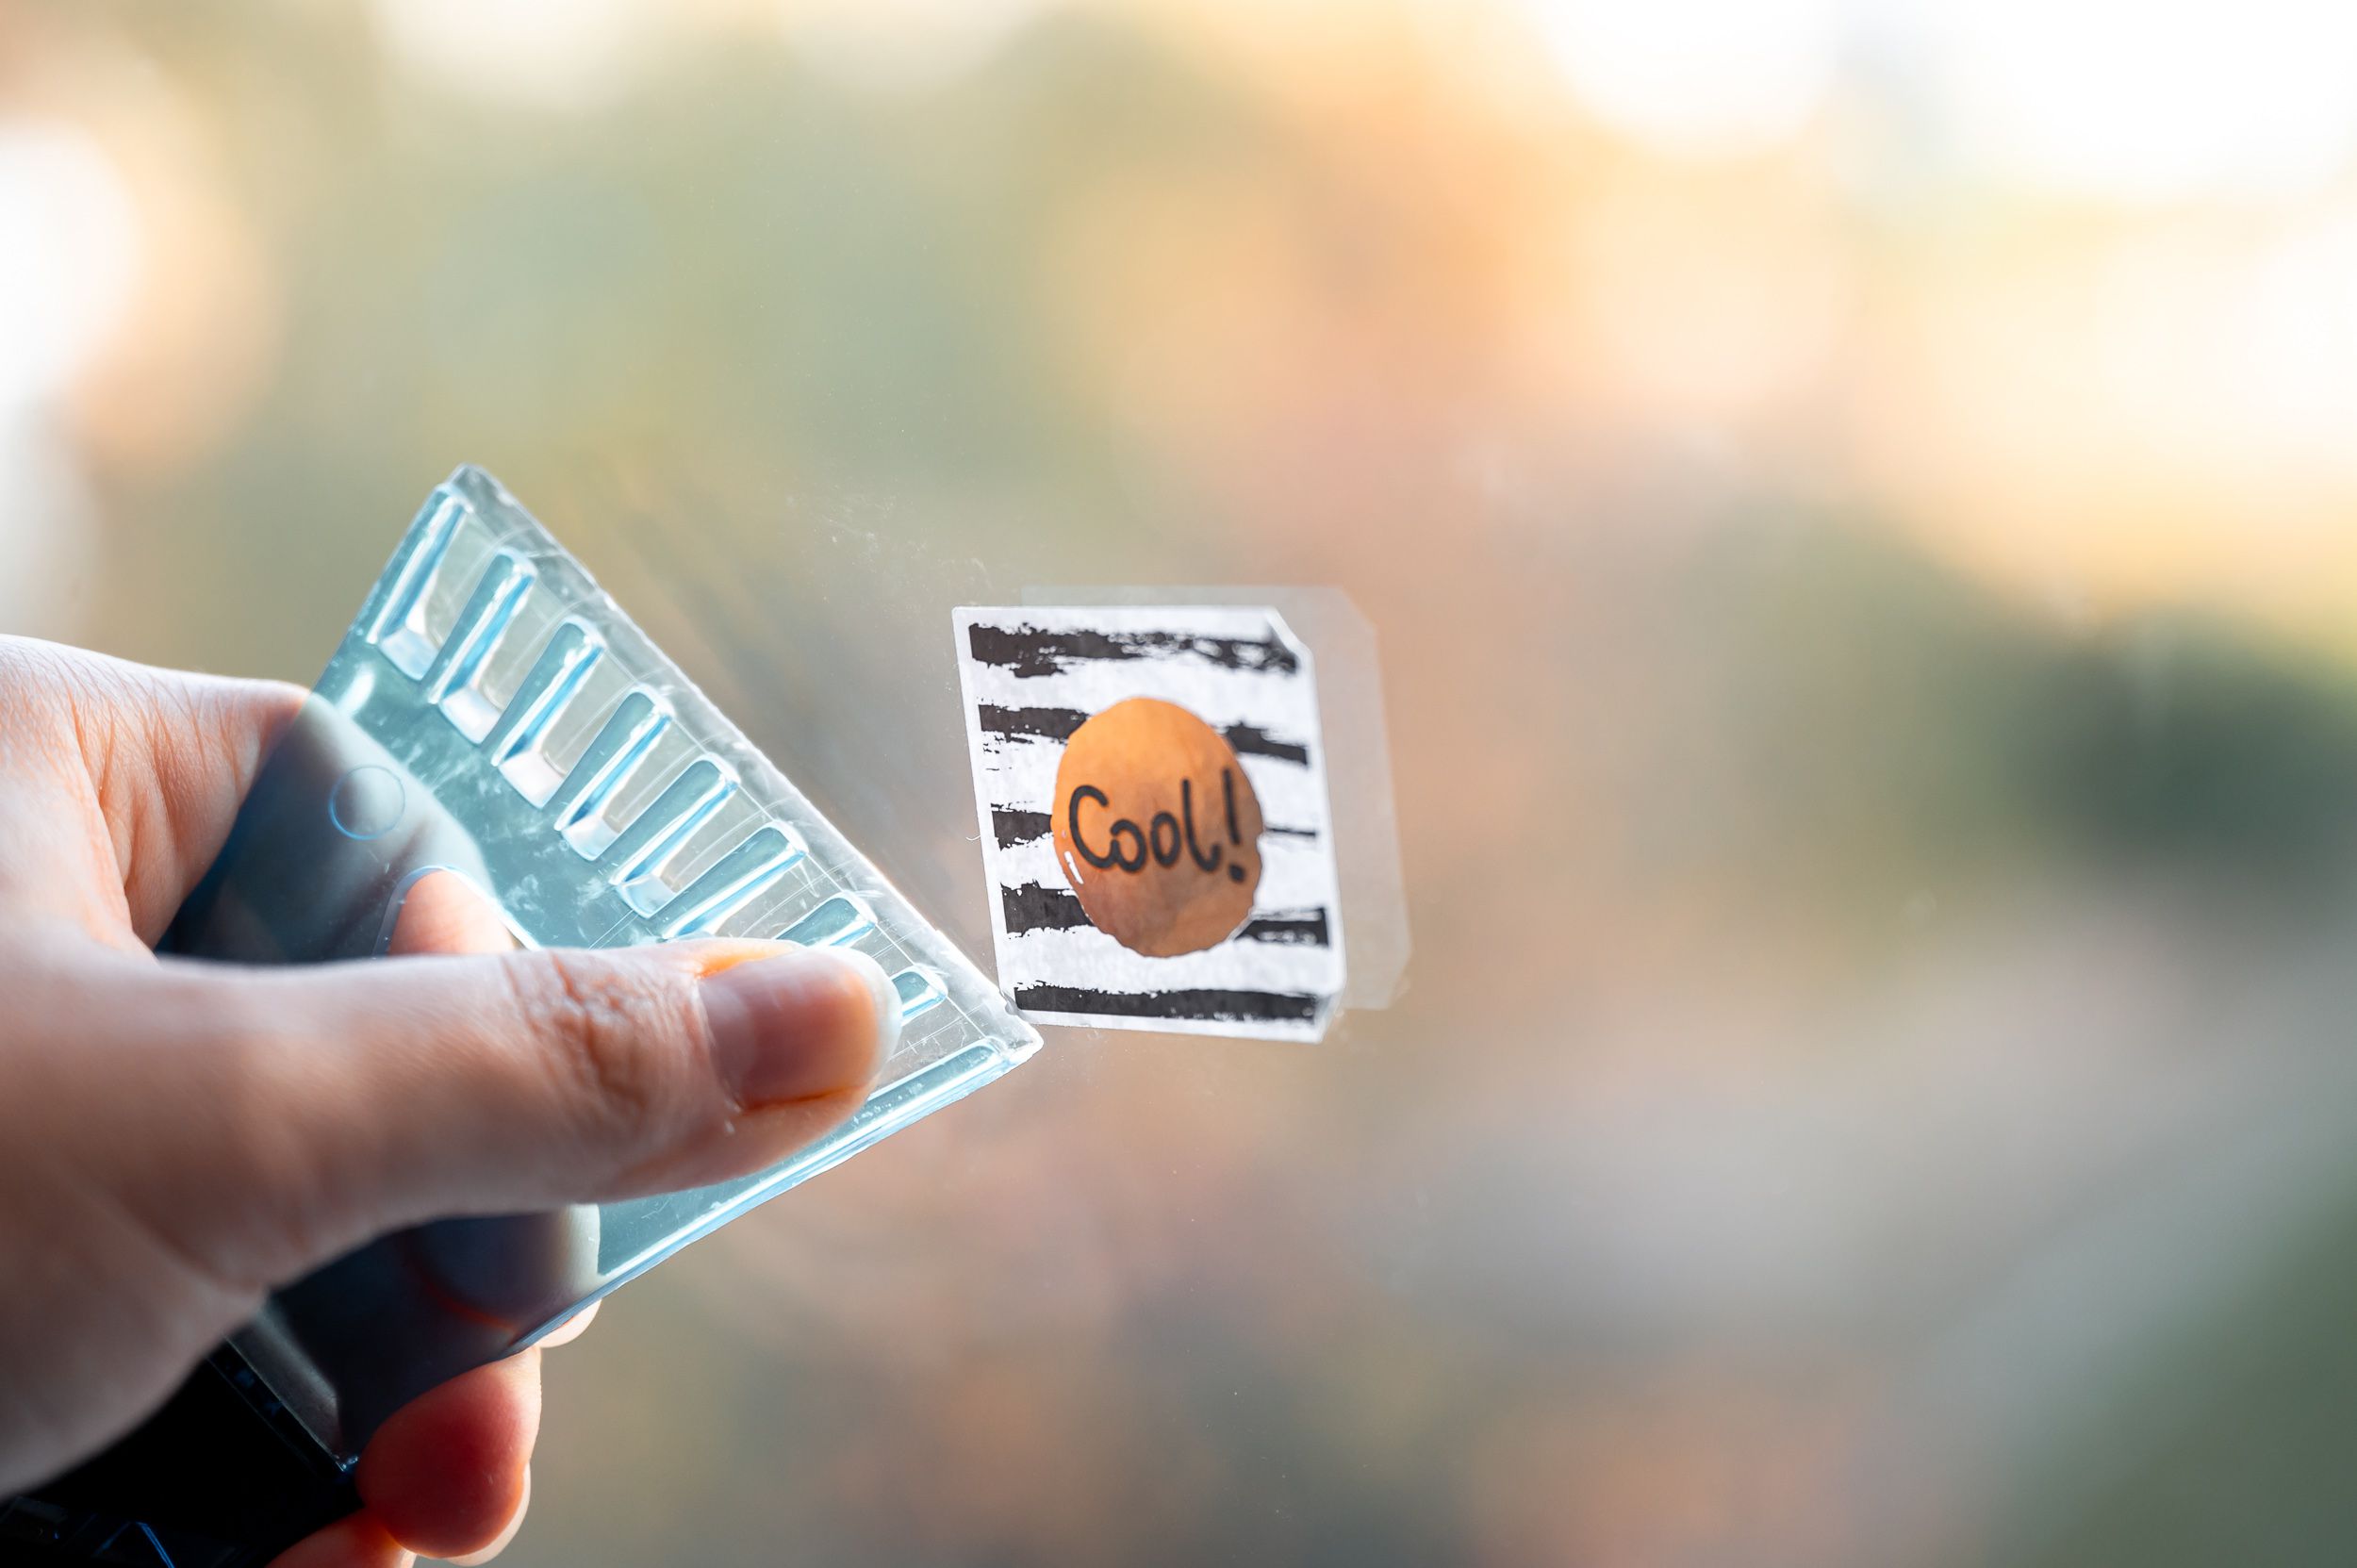
Cutting and Peeling Your Stickers
As your freshly printed stickers emerge from the printer, the final stages of the production process involve precise cutting and expertly peeling the stickers for optimal presentation and usability. Whether you are crafting individual stickers or preparing a batch for distribution, mastering the art of cutting and peeling is essential to ensure that your stickers exude professionalism and visual appeal.
Here are the key steps to consider when cutting and peeling your stickers:
- Cutting Tools: Equip yourself with the appropriate cutting tools to execute clean and accurate cuts. Precision scissors, a sharp craft knife, or a dedicated sticker cutting machine can facilitate the precise trimming of your stickers, ensuring uniform edges and a polished appearance.
- Cutting Technique: If your sticker designs feature intricate shapes or fine details, exercise patience and precision when cutting along the outlines. Follow the designated cutting guides or markings to maintain consistency across all your stickers, resulting in a professional and cohesive presentation.
- Peeling Process: After the stickers have been cut to perfection, delicately peel away the excess material surrounding each sticker. Pay attention to the adhesive backing, ensuring that it remains intact and free from any accidental tears or creases that may detract from the sticker’s overall quality.
- Backing Removal: If your stickers are equipped with a backing or protective liner, gently remove this layer to reveal the adhesive surface. Take care to avoid any residue or fingerprints on the adhesive side, preserving its cleanliness and adhesive strength for effortless application.
- Quality Inspection: Prior to packaging or utilization, conduct a thorough inspection of your cut and peeled stickers to identify any imperfections or irregularities. Address any minor flaws, such as uneven cuts or adhesive blemishes, to uphold the professional standard of your final products.
- Storage and Presentation: Store your cut and peeled stickers in a clean and organized manner to prevent damage or contamination. Utilize protective sleeves, storage containers, or presentation envelopes to showcase your stickers with care and attention to detail.
- Application Demonstration (Optional): If your stickers are intended for commercial use or distribution, consider creating a demonstration video or visual guide showcasing the application process. This supplementary content can enhance the user experience and convey the versatility of your stickers.
By mastering the art of cutting and peeling, you can elevate the presentation and usability of your stickers, transforming them into captivating and professionally finished products that are ready to adorn various surfaces and objects.
Read more: What Printer Is Best For Stickers
Conclusion
Congratulations on embarking on the exhilarating journey of creating your own custom stickers! From conceptualizing captivating designs to meticulously executing the printing and finishing processes, you have ventured into the realm of artistic expression and tangible creativity. As you reflect on the transformative process of bringing your digital designs to life as tangible stickers, it’s essential to recognize the fulfillment and satisfaction that accompanies this endeavor.
Through the harmonious fusion of imagination, technical precision, and attention to detail, you have crafted stickers that embody your unique vision and artistic flair. Whether these stickers serve as personal keepsakes, promotional materials, or decorative embellishments, their impact extends beyond mere adhesive-backed graphics—they represent a tangible manifestation of your creativity and ingenuity.
As you admire the final array of cut and peeled stickers, envision the myriad of possibilities that await their application and dissemination. Whether adorning personal belongings, enhancing product packaging, or serving as tokens of appreciation, these stickers possess the potential to captivate and resonate with their intended audience.
Furthermore, the skills and insights gained throughout the design, printing, and finishing processes have equipped you with a valuable toolkit for future creative endeavors. The attention to color theory, print resolution, and precision cutting has honed your eye for detail and refined your approach to visual expression. These proficiencies will undoubtedly carry over to future projects, enriching your creative repertoire and elevating your artistic endeavors.
As you bid farewell to this chapter of sticker creation, remember that the journey does not conclude with the last cut or peel. Your stickers are poised to embark on their own voyages, adorning diverse surfaces and engaging with a myriad of individuals. Whether they evoke smiles, convey messages, or simply embellish everyday objects, these stickers are emissaries of your creativity, poised to leave a lasting impression on the world around them.
So, as you venture forth with your freshly crafted stickers in hand, may they serve as vibrant ambassadors of your artistic spirit, enriching the lives of those who encounter them and igniting a sense of wonder and delight in the world.
Frequently Asked Questions about How To Make Stickers With A Printer
Was this page helpful?
At Storables.com, we guarantee accurate and reliable information. Our content, validated by Expert Board Contributors, is crafted following stringent Editorial Policies. We're committed to providing you with well-researched, expert-backed insights for all your informational needs.


0 thoughts on “How To Make Stickers With A Printer”