Articles
Clever Hacks To Upgrade A Storage Chest
Modified: October 20, 2024
Upgrade your storage chest with these clever articles. Discover helpful hacks that will maximize its functionality and style.
(Many of the links in this article redirect to a specific reviewed product. Your purchase of these products through affiliate links helps to generate commission for Storables.com, at no extra cost. Learn more)
Introduction
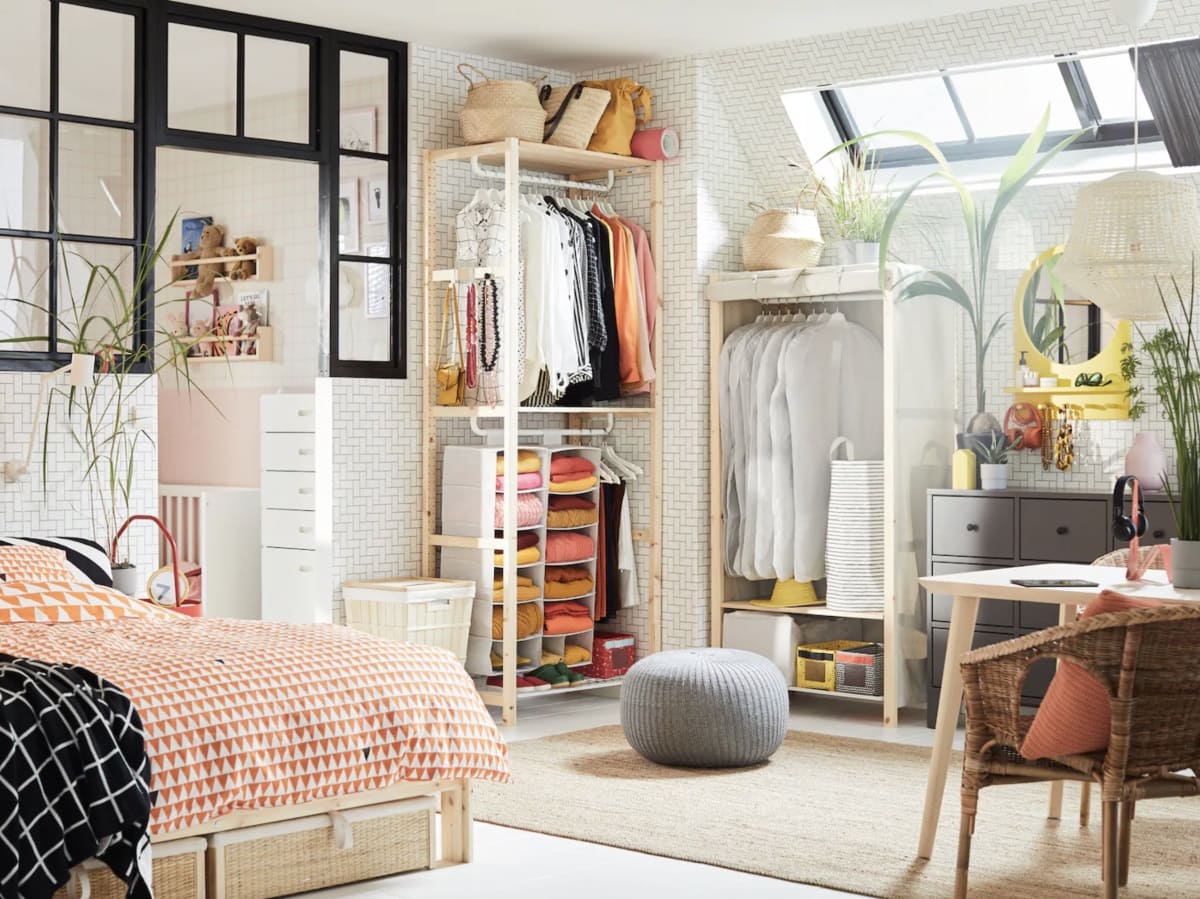
Welcome to the world of storage chests, where functionality meets style. Whether you have a vintage chest that needs a fresh update or a new storage chest in need of some character, there are several clever hacks you can use to upgrade and transform this essential piece of furniture into a stunning focal point for any room.
A storage chest is not just practical for keeping your belongings organized and out of sight; it can also be a beautiful addition to your home decor. With a few simple hacks, you can breathe new life into your storage chest and turn it into a statement piece that reflects your personal style.
In this article, we will explore ten clever hacks to upgrade a storage chest. From painting and repainting to adding decorative hardware, lining the inside with fabric or wallpaper, and incorporating labels or tags for organization, these hacks will help you create a storage chest that is both functional and visually appealing. So, let’s dive in and discover how to take your storage chest to the next level!
Key Takeaways:
- Transform your storage chest into a personalized and stylish piece of furniture with clever hacks like painting, adding decorative hardware, and incorporating labels for organization. Unleash your creativity and upgrade your storage solution to reflect your unique style and personality.
- Elevate the functionality of your storage chest with innovative ideas such as adding wheels for mobility, creating a cushioned seat, or attaching a chalkboard panel. These clever hacks not only enhance organization but also add versatility and visual appeal to your storage solution.
Paint or Repaint the Chest
One of the easiest and most effective ways to upgrade a storage chest is by giving it a fresh coat of paint. Whether you have an old, worn-out chest or a plain wooden one, painting can instantly transform its look and breathe new life into it.
Start by thoroughly cleaning the chest to remove any dust, grime, or grease. Sand the surface lightly to create a smooth base for the paint to adhere to. If there are any rough patches or imperfections, use wood filler to fill them in and sand them down to achieve a seamless finish.
Next, choose a paint color that complements your room’s decor and your personal style. You can opt for a classic neutral shade for a timeless look or go bold with a vibrant color to make a statement. Don’t be afraid to get creative and experiment!
Before you start painting, make sure to prime the chest to ensure better adhesion and durability of the paint. Apply the paint evenly using a brush or roller, and let it dry completely between coats. Depending on the type of paint you use, you may need multiple coats to achieve the desired opacity.
If you want to add a touch of elegance and sophistication, consider using techniques such as distressing or antiquing. These techniques involve lightly sanding the edges and corners of the chest after painting to create a worn, vintage look. You can also use a glaze or wax to achieve an aged patina.
To further enhance the painted finish, consider adding decorative accents such as stencils, decals, or hand-painted designs. This will add a unique and personal touch to your storage chest, making it a true reflection of your style and personality.
Remember to seal your painted chest with a clear topcoat or varnish to protect the paint and provide a durable finish. This will help prevent chipping, cracking, and fading over time, ensuring that your newly painted storage chest looks fresh and vibrant for years to come.
By using the simple yet powerful technique of painting or repainting, you can completely transform the look of your storage chest, turning it into a stunning piece of furniture that adds character and charm to any room.
Add Decorative Hardware
If you’re looking to elevate the look of your storage chest, adding decorative hardware is a fantastic option. Hardware not only serves a practical purpose by allowing you to easily open and close the chest, but it also adds a touch of style and sophistication.
Start by considering the overall aesthetic of your storage chest and the room it will be placed in. This will help you choose hardware that complements the existing decor and enhances the chest’s appearance. There is a wide variety of hardware options available, including drawer pulls, handles, knobs, hinges, and lock plates.
When selecting hardware, think about the style you want to achieve. If you have a vintage chest, you might opt for ornate, antique-style hardware to enhance its old-world charm. For a more modern design, sleek and minimalist hardware can give it a contemporary edge.
Once you have chosen the hardware, remove the existing hardware from the chest, if applicable. Keep in mind that you may need to fill in any existing holes or make new ones to accommodate the new hardware. Use a measuring tape and level to ensure that the new hardware is properly aligned and evenly spaced.
When installing the new hardware, make sure to use the appropriate screws or bolts that are suitable for the thickness of the chest’s material. If needed, use a drill or screwdriver to securely attach the hardware. Take your time to ensure that each piece is level and properly aligned.
Adding decorative hardware to your storage chest can instantly enhance its visual appeal and make it stand out as a statement piece in any room. The right hardware can elevate the overall look and add a touch of elegance or uniqueness that truly reflects your personal style.
Don’t be afraid to mix and match different styles or finishes to create a more eclectic look. For example, you can combine vintage-style drawer pulls with modern metal handles for a trendy and artistic effect.
To maintain the longevity of your hardware, make sure to clean it regularly with a mild soap and water solution. This will help prevent tarnishing or corrosion and keep it looking as good as new.
By adding decorative hardware to your storage chest, you can transform it from a simple piece of furniture into a stunning and stylish focal point that will catch the attention of anyone who enters the room.
Line the Inside with Fabric or Wallpaper
If you want to add a pop of color, pattern, or texture to your storage chest, consider lining the inside with fabric or wallpaper. This simple yet effective hack can instantly transform the interior and make it visually appealing every time you open the chest.
Start by choosing a fabric or wallpaper that complements the overall aesthetic of your room and the style you want to achieve. You can go for a bold and vibrant pattern to make a statement or opt for a subtle and neutral fabric that adds a touch of elegance.
Measure the inside of your storage chest carefully, taking into account any dividers or compartments that may be present. Add a few extra inches to ensure that you have enough material to cover the entire surface.
If you’re using fabric, cut it to the appropriate size and attach it to the interior using a fabric adhesive or double-sided tape. Make sure to smooth out any wrinkles or air bubbles for a clean and polished look.
If you prefer using wallpaper, measure and cut it according to the dimensions of the chest’s interior. Apply wallpaper paste or adhesive to the back of the wallpaper, following the manufacturer’s instructions. Carefully position the wallpaper inside the chest and smooth it out to eliminate any bubbles or creases.
Not only does lining the inside of your storage chest with fabric or wallpaper add a decorative touch, but it also helps protect the items you store inside. The fabric or wallpaper acts as a cushioning layer, preventing delicate items from scratching against the chest’s surface.
Additionally, lining the interior can make it easier to clean and maintain the storage chest. Simply remove the fabric or wallpaper if it gets dirty or stained, and replace it with a fresh piece. This ensures that your storage chest remains looking clean and fresh over time.
For an extra touch of style and organization, consider adding pockets or compartments to the fabric or wallpaper lining. This allows you to separate and store smaller items more efficiently.
By lining the inside of your storage chest with fabric or wallpaper, you can add a personal and decorative touch that elevates the overall look and feel of the chest. Every time you open it, you’ll be greeted with a visually pleasing and organized interior.
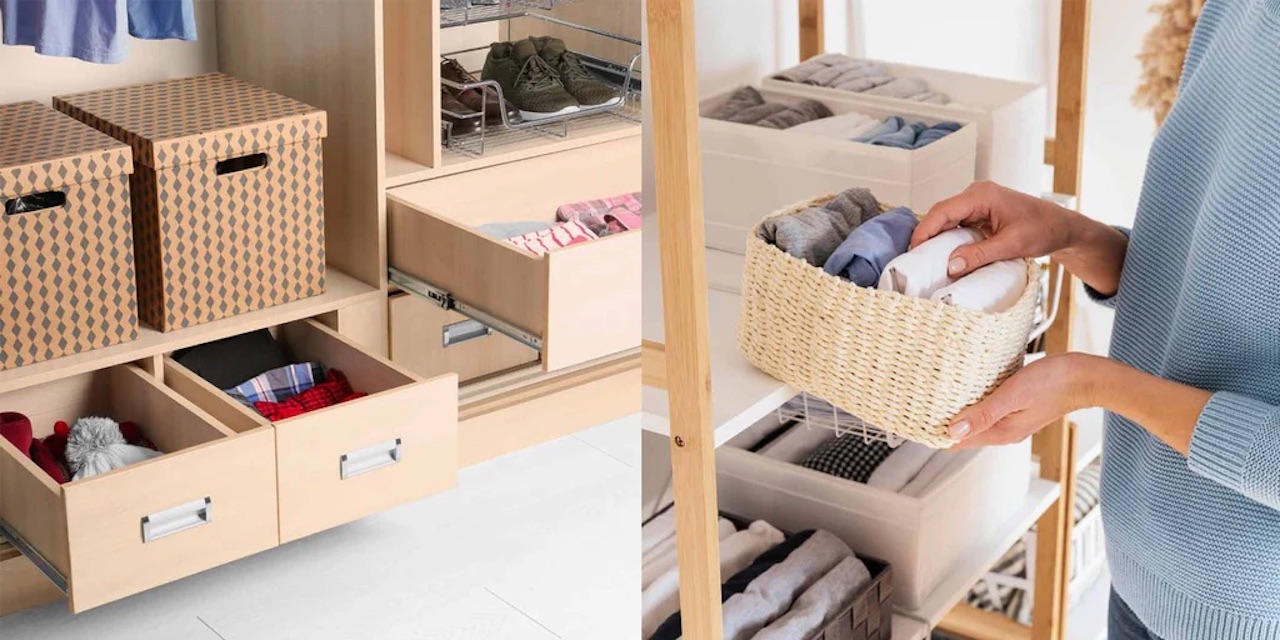
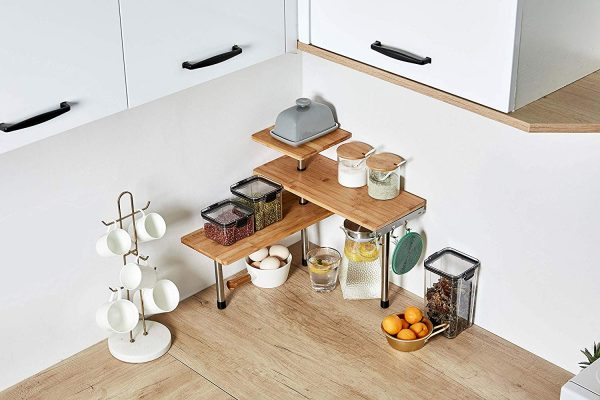
Install Additional Shelving or Dividers
If you want to maximize the storage capacity and organization of your storage chest, consider installing additional shelving or dividers. This hack allows you to create dedicated compartments for different items, making it easier to locate and access them when needed.
Start by assessing the overall layout and dimensions of your storage chest. Determine the specific needs and types of items you plan to store inside. This will help you decide how many shelves or dividers you need and where they should be positioned.
If your storage chest has a removable lid, you can make use of the lid to create a divided storage area. Install hinges on the interior of the chest and attach shelves or dividers to the lid. This allows you to lift the lid and access the items stored in the compartments below.
If your chest has a solid top, you can build or purchase individual shelves or dividers that can be inserted into the chest. Measure the interior dimensions of the chest and create or purchase shelves that fit snugly inside. You may need to use brackets or screws to secure them in place.
Another option is to use fabric or sturdy cardboard to create dividers. Cut pieces of fabric or cardboard to the desired size and shape, and attach them to the interior of the chest using fabric adhesive or double-sided tape. This allows for flexible and adjustable compartments that can be easily modified or removed as needed.
By installing additional shelving or dividers, you can create a more organized and efficient storage system. You can separate items by category, size, or frequency of use, making it easier to find and retrieve what you need without rummaging through the entire chest.
In addition to improving organization, installing shelves or dividers can protect delicate or fragile items from getting damaged. They provide a stable and secure surface for storage, preventing items from shifting or colliding with one another.
Remember to consider the height and spacing between shelves or dividers to accommodate the size of the items you plan to store. This ensures that you have enough space for larger or taller items while still maximizing the use of the available storage area.
By installing additional shelving or dividers in your storage chest, you can transform it into a functional and efficient storage solution. It’s a great way to make the most of the available space while keeping your belongings neatly organized and easily accessible.
Attach Hooks or Pegs to the Exterior
If you’re looking to maximize the storage potential of your storage chest, consider utilizing the exterior surface by attaching hooks or pegs. This simple hack allows you to hang and store items that would otherwise take up valuable space inside the chest.
Start by assessing the size and material of your storage chest to determine the best type of hooks or pegs to use. Depending on the weight and size of the items you plan to hang, you may opt for sturdy metal hooks or pegs made of durable materials such as wood or plastic.
Once you have chosen the appropriate hooks or pegs, decide where to position them on the exterior of the chest. You can space them evenly along the sides or back of the chest, or strategically place them according to the specific items you want to hang.
Use a measuring tape or level to ensure that the hooks or pegs are properly aligned and evenly positioned. Mark the desired locations with a pencil or marker before attaching them. If the chest is made of wood, consider pre-drilling holes to prevent splitting or cracking.
Attach the hooks or pegs securely to the exterior of the chest using screws, nails, or adhesive, depending on the type of hooks and the material of the chest. Make sure they are firmly attached and can support the weight of the items you plan to hang.
By attaching hooks or pegs to the exterior of your storage chest, you can hang a variety of items to create additional storage space. You can hang hats, scarves, coats, bags, keys, or even decorative elements like wall art or plants.
This hack not only maximizes the storage capacity of your chest but also adds functionality and convenience. It allows easy access to frequently used items without the need to open the chest, making them readily available and visible.
Additionally, hanging items on the exterior of the chest can serve as a decorative element, adding visual interest and personalization. You can choose hooks or pegs with unique designs or colors that complement the overall aesthetic of your room.
Remember to consider the weight limit and durability of the hooks or pegs you choose. Ensure they are capable of supporting the items you plan to hang and inspect them regularly to ensure they are still securely attached.
By attaching hooks or pegs to the exterior of your storage chest, you can make the most of the available space while adding functionality and decorative flair. It’s a clever hack that combines practicality and style in one.
Consider adding a coat of protective sealant to your storage chest to prevent damage from moisture and wear, and to keep it looking new for longer.
Incorporate Labels or Tags for Organization
When it comes to organizing your storage chest, labels or tags can be a game-changer. By adding labels or tags to the exterior or interior of your chest, you can create a system that makes it easy to identify and locate specific items, saving you time and effort.
Start by determining the categories or sections you want to create within your storage chest. This will depend on the types of items you plan to store and your personal organization preferences. Examples of categories could include seasonal clothing, books, toys, or craft supplies.
Choose a labeling method that suits your style and the overall aesthetic of your chest. You can opt for adhesive labels, chalkboard labels, hanging tags, or even create your own custom labels using a label maker or handwritten tags.
If you prefer adhesive labels, use printable labels or write directly on adhesive paper. Cut them to the desired size and shape, then affix them to the exterior or interior of the chest. Make sure to position them in a visible and easily accessible location.
Chalkboard labels provide the added flexibility of changing the label contents as needed. Apply self-adhesive chalkboard labels to the chest and use chalk or chalk markers to write the contents of each section. This allows for easy updating and customization.
Hanging tags can be a stylish and practical option. Attach small hooks or pegs to the interior of the chest and hang tags with string or ribbon. Write or print the labels on the tags, allowing them to dangle visibly inside the chest.
Creating custom labels using a label maker or writing them by hand adds a personal touch to your organization system. You can choose decorative fonts or colors that match your room’s theme, making it visually appealing while keeping you organized.
By incorporating labels or tags, you can quickly identify and locate the items inside your storage chest without the need to dig through everything. It helps maintain a systematic approach to organization, ensuring items are returned to their designated sections after use.
Labels or tags are especially beneficial if you have multiple storage chests or if you frequently rotate the items you store inside. They streamline the process of finding specific belongings, saving you valuable time and reducing frustration.
Remember to update or change the labels as needed whenever you rearrange or reorganize the contents of your storage chest. This ensures that the labels remain accurate and reflect the current organization system.
By incorporating labels or tags into your storage chest organization, you can create a streamlined and efficient system that declutters your space and simplifies your life. It’s a small but impactful detail that adds a level of order and ease to your storage solution.
Attach Wheels or Casters for Mobility
If you want your storage chest to be easily movable and versatile, consider attaching wheels or casters to its base. This simple yet effective hack allows you to effortlessly transport the chest from one room to another, making it a convenient storage solution for any space.
Start by assessing the weight and size of your storage chest to determine the appropriate type of wheels or casters to use. Choose sturdy and durable ones that can support the weight of the chest and move smoothly on various surfaces, such as hardwood floors or carpets.
If your chest has a solid base, you will need to add a set of four wheels or casters. Use a measuring tape to mark the desired positions for the wheels, ensuring that they are evenly spaced and aligned. Pre-drill guide holes if necessary, then attach the wheels using screws or bolts.
If your chest has legs or feet, you can opt for removable casters that can be attached to the bottom of each leg. This allows you to easily convert your stationary chest into a mobile one whenever needed. Simply screw or clip the removable casters onto the legs, ensuring they are securely attached.
By adding wheels or casters to your storage chest, you gain the flexibility to move it around effortlessly, allowing for easy cleaning, rearrangement, or access to items stored inside. This is especially useful for chests that hold frequently used items or need to be relocated frequently.
The mobility provided by wheels or casters is beneficial in various settings. For example, if your storage chest is used in a home office, you can easily move it to a different room to accommodate guests or rearrange furniture. In a children’s playroom, a mobile chest allows for quick clean-up and reconfigurations as needed.
Make sure to choose wheels or casters with a locking mechanism. This allows you to secure the chest in place to prevent unintentional movement or shifting. Simply engage the locks on the wheels when you want the chest to remain stationary.
Keep in mind that the addition of wheels or casters may slightly increase the height of your chest. Take this into consideration when determining where to place the chest to ensure it fits comfortably in its designated space.
By attaching wheels or casters to your storage chest, you transform it into a versatile and mobile storage solution. This hack gives you the freedom to effortlessly move the chest whenever and wherever you need, adapting to the changing needs of your home or workspace.
Create a Cushioned or Upholstered SeatIf you want to add both functionality and comfort to your storage chest, consider creating a cushioned or upholstered seat on top. This hack allows you to transform your chest into a versatile piece of furniture that not only provides storage but also serves as a cozy seating option.
Start by measuring the dimensions of the top surface of your storage chest. This will help you determine the size of the cushion or upholstery material you will need. Consider using a high-density foam pad for the cushioning to provide optimal comfort.
If you have basic sewing skills, you can create a custom-fitted cushion cover using your chosen fabric. Measure and cut the fabric according to the dimensions of the foam pad, leaving enough allowance for seams. Sew the fabric together, leaving one side open to insert the foam pad. Once the foam pad is in place, sew or use fabric adhesive to close the remaining side.
If sewing is not your forte, you can purchase a pre-made cushion or upholstered seat cover that fits the dimensions of your storage chest. Look for options that offer both comfort and durability, and select a fabric that complements your room’s decor and your personal style.
To secure the cushion or upholstered seat to the top of your storage chest, consider using adhesive velcro strips or fabric ties. This allows for easy removal and reattachment, should you need to access the storage inside the chest or if you want to change the seat cover in the future.
A cushioned or upholstered seat not only adds comfort to your storage chest, but it also enhances its visual appeal. Select fabrics, colors, and patterns that match your room’s style, and choose materials that are easy to clean and maintain.
In addition to providing a comfortable seating option, a cushioned or upholstered seat can also serve as a decorative element. Consider adding decorative buttons, contrasting piping, or tufting for an extra touch of style and elegance.
By creating a cushioned or upholstered seat on top of your storage chest, you transform it into a versatile piece of furniture that can be used as an extra seating option in any room. It provides a comfortable place to sit, relax, or even use as a makeshift table when needed.
Remember to regularly clean and maintain the cushion or upholstery to keep it in good condition. Vacuum the fabric, spot clean any stains or spills promptly, and follow the care instructions provided by the manufacturer.
With a cushioned or upholstered seat, your storage chest becomes not only a functional piece of storage furniture but also a cozy and stylish addition to your home decor.
Add a Glass or Mirrored Top
If you’re looking to add a touch of sophistication and elegance to your storage chest, consider adding a glass or mirrored top. This hack not only enhances the visual appeal of the chest but also adds a reflective surface that can make the room feel more spacious and luminous.
Start by assessing the size and dimensions of your storage chest to determine the appropriate size of the glass or mirror top. You can choose to have a custom piece cut to fit the exact measurements of your chest, or you can look for pre-cut options that are close in size.
When selecting the glass or mirror, choose a thickness that is suitable for the intended use and to ensure it can safely support the weight placed on top. Additionally, consider the style and design of your room to select a glass or mirror that complements the existing decor.
To attach the glass or mirror to the top of your storage chest, you have a few options. You can use clear adhesive or specialty glass/mirror mounts that are designed to securely hold the glass or mirror in place without damaging the surface of the chest.
Adding a glass or mirrored top to your storage chest has several benefits. Firstly, it provides a sleek and polished look that instantly elevates the aesthetic of the chest. The reflective surface of the glass or mirror can create a sense of depth and openness in the room, making it appear more spacious and inviting.
Secondly, a glass or mirrored top allows you to showcase decorative items or collectibles. Whether it’s a beautiful vase, a unique sculpture, or a set of elegant candles, the transparent or reflective surface of the glass or mirror creates a stunning arrangement that draws attention and adds a touch of sophistication.
Additionally, a glass or mirrored top is easy to clean and maintain. Simply wipe it down with a glass cleaner or a mixture of mild soap and water to remove fingerprints, smudges, or dust. It’s a practical choice that keeps your storage chest looking pristine and sparkling.
Just be cautious of the weight that you place on top of the glass or mirror, as excessive weight or pressure can cause damage. Avoid dropping heavy objects or placing sharp items directly on the surface to maintain its integrity.
By adding a glass or mirrored top to your storage chest, you introduce a touch of elegance, style, and practicality to your space. It’s a hack that can transform your chest into a statement piece that catches the light and attention of anyone who enters the room.
Attach a Chalkboard or Whiteboard Panel
If you’re looking to add a versatile and functional element to your storage chest, consider attaching a chalkboard or whiteboard panel. This hack allows you to incorporate a writable surface onto the chest, transforming it into a space for notes, memos, reminders, or even a creative outlet.
To begin, measure the desired area on the exterior or interior of the storage chest where you want to attach the chalkboard or whiteboard panel. Consider the size and dimensions that will best suit your needs and the available space on the chest.
You have a few options when it comes to the material for the chalkboard or whiteboard panel. You can purchase a pre-cut panel from a home improvement or office supply store, or you can make your own using materials such as heavy-duty cardboard or hardboard coated with specialty paint.
If you’re using a store-bought panel, simply follow the manufacturer’s instructions for installation. Typically, the panel comes with adhesive backing or can be directly screwed or mounted onto the chest. If you’re making your own panel, ensure that it is securely attached using adhesive, screws, or hooks.
By attaching a chalkboard or whiteboard panel to your storage chest, you introduce an interactive and customizable element to your space. This hack offers several benefits:
1. Organization: Use the board surface to jot down to-do lists, reminders, or important dates. Keep track of items stored inside the chest or create a checklist for organizing purposes.
2. Creativity: Let your artistic side shine by using the chalkboard or whiteboard surface as a canvas for doodles, drawings, or inspirational quotes. It provides a creative outlet and adds a personal touch to your storage chest.
3. Communication: In a shared space, use the board to leave notes or messages for family members or housemates. It’s a convenient way to convey information or important updates.
4. Versatility: The chalkboard or whiteboard panel allows you to easily erase and modify the contents as needed, offering flexibility and adaptability in its use. It can be a dynamic board that changes based on your needs and preferences.
Whether you choose a chalkboard or whiteboard panel, both options are easy to maintain. Simply wipe the surface clean with an eraser, damp cloth, or appropriate cleaning solution. Regular cleaning helps ensure that the board remains in good condition and ready for your ideas whenever inspiration strikes.
By attaching a chalkboard or whiteboard panel to your storage chest, you transform it into a functional and versatile piece of furniture. It adds a touch of interactivity, organization, and creativity that enhances both the practicality and aesthetic appeal of the chest.
Conclusion
Your storage chest doesn’t have to be just a practical container for your belongings; it can also be a stylish and functional piece of furniture that enhances the overall look and organization of your space. With these ten clever hacks, you can take your storage chest to the next level and create a truly unique and personalized storage solution.
By painting or repainting the chest, you can instantly transform its appearance and breathe new life into it. Adding decorative hardware brings a touch of style and elegance, while lining the inside with fabric or wallpaper adds a pop of color and texture.
Installing additional shelving or dividers maximizes the storage capacity and organization, allowing you to create dedicated compartments for different items. Attaching hooks or pegs to the exterior provides extra hanging space for hats, coats, or bags, keeping them within easy reach.
Labels or tags help you create an organized system, making it easier to locate and access specific items. Adding wheels or casters enables mobility and flexibility, allowing you to move the chest around effortlessly.
A cushioned or upholstered seat adds comfort and transforms the chest into a versatile seating option. A glass or mirrored top adds sophistication and reflects light, while a chalkboard or whiteboard panel introduces an interactive and customizable element.
Overall, these clever hacks provide endless possibilities to upgrade your storage chest and transform it into a stylish and functional piece of furniture. Whether you have an old chest in need of a refresh or a new chest to customize, these ideas allow you to unleash your creativity and create a storage solution that is uniquely yours.
Remember to consider the size, style, and function of your storage chest when selecting and implementing these hacks. Don’t be afraid to get creative and experiment with different materials, colors, and designs to achieve the desired look and functionality.
So, roll up your sleeves, gather your tools, and let your imagination run wild. With these clever hacks, you’ll have a storage chest that not only keeps your belongings organized but also becomes a stunning focal point in any room.
Frequently Asked Questions about Clever Hacks To Upgrade A Storage Chest
Was this page helpful?
At Storables.com, we guarantee accurate and reliable information. Our content, validated by Expert Board Contributors, is crafted following stringent Editorial Policies. We're committed to providing you with well-researched, expert-backed insights for all your informational needs.


0 thoughts on “Clever Hacks To Upgrade A Storage Chest”