Home>Articles>How To Apply Peel And Stick Wallpaper On Textured Walls
Articles
How To Apply Peel And Stick Wallpaper On Textured Walls
Modified: December 7, 2023
Learn how to easily apply peel and stick wallpaper on textured walls with our informative articles. Get expert tips and tricks for a seamless DIY project.
(Many of the links in this article redirect to a specific reviewed product. Your purchase of these products through affiliate links helps to generate commission for Storables.com, at no extra cost. Learn more)
Introduction
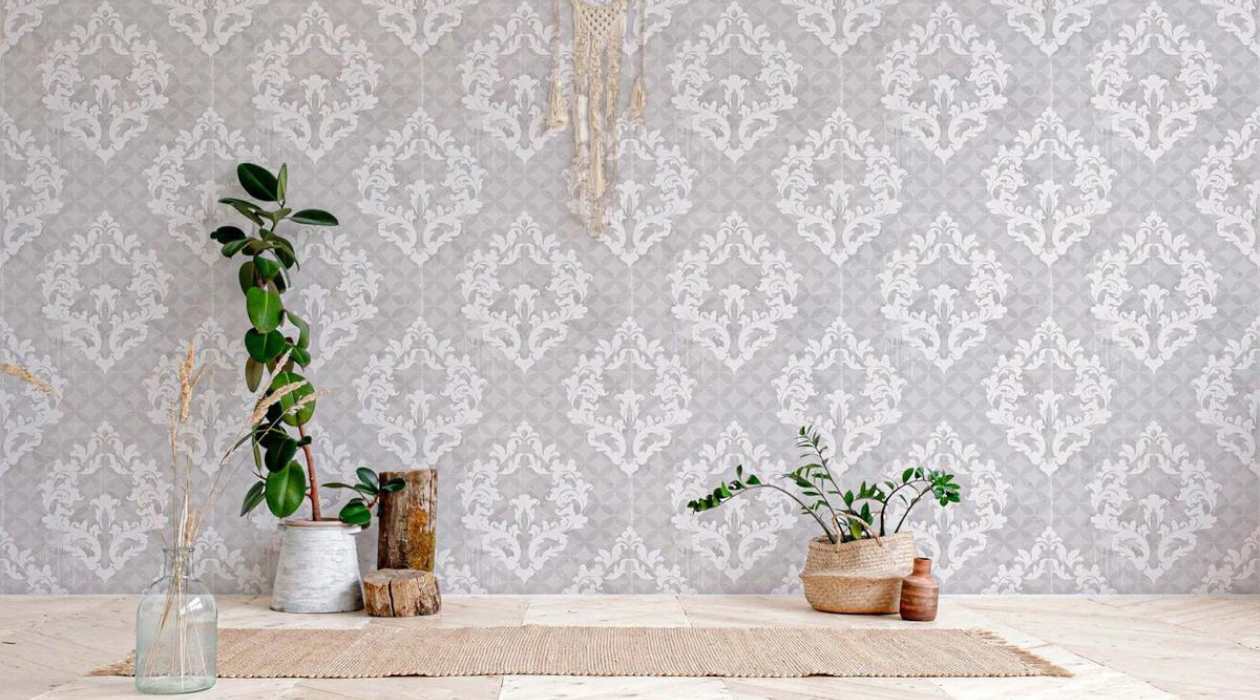
Applying peel and stick wallpaper is a fantastic way to transform the look of your home. Whether you want to add a pop of color to a room or create a statement wall, this convenient and versatile wallpaper option is a popular choice. However, when it comes to applying peel and stick wallpaper on textured walls, there are a few extra steps and considerations to keep in mind.
In this guide, we will take you through the process of applying peel and stick wallpaper on textured walls, ensuring a smooth and seamless installation. From preparing the walls to selecting the right wallpaper and dealing with air bubbles, we will cover it all. So, let’s get started!
Key Takeaways:
- Transform your home with peel and stick wallpaper on textured walls by preparing the surface, choosing the right wallpaper, and applying it with precision for a flawless and professional finish.
- Achieve a seamless and stylish look by measuring and cutting the wallpaper accurately, smoothing out air bubbles and wrinkles, and adding the finishing touches for a polished final result.
Preparing the Textured Walls
Before you begin applying peel and stick wallpaper on textured walls, it’s essential to prepare the surface properly. Here are the steps to follow:
- Clean the Walls: Start by thoroughly cleaning the walls to remove any dirt, dust, or grease. Use a mild detergent mixed with water and a sponge or cloth to scrub the surface gently. Rinse the walls with clean water and allow them to dry completely before moving on to the next step.
- Repair any Damaged Areas: Inspect the walls for any cracks, holes, or other imperfections. Fill in these areas with spackle or joint compound and smooth them out using a putty knife. Allow the repaired areas to dry completely and then sand them lightly to create a smooth surface.
- Sand the Walls: Next, sand the entire wall surface using a medium-grit sandpaper. This step will help to level out any rough textures and create a smoother base for the wallpaper. Make sure to wipe away any dust with a dry cloth after sanding.
- Prime the Walls (if necessary): In some cases, it may be necessary to apply a primer to the walls before installing peel and stick wallpaper. This is particularly important if the textured walls have a glossy or uneven surface. The primer will help create a smooth, adhesive-friendly base. Consult with a local home improvement store to choose the appropriate primer for your specific textured walls.
- Allow the Walls to Dry Completely: After completing the above steps, allow the walls to dry completely. This may take a few hours or longer, depending on the humidity levels in your area.
By following these preparation steps, you will ensure that your textured walls provide a suitable foundation for the peel and stick wallpaper. Taking the time to properly clean, repair, and prime the walls will help the wallpaper adhere better and result in a more professional-looking finish.
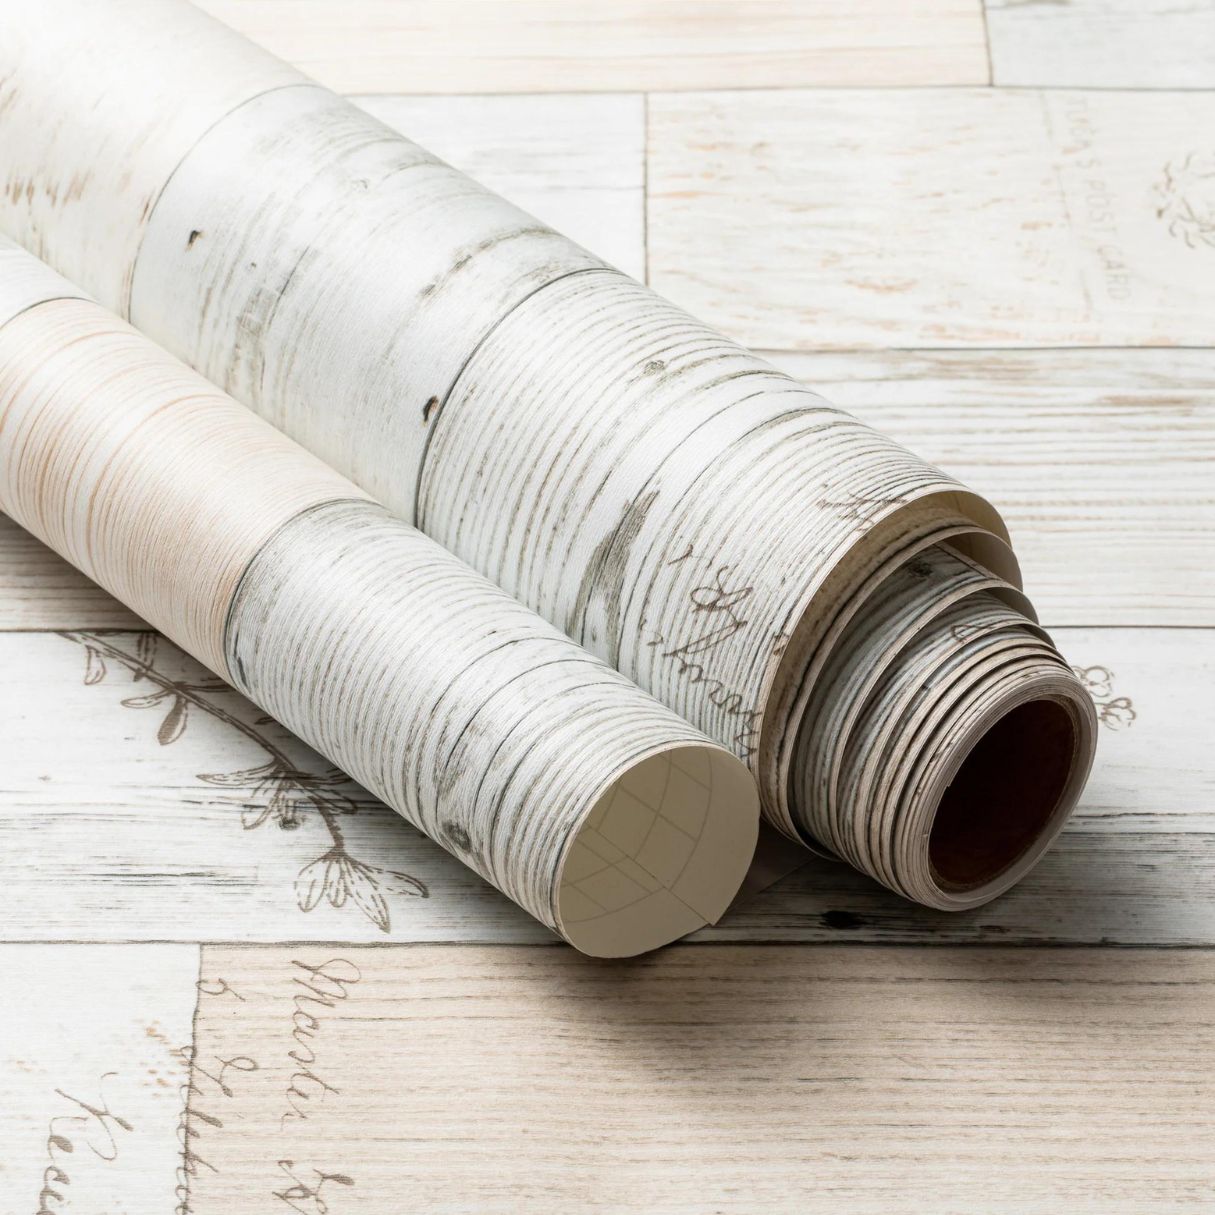
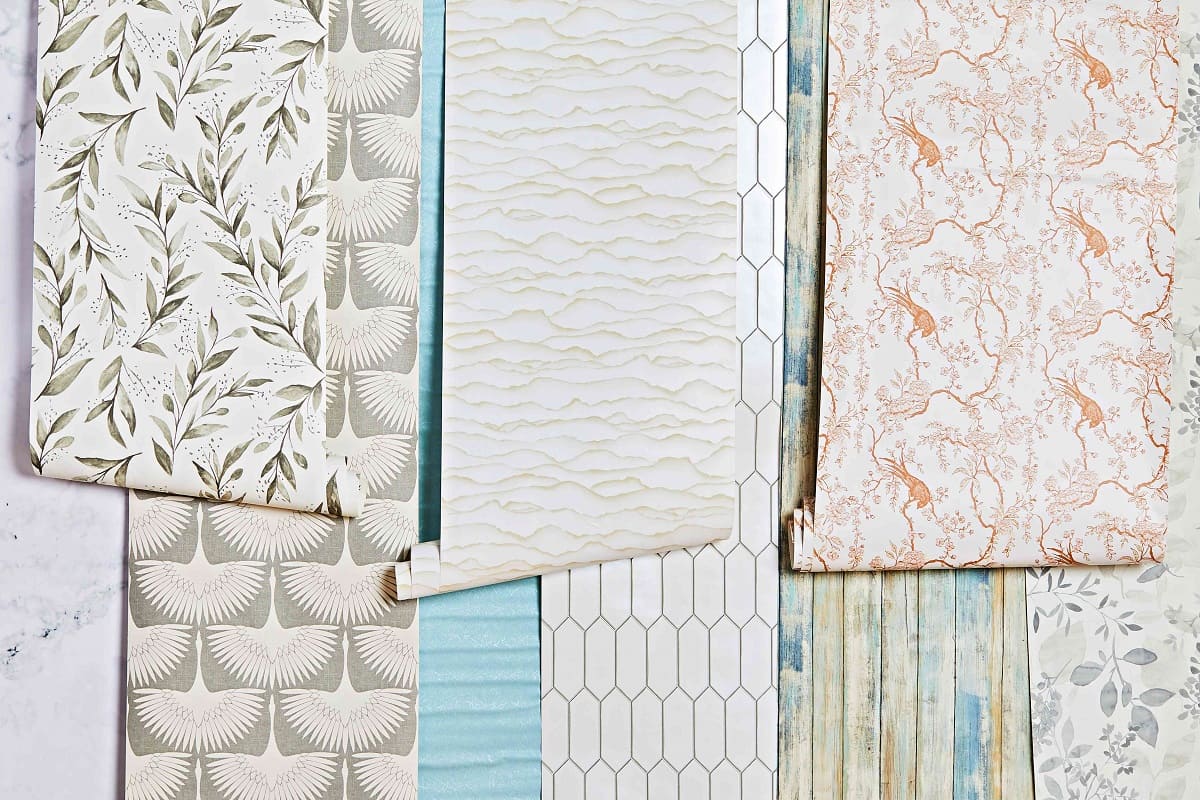
Choosing the Right Peel and Stick Wallpaper
When it comes to selecting peel and stick wallpaper for textured walls, there are a few important factors to consider. Here are some tips to help you choose the right wallpaper for your needs:
- Texture Compatibility: Look for peel and stick wallpaper that is specifically designed to adhere to textured walls. These types of wallpaper are typically thicker and have a stronger adhesive to ensure better adhesion to the uneven surface. Avoid thin or delicate wallpaper that may not adhere properly or easily get damaged on textured walls.
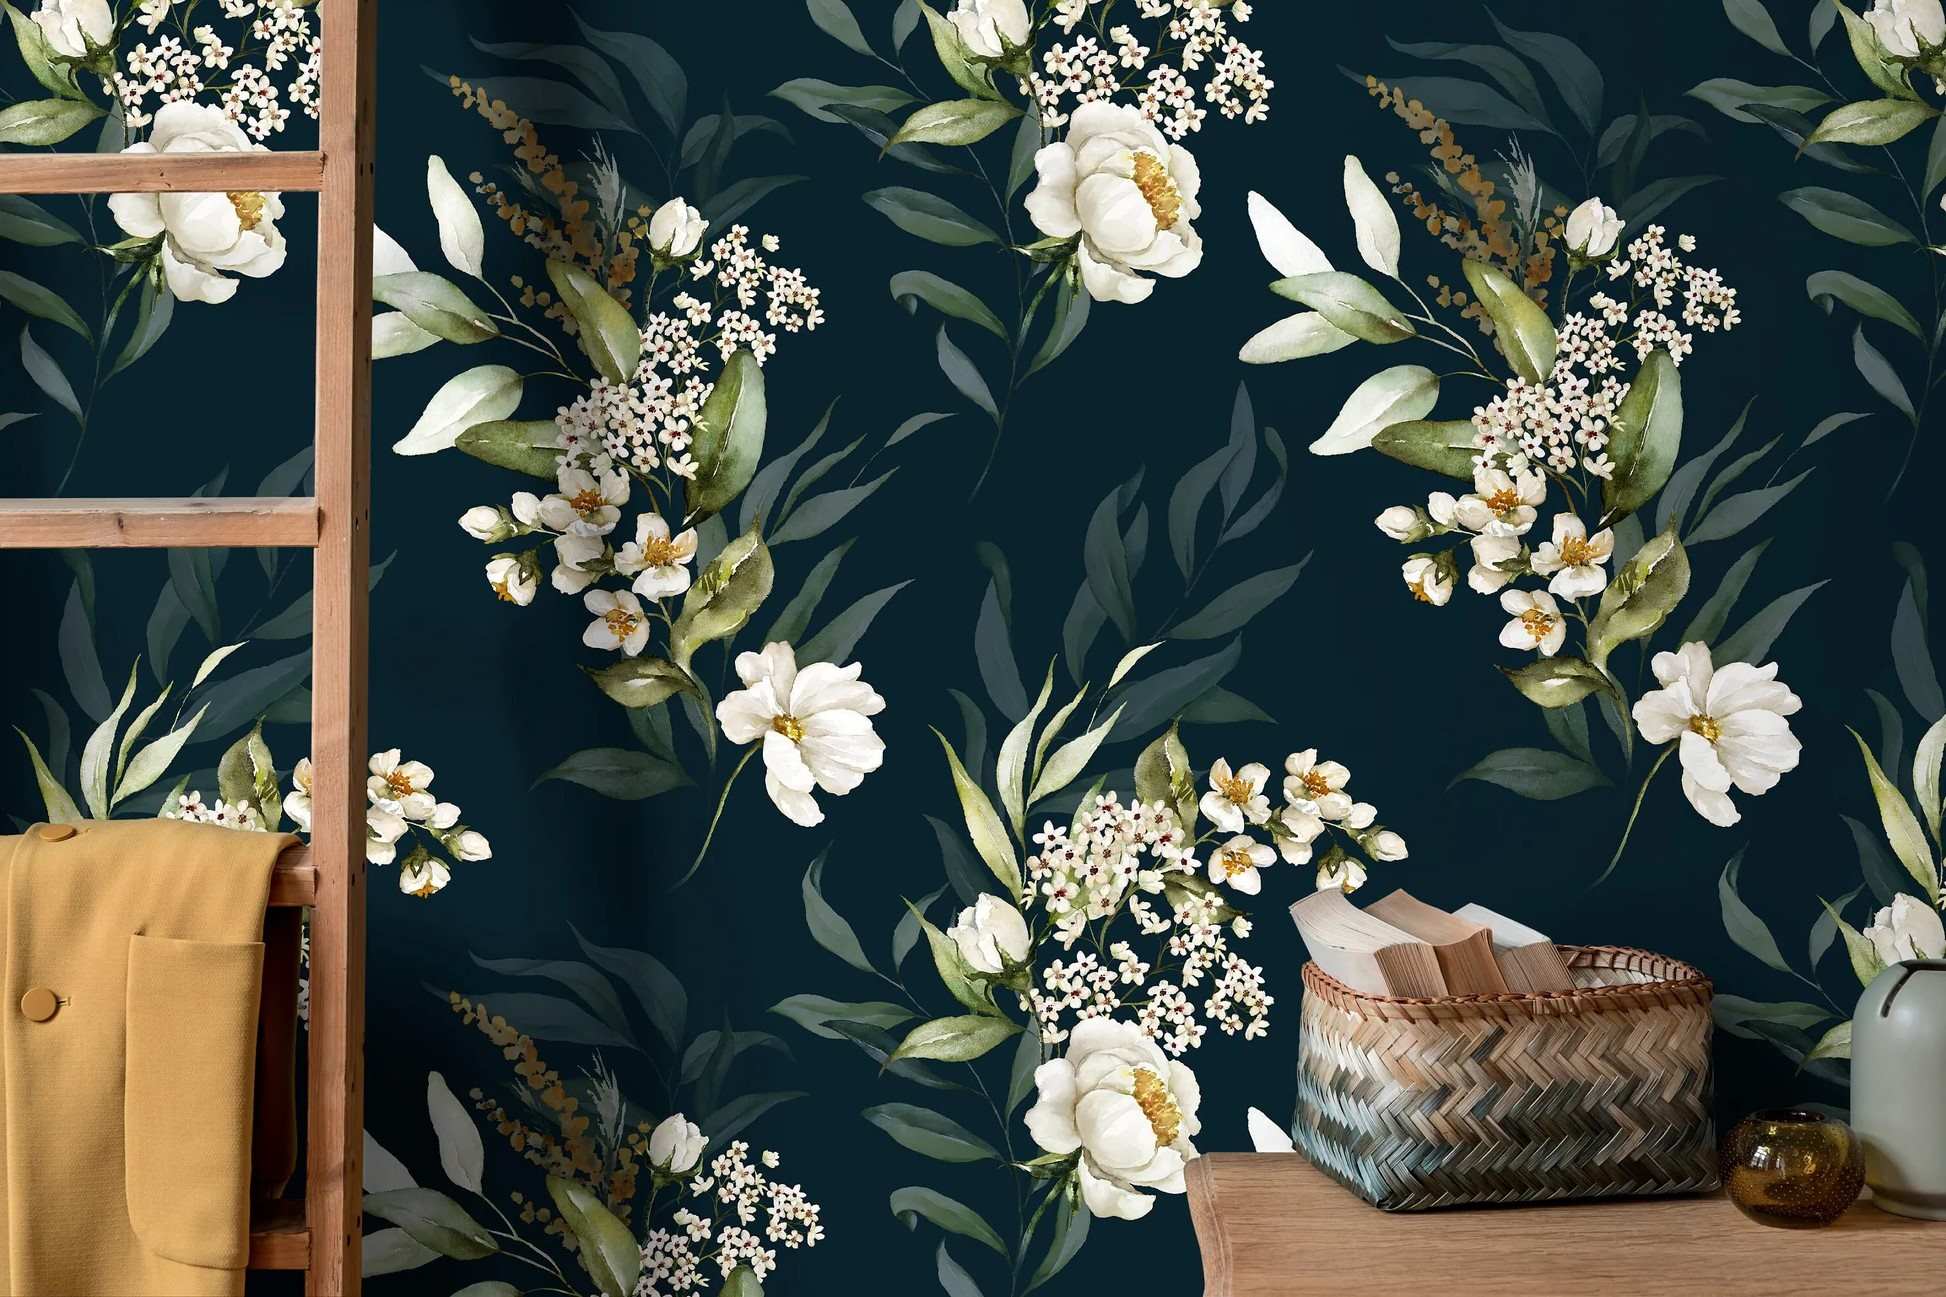
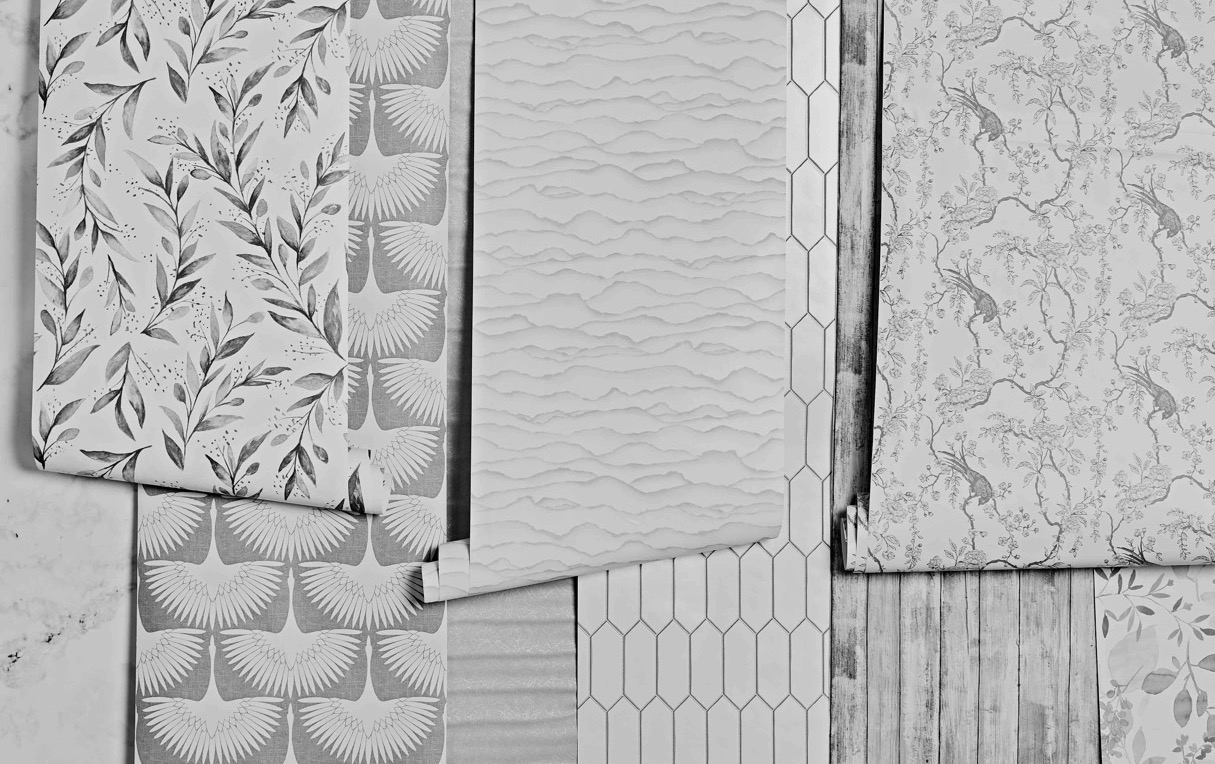
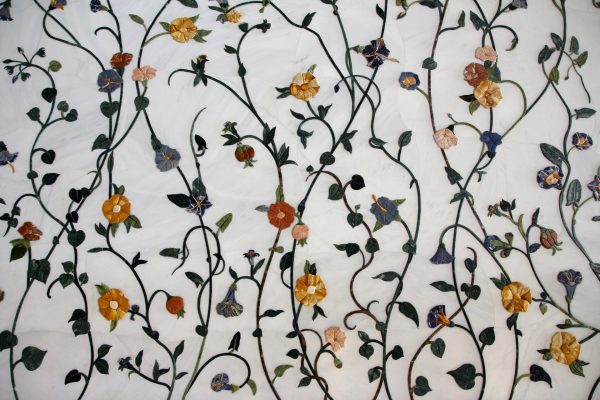
- Pattern and Design: Choose a pattern or design that complements the overall theme and style of your room. Consider the colors, scale of the pattern, and how it will interact with your existing decor. It is also a good idea to test a small sample of the wallpaper on your textured walls to see how it looks before committing to the entire roll.
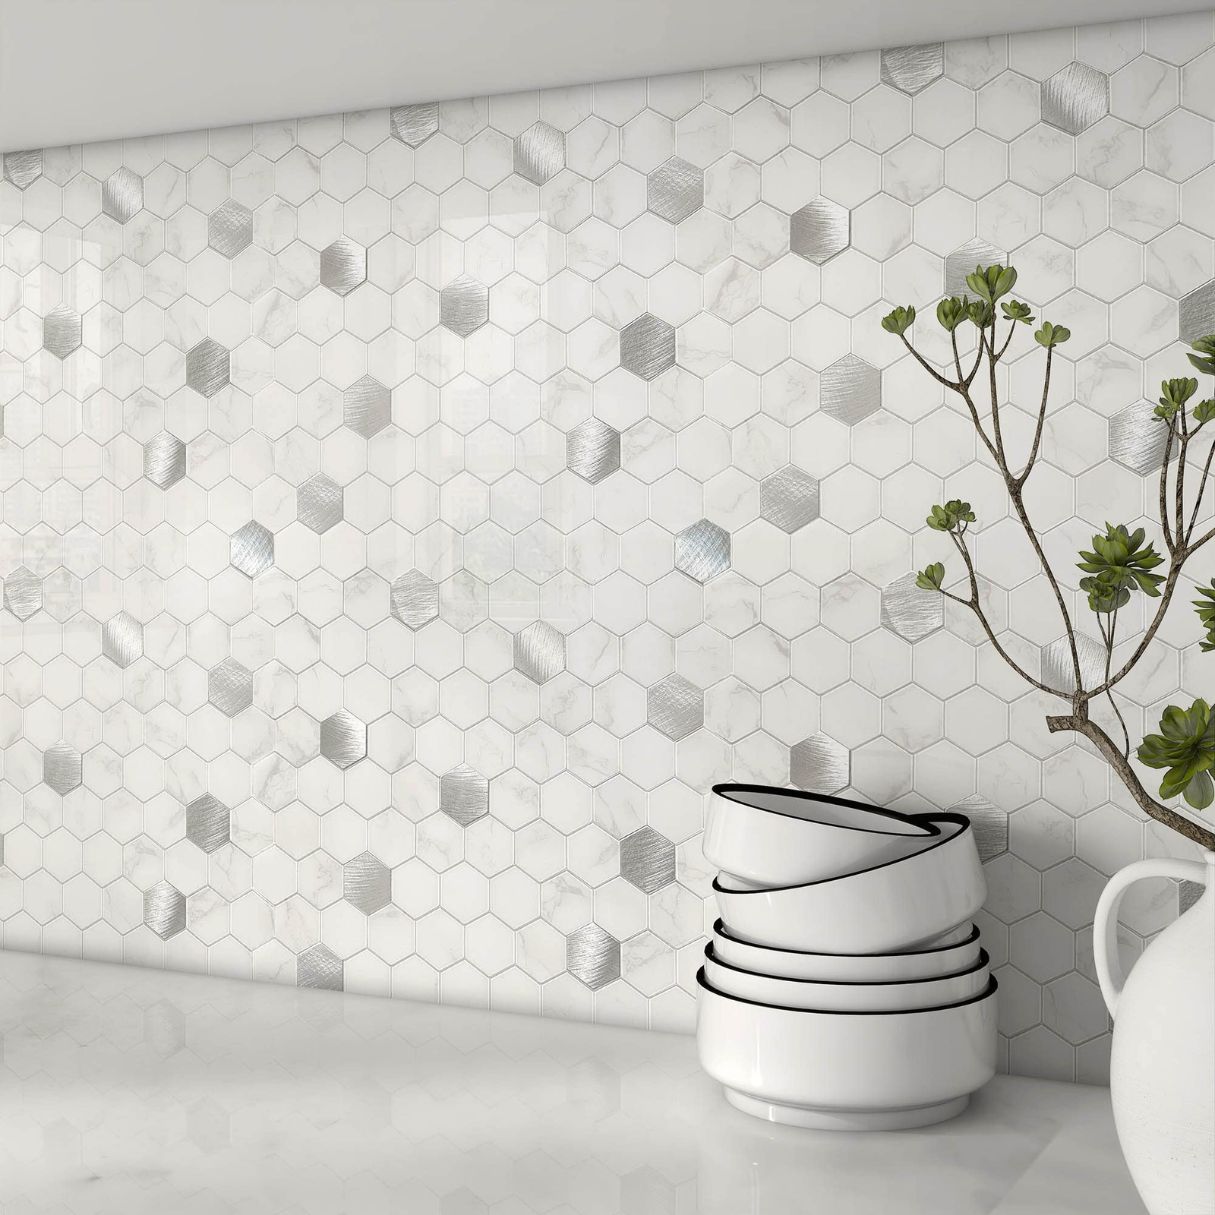
- Durability and Washability: Consider the durability and washability of the peel and stick wallpaper. If the room is prone to moisture, such as a bathroom or kitchen, opt for a wallpaper that is waterproof or resistant to stains and easily cleanable. This will ensure that your wallpaper stays in good condition over time.
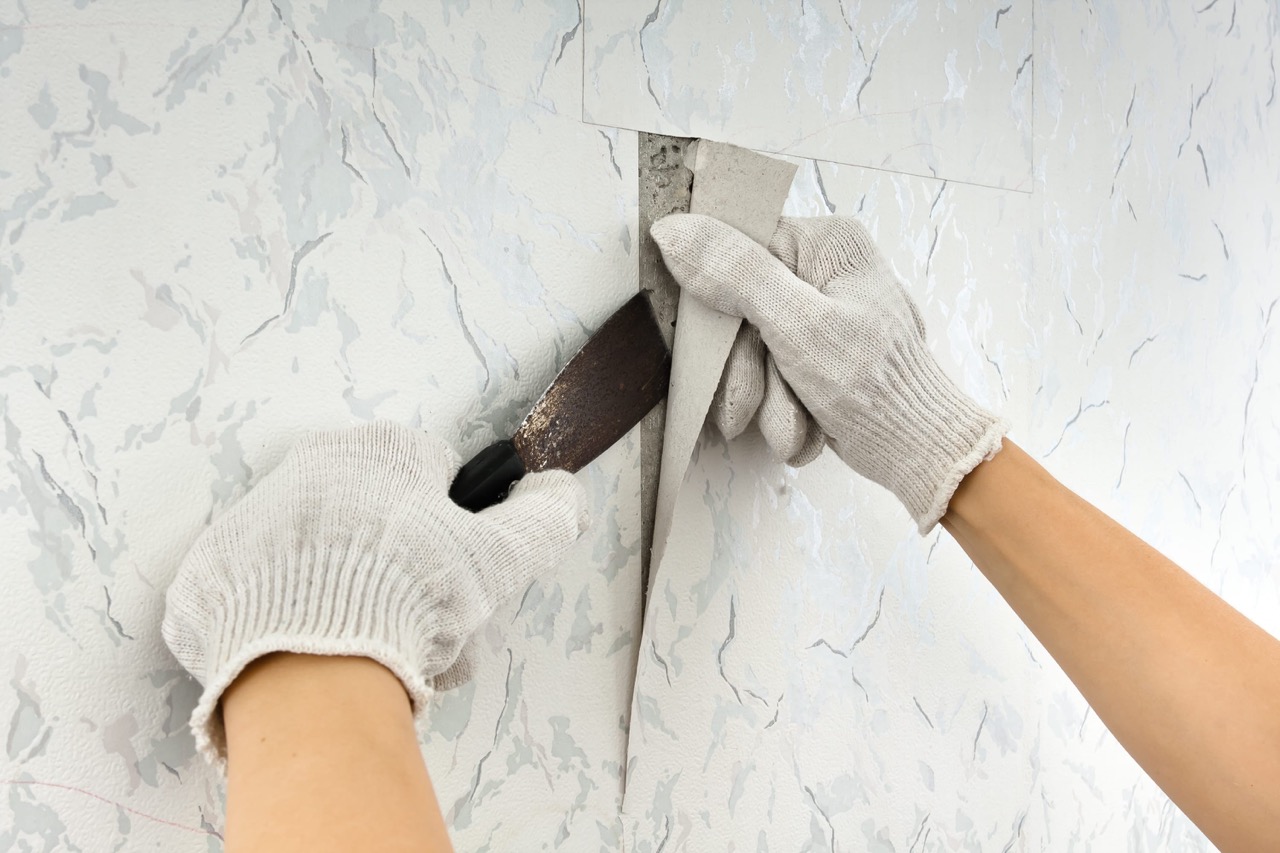
- Easy Removal: Look for peel and stick wallpaper that is easy to remove without damaging the textured walls. Some wallpapers have a removable adhesive that allows for easy removal without leaving behind residue or causing any damage. This is particularly important if you plan to change the wallpaper in the future or if you are renting a space.
- Read Reviews and Testimonials: Before making a final decision, read reviews and testimonials from other customers who have used the specific peel and stick wallpaper you are considering. This will give you a better idea of the wallpaper’s quality, ease-of-use, and how it performs on textured walls.
By considering these factors, you can confidently choose the right peel and stick wallpaper for your textured walls. Remember to take your time and explore different options to find the perfect wallpaper that matches your style and meets your practical needs.
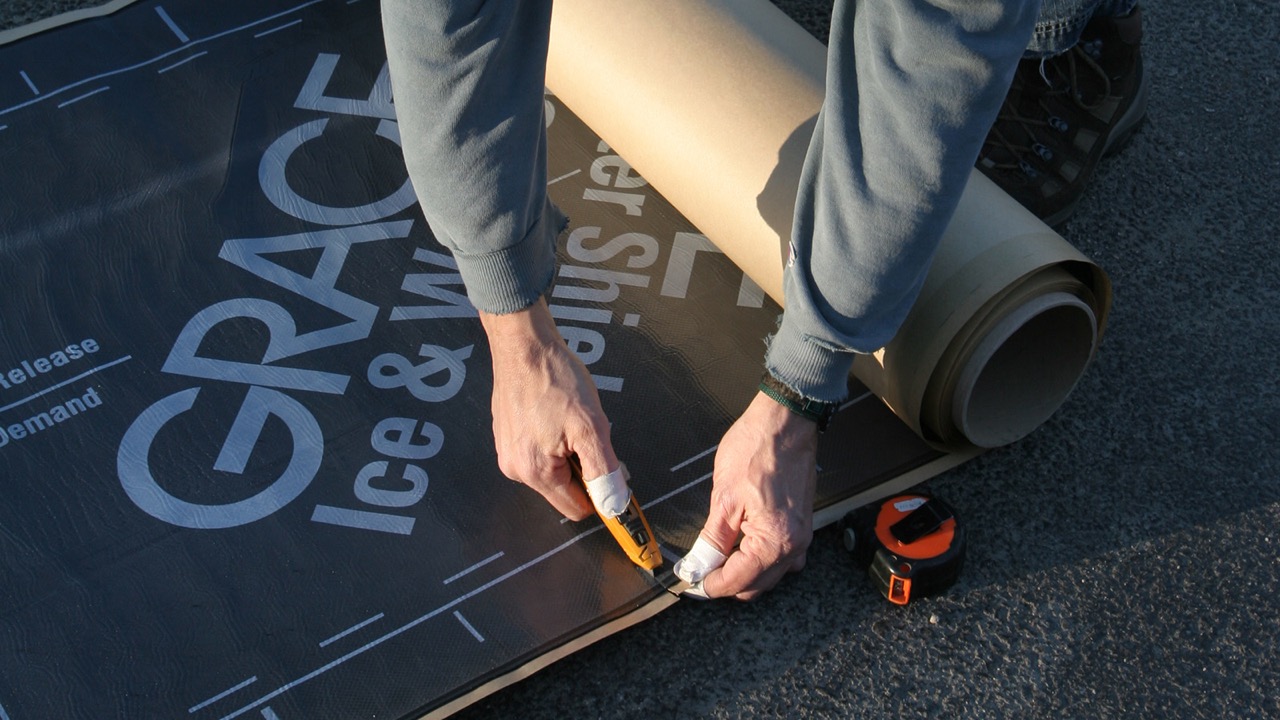
Measuring and Cutting the Wallpaper
Accurate measurements and proper cutting are crucial steps in the process of applying peel and stick wallpaper on textured walls. Here’s a guide on how to measure and cut the wallpaper:
- Measure the Walls: Start by measuring the height and width of the walls where you plan to apply the wallpaper. Use a tape measure and record the measurements accurately. If there are windows, doors, or other obstacles on the wall, measure around them to ensure you have enough wallpaper to cover the entire surface.
- Add Extra Length: After measuring the walls, add a few extra inches to both the height and width measurements. This additional length will allow for any trimming and adjustments during the installation process. It’s better to have more wallpaper than needed rather than coming up short.
- Pre-cut the Wallpaper: Before applying the wallpaper, pre-cut it into manageable panels or strips according to your measurements. Use a straight edge ruler or a wallpaper cutting tool to ensure clean and precise cuts. If your wallpaper has a pattern, make sure to align the pattern between each strip for a seamless look.
- Label the Wallpaper Strips: To stay organized during the installation process, label each cut strip on the back with a pencil or masking tape. Note which strip goes where on the wall to avoid confusion later on.
- Double-check the Measurements: Before proceeding with applying the wallpaper, double-check your measurements and ensure that all the pre-cut strips are the correct size and match the wall dimensions.
By taking the time to measure accurately and cut the wallpaper into the right-sized panels or strips, you will save yourself time and frustration during the installation process. Double-checking your measurements and labeling the strips will help you stay organized and make the application smoother.
Applying Primer (if necessary)
Applying a primer to your textured walls before installing peel and stick wallpaper can be beneficial, particularly if you have a glossy or uneven surface. The primer helps create a smooth and adhesive-friendly base, ensuring better adherence and a professional finish. Here’s a step-by-step guide on how to apply primer:
- Choose the Right Primer: Consult with a local home improvement store to find a suitable primer for your textured walls. Look for a primer specifically designed for use on uneven surfaces or ones that are recommended for use with peel and stick wallpaper.
- Prepare the Walls: Clean the walls thoroughly by removing any dirt, dust, or grease. Use a mild detergent mixed with water and a sponge or cloth to scrub the surface gently. Rinse the walls with clean water and allow them to dry completely.
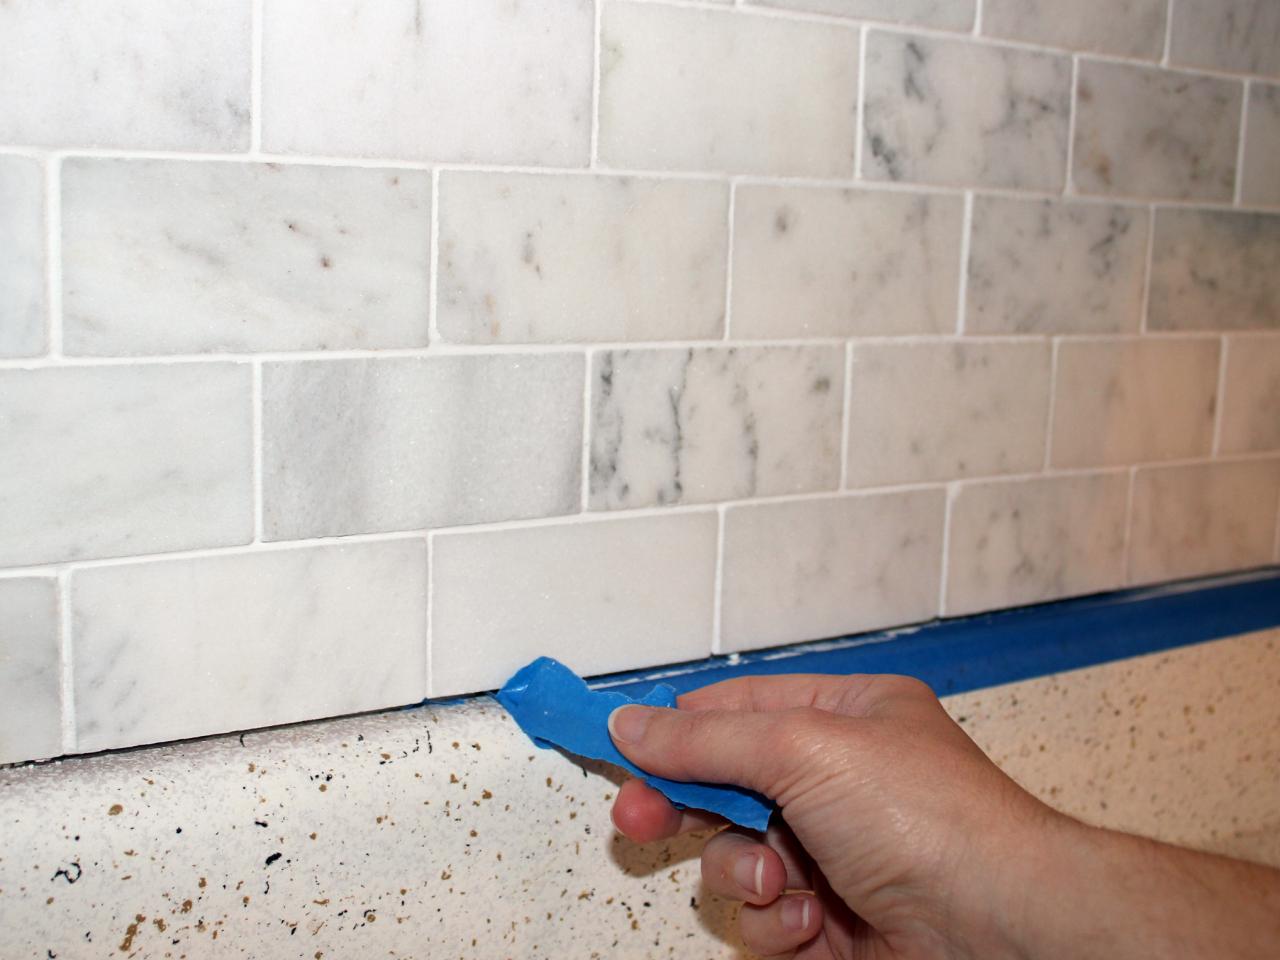
- Protect the Surrounding Areas: Use painter’s tape to protect any adjacent surfaces or areas where you don’t want the primer to come into contact.
- Apply the Primer: Using a roller or paintbrush, apply a thin and even coat of primer to the textured walls. Work in small sections, covering one area at a time. Ensure that the primer is spread evenly and reaches into any crevices or textured areas.
- Allow the Primer to Dry: Follow the manufacturer’s instructions on the primer for drying time. Typically, it will take a few hours for the primer to dry completely, but this can vary depending on the product and environmental conditions.
- Sand the Primer (if necessary): Once the primer is dry, lightly sand the surface using a fine-grit sandpaper. This step will help create an even smoother base for the peel and stick wallpaper to adhere to.
- Remove Dust: After sanding, use a dry cloth or vacuum cleaner to remove any dust particles from the primed walls.
Applying primer to your textured walls before installing peel and stick wallpaper can improve the bond between the wallpaper and the surface, ensuring better adhesion and longevity. It is an optional step, but one that can provide added benefits, particularly if you have problematic walls.
Before applying peel and stick wallpaper on textured walls, use a primer to create a smooth surface for better adhesion. This will help the wallpaper stick more effectively and prevent it from peeling over time.
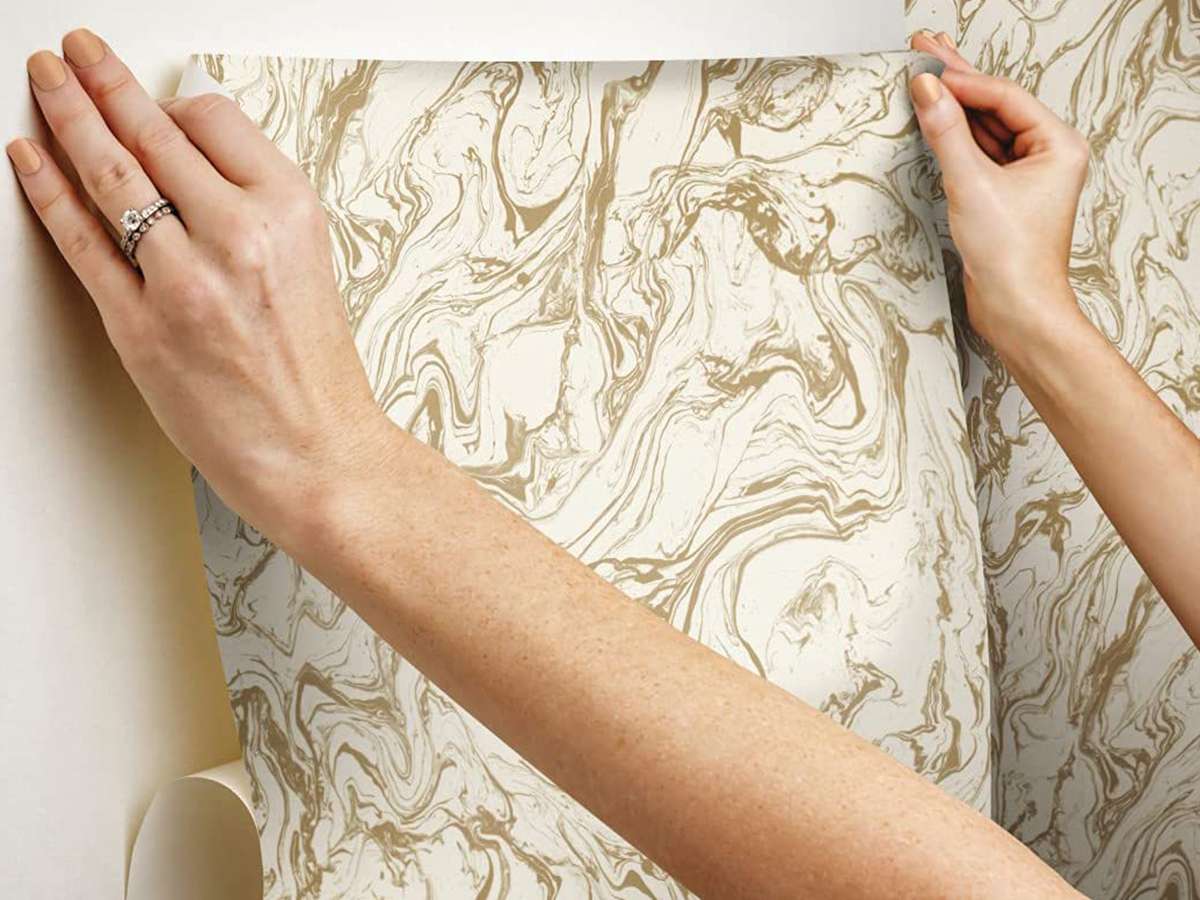
Applying the Peel and Stick Wallpaper
Now that you have prepared your textured walls and, if necessary, applied a primer, it’s time to start applying the peel and stick wallpaper. Follow these steps for a successful installation:
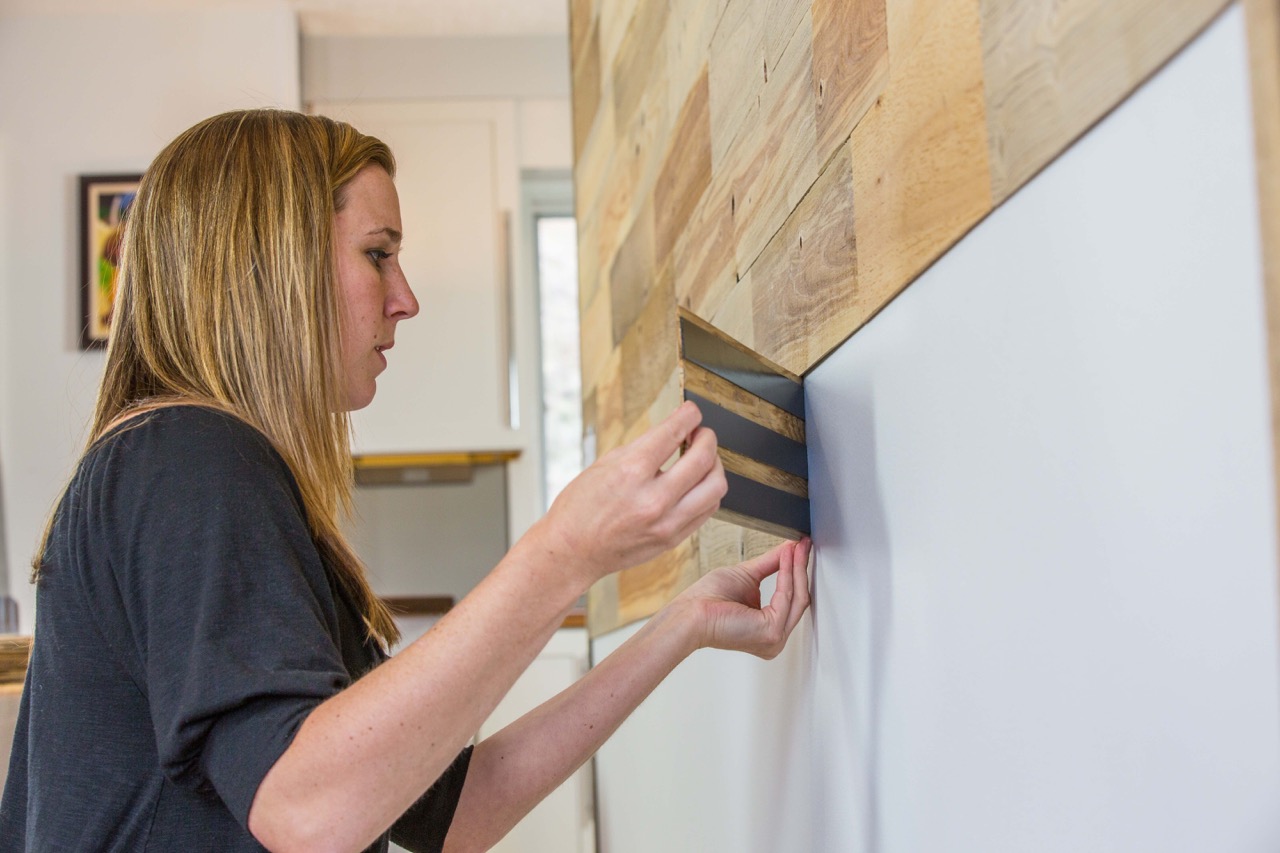
- Start from a Corner: Begin in a corner of the wall, preferably one that is less visible. This will allow you to practice and perfect your technique before moving to more prominent areas. Peel off a small portion of the backing paper to expose the adhesive side of the wallpaper.
- Align and Stick: Align the edge of the wallpaper with the corner or edge of the wall. Make sure the wallpaper is straight and level. Gently press the exposed adhesive side onto the wall, smoothing it out as you go along. Use a wallpaper smoothing tool or a clean, dry cloth to remove any air bubbles or wrinkles.
- Continue Applying: Slowly peel off more of the backing paper as you continue pressing the wallpaper onto the wall. Work in small sections, taking care to align the pattern or design as you go along. Smooth out any air bubbles or wrinkles as you progress, using the smoothing tool or cloth.
- Overlap or Match Seam: Depending on the design of your peel and stick wallpaper, you may need to overlap the edges slightly or match the seams. Follow the manufacturer’s instructions or the pattern of the wallpaper to ensure a seamless and cohesive look.
- Trim Excess: Once you have applied the entire length of wallpaper, use a sharp utility knife or scissors to trim any excess at the top and bottom. Carefully cut along the edge of the wallpaper, following the contour of the wall. Take your time to achieve clean and precise cuts.
- Smooth out and Finalize: After trimming, go over the entire wallpapered surface once again with a wallpaper smoothing tool or cloth. Pay attention to any remaining air bubbles or wrinkles and carefully smooth them out.
It’s important to take your time and be patient during the application process. Smooth out any imperfections as you go along to achieve a professional and seamless look. Remember to refer to the manufacturer’s instructions for any specific guidelines related to the peel and stick wallpaper you are using.
Smoothing out Air Bubbles and Wrinkles
Getting a smooth and wrinkle-free finish is essential when applying peel and stick wallpaper on textured walls. Here are some tips to help you smooth out air bubbles and wrinkles:
- Start from the Center: If you notice air bubbles or wrinkles on the wallpaper, start smoothing from the center and work your way out towards the edges. Gently press down and smooth the wallpaper with a wallpaper smoothing tool or a clean, dry cloth.
- Squeegee Technique: Using a wallpaper smoothing tool or a credit card wrapped in a soft cloth, apply pressure to the wallpaper in a sweeping motion to push out any air bubbles or wrinkles. Work in small sections, applying moderate pressure as you go along.
- Use Heat: If there are stubborn air bubbles or wrinkles that are not responding to the smoothing techniques, you can use gentle heat to help soften the adhesive. Use a hairdryer on a low heat setting, and while holding it a few inches away from the wallpaper, move it back and forth over the problem area. The heat will help relax the adhesive, making it easier to smooth out the imperfections.
- Lift and Reapply: If you encounter a large air bubble or wrinkle, gently lift the wallpaper and reapply it, paying attention to align the edges and the pattern correctly. Use the smoothing tool or cloth to press it back onto the wall, working out any air bubbles or wrinkles as you go along.
- Be Patient: Sometimes, small air bubbles or wrinkles may disappear on their own over time as the adhesive settles and the wallpaper adjusts to the environment. If the imperfections are minor, you can wait for a day or two to see if they smooth out naturally before attempting any additional measures.
Remember, taking your time and being patient during the application process is crucial for achieving a smooth and wrinkle-free finish. Don’t rush the smoothing process and work in small sections to ensure thorough coverage. With a bit of practice and persistence, you can achieve a professional-looking result.
Trimming Excess Wallpaper
Once you have successfully applied the peel and stick wallpaper on your textured walls, it’s time to trim off any excess material. Trimming the wallpaper neatly will give your project a polished and finished look. Here’s how to trim the excess wallpaper:
- Inspect the Edges: Before trimming, carefully inspect the edges of the wallpaper to ensure they are aligned with the edges of the wall or any adjacent surfaces. Make any necessary adjustments to ensure a clean and straight line.
- Measure and Mark: Use a ruler or measuring tape to measure the distance between the top edge of the wallpaper and the ceiling or any molding. Similarly, measure the distance between the bottom edge of the wallpaper and the floor or baseboard. Mark these measurements lightly with a pencil.
- Cut with Precision: With the help of a sharp utility knife or scissors, cut along the marked lines. Make sure to follow the contour of the wall or any moldings for a precise and clean cut. Take your time and use a steady hand to avoid any accidental slipping or tearing of the wallpaper.
- Trim Around Obstacles: If you come across electrical outlets, switches, or other wall fixtures, take extra care when trimming the wallpaper around them. Use a small utility knife or scissors to carefully cut out the openings, ensuring a neat and snug fit around the objects.
- Smooth Out: After trimming the excess wallpaper, go over the entire wallpapered surface once again with a wallpaper smoothing tool or clean, dry cloth. Press down the edges firmly to ensure they are securely adhered to the wall. Smooth out any imperfections or air bubbles that may have formed during the trimming process.
By following these steps and taking your time to trim the excess wallpaper accurately, you will achieve a professional and seamless finish. Remember to be cautious when using sharp tools and work slowly to avoid any mistakes or damage to the wallpaper or the wall surface.
Finishing Touches and Clean-Up
Once you have applied and trimmed the peel and stick wallpaper on your textured walls, it’s time to add the finishing touches and complete the installation. Here are a few important steps for a polished final result:
- Inspect the Wallpaper: Take a step back and carefully inspect the entire wallpapered surface. Look for any remaining air bubbles, wrinkles, or misaligned seams. If you notice any imperfections, gently lift the affected area and smooth it out using a wallpaper smoothing tool or cloth.
- Wipe Down the Walls: Use a damp cloth or sponge to wipe down the wallpapered walls. This will remove any residue or dust that may have accumulated during the installation process. Ensure that the walls are completely dry before proceeding.
- Replace Outlet Covers and Switch Plates: If you removed any outlet covers or switch plates before installing the wallpaper, now is the time to put them back in place. Make sure they are secured tightly and aligned properly.
- Touch up Paint (if necessary): If there are any areas where the textured walls are still visible through the seams or edges of the wallpaper, you can touch them up with paint that matches the wallpaper or the wall color. Use a small paintbrush and apply the paint carefully to blend in the area seamlessly.
- Clean up the Workspace: Once you have completed the installation and finishing touches, it’s important to clean up your workspace. Dispose of any leftover backing paper, used tools, or any other debris. Wipe down any surfaces that may have gotten dirty during the process.
- Enjoy Your Newly Wallpapered Space: After completing the finishing touches and clean-up, take a moment to step back and admire your newly wallpapered space. The peel and stick wallpaper on your textured walls have transformed the room and added a fresh and stylish touch. Enjoy the fruits of your hard work!
By following these finishing touches and clean-up steps, you will ensure a clean and professional result. Take your time and pay attention to detail to achieve a beautiful and visually appealing finished product.
Read more: How To Measure For Peel And Stick Wallpaper
Conclusion
Applying peel and stick wallpaper on textured walls can be a fun and rewarding DIY project that instantly transforms the look and feel of a room. By following the steps outlined in this guide, you can ensure a successful installation and achieve a seamless and professional finish.
From preparing the textured walls by cleaning, repairing, and priming (if necessary) to selecting the right peel and stick wallpaper for your needs, each step plays a crucial role in the process. Accurate measuring and cutting of the wallpaper, along with applying it with precision and smoothing out air bubbles and wrinkles, are essential for a flawless result.
Remember to take your time, be patient, and refer to the manufacturer’s instructions for specific guidelines on the peel and stick wallpaper you are using. By paying attention to detail and following the recommended techniques, you can ensure a beautiful and long-lasting wallpaper application on your textured walls.
Lastly, don’t forget the finishing touches and clean-up. Inspect the wallpaper for any imperfections, wipe down the walls, replace outlet covers and switch plates, and tidy up your workspace. Enjoy the satisfaction of a job well done and take pleasure in your newly wallpapered space.
With the right preparation, careful execution, and attention to detail, your textured walls will be enhanced with the beauty and style of peel and stick wallpaper. Get ready to transform your living space and make a statement with this versatile and convenient wall covering option!
Frequently Asked Questions about How To Apply Peel And Stick Wallpaper On Textured Walls
Was this page helpful?
At Storables.com, we guarantee accurate and reliable information. Our content, validated by Expert Board Contributors, is crafted following stringent Editorial Policies. We're committed to providing you with well-researched, expert-backed insights for all your informational needs.

0 thoughts on “How To Apply Peel And Stick Wallpaper On Textured Walls”