Articles
How To Install Hinges On Cabinet Doors
Modified: September 1, 2024
Learn how to install hinges on kitchen cabinet doors with our step-by-step guide. Upgrade your kitchen furniture with this easy DIY project.
(Many of the links in this article redirect to a specific reviewed product. Your purchase of these products through affiliate links helps to generate commission for Storables.com, at no extra cost. Learn more)
Introduction
Installing hinges on cabinet doors is an essential skill for anyone looking to upgrade their kitchen or add functionality to their cabinets. Hinges allow doors to swing open and closed smoothly, ensuring easy access to your stored items. Whether you’re a seasoned DIY enthusiast or a beginner looking to tackle a small home improvement project, this guide will walk you through the process of installing hinges on cabinet doors.
From selecting the right tools and materials to properly mounting the hinges and adjusting them for optimal functionality, we’ve got you covered. So, roll up your sleeves and let’s get started on this step-by-step journey of installing hinges on cabinet doors.
Key Takeaways:
- Elevate your kitchen with smooth and functional cabinet doors by mastering the art of installing hinges. Follow the step-by-step guide for a seamless DIY project and enjoy the improved accessibility to your stored items.
- Prioritize safety, patience, and attention to detail as you embark on the journey of installing hinges on your cabinet doors. With the right tools and careful adjustments, you can achieve optimal functionality and elevate the aesthetic appeal of your space.
Read more: How To Fix A Cabinet Door Hinge
Tools and Materials Needed
Before diving into the installation process, it’s important to gather all the necessary tools and materials. Here’s a list of what you’ll need:
- Power drill
- Hinge template
- Measuring tape
- Pencil or marker
- Chisel
- Screws
- Screwdriver or drill bit
- Hinges
- Cabinet doors
- Work gloves
- Safety glasses
Make sure you have all these tools and materials readily available before starting the installation process. It’s important to prioritize safety by wearing work gloves and safety glasses throughout the process to protect yourself from any potential accidents.
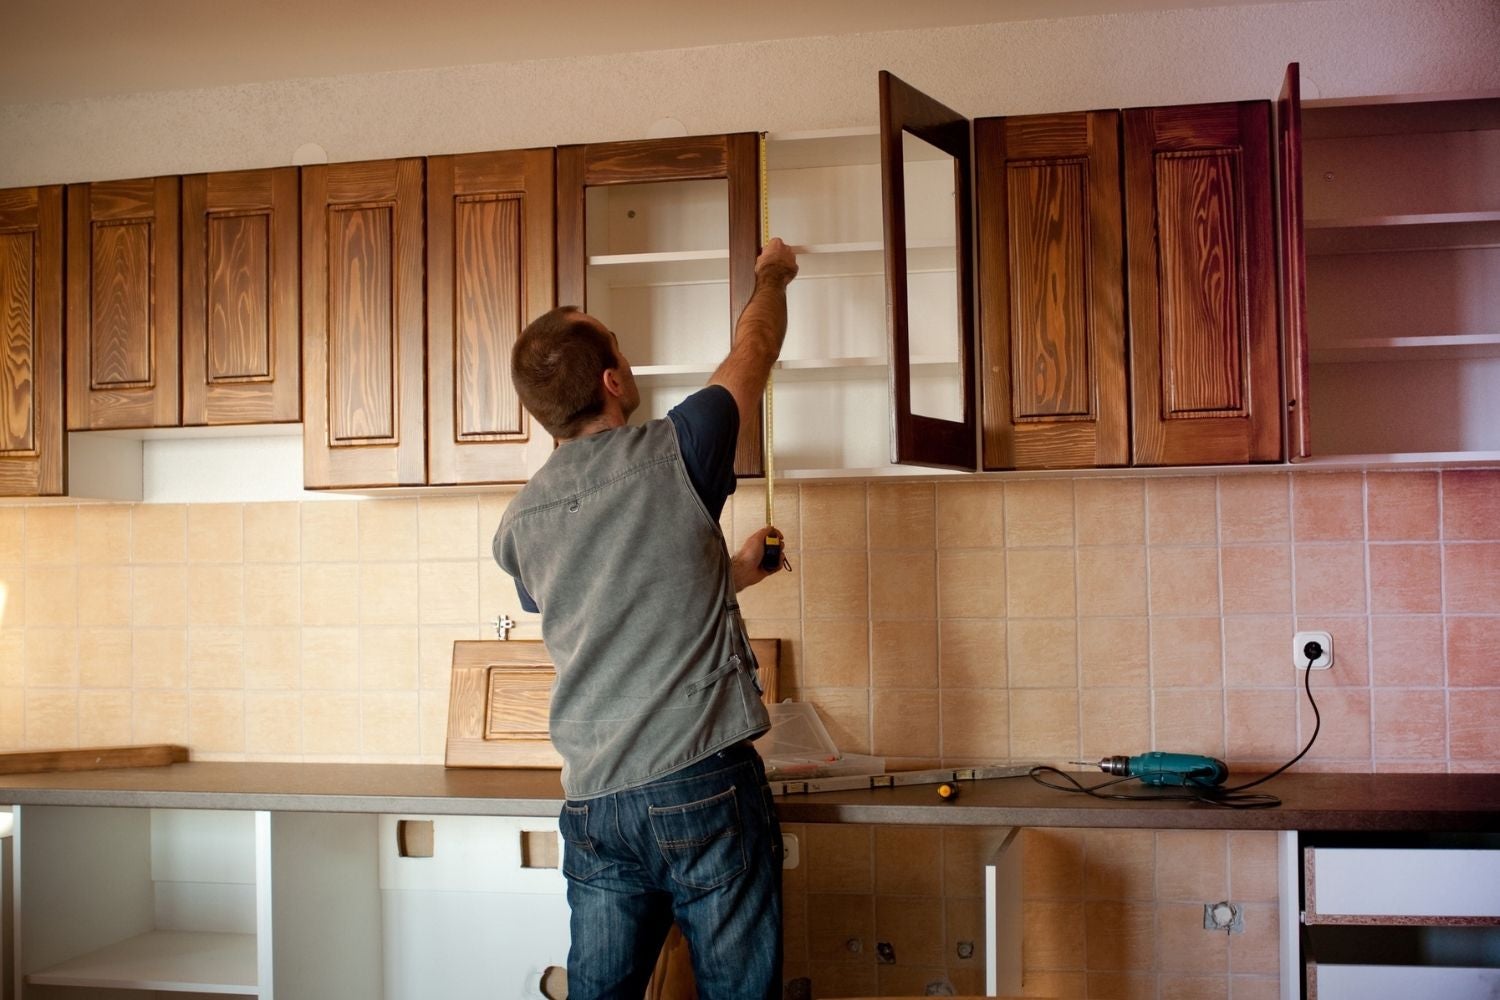
Step 1: Preparation
Before you begin installing hinges on your cabinet doors, it’s essential to prepare the workspace and gather all the necessary items. Follow these steps for proper preparation:
- Clear the area: Remove any items or obstacles near the cabinet doors to create a clean and clutter-free workspace.
- Measure the doors: Take accurate measurements of the cabinet doors to determine the placement and size of the hinges. Use a measuring tape and record the dimensions for reference.
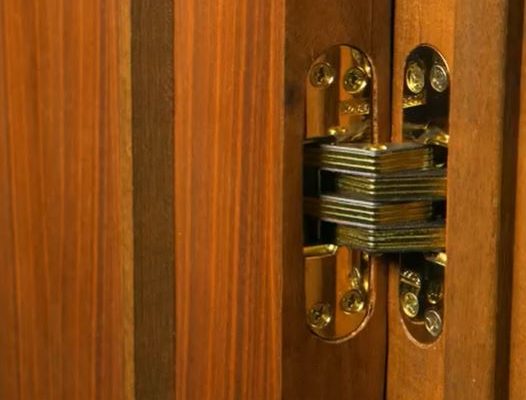
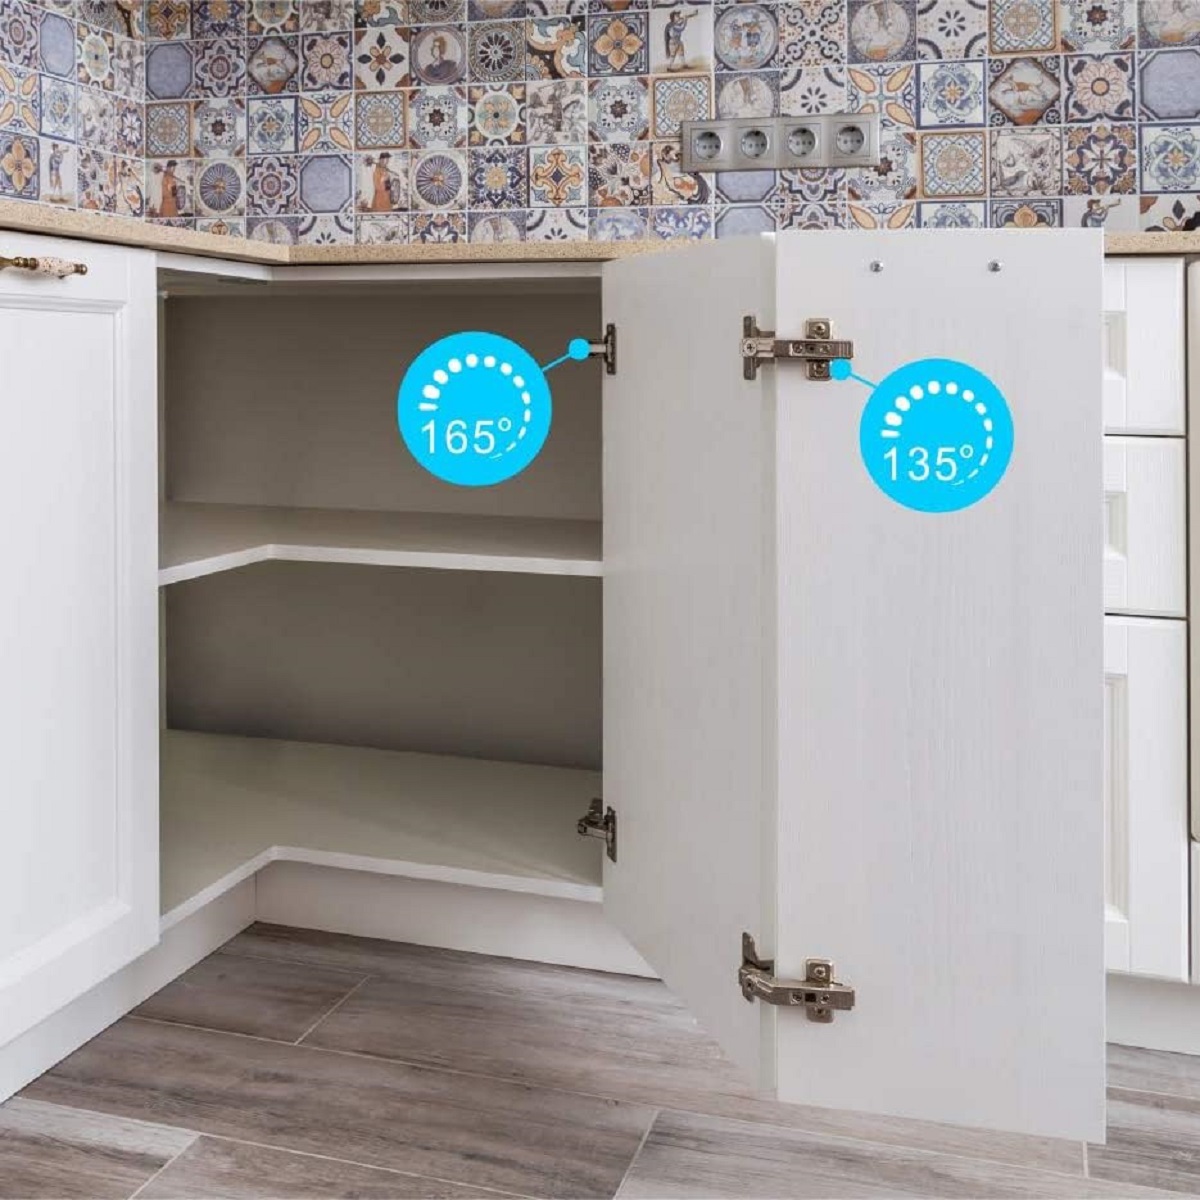
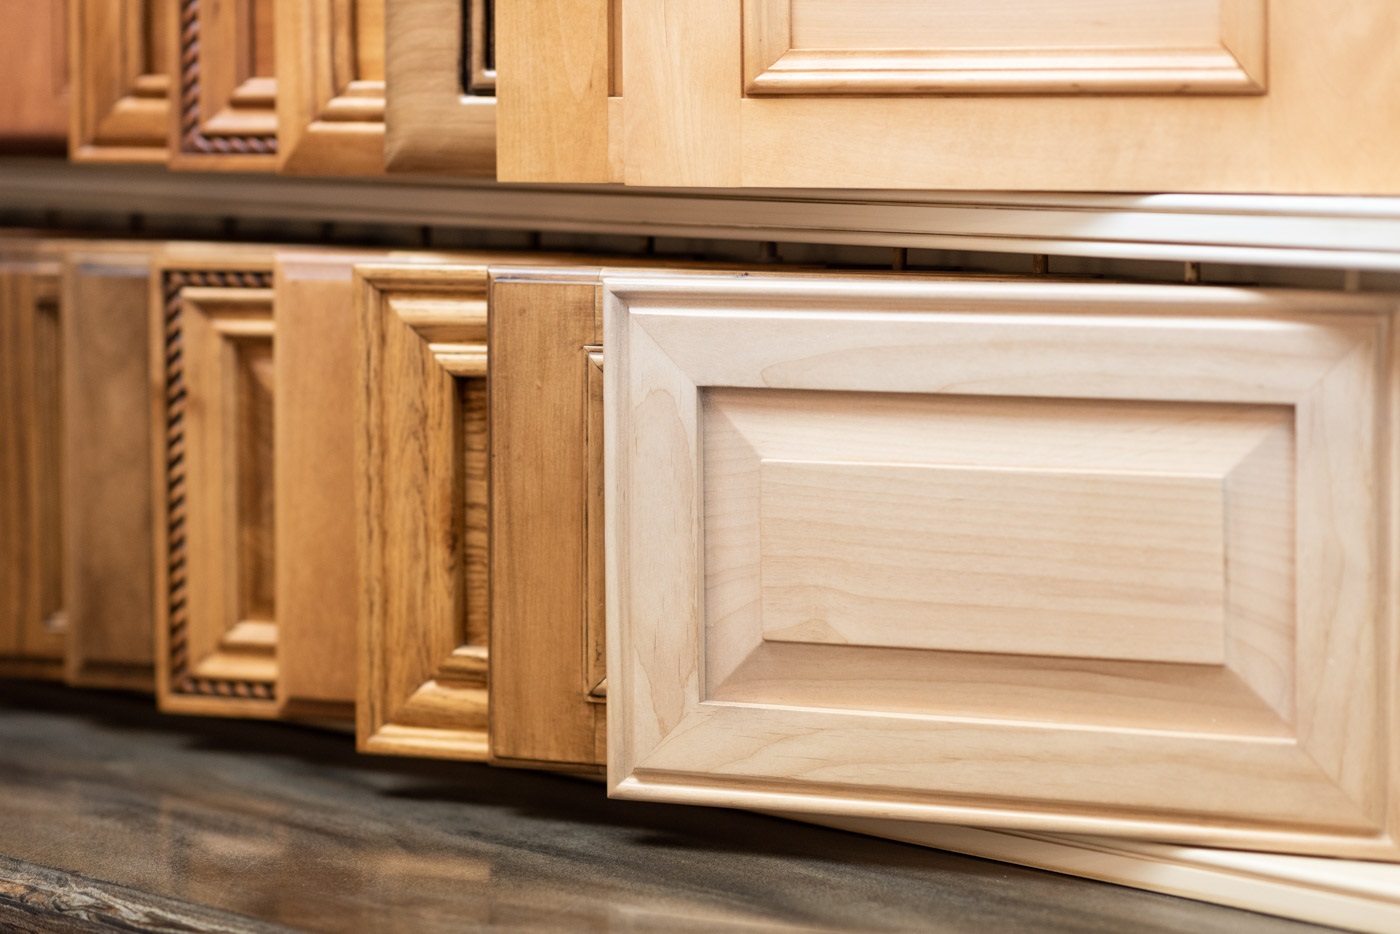
- Choose the hinge type: Select the appropriate hinge type based on the design and weight of your cabinet doors. There are various hinge options available, such as concealed hinges, butt hinges, and European hinges.
- Align the doors: Make sure the cabinet doors are properly aligned and fit flush against the cabinet frame. If adjustments are needed, use a screwdriver or Allen key to adjust the hinges on the cabinet frame.
- Prepare the hinge template: If you’re using a hinge template, align it with the edge of the cabinet door to mark the hinge placement accurately. The template will help ensure consistent and precise installation.
- Gather the tools and materials: Double-check that you have all the necessary tools and materials mentioned in the previous section readily available. Having everything within reach will make the installation process smoother and more efficient.
By following these preparatory steps, you’ll set yourself up for a successful hinge installation process. Once you’ve completed the necessary preparations, you’re ready to move on to marking the hinge placement on the cabinet doors.
Step 2: Marking the Hinge Placement
Properly marking the hinge placement is crucial to ensure the cabinet doors open and close smoothly. Follow these steps to accurately mark the position of the hinges:
- Align the hinge template: If you’re using a hinge template, place it on the edge of the cabinet door where you want to install the hinge. Ensure it is flush with the edge and held securely in place.
- Trace the hinge outline: Use a pencil or marker to trace the outline of the hinge onto the cabinet door. Take care to make precise markings and press firmly to create clear lines.
- Repeat for additional hinges: If your cabinet door requires multiple hinges, repeat the process for each hinge, making sure they are evenly spaced and aligned.
- Mark pilot hole locations: Within each traced hinge outline, mark the locations for the pilot holes that will secure the hinges to the cabinet door. These pilot holes will help guide the screws during installation.
Take your time during this step to ensure accuracy. Properly marked hinge placements will result in a seamless installation and smooth operation of your cabinet doors. Once the hinge outlines and pilot hole locations are marked, you’re ready to move on to drilling the pilot holes in the next step.
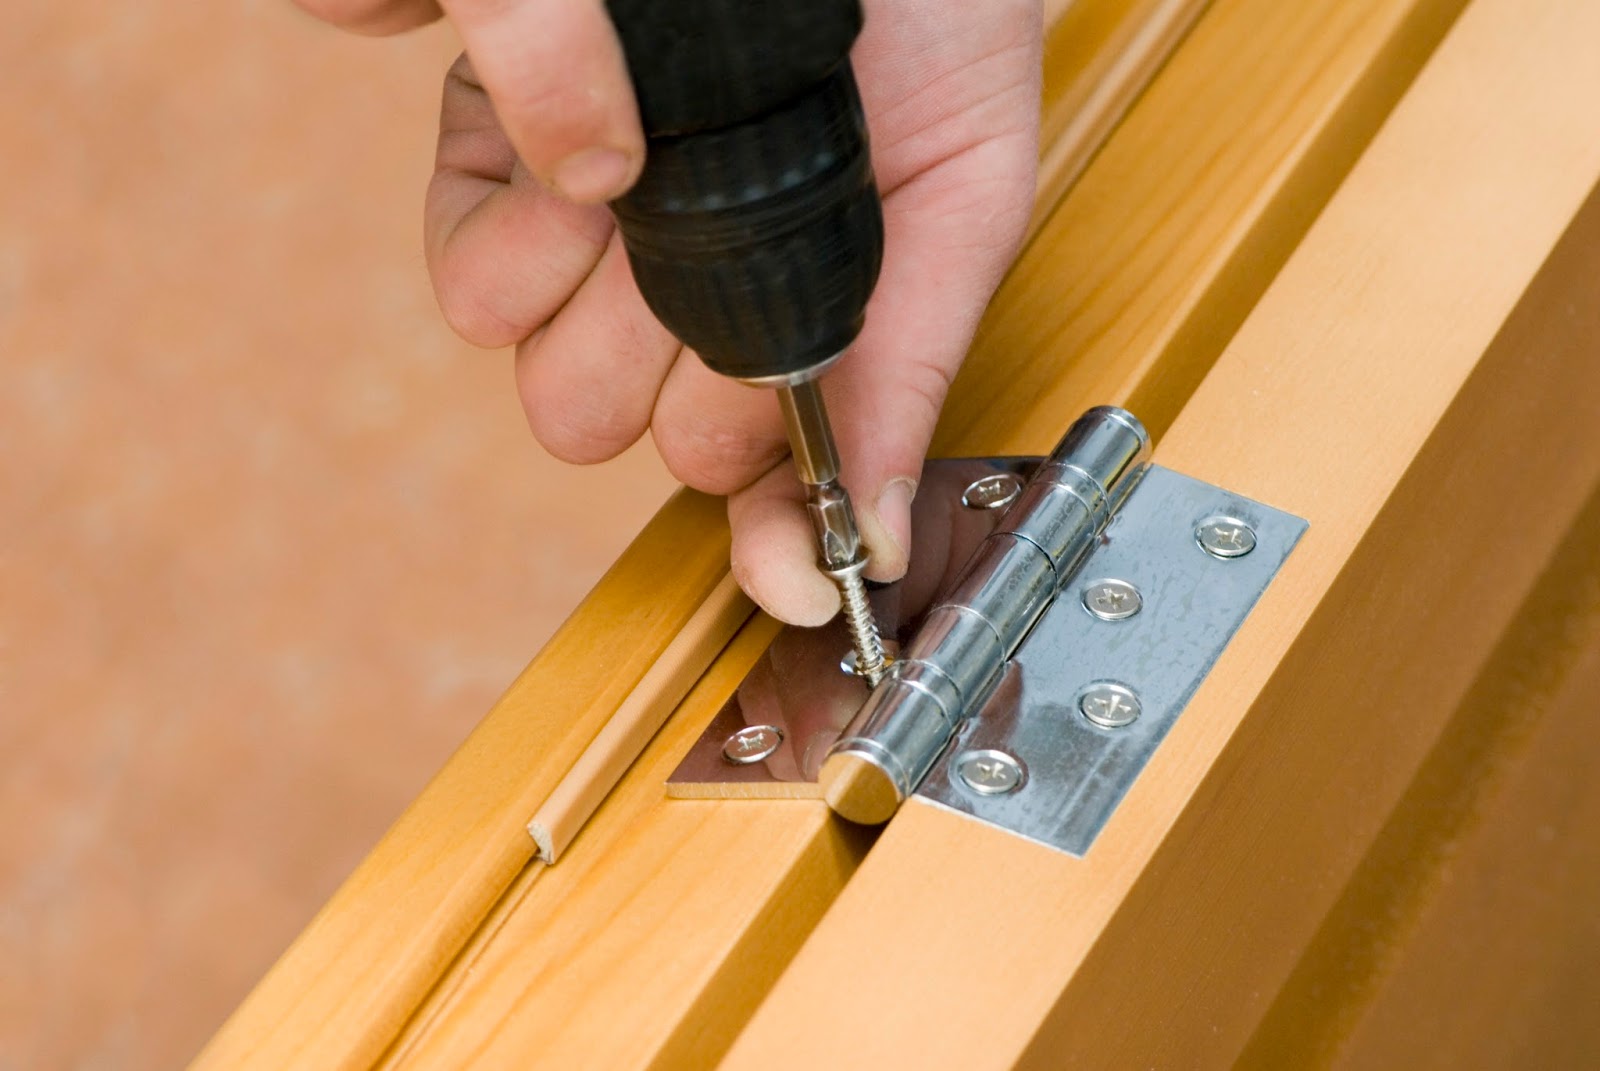
Step 3: Drilling Pilot Holes
Drilling pilot holes is a crucial step in ensuring a secure and sturdy hinge installation. Follow these steps to drill the pilot holes:
- Select an appropriate drill bit: Choose a drill bit that matches the size of the screws you’ll be using to mount the hinges. The bit should be slightly smaller than the screw diameter to create a snug fit.
- Attach the drill bit to the power drill: Insert the chosen drill bit into the chuck of your power drill and tighten it securely.
- Position the drill bit: Align the drill bit with the marked pilot hole locations on the cabinet door.
- Drill the pilot holes: Start drilling slowly and steadily through the marked pilot hole locations. Apply consistent pressure and ensure the drill bit goes straight into the cabinet door.
- Check the depth: Drill the pilot holes to a depth that allows the screws to securely fasten the hinges to the cabinet door but doesn’t penetrate through the other side. You can use a depth stop on your drill or mark the desired depth on the drill bit to guide you.
- Repeat for all pilot holes: If you have multiple pilot holes, repeat the process for each one, making sure they are all drilled to the appropriate depth.
Remember to exercise caution and maintain steady control of the drill throughout the process. By drilling pilot holes, you’ll ensure that the screws fit securely and prevent any potential damage to the cabinet door. With the pilot holes drilled, you’re ready to move on to the next step of mounting the hinges on the cabinet door.
When installing hinges on cabinet doors, make sure to measure and mark the placement carefully. Use a drill to create pilot holes for the screws, and then attach the hinges securely to the door and cabinet frame. Double check the alignment and smooth operation before tightening the screws completely.
Read more: How To Install Shed Door Hinges
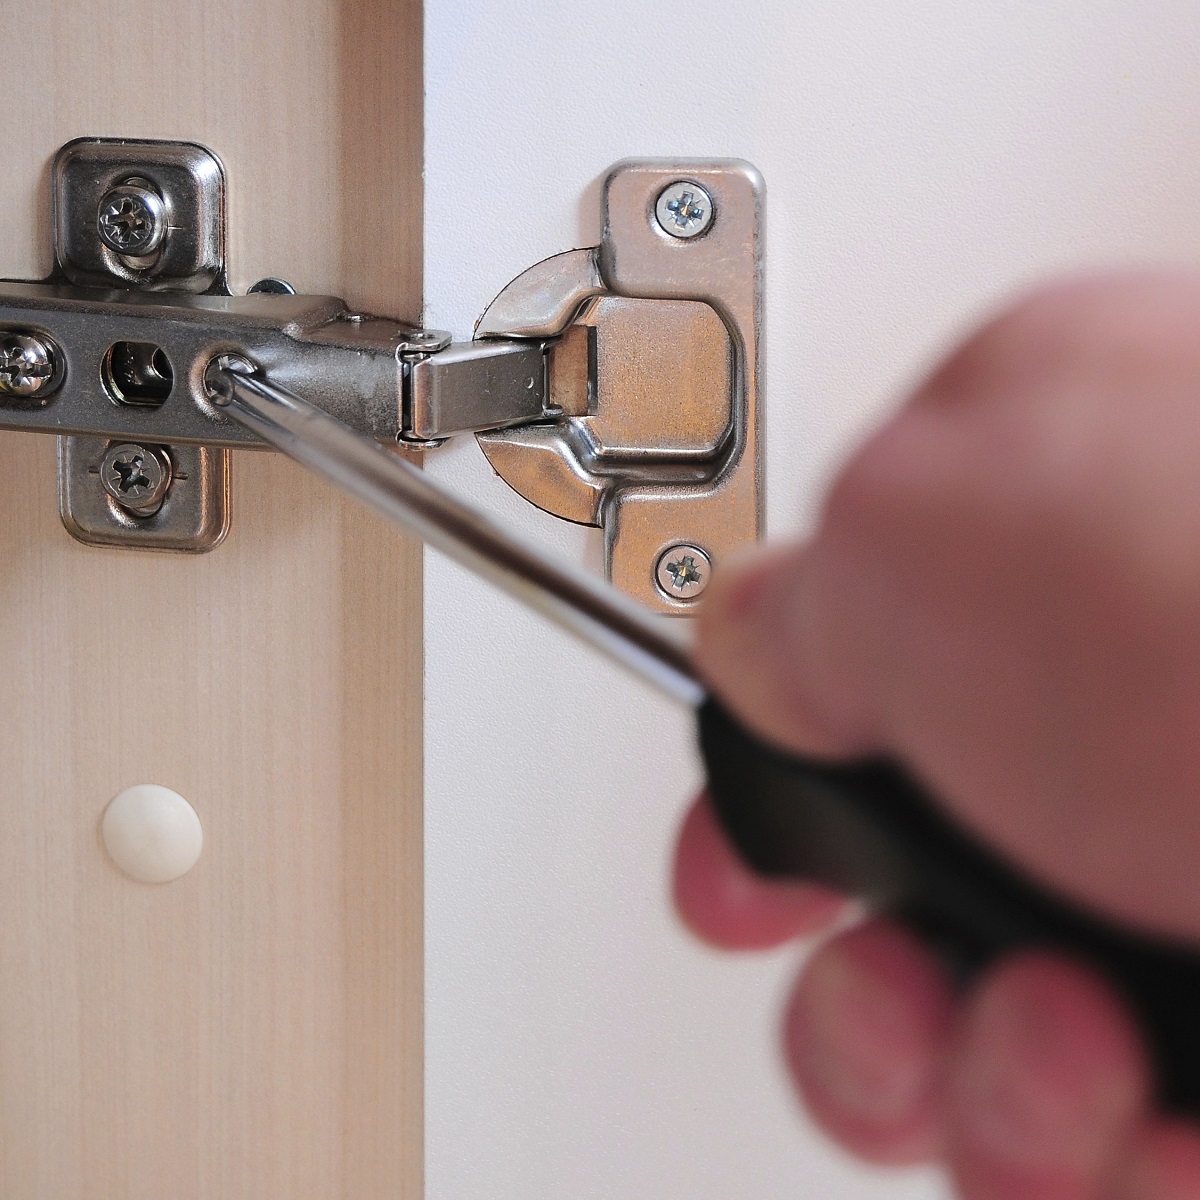
Step 4: Mounting the Hinges on the Cabinet Door
Now that you’ve prepared the cabinet door and drilled pilot holes, it’s time to mount the hinges. Follow these steps to securely attach the hinges to the cabinet door:
- Position the hinge: Place the first hinge over one of the pilot holes, aligning it with the traced outline. Ensure the hinge is positioned correctly and fully covering the marked area.
- Insert the screws: Insert the screws provided with the hinges into the pilot holes. Start by hand tightening them to ensure they catch properly.
- Tighten the screws: Using a screwdriver or power drill, tighten the screws fully. Maintain a firm grip on the hinge to prevent it from moving as you tighten the screws.
- Repeat for the remaining hinges: If you have multiple hinges on the cabinet door, repeat the process for each one, ensuring they are all aligned and securely fastened.
- Check for proper alignment: Once all the hinges are mounted, check that the cabinet door opens and closes smoothly. Make any necessary adjustments by loosening the screws slightly and repositioning the hinges, if needed.
Take your time during this step to ensure proper alignment and a secure attachment of the hinges to the cabinet door. The hinges play a crucial role in the functionality of the cabinet, so it’s important to mount them accurately and securely. With the hinges mounted on the cabinet door, you’re now ready to move on to the next step of mounting the hinges on the cabinet frame.
Step 5: Mounting the Hinges on the Cabinet Frame
With the hinges securely attached to the cabinet door, it’s time to mount them on the cabinet frame. Follow these steps to properly install the hinges on the cabinet frame:
- Align the cabinet door: Position the cabinet door in its closed position, aligning it with the cabinet frame. Ensure that the door sits evenly and flush against the frame.
- Hold the door in place: Use wedges or ask someone to hold the door in place while you mount the hinges onto the cabinet frame. This will help keep the door steady during installation.
- Position the hinges: Position the hinges on the cabinet frame, aligning them with the corresponding hinge placements on the door. Make sure the hinges are centered and sit flat against the frame.
- Insert the screws: Insert the screws provided with the hinges into the pilot holes on the cabinet frame. Start by hand tightening them to ensure they catch properly.
- Tighten the screws: Using a screwdriver or power drill, tighten the screws fully. Ensure that the hinges sit securely on the cabinet frame and that the door opens and closes smoothly.
- Check for proper alignment: Once the hinges are mounted on the cabinet frame, check that the door is properly aligned and sits flush with the frame. If adjustments are needed, loosen the screws slightly and reposition the hinges as required.
Take your time to align the hinges properly and tighten the screws securely. Proper installation of the hinges on the cabinet frame is essential for the smooth operation of the cabinet doors. With the hinges mounted on the cabinet frame, you’re now ready to move on to the next step of adjusting the hinges for optimal functionality.
Step 6: Adjusting the Hinges
Adjusting the hinges is an important step to ensure that your cabinet doors are aligned properly and operate smoothly. Follow these steps to adjust the hinges:
- Check for misalignment: Open and close the cabinet door to identify any misalignment or uneven gaps between the door and the cabinet frame. Take note of which areas require adjustment.
- Loosen the screws: Using a screwdriver or power drill, loosen the screws on the hinges slightly. This will allow you to make adjustments to the position of the hinges.
- Make vertical adjustments: If the door is not aligned vertically with the cabinet frame, you can adjust the hinges up or down to correct the alignment. Loosen the screws on the corresponding hinge and gently move the hinge up or down until the door is level.
- Make horizontal adjustments: If the door is not aligned horizontally with the cabinet frame, you can adjust the hinges left or right to correct the alignment. Loosen the screws on the corresponding hinge and gently move the hinge left or right until the door is parallel with the frame.
- Check the gaps: Once you’ve made the necessary adjustments, close the cabinet door and check for uniform gaps between the door and the cabinet frame. Adjust the hinges further if needed to achieve an even and consistent gap around the door.
- Tighten the screws: Once you’re satisfied with the adjustments, securely tighten the screws on the hinges, ensuring that they are firmly in place.
By properly adjusting the hinges, you’ll ensure that your cabinet doors hang evenly and operate smoothly. Making these adjustments may take some trial and error, so don’t be afraid to make small tweaks until you achieve the desired alignment. With the hinges properly adjusted, you’re now ready to move on to the final step of testing the movement of the cabinet doors.
Step 7: Testing the Cabinet Door Movement
After installing and adjusting the hinges, it’s crucial to test the movement of the cabinet doors to ensure they function properly. Follow these steps to test the cabinet door movement:
- Open and close the doors: Gently open and close each cabinet door multiple times to check for smooth and even movement. Pay attention to any sticking or rubbing and note any areas that require further adjustment.
- Check for gaps and alignment: Examine the gaps between the cabinet doors and the frame. Ensure they are consistent and evenly spaced. If you notice any uneven gaps or misalignment, make additional adjustments to the hinges as necessary.
- Test swing and clearance: Swing the cabinet doors fully open and check for any obstructions or interference with nearby objects or adjacent cabinet doors. Ensure there is enough clearance for the doors to open and close freely without any hindrance.
- Confirm latch and closure: If your cabinet doors have latches, test them to ensure they securely close and properly engage. Make any necessary adjustments to the hinges if the doors do not close tightly or if the latch does not engage properly.
- Final adjustments: If you encounter any issues or areas that require further adjustment, carefully loosen the screws on the appropriate hinges and make the necessary tweaks. Test the movement again to verify that the adjustments have resolved the problem.
Testing the cabinet door movement is crucial to ensure that they operate smoothly and align correctly with the cabinet frame. It allows you to address any issues and make final adjustments for optimal functionality. Once you’re satisfied with the movement and alignment of the cabinet doors, your hinge installation is complete.
Congratulations! You have successfully installed hinges on your cabinet doors. Enjoy the improved functionality and aesthetic appeal of your cabinets!
Read more: How To Measure A Cabinet Hinge
Conclusion
Installing hinges on cabinet doors is a straightforward process that can greatly enhance the functionality and appearance of your cabinets. With the right tools, materials, and following the step-by-step instructions outlined in this guide, you can successfully install hinges with ease.
Starting with proper preparation, measuring the doors, and selecting the right hinge type, each step plays a crucial role in the overall installation process. Marking the hinge placements accurately, drilling pilot holes, and mounting the hinges on both the cabinet door and frame ensure a secure and stable attachment. Adjusting the hinges allows for proper alignment and smooth operation, while thorough testing confirms the functionality and reliability of the cabinet doors.
Remember to prioritize safety by wearing work gloves and safety glasses throughout the installation process. Take your time, remain patient, and make adjustments as needed to achieve optimal results and a seamless installation.
By following these steps and paying attention to the details, you can confidently install hinges on your cabinet doors, improving their functionality and transforming the look of your space. So, roll up your sleeves, gather your tools, and embark on this DIY project to elevate the functionality and style of your cabinets!
Now that you've mastered installing hinges, why not check how much upgrading your entire cabinets might cost? Our guide on cabinet installation costs provides you with all the details for budgeting your next project. Or, if you're feeling more adventurous and want to tackle more woodworking projects, our list of the best woodworking tools for 2024 will ensure you're equipped with the best gear to create stunning pieces for your home. Both articles offer invaluable insights and practical tips to enhance your DIY skills further.
Frequently Asked Questions about How To Install Hinges On Cabinet Doors
Was this page helpful?
At Storables.com, we guarantee accurate and reliable information. Our content, validated by Expert Board Contributors, is crafted following stringent Editorial Policies. We're committed to providing you with well-researched, expert-backed insights for all your informational needs.


0 thoughts on “How To Install Hinges On Cabinet Doors”