Home>Interior Design>How To Replace Faucet Washers: 7 Easy Steps To Follow
Interior Design
How To Replace Faucet Washers: 7 Easy Steps To Follow
Modified: October 20, 2024
Learn how to replace faucet washers in just 7 easy steps. Transform your interior design with this simple DIY project.
(Many of the links in this article redirect to a specific reviewed product. Your purchase of these products through affiliate links helps to generate commission for Storables.com, at no extra cost. Learn more)
Introduction
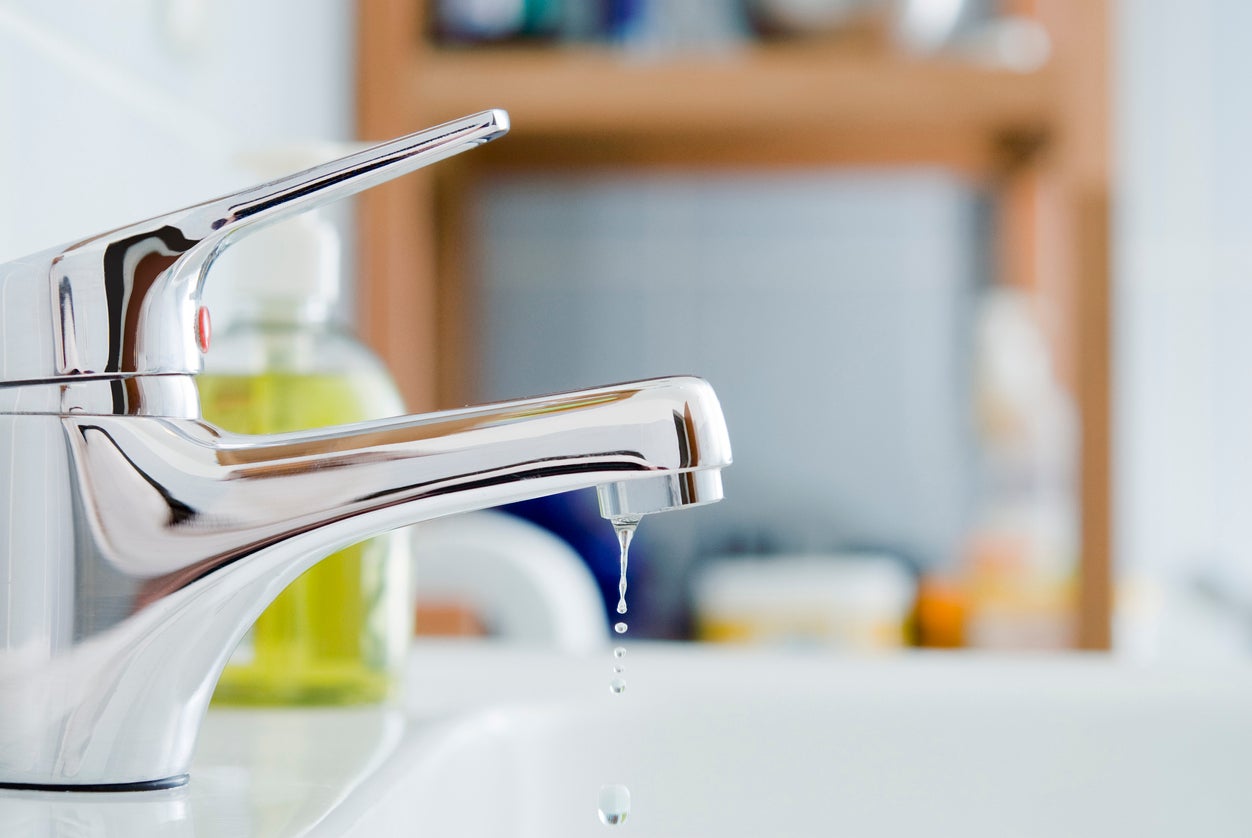
Replacing faucet washers may seem like a daunting task, but with a little know-how and the right tools, it can be a simple DIY project. A leaking faucet can be not only annoying but also wasteful, leading to unnecessary water consumption and potential damage to your fixtures. By following these 7 easy steps, you’ll be able to replace the washers in your faucets and restore them to their optimal functionality.
Before diving into the steps, it’s important to understand why washers need to be replaced. Over time, washers can deteriorate due to constant use, causing leaks and making your faucets less efficient. By replacing the washers, you’ll be able to eliminate those pesky drips and save money on water bills. Plus, you’ll extend the lifespan of your faucets and prevent further damage.
In this article, we will guide you through the process of replacing faucet washers, from gathering the necessary tools and materials to testing the faucet after the replacement. Let’s get started and turn that leaking faucet into a thing of the past!
Key Takeaways:
- Save money and prevent water wastage by replacing faucet washers in 7 easy steps. Enjoy a leak-free and efficient plumbing system with DIY know-how and the right tools.
- Extend the lifespan of your fixtures and eliminate annoying leaks with proper washer replacement. Follow the steps, be cautious, and enjoy a sustainable, efficient home.
Read more: How To Replace Steps On Stairs
Step 1: Gather Necessary Tools and Materials
Before you begin replacing the faucet washers, it’s essential to gather all the tools and materials you’ll need for the task. Having everything ready beforehand will ensure a smooth and efficient process. Here are the tools and materials you’ll need:
- Adjustable wrench
- Screwdriver (usually a flathead or Phillips, depending on your faucet)
- Replacement washers (make sure to get the correct size and type for your specific faucet)
- Teflon tape (optional, but recommended for an extra tight seal)
- Clean cloth or towel
- Bucket or container to catch any excess water
Once you have gathered all the necessary tools and materials, you’ll be well-prepared to tackle the task at hand. Double-check that you have the correct size washers for your faucet to ensure a proper fit.
It’s worth noting that some faucets may require additional specialized tools. If you have a cartridge or ceramic disk faucet, for example, you may need cartridge pullers or stem wrenches. It’s always a good idea to consult the manufacturer’s instructions or do some research specific to your faucet type to ensure you have all the required tools.
Now that you have everything ready, let’s move on to step 2, where we will shut off the water supply before starting the faucet repair.
Step 2: Shut off the Water Supply
Before you begin working on the faucet, it’s crucial to shut off the water supply to prevent any accidental leaks or water damage. Here’s how you can turn off the water supply:
- Locate the main water shut-off valve in your home. In most cases, this valve is located near the water meter or where the main water line enters your home. It may be in a basement, utility room, or outside near the foundation.
- Turn the valve counterclockwise to shut off the water supply. This will stop the flow of water to your faucets and fixtures.
- Once the water supply is shut off, relieve any pressure in the pipes by opening a faucet at a lower level in your home. This will help to drain any remaining water and prevent any unexpected spurts when you start working on the faucet.
Remember, shutting off the water supply is essential to avoid any mishaps and ensure a safe and dry working environment. This step is especially important if you’re working on a faucet that doesn’t have individual shut-off valves.
Once you have successfully shut off the water supply, it’s time to move on to step 3, where we will learn how to remove the faucet handle.
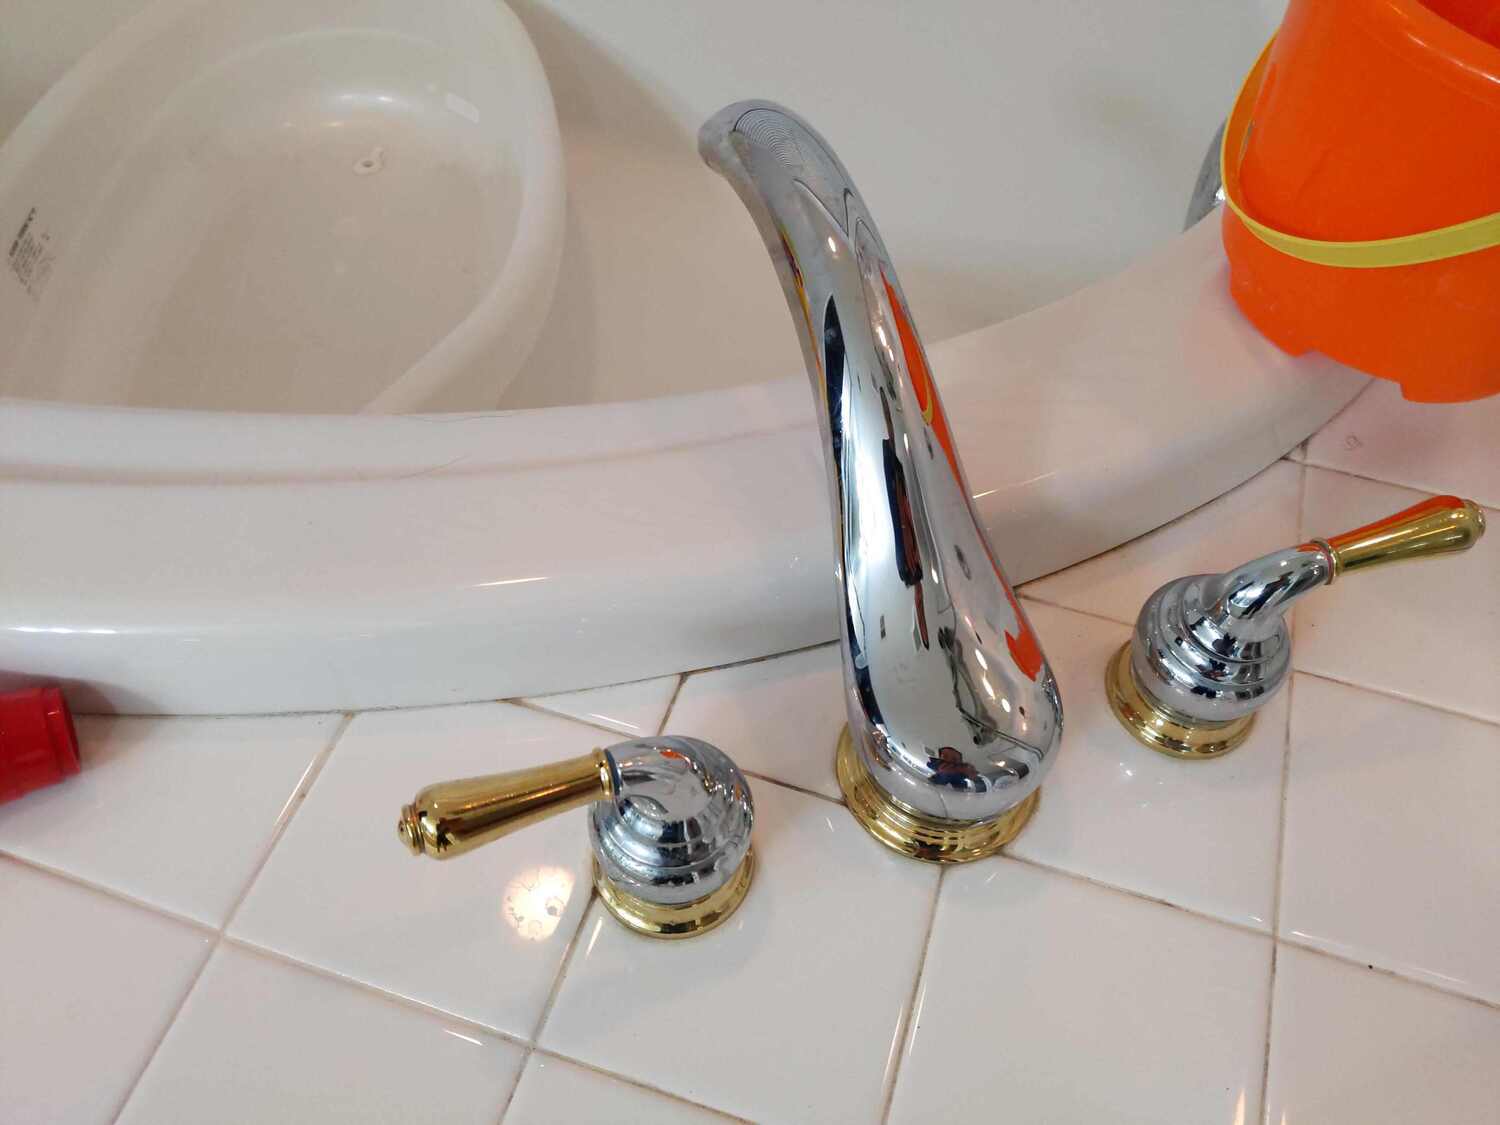
Step 3: Remove the Faucet Handle
Now that the water supply is shut off, it’s time to remove the faucet handle. This step will give you access to the inner components of the faucet, including the washer that needs to be replaced. Here’s how you can remove the faucet handle:
- Inspect the handle for any visible screws or caps. Some handles may have a decorative cap covering the screw, while others have screws directly visible. Use a flathead or Phillips screwdriver to remove the screws or caps.
- If the handle is stuck or resistant to removal, try gently wiggling it or using a wrench to apply some leverage. Be careful not to use excessive force, as it could damage the handle or other components.
- Once the screws or caps are removed, carefully lift the handle straight up to remove it. If there is a handle adapter or collar, you may need to unscrew it using an adjustable wrench.
- Set aside the handle and any accompanying parts in a safe place. It’s a good idea to lay them out in the order of removal to make reassembly easier later.
Removing the faucet handle can vary depending on the type of faucet you have. Some faucets may have a single handle, while others have two separate handles for hot and cold water. If you’re unsure about the handle removal process, consult the manufacturer’s instructions or do some research specific to your faucet model.
Now that the faucet handle is removed, we can proceed to step 4, where we will access the faucet washer and prepare for its replacement.
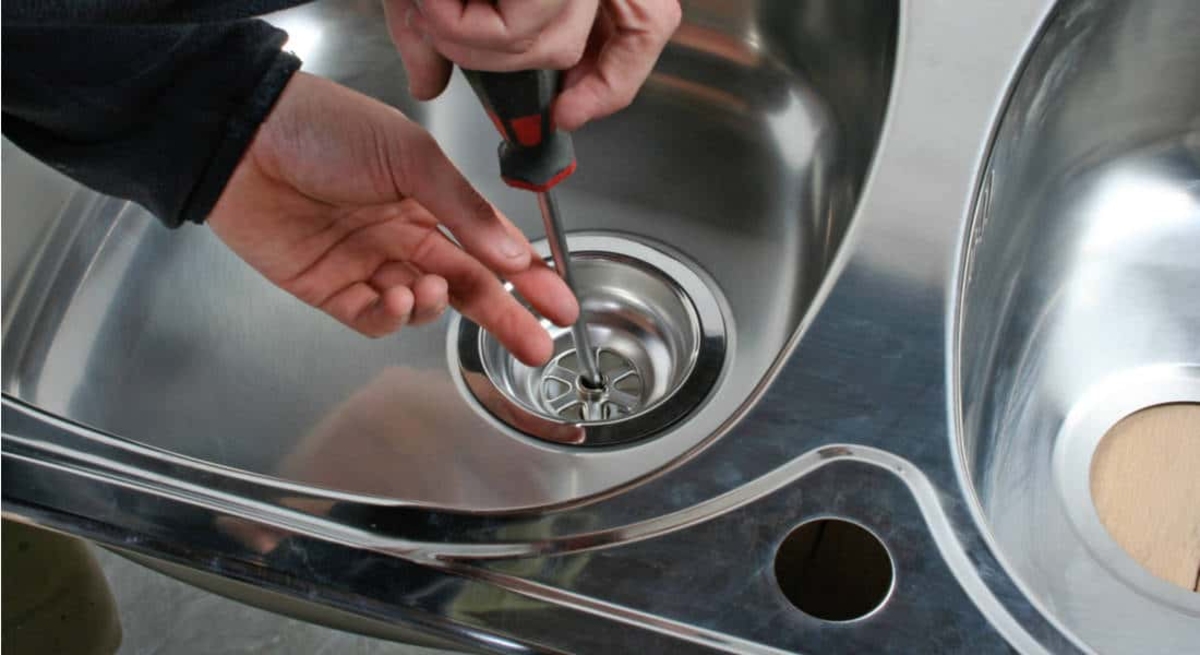
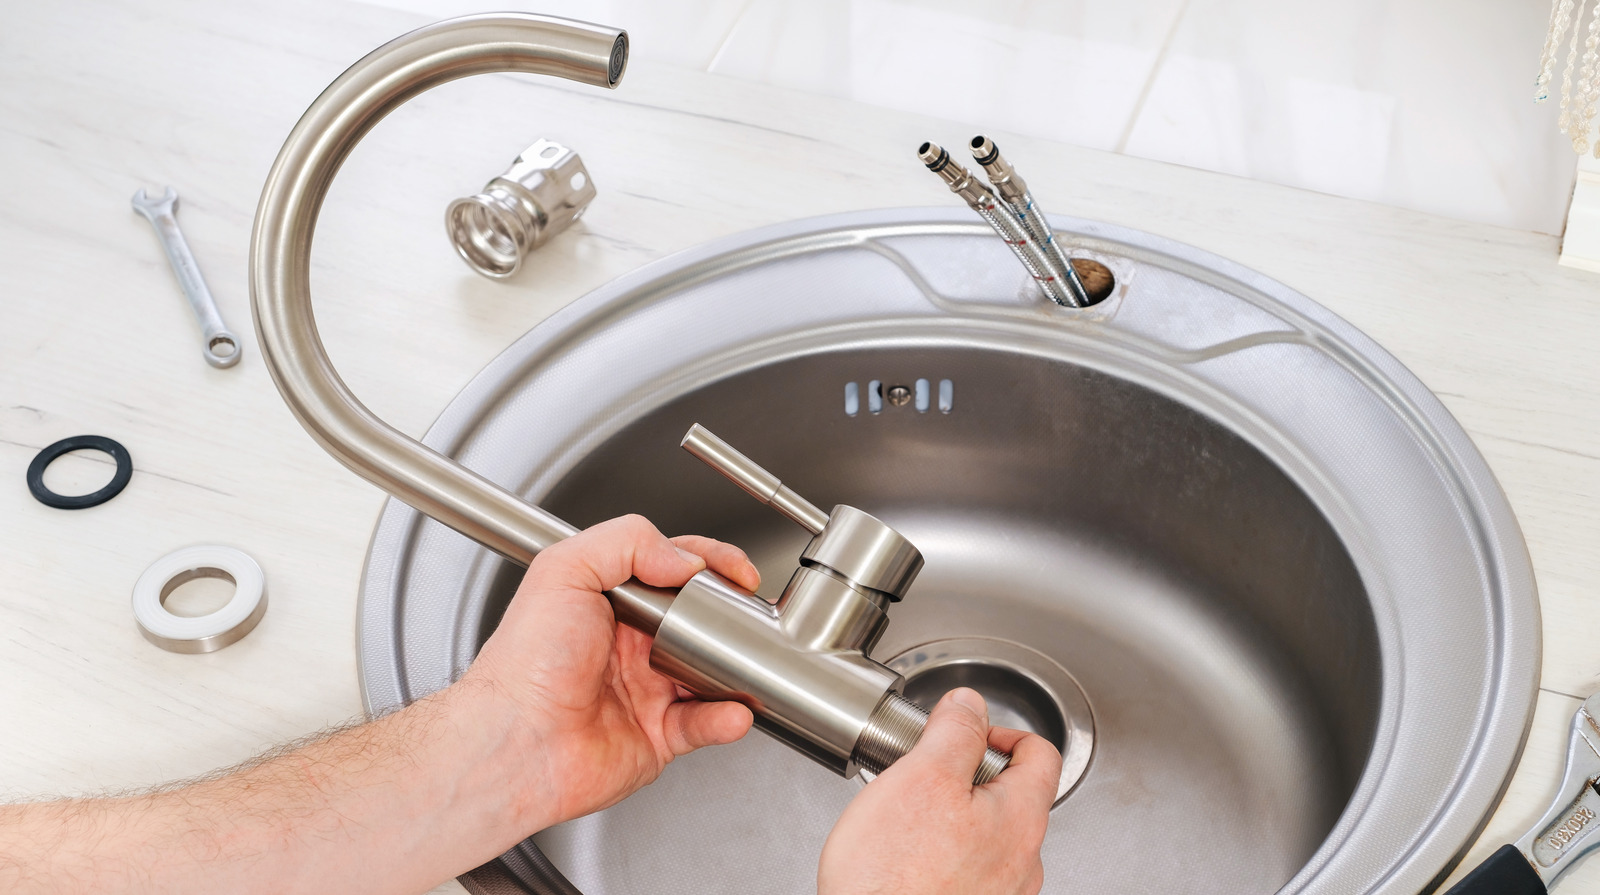
Step 4: Access the Faucet Washer
With the faucet handle removed, it’s time to access the faucet washer. The washer is a small rubber or silicone disc that sits at the base of the faucet stem and helps to create a watertight seal. Here’s how you can access the faucet washer:
- Locate the faucet stem or cartridge assembly. This is the cylindrical component protruding from the faucet body.
- Depending on the type of faucet you have, you may need to unscrew a retaining nut or use a wrench to remove the stem from the faucet body. Carefully loosen and remove any components necessary for accessing the washer, being mindful not to damage any surrounding parts.
- Inspect the area around the washer for any mineral buildup or debris. Use a clean cloth or towel to wipe away any dirt or grime. This will ensure a clean working surface and help prevent any future leaks.
It’s important to take note of any additional components or O-rings present in the faucet assembly. These may also need to be replaced if damaged or worn. If you’re unsure about the specific components of your faucet, consult the manufacturer’s instructions or do some research for your faucet model.
Now that you have accessed the faucet washer, let’s move on to step 5, where we will replace the old washer with a new one.
When replacing faucet washers, be sure to turn off the water supply before starting. This will prevent any water from leaking out while you work on the faucet.
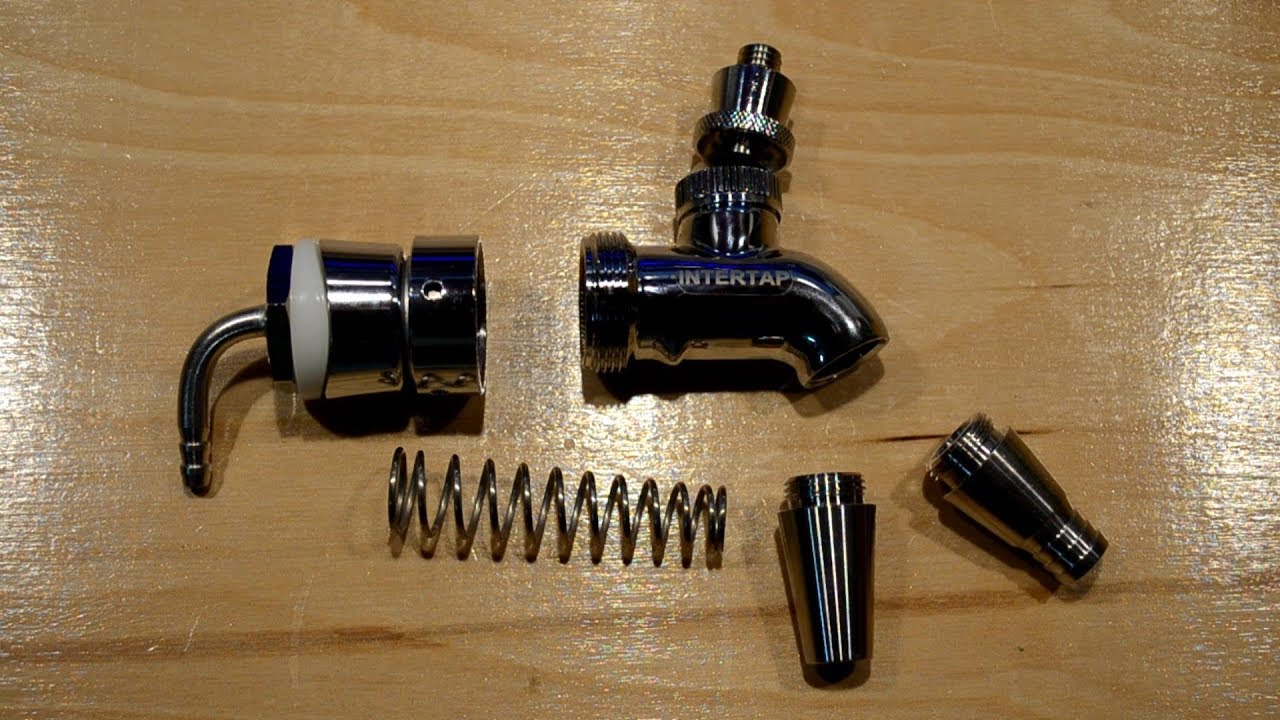
Step 5: Replace the Old Washer
Now that you have accessed the faucet washer, it’s time to replace the old washer with a new one. The washer is a crucial component that helps create a tight seal to prevent leaks. Here’s how you can replace the old washer:
- Inspect the old washer for any signs of wear, tears, or deterioration. If the washer is damaged or worn out, it’s time for a replacement.
- Take the new washer and ensure it is the correct size and type for your faucet. It should match the old washer in terms of diameter and thickness.
- Carefully place the new washer onto the base of the faucet stem, ensuring it sits securely and evenly. Check that it aligns properly with any grooves or ridges present on the stem.
- If needed, apply a small amount of plumber’s grease or silicone-based lubricant to the washer to ensure smooth movement and a better seal.
- Once the new washer is in place, reassemble the faucet by following the reverse order of the previous steps. This includes screwing the stem back into the faucet body, securing any retaining nuts, and replacing the faucet handle.
When reassembling the faucet, be careful not to overtighten any screws or components, as this could lead to damage. Use a wrench or screwdriver to tighten everything securely, but avoid excessive force.
After replacing the washer and reassembling the faucet, it’s time to move on to step 6, where we will ensure the faucet is properly reassembled.
Step 6: Reassemble the Faucet
With the new washer in place, it’s time to reassemble the faucet and prepare it for use. Proper reassembly ensures that all components are securely in place and functioning correctly. Here’s how you can reassemble the faucet:
- Start by carefully aligning the faucet handle with the stem or cartridge assembly. Slide it back into place, ensuring that any grooves or ridges on the stem and handle align properly.
- If there are any accompanying parts, such as an adapter or collar, gently screw them back into place. Use an adjustable wrench if necessary, but remember not to overtighten.
- Double-check that all screws, caps, and other fasteners are securely tightened without applying excessive force. A snug fit is enough to keep the handle and any additional parts in place.
- If applicable, wrap a few layers of Teflon tape around the threads of any connecting joints. This helps create a tighter seal and prevents any potential leaks.
- Take a moment to inspect the faucet for any signs of unevenness or misalignment. Adjust any components as needed to ensure a proper fit and appearance.
As you reassemble the faucet, be mindful of the inner workings and take care not to damage any components. Take your time and ensure that everything is correctly aligned and securely fastened. This will help prevent future leaks and maintain the functionality of your faucet.
Now that the faucet is reassembled, it’s time to move on to the final step, where we will test the faucet to ensure it is working properly.
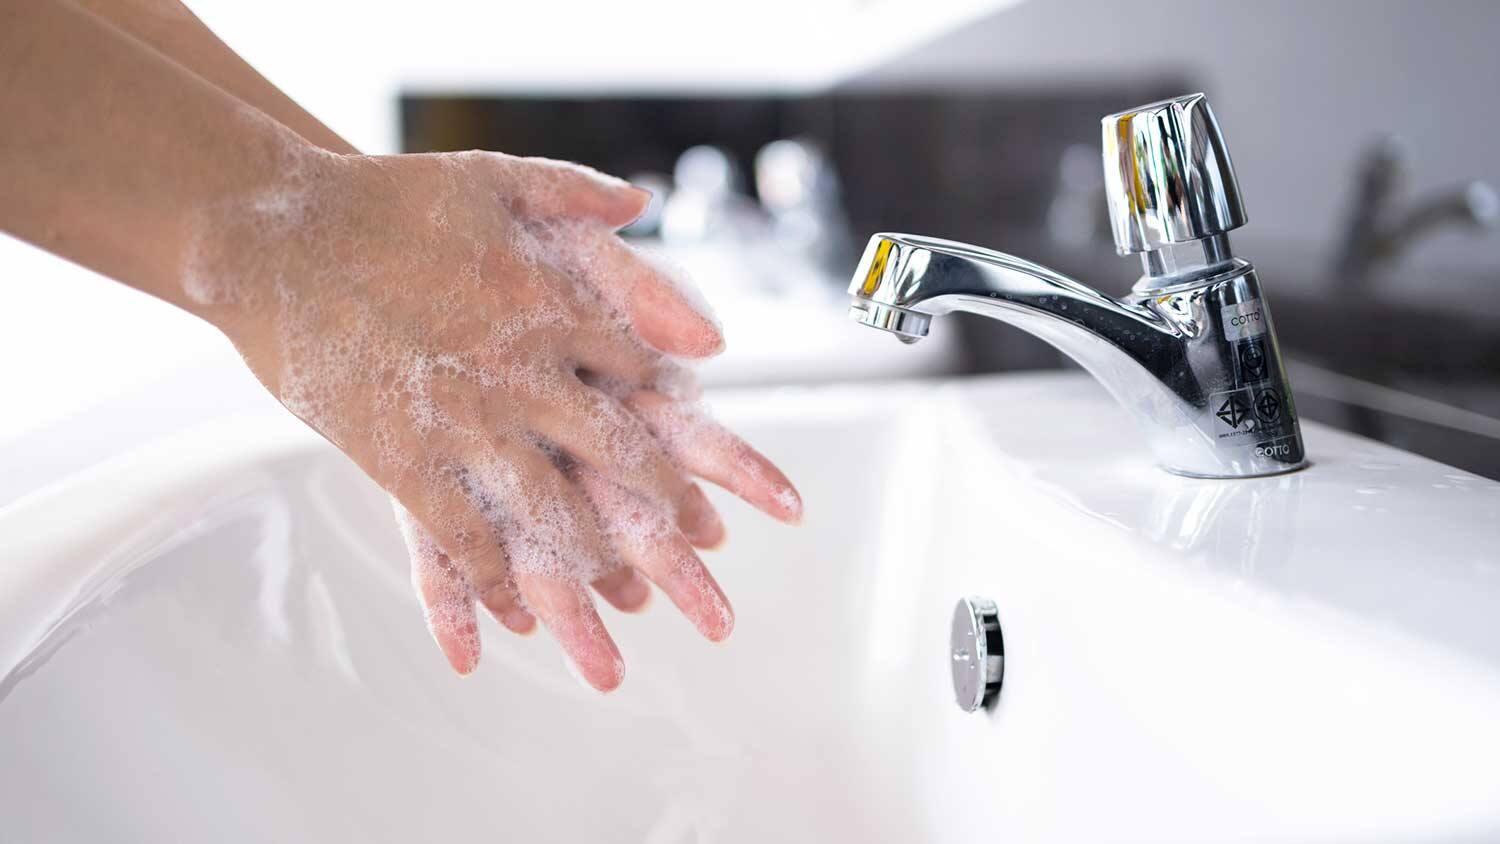
Step 7: Test the Faucet
After completing the replacement of the washer and reassembling the faucet, it’s crucial to test the faucet to ensure it is functioning properly. Testing will verify that the new washer has successfully eliminated any leaks and that the faucet is in good working condition. Here’s how you can test the faucet:
- Slowly turn the water supply back on by clockwise rotation of the main water shut-off valve.
- Allow the water to flow through the faucet for a few moments to flush out any air or debris that may have accumulated during the repair process.
- Check for any signs of leaks around the base of the faucet or underneath the sink. Inspect the connections and joints to ensure they are dry and secure.
- Turn the faucet handle to both the hot and cold water positions and check for smooth operation. Make sure that the water flow stops completely when the handle is in the closed position.
- Test the faucet for any drips or leaks by turning the handle on and off several times. Observe closely for any signs of water leakage.
- If you notice any leaks or issues, double-check that all components are properly aligned and tightened. Adjust or tighten as necessary to resolve the problem.
Testing the faucet is an essential step to ensure that the repair was successful. By carefully observing the faucet and checking for any leaks or irregularities, you can ensure that the washer replacement has been effective and that your faucet is in optimal working condition.
Congratulations! You have successfully completed the process of replacing faucet washers. By following these 7 easy steps, you have eliminated leaks, restored the functionality of your faucet, and potentially saved water and money in the process.
Remember, if you encounter any difficulties or have concerns about the repair process, it’s always best to consult a professional plumber. They can provide expert guidance and ensure that your faucet is repaired safely and efficiently.
With your newly replaced faucet washers, you can now enjoy a leak-free and efficient plumbing system in your home.
Conclusion
Replacing faucet washers doesn’t have to be a daunting task. By following these 7 easy steps, you can tackle this DIY project and eliminate those annoying leaks in your faucets. Not only will this save you money on water bills, but it will also prolong the lifespan of your fixtures and prevent further damage.
Remember to start by gathering all the necessary tools and materials before shutting off the water supply. Take your time to remove the faucet handle, access the washer, and replace it with a new one. Proper reassembly and testing are key to ensuring that your faucet is in good working condition.
Throughout the process, it’s important to be cautious and avoid using excessive force. Pay attention to the details and take note of any additional components or O-rings that may need replacement. If you encounter any difficulties or have concerns, don’t hesitate to seek professional help.
By taking the time to replace faucet washers, you not only fix a common plumbing issue but also contribute to a more sustainable and efficient home. So, grab your tools, follow these steps, and say goodbye to those pesky leaks!
Frequently Asked Questions about How To Replace Faucet Washers: 7 Easy Steps To Follow
Was this page helpful?
At Storables.com, we guarantee accurate and reliable information. Our content, validated by Expert Board Contributors, is crafted following stringent Editorial Policies. We're committed to providing you with well-researched, expert-backed insights for all your informational needs.


0 thoughts on “How To Replace Faucet Washers: 7 Easy Steps To Follow”