Articles
How To Put A New Showerhead On An Old Ball
Modified: August 27, 2024
Learn how to easily replace your old ball showerhead with a new one in this informative article. Upgrade your bathroom with a fresh, modern look.
(Many of the links in this article redirect to a specific reviewed product. Your purchase of these products through affiliate links helps to generate commission for Storables.com, at no extra cost. Learn more)
Introduction
When it comes to upgrading your bathroom, one of the simplest yet effective changes you can make is by installing a new showerhead. Not only can a new showerhead improve the functionality and water flow of your shower, but it can also enhance your overall bathing experience.
In this article, we will guide you through the process of putting a new showerhead on an old ball shower. If you have an older shower system with a ball-type joint, don’t worry, replacing the showerhead is still possible. By following these simple steps, you’ll be able to enjoy a refreshing and rejuvenating shower in no time.
Before we begin, please ensure that you have the necessary tools and materials for this project. Here’s a list to help you:
- Adjustable wrench
- Teflon tape
- Plumber’s tape
- New showerhead
Once you’ve gathered these items, you’re ready to get started. Let’s dive right in!
Key Takeaways:
- Upgrade your shower experience by installing a new showerhead on an old ball with simple tools and steps. Enjoy improved water flow and a refreshing bathing experience in no time!
- Ensure a successful installation by preparing the old showerhead, cleaning the shower arm, and testing the new showerhead for optimal functionality. Transform your daily routine with a revitalizing shower experience.
Step 1: Gather the necessary tools and materials
Before you begin the process of replacing your old ball showerhead, it’s essential to gather all the necessary tools and materials. Having everything you need within reach will make the installation process much smoother and more efficient.
Here’s a list of items you’ll need for this project:
- Adjustable wrench: This tool will be used to loosen and tighten the showerhead connections.
- Teflon tape: Teflon tape, also known as plumber’s tape, is used to create a watertight seal between the showerhead and the shower arm.
- Plumber’s tape: Plumber’s tape is a thin, white tape that helps prevent leaks by providing a tight seal between threaded connections.
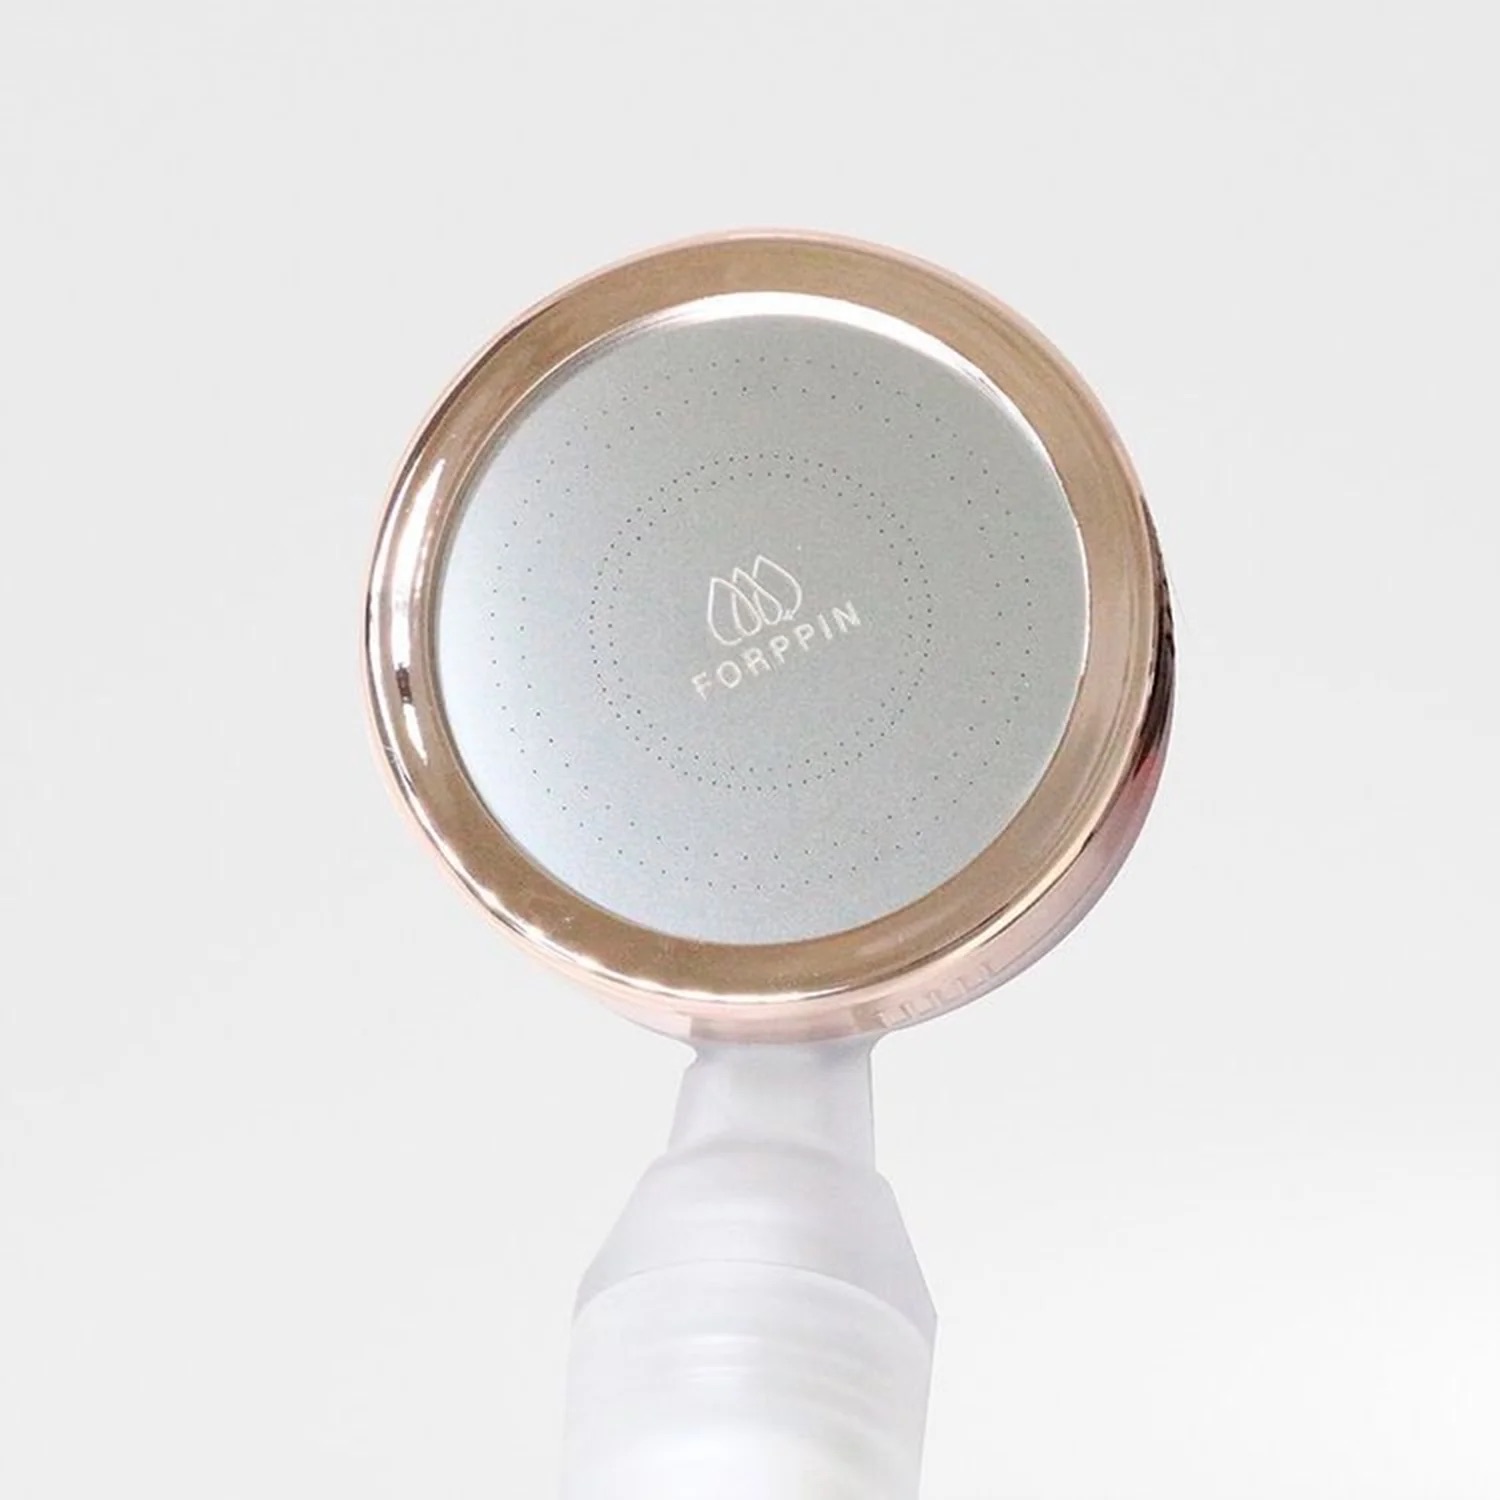
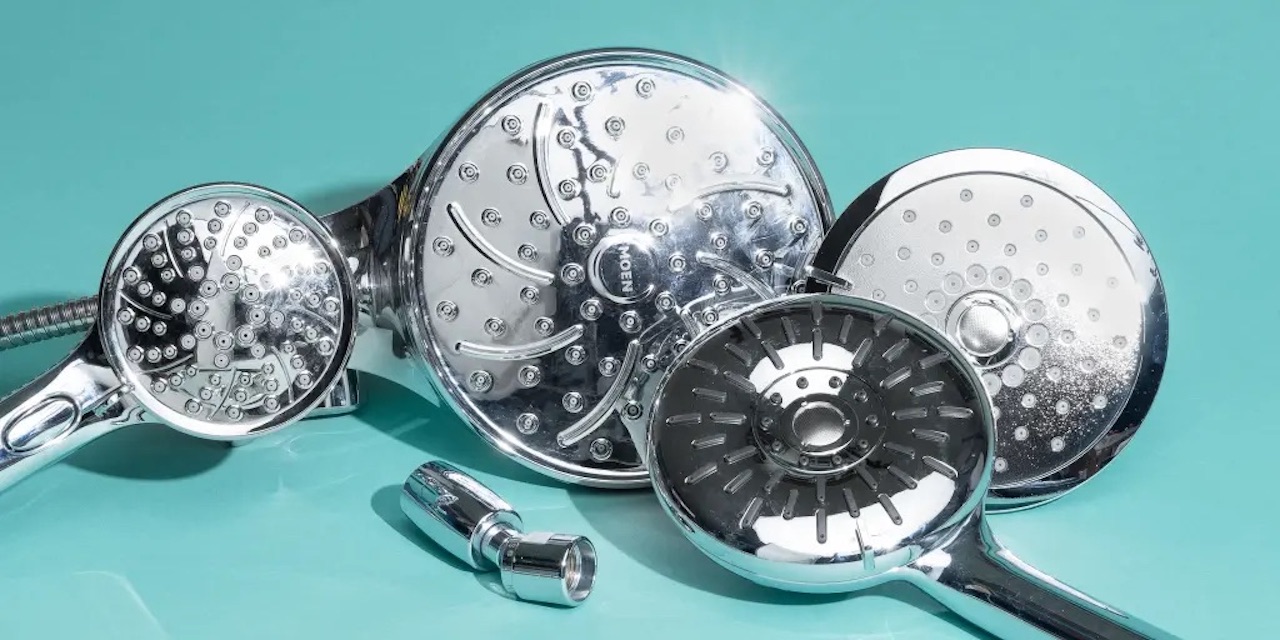
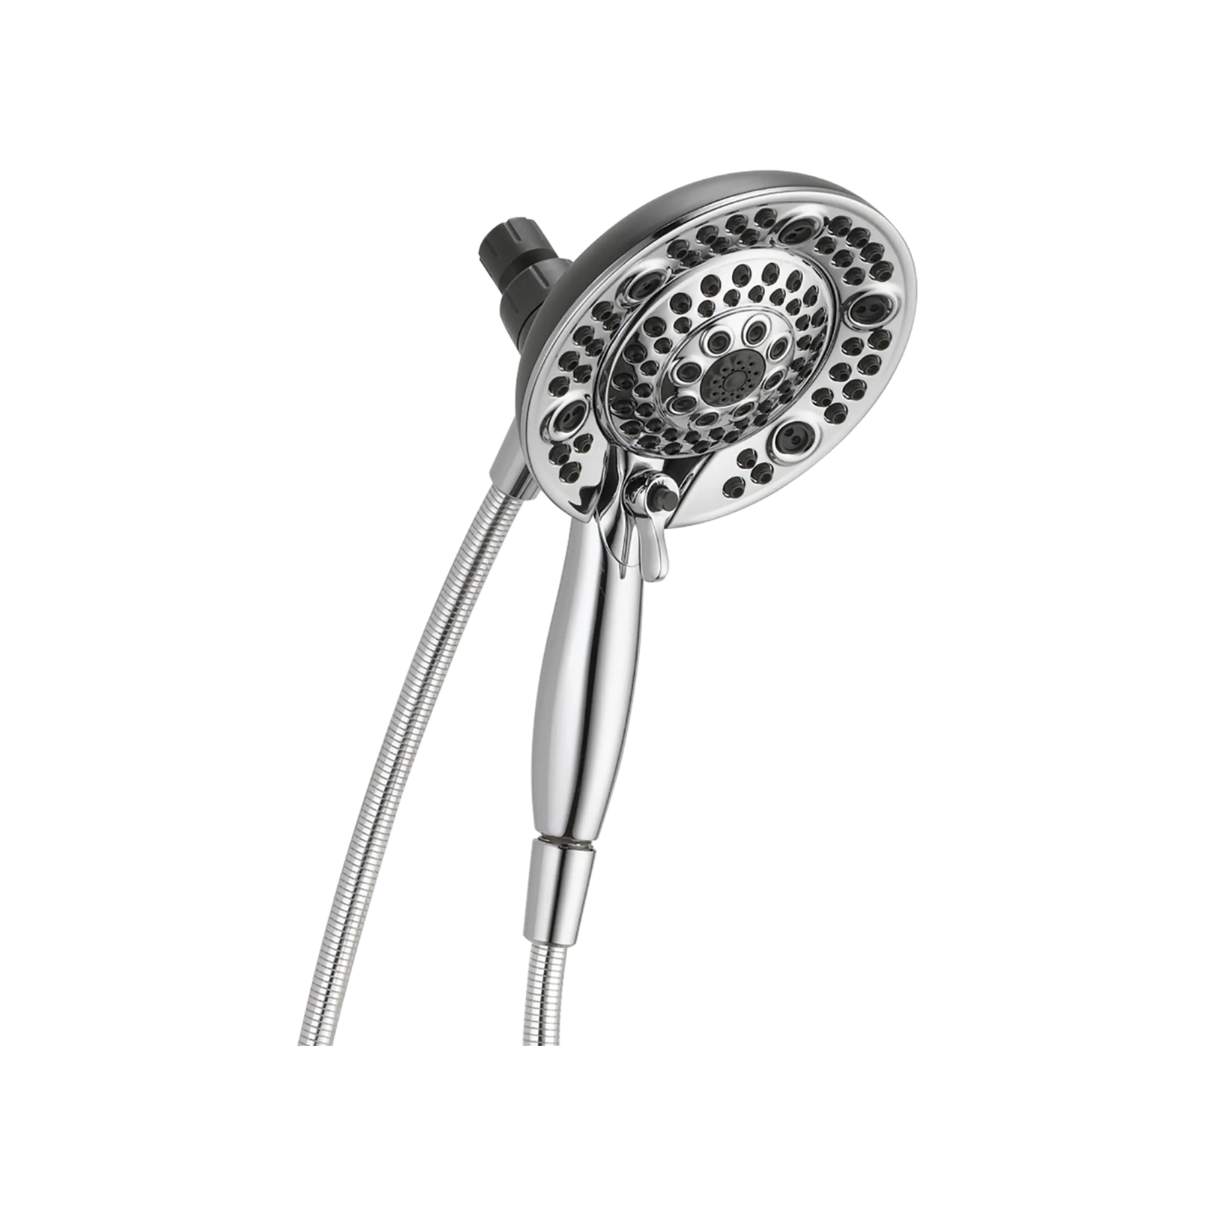
- New showerhead: Choose a showerhead that suits your preferences in terms of water flow, spray patterns, and aesthetics.
Having these tools and materials ready will save you time and frustration during the installation process. Make sure to double-check that you have everything before moving on to the next step.
Once you’ve gathered all the necessary items, you’re ready to proceed to the next step of preparing the old ball showerhead for removal. Let’s dive in!
Step 2: Preparing the old ball showerhead for removal
Before you can remove the old ball showerhead, it’s important to prepare it for removal. This step will ensure that the process goes smoothly and minimizes the risk of damaging the shower arm or other components.
Here’s what you need to do:
- Start by turning off the water supply to the shower. Look for the shut-off valve near the shower or turn off the main water supply if necessary. This step is crucial to prevent any water leakage during the removal process.
- Protect the shower arm by wrapping it with a cloth or towel. This will provide a buffer between the wrench and the shower arm, preventing any scratches or damage.
- Using an adjustable wrench, grip the base of the old showerhead firmly. Turn it counterclockwise to loosen it. Apply steady pressure but be careful not to overtighten or force the showerhead, as it may cause damage.
- If the showerhead is stubborn and doesn’t come off easily, you can use a pair of pliers or a pipe wrench for extra leverage. Be cautious not to apply excessive force, as it may cause damage to the shower arm.
Once you’ve successfully loosened the old showerhead, you’re ready to move on to the next step of removing it. In the following step, we’ll guide you through the process of removing the old ball showerhead without causing any damage. Let’s proceed!
Step 3: Removing the old ball showerhead
Now that you have prepared the old ball showerhead for removal, it’s time to actually take it off. With proper technique and care, you can remove the old showerhead without causing any damage to the shower arm or other components.
Follow these steps to remove the old ball showerhead:
- Hold onto the base of the showerhead firmly with one hand.
- Using your free hand, continue turning the showerhead counterclockwise until it is completely unscrewed from the shower arm.
- Once the showerhead is fully detached, carefully lift it off from the shower arm, ensuring not to damage any other parts or pipes.
- Inspect the shower arm for any debris or buildup. If you notice any, clean it using a soft brush or cloth to ensure proper water flow in the future.
Removing the old showerhead might require some effort, especially if it has been in place for a long time. If it’s still difficult to remove, you can try using a penetrating oil or a vinegar-water solution to help loosen any stubborn buildup or rust. Allow the solution to sit for a few minutes before attempting to unscrew the showerhead again.
Once you have successfully removed the old ball showerhead, you’re ready to move on to the next step, which is cleaning the shower arm. This will help ensure a proper and secure installation of the new showerhead. Let’s continue!
When replacing an old ball showerhead, make sure to use Teflon tape on the threads to prevent leaks. Tighten the new showerhead securely, but be careful not to over-tighten and damage the ball joint.
Step 4: Cleaning the shower arm
After removing the old ball showerhead, it’s important to take the time to clean the shower arm. This step is crucial to ensure optimal water flow and to remove any debris or build-up that may have accumulated over time. Cleaning the shower arm will help create a smooth and secure connection with the new showerhead.
Here’s how you can clean the shower arm:
- Inspect the inside of the shower arm for any visible debris or mineral deposits. These can often restrict water flow and affect the performance of your new showerhead.
- If you notice any build-up, use a small, soft-bristle brush or a toothbrush to scrub away the residue. Make sure to be gentle so as not to damage the finish or threading of the shower arm.
- You can also mix equal parts vinegar and water to create a cleaning solution. Dip a cloth or sponge into the solution and gently wipe the inside of the shower arm to remove any stubborn residue.
- Rinse the shower arm thoroughly with clean water to remove any cleaning solution or loosened debris.
- Dry the shower arm with a clean towel or cloth to ensure a secure and watertight connection with the new showerhead.
By taking the time to clean the shower arm, you’ll remove any potential obstructions and ensure a smooth installation process for the new showerhead. Once the shower arm is clean and dry, you’re ready to move on to the exciting part – installing the new showerhead onto the old ball.
In the next step, we will guide you through the process of installing the new showerhead and creating a watertight seal. Let’s proceed!
Read more: How To Install A New Showerhead
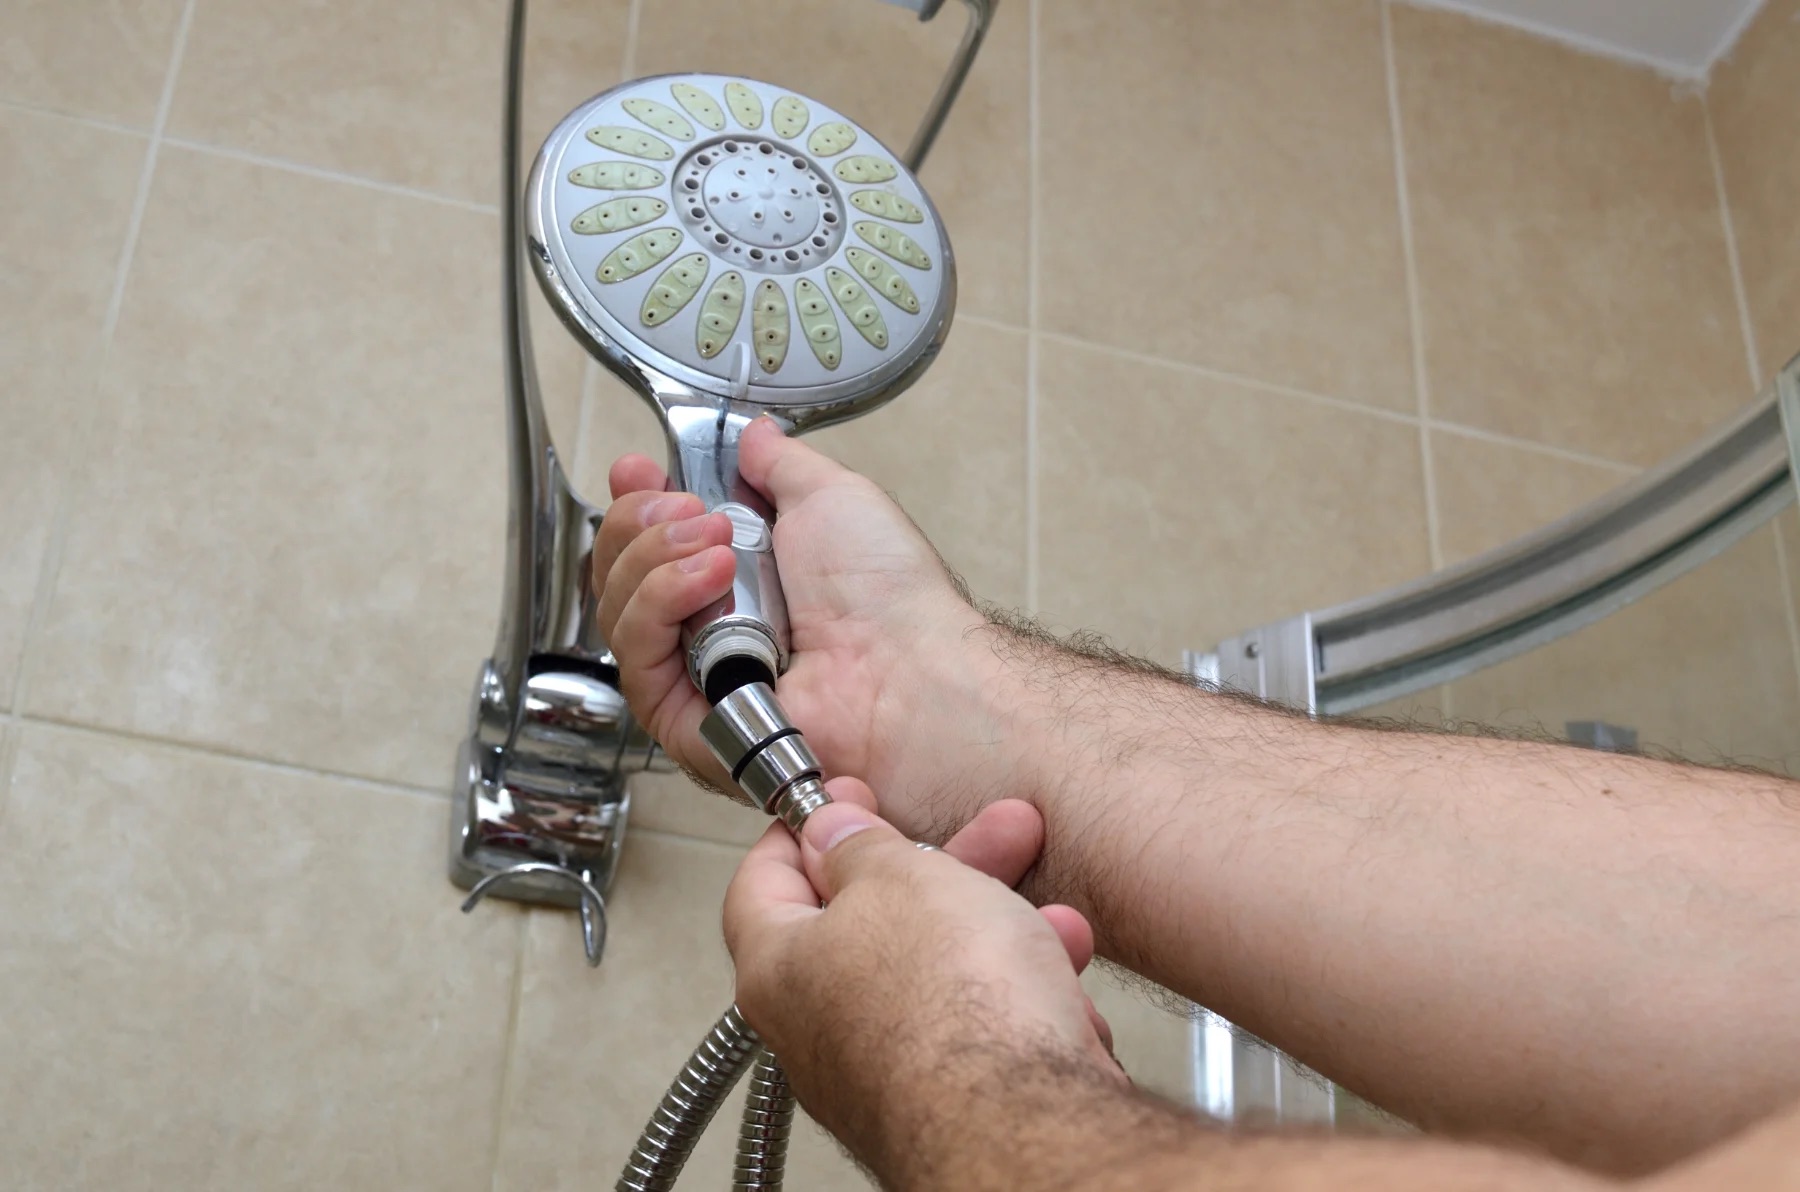
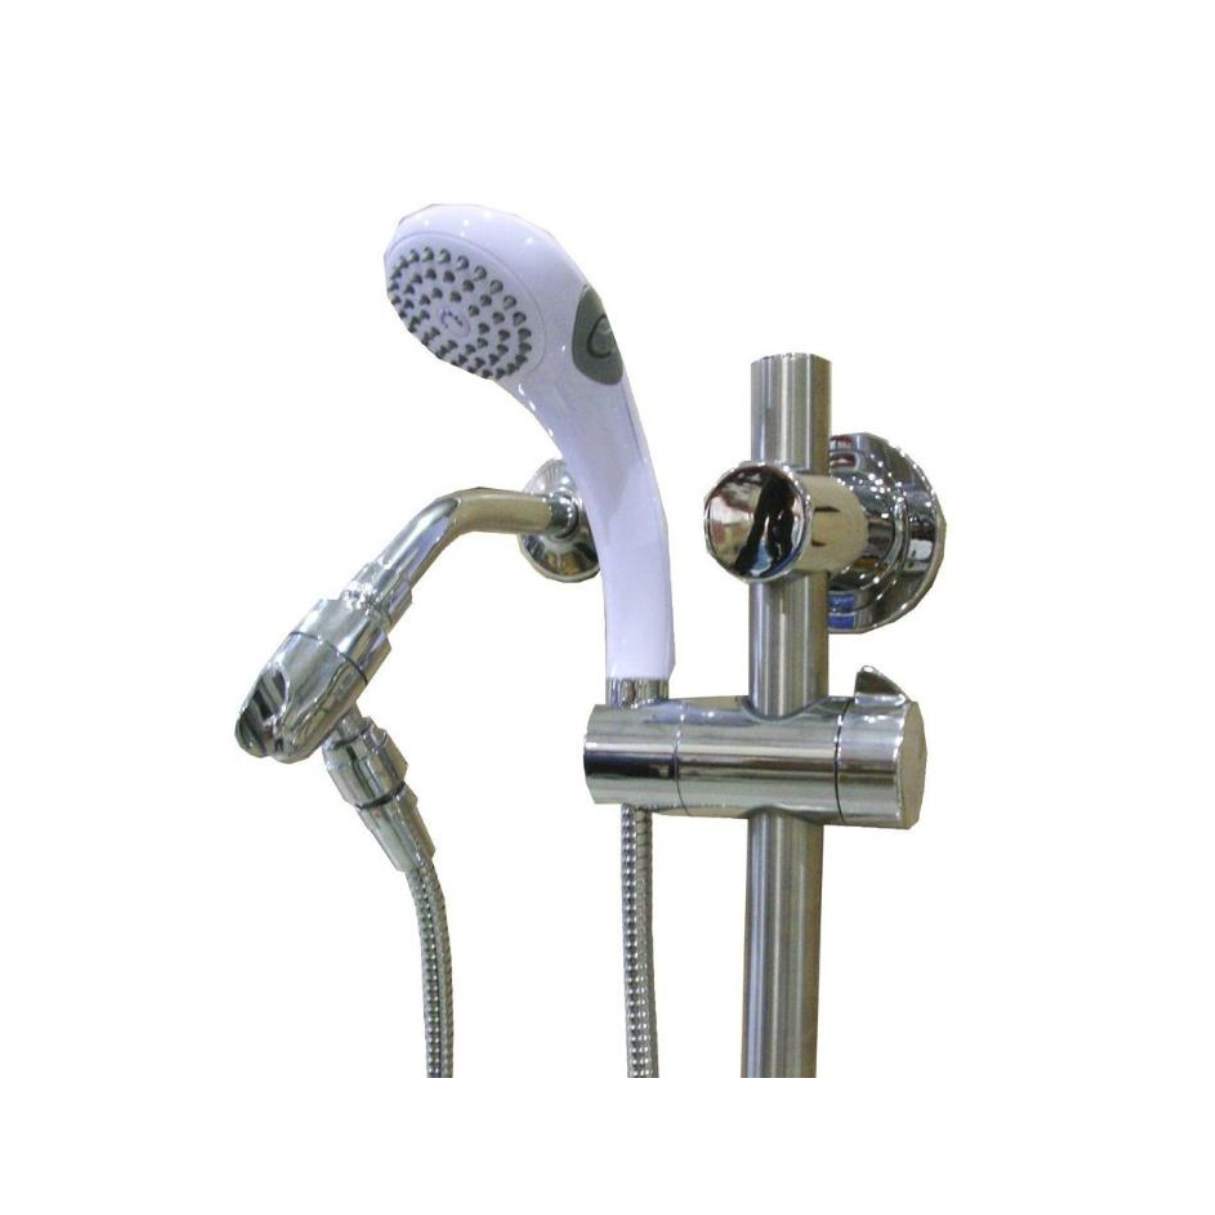
Step 5: Installing the new showerhead onto the old ball
Now that you’ve prepared the old ball showerhead for removal and cleaned the shower arm, it’s time to install the new showerhead onto the old ball. This step is exciting because it marks the transformation of your shower and the beginning of a more refreshing and enjoyable bathing experience.
Follow these simple steps to install the new showerhead:
- Start by applying a few wraps of Teflon tape around the threaded end of the shower arm. This tape will help create a watertight seal between the showerhead and the shower arm.
- Take your new showerhead and carefully screw it onto the threaded end of the shower arm. Make sure to align the threads and apply gentle pressure to avoid cross-threading.
- Use an adjustable wrench to tighten the showerhead onto the shower arm, turning it clockwise. Be careful not to overtighten, as this can cause damage and leaks.
- Ensure that the showerhead is securely attached and in the desired position. Adjust the angle and height as needed for optimal showering experience.
- Take a moment to admire your newly installed showerhead. You’re one step closer to enjoying a revitalizing shower.
By properly installing the new showerhead onto the old ball, you can ensure a snug and leak-free connection. The Teflon tape will help create a seal and prevent any water from leaking out of the joint.
Now that you have successfully installed the new showerhead, it’s time to move on to the final step – testing the functionality of your new showerhead.
In the next step, we’ll guide you through testing the new showerhead to ensure proper water flow and functionality. Let’s dive in!
Step 6: Testing the new showerhead
After successfully installing the new showerhead onto the old ball, it’s essential to test its functionality before fully enjoying your rejuvenating shower. Testing the new showerhead will ensure that everything is working correctly and that there are no leaks or issues that need to be addressed.
Here’s how to test the new showerhead:
- Turn on the water supply to the shower by either opening the shut-off valve or turning on the main water supply.
- Step into the shower and adjust the water temperature and pressure to your liking.
- While standing under the showerhead, examine the water flow. Ensure that the water is flowing evenly and without any obstruction.
- Check for any leaks around the connection between the showerhead and the shower arm. If you notice any leaks, use an adjustable wrench to tighten the connection further. If the leak persists, consider reapplying Teflon tape and tightening the connection again.
- Move the showerhead to different angles and positions to make sure it provides the desired coverage and adjustability.
- Take a moment to enjoy the invigorating sensation of your new showerhead.
By testing the new showerhead, you can ensure that it meets your expectations in terms of water flow, adjustability, and overall performance. Any minor adjustments or issues can be addressed promptly to ensure a satisfying bathing experience.
Congratulations! You have successfully installed and tested your new showerhead on the old ball. It’s now time to enjoy the revitalizing and refreshing showers that your new showerhead brings.
Remember to clean the showerhead periodically to prevent mineral buildup and clogging, and enjoy your upgraded bathroom experience for years to come!
Thank you for following along with this comprehensive guide on how to put a new showerhead on an old ball. We hope this step-by-step process has been helpful. Happy showering!
Conclusion
Upgrading your showerhead can have a significant impact on your daily bathing experience. By following the steps outlined in this guide, you have successfully learned how to put a new showerhead on an old ball. From gathering the necessary tools and materials to cleaning the shower arm and installing the new showerhead, each step was designed to ensure a smooth and successful installation process.
By taking the time to prepare the old ball showerhead for removal, clean the shower arm, and properly install the new showerhead, you have created a watertight connection and set the foundation for a refreshing and rejuvenating shower experience.
Remember to test the functionality of the new showerhead to ensure proper water flow and adjustability. Any minor adjustments or leaks can be easily addressed during this testing phase.
With your new showerhead in place, you can look forward to enhanced water flow, precise control over shower settings, and an overall improved bathing experience. The right showerhead can transform your daily routine, providing a soothing and invigorating escape within the comfort of your own bathroom.
As you continue to enjoy your new showerhead, make sure to periodically clean it to prevent mineral buildup and clogging. This will help maintain its functionality and ensure its longevity.
Thank you for following this comprehensive guide. We hope that it has been informative and helpful in guiding you through the process of putting a new showerhead on an old ball. Now, go ahead and take a well-deserved shower, embracing the power of your upgraded shower system!
Frequently Asked Questions about How To Put A New Showerhead On An Old Ball
Was this page helpful?
At Storables.com, we guarantee accurate and reliable information. Our content, validated by Expert Board Contributors, is crafted following stringent Editorial Policies. We're committed to providing you with well-researched, expert-backed insights for all your informational needs.


0 thoughts on “How To Put A New Showerhead On An Old Ball”