Home>Interior Design>How To Prepare Walls For Painting: 5 Easy Steps To Follow
Interior Design
How To Prepare Walls For Painting: 5 Easy Steps To Follow
Modified: November 1, 2024
Learn how to prepare your walls for painting with these 5 easy steps. Get expert tips on interior design to achieve a flawless paint job and transform your space.
(Many of the links in this article redirect to a specific reviewed product. Your purchase of these products through affiliate links helps to generate commission for Storables.com, at no extra cost. Learn more)
Introduction
Welcome to this comprehensive guide on how to prepare walls for painting. Whether you’re a seasoned DIY enthusiast or a beginner, knowing the proper steps to prepare your walls is essential to achieving a smooth and professional-looking paint job. A properly prepared surface not only ensures better adhesion for the paint but also helps to create a long-lasting finish.
Painting a room can transform its appearance and breathe new life into your space. However, skipping or rushing the preparation process can lead to unsightly results, such as peeling paint, uneven texture, or visible imperfections. By following the steps outlined in this article, you’ll be able to create a clean, flawless canvas that will make your paint job look stunning.
Before we dive into the specific steps, it’s important to gather the necessary tools and materials to tackle the job effectively. Here are some items you’ll need:
- Drop cloths or plastic sheets to protect furniture and flooring
- Dust mask and safety goggles for personal protection
- Paint scraper or putty knife for removing any loose paint or wallpaper
- Sandpaper or sanding block for smoothing rough areas
- All-purpose cleaner or TSP (trisodium phosphate) for cleaning the walls
- Spackle or wall putty for filling in holes or cracks
- Primer to ensure better paint adhesion
- Painter’s tape for protecting trim and switches
- Paint roller, brushes, and tray for applying the paint
Now that you have your tools ready, let’s move on to the first step in preparing your walls for painting: assessing the condition of the walls.
Key Takeaways:
- Achieving a flawless paint finish requires thorough wall preparation, including assessing, cleaning, repairing, priming, and final surface preparation. Attention to detail and proper tools are key to a stunning result.
- By following the 5 essential steps to prepare walls for painting, you can ensure a professional-looking and long-lasting paint job. Take the time to assess, clean, repair, prime, and prepare the surface for a beautiful transformation.
Step 1: Assessing the condition of the walls
Before you start any painting project, it’s crucial to carefully assess the condition of your walls. This step will help you identify any issues that need to be addressed before you can achieve a smooth and flawless paint finish.
Begin by examining the walls for any cracks, holes, or other damages. Look for any signs of peeling or bubbling paint, as well as areas with an uneven texture. Take note of any discoloration or stains that may require special attention.
If you come across any loose or flaking paint, use a paint scraper or putty knife to gently remove it. Sand the area with fine-grit sandpaper or a sanding block to create a smooth surface. Be sure to wear a dust mask and safety goggles during this process to protect yourself from dust and debris.
Next, inspect for any holes or cracks in the walls. Small nail holes can be easily filled with a spackle or wall putty using a putty knife. For larger holes or cracks, use a patching compound to repair them. Follow the manufacturer’s instructions for mixing and applying the compound.
After addressing any damages, take a close look at the overall texture of the walls. If you notice any rough or uneven areas, sand them down until they are smooth. This will help create a more even paint finish.
Additionally, assess the cleanliness of the walls. Dust, dirt, and grease can prevent proper paint adhesion. Use an all-purpose cleaner or a solution of trisodium phosphate (TSP) to wash the walls. Be sure to rinse them thoroughly and allow them to dry completely before moving on to the next step.
By thoroughly assessing the condition of your walls and addressing any damages or imperfections, you’ll create a solid foundation for your paint job. This will ensure that the paint adheres properly and results in a professional-looking finish. Now that your walls are clean and repaired, it’s time to move on to the next step: cleaning the walls.
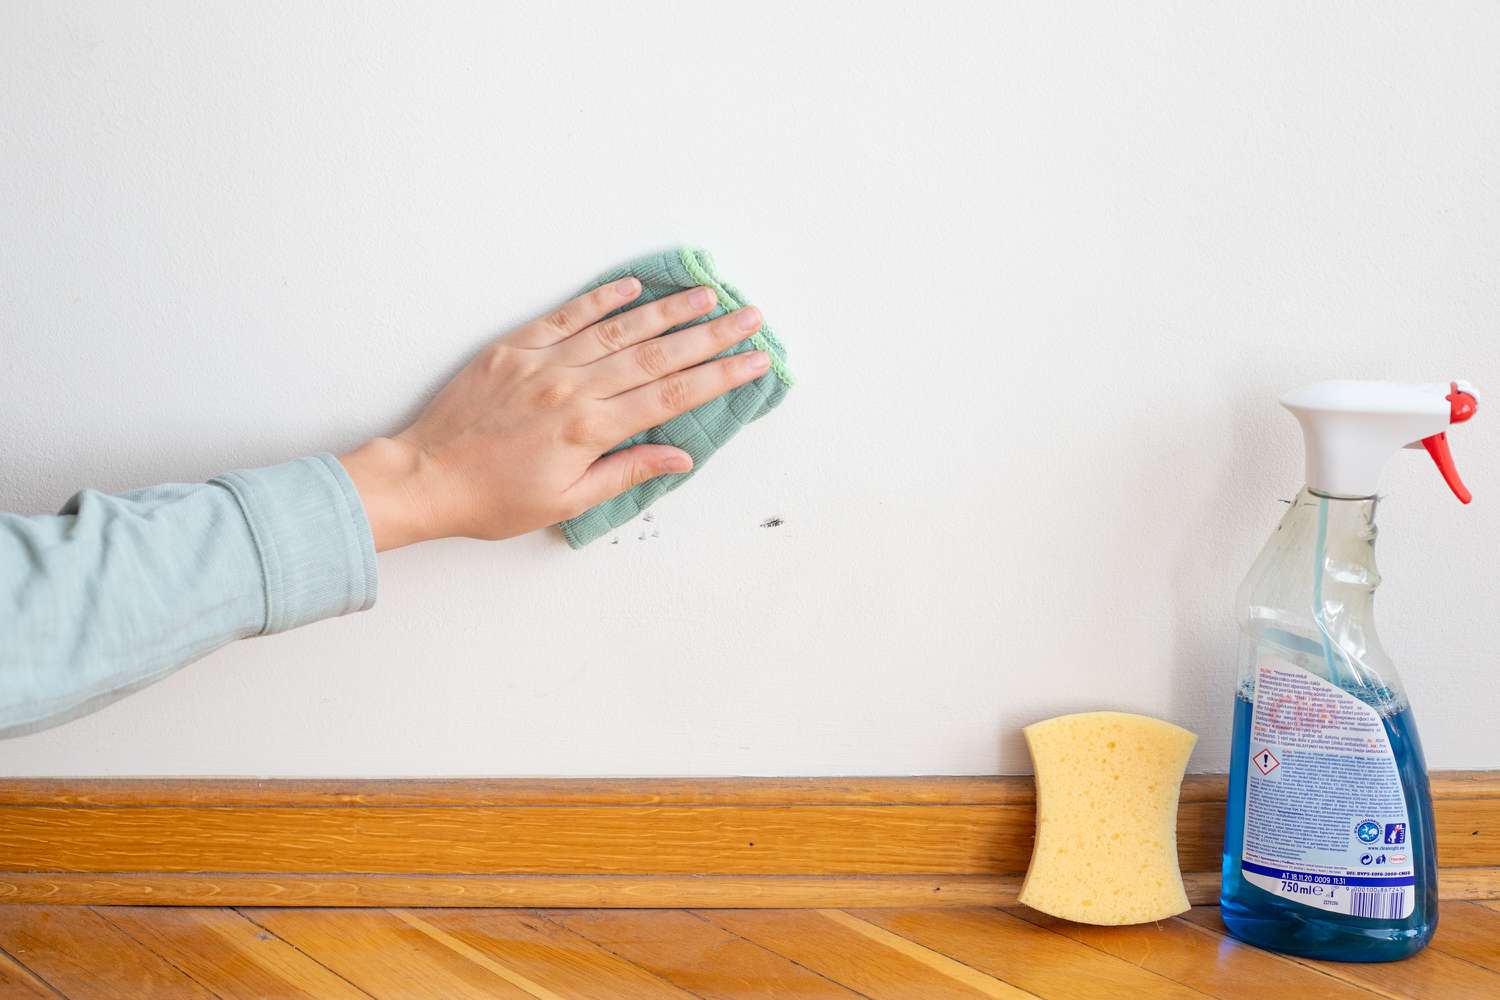
Step 2: Cleaning the walls
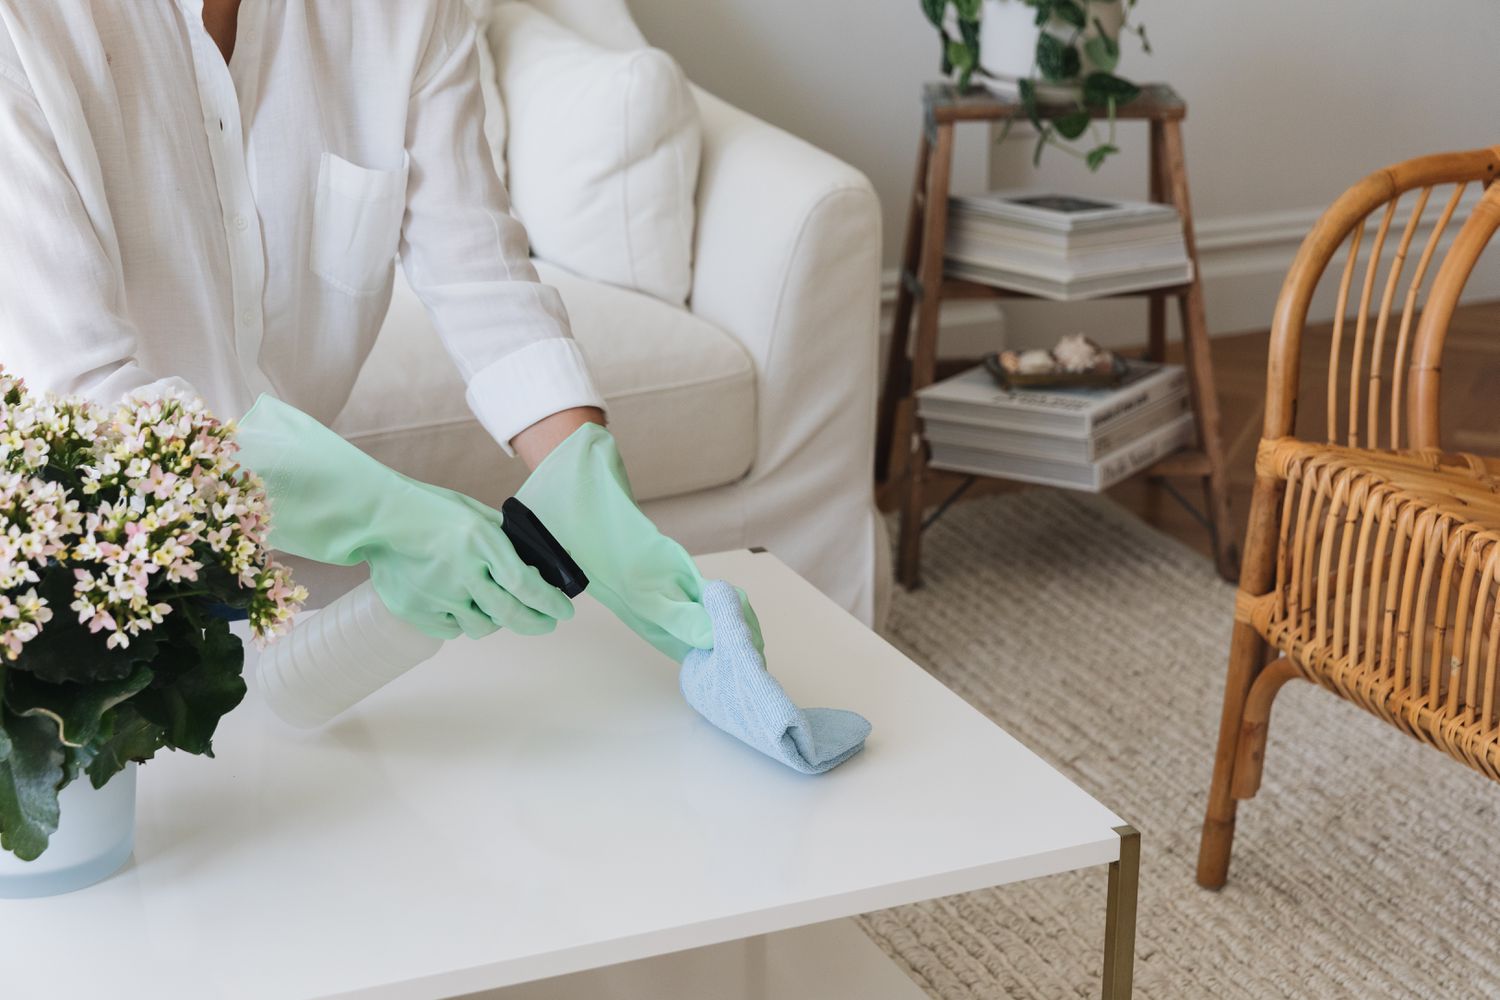
Now that you have assessed and repaired any damages on your walls, it’s time to give them a thorough cleaning. Cleaning the walls is an important step to remove any dirt, grease, or other contaminants that can affect the adhesion and durability of the paint.
Start by covering any furniture or flooring with drop cloths or plastic sheets to protect them from any cleaning solutions or water splatters.
There are a few different methods you can use to clean your walls depending on the level of dirtiness:
- Dry cleaning: If your walls are just lightly dusty or have occasional smudges, you can start with a dry cleaning method. Use a soft cloth, microfiber duster, or a vacuum cleaner with a brush attachment to gently remove the dust and dirt from the surface.
- Mild soap and water: For walls that have more noticeable stains or non-greasy marks, you can mix a mild dish soap or all-purpose cleaner with warm water. Dip a sponge or soft cloth into the solution, wring out any excess liquid, and gently wipe the walls in a circular motion. Be careful not to scrub too hard to avoid damaging the wall’s surface. Rinse the sponge or cloth frequently and change the water if it becomes dirty.
- TSP solution: If your walls are heavily soiled, greasy, or have smoke residue, you may need to use a stronger cleaning solution. Trisodium phosphate (TSP) is a highly effective cleaner for removing stubborn stains. Follow the manufacturer’s instructions for mixing the TSP solution with warm water. Wear gloves and protective eyewear when working with TSP and ensure good ventilation in the room. Dip a sponge or soft cloth into the solution, wring out the excess liquid, and gently scrub the walls. Rinse the walls thoroughly with clean water to remove any residue. Be cautious when using TSP as it can cause skin irritation and should not be used on painted surfaces without first conducting a patch test.
Regardless of the cleaning method you choose, it’s important to work in small sections and to avoid overly wetting the walls. Excessive moisture can damage the underlying wall structure or lead to peeling paint.
Once you have finished cleaning the walls, allow them to dry completely before moving on to the next step. Proper drying time is essential to ensure that the paint adheres well and that no moisture is trapped underneath.
Cleaning the walls may seem like a tedious task, but it is crucial for achieving a successful paint job. By removing dirt, grease, and other contaminants, you create a clean and smooth surface for the paint to adhere to. With the walls clean and dry, you’re now ready to move on to step 3: repairing any damages.
Step 3: Repairing any damages
As you prepare your walls for painting, it is important to address any damages or imperfections that may be present. Repairing these issues will ensure a smooth and even surface, allowing for a flawless paint application.
Start by examining the walls closely for any cracks, holes, or dents. These can be caused by various factors such as settling of the house, previous accidents, or wear and tear over time.
If you come across any small nail holes or minor cracks, you can easily fix them with spackle or wall putty. Using a putty knife, apply a small amount of the spackle or putty into the hole or crack, ensuring it is completely filled. Smooth out the surface and let it dry according to the manufacturer’s instructions. Once dry, sand the area lightly to create a smooth finish that blends seamlessly with the rest of the wall.
For larger holes or significant damage, such as sections of missing plaster or drywall, you may need to use a patching compound. Begin by removing any loose or damaged material. Then, follow the instructions on the patching compound to prepare and apply it to the damaged area. Use a putty knife or trowel to spread the compound evenly, ensuring it is flush with the surrounding wall surface. Allow it to dry completely before sanding it down to a smooth finish.
It’s important to note that prior to repairing any damages, make sure the walls are clean and free from dust or debris. This will help the repair materials adhere properly and achieve a seamless finish.
Once all the necessary repairs have been made, take the time to inspect the entire wall surface for any remaining imperfections. Run your hand over the wall, feeling for any uneven spots or rough areas. Sand these down using fine-grit sandpaper or a sanding block until the surface is smooth to the touch. Wipe away any dust or debris with a damp cloth to ensure a clean painting surface.
By taking the time to repair any damages and create a smooth surface, you’ll ensure that the paint applies evenly and achieves the desired end result. With the repairs complete and the walls smooth, you’re ready to move on to step 4: priming the walls.
Before painting, make sure to clean the walls thoroughly to remove any dirt, dust, and grease. Repair any cracks or holes with spackle and sand the surface for a smooth finish. Use a primer to ensure better adhesion and a more even finish for your paint.
Step 4: Priming the walls
Priming the walls is an essential step in the wall preparation process before painting. Priming not only helps to create a smooth and uniform surface but also enhances the adhesion of the paint and improves its durability.
Begin by selecting the appropriate primer for your project. There are different types of primers available, such as multi-surface primers, stain-blocking primers, and high-adhesion primers. Choose the one that suits your specific needs and the type of paint you will be using.
Before applying the primer, make sure the walls are clean and dry. Remove any dust or debris using a damp cloth or sponge, and allow the walls to fully dry.
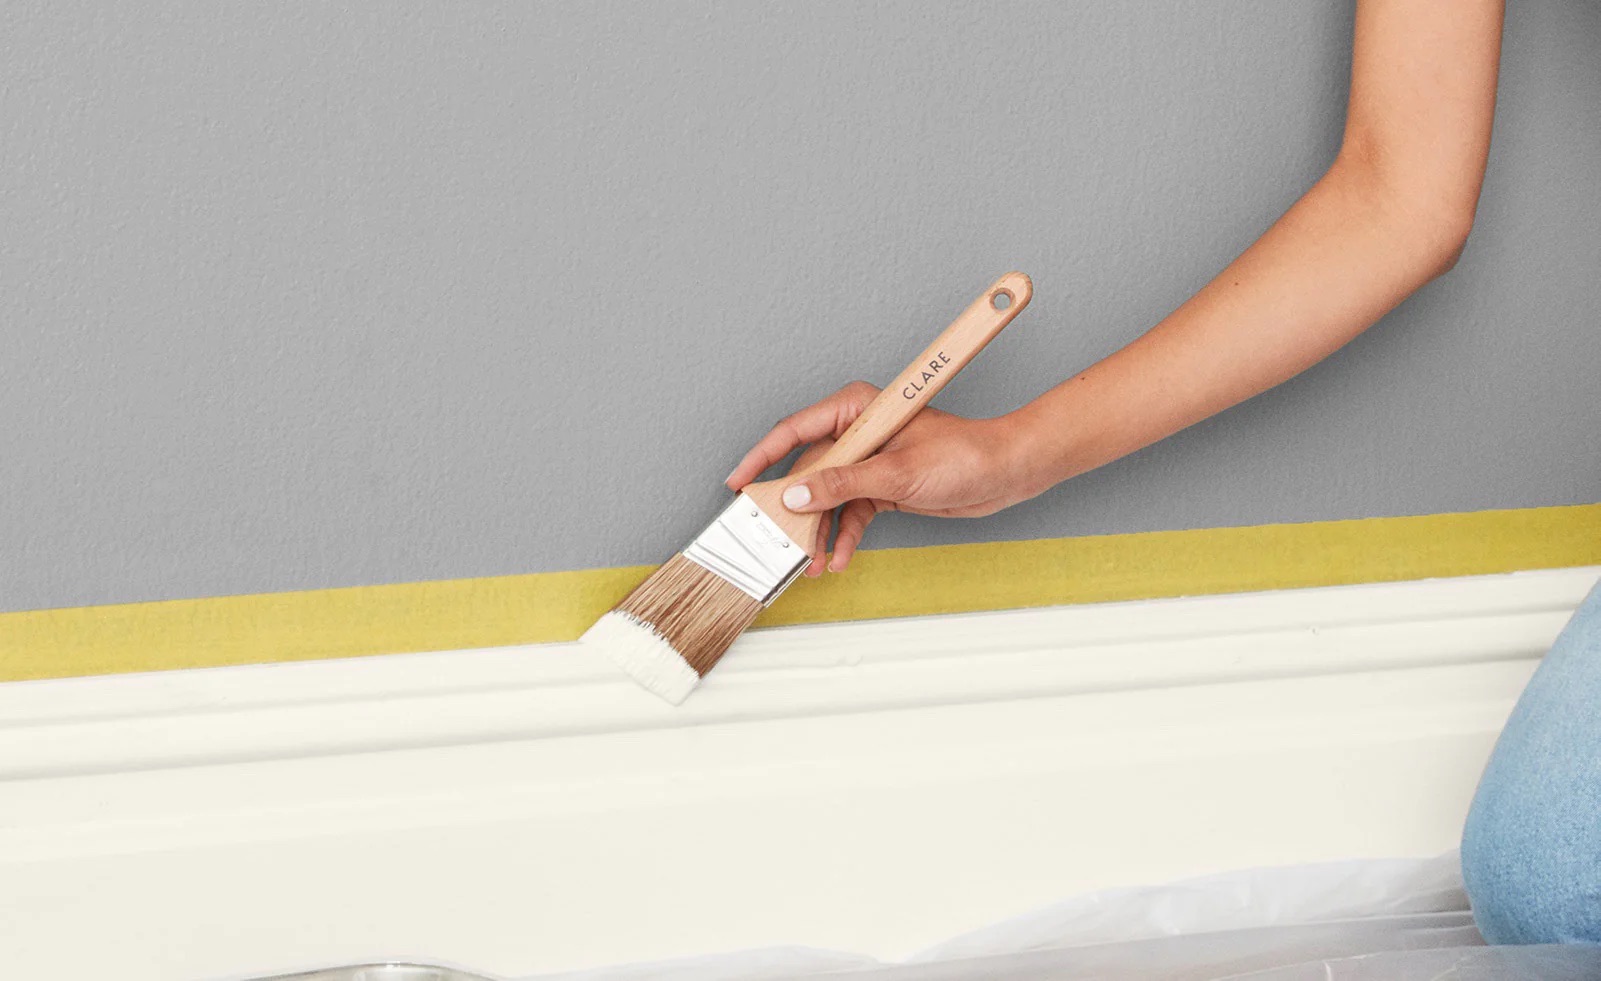
Start by cutting in, which means using a paintbrush to apply primer along the edges of the walls, corners, and around trim and switches. This helps create a clean and neat finish when you later apply the paint with a roller.
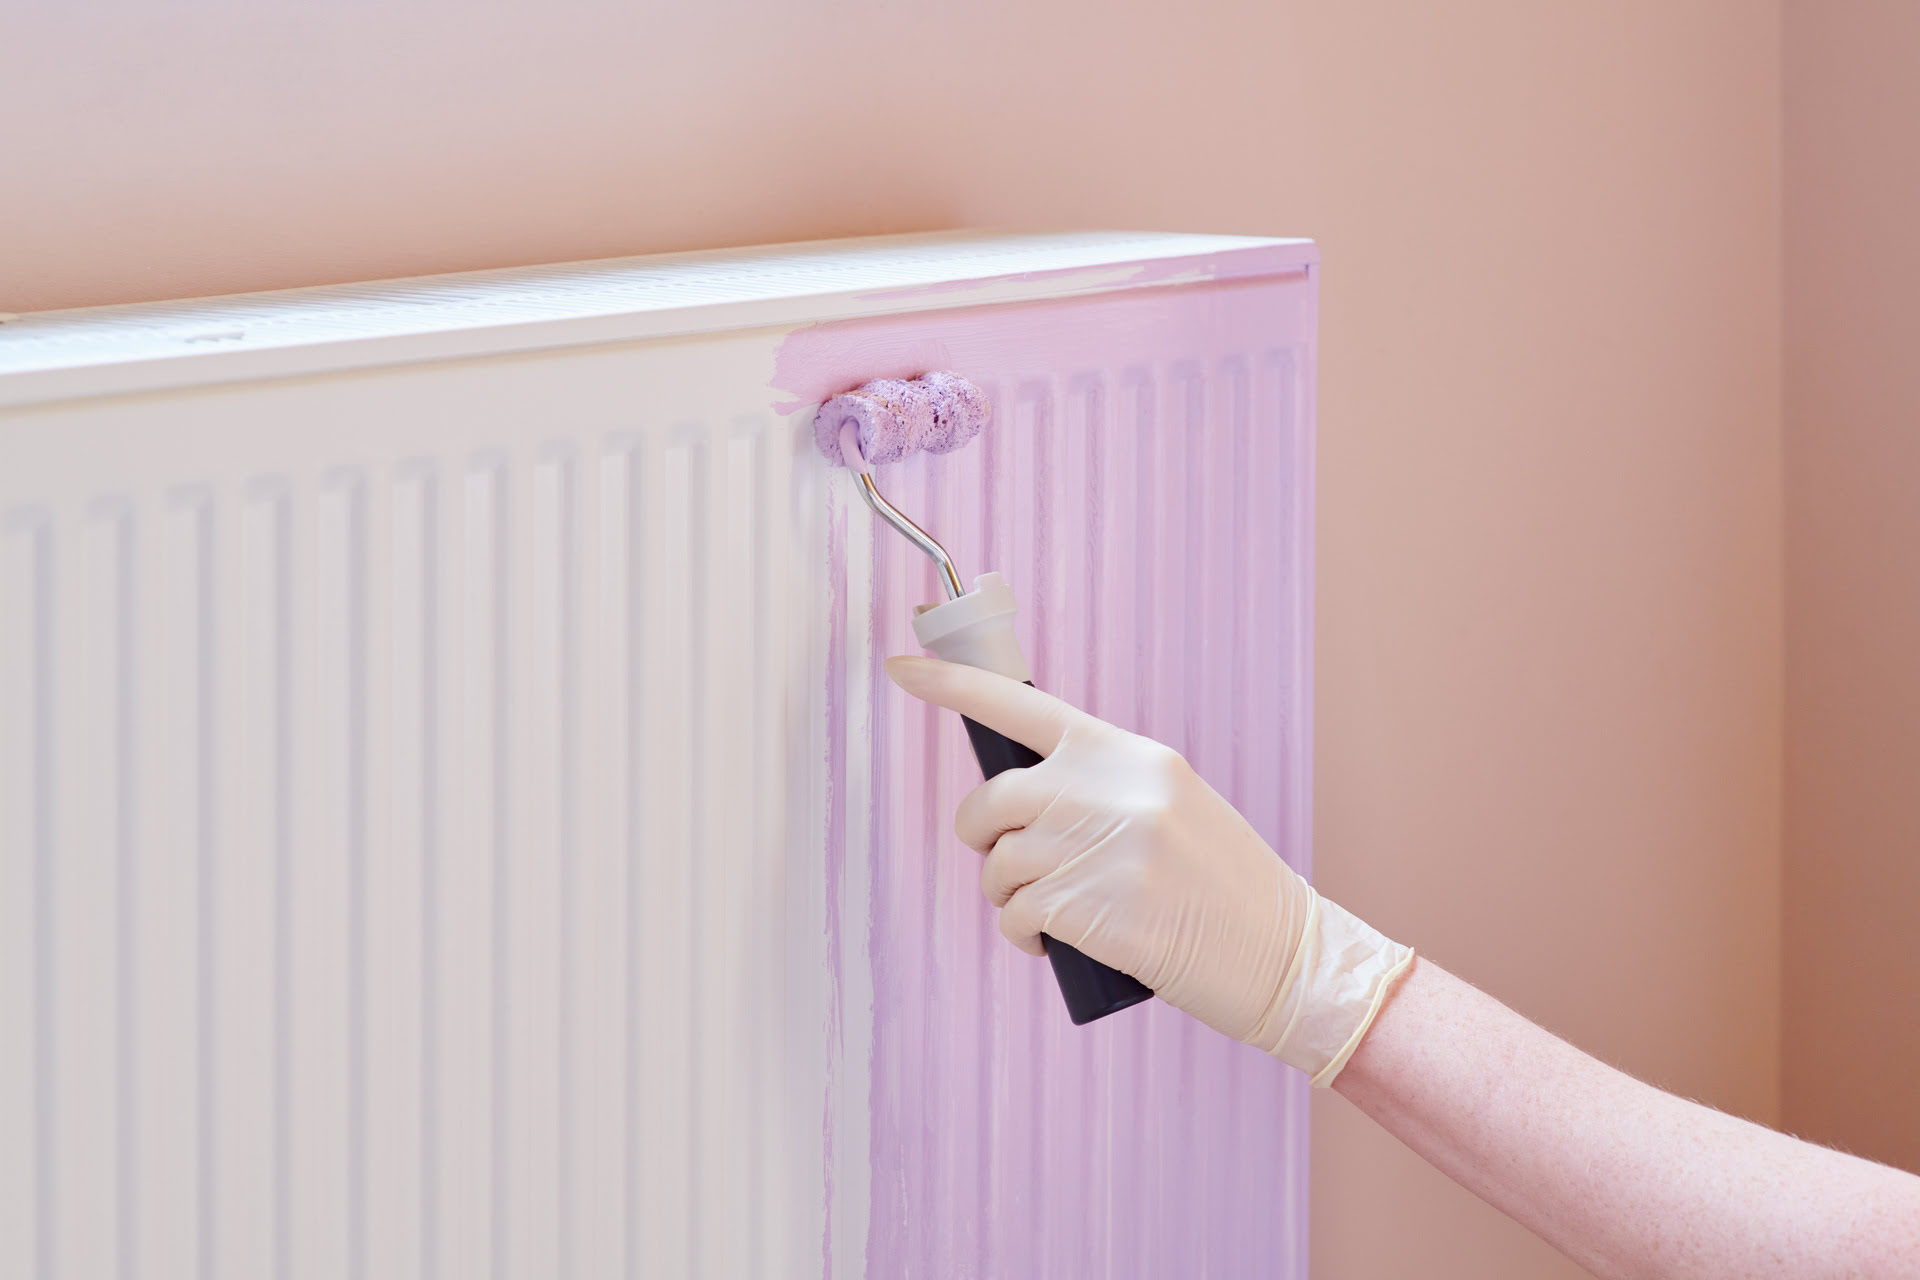
Once the cutting in is complete, use a roller to apply the primer to the rest of the wall surface. Start from the top and work your way down in small sections, ensuring an even and smooth application. Use a roller with a nap appropriate for the texture of your walls – a shorter nap for smooth walls and a longer nap for textured walls.
Apply the primer in thin and even coats, being careful not to overload the roller. This will prevent drips and ensure better drying. If needed, allow the primer to dry completely and apply a second coat for better coverage and adhesion.
Keep in mind that drying times for primers may vary, so follow the manufacturer’s recommendations. It is generally best to wait at least 24 hours before applying paint over the primer.
Priming the walls not only helps to create a smooth and uniform surface for painting, but it also seals porous surfaces, covers stains and discoloration, and provides a consistent base for the paint color. By taking the time to properly prime your walls, you’ll enhance and prolong the life of your paint job. With the walls primed and ready, it’s time to move on to step 5: preparing the surface for painting.
Read more: How To Prepare Exterior Walls For Painting
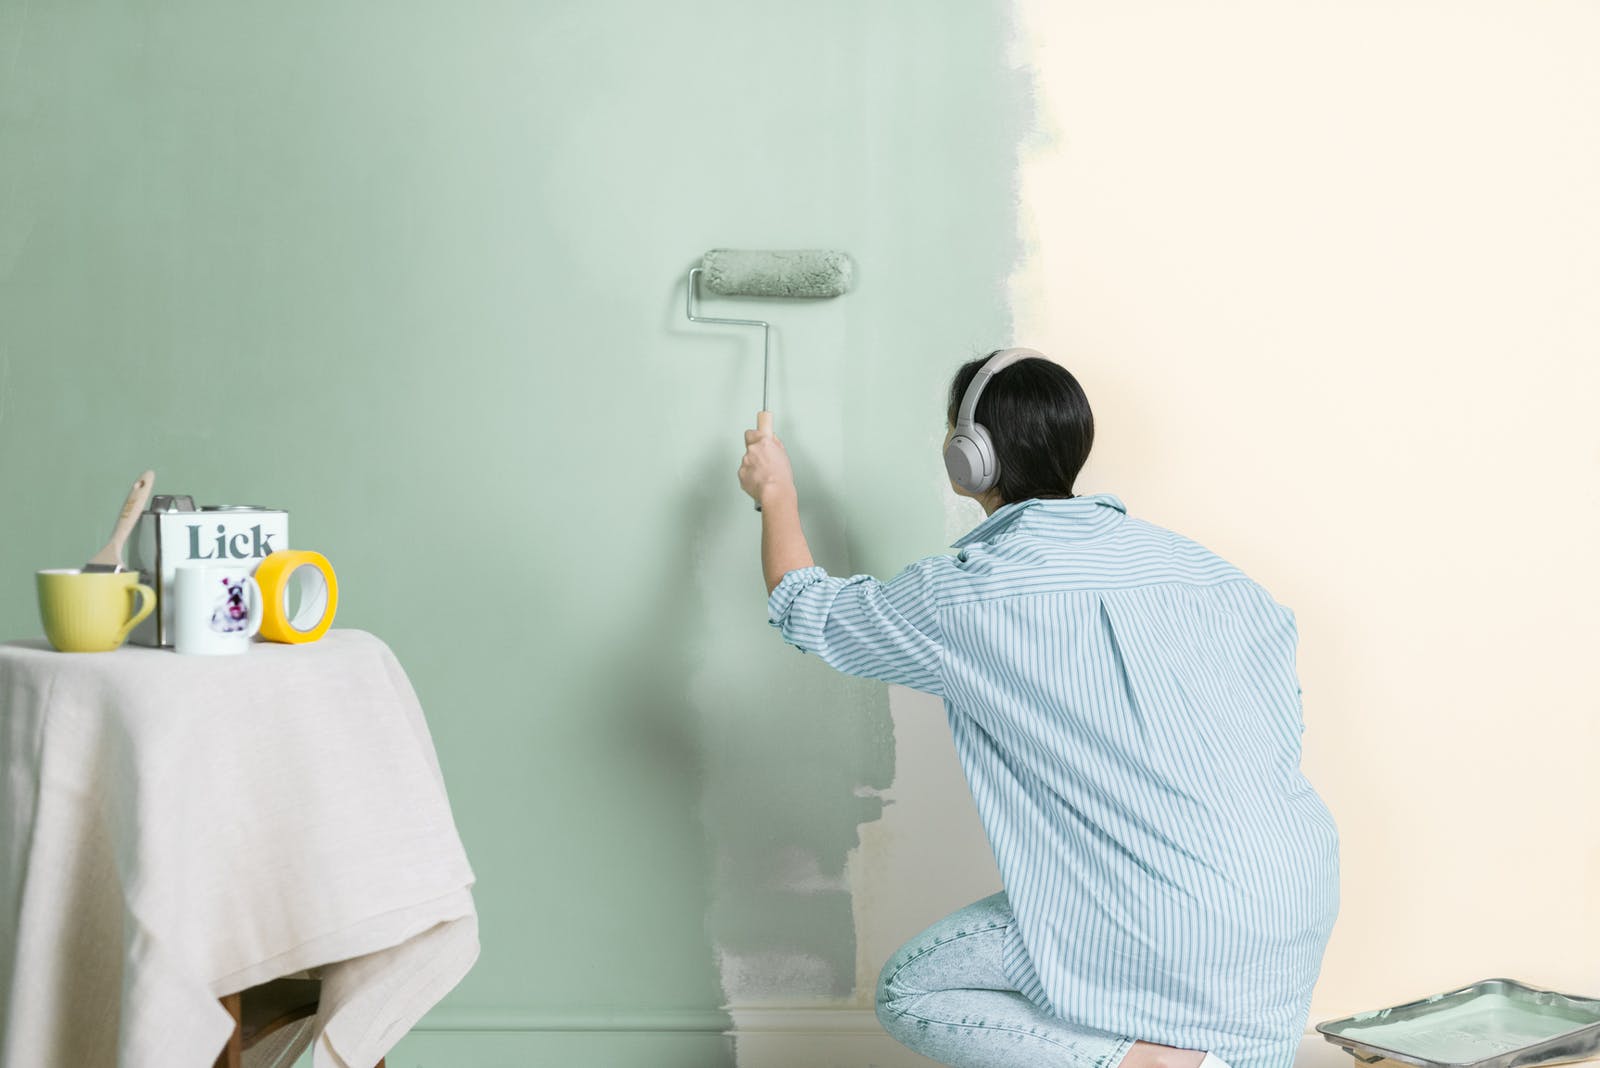
Step 5: Preparing the surface for painting
After priming the walls, it’s time to prepare the surface further to ensure a smooth and professional-looking paint finish. This step involves some final preparations before you start applying the paint.
Start by inspecting the primed walls for any imperfections or areas that may require additional attention. Look for any uneven spots, drips, or brush marks. Sand down these areas gently using fine-grit sandpaper to create a smooth surface.
Before you start painting, protect any areas that you don’t want to be painted, such as trim, windows, switches, and electrical outlets. Use painter’s tape to tape off these areas, ensuring clean lines and avoiding any accidental paint splatters.
If you are using multiple paint colors or want to create distinct sections, you can also use painter’s tape to create crisp edges or patterns on the walls.
Before opening your paint cans, thoroughly mix the paint to ensure consistency. Use a stir stick or paint mixer to blend the color pigment evenly throughout the can.
When it comes to painting, it’s important to choose the right tools. Opt for high-quality paintbrushes for cutting in and trim work, and use a roller with a nap suitable for your wall texture. Consider using an extension pole for hard-to-reach areas.
Prior to painting, dampen your brushes and rollers with water for latex-based paint or paint thinner for oil-based paint. This will help the paint glide on smoothly and prevent excessive absorption.
When applying the paint, start with the cutting in process, using a brush to carefully paint along the edges, corners, and trim. Take your time to ensure clean lines and avoid smudges.
Once the cutting in is complete, use a roller to apply the paint to the rest of the wall surface. Start from the top and work your way down in small sections, using smooth and even strokes. Be mindful of not overloading the roller with paint to prevent drips.
For optimal coverage and a professional finish, apply two to three thin coats of paint, allowing each coat to dry completely before applying the next. Follow the manufacturer’s recommendations for drying times between coats.
After you have finished painting, carefully remove the painter’s tape while the paint is still slightly wet. This will help create clean edges without tearing the paint or leaving residue.
Finally, allow the paint to dry fully before moving any furniture back into the room or touching the walls. Proper drying time is key to achieve a durable and long-lasting paint finish.
By following these steps and taking the time to properly prepare the surface for painting, you’ll ensure a smooth and professional-looking paint job. Your efforts will be rewarded with a beautifully transformed space that reflects your personal style and enhances the overall appeal of your home.
With the surface properly prepared and the painting complete, you can now step back and admire your work. Congratulations on successfully preparing your walls and creating a stunning interior!
Conclusion
Preparing walls for painting is a crucial step in achieving a professional-looking finish. By following the steps outlined in this guide, you can ensure that your paint job is not only visually appealing but also long-lasting and durable.
Assessing the condition of the walls allows you to identify and address any damages or imperfections before starting the painting process. Cleaning the walls removes dirt and contaminants that can affect paint adhesion. Repairing any damages creates a smooth surface for paint application.
Priming the walls enhances paint adhesion and provides a consistent base for your chosen paint color. Preparing the surface before painting involves final touch-ups and protecting surrounding areas. Finally, applying the paint with care and allowing sufficient drying time ensures a flawless finish.
Remember to choose high-quality materials, take your time during each step, and pay attention to detail. Properly preparing your walls for painting will not only improve the aesthetics of your space but also contribute to the longevity of your paint job.
So, gather your tools, set aside some time, and follow these steps to transform your walls into a stunning canvas for your creative vision. Whether you’re refreshing a room, revamping your entire home, or simply adding a fresh coat of paint, the effort and attention you put into preparing your walls will be well worth it in the end.
Now, go ahead and unleash your inner artist with confidence, knowing that you have the knowledge and skills to prepare your walls for a beautiful and long-lasting paint finish. Happy painting!
Frequently Asked Questions about How To Prepare Walls For Painting: 5 Easy Steps To Follow
Was this page helpful?
At Storables.com, we guarantee accurate and reliable information. Our content, validated by Expert Board Contributors, is crafted following stringent Editorial Policies. We're committed to providing you with well-researched, expert-backed insights for all your informational needs.


0 thoughts on “How To Prepare Walls For Painting: 5 Easy Steps To Follow”