
Articles
How To Clean A Hard Wired Smoke Detector
Modified: August 22, 2024
Discover effective techniques and tips to clean a hard-wired smoke detector in this informative articles guide. Ensure your home's safety with proper maintenance and cleaning.
(Many of the links in this article redirect to a specific reviewed product. Your purchase of these products through affiliate links helps to generate commission for Storables.com, at no extra cost. Learn more)
Introduction
A hard-wired smoke detector is an essential safety device that can save lives in the event of a fire. However, over time, these detectors can accumulate dust, dirt, and other debris, which can affect their functionality. Regular maintenance and cleaning of the smoke detector is crucial to ensure it operates effectively.
In this article, we will guide you through the step-by-step process of cleaning a hard-wired smoke detector. We will also provide you with some safety precautions as well as a list of tools and materials you will need. By following these instructions, you can maintain the performance of your smoke detector and keep your home safe.
Key Takeaways:
- Regularly cleaning your hard-wired smoke detector is crucial for optimal functionality and safety. Follow the step-by-step guide and safety precautions to ensure your detector remains reliable and effective in the event of a fire.
- Prioritize safety by turning off the power, wearing protective gear, and following manufacturer’s instructions when cleaning your hard-wired smoke detector. Regular maintenance and testing will provide peace of mind and ensure the safety of your home and family.
Read more: How To Replace A Hard-Wired Smoke Detector
Safety Precautions
Before you begin cleaning your hard-wired smoke detector, it is important to follow some safety precautions to ensure your well-being:
- 1. Turn off the power: Before working on the smoke detector, make sure to turn off the power to avoid any electrical shock hazards. Locate the circuit breaker that controls the smoke detector and switch it off.
- 2. Wear protective gear: It is advisable to wear gloves and a face mask to protect yourself from dust and potential allergens while cleaning the detector.
- 3. Check for any warning signs: If your smoke detector is emitting a continuous beeping sound or displaying a warning light, it may indicate a malfunction that requires professional assistance. Do not attempt to clean a malfunctioning detector on your own.
- 4. Avoid using liquid cleaners: Do not use any liquid cleaners or solvents on the detector as they can damage the sensitive components. Stick to dry cleaning methods unless otherwise specified by the manufacturer.
- 5. Follow manufacturer’s instructions: Read the user manual or any specific instructions provided by the manufacturer before attempting to clean your hard-wired smoke detector. Each model may have different cleaning recommendations.
- 6. Use a stable platform: If you need to use a ladder or step stool to reach the smoke detector, ensure that it is on a stable surface and do not overreach. Safety should always be the top priority.
- 7. Test the detector after cleaning: Once you have cleaned and reassembled the smoke detector, it is crucial to test its functionality. Follow the testing procedures outlined in the user manual to ensure that it is working properly.
By following these safety precautions, you can minimize the risks associated with cleaning a hard-wired smoke detector and ensure a safe environment for yourself and your family.
Tools and Materials Required
Before you begin cleaning your hard-wired smoke detector, gather the following tools and materials:
- 1. Ladder or step stool: You may need a stable platform to reach the smoke detector if it is located on the ceiling or a high wall. Make sure to use a ladder or step stool that is appropriate for the height required.
- 2. Soft-bristled brush: A soft-bristled brush such as a paintbrush or a clean makeup brush can be used to gently remove dust and debris from the exterior and vents of the smoke detector.
- 3. Compressed air: If there are stubborn particles or dust inside the detector, you can use compressed air in a canister to blow them away. This will help ensure that the internal components are clean and functioning properly.
- 4. Mild detergent: In some cases, if the smoke detector has become greasy or sticky, you may need to use a mild detergent solution. Mix a small amount of dish soap with water to create a gentle cleaning solution.
- 5. Microfiber cloth or lint-free cloth: Use a microfiber cloth or lint-free cloth to wipe the exterior of the smoke detector and any removable parts. These materials are gentle and won’t leave fibers behind.
- 6. Screwdriver (if necessary): Depending on the model of your smoke detector, you may need a screwdriver to remove the detector from its mounting bracket.
- 7. Replacement batteries (if necessary): If your smoke detector is equipped with a battery backup, it is a good idea to keep some replacement batteries on hand for when they eventually need to be replaced. Make sure they are the correct type and size as specified by the manufacturer.
Having these tools and materials readily available will make the process of cleaning your hard-wired smoke detector easier and more efficient.
Step 1: Turn Off Power
The first step in cleaning a hard-wired smoke detector is to turn off the power to ensure your safety. Follow these instructions:
- Locate the circuit breaker that controls the smoke detector. This may be labeled as “Smoke Detector” or “Fire Alarm” on the electrical panel.
- Switch off the breaker by flipping it to the “off” position.
- To be extra cautious, you can also test the detector by pressing the test button. If it emits a loud sound, you have successfully turned off the power.
- Make sure to inform other household members that you are working on the smoke detector and that they should not turn on the breaker or tamper with the detector while you are cleaning it.
By turning off the power, you eliminate the risk of electric shock and ensure a safe working environment for cleaning your hard-wired smoke detector.
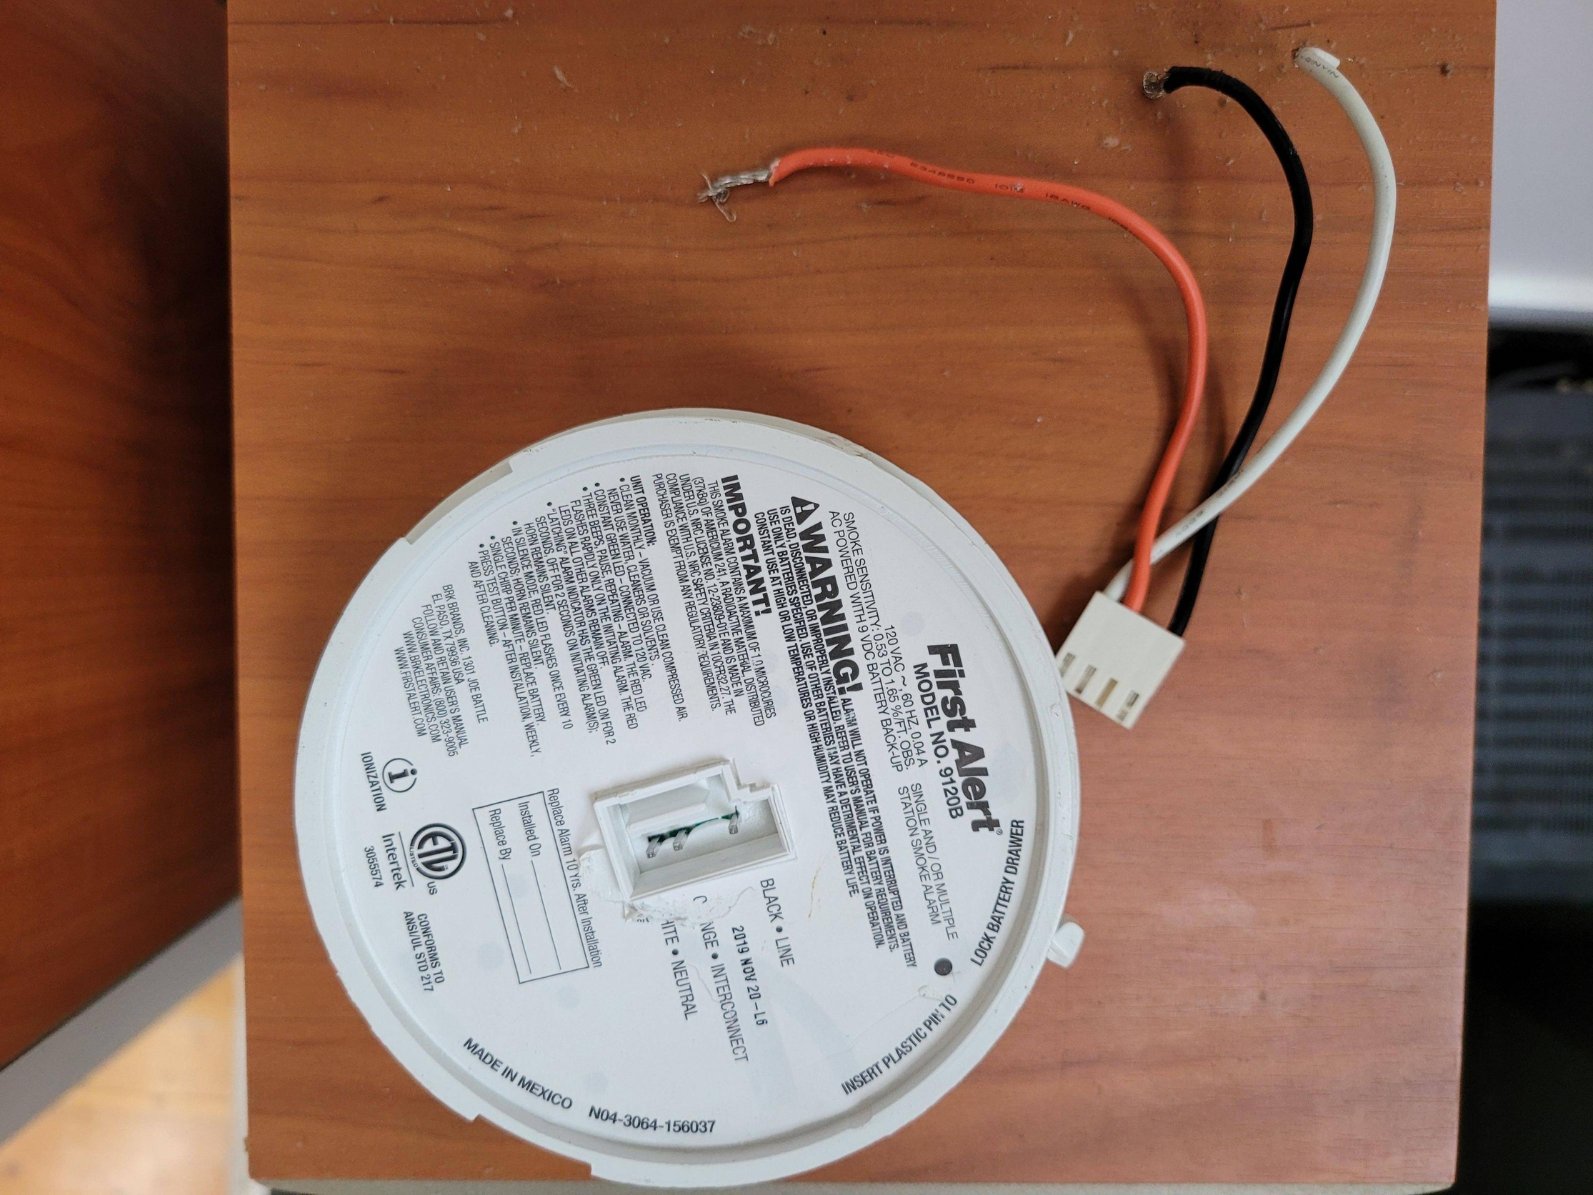
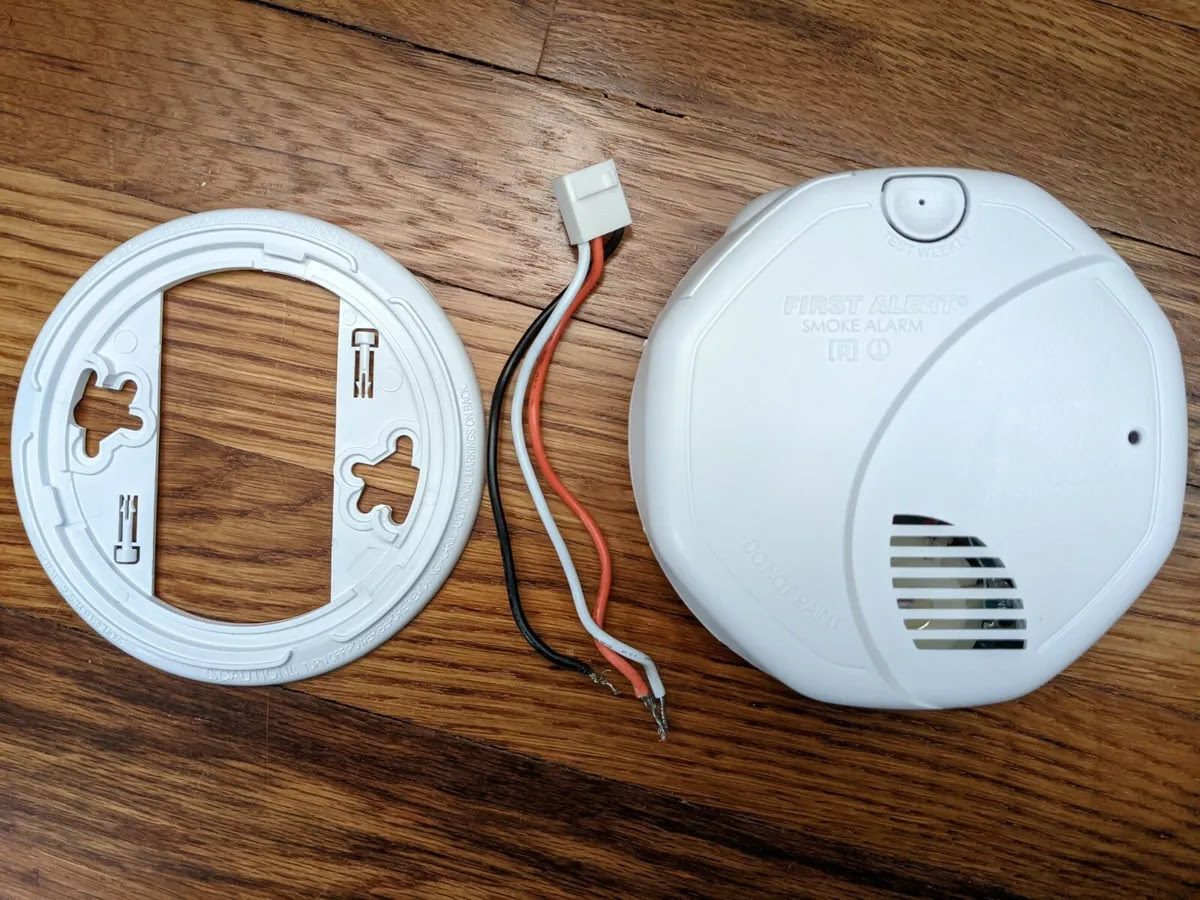
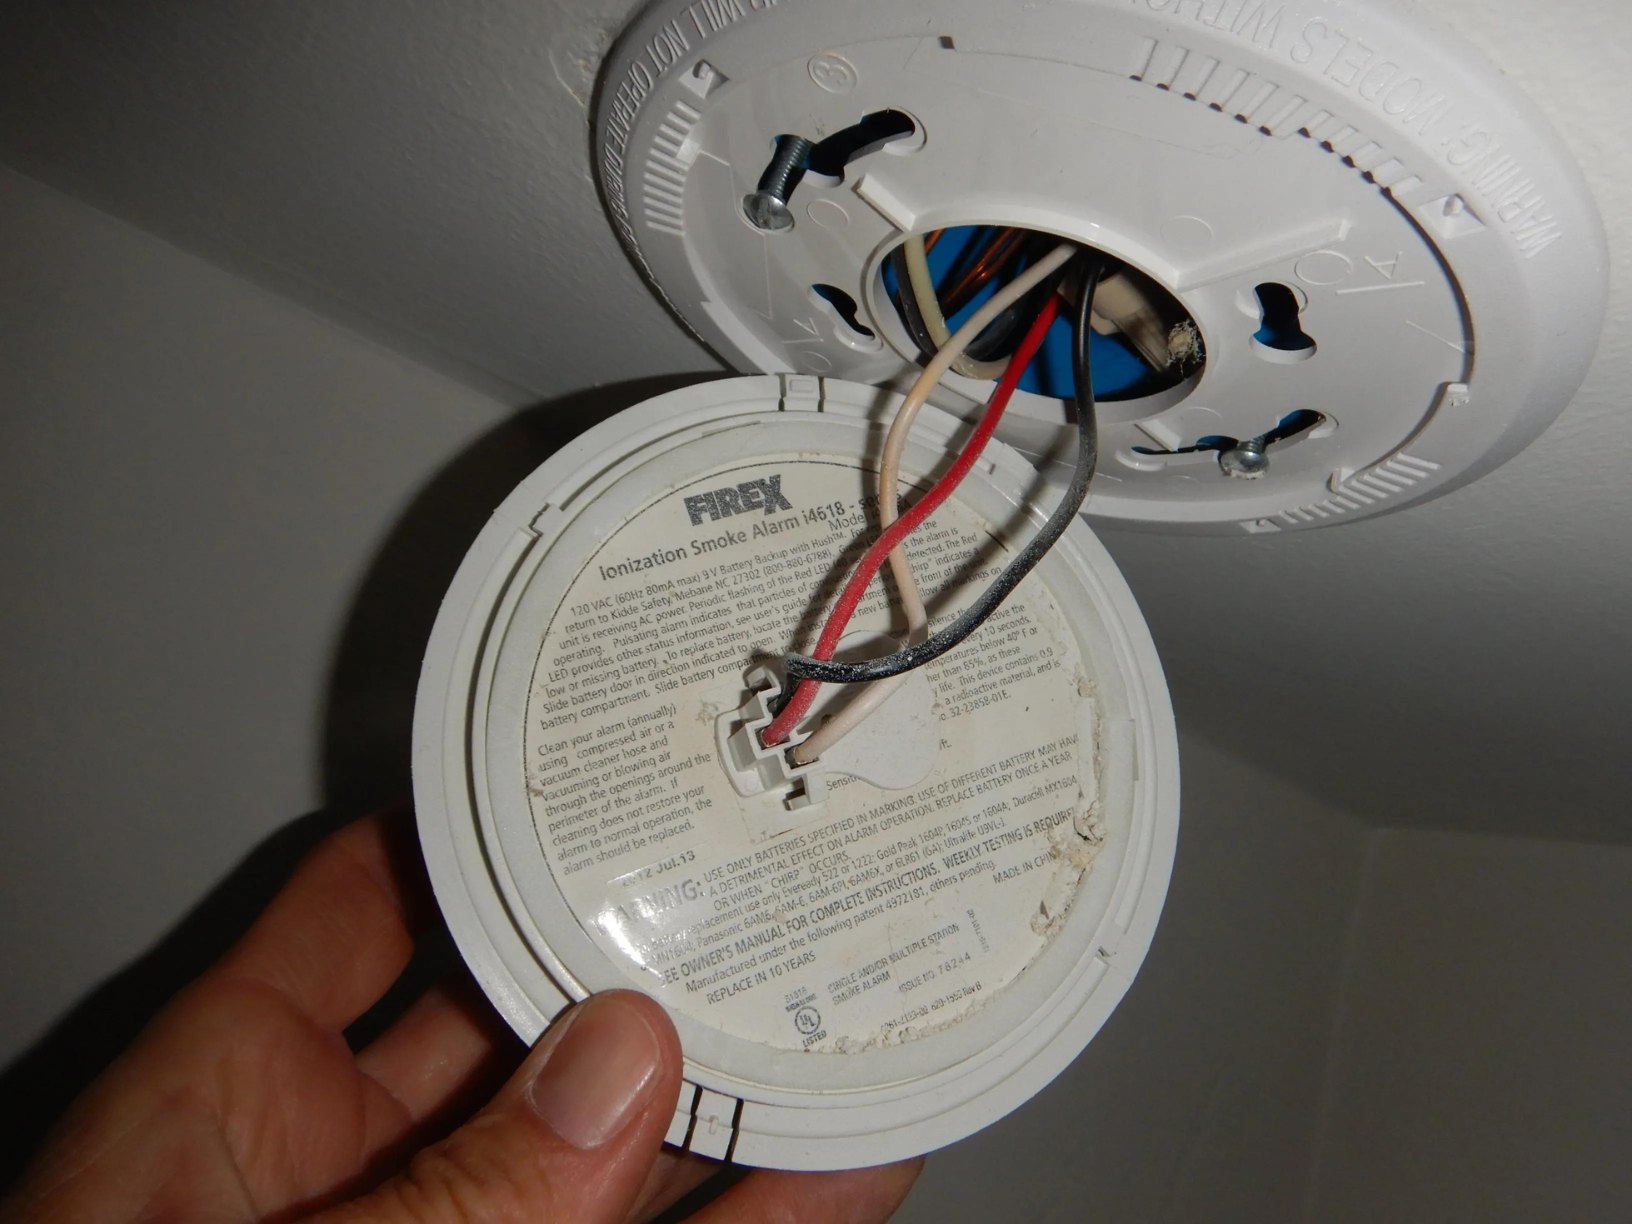
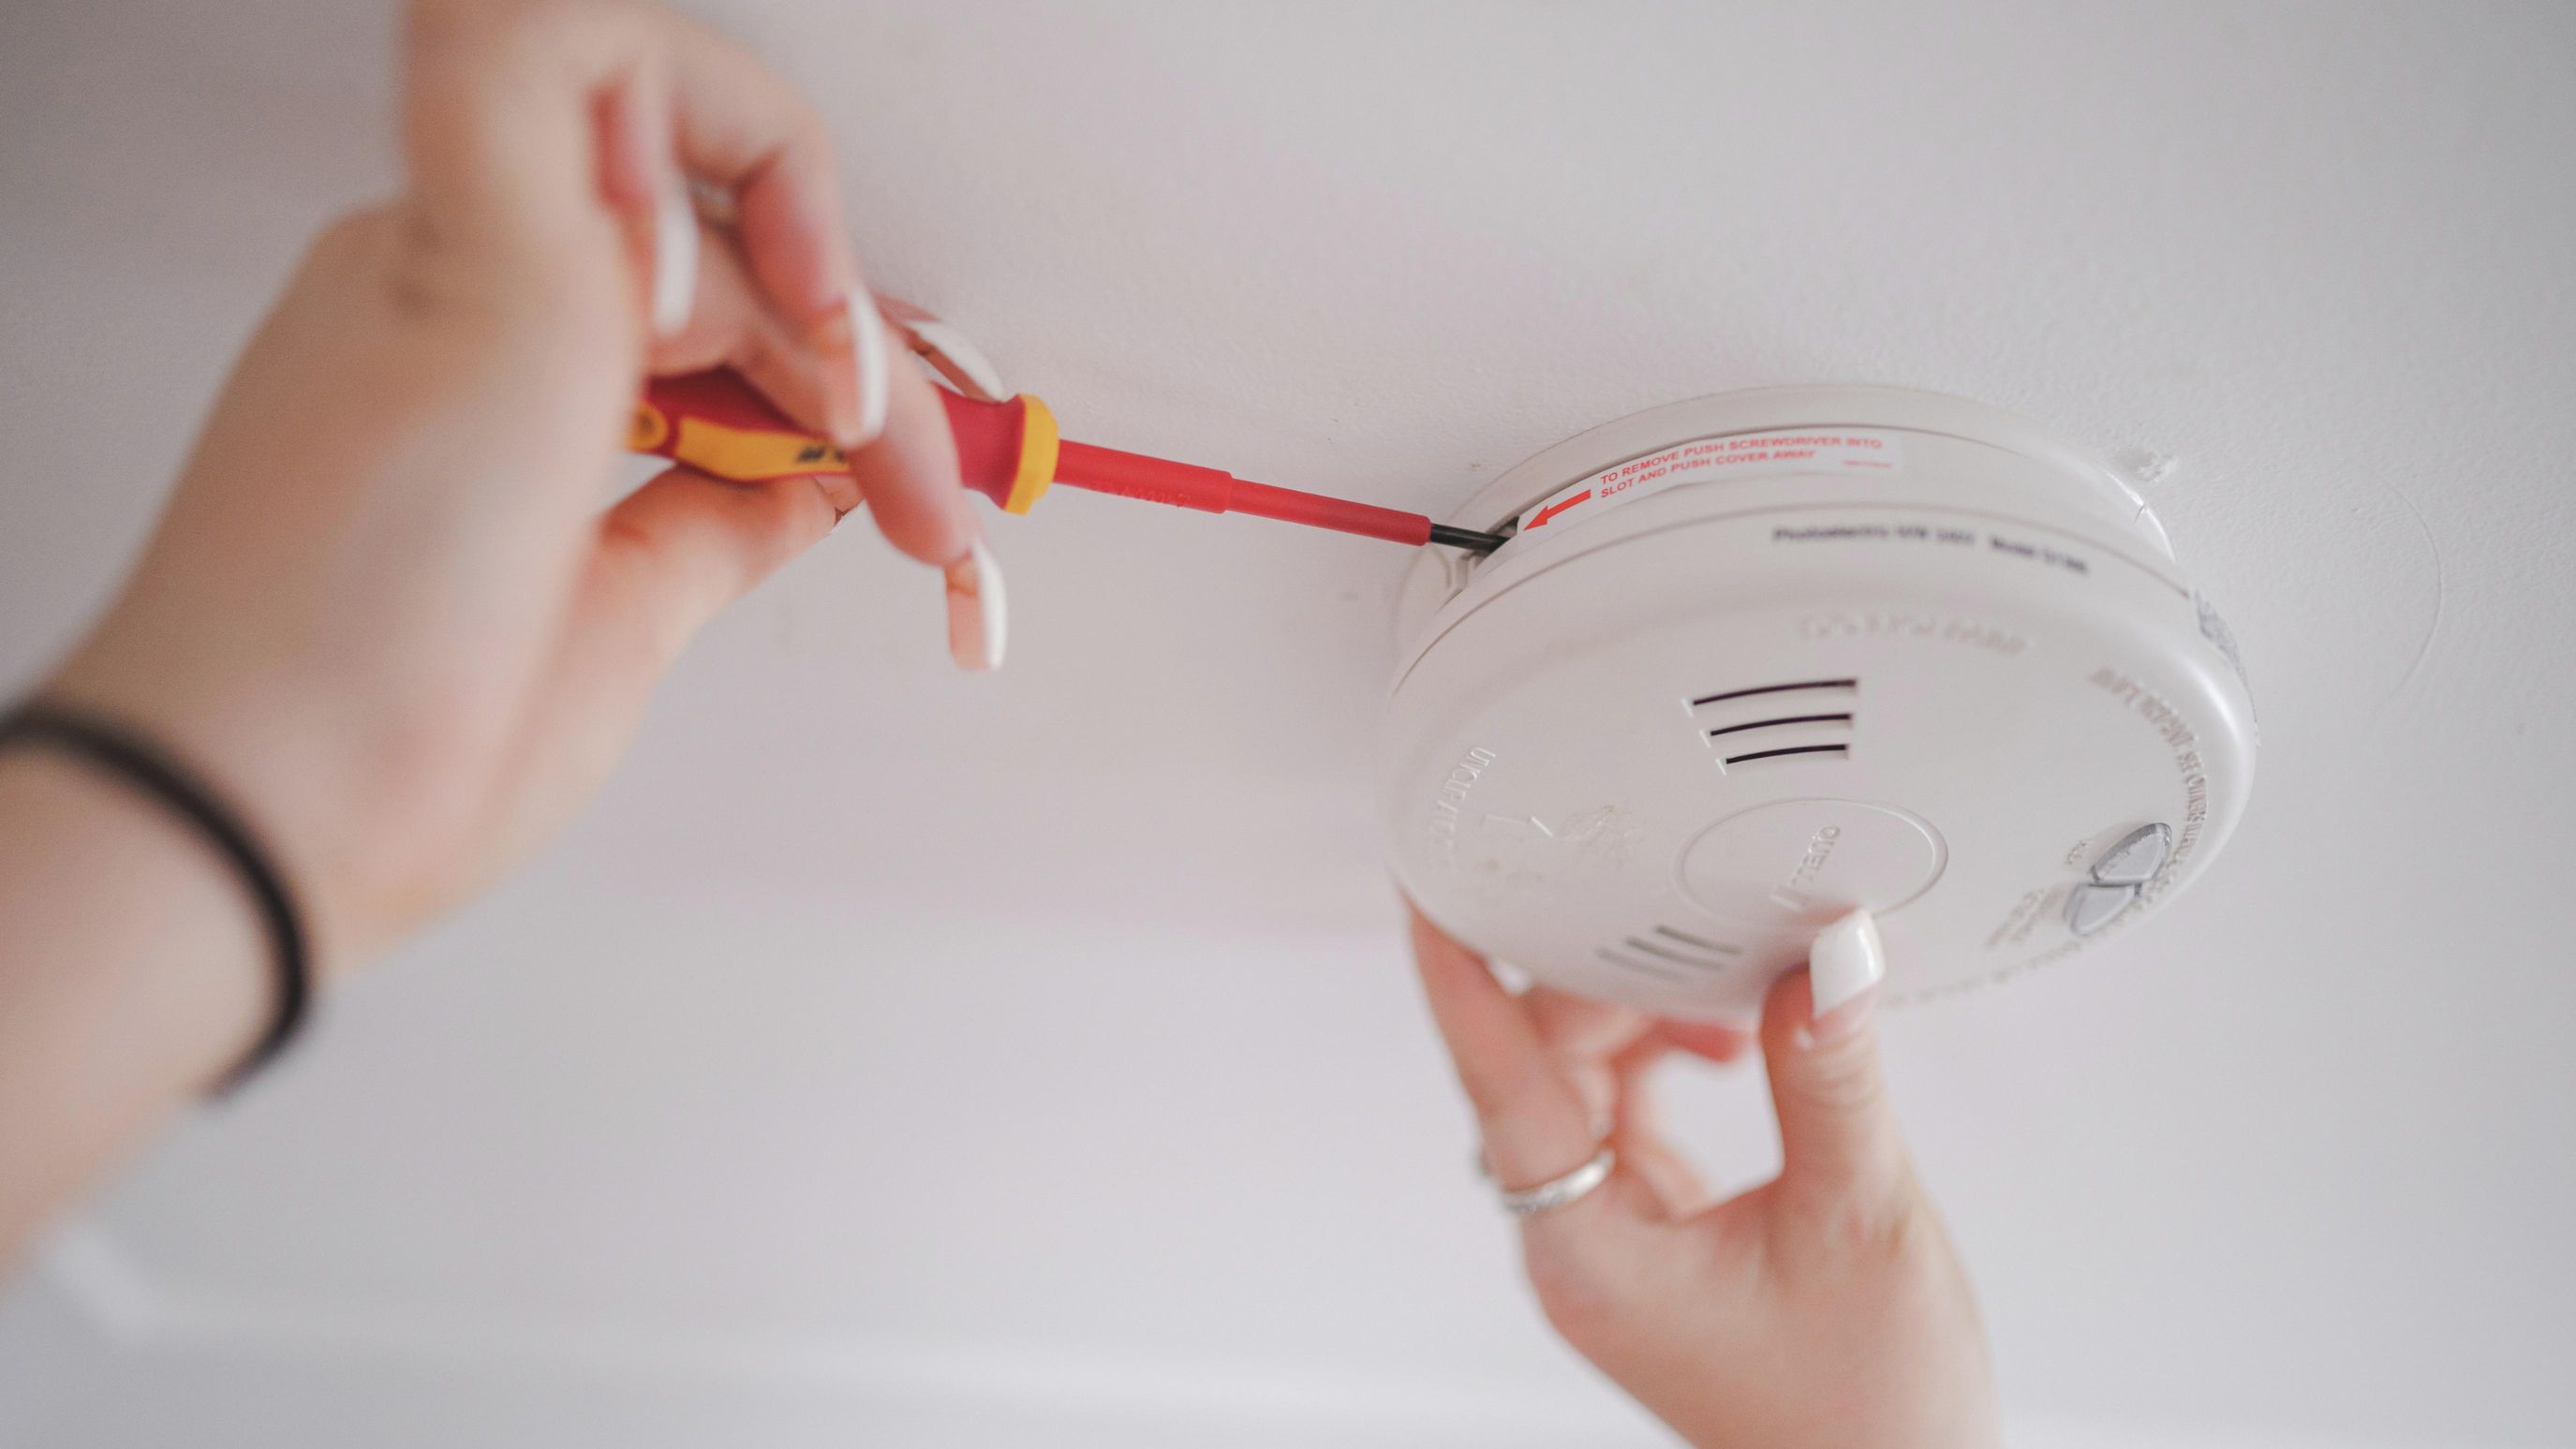
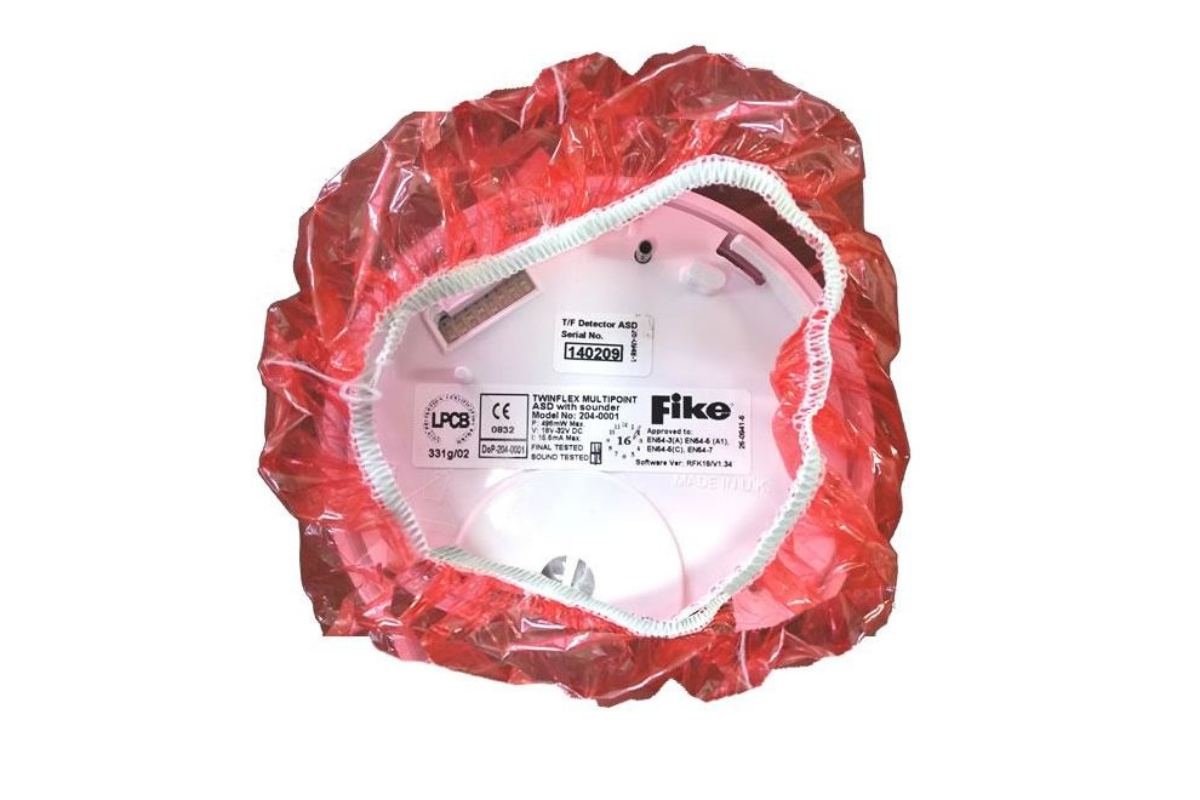
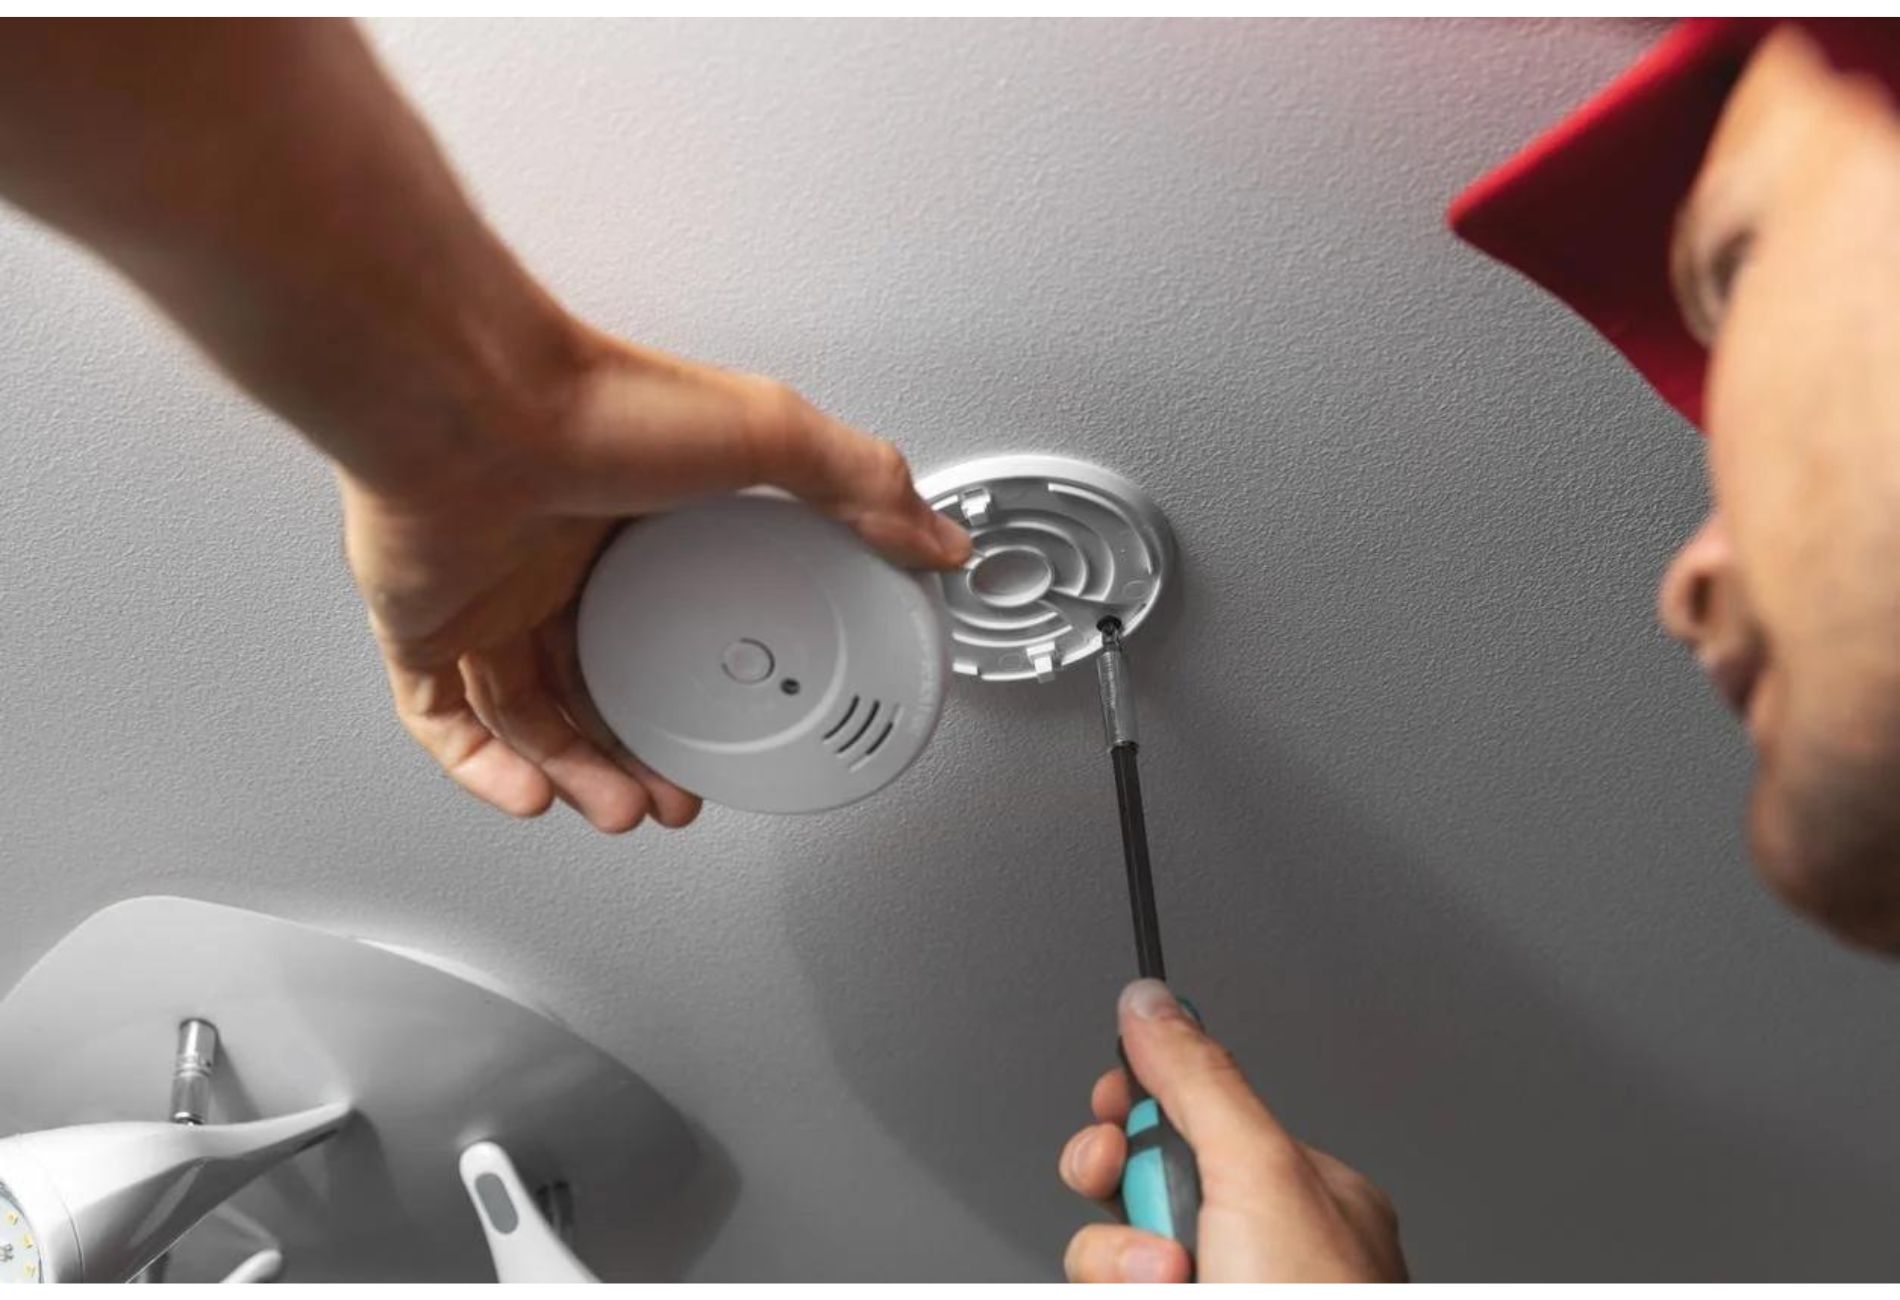
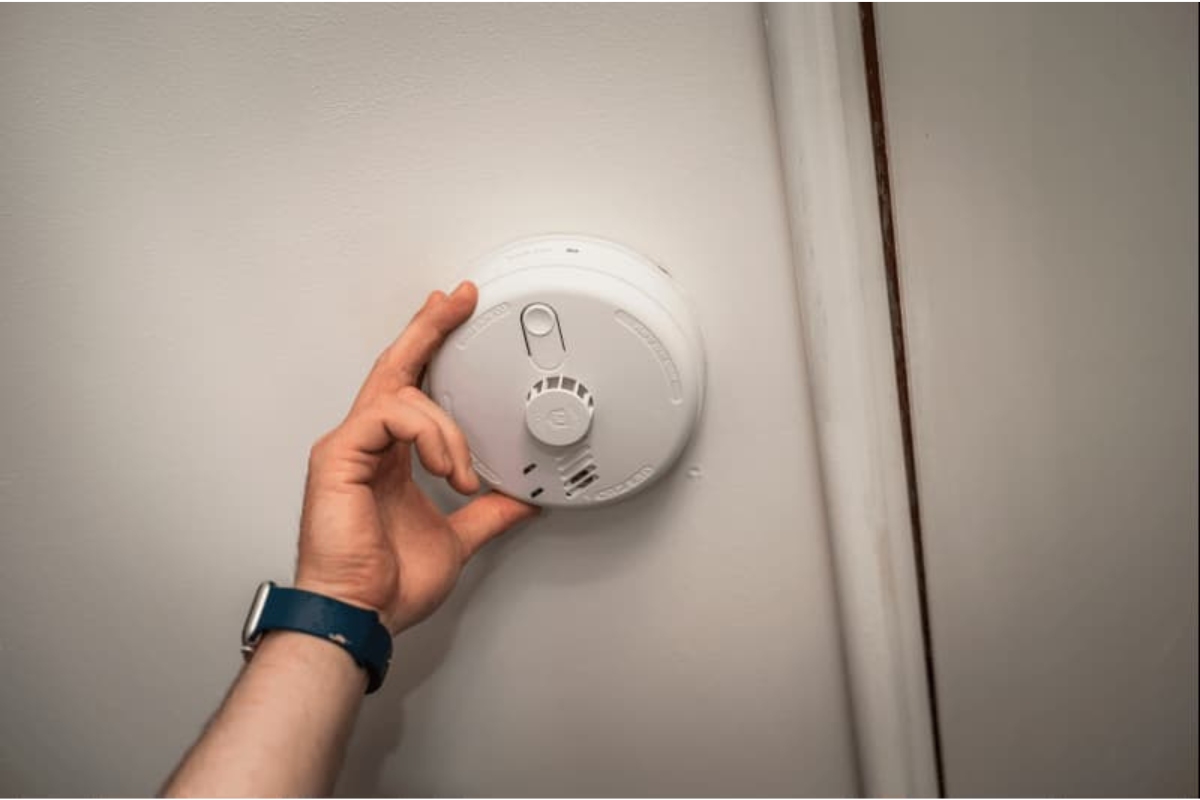
Step 2: Remove the Detector
Once the power to the smoke detector has been turned off, you can proceed to remove it from its mounting bracket. Follow these steps:
- Inspect the smoke detector and locate any locking mechanisms or release buttons that hold it in place on the mounting bracket.
- If there are screws securing the detector, use a screwdriver to remove them. Be careful not to drop the screws and keep them in a safe place for reassembly.
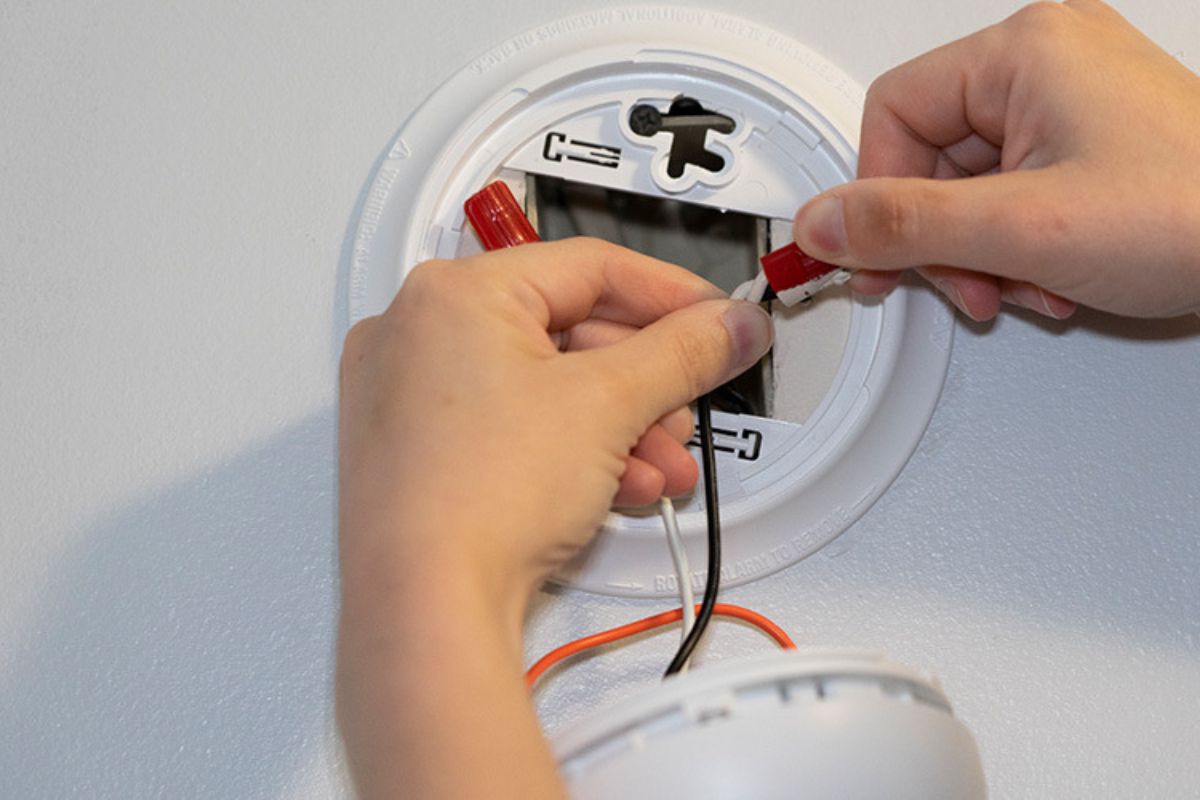
- Gently pull the smoke detector away from the mounting bracket. Be careful not to yank or force it out, as you may damage the wiring or connectors.
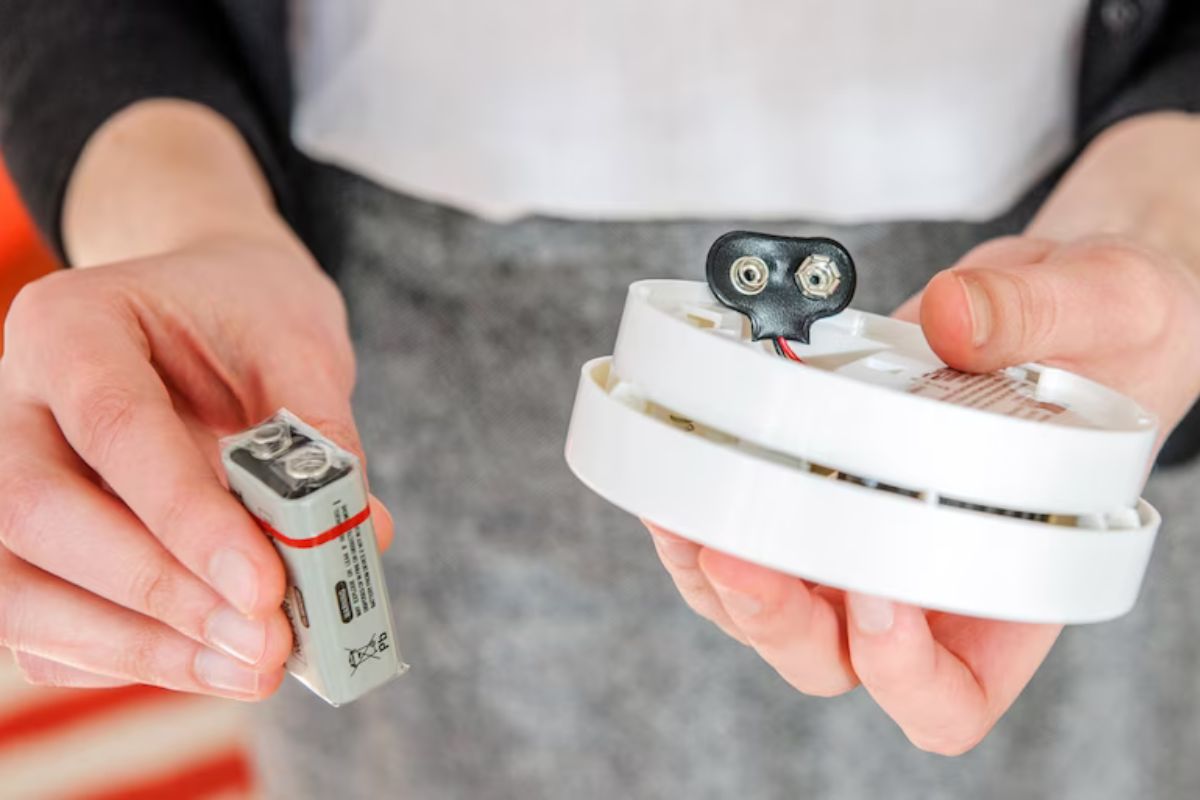
- If the detector is hard-wired, it should still be connected by wires. Hold the detector with one hand while gently disconnecting the electrical wires by twisting off the wire nuts.
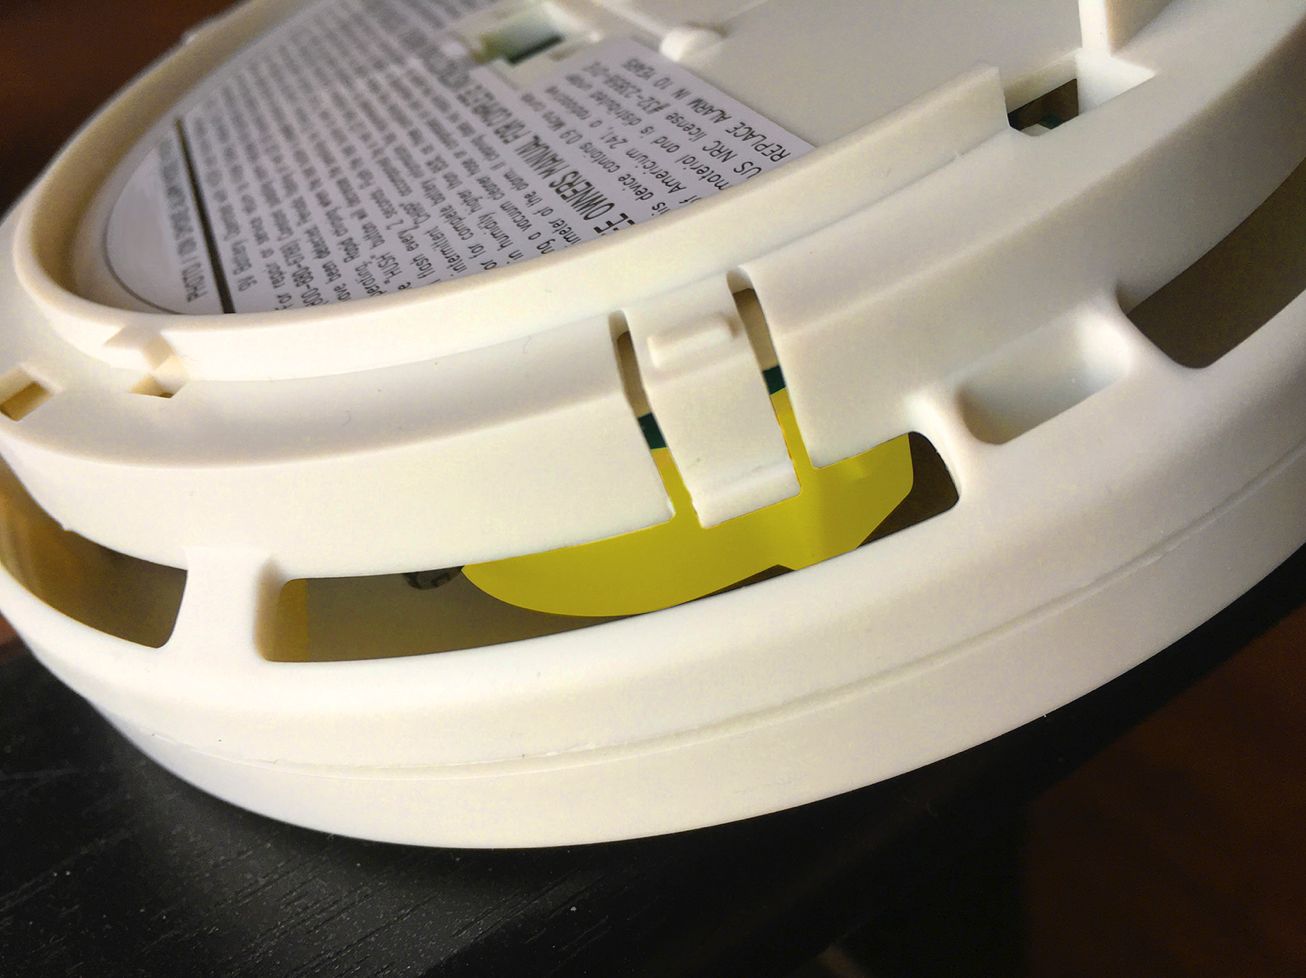
- If your smoke detector has a battery backup, disconnect the battery by either flipping the battery compartment cover or removing the battery compartment entirely.
Remember to handle the smoke detector with care and avoid touching any internal components or wiring. Place the detector in a safe location away from the cleaning area to prevent damage or contamination.
With the smoke detector removed, you can now proceed to clean the exterior and sensor chamber to ensure optimal performance.
Regularly vacuum the exterior of the smoke detector to remove dust and debris that could interfere with its function. Be sure to test the detector monthly and replace the batteries at least once a year.
Read more: How To Remove A Hard-Wired Smoke Detector
Step 3: Clean the Exterior
After removing the smoke detector from its mounting bracket, it’s time to clean the exterior surfaces. Follow these steps:
- Inspect the detector for any visible dust, dirt, or stains on the exterior housing. Use a soft-bristled brush or a clean makeup brush to gently brush away the loose debris. Be careful not to apply too much pressure to avoid damaging any sensitive parts.
- If there are stubborn dirt or stains on the housing, you can create a mild detergent solution by mixing a small amount of dish soap with water. Dampen a microfiber cloth or lint-free cloth with the solution and gently wipe the affected areas. Avoid applying excessive moisture to the detector as it may cause damage.
- Pay attention to the vents and openings on the detector. Use the soft-bristled brush or compressed air canister to remove any dust or debris that may be blocking the airflow. Ensure that the vents are clear for optimal smoke detection and airflow during a fire event.
- Wipe the entire exterior surface of the smoke detector with a dry microfiber cloth or lint-free cloth to remove any remaining moisture or residue.
It’s important to note that you should avoid spraying any liquid directly onto the detector or submerging it in water. This can cause irreversible damage to the internal components and compromise the functionality of the smoke detector.
Once the exterior of the smoke detector is clean and dry, you can proceed to clean the sensor chamber in the next step.
Step 4: Clean the Sensor Chamber
Now that you have cleaned the exterior of the smoke detector, it’s time to focus on the sensor chamber. Follow these steps to ensure the sensor chamber is free from dust and debris:
- Inspect the sensor chamber and locate the small openings or vents where the smoke enters to trigger the alarm. These are usually located at the front or sides of the smoke detector.
- Using the soft-bristled brush, gently brush around the sensor chamber to dislodge any dust or debris that may have accumulated inside. Be careful not to touch the smoke sensor or any other internal components.
- If there is stubborn dust or debris that cannot be removed with the brush alone, you can use a can of compressed air. Hold the can upright and use short bursts of air to blow away the particles from the sensor chamber. Ensure that no moisture is emitted from the can.
- After using compressed air, give the detector a few minutes for any loosened particles to settle. You can lightly tap or shake the detector to help dislodge any remaining debris.
- Inspect the sensor chamber again to ensure it is clean and free from any obstructions. If necessary, repeat the brushing or compressed air process until the chamber is clean.
It’s important to be cautious and handle the smoke detector with care while cleaning the sensor chamber. Avoid using any liquid cleaners or solvents, as they could damage the internal components and affect the detector’s functionality.
Once the sensor chamber is clean, you can move on to reassembling and testing the smoke detector in the next step.
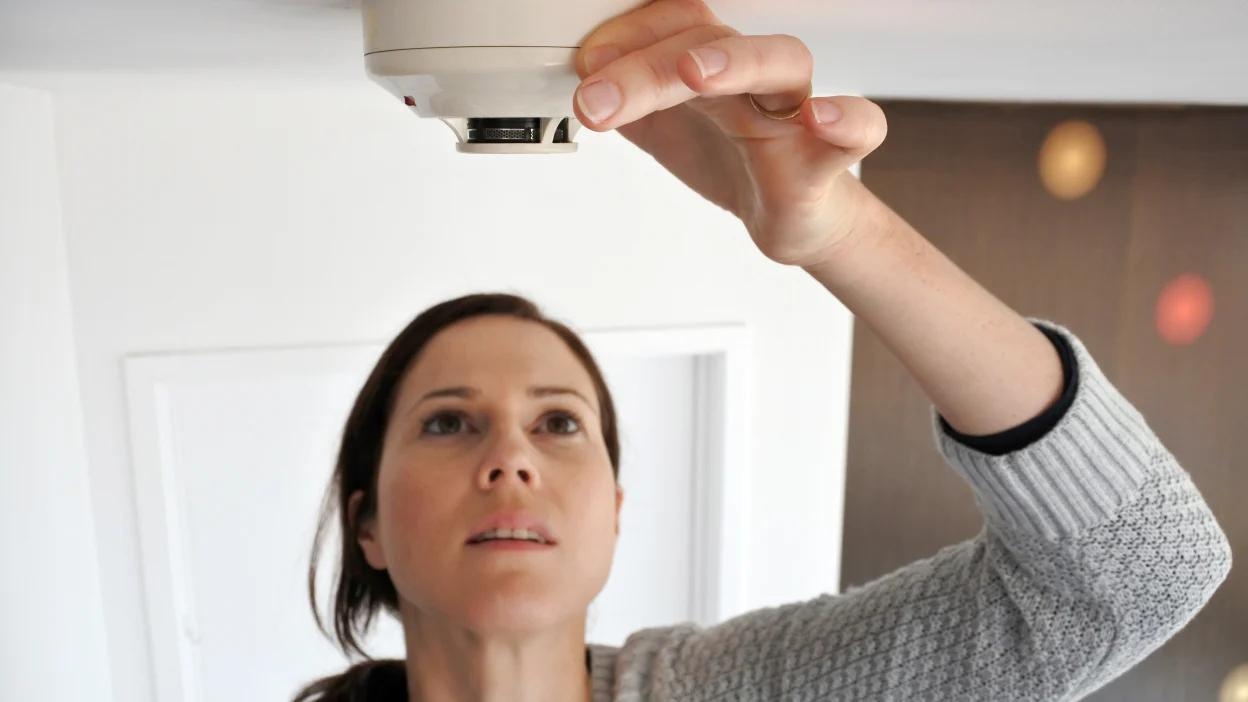
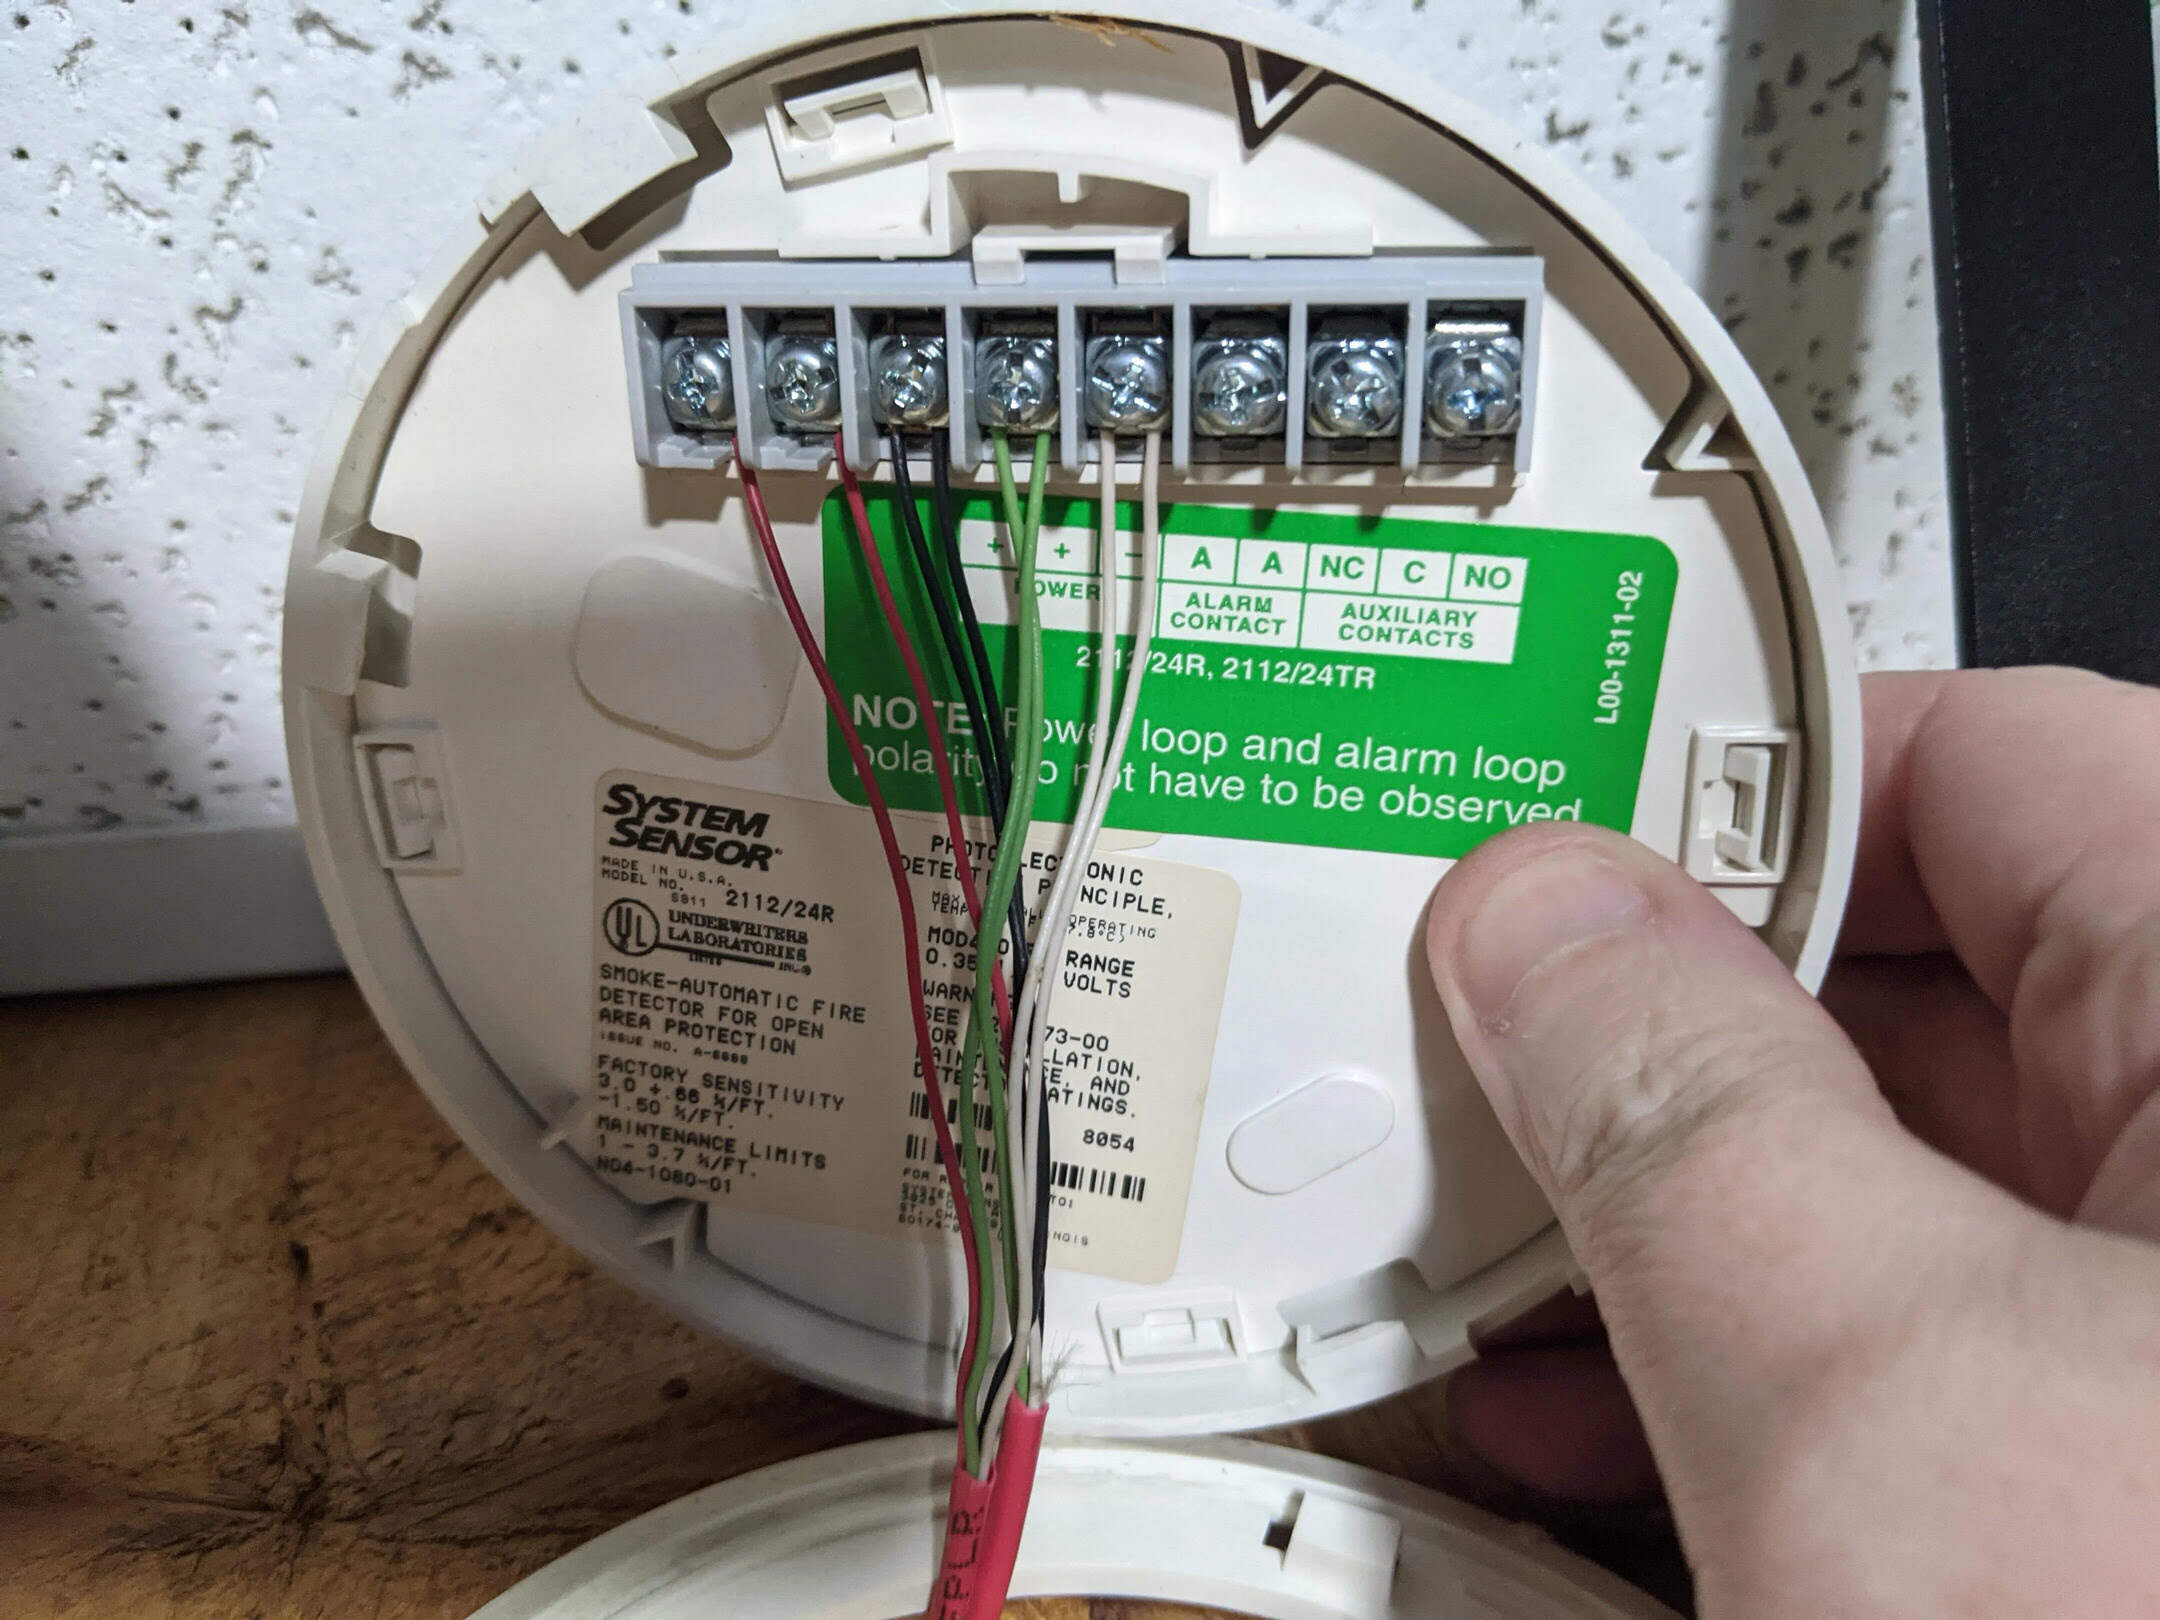
Step 5: Reassemble and Test the Detector
After cleaning the exterior and sensor chamber of the smoke detector, it’s time to reassemble it and test its functionality. Follow these steps:
- If you had removed the battery for cleaning, reinsert it back into the battery compartment. Ensure that it is properly aligned with the polarity markings.
- Reconnect the electrical wires, if applicable. Twist the wire nuts back onto the wires and make sure they are secure. Avoid overtightening, as it could damage the wires.
- Place the smoke detector back onto its mounting bracket. Align the detector with the bracket and gently push it until it clicks into place or secure it with the screws, if necessary.
- Turn on the power to the smoke detector by flipping the corresponding circuit breaker to the “on” position.
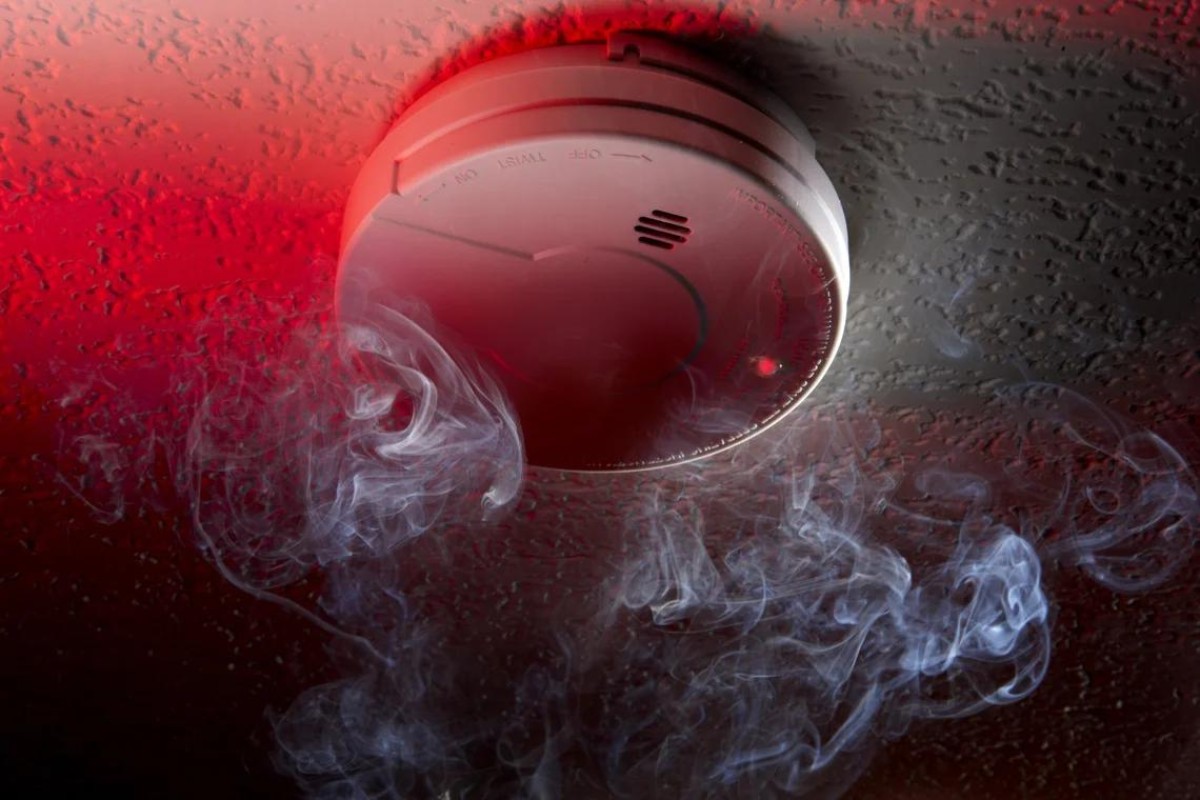
- Wait for a few moments to allow the smoke detector to power up and calibrate itself. You may hear a short beep or see a power indicator light to indicate that it is operational.
- To ensure that the smoke detector is working correctly, press the test button. This will simulate a smoke detection event, and the alarm should sound. If the alarm does not sound or there are any other issues, consult the user manual or seek professional assistance.
It is recommended to test your smoke detector regularly, following the manufacturer’s guidelines. This will ensure that it is functioning properly and providing the necessary protection for your home and family.
Congratulations! You have successfully cleaned and tested your hard-wired smoke detector. Regular maintenance and cleaning will help keep your smoke detector in optimal condition and provide reliable detection in the event of a fire.
Conclusion
Maintaining a clean and properly functioning hard-wired smoke detector is essential for the safety of your home and loved ones. Regular cleaning ensures that the detector remains free from dust, dirt, and debris that can hinder its performance. By following the step-by-step process outlined in this article, you can easily clean your smoke detector and ensure its optimal functionality.
Remember to always prioritize safety during the cleaning process by turning off the power, wearing protective gear, and following the manufacturer’s instructions. Avoid using liquid cleaners or solvents and handle the smoke detector with care to prevent any damage to its internal components.
Cleaning the exterior and sensor chamber of the smoke detector, reassembling it properly, and conducting a thorough test will give you peace of mind knowing that your smoke detector is operating at its best capacity to detect smoke and provide an early warning in case of a fire.
We highly recommend checking your smoke detector regularly and performing maintenance tasks, including cleaning, as outlined in this article. This proactive approach will ensure that your hard-wired smoke detector remains reliable and effective in the event of an emergency.
Remember, your safety and the safety of your loved ones are paramount. Taking the time to properly clean and maintain your smoke detector is a small investment that can yield significant benefits and potentially save lives.
Frequently Asked Questions about How To Clean A Hard Wired Smoke Detector
Was this page helpful?
At Storables.com, we guarantee accurate and reliable information. Our content, validated by Expert Board Contributors, is crafted following stringent Editorial Policies. We're committed to providing you with well-researched, expert-backed insights for all your informational needs.

0 thoughts on “How To Clean A Hard Wired Smoke Detector”