Articles
How To Clean A Kidde Smoke Detector
Modified: August 22, 2024
Learn the essential steps to effectively clean your Kidde smoke detector with this informative article. Keep your detector functioning optimally for your family's safety.
(Many of the links in this article redirect to a specific reviewed product. Your purchase of these products through affiliate links helps to generate commission for Storables.com, at no extra cost. Learn more)
Introduction
Welcome to our guide on how to clean a Kidde smoke detector! Smoke detectors are an essential part of every home, helping to keep our families safe by alerting us to the presence of smoke or fire. Over time, however, dust, dirt, and other debris can accumulate on the smoke detector, reducing its effectiveness and potentially causing false alarms.
Cleaning your Kidde smoke detector is a simple and important maintenance task that should be performed regularly to ensure its optimal performance. In this article, we will guide you through the step-by-step process of cleaning your Kidde smoke detector, allowing you to maintain its functionality and reliability.
But before we dive into the cleaning process, please remember that safety always comes first. It is crucial to turn off the power to the smoke detector and follow all necessary precautions to prevent accidents. So, let’s get started with step one!
Key Takeaways:
- Regularly cleaning and testing your Kidde smoke detector is crucial for maintaining home safety. Follow the step-by-step guide to ensure optimal performance and early detection of potential fire or smoke hazards.
- Prioritize safety by turning off the power and handling the smoke detector with care. Regular maintenance and testing will provide peace of mind and protect your home and loved ones.
Read more: How To Turn Off A Kidde Smoke Detector
Step 1: Turn off the Power
Before you begin cleaning your Kidde smoke detector, it is crucial to turn off the power to the device. This step is essential to prevent any potential electric shock or damage to the smoke detector.
To turn off the power, locate the circuit breaker panel in your home. Look for the breaker that controls the smoke detector and flip it to the off position. This will cut off the power supply to the smoke detector, ensuring that it is safe to proceed with the cleaning process.
Alternatively, if your smoke detector is connected to a hardwired electrical system, you can turn off the power by removing the smoke detector from its mounting bracket. Most Kidde smoke detectors have a quick-release mounting bracket that allows for easy removal. Simply twist the smoke detector counterclockwise and gently pull it away from the mounting bracket.
Once you have successfully turned off the power, you can proceed to the next step of removing the smoke detector from its mounting bracket.
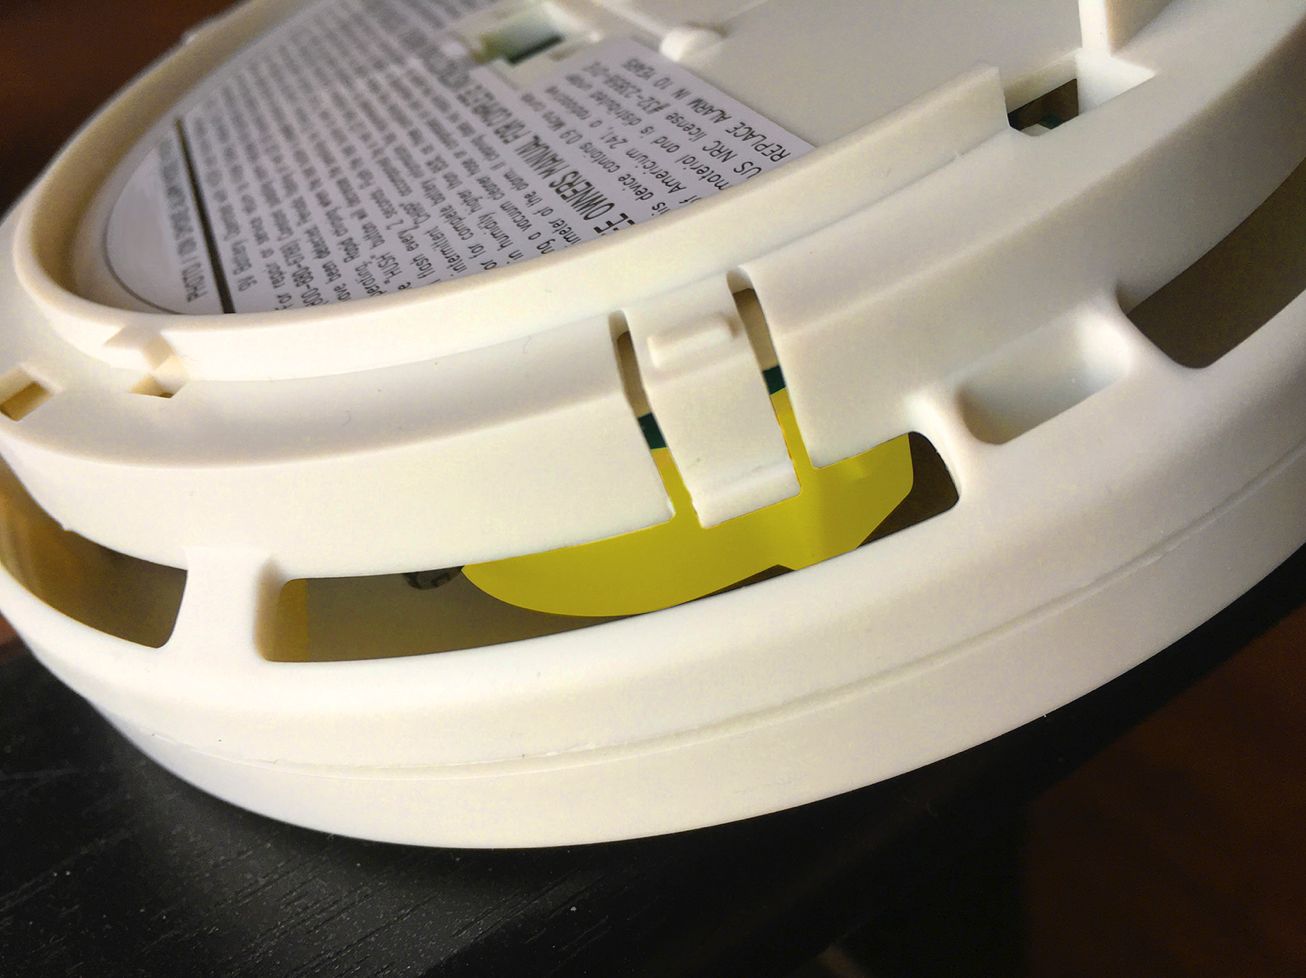
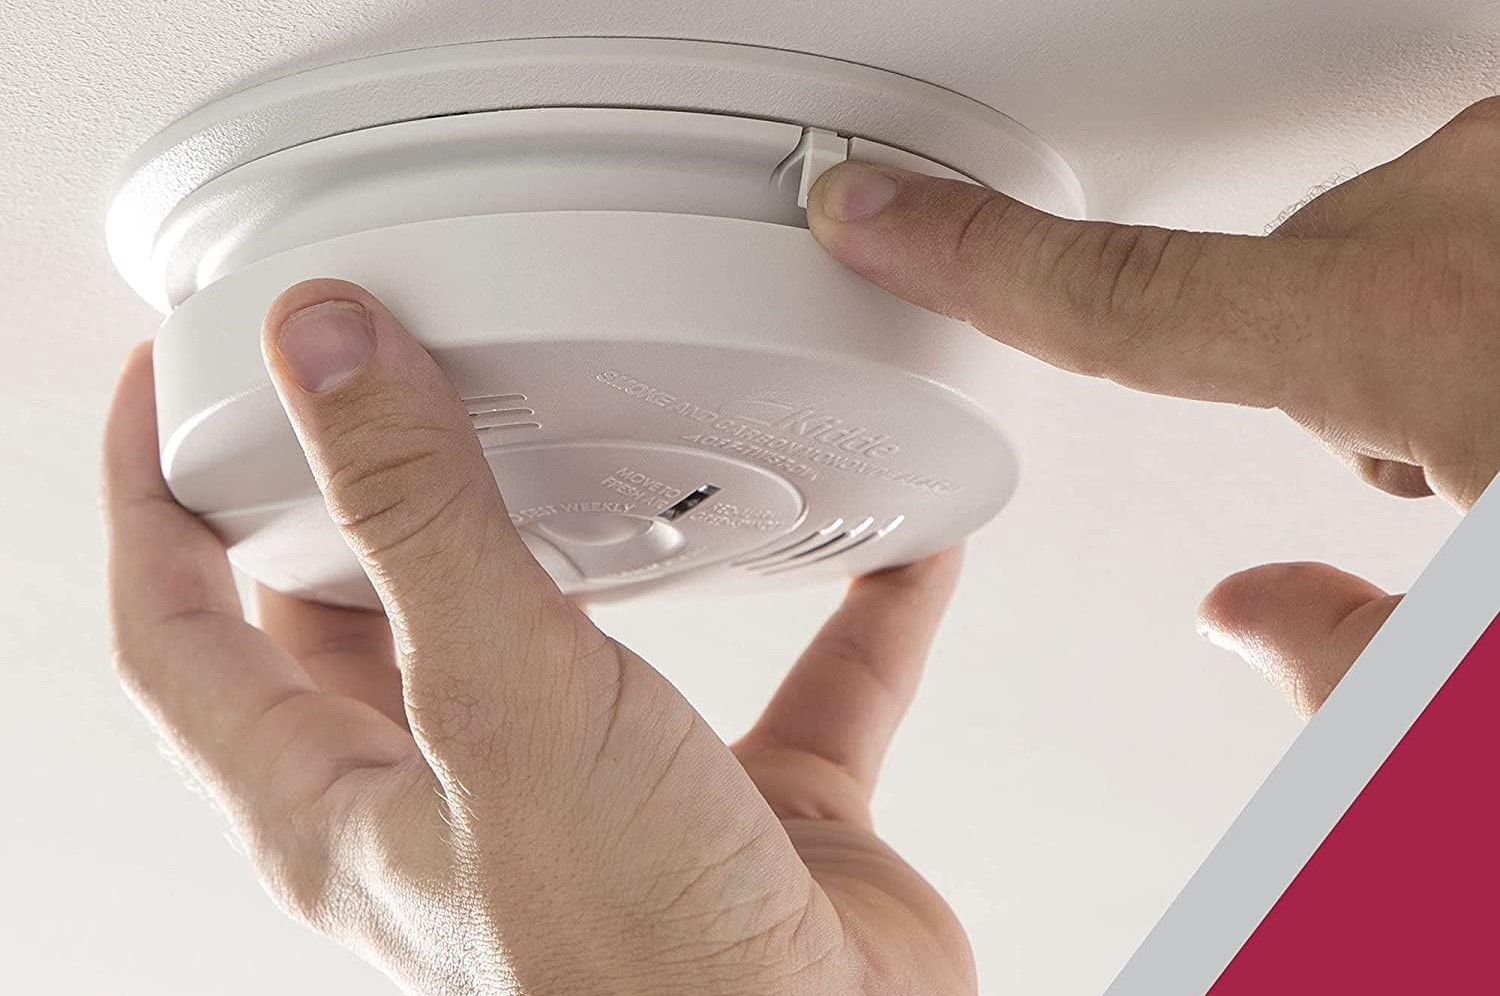
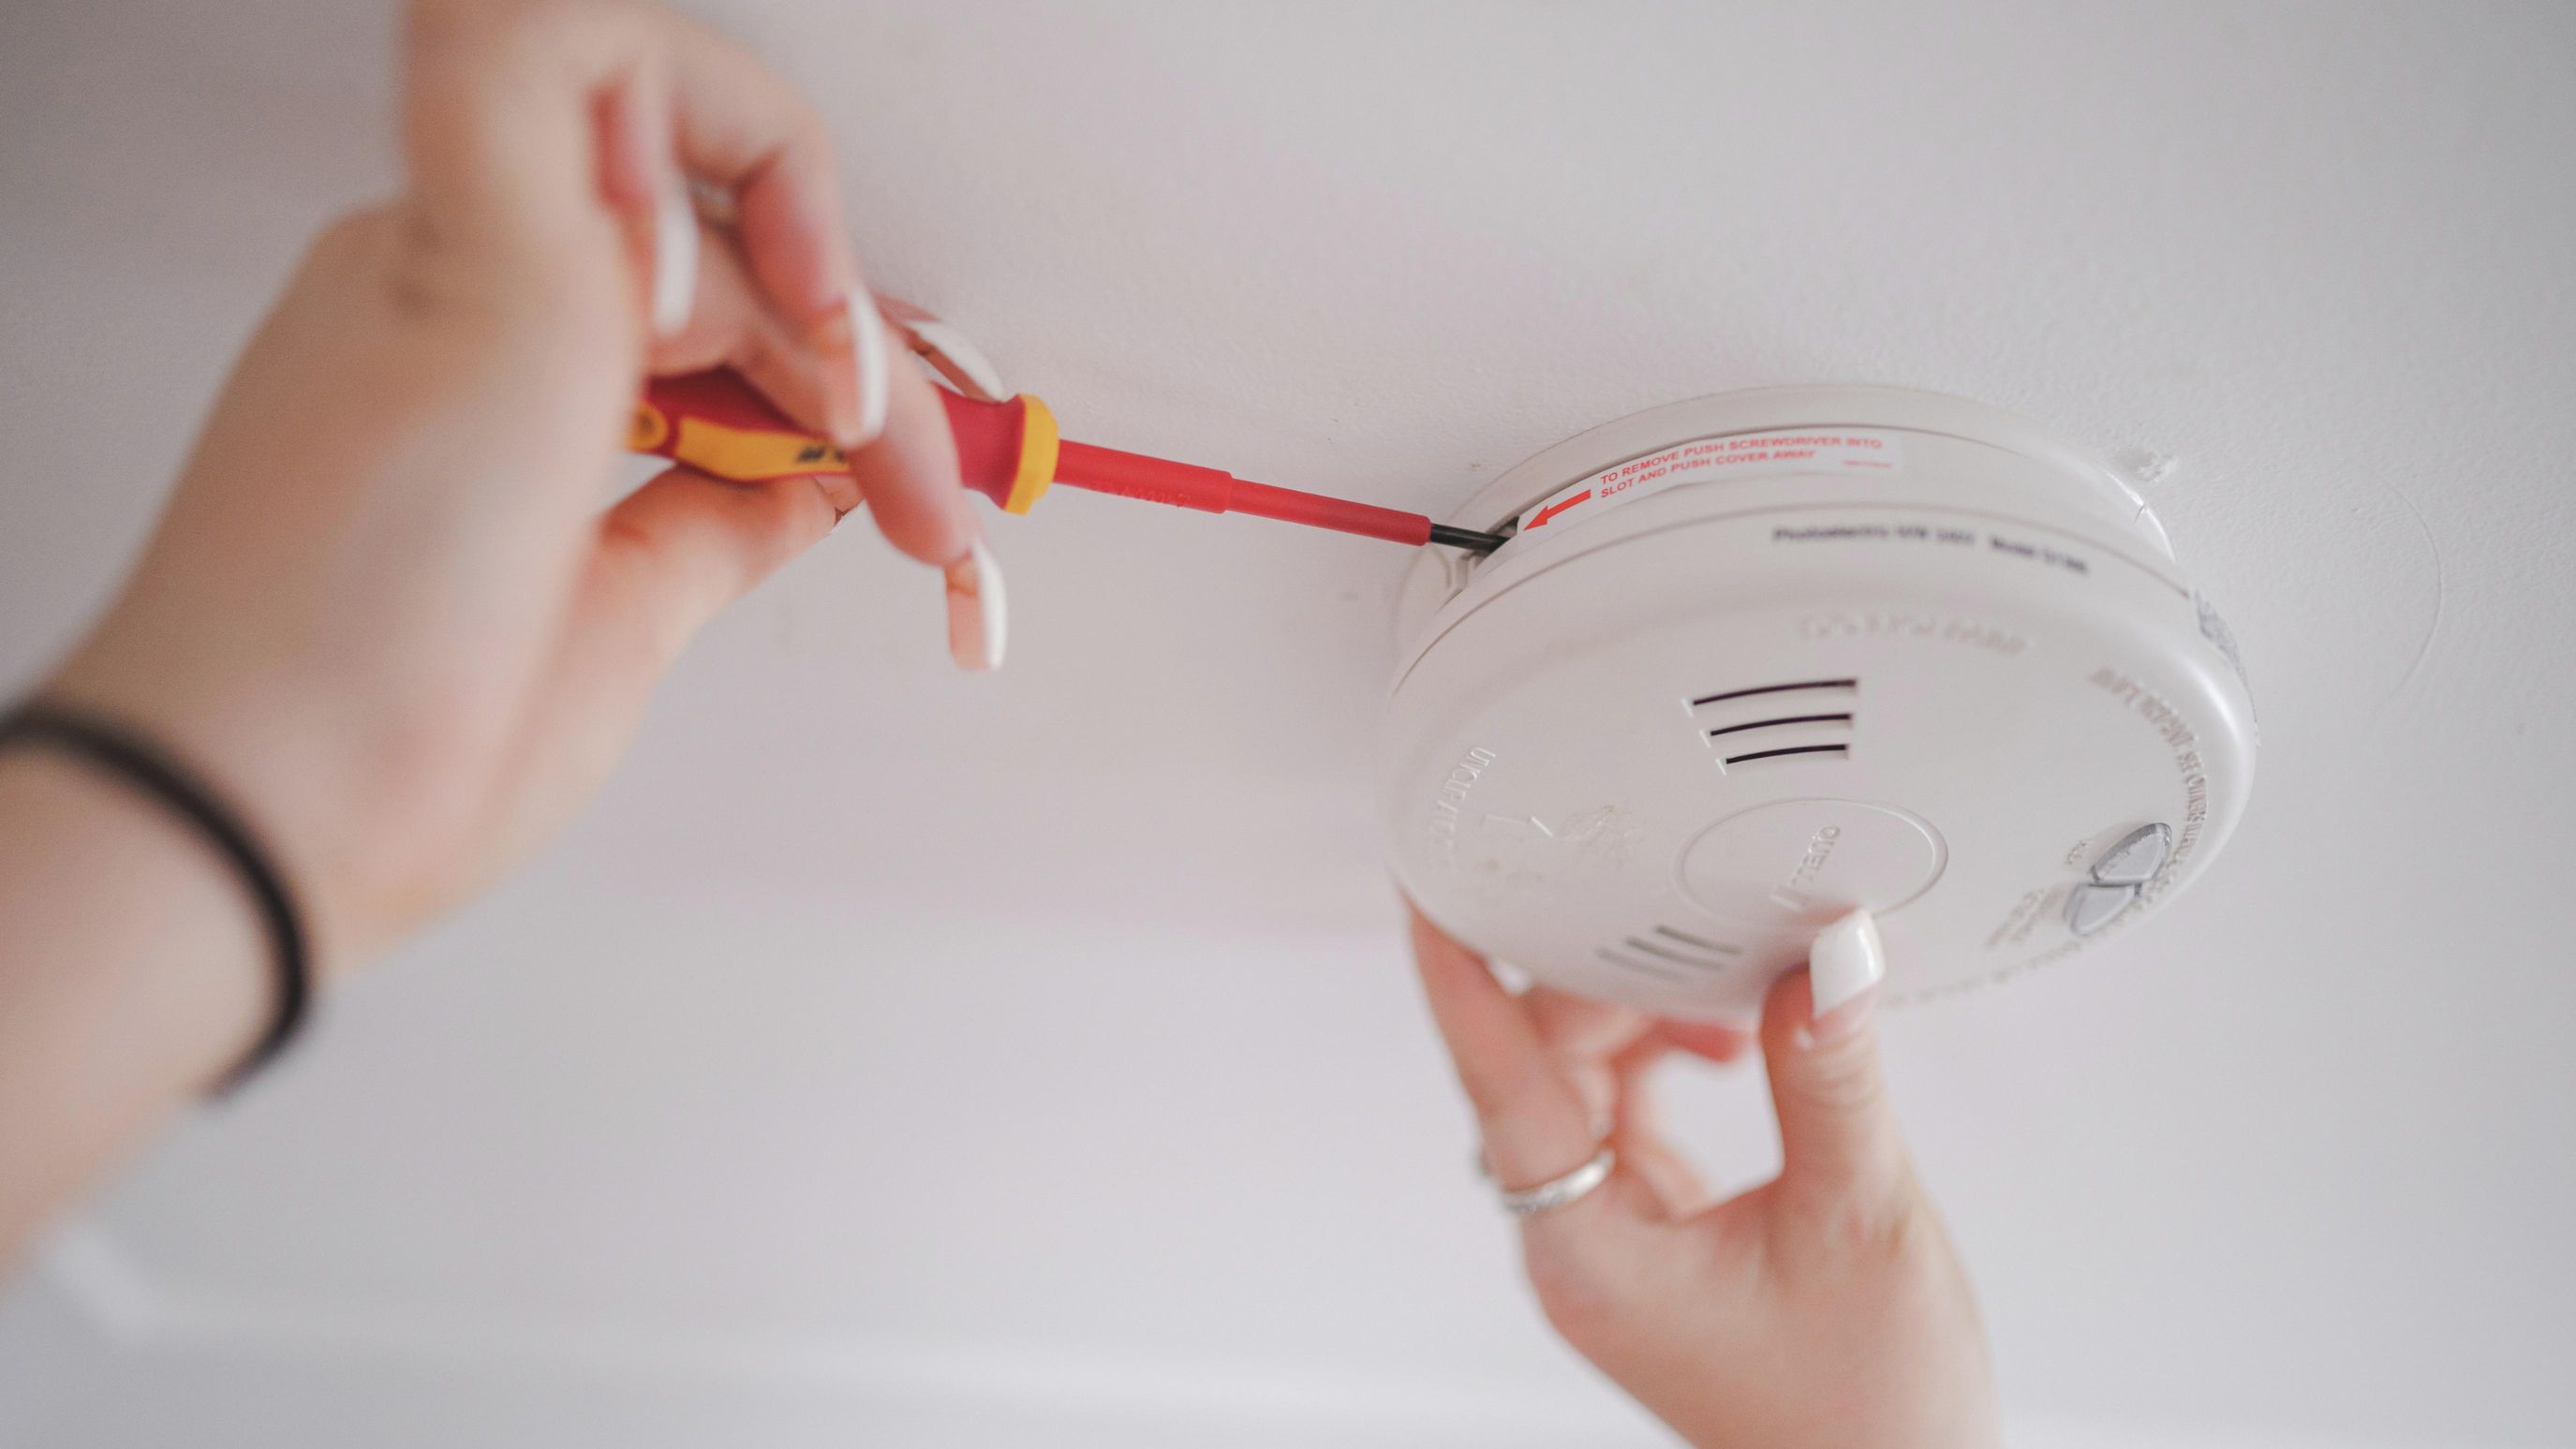
Step 2: Remove the Smoke Detector from the Mounting Bracket
Now that you have turned off the power, it’s time to remove the smoke detector from its mounting bracket. This will allow you to clean it more effectively and reach all the necessary areas.
Start by locating the locking mechanism on the mounting bracket. It is usually a small tab or latch that needs to be pressed or twisted to release the smoke detector. Carefully press or twist the locking mechanism to unlock the smoke detector from the bracket.
Once the smoke detector is released from the bracket, gently pull it away from the wall or ceiling. Be cautious not to pull too hard or yank the wires if the smoke detector is hardwired. Gradually tug the smoke detector until it is completely disconnected from the mounting bracket.
Set the smoke detector aside in a safe and clean area, away from any potential hazards or obstructions. This will allow you to clean the smoke detector thoroughly without any interference.
With the smoke detector removed from its mounting bracket, you can now proceed to the next step of cleaning the exterior of the smoke detector.
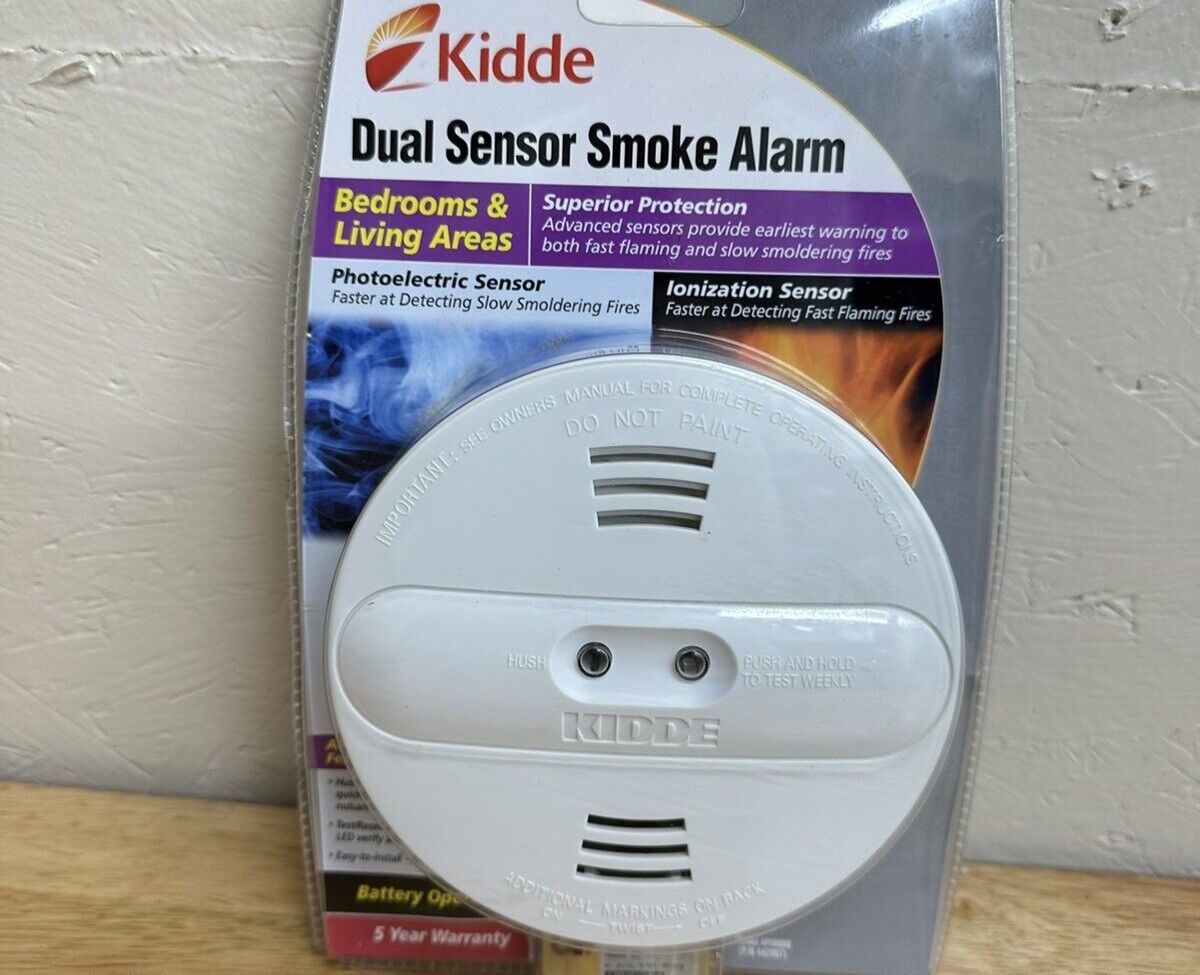
Step 3: Clean the Exterior of the Smoke Detector
Now that you have removed the smoke detector from its mounting bracket, it’s time to clean the exterior of the device. This step is essential to remove any dust, dirt, or grime that may have accumulated on the surface.
Start by preparing a mild cleaning solution. You can mix a small amount of dish soap with warm water in a bowl or bucket. Use a soft cloth or sponge to dampen it with the cleaning solution.
Gently wipe the surface of the smoke detector with the damp cloth or sponge. Pay attention to areas prone to collecting dust, such as the vents and edges of the device. Be careful not to apply excessive pressure or use abrasive materials that could damage the smoke detector.
If there are stubborn stains or sticky residues, you can use a cotton swab dipped in the cleaning solution to spot clean those areas. Be thorough but gentle, ensuring that you do not get any liquid inside the smoke detector.
Once you have cleaned the exterior surface, use a dry cloth or paper towel to wipe away any excess moisture. It is important to ensure that the smoke detector is completely dry before proceeding to the next step.
After cleaning the exterior of the smoke detector, you can now move on to the next step of removing the smoke chamber for a more thorough cleaning.
Step 4: Remove the Smoke Chamber
In this step, you will need to remove the smoke chamber from the smoke detector. The smoke chamber is the part of the detector that houses the sensors and is responsible for detecting smoke or fire.
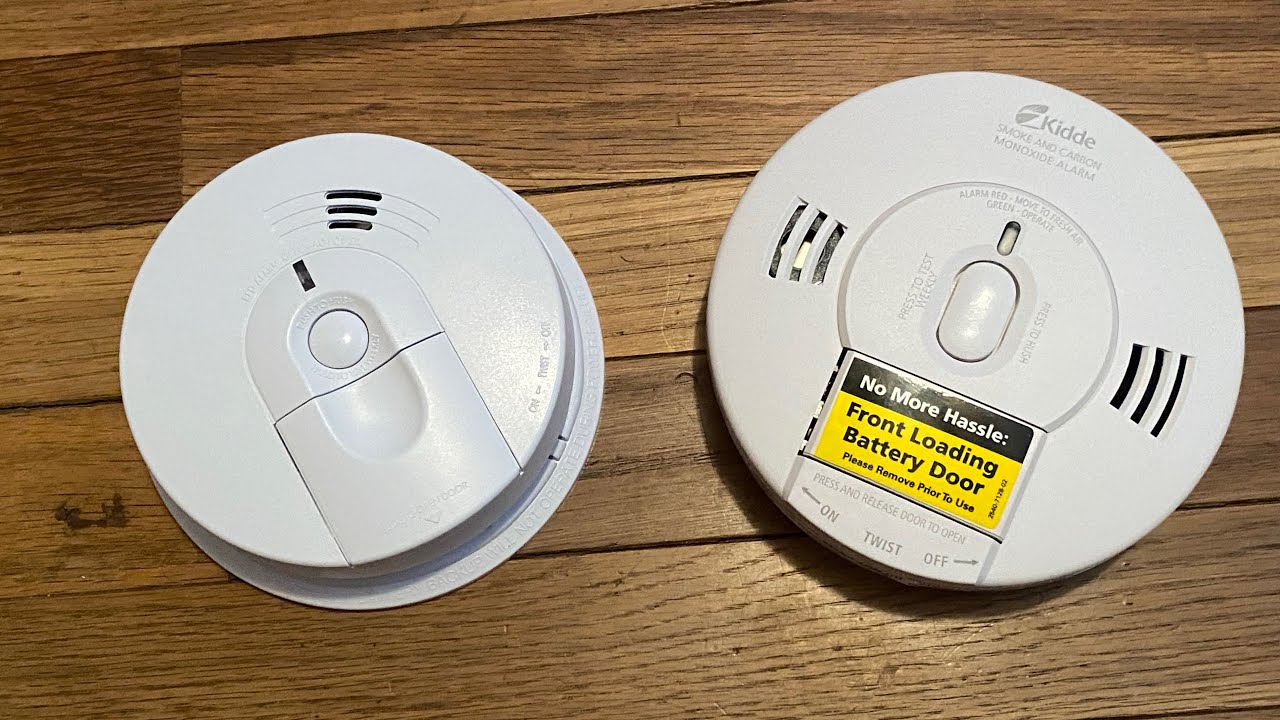
Check the user manual or instructions provided by Kidde to locate the latch or release mechanism to open the smoke chamber. Different models may have slightly different methods, so it is essential to follow the specific instructions for your smoke detector.
Once you have located the latch or release mechanism, press or release it to open the smoke chamber. Some models may require twisting or sliding to detach the chamber from the smoke detector.
It is important to handle the smoke chamber with care as it contains delicate components. Avoid touching the sensors or any internal components, as this can affect the performance of the smoke detector.
Once you have successfully opened the smoke chamber, set it aside in a safe and clean area. Be cautious not to place it in an area prone to dust or debris, as this can hinder the cleaning process.
With the smoke chamber removed, you can now move on to the next step of cleaning the smoke chamber itself to ensure its optimal performance.
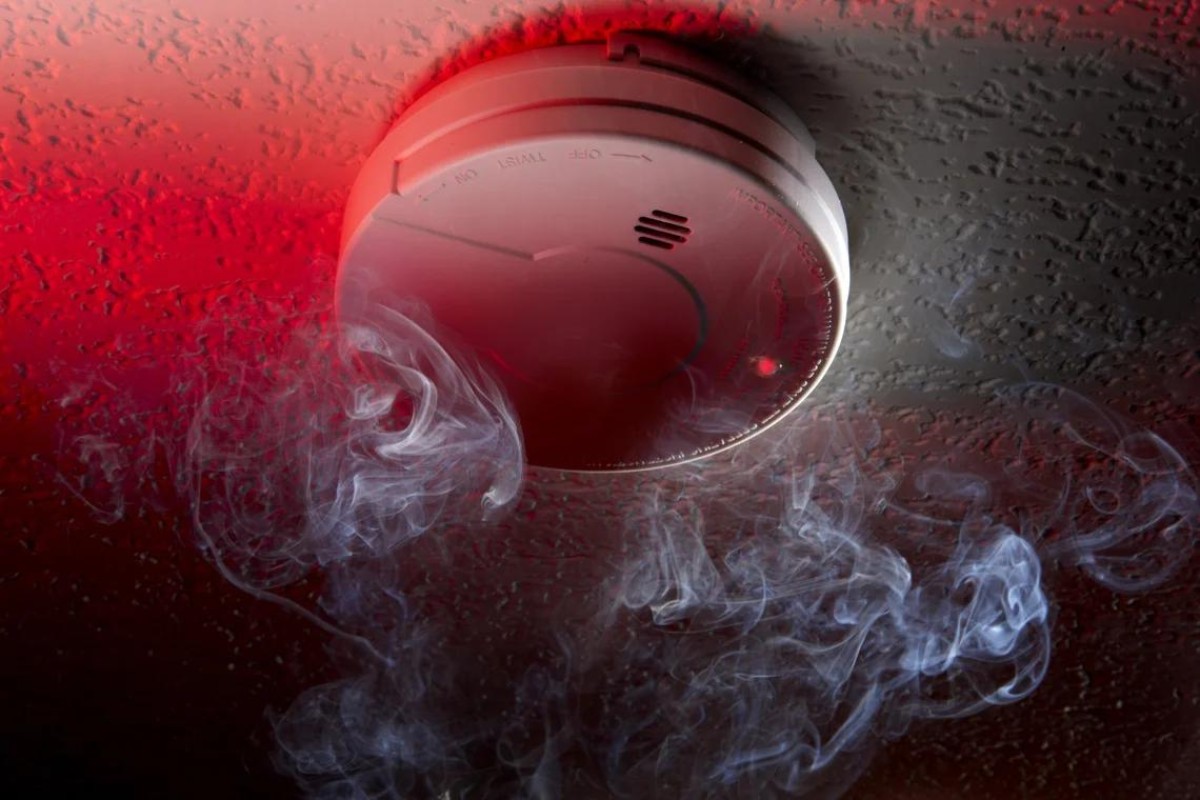
Regularly clean your Kidde smoke detector by using a vacuum cleaner to remove dust and debris from the sensor chamber. Gently wipe the exterior with a soft, dry cloth to keep it free from dirt and grime.
Read more: How To Install A Kidde Wired Smoke Detector
Step 5: Clean the Smoke Chamber
Now that you have removed the smoke chamber from the smoke detector, it’s time to clean it thoroughly. Cleaning the smoke chamber is crucial to ensure that it remains free from any obstructions or build-up that could hinder its function.
Start by inspecting the smoke chamber for any visible debris or dust. Use a soft brush or a can of compressed air to gently remove any loose particles. Be careful not to blow air directly into the sensor area, as this could cause damage.
Next, dampen a non-abrasive cloth or cotton swab with a mild cleaning solution. Ensure that the cloth or swab is not soaked, as excess moisture can affect the sensors or other internal components.
With the damp cloth or swab, gently wipe the inside of the smoke chamber, paying close attention to the sensor area. Carefully remove any dirt or residue that may have accumulated.
If there are stubborn stains or build-up, you can dip the cloth or swab in isopropyl alcohol and gently clean the affected areas. However, exercise caution and use alcohol sparingly to prevent any damage to the sensors or other components.
Once you have completed cleaning the smoke chamber, allow it to air dry before reassembling the smoke detector. It is crucial to ensure that the smoke chamber is completely dry to prevent any moisture or residue from interfering with the functionality of the smoke detector.
With the smoke chamber cleaned and dried, you can proceed to the next step of reassembling the smoke detector.
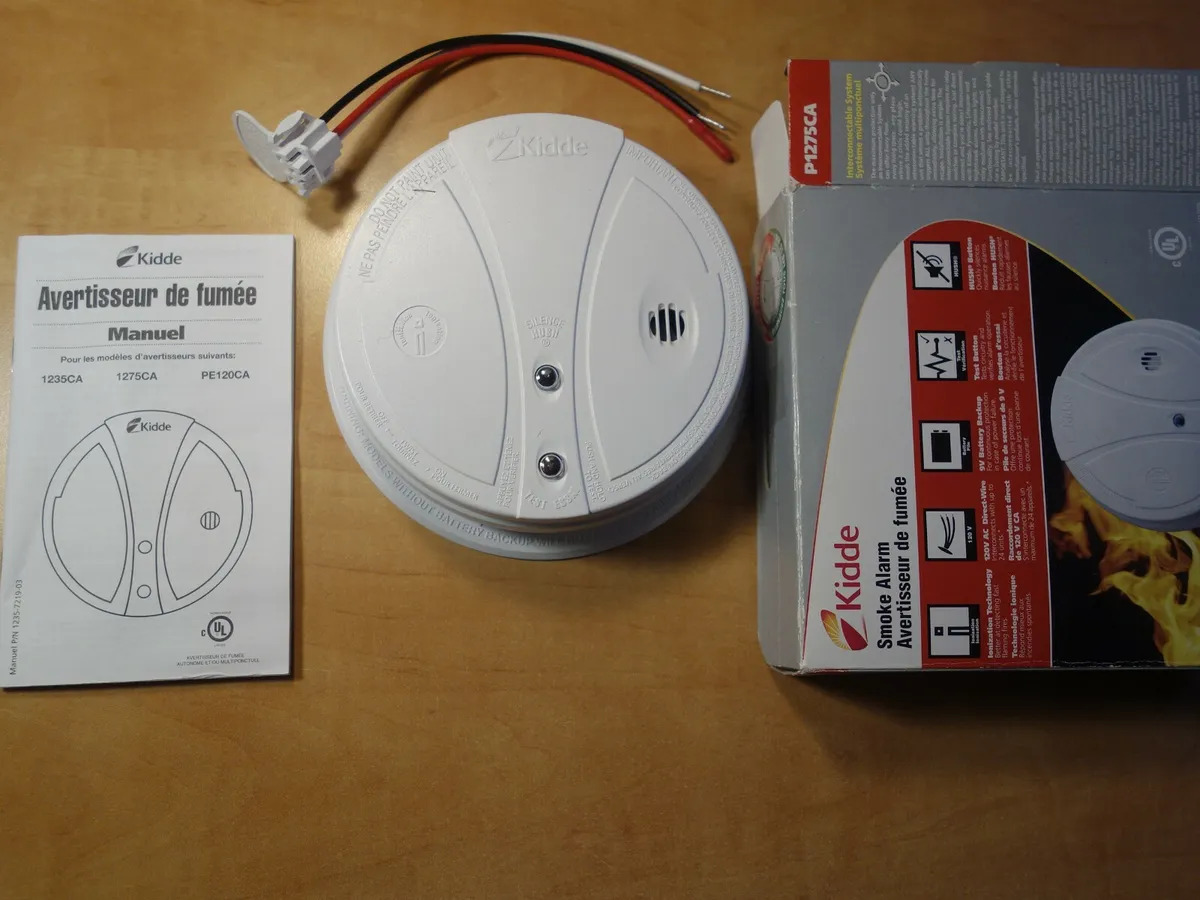
Step 6: Reassemble the Smoke Detector
Now that you have cleaned the smoke chamber, it’s time to reassemble the smoke detector. Proper reassembly is crucial to ensure that the smoke detector functions correctly and remains securely in place.
Start by carefully placing the cleaned smoke chamber back into the smoke detector. Make sure to align it properly with the housing and ensure the sensors are facing the correct direction.
Refer to the user manual or instructions provided by Kidde to ensure you are reassembling the smoke detector correctly. Follow any specific steps or locking mechanisms outlined in the manual to secure the smoke chamber in place.
Once the smoke chamber is securely in place, double-check that all connections and components are properly aligned and seated. Avoid forcing any parts together, as this could damage the smoke detector or affect its performance.
If your smoke detector has a replaceable battery, now is a good time to check and replace it if necessary. A fresh battery is essential to ensure the smoke detector operates reliably.
With the smoke detector reassembled and a new battery installed (if applicable), you are now ready to reinstall it back onto the mounting bracket.
Continue to the next step for instructions on how to properly reinstall the smoke detector.
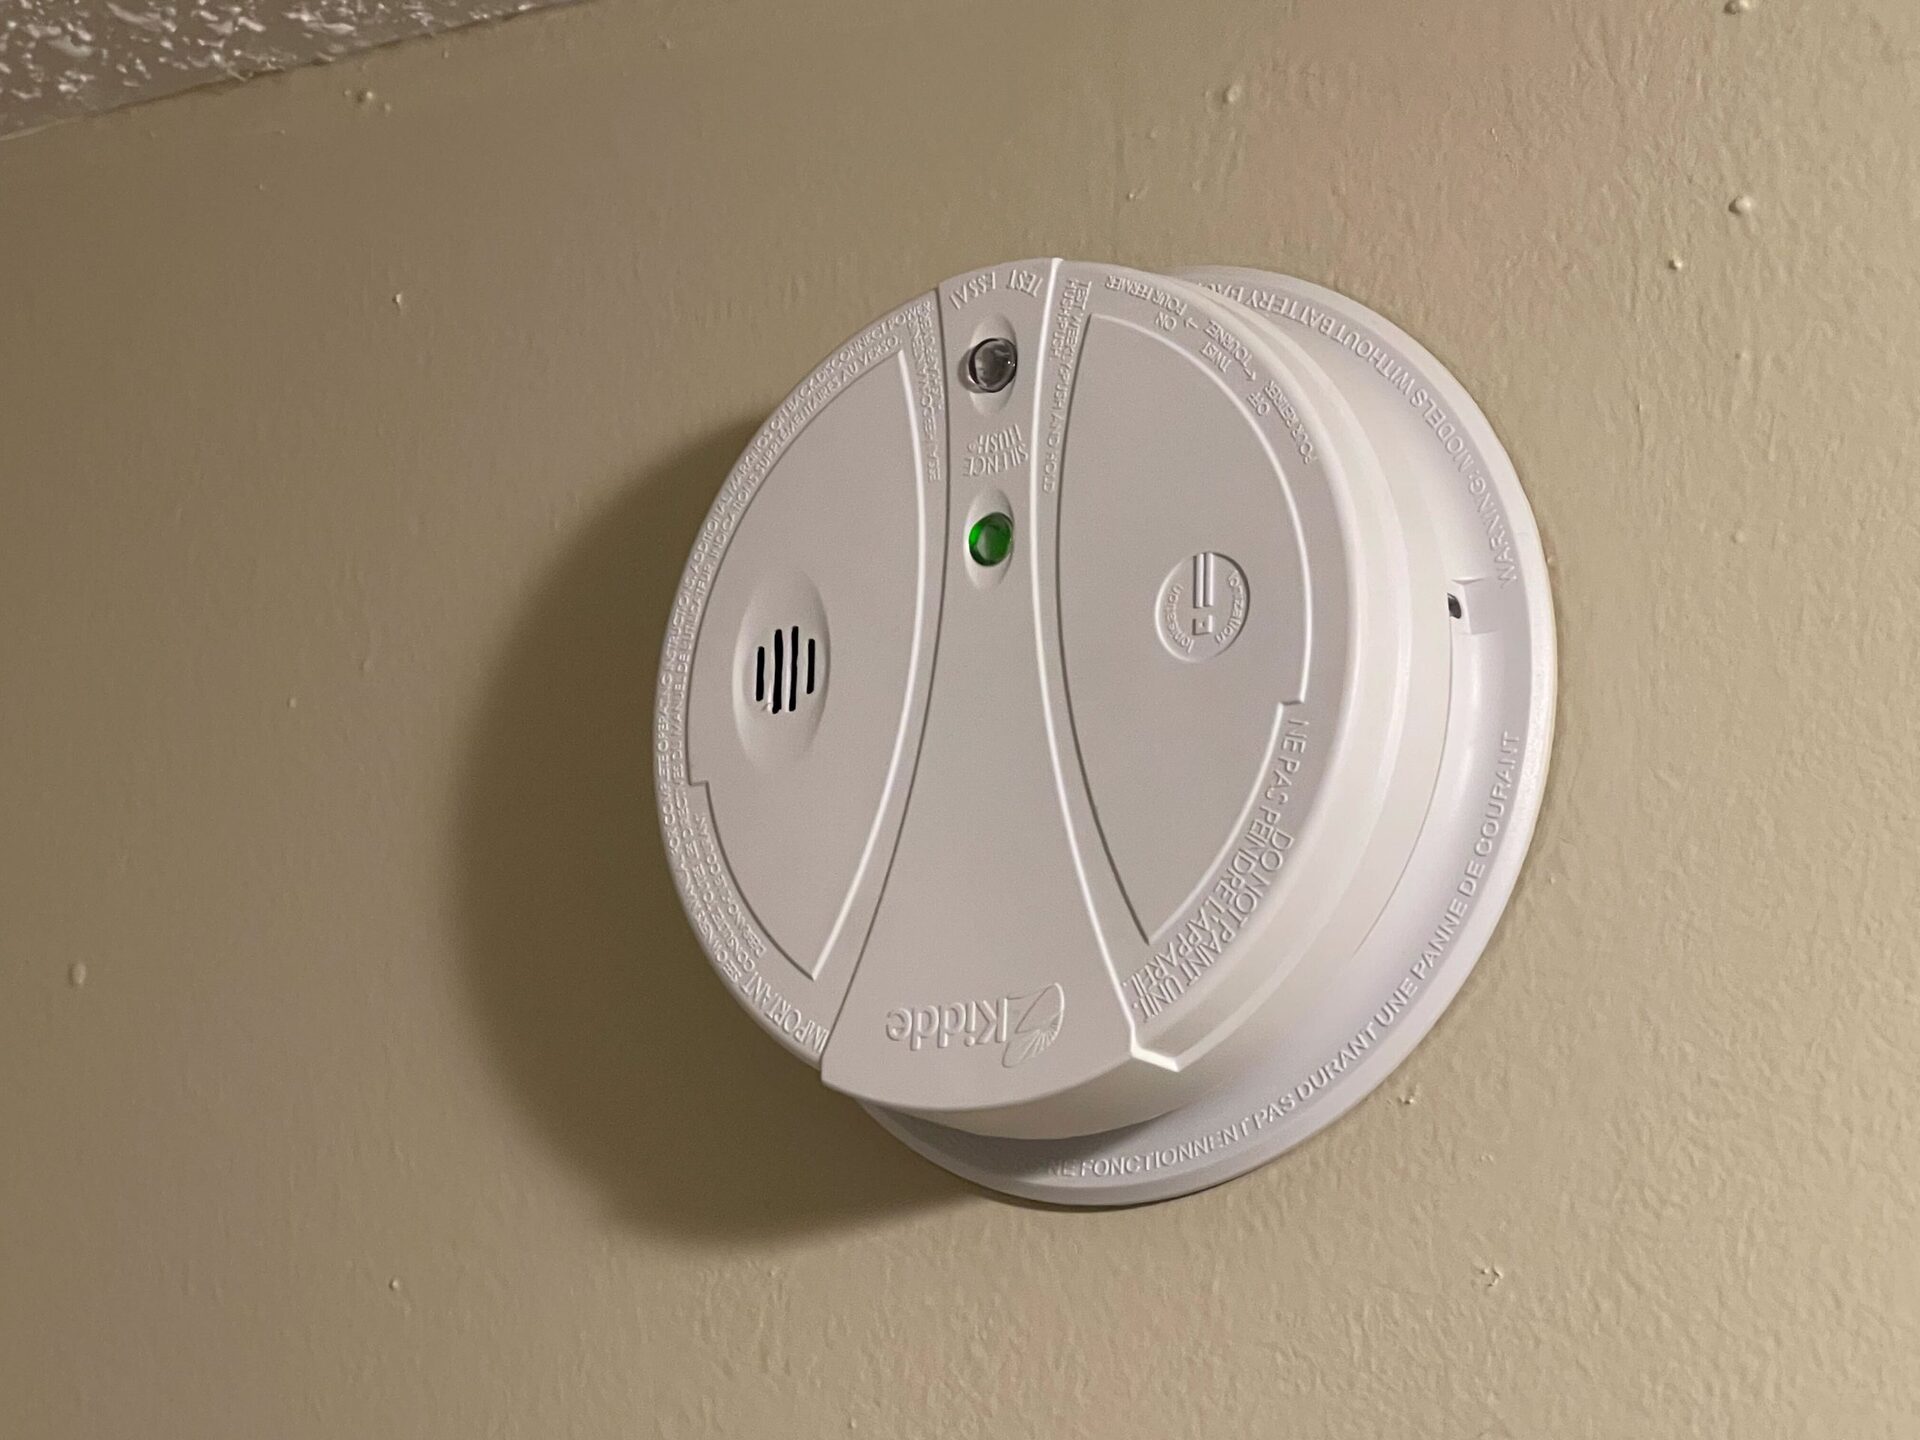
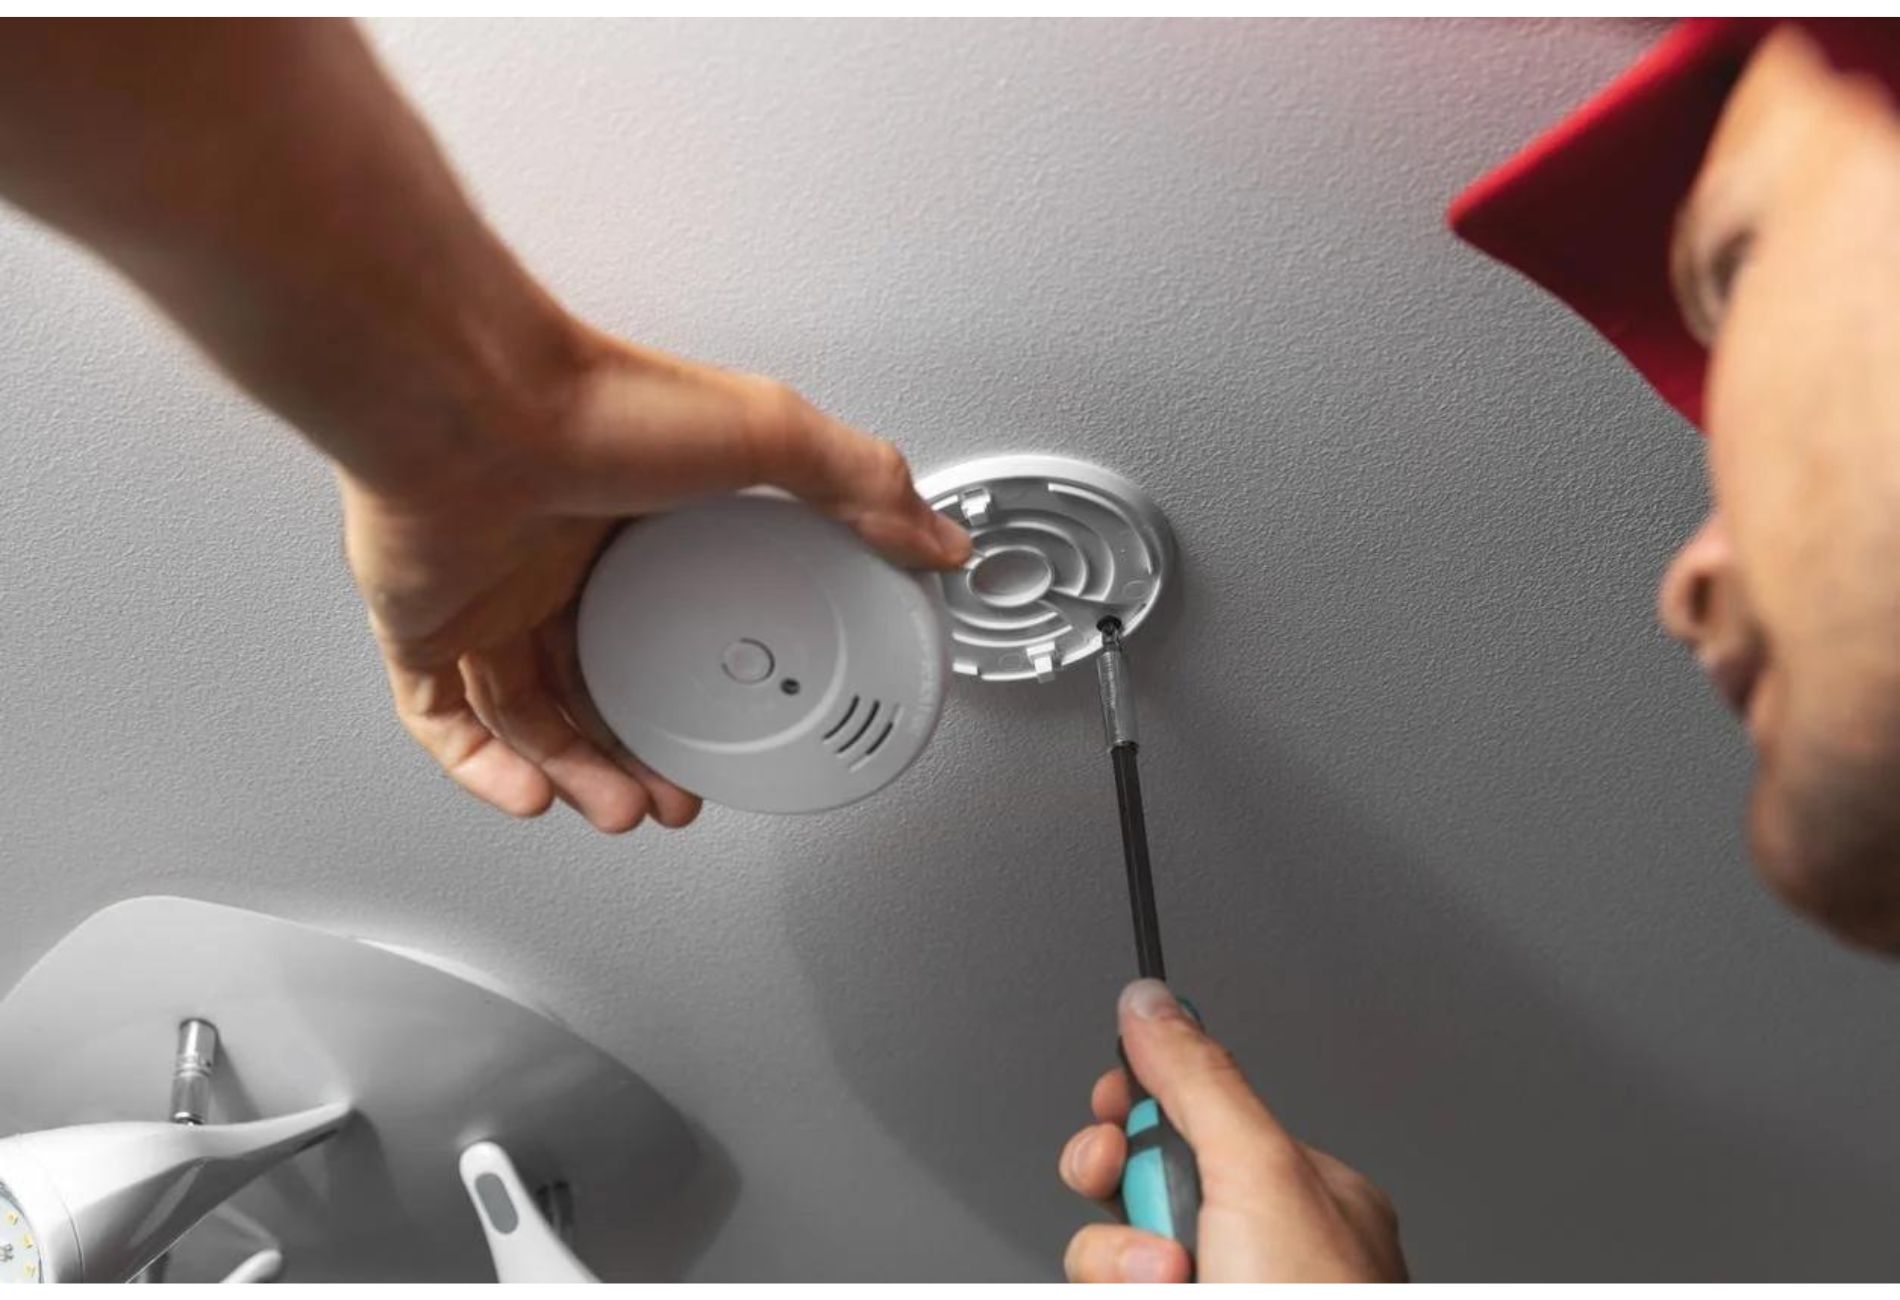
Step 7: Reinstall the Smoke Detector
Now that you have reassembled the smoke detector, it’s time to reinstall it back onto the mounting bracket. Proper installation is essential to ensure that the smoke detector is securely in place and can effectively detect smoke or fire.
Start by aligning the smoke detector with the mounting bracket on the wall or ceiling. Carefully slot the smoke detector into the bracket, making sure it is level and flush against the surface.
If your smoke detector has a twist-to-lock mechanism, gently rotate it clockwise until it clicks into place. For other types of mounting brackets, follow the specific instructions provided by the manufacturer for proper installation.
Ensure that the smoke detector is securely attached to the mounting bracket and does not wobble or shift when lightly nudged. A stable and secure installation is important to ensure that the smoke detector functions optimally.
Once the smoke detector is securely in place, restore the power by flipping the breaker switch back on or reconnecting the hardwired connection. This will provide the necessary power for the smoke detector to operate.
Before moving on to the final step, take a moment to ensure that the smoke detector is positioned in an optimal location. It should be centrally located on the ceiling, away from corners or obstructions, to provide maximum coverage in case of a fire or smoke event.
With the smoke detector successfully reinstalled, you are now ready to move on to the final step of testing the smoke detector to ensure it is functioning correctly.
Step 8: Test the Smoke Detector
The final step in the process of cleaning your Kidde smoke detector is to test its functionality. Testing the smoke detector ensures that it is in proper working condition and will effectively alert you in the event of a fire or smoke occurrence.
Start by pressing the test button on the smoke detector. This button is usually located on the front or side of the device and is labeled as “test” or a similar indication. Press and hold the test button for a few seconds to initiate the testing process.
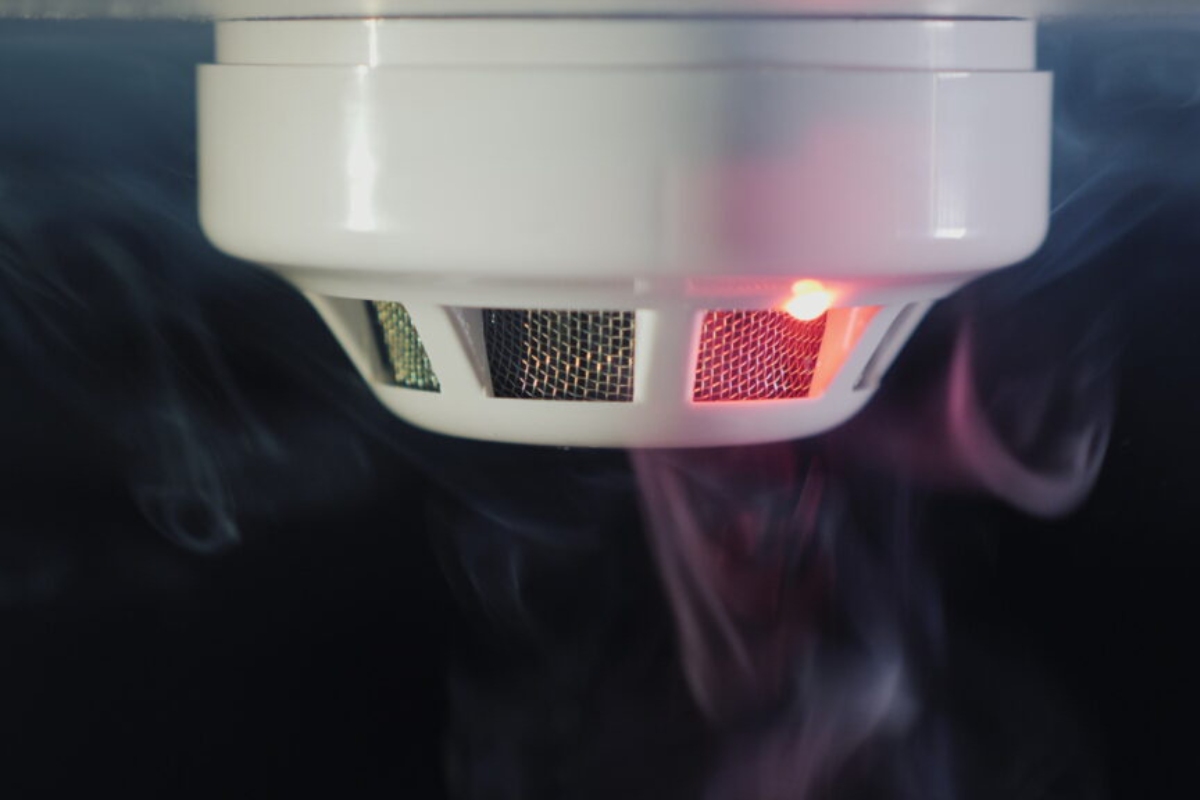
The smoke detector should emit a loud, audible sound during the testing process. This sound indicates that the smoke detector’s alarm system is functioning correctly and would activate in the presence of smoke or fire.
If the smoke detector does not emit a sound or if the sound is faint or distorted, there may be an issue with the device. This could be due to a low battery, a faulty connection, or other technical problems. In such cases, refer to the user manual or contact Kidde customer support for further assistance.
It is important to test your smoke detector on a regular basis, not just after cleaning it. Kidde recommends testing your smoke detector at least once a month to ensure it is working correctly. This simple step can provide peace of mind and help protect your home and family.
With the smoke detector successfully tested and functioning correctly, congratulations! You have completed the process of cleaning and maintaining your Kidde smoke detector. Regularly cleaning and testing your smoke detector is essential to ensure its optimal performance and enhance home safety.
Remember to schedule regular cleaning sessions for your smoke detector to keep it free from dust and debris and test it frequently to ensure it is working correctly. By doing so, you can have confidence that your smoke detector will effectively detect any potential fire or smoke hazards.
Stay safe, and be vigilant in keeping your home protected with a properly cleaned and maintained smoke detector!
Conclusion
Cleaning and maintaining your Kidde smoke detector is a simple and important task that should be regularly performed to ensure the safety and reliability of your home’s fire detection system. By following the step-by-step guide outlined in this article, you can effectively clean your smoke detector and keep it in optimal working condition.
From turning off the power to removing the smoke detector from its mounting bracket, cleaning the exterior and smoke chamber, reassembling and reinstalling the smoke detector, to finally testing its functionality, each step plays a vital role in keeping your smoke detector in top shape.
Remember, safety should always be a priority when handling any electrical devices. Make sure to follow safety precautions, including turning off the power and avoiding direct contact with the internal components of the smoke detector.
Regularly cleaning and testing your smoke detector will ensure that it remains sensitive to the presence of smoke or fire, providing you with early detection and potentially saving lives.
We hope that this guide has provided you with the knowledge and confidence to clean and maintain your Kidde smoke detector effectively. Remember to refer to the user manual or contact Kidde customer support if you have any specific questions or concerns regarding your particular model of smoke detector.
Stay proactive in maintaining your smoke detector and prioritize the safety of your home and loved ones. By keeping your Kidde smoke detector clean and functioning correctly, you are taking a crucial step towards maintaining a safe living environment.
Thank you for reading, and keep your smoke detector clean and ready to prevent and protect!
Frequently Asked Questions about How To Clean A Kidde Smoke Detector
Was this page helpful?
At Storables.com, we guarantee accurate and reliable information. Our content, validated by Expert Board Contributors, is crafted following stringent Editorial Policies. We're committed to providing you with well-researched, expert-backed insights for all your informational needs.

0 thoughts on “How To Clean A Kidde Smoke Detector”