Home>Articles>How To Replace The Battery In An ADT Smoke Detector
Articles
How To Replace The Battery In An ADT Smoke Detector
Modified: August 20, 2024
Learn how to replace the battery in an ADT smoke detector with our helpful articles. Ensure your home stays safe with this simple DIY solution.
(Many of the links in this article redirect to a specific reviewed product. Your purchase of these products through affiliate links helps to generate commission for Storables.com, at no extra cost. Learn more)
Introduction
Welcome to our comprehensive guide on how to replace the battery in an ADT smoke detector. Smoke detectors are crucial for ensuring the safety of your home and loved ones, and it’s essential to perform regular maintenance, including battery replacement. By following the steps outlined in this article, you’ll be equipped with the knowledge and skills necessary to keep your smoke detector functioning optimally.
Before we dive into the details, it’s important to understand why replacing the battery in your ADT smoke detector is so important. Smoke detectors rely on battery power to function correctly. When the battery is low, the detector may not detect smoke or emit the necessary warning signals, putting your safety at risk. Therefore, it’s crucial to replace the battery promptly to ensure the continued effectiveness of the smoke detector.
In this guide, we’ll cover each step of the battery replacement process, from gathering the necessary tools and materials to testing the smoke detector after the battery is replaced. Whether you’re a DIY enthusiast or a novice, this article will provide you with the guidance you need to successfully replace the battery in your ADT smoke detector.
Before getting started, make sure to read through the entire guide to familiarize yourself with the process. It’s also a good idea to consult the instruction manual that came with your specific ADT smoke detector model, as there may be slight variations in the battery replacement procedure.
Now, let’s gather the tools and materials needed for this task.
Key Takeaways:
- Regularly replacing the battery in your ADT smoke detector is crucial for ensuring the safety of your home and loved ones. Follow the step-by-step guide to confidently perform this essential maintenance task.
- Prioritize safety by preparing, handling, and testing the smoke detector with care. Stay proactive in maintaining your smoke detector to guarantee its continued effectiveness in protecting your home.
Step 1: Gather the necessary tools and materials
Before you begin the battery replacement process, it’s essential to gather all the necessary tools and materials. This will ensure that you have everything you need and minimize any interruptions during the process. Here’s a list of what you’ll need:
- A small screwdriver (typically a Phillips head)
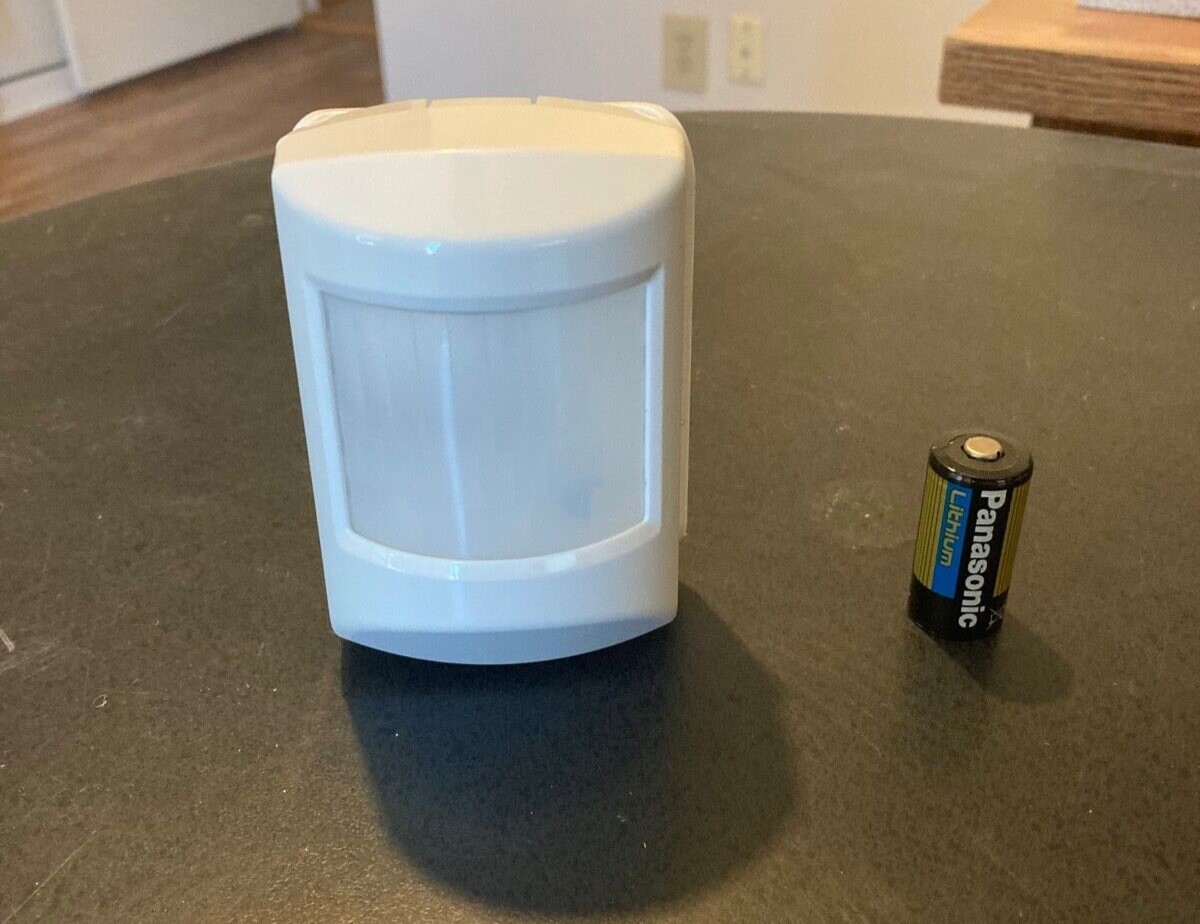
- A new battery (check the smoke detector’s instruction manual for the specific battery type required)
- A ladder or step stool (if needed to reach the smoke detector)
- A clean cloth or tissue to handle the battery
It’s crucial to use the correct type of battery recommended by the smoke detector manufacturer. Using the wrong battery type can affect the performance and longevity of the smoke detector.
Once you have gathered all the tools and materials, ensure that you are in a well-lit area with enough space to comfortably maneuver. This will make the battery replacement process much easier and safer.
Now that you have your tools and materials ready, let’s move on to preparing for the battery replacement in the next step.
Step 2: Prepare for the battery replacement
Before beginning the actual battery replacement process, it’s important to take a few precautionary measures to ensure your safety and the smooth execution of the task. Follow these steps to prepare for the battery replacement:
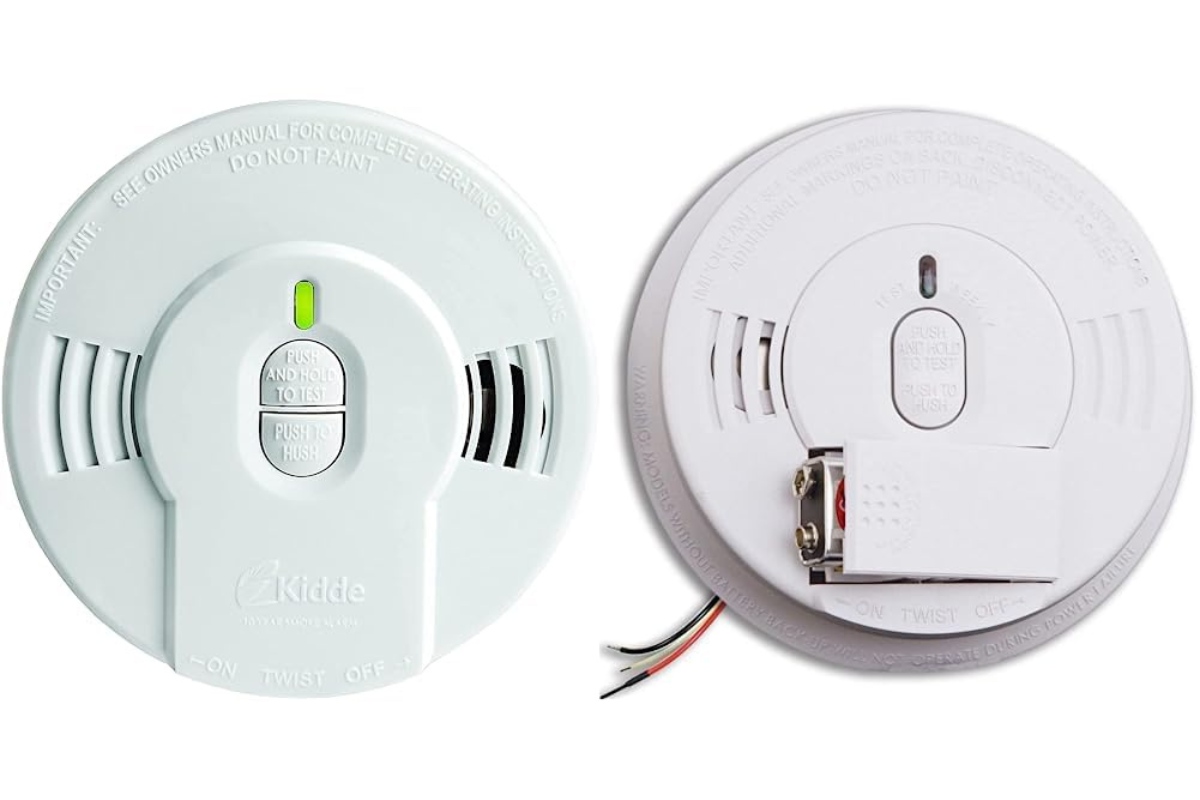
- Identify the location of the smoke detector: Take note of where the smoke detector is located in your home. It’s usually mounted on the ceiling or high on a wall, typically in hallways, bedrooms, or common areas.
- Turn off the power: Locate the circuit breaker or fuse corresponding to the smoke detector and switch it off. This step is crucial to prevent any electrical accidents while handling the smoke detector. If you’re unsure which circuit breaker or fuse controls the smoke detector, it’s recommended to turn off the power for the entire house to be on the safe side.
- Inform your household members: Let everyone in your home know that you’ll be working on the smoke detector, so they won’t be alarmed by any beeping sounds or disruption.
- Clear the area: Remove any furniture or objects located beneath the smoke detector. Clear the space below the detector to allow for easy access during the battery replacement process. Use a ladder or step stool if necessary to reach the smoke detector safely.
- Protect the area: To avoid any potential damage to your furniture or floors, it’s a good idea to lay down a sheet or towel beneath the smoke detector. This will catch any dust or debris that may fall during the battery replacement.
- Wash your hands: Before handling the new battery or the smoke detector, wash your hands thoroughly with soap and water. This will help prevent any buildup of dirt or oil on the battery or smoke detector, which could affect their functionality.
By following these preparation steps, you’ll ensure that the battery replacement process goes smoothly and safely. Once you’ve completed these steps, you are ready to begin opening the smoke detector casing in the next step.
Step 3: Open the smoke detector casing
Now that you’ve gathered your tools, prepared for the battery replacement, and taken the necessary safety precautions, it’s time to open the smoke detector casing. Follow these steps:
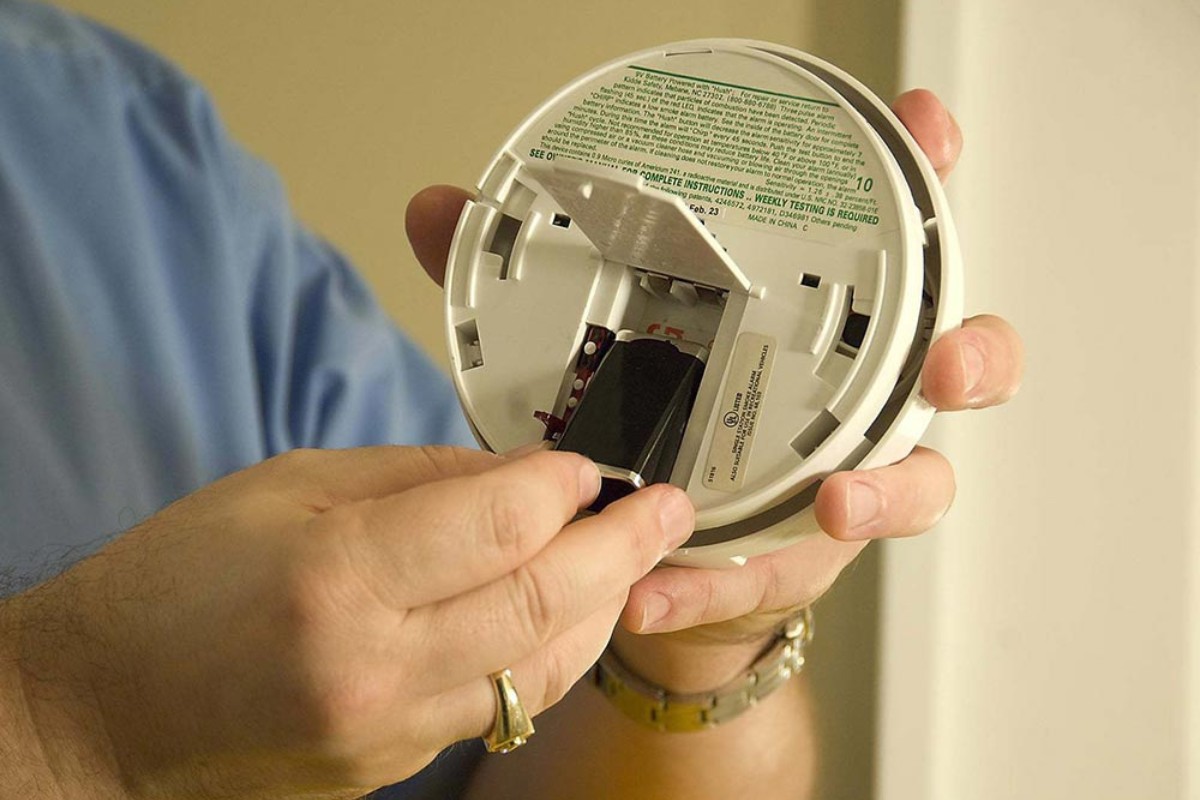
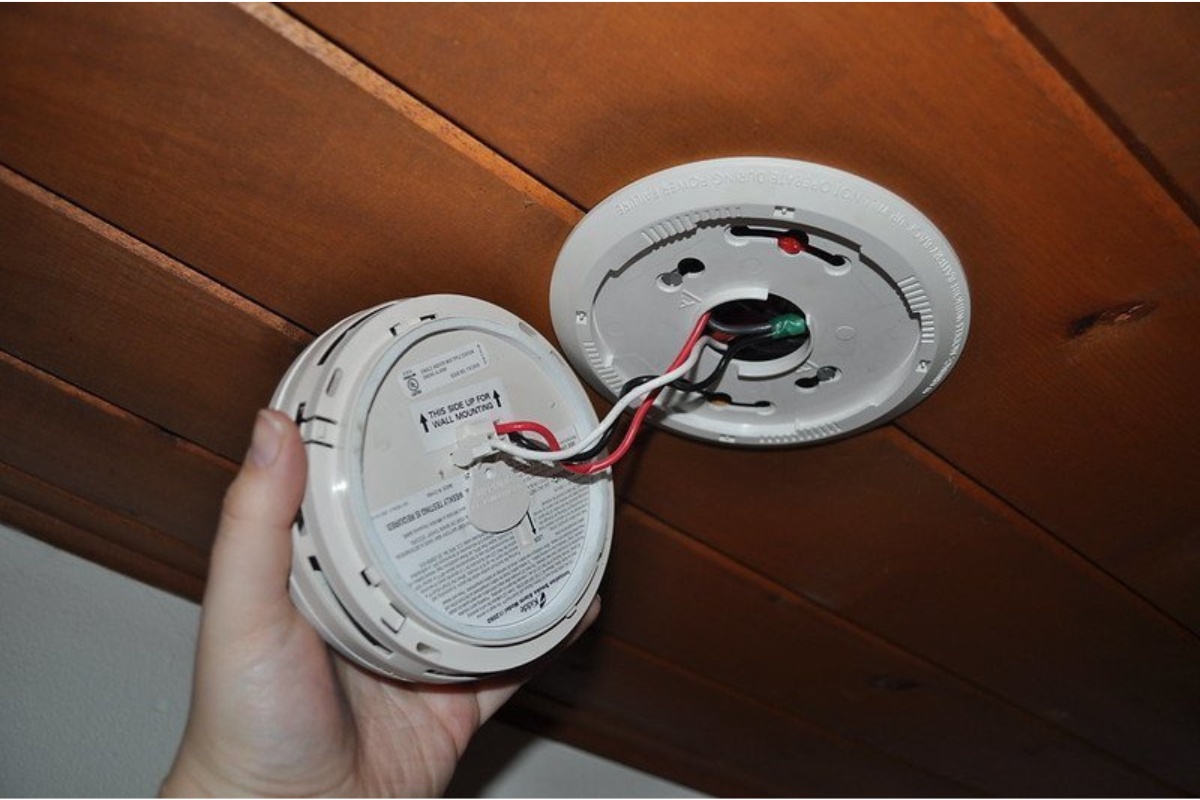
- Locate the tab or latch: Look for a small tab or latch on the side or bottom of the smoke detector. This tab is used to open the casing and access the battery compartment.
- Use the screwdriver: If the smoke detector has screws instead of a tab or latch, use the screwdriver to remove the screws securing the casing. Make sure to keep the screws in a safe place, as you’ll need them later to secure the casing back in place.
- Gently open the casing: Once the tab has been located or the screws have been removed, gently pry open the smoke detector casing. Be careful not to force or bend the casing, as it may break. If you’re having trouble opening the casing, refer to the smoke detector’s instruction manual for specific instructions.
- Set the casing aside: Once the casing is open, set it aside in a safe place where it won’t be accidentally damaged or stepped on.
- Inspect the inside: Take a moment to inspect the interior of the smoke detector. Look for any signs of dirt, dust, or corrosion. If you notice any debris or build-up, gently clean it using a clean, dry cloth or a soft brush. This will help ensure that the smoke detector functions properly after the battery replacement.
Opening the smoke detector casing is an important step in the battery replacement process. By following these steps with care, you’ll be ready to remove the old battery in the next step.
Step 4: Remove the old battery
With the smoke detector casing open and the interior inspected, it’s time to remove the old battery. Follow these steps:
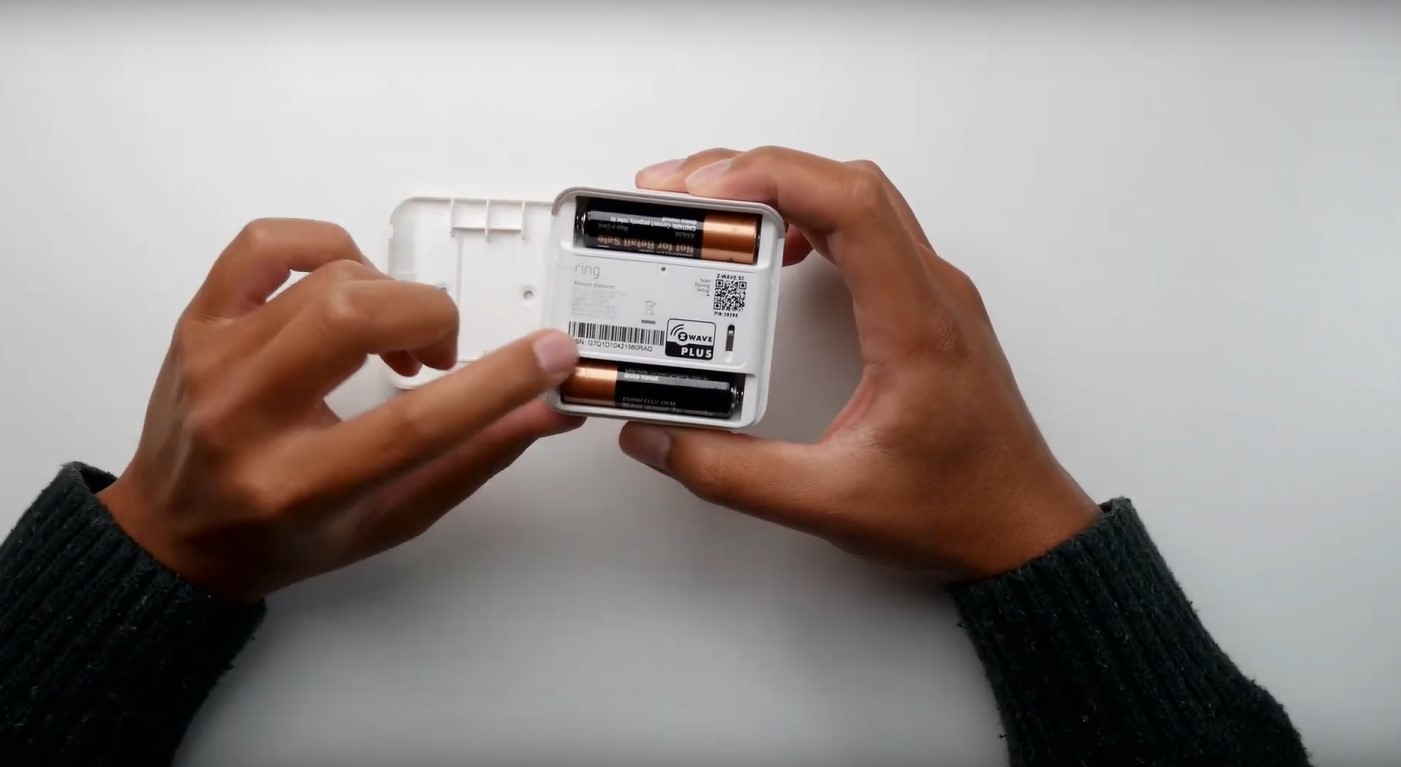
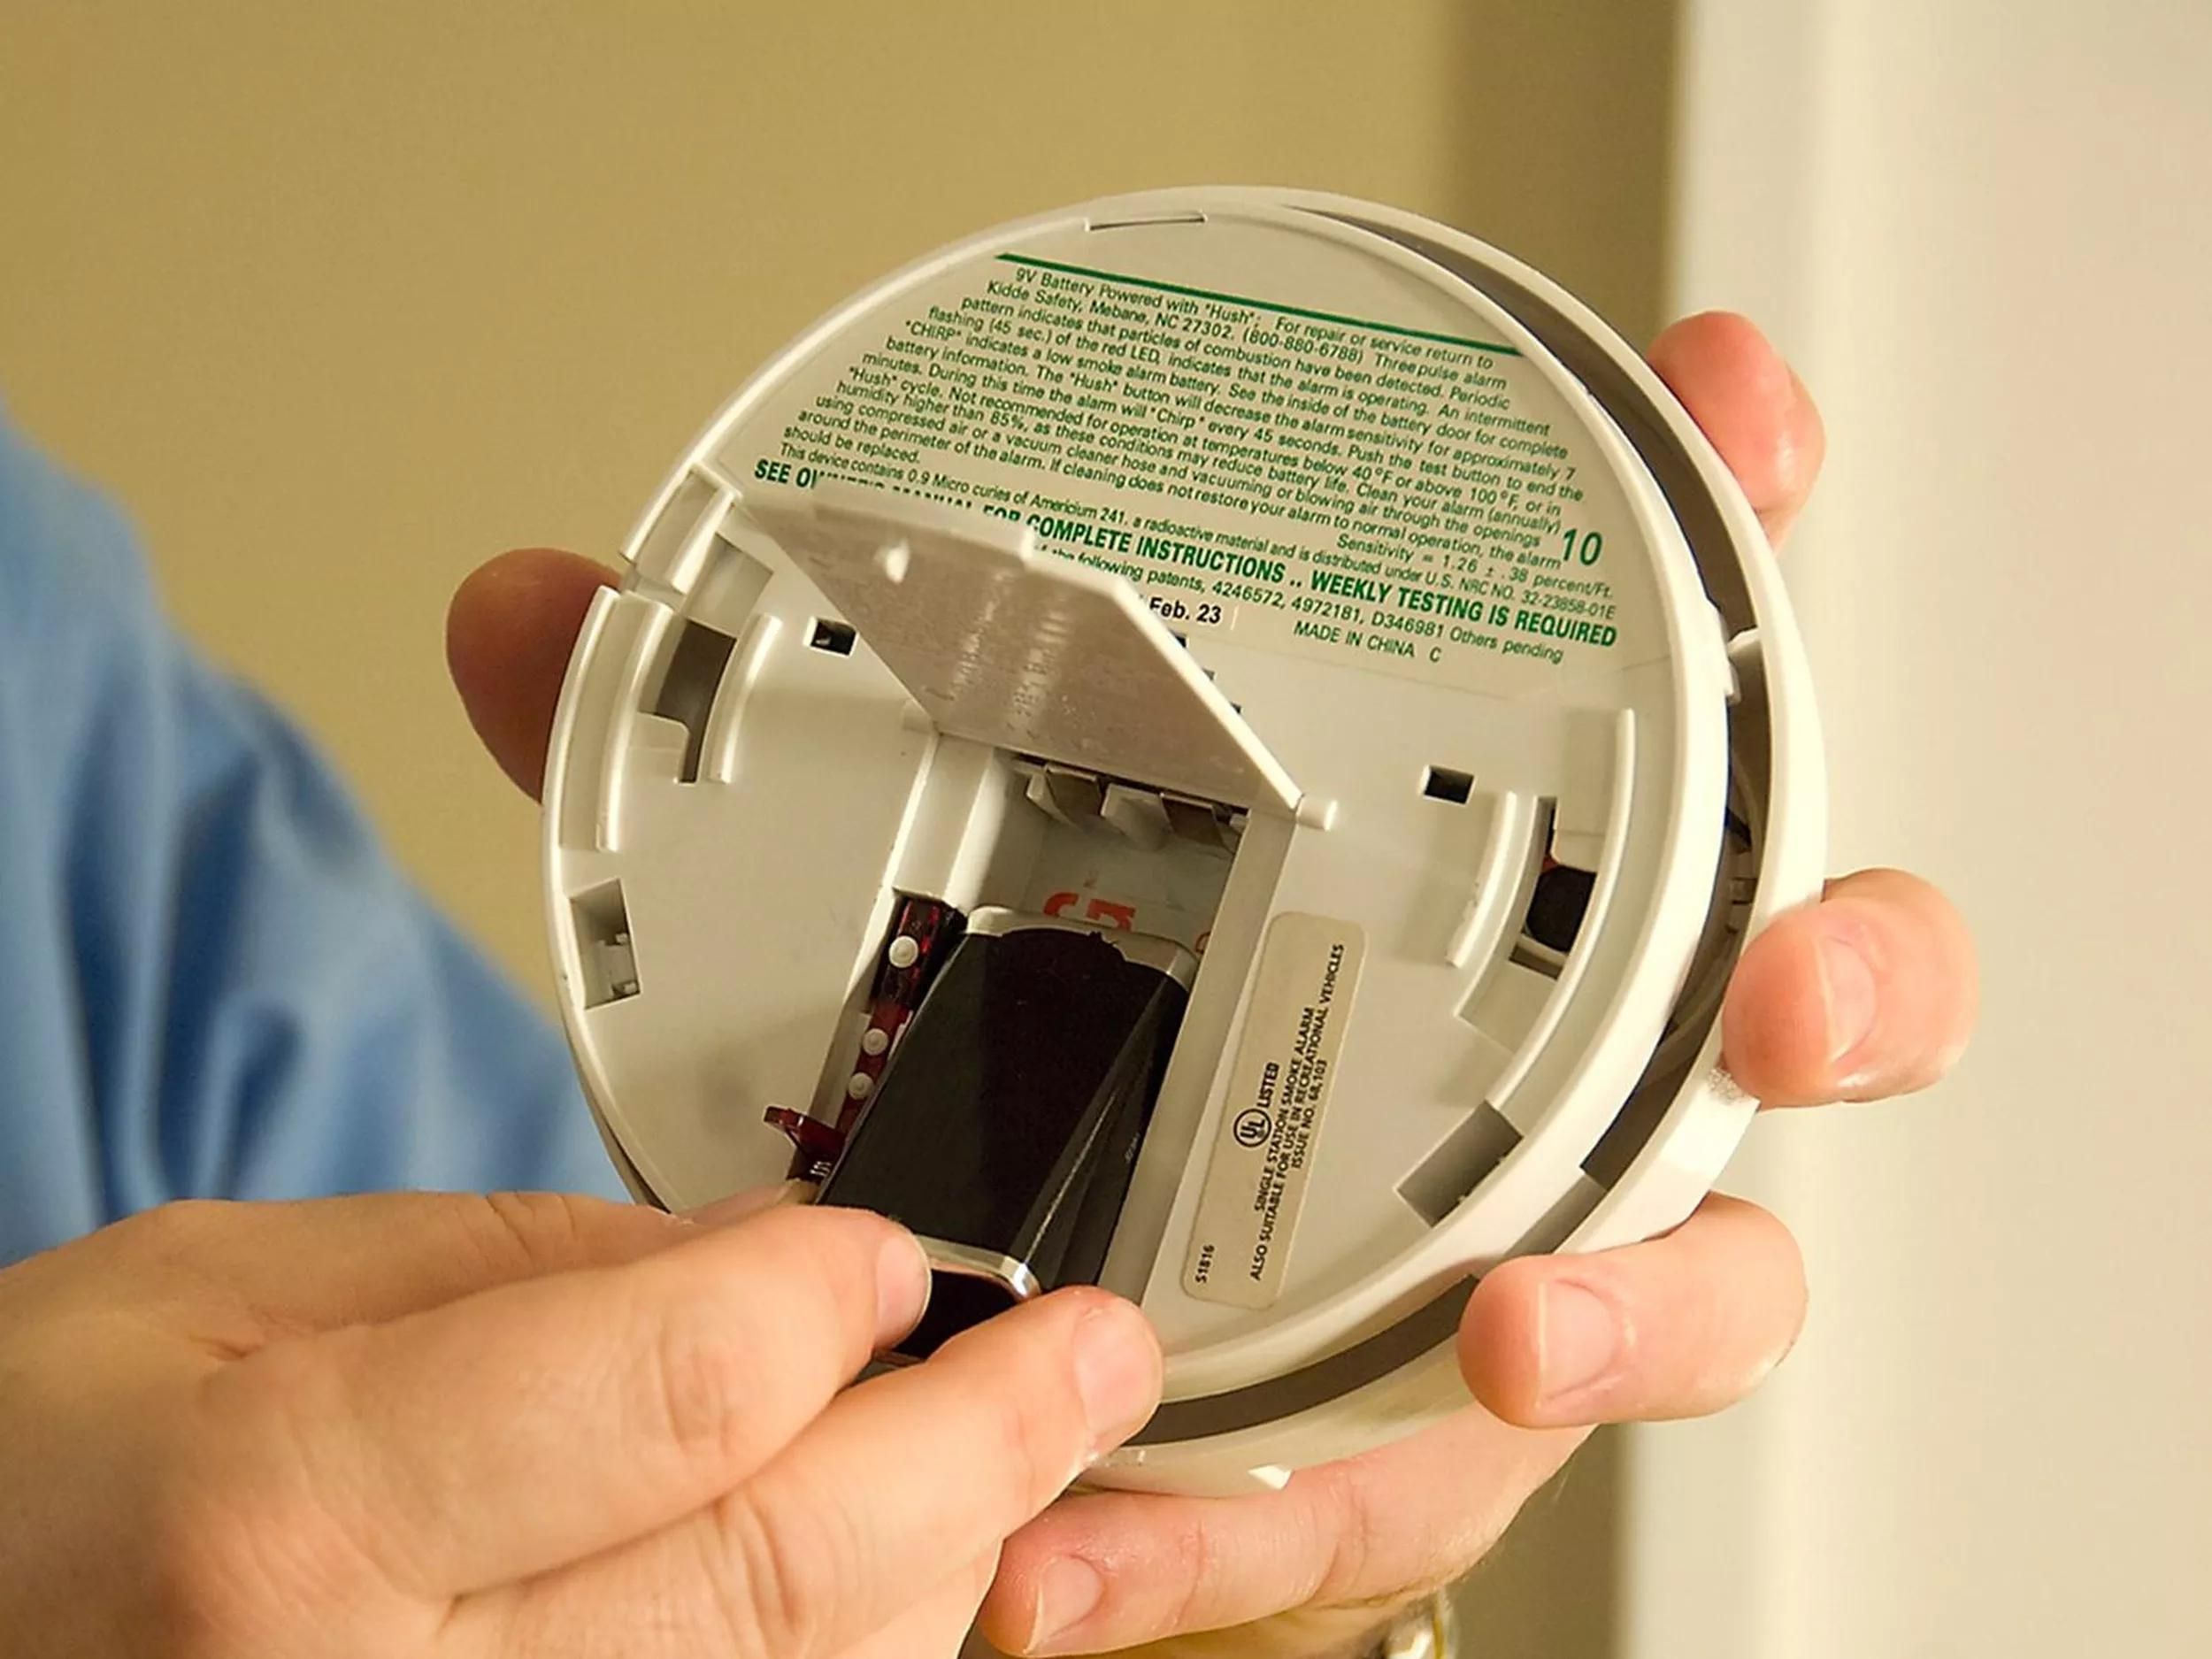
- Identify the battery compartment: Locate the battery compartment within the smoke detector. It’s usually a small compartment or slot designed to hold the battery securely.
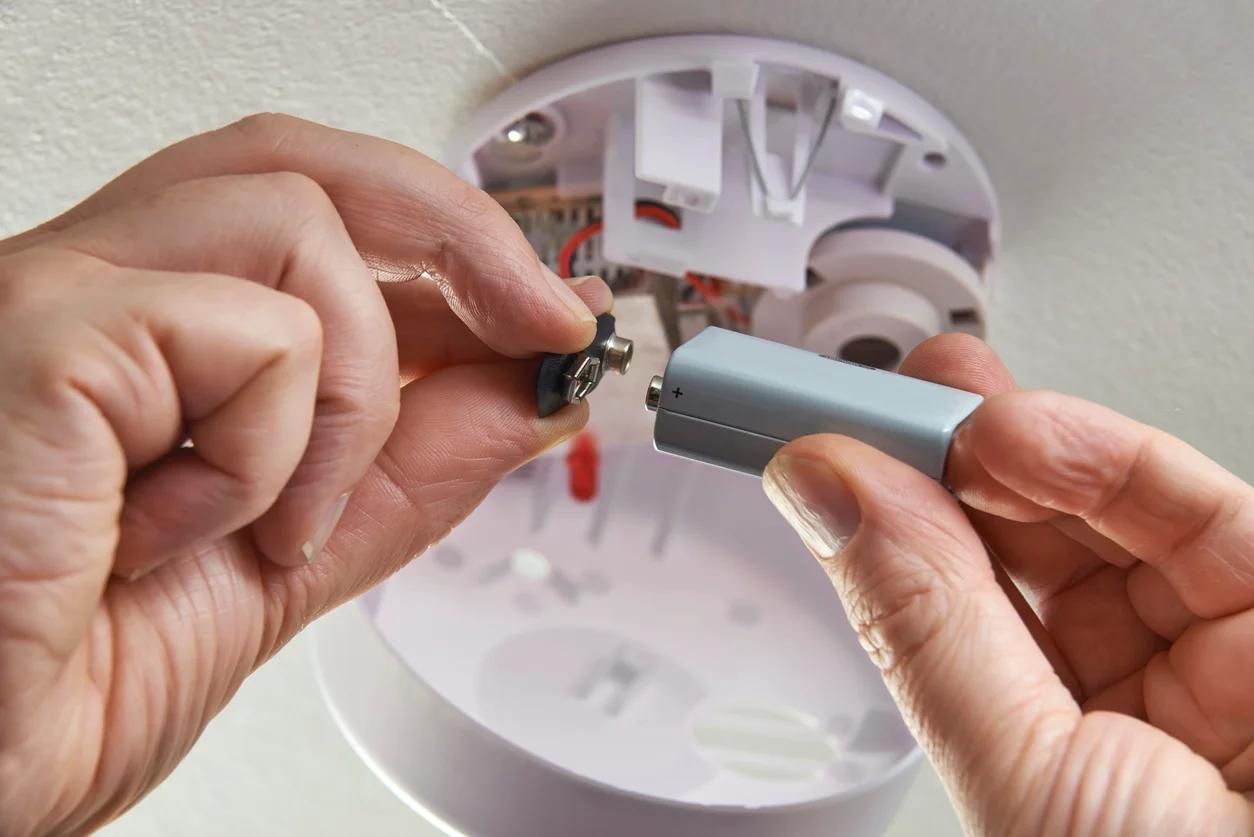
- Identify the battery orientation: Take note of how the old battery is positioned within the compartment. Pay attention to the positive (+) and negative (-) terminals on the battery and their corresponding markings within the compartment. This will ensure that you insert the new battery correctly later on.
- Remove the old battery: Using your fingers or a small tool, gently lift the old battery out of the compartment. Take care not to touch any sensitive components of the smoke detector while doing so.
- Dispose of the old battery properly: Once the old battery is removed, it’s important to dispose of it properly. Batteries may contain hazardous materials and should not be thrown in the regular trash. Check your local regulations for how and where to recycle or dispose of batteries. Many electronic stores and recycling centers have designated collection points for safe battery disposal.
- Check for any debris: Before inserting the new battery, inspect the battery compartment for any debris or residue. If you notice any dirt or corrosion, clean it using a clean, dry cloth or a soft brush.
Removing the old battery is an important part of the battery replacement process. By following these steps carefully, you’ll be ready to insert the new battery in the next step.
When replacing the battery in an ADT smoke detector, always use the recommended type of battery specified in the user manual to ensure proper functioning and safety.
Read more: How To Reset An ADT Smoke Detector
Step 5: Insert the new battery
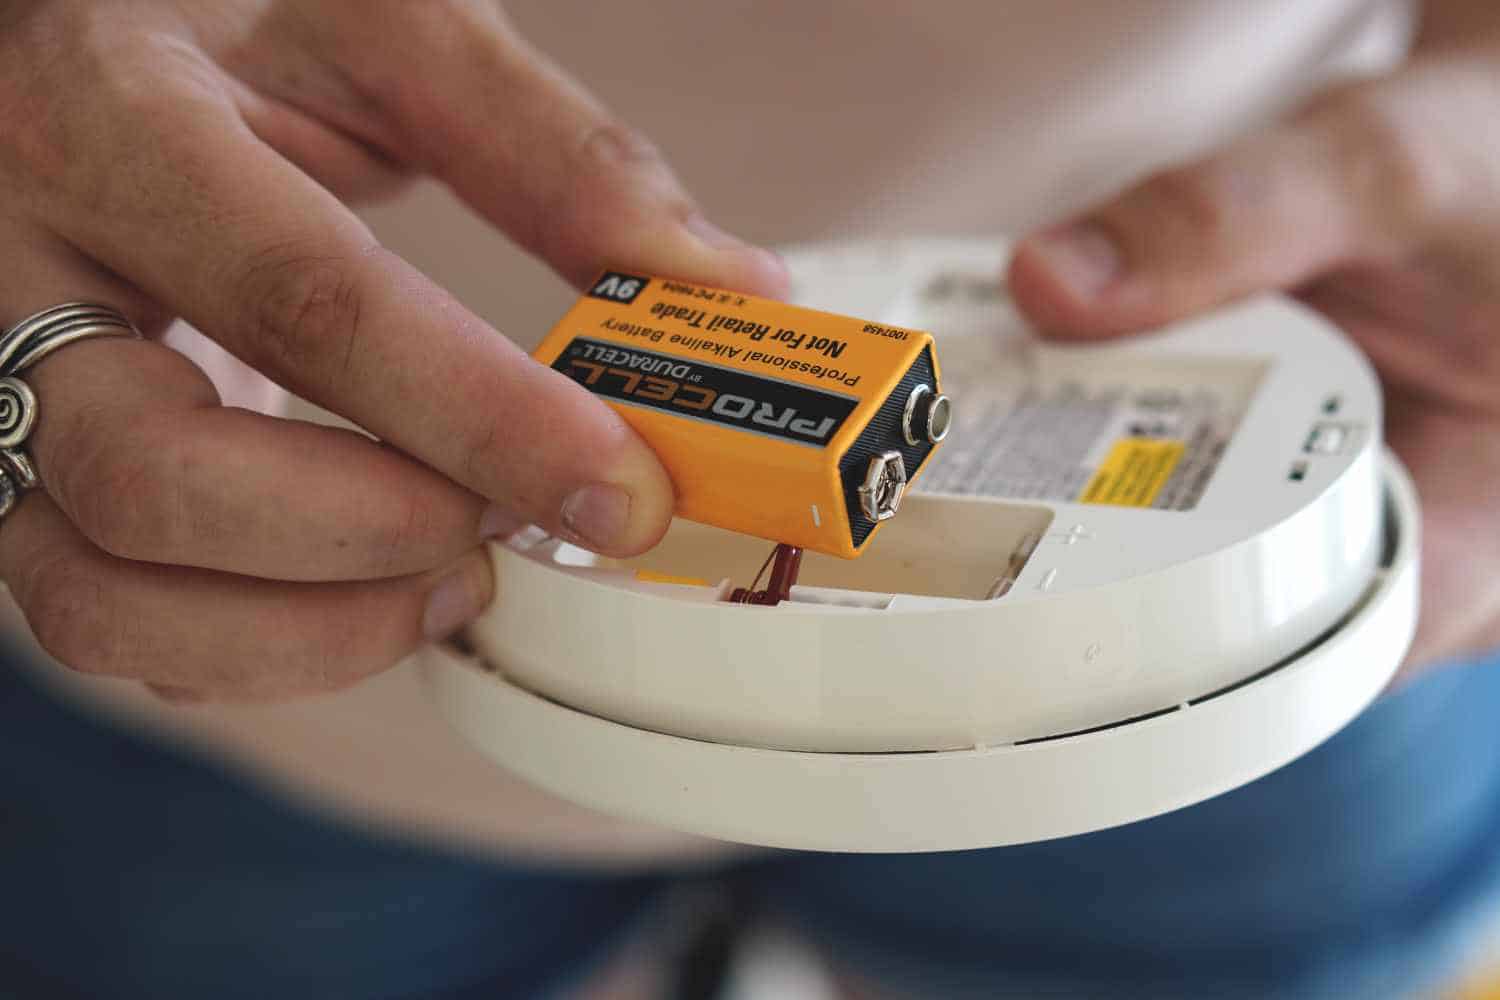
Now that the old battery has been removed and the battery compartment is clean, it’s time to insert the new battery. Follow these steps:
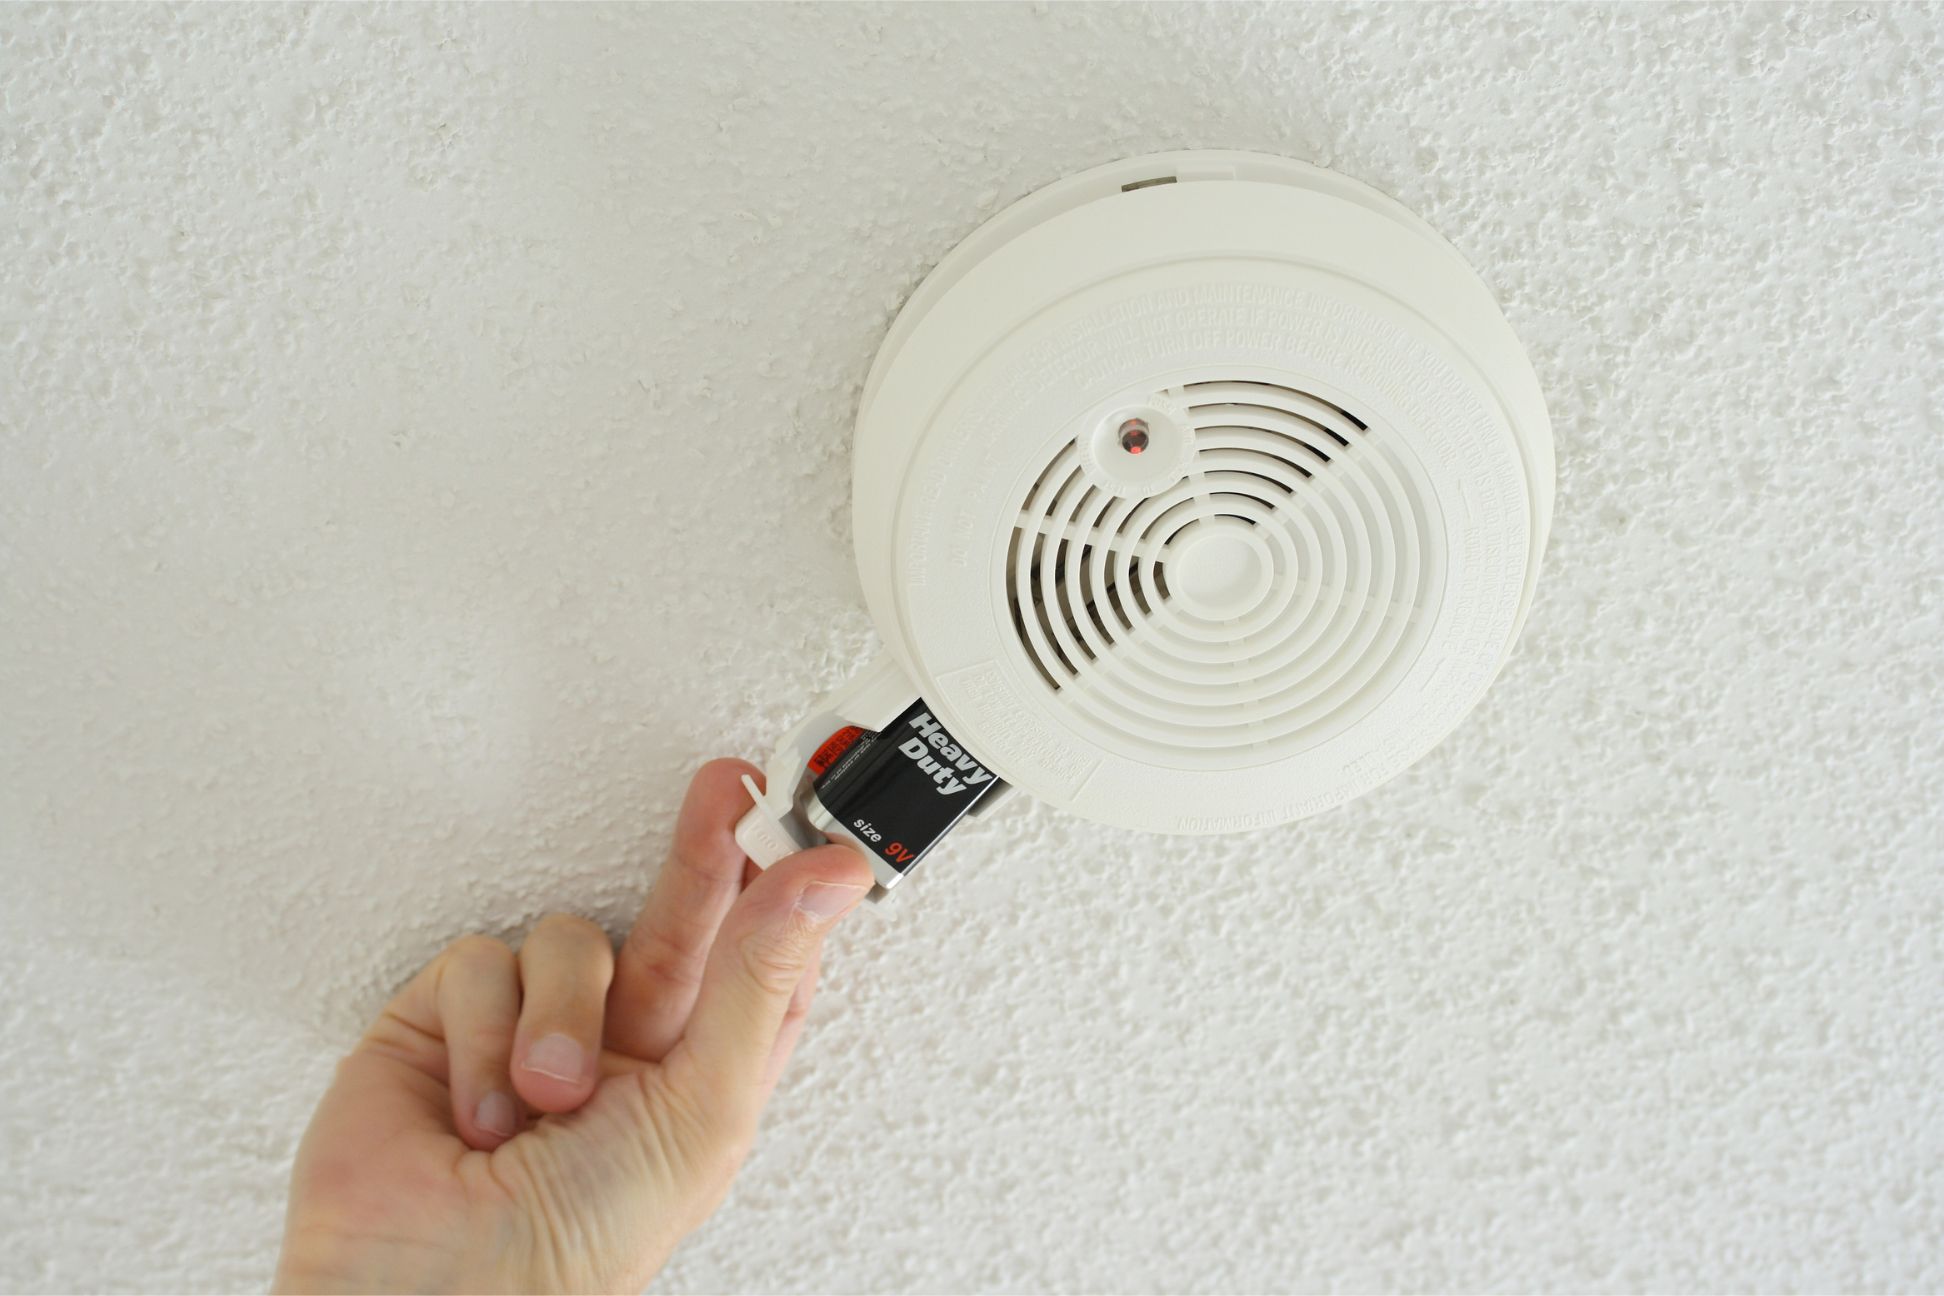
- Check the battery type: Refer to the smoke detector’s instruction manual or the label inside the battery compartment to ensure you have the correct type of battery for replacement. Using the wrong battery type could result in the smoke detector not functioning properly.
- Hold the new battery properly: Before inserting the new battery, make sure to handle it with care. Hold it by the edges to avoid touching the terminals and keep it clean.
- Insert the new battery: Align the new battery with the markings in the battery compartment, ensuring that the positive (+) and negative (-) terminals match. Insert the battery firmly into the compartment, making sure it is secure.
- Double-check the battery orientation: Once the battery is inserted, double-check that it is positioned correctly. The positive (+) terminal should align with the corresponding marking within the compartment, and the negative (-) terminal should also be correctly aligned.
- Close the battery compartment: With the new battery in place, carefully close the battery compartment. Ensure that it is securely closed and that no parts are sticking out.
Inserting the new battery correctly is essential for the proper functioning of your ADT smoke detector. By following these steps attentively, you can proceed to the next step to close the smoke detector casing.
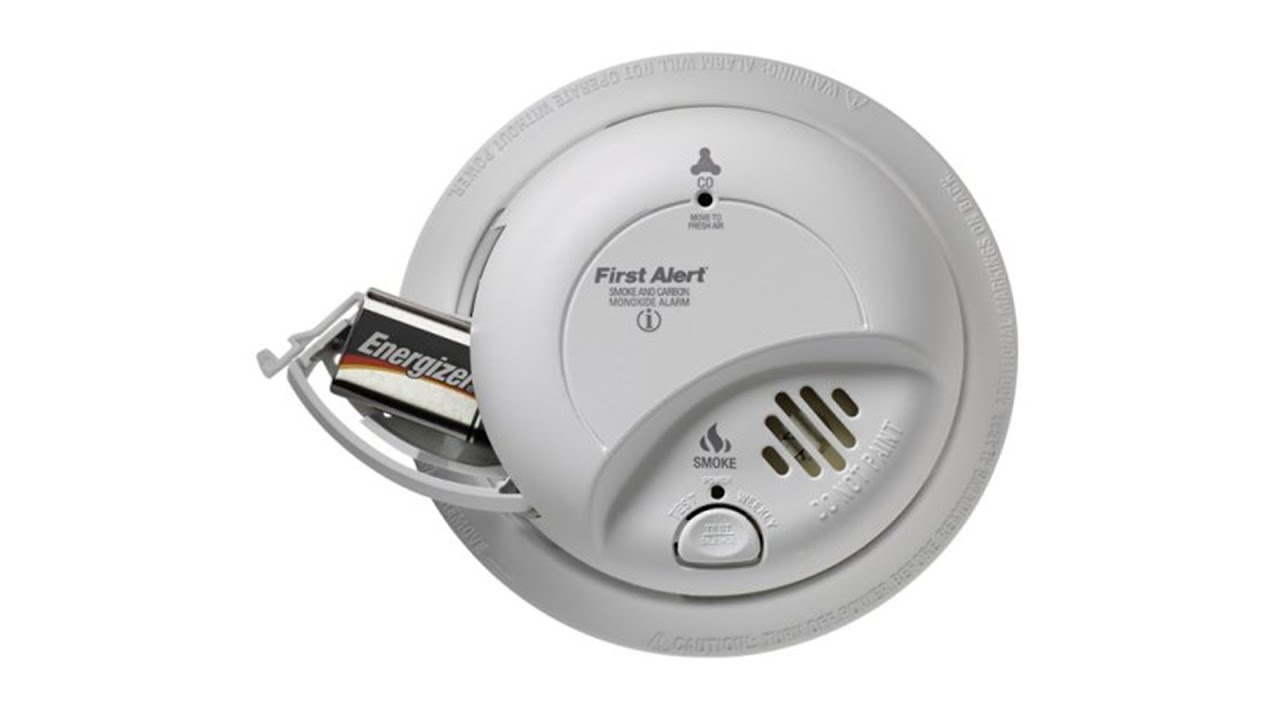
Step 6: Close the smoke detector casing
With the new battery securely inserted into the smoke detector, it’s time to close the casing. Follow these steps:
- Align the casing: Take the smoke detector casing that you set aside earlier and align it with the base of the smoke detector. Make sure it aligns properly and sits flush against the base.
- Press firmly: Once aligned, apply gentle pressure to the casing to snap it back into place. Be careful not to use excessive force, as this can damage the casing.
- Listen for the click: As you press the casing, you should hear a satisfying click, indicating that it is securely closed. This click ensures that the casing is properly sealed, protecting the smoke detector’s internals.
- Test the casing: To ensure that the casing is closed tightly, gently tap or press on various parts of the casing. If it feels loose or moves easily, it may not be adequately closed. In this case, reopen the casing and try closing it again, ensuring a proper seal.
- Replace any screws: If your smoke detector casing uses screws to secure it, now is the time to reinsert and tighten them. Use your screwdriver to carefully insert and tighten the screws, but again, be mindful not to overtighten them.
Closing the smoke detector casing properly is crucial for the effective operation of the smoke detector. By following these steps, you are now ready to move to the final step of this process – testing the smoke detector.
Step 7: Test the smoke detector
After successfully replacing the battery and closing the smoke detector casing, it’s essential to test the smoke detector to ensure it’s functioning correctly. Follow these steps:
- Restore power: If you had turned off the power to the smoke detector during the battery replacement process, now is the time to turn it back on. Locate the circuit breaker or fuse that controls the smoke detector and switch it back on.
- Check the indicator lights: Many smoke detectors have indicator lights that show when the unit is powered on and functioning correctly. Look for these lights and ensure that they are illuminated. If the lights do not come on, double-check the battery installation and casing closure.
- Test the smoke detector: Most smoke detectors have a test button located on the unit itself. Press and hold the test button for a few seconds. The smoke detector should emit a loud alarm sound. If the alarm does not sound, check the battery installation and ensure that the casing is properly closed.
- Listen for the sound: When the smoke detector is in test mode, listen carefully for the alarm sound. It should be loud and clear. If the sound is faint or not audible, it could indicate a problem with the smoke detector. Consider consulting a professional or contacting customer support for further assistance.
- Reset the smoke detector: After testing the smoke detector, reset it by pressing the reset button, if applicable. This will put the smoke detector back into its normal operating mode.
Regularly testing your smoke detector is crucial for ensuring that it can effectively detect smoke and alert you in case of a fire or other emergency. By following these steps and conducting regular tests, you can have peace of mind knowing that your smoke detector is working correctly.
With the battery replaced, the casing closed, and the smoke detector successfully tested, congratulations on completing the battery replacement process! Your ADT smoke detector is now ready to continue providing you and your loved ones with the protection and peace of mind it was designed for.
Remember to keep an eye on the battery life and schedule regular battery replacements according to the manufacturer’s recommendations. This will help ensure the ongoing effectiveness of your smoke detector in keeping your home safe.
Thank you for following our comprehensive guide on how to replace the battery in an ADT smoke detector. Stay safe!
Conclusion
Replacing the battery in your ADT smoke detector is an important task that should not be overlooked. By following the step-by-step guide outlined in this article, you now have the knowledge and confidence to perform this maintenance task effectively.
Regular battery replacement ensures that your smoke detector remains in optimal working condition, providing you and your family with the reliable detection of smoke and early warning signals in case of a fire. It’s crucial to prioritize the safety of your home by routinely checking and replacing the battery in your smoke detector.
Remember, safety should always be your top priority when working with any electrical device. Take the necessary precautions, such as turning off the power and handling the smoke detector and battery with care. Always consult the instruction manual specific to your ADT smoke detector model for any manufacturer’s recommendations or variations in the battery replacement process.
We hope that this comprehensive guide has been informative and helpful in guiding you through the process of replacing the battery in your ADT smoke detector. By following these steps, you have taken an essential step towards ensuring the continued effectiveness of your smoke detector in protecting your home and loved ones.
Lastly, remember to test your smoke detector regularly to verify that it is functioning correctly. Stay proactive and replace the battery as recommended by the manufacturer to maintain peak performance.
Thank you for taking the time to read this article. We wish you all the best in keeping your home safe and secure.
Frequently Asked Questions about How To Replace The Battery In An ADT Smoke Detector
Was this page helpful?
At Storables.com, we guarantee accurate and reliable information. Our content, validated by Expert Board Contributors, is crafted following stringent Editorial Policies. We're committed to providing you with well-researched, expert-backed insights for all your informational needs.

0 thoughts on “How To Replace The Battery In An ADT Smoke Detector”