Articles
How Do I Clean A Countertop Ice Maker
Modified: February 28, 2024
Learn how to clean a countertop ice maker with these helpful articles. Keep your ice maker running smoothly and efficiently.
(Many of the links in this article redirect to a specific reviewed product. Your purchase of these products through affiliate links helps to generate commission for Storables.com, at no extra cost. Learn more)
Introduction
Countertop ice makers have become a popular addition to many kitchens, providing the convenience of producing ice on demand without the need for a large, bulky ice machine. However, like any other appliance, countertop ice makers require regular cleaning and maintenance to ensure their optimal performance and longevity.
In this article, we will guide you through the step-by-step process of cleaning your countertop ice maker, ensuring that it remains sanitary and free from any build-up or contaminants. By following these simple instructions, you can keep your ice maker running smoothly and continue to enjoy fresh, clean ice whenever you need it.
Before we begin with the cleaning process, it is important to note that each ice maker model may have slight variations in terms of cleaning instructions. Therefore, we recommend referring to your specific ice maker’s user manual for any manufacturer-recommended cleaning procedures. Additionally, always make sure to unplug the ice maker before cleaning to avoid any potential accidents or electrical hazards.
Now, let’s get started with the cleaning process!
Key Takeaways:
- Regularly cleaning your countertop ice maker with warm water and mild dish soap ensures fresh, safe, and contaminant-free ice for all your beverage needs.
- Unplugging the ice maker, emptying the ice bin, and using a soft cloth or sponge to wipe down the interior and exterior surfaces are essential steps for effective cleaning and maintenance.
Read more: How To Clean Frigidaire Countertop Ice Maker
Step 1: Gather necessary supplies
Before you begin cleaning your countertop ice maker, it is important to gather all the necessary supplies. Having everything on hand will help streamline the cleaning process and ensure that you have all the tools you need to effectively clean your ice maker.
Here are the supplies you will need:
- Warm water
- Mild dish soap or ice maker cleaner
- Soft cloth or sponge
- Soft-bristled brush or toothbrush
Warm water is the key ingredient for your cleaning solution. It helps to dissolve any residue and sanitizes the surfaces of your ice maker. Avoid using hot water, as it can damage the internal components of the appliance.
You can choose between using mild dish soap or an ice maker cleaner. If you opt for dish soap, make sure it is a gentle one that does not contain any harsh chemicals or fragrances. An ice maker cleaner is specifically formulated to remove mineral deposits and sanitize the appliance, but it is not always necessary for routine cleaning.
A soft cloth or sponge will be used to wipe down the surfaces of the ice maker, while a soft-bristled brush or toothbrush will help you reach into any crevices or hard-to-reach areas.
Once you have gathered all of these supplies, you will be ready to move on to the next step of the cleaning process.
Step 2: Unplug the ice maker
Before you start cleaning your countertop ice maker, it is crucial to unplug the appliance from the power source. This step ensures your safety and prevents any potential damages that may occur during the cleaning process.
Locate the power cord of the ice maker and follow it to the outlet or power source. Gently pull the plug out from the socket to disconnect the power supply. It’s important to avoid yanking or pulling on the cord forcefully to prevent any damage to the cord or the outlet.
If your ice maker is built-in or integrated with your kitchen, you may need to turn off the breaker or switch that supplies power to the appliance. Consult your appliance’s manual or contact a professional if you are unsure about how to safely disconnect power.
Unplugging the ice maker ensures that there is no risk of electrical shock while cleaning the appliance. It also prevents any accidental activation of the ice maker during the cleaning process, which could lead to injury or damage to the appliance.
Once you have unplugged the ice maker, you can proceed with the cleaning process with peace of mind, knowing that you have taken the necessary safety precautions.
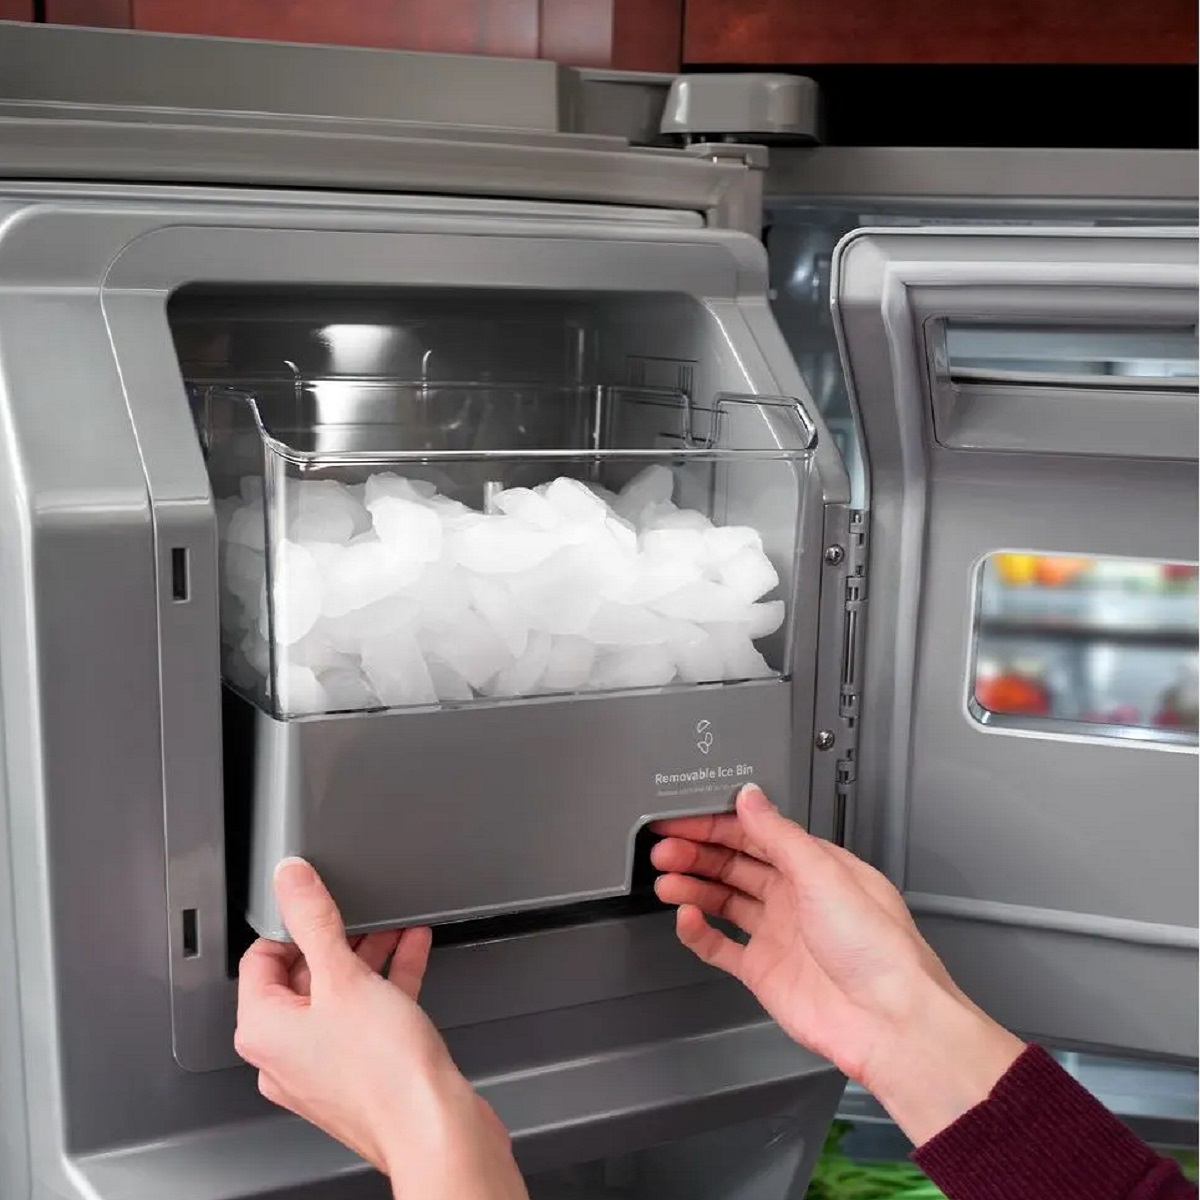
Step 3: Empty and clean the ice bin
The ice bin is where the ice cubes are stored after being produced by the ice maker. Over time, it can accumulate dirt, debris, and bacteria, so it is essential to regularly empty and clean the ice bin to maintain the cleanliness of your ice maker.
Here are the steps to empty and clean the ice bin:
- Take note of how much ice is currently in the bin. If there is a significant amount of ice, you may want to transfer it to a cooler or another freezer to prevent it from melting during the cleaning process.
- Carefully remove the ice bin from the ice maker. Most ice bins can be easily lifted or slid out from the front of the appliance.
- Empty the ice cubes from the bin into a sink or container. If you notice any discolored or foul-smelling ice, it is best to discard it.
- Rinse the ice bin with warm water to remove any remaining ice particles.
- Prepare a cleaning solution by mixing warm water with a small amount of mild dish soap or ice maker cleaner, following the instructions on the cleaner if you are using one.
- Dip a soft cloth or sponge into the cleaning solution and wipe down the interior of the ice bin. Pay special attention to any stains or debris that may be present.
- If there are any stubborn stains or residue, use a soft-bristled brush or toothbrush to gently scrub the affected areas.
- Rinse the ice bin thoroughly with warm water to remove any soap or cleaner residue.
- Allow the ice bin to air dry completely before placing it back into the ice maker.
By regularly emptying and cleaning the ice bin, you can ensure that the ice you produce is fresh, safe, and free from any contaminants that may have accumulated.
Once the ice bin is clean and dry, you can proceed to the next step of the cleaning process.
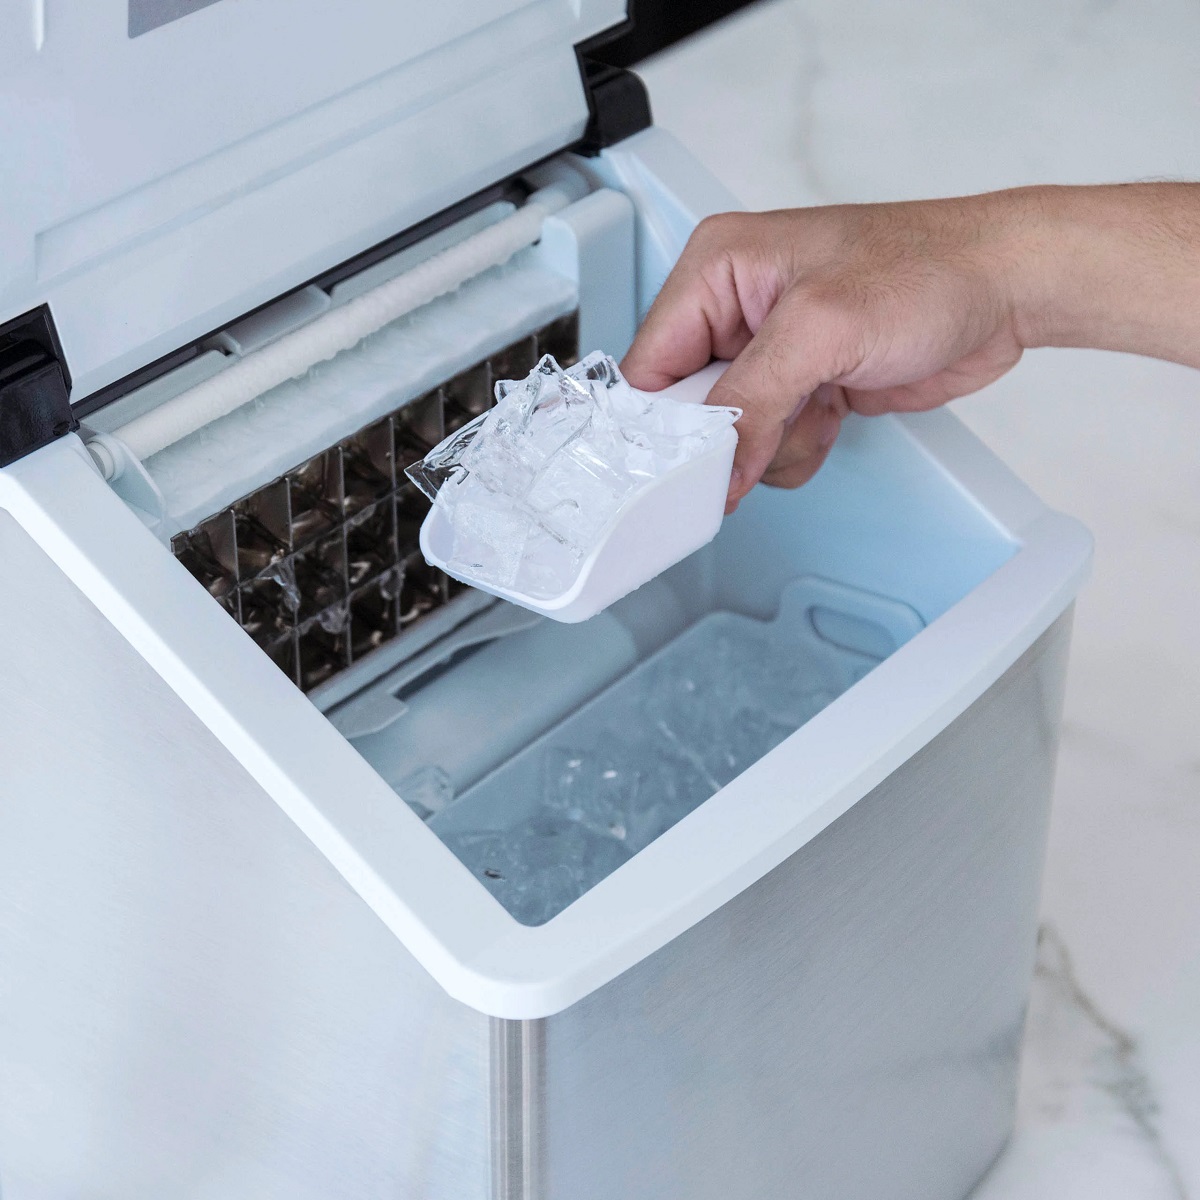
Step 4: Remove any remaining ice cubes
Before you proceed with cleaning the interior of your countertop ice maker, it is important to remove any remaining ice cubes from the machine. This step ensures that you have a clear and accessible workspace for the cleaning process.
Here are the steps to remove any remaining ice cubes from your ice maker:
- Open the lid or door of the ice maker to access the ice-making compartment.
- Check for any visible ice cubes in the compartment. If there are any, carefully remove them by hand or by using tongs or a scoop.
- If the ice cubes are stubbornly stuck, you can allow them to melt naturally. Alternatively, you can fill a bowl with warm water and place it in the ice-making compartment. This can help speed up the melting process.
- Keep a bowl or container nearby to collect the melted ice as it drains from the ice maker.
- Continue removing any remaining ice cubes until the ice-making compartment is completely empty.
Removing any remaining ice cubes ensures that the cleaning process is thorough and effective. It allows you to access and clean all areas of the ice maker without obstruction or potential damage caused by the presence of ice cubes.
Once you have removed all the ice cubes from the ice maker, you can proceed to the next step of preparing a cleaning solution.
Read more: What To Use To Clean A Countertop Ice Maker
Step 5: Prepare a cleaning solution
Creating a cleaning solution is an essential step in the process of cleaning your countertop ice maker. The cleaning solution helps to remove any residual build-up, mineral deposits, and bacteria from the interior surfaces of the appliance.
Here is how you can prepare a cleaning solution for your ice maker:
- Fill a sink or a container with warm water. The amount of water will depend on the size of your ice maker.
- If you are using a mild dish soap, add a small amount to the warm water. Avoid using a soap that contains harsh chemicals or fragrances, as it may leave a residue or affect the taste of the ice.
- You can also choose to use an ice maker cleaner specifically formulated for cleaning appliances of this nature. If you opt for an ice maker cleaner, follow the instructions provided on the packaging to prepare the solution.
- Gently stir the water or cleaning solution to ensure that it is well mixed.
Once you have prepared the cleaning solution, you are ready to move on to the next step of actually cleaning the interior surfaces of your countertop ice maker.
Note: It is important to read and follow the manufacturer’s instructions regarding the use of cleaning solutions, as some ice makers have specific requirements or restrictions.
Now that your cleaning solution is ready, let’s proceed to the next step of the cleaning process.
To clean a countertop ice maker, mix equal parts water and white vinegar and run the solution through the machine. Then, run a few cycles of plain water to rinse it out. Wipe down the exterior with a damp cloth.
Step 6: Clean the interior surfaces
Now that you have prepared your cleaning solution, it’s time to clean the interior surfaces of your countertop ice maker. This step is crucial for removing any residue, mineral deposits, or bacteria that may have accumulated over time.
Here are the steps to clean the interior surfaces:
- Using a soft cloth or sponge, dip it into the prepared cleaning solution.
- Gently wipe down the interior surfaces of the ice maker. Pay close attention to the areas where ice is produced and any visible stains or debris.
- If you encounter any stubborn stains or residue, use a soft-bristled brush or toothbrush to gently scrub the affected areas. Be careful not to apply too much pressure that could damage the delicate components of the ice maker.
- Continue wiping and scrubbing until all surfaces are clean and free from build-up.
- Rinse the cloth or sponge regularly in warm water to remove any residue and replenish the cleaning solution as needed.
- After cleaning, thoroughly rinse the interior surfaces of the ice maker with warm water to remove any remaining cleaning solution.
By cleaning the interior surfaces, you ensure that your ice maker is free from any contaminants that can affect the quality and taste of the ice it produces. It also helps maintain the efficiency and longevity of the appliance.
Once you have completed cleaning the interior surfaces, it’s time to move on to the next step of cleaning the exterior surfaces of your countertop ice maker.
Step 7: Clean the exterior surfaces
While cleaning the interior of your countertop ice maker is essential for maintaining its performance, it is equally important to clean the exterior surfaces. This step ensures that your ice maker not only functions optimally but also looks clean and presentable in your kitchen.
Here’s how you can clean the exterior surfaces of your countertop ice maker:
- Dampen a soft cloth or sponge with warm water.
- Gently wipe down the exterior surfaces of the ice maker, including the front, sides, and top. Pay attention to areas that may accumulate dust, such as vents or control buttons.
- If there are any stubborn stains or residue on the exterior, you can use a mild dish soap diluted in warm water to clean them. Apply the soapy mixture to the cloth or sponge and gently scrub the affected areas.
- Rinse the cloth or sponge regularly in warm water to remove any soap residue, and continue wiping the exterior surfaces until they are clean.
- Once the surfaces are clean, use a dry, clean cloth to wipe away any moisture and ensure that the exterior is completely dry.
Cleaning the exterior surfaces not only removes dirt and stains but also helps to maintain the overall appearance and hygiene of your countertop ice maker. It creates a clean and inviting look in your kitchen while ensuring that the machine remains in top condition.
Now that you have cleaned the interior and exterior surfaces of your ice maker, it’s time to move on to the next step of the cleaning process.
Step 8: Rinse and dry the ice maker
After cleaning both the interior and exterior surfaces of your countertop ice maker, it is important to thoroughly rinse and dry the appliance. This ensures that no residue or cleaning solution remains, and it helps prevent any potential damage due to moisture.
Follow these steps to properly rinse and dry your ice maker:
- Using a clean cloth or sponge, rinse it thoroughly with warm water.
- Gently wipe down all the surfaces of the ice maker, including both interior and exterior. This step is important to remove any remaining soap residue or cleaning solution.
- Make sure to rinse the cloth or sponge regularly to ensure effective cleaning and removal of any residue.
- Once you have finished rinsing, use a clean, dry cloth to wipe down all the surfaces again.
- Pay special attention to any areas that may collect water, such as corners or crevices.
- Allow the ice maker to air dry completely before reassembling and plugging it back in.
Properly rinsing and drying your ice maker helps to prevent any potential build-up or damage caused by moisture. It also ensures that your ice maker is clean and ready for use.
Now that your ice maker is rinsed and dried, it’s time to proceed to the final step of the cleaning process: reassembling and plugging it back in.
Read more: How Do I Reset My Ice Maker
Step 9: Reassemble and plug in the ice maker
Now that you have completed the cleaning process for your countertop ice maker, it’s time to reassemble the appliance and plug it back in. This step allows you to return your ice maker to its normal functioning state and enjoy the benefits of clean and fresh ice.
Follow these steps to reassemble and plug in your ice maker:
- Take the cleaned ice bin and carefully place it back into its designated position in the ice maker. Make sure it is properly aligned and securely in place.
- If there are any removable parts, such as ice trays or water filters, reattach them according to the manufacturer’s instructions.
- Double-check that all the exterior surfaces of the ice maker are dry and free from any moisture. Use a clean cloth to wipe away any remaining water if necessary.
- Locate the power cord of the ice maker and plug it back into its outlet or power source. Ensure that the connection is secure.
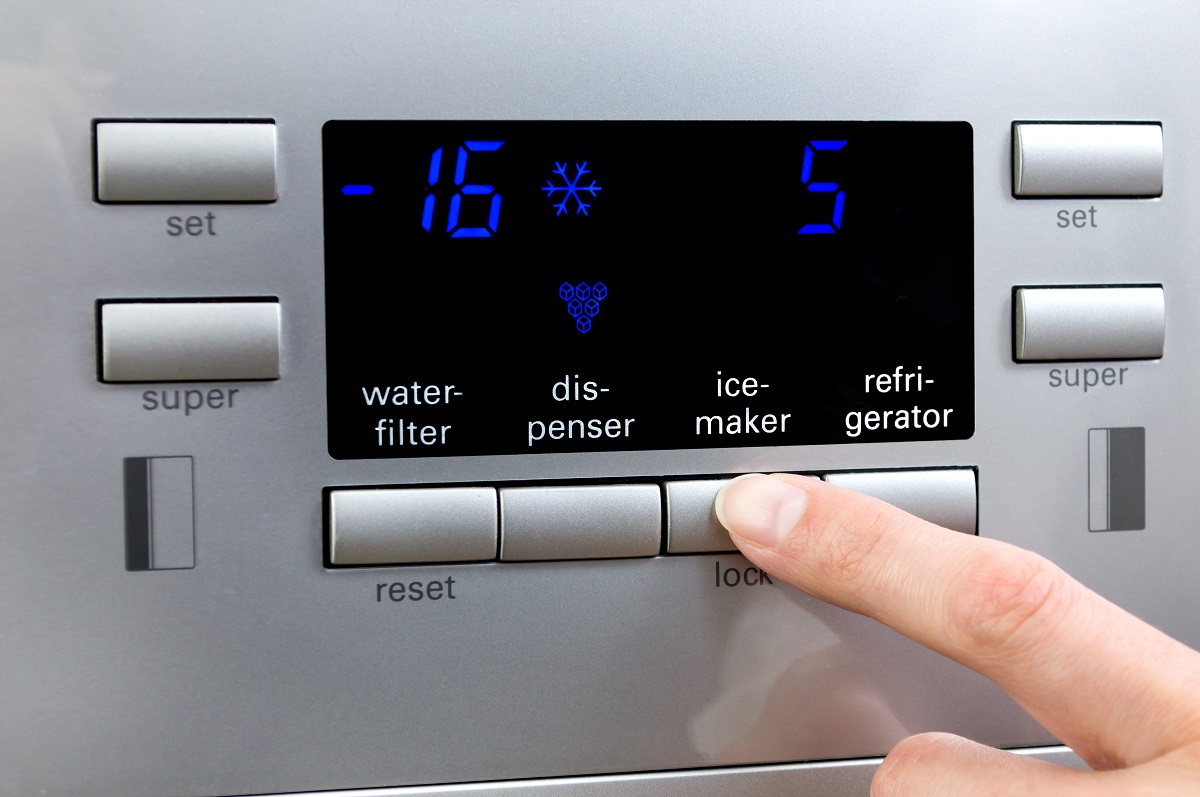
- If applicable, turn on the power supply to the ice maker, such as by flipping the breaker switch or pressing the power button.
- Allow the ice maker to start up and begin operation. It may take some time for the ice maker to produce the first batch of ice after cleaning.
By following these steps, you can safely and effectively reassemble and plug in your ice maker, ensuring that it is ready to produce clean and refreshing ice for your needs.
Lastly, be sure to refer to your ice maker’s user manual for any specific instructions or recommendations from the manufacturer regarding reassembly and operation after cleaning.
Congratulations! You have successfully completed the entire cleaning process for your countertop ice maker. By regularly cleaning and maintaining your ice maker, you can experience optimal performance and enjoy ice that is clean, fresh, and free from contaminants.
Conclusion
Maintaining a clean and properly functioning countertop ice maker is essential for ensuring that you always have a steady supply of fresh and hygienic ice at your fingertips. By following the step-by-step cleaning process outlined in this article, you can effectively remove dirt, residue, and bacteria from both the interior and exterior surfaces of your ice maker.
Remember to gather all the necessary supplies before starting the cleaning process, unplug the ice maker to ensure your safety, and empty the ice bin to create a clear workspace. Prepare a cleaning solution using warm water and mild dish soap or an ice maker cleaner, and use it to wipe down the interior surfaces of the ice maker, paying attention to any stubborn stains or debris. Clean the exterior surfaces using a damp cloth or sponge, and rinse and dry the ice maker thoroughly to remove any remaining residue.
Finally, reassemble the ice maker and plug it back in, allowing it to resume its ice-making function. By regularly cleaning your countertop ice maker, you ensure that it continues to produce clean and refreshing ice, while also extending the lifespan of the appliance.
Remember to consult your ice maker’s user manual for any specific instructions or recommendations from the manufacturer regarding cleaning and maintenance. It is also a good practice to follow a regular cleaning schedule to prevent the build-up of dirt and contaminants.
With a clean and well-maintained countertop ice maker, you can enjoy refreshing ice for beverages, parties, and everyday use, while ensuring that your ice remains free from any impurities. Cheers to clean and delicious ice!
Frequently Asked Questions about How Do I Clean A Countertop Ice Maker
Was this page helpful?
At Storables.com, we guarantee accurate and reliable information. Our content, validated by Expert Board Contributors, is crafted following stringent Editorial Policies. We're committed to providing you with well-researched, expert-backed insights for all your informational needs.

0 thoughts on “How Do I Clean A Countertop Ice Maker”