
Articles
How Does The Ice Cream Maker Work
Modified: February 20, 2024
Discover how the ice cream maker works and get expert articles on making homemade ice cream. Learn tips and tricks to create delicious frozen treats.
(Many of the links in this article redirect to a specific reviewed product. Your purchase of these products through affiliate links helps to generate commission for Storables.com, at no extra cost. Learn more)
Introduction
Ice cream is a beloved frozen treat enjoyed by people of all ages around the world. It’s creamy, sweet, and comes in a wide variety of flavors. But have you ever wondered how the delectable dessert is made? Enter the ice cream maker – a magical device that takes simple ingredients and transforms them into a heavenly frozen delight.
In this article, we will unravel the mysteries of the ice cream maker and explore its inner workings. From the components that make up the machine to the churning process and everything in between, you will gain a comprehensive understanding of how this ingenious invention produces the beloved frozen treat we all love.
So sit back, grab a spoon, and get ready for a behind-the-scenes look at how the ice cream maker works its magic.
Key Takeaways:
- Unravel the magic of the ice cream maker, from freezing and mixing mechanisms to churning and flavor customization. Master the art of creating creamy, dreamy homemade ice cream with a comprehensive understanding of its inner workings.
- Prioritize safety, timing, and texture control to craft the perfect batch of ice cream. Embrace the versatility of an ice cream maker, unleash your creativity, and indulge in the joy of homemade frozen delights.
Read more: How Does Ice Cream Machine Work
Components of an Ice Cream Maker
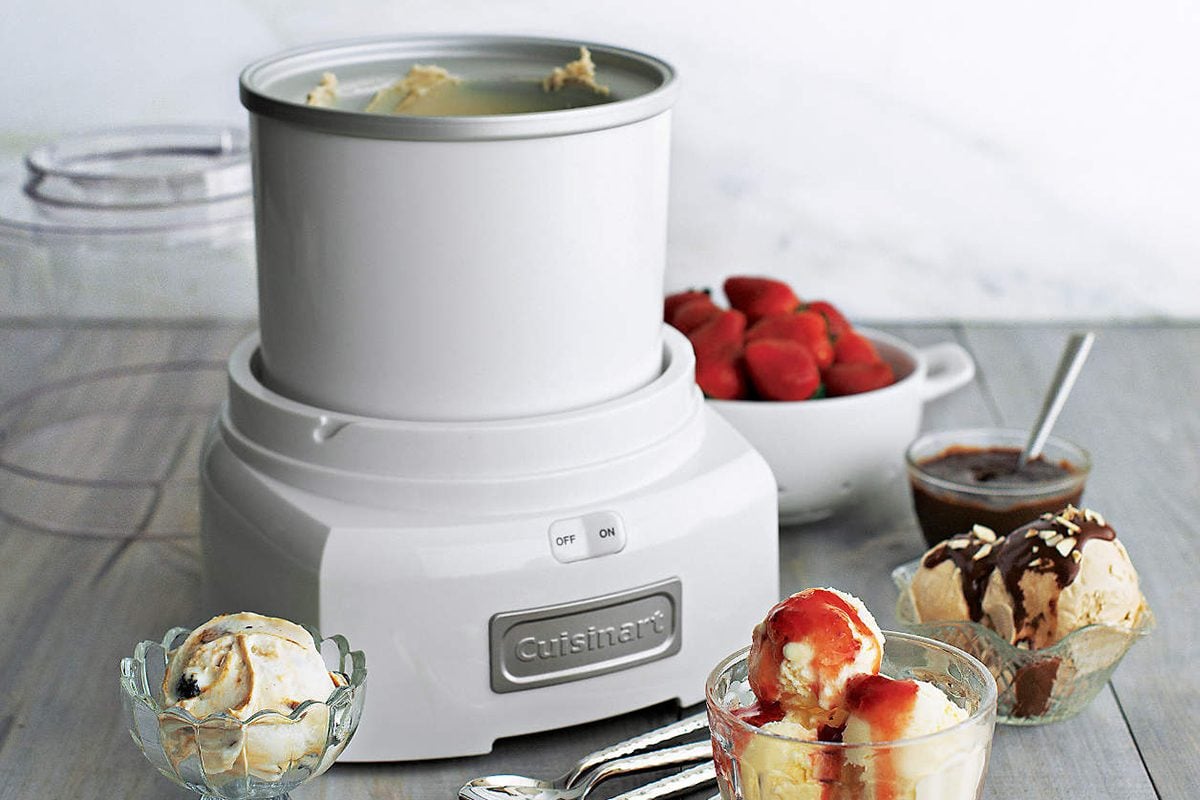
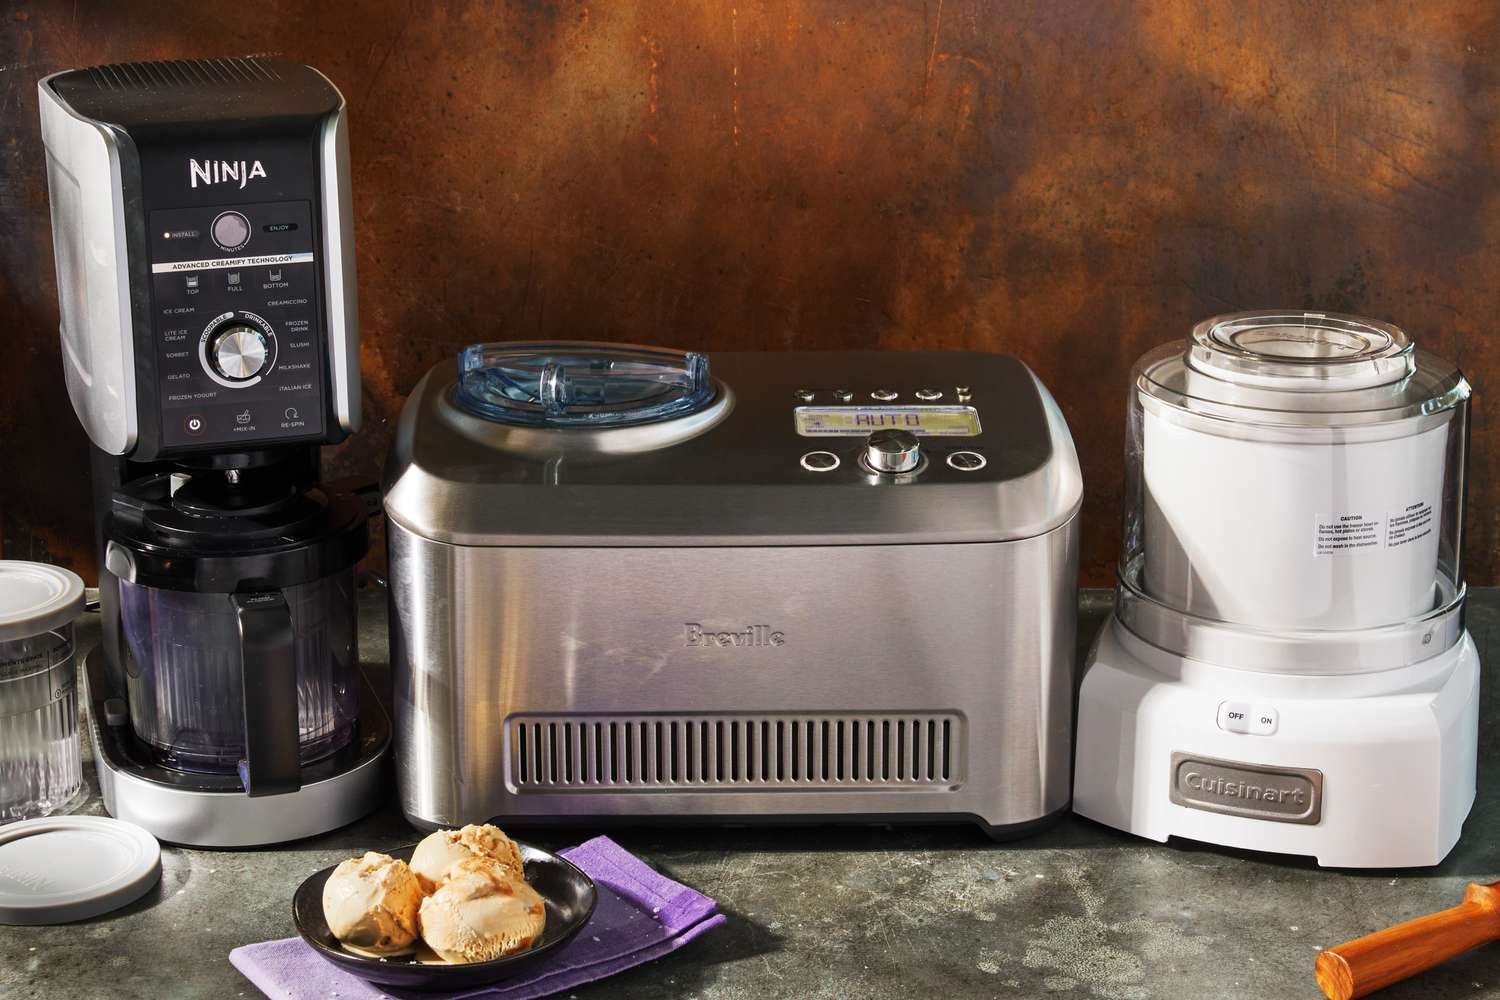
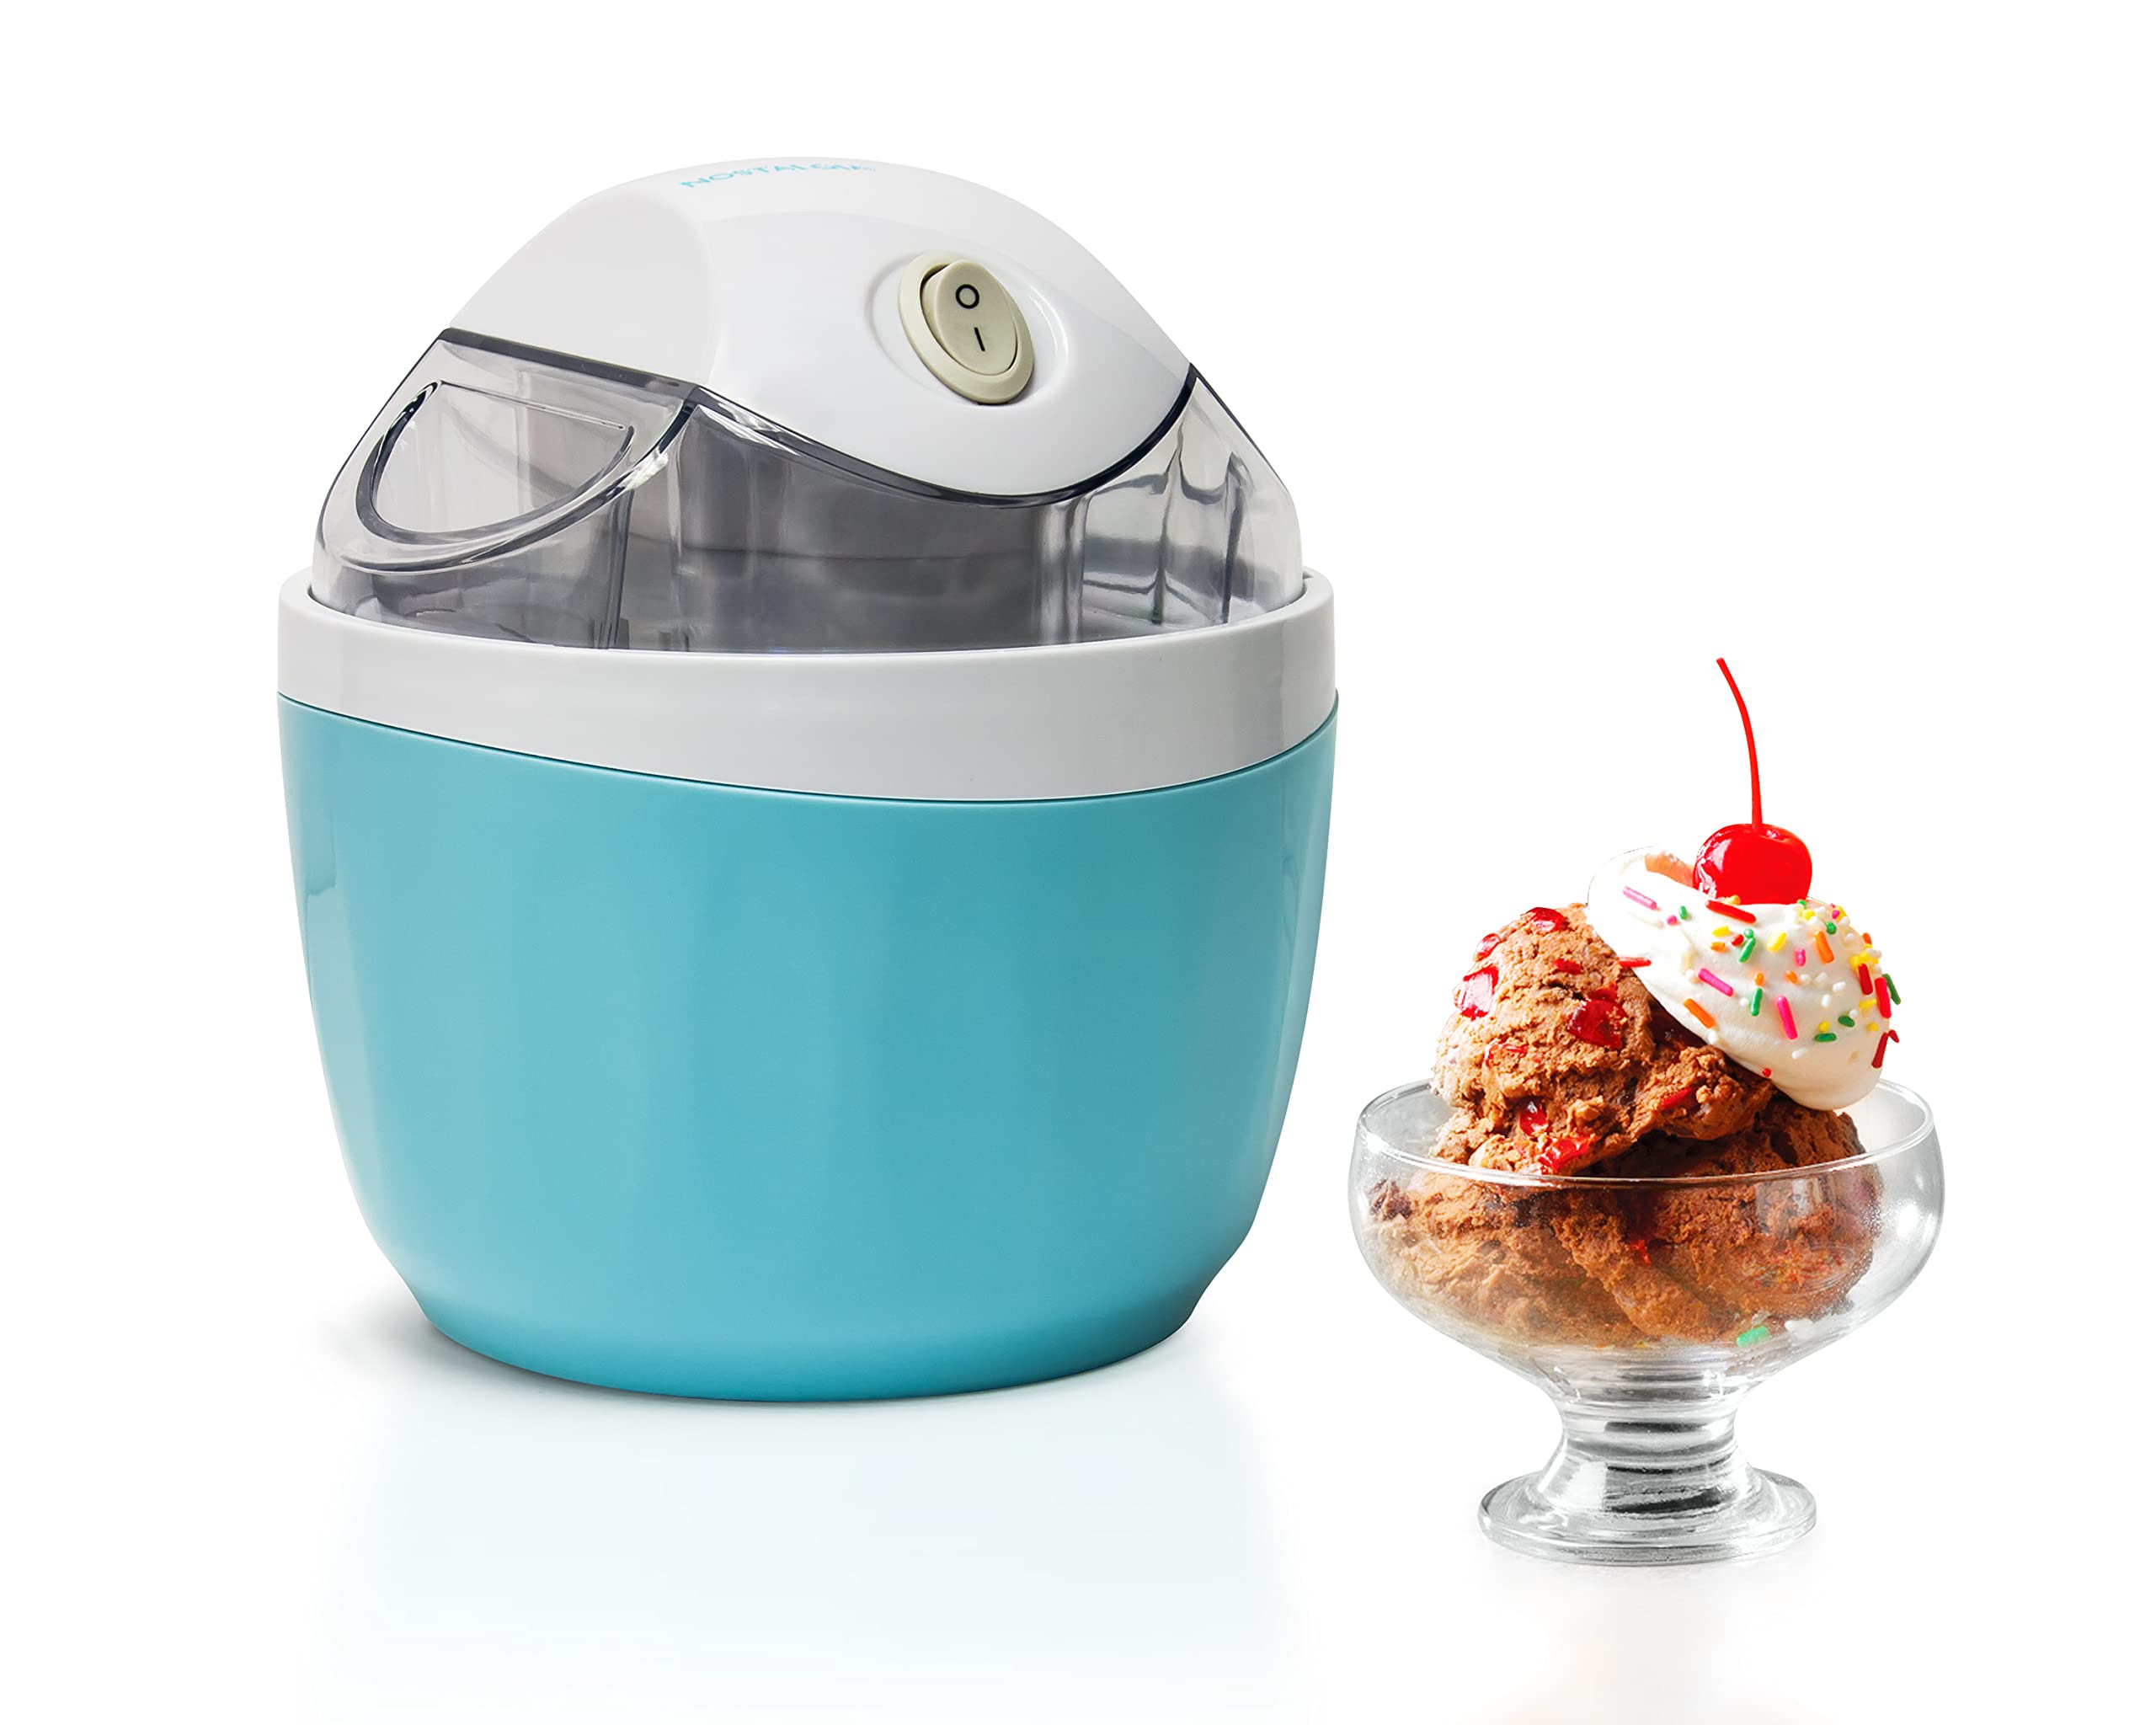
An ice cream maker is composed of several key components that work together to create creamy and delicious ice cream. Understanding these components will give you a better appreciation for the intricate process behind making this frozen delight.
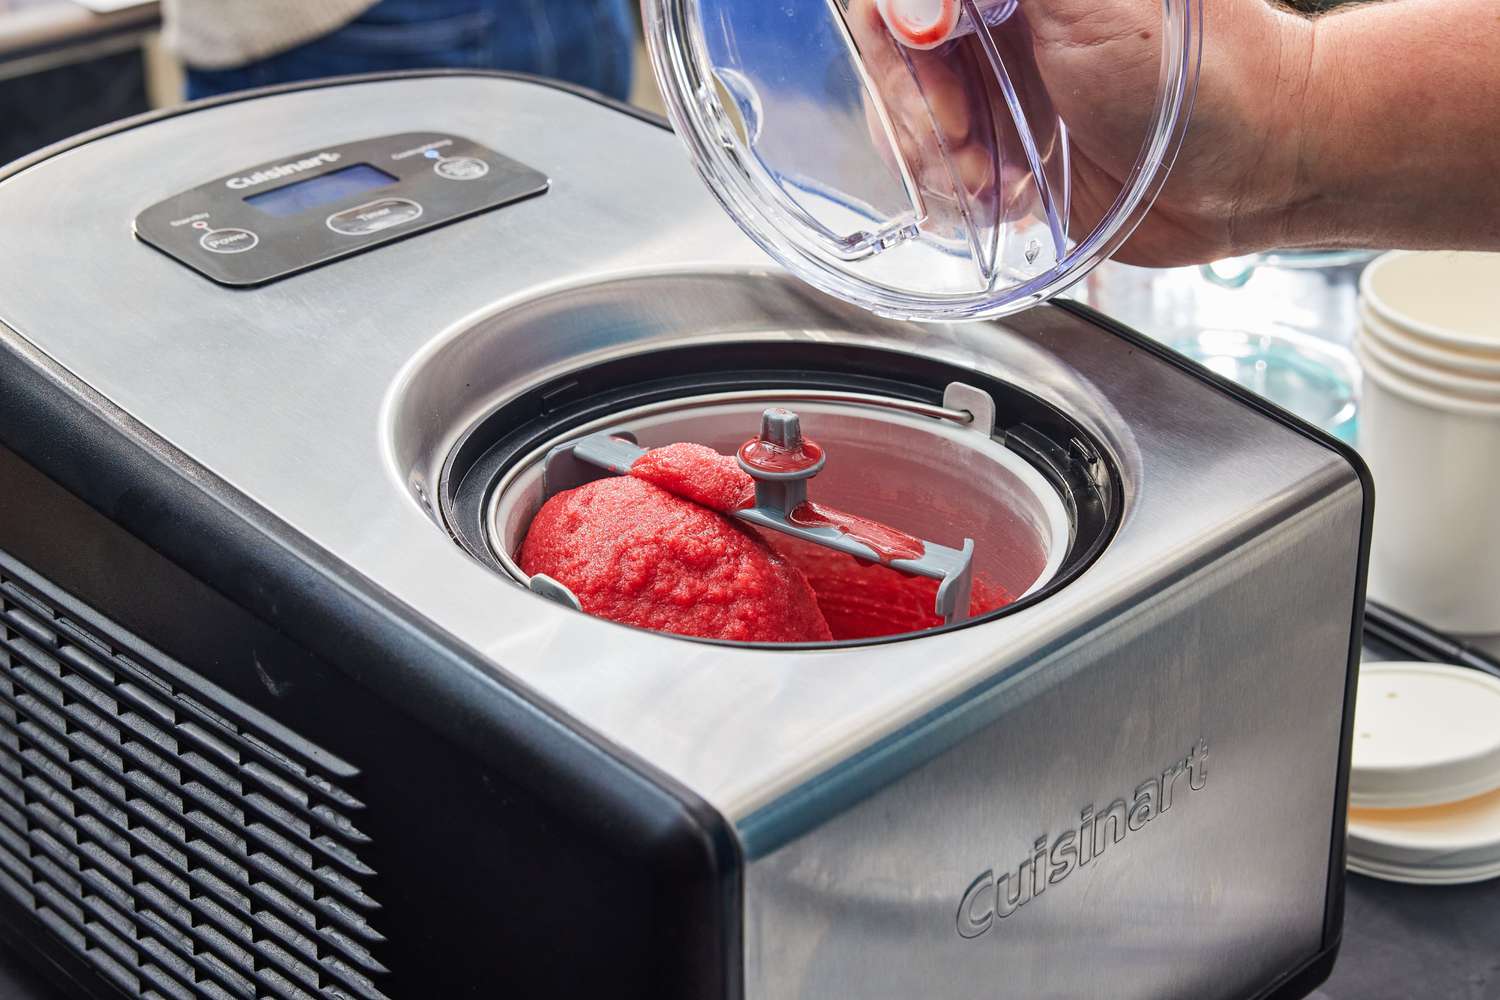
1. Motor: The motor is the powerhouse of the ice cream maker. It provides the energy necessary to turn the paddle or dasher, which churns the ice cream mixture. The motor can be electric, manual, or even operated by a hand crank.
2. Freezer Bowl: The freezer bowl is a crucial component that needs to be frozen before use. It is typically made of double-walled stainless steel filled with a special freezing liquid. Once the bowl is frozen, it acts as a cold chamber, keeping the ice cream mixture cold during the churning process.
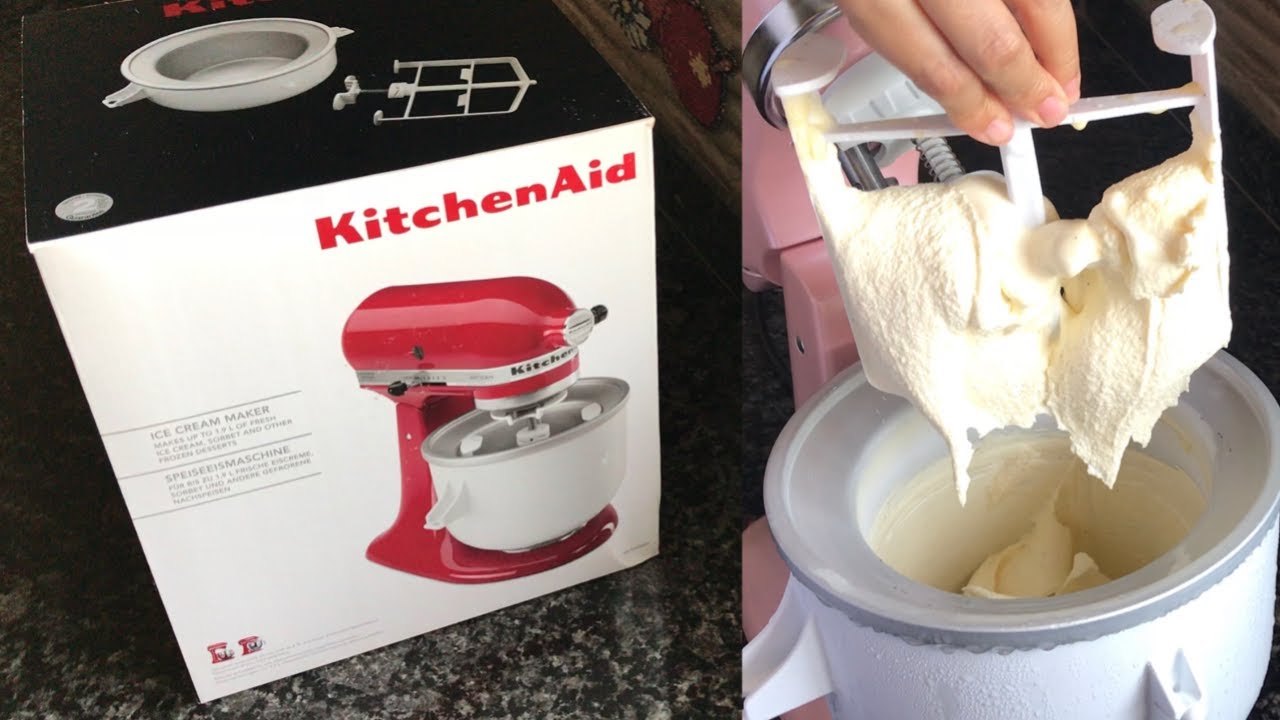
3. Paddle or Dasher: The paddle or dasher is the stirring mechanism inside the ice cream maker. It mixes the ice cream base, incorporating air and breaking up ice crystals as it churns. The paddle is usually made of plastic or metal and spins slowly to create a smooth and creamy texture.
4. Lid: The lid is the cover that keeps the ice cream maker sealed during the churning process. It prevents any unwanted contaminants from entering the mixture and also helps maintain the cold temperature inside the machine.
5. Control Panel: Some ice cream makers have a control panel that allows you to set the churning time and adjust the speed of the paddle. This feature gives you more control over the texture and consistency of your ice cream.
6. Power Cord: The power cord is a standard feature found in electric ice cream makers. It connects the machine to a power source, allowing the motor to operate and churn the ice cream mixture.
Now that you have a good understanding of the various components that make up an ice cream maker, let’s delve into the fascinating mechanisms that bring everything together to create the perfect scoop of ice cream.
Freezing Mechanism
The freezing mechanism is a crucial part of an ice cream maker that ensures the ice cream mixture freezes to the desired consistency. Let’s take a closer look at how this mechanism works.
Inside the ice cream maker, the freezer bowl contains a special freezing liquid that freezes at a lower temperature than water. Before making ice cream, the bowl needs to be placed in the freezer for several hours to reach a freezing temperature.
When the ice cream mixture is added to the frozen bowl, the freezing liquid inside the walls of the bowl begins to extract heat from the mixture. As the paddle or dasher continuously stirs the mixture, the cold temperature is distributed evenly, causing the mixture to freeze gradually.
The freezing mechanism relies on the concept of heat transfer – the process of heat moving from a warmer object (the ice cream mixture) to a cooler object (the frozen bowl). As heat is extracted from the mixture, the water content turns into ice crystals, giving the ice cream its solid consistency.
It’s important to note that the freezing mechanism alone may not freeze the ice cream completely. Instead, it creates a partially frozen mixture with a soft serve consistency. For a firmer texture, the ice cream may require additional time in the freezer after the churning process.
Now that we understand how the freezing mechanism works, let’s explore the mixing mechanism that helps create the smooth and creamy texture of ice cream.
Mixing Mechanism
The mixing mechanism of an ice cream maker is responsible for creating the smooth and creamy texture that we all love. It ensures that the ice cream base is properly combined and incorporates air into the mixture. Let’s dive into how this mechanism works.
The paddle or dasher inside the ice cream maker is connected to the motor, which rotates it slowly. As the paddle spins, it pushes and pulls the ice cream mixture in a continuous motion. This motion helps break up ice crystals that form during the freezing process and ensures the even distribution of ingredients.
The mixing mechanism also introduces air into the ice cream mixture, known as overrun. This is important because it contributes to the light and fluffy texture of the ice cream. The paddle’s movement helps incorporate tiny air bubbles into the mixture, resulting in a smoother and less dense consistency.
The mixing process is crucial in achieving a homogenous blend of flavors and producing a consistent texture throughout the ice cream. It prevents the formation of large ice crystals and clumps of ingredients, resulting in a velvety, creamy, and enjoyable eating experience.
It’s worth noting that the mixing mechanism operates at a slower speed than other kitchen appliances like blenders or food processors. This slower speed is deliberate to prevent excessive air incorporation and maintain the desired consistency of the ice cream.
Now that we have explored the mixing mechanism, let’s move on to the essential process of churning, which takes the partially frozen mixture and transforms it into delicious ice cream.
Churning Process
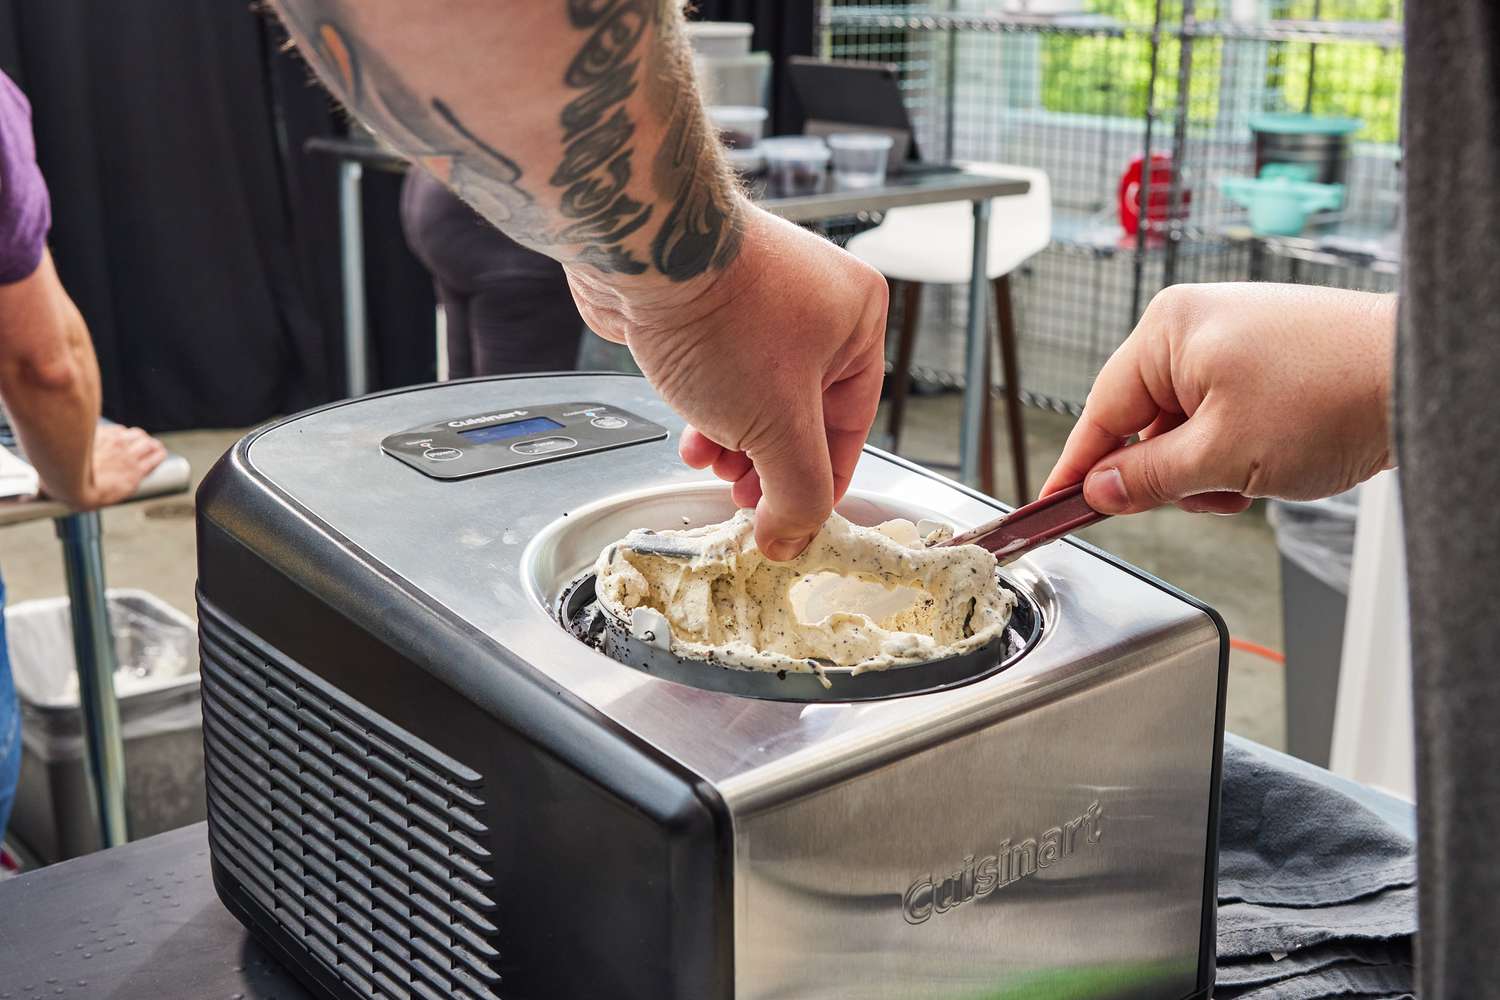
The churning process is the key step in transforming the partially frozen ice cream mixture into a smooth and luscious dessert. This process involves a combination of mixing, freezing, and scraping actions that contribute to the final texture and consistency of the ice cream.
During the churning process, the motor rotates the paddle or dasher continuously, stirring the ice cream mixture. As the mixture comes into contact with the frozen walls of the bowl, it begins to freeze on the surface. Meanwhile, the paddle keeps scraping and breaking up the forming ice crystals, ensuring a creamy texture.
The churning action serves several important purposes. Firstly, it prevents the formation of large ice crystals, which can give ice cream a grainy texture. By continually breaking up these crystals, the churning process creates a smoother and more consistent texture.
Secondly, the churning process incorporates air into the ice cream. This happens as the paddle whips the mixture, creating tiny air bubbles that help lighten the density of the frozen dessert. The amount of air incorporated, known as overrun, determines the final volume and overall creaminess of the ice cream.
Lastly, the churning process helps distribute the flavors and ingredients evenly throughout the ice cream. As the mixture is constantly mixed and scraped, any added mix-ins, like chocolate chips or fruit pieces, disperse evenly in the final product.
The duration of the churning process varies depending on the recipe and the desired consistency of the ice cream. Generally, it takes around 20-30 minutes for the ice cream mixture to reach a soft-serve consistency. However, for a firmer texture, the ice cream may require additional time in the freezer after churning.
Now that we understand the essential role of the churning process, let’s explore the next step in making ice cream: adding ingredients for flavor and variety.
Read more: How Does The Ninja Ice Cream Maker Work
Adding Ingredients
The addition of ingredients is where the magic of ice cream customization happens. While the base mixture sets the foundation, adding ingredients brings unique flavors and textures to the final product. Let’s dive into the exciting world of ice cream mix-ins and flavorings.
Once the ice cream base is prepared, it serves as a blank canvas to showcase a variety of flavors and ingredients. Whether you’re in the mood for classic flavors like chocolate or vanilla or want to experiment with more adventurous combinations, the possibilities are endless.
Here are a few popular ingredients that can be added to ice cream:
- Fruit: Chopped or pureed fruits such as strawberries, blueberries, or peaches add a burst of sweetness and natural flavor to the ice cream. They can be added directly to the mixture or swirled in during the churning process.
- Nuts and Candies: Chopped nuts, like almonds or pecans, and crushed candies, such as chocolate chips or caramel bits, provide a delightful crunch and extra bursts of flavor in every bite.
- Flavor Extracts: Vanilla, almond, mint, or other flavor extracts can be added to enhance the base flavor of the ice cream. Just a few drops can make a noticeable difference in taste.
- Sweet Sauces and Syrups: Drizzling sauces like caramel, fudge, or fruit syrups into the ice cream mixture adds swirls of flavor and adds an element of decadence.
- Spices and Mix-Ins: Spices like cinnamon or nutmeg can infuse the ice cream with warm and comforting flavors. Other mix-ins, such as cookies, brownie chunks, or even pretzels, can provide a delightful texture contrast.
When adding ingredients, it’s important to consider their moisture content, as too much liquid can affect the freezing process and result in icier ice cream. It’s often best to add them in small amounts gradually throughout the churning process to ensure proper distribution.
By experimenting with different mix-ins and flavors, you can create your own signature ice cream creations that cater to your taste buds and cravings. So go ahead and get creative with your ice cream ingredients!
Now that we’ve explored adding ingredients, let’s move on to the importance of monitoring and timing during the ice cream-making process.
When using an ice cream maker, make sure the mixture is thoroughly chilled before pouring it into the machine. This will help the ice cream freeze faster and result in a smoother texture.
Monitoring and Timing
Monitoring and timing are essential aspects of the ice cream-making process. Properly monitoring the ice cream mixture and following recommended timings can ensure that your frozen treat turns out just right. Let’s explore why these elements are important.
First and foremost, monitoring the temperature of the ice cream mixture is crucial. During the churning process, the mixture should remain at a consistent cold temperature to freeze properly. If the mixture becomes too warm, it may take longer to freeze, resulting in a softer texture or excessive ice crystal formation. On the other hand, if the mixture becomes too cold, it may freeze too quickly and result in a grainy consistency.
To monitor the temperature, some ice cream makers have built-in thermometers, while others may require periodic checks with a food thermometer. It’s important to follow the manufacturer’s instructions or recipe guidelines to ensure the proper temperature range is maintained throughout the churning process.
Timing is equally important when making ice cream. The recommended churning time is usually indicated in the ice cream maker’s instructions or recipe. Over-churning can lead to excessive air incorporation, resulting in a light and fluffy but less dense texture. Under-churning may result in a dense and icy texture.
It’s important to keep a close eye on the ice cream during the churning process and follow the recommended timing. The churning time may vary depending on factors such as the recipe, the desired texture, and the ice cream maker itself. As you gain experience and become familiar with your specific machine, you can adjust the timing to achieve your preferred consistency.
Additionally, be mindful of any additional ingredients, such as mix-ins or sauces, that need to be added during specific moments of the churning process. Adding them too early or too late may affect the distribution and overall flavor of the ice cream.
By carefully monitoring the temperature and following the recommended timing, you can achieve the perfect texture and consistency for your homemade ice cream. So, keep an eye on that clock and thermometer to ensure a delightful frozen dessert.
Now that we understand the significance of monitoring and timing, let’s discuss how we can control the texture of our ice cream.
Texture Control
Texture is a crucial aspect of ice cream that determines its mouthfeel and overall enjoyment. Achieving the desired texture requires careful attention to the ingredients and the freezing process. Let’s explore some factors that can help you control the texture of your homemade ice cream.
1. Fat Content: The fat content in the ice cream base plays a significant role in its texture. Higher-fat content results in a richer and creamier texture, while lower-fat content may lead to a lighter and icier consistency. Adjusting the amount of cream or milk used in the recipe can help you control the fat content and, subsequently, the texture.
2. Sugar Content: Sugar not only adds sweetness to ice cream but also affects its texture. Sugar helps lower the freezing point, preventing the ice cream from becoming too hard. However, excessive sugar can cause the ice cream to be overly soft. Finding the right balance of sweetness is crucial for achieving the desired texture.
3. Overrun: Overrun refers to the amount of air incorporated into the ice cream during the churning process. It affects the volume, creaminess, and overall texture of the ice cream. Higher overrun results in a lighter and creamier texture, while lower overrun leads to a denser and smoother texture. Adjusting the churning time and speed can help control the overrun and achieve the desired texture.
4. Freezing Time: The duration of freezing after churning also impacts the texture of the ice cream. Longer freezing times result in a firmer and harder texture, while shorter freezing times may lead to a softer and more melty consistency. It’s important to find the right balance and adjust the freezing time according to your preference.
5. Additives: Some additives can help improve the texture of homemade ice cream. For example, adding a small amount of corn syrup or glycerin can help prevent the formation of ice crystals and maintain a smoother texture. However, it’s important to use these additives sparingly and as directed in the recipe, as excessive amounts can affect the flavor and texture negatively.
By considering these factors and experimenting with different recipes and techniques, you can exercise control over the texture of your homemade ice cream. Whether you prefer a rich and creamy texture or a lighter and smoother consistency, understanding these elements will allow you to create the perfect frozen treat to suit your preferences.
Now that we’ve covered texture control, let’s discuss the importance of safety measures and precautions when using an ice cream maker.
Dangers and Safety Measures
While an ice cream maker is a fun and convenient appliance to have in your kitchen, it’s important to be aware of potential dangers and take necessary safety measures to ensure a safe ice cream-making experience. Here are some common dangers and safety measures to keep in mind:
1. Electrical Safety: If you’re using an electric ice cream maker, always make sure to plug it into a grounded outlet and handle the power cord with care. Avoid pulling or tugging on the cord, especially when the machine is in use, to prevent any electrical accidents or damage.
2. Sharp Parts: When assembling or disassembling the ice cream maker, be cautious of any sharp parts, such as blades or paddles. Take your time and handle them with care to avoid any accidental cuts or injuries. Keep these sharp parts out of reach of children.
3. Hot Surfaces: Some ice cream makers have components that can become hot during operation. Exercise caution when touching or handling these hot surfaces to prevent burns. Allow the machine to cool down before disassembling or cleaning it.
4. Freezing Liquid: The freezing liquid inside the freezer bowl of an ice cream maker can be extremely cold. Avoid directly touching or ingesting the liquid, as it can cause frostbite or other injuries. Always follow the manufacturer’s guidelines regarding handling and maintenance of the freezer bowl.
5. Cross-Contamination: When adding ingredients to the ice cream mixture, ensure that they are clean and free from any contaminants. Use separate utensils or bowls for different mix-ins to prevent cross-contamination and the risk of foodborne illnesses.
6. Supervision: When using an ice cream maker, it’s important to supervise children and ensure they do not insert their hands or any objects into the machine while it’s in operation. Keep the machine out of reach of children when it’s not in use to prevent any accidents or injuries.
7. Clean and Maintain: Regularly clean and maintain your ice cream maker as per the manufacturer’s instructions. A clean machine operates more efficiently and reduces the risk of foodborne illnesses. Ensure that all parts are completely dry before reassembling or storing the machine.
By following these safety measures and exercising caution, you can enjoy making homemade ice cream without any accidents or injuries. Always prioritize your safety and the safety of those around you when using kitchen appliances.
Now that we’ve covered safety measures, let’s move on to maintenance and cleaning tips to keep your ice cream maker in top condition.
Cleaning and Maintenance
Proper cleaning and maintenance of your ice cream maker are essential to ensure its longevity and optimal performance. Regular maintenance and cleaning will not only keep the machine in top condition but also prevent the buildup of bacteria and maintain the quality of your ice cream. Here are some important tips to keep in mind:
1. Unplug and Disassemble: Before cleaning your ice cream maker, always unplug it from the power source and allow it to cool down. Then, carefully disassemble the machine according to the manufacturer’s instructions. Remove any detachable parts like the freezer bowl, paddle, or lid.
2. Hand Wash: Most ice cream maker components, such as the freezer bowl and paddle, should be hand washed with warm, soapy water. Use a gentle dish soap and a soft sponge or cloth to clean the parts thoroughly. Avoid using abrasive cleaners or scrub brushes that could scratch the surfaces.
3. Dry Thoroughly: After washing, make sure to dry all the components completely before reassembling the ice cream maker. Moisture left on the parts can lead to mold growth and negatively impact the performance of the machine.
4. Freezer Bowl Maintenance: If your ice cream maker’s freezer bowl contains freezing liquid, be sure to store it properly when not in use. Follow the manufacturer’s instructions on how to clean and store the freezer bowl between uses. Some freezer bowls may require pre-freezing and should be stored upright to avoid leaking.
5. Wipe the Motor: Use a damp cloth to wipe the exterior surface of the ice cream maker, including the motor housing, control panel, and any other non-removable parts. Avoid getting water or cleaning solutions into the motor or electric components.
6. Regular Maintenance: Check your ice cream maker’s user manual for any specific maintenance guidelines recommended by the manufacturer. This may include lubricating moving parts or inspecting electrical connections. Following these guidelines will help prolong the lifespan of your machine.
Remember to consult your ice cream maker’s user manual for any specific cleaning and maintenance instructions. Each machine may have different requirements, and it’s important to follow the manufacturer’s recommendations to ensure safe and effective operation.
By keeping your ice cream maker clean and well-maintained, you can enjoy years of delicious frozen treats without any compromise in taste or quality.
Now that we’ve covered cleaning and maintenance, let’s wrap up our discussion on the ice cream maker.
Conclusion
The ice cream maker is a remarkable appliance that takes simple ingredients and transforms them into the frozen delight we all love. From its components to the freezing and mixing mechanisms, churning process, and the addition of flavorful ingredients, each step in the ice cream-making journey contributes to the creation of a delectable treat.
Understanding the inner workings of an ice cream maker allows us to appreciate the science and art behind this beloved dessert. By closely monitoring the temperature and timing, we can achieve the perfect texture and consistency. And with a range of mix-in options and flavorings, we can customize our ice cream creations to suit our personal tastes and preferences.
While using an ice cream maker, it’s important to prioritize safety and take necessary precautions. Ensuring proper electrical safety, handling sharp parts with care, and practicing cleanliness and hygiene are crucial for a safe and enjoyable ice cream-making experience.
Maintaining and cleaning your ice cream maker regularly will not only prolong its lifespan but also ensure the quality and hygiene of your homemade ice cream. By following the manufacturer’s instructions and taking simple steps like hand washing, drying thoroughly, and proper storage, you can keep your ice cream maker in top condition for many years to come.
Whether you prefer classic flavors or enjoy experimenting with unique combinations, the ice cream maker is a versatile tool that allows you to unleash your creativity and indulge in homemade frozen delights. So gather your favorite ingredients, follow the process, and enjoy the satisfaction of creating your own batch of perfectly churned ice cream.
Now that you are equipped with a comprehensive understanding of how the ice cream maker works, it’s time to embark on your ice cream-making adventures. So go ahead, cool down with a scoop of your favorite homemade creation, and savor the sweet pleasures that the ice cream maker brings.
Frequently Asked Questions about How Does The Ice Cream Maker Work
Was this page helpful?
At Storables.com, we guarantee accurate and reliable information. Our content, validated by Expert Board Contributors, is crafted following stringent Editorial Policies. We're committed to providing you with well-researched, expert-backed insights for all your informational needs.

0 thoughts on “How Does The Ice Cream Maker Work”