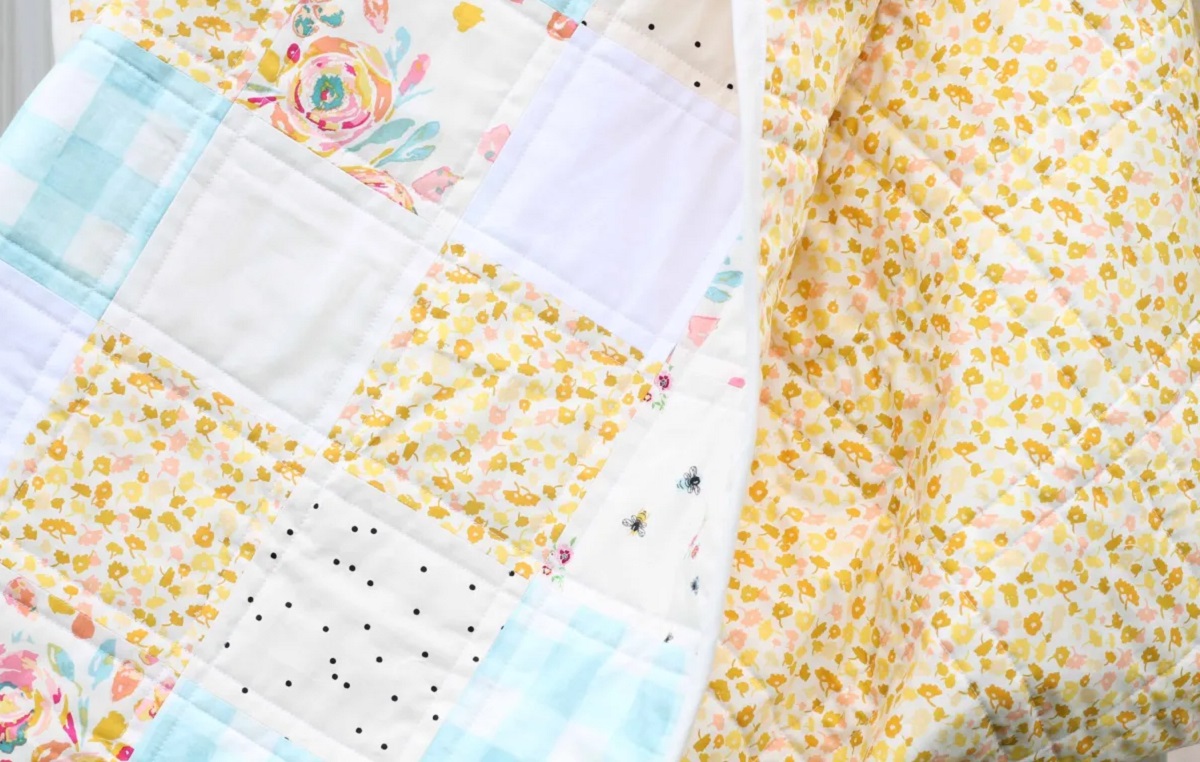

Articles
How Many 5 Inch Squares To Make A Quilt
Modified: August 22, 2024
Discover how many 5 inch squares you need to create a beautiful quilt with our insightful articles. Get expert tips and start quilting today.
(Many of the links in this article redirect to a specific reviewed product. Your purchase of these products through affiliate links helps to generate commission for Storables.com, at no extra cost. Learn more)
Introduction
Quilting is a beloved craft that allows for creativity, craftsmanship, and the opportunity to create something both beautiful and functional. One popular style of quilting involves using 5-inch squares to create unique and visually appealing designs. Whether you are an experienced quilter or just starting out, understanding how many 5-inch squares you need to make a quilt is essential.
In this article, we will explore the process of making a quilt using 5-inch squares. We will discuss how to calculate the yardage needed, plan your quilt design, choose fabric, cut and prepare the squares, sew them together, add borders, and finally, quilt and finish the quilt. So, grab your fabric scraps, dust off your sewing machine, and let’s dive into the world of 5-inch square quilts!
Key Takeaways:
- Calculate the yardage for your 5-inch square quilt by determining the desired size, converting to inches, and using a simple formula to ensure you have enough fabric for a successful project.
- Designing your quilt involves choosing a theme, planning the layout, experimenting with color placement, and incorporating contrast and variety to create a visually appealing and harmonious design.
Understanding Quilt Sizes
Before diving into the specifics of making a quilt with 5-inch squares, it’s important to have a basic understanding of quilt sizes. Quilts come in various sizes, ranging from small baby quilts to larger bed-sized quilts. The standard sizes for quilts are:
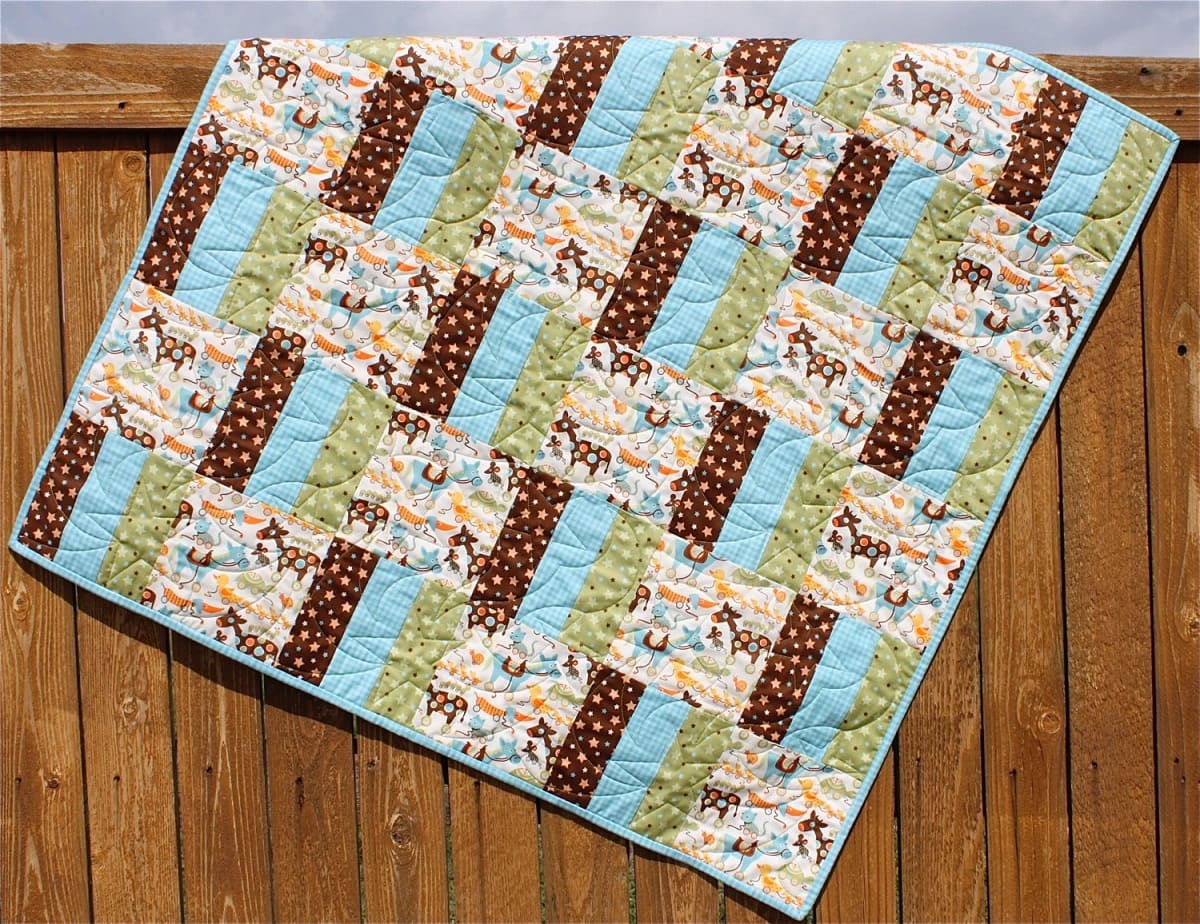
- Baby Quilt: A small quilt typically measuring around 36 x 52 inches, perfect for cribs or strollers.
- Lap Quilt: A medium-sized quilt that is ideal for snuggling up on the couch or using as a decorative throw, typically measuring around 50 x 65 inches.
- Twin Quilt: A quilt designed for a twin bed, measuring approximately 70 x 90 inches.
- Full/Queen Quilt: This size works for both full and queen-sized beds, measuring around 90 x 95 inches.
- King Quilt: The largest quilt size, suitable for king-sized beds, typically measuring around 108 x 95 inches.
Now that you have an idea of the different quilt sizes, you can determine which size you would like to create using 5-inch squares. Keep in mind that the finished size of your quilt will depend on the number of squares you use, as well as the width of any borders added.
In the next section, we will discover how to calculate the yardage needed to complete a 5-inch square quilt.
Calculating Yardage for a 5-inch Square Quilt
When planning a quilt, it’s important to determine the amount of fabric you will need. This is especially true when working with 5-inch squares, as the number of squares directly affects the overall yardage required.
To calculate the yardage needed for a 5-inch square quilt, follow these steps:
- Determine the desired quilt size: Decide on the finished dimensions of your quilt, considering whether it will be a baby quilt, lap quilt, or larger.
- Convert the desired size to inches: If your quilt is measured in centimeters or another unit, convert it to inches for easier calculations.
- Determine the number of 5-inch squares: Decide on the layout of your quilt and count the number of 5-inch squares needed.
Once you have the total number of 5-inch squares needed, you can calculate the yardage required using the following formula:
Yardage = (Total number of squares) x (Area of one square) / (Fabric width)
The fabric width typically comes in standard measurements of 42 to 44 inches. To simplify the calculation, we will use 44 inches in this example.
For instance, let’s say you want to make a lap quilt measuring 50 x 65 inches with 5-inch squares. If you plan to use a layout of 10 squares across and 13 squares down, you would need a total of 130 squares (10 x 13).
Using the formula, we can calculate the yardage:
Yardage = 130 x (5 x 5) / 44
This calculation gives us the approximate yardage needed to complete the quilt top. Remember to add extra yardage for the backing, binding, and any additional borders or sashing you plan to include.
By accurately calculating the yardage required, you can ensure you have enough fabric to complete your 5-inch square quilt without running out or having excess leftovers.
Next, we will delve into planning your quilt design and layout to create a visually appealing result.
Planning Your Quilt Design
Designing your quilt is an exciting part of the quilting process. It’s an opportunity to unleash your creativity and bring your vision to life. When planning your quilt design, consider the following factors:
- Theme or Inspiration: Determine the theme or inspiration behind your quilt. It could be based on a specific color palette, a favorite pattern, or even a personal story.
- Quilt Layout: Decide on the layout of your 5-inch squares. Common layouts include straight set, on-point, or various block formations. Sketching it out on paper or using design software can help you visualize the final result.
- Color Placement: Experiment with the placement of your fabric to create different visual effects. Consider using a color wheel or color theory principles to achieve a balanced and harmonious color scheme.
- Contrast and Variety: Incorporate contrast and variety in your design by mixing different fabric patterns, colors, and textures. This will add depth and interest to your quilt.
- Borders and Sashing: Decide if you want to include borders or sashing in your quilt design. Borders can frame your quilt and provide a finished look, while sashing can add separation between blocks or create a consistent design.
Remember to keep in mind the overall size of your quilt and the number of 5-inch squares you have calculated. You can use graph paper or quilting design software to help you visualize and plan your quilt design.
Once you have finalized your quilt design, it’s time to choose the fabric that will bring your vision to life. We will explore fabric selection in the next section.
Choosing Fabric for a 5-inch Square Quilt
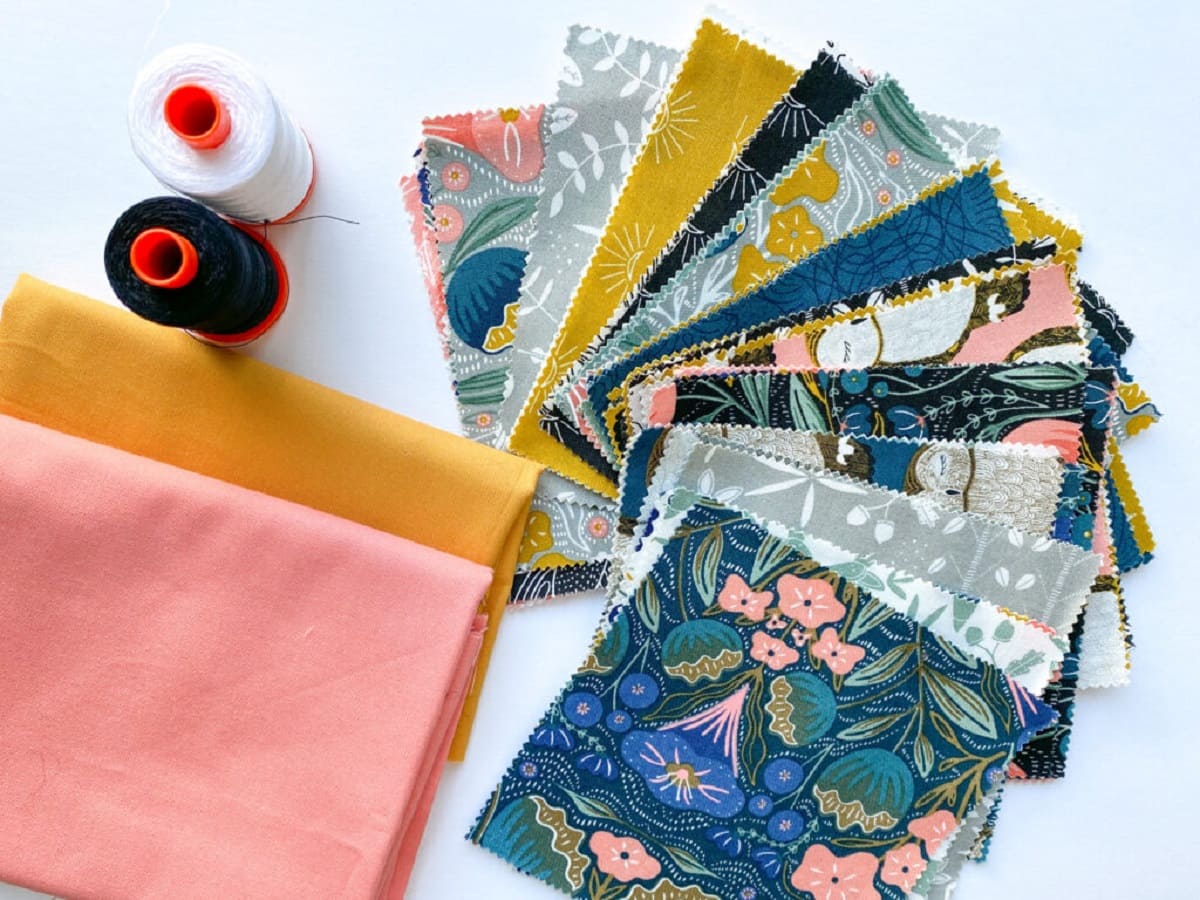
The fabric you choose for your 5-inch square quilt can make a significant impact on the final outcome. It’s important to consider factors such as color, pattern, fabric type, and texture when selecting your fabric.
Here are some tips to guide you in choosing the perfect fabric for your quilt:
- Color Palette: Determine the color palette that best represents your quilt design and theme. Consider using a mix of complementary colors or shades for visual interest.
- Pattern and Print: Decide whether you want to use solids, prints, or a combination of both. Prints can add fun and visual appeal, while solids can provide balance and act as focal points.
- Fabric Type: Consider the fabric type that suits your desired comfort and aesthetic. Quilting cotton is a popular choice due to its durability and wide range of prints. However, you can also experiment with other materials like flannel, linen, or even silk for a unique look and feel.
- Texture: Incorporating different textures can add depth and visual interest to your quilt. Consider using fabrics with varying textures, such as smooth cotton, fuzzy flannel, or even textured fabrics like corduroy or velvet.
- Consistency: While it’s important to have variety in your fabric selection, ensure that there is some consistency or coordination among the different fabrics. This will create a cohesive and visually appealing quilt.
When choosing fabric, it’s also essential to consider the durability and washability of the material. Quilts are often used and washed frequently, so select fabrics that can withstand regular use and maintain their vibrant colors and patterns.
Once you have selected your fabric, you can move on to cutting and preparing the 5-inch squares for your quilt. We will explore this process in the next section.
A standard lap-sized quilt (50×60 inches) would require approximately 72 five-inch squares. However, this can vary based on your desired quilt size and pattern. Always plan for a few extra squares for mistakes or design changes.
Read more: How To Make A Quilt With Squares
Cutting and Preparing the Squares
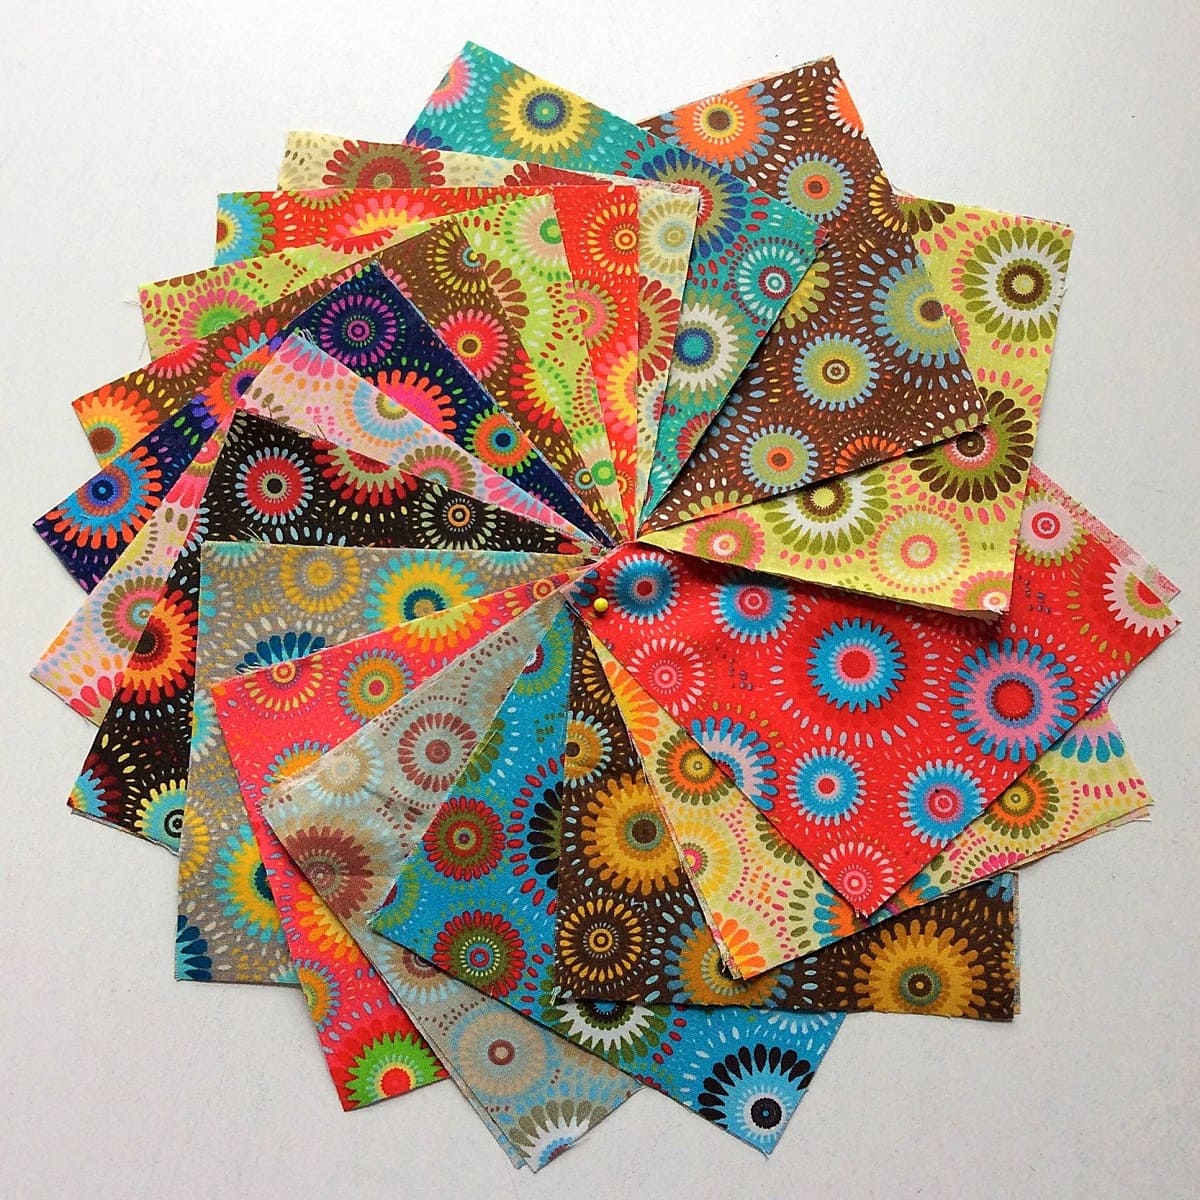
Now that you have chosen your fabric, it’s time to cut and prepare the 5-inch squares for your quilt. This process requires accuracy and attention to detail to ensure that all the squares are uniform in size and shape.
Here’s a step-by-step guide to cutting and preparing the squares:
- Prepare your fabric: Wash, dry, and press your fabric to remove any wrinkles or shrinkage before cutting.
- Layout and measure: Lay out your fabric on a flat surface and measure and mark 5-inch squares using a quilting ruler and fabric marker. Pay attention to grain lines and ensure they are aligned properly.
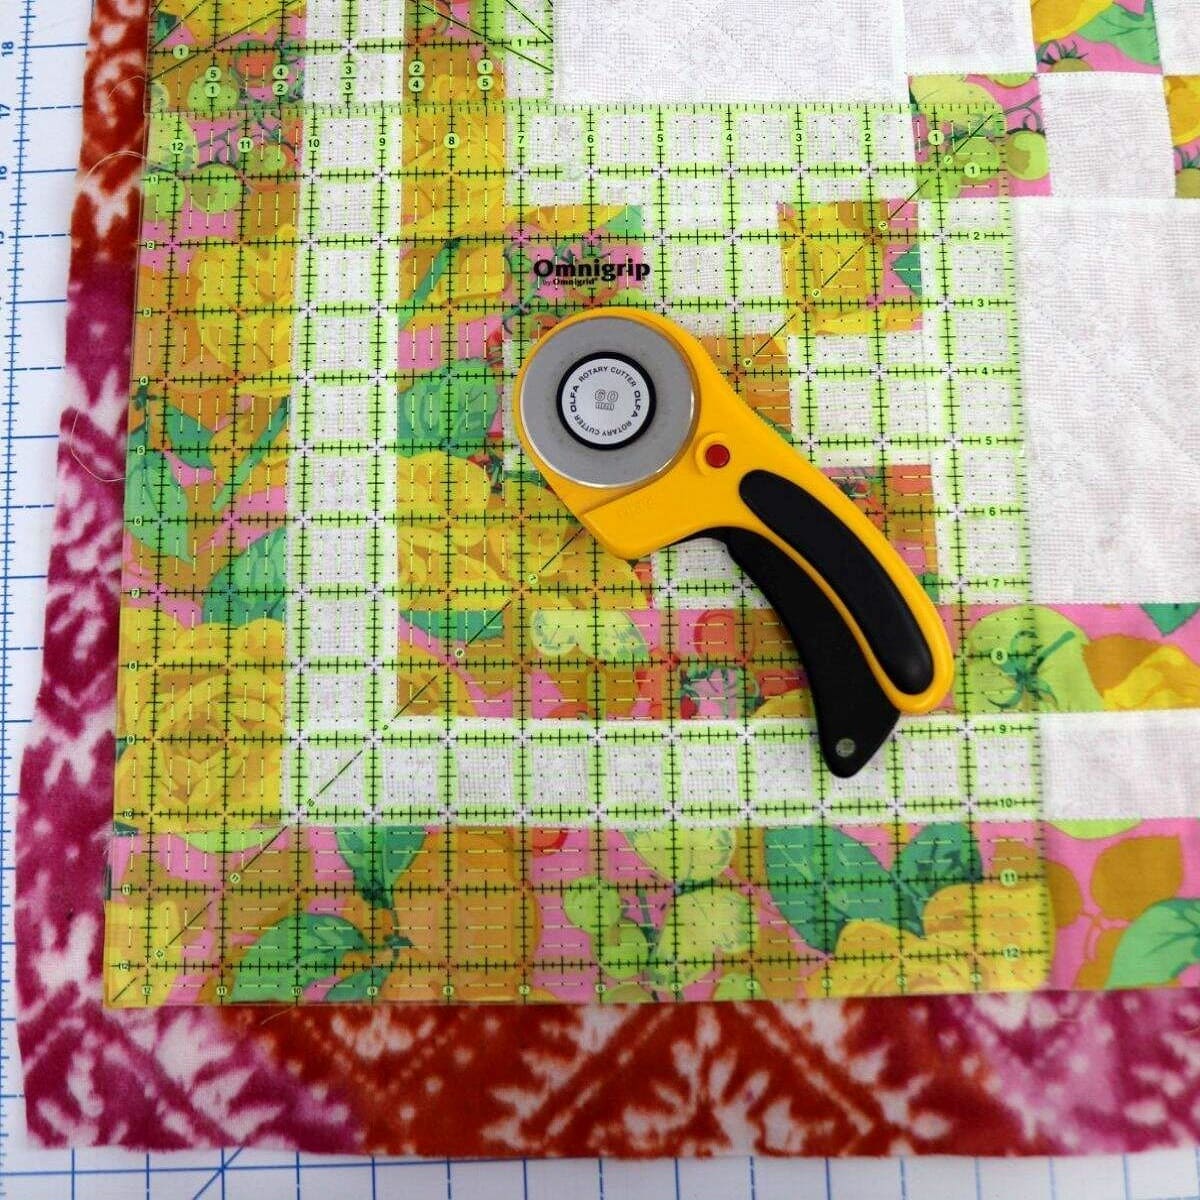
- Cut the squares: Use sharp fabric scissors or a rotary cutter to cut along the marked lines, creating 5-inch squares. Take your time and cut precisely to maintain the accuracy of the squares.
- Organize and arrange: Once you have cut all the squares, organize them according to your chosen quilt design. This will make it easier for you to sew them together in the desired pattern.
- Check for accuracy: Double-check the measurements of your squares to ensure they are all consistent in size. Trim any squares that may be slightly off to maintain uniformity.
After cutting and preparing your squares, you are ready to start sewing them together to create the quilt top. This process requires careful planning and precision, which we will cover in the next section.
Sewing the Squares Together
With your 5-inch squares cut and prepared, it’s time to start sewing them together to create the quilt top. This step requires careful planning and precision to ensure that your squares align correctly and create a visually pleasing design.
Here is a step-by-step guide to sewing the squares together:
- Organize your squares: Arrange your squares in the desired pattern and layout according to your quilt design. This can be done by placing them side by side or by using a design wall or quilt layout tool.
- Start sewing rows: Take the first two squares in your pattern and place them right sides together. Sew them together using a ¼ inch seam allowance. Repeat this process for each row, sewing the squares together one by one until you complete the row.
- Press the seams: After sewing each row, press the seams flat using an iron. This will help the squares lay flat and create a clean, professional look.
- Join the rows: Once all the rows are sewn and pressed, it’s time to join them together. Place row 1 and row 2 right sides together, aligning the seams of the squares. Sew them together using a ¼ inch seam allowance. Repeat this process for each row until all the rows are joined together.
- Press the completed quilt top: Once the quilt top is fully assembled, press the seams flat one final time to ensure they lay flat and create a smooth surface.
It’s important to sew with accuracy, taking care to align the seams and maintain a consistent seam allowance. This will result in a quilt top that is square, flat, and visually appealing.
In the next section, we will explore adding borders to your quilt, which can enhance the overall design and provide a finished look.
Adding Borders to the Quilt
Adding borders to your quilt is an excellent way to enhance its design and give it a polished and finished look. Borders can provide a frame for your quilt and can also add size and visual interest to the overall design. Here’s a step-by-step guide on how to add borders to your quilt:
- Measure and cut the border fabric: Measure the length of the sides of your quilt top and cut strips of fabric to the desired width for your borders. The width can vary depending on your design preference, but a common width is around 3 to 5 inches.
- Attach the borders to the sides: Lay the quilt top flat and align the raw edges of the border fabric with the edges of the quilt top, right sides together. Pin in place and sew along the edges using a ¼ inch seam allowance. Press the seams towards the border fabric.
- Measure and cut the border fabric for the top and bottom: Measure the width of your quilt top, including the newly added side borders. Cut strips of fabric to the desired length, adding the width of the side borders to the measurements.
- Attach the top and bottom borders: Align the raw edges of the top and bottom border fabric with the edges of the quilt top, right sides together. Pin in place and sew along the edges using a ¼ inch seam allowance. Press the seams towards the border fabric.
- Trim and square the quilt top: After adding the borders, trim any excess fabric and square up the quilt top, ensuring that it is even and the corners are square.
- Press the completed quilt top with borders: Using an iron, press the entire quilt top with borders, smoothing out any wrinkles and ensuring that the borders lay flat.
When selecting border fabric, consider colors and prints that complement the quilt design. Borders can be a solid color that matches one of the fabrics in the quilt or a contrasting fabric that adds visual interest. Take the time to measure and cut the borders accurately to maintain a balanced and symmetrical appearance.
Adding borders to your quilt gives it a finished look and can also serve as a design element. In the next section, we will explore the final steps of quilting and finishing the quilt.
Quilting and Finishing the Quilt
Quilting is the process of stitching together the quilt top, batting, and backing to create a finished quilt. It not only adds durability but also enhances the overall appearance and texture of the quilt. Here’s a step-by-step guide on quilting and finishing your quilt:
- Prepare the quilt sandwich: Lay the backing fabric wrong side up, smooth it out, and secure it to the work surface. On top of the backing, place the batting, followed by the quilt top right side up. Smooth out any wrinkles or creases.
- Baste the layers together: Either hand baste or use safety pins to hold the layers of the quilt sandwich together, ensuring they do not shift during the quilting process.
- Select your quilting method: Choose the quilting method that suits your style and the design of your quilt. You can opt for hand quilting, machine quilting, or even a combination of both.
- Quilt the layers together: Using your chosen method, stitch through all layers of the quilt sandwich. This can be done by following a quilting design, stitching in the ditch along the seam lines, or creating your own quilting pattern.
- Trim away excess batting and backing: Once the quilting is complete, trim away any excess batting and backing, leaving about ¼ inch around the edges of the quilt top.
- Add the binding: Prepare the binding strips by cutting fabric strips, usually 2.5 inches wide. Attach the binding to the edge of the quilt, folding it over the raw edges and sewing it in place. There are various binding techniques, such as machine binding or hand binding, to choose from.
- Finishing touches: After attaching the binding, make sure to check for any loose threads or uneven stitching. Give the quilt a final press to smooth out any wrinkles and enhance the overall appearance.
Once the quilting and finishing touches are complete, you can proudly admire your finished quilt. Remember to add a label to the back of the quilt to document its creation and add a personal touch.
Quilting and finishing the quilt is a satisfying and rewarding process. In the next section, we will conclude our guide to making a 5-inch square quilt with a brief summary and closing thoughts.
Conclusion
Creating a quilt with 5-inch squares is a delightful endeavor that allows for creativity, personal expression, and the satisfaction of crafting a beautiful and functional piece. Throughout this guide, we have explored the essential steps involved in making a 5-inch square quilt.
We started by understanding quilt sizes and calculating the yardage needed for our quilt. We then delved into planning the quilt design, selecting fabric, cutting and preparing the squares, sewing them together, adding borders, and finally quilting and finishing the quilt.
Each step in the process requires careful consideration and attention to detail. From choosing the perfect fabric colors and patterns to ensuring accurate measurements and precise stitching, every decision we make contributes to the overall success of our quilt.
While this guide provides a foundation for creating a 5-inch square quilt, it’s important to remember that quilting is a personal journey. Feel free to experiment, adapt, and let your creativity shine. Make the quilt your own by adding personal touches, incorporating unique fabrics, or exploring different quilting techniques.
Quilting is not only a craft but also a labor of love that connects us to generations past and fosters a sense of community among quilters around the world. So, whether you’re making a quilt for yourself, as a gift, or to donate to a charitable cause, embrace the process and enjoy the journey.
Now, armed with the knowledge and inspiration from this guide, it’s time to grab your fabric, thread the needle, and start creating your own beautiful 5-inch square quilt. Happy quilting!
Frequently Asked Questions about How Many 5 Inch Squares To Make A Quilt
Was this page helpful?
At Storables.com, we guarantee accurate and reliable information. Our content, validated by Expert Board Contributors, is crafted following stringent Editorial Policies. We're committed to providing you with well-researched, expert-backed insights for all your informational needs.


0 thoughts on “How Many 5 Inch Squares To Make A Quilt”