Home>Articles>How To Make A Half Square Triangle Quilt Block
Articles
How To Make A Half Square Triangle Quilt Block
Modified: August 22, 2024
Looking for articles on how to make a half square triangle quilt block? Discover step-by-step tutorials and expert tips to create stunning quilt blocks.
(Many of the links in this article redirect to a specific reviewed product. Your purchase of these products through affiliate links helps to generate commission for Storables.com, at no extra cost. Learn more)
Introduction
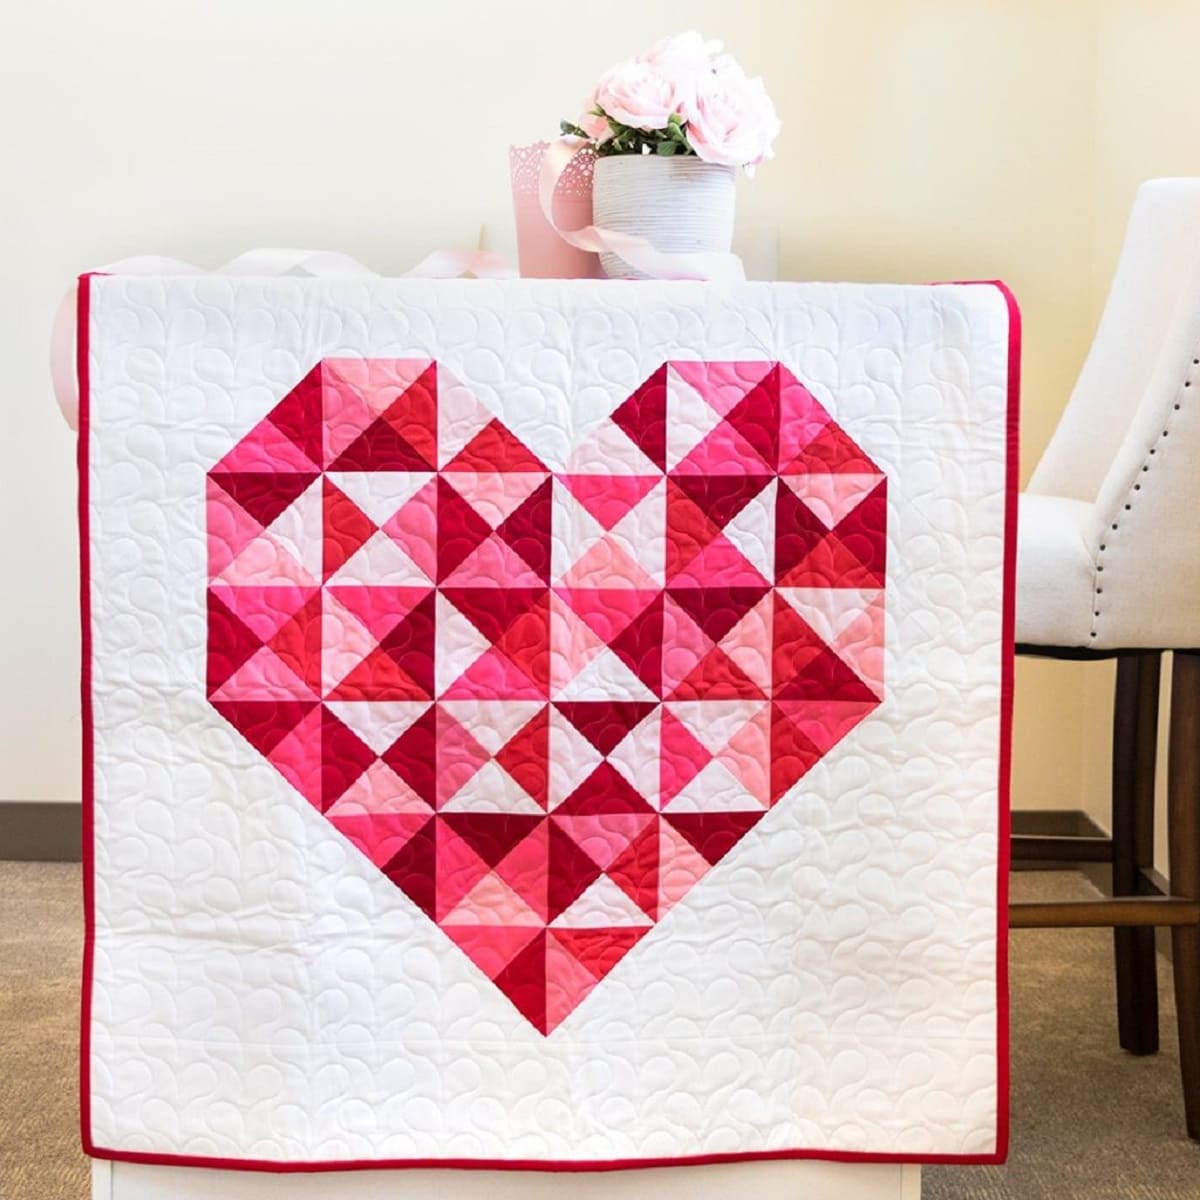
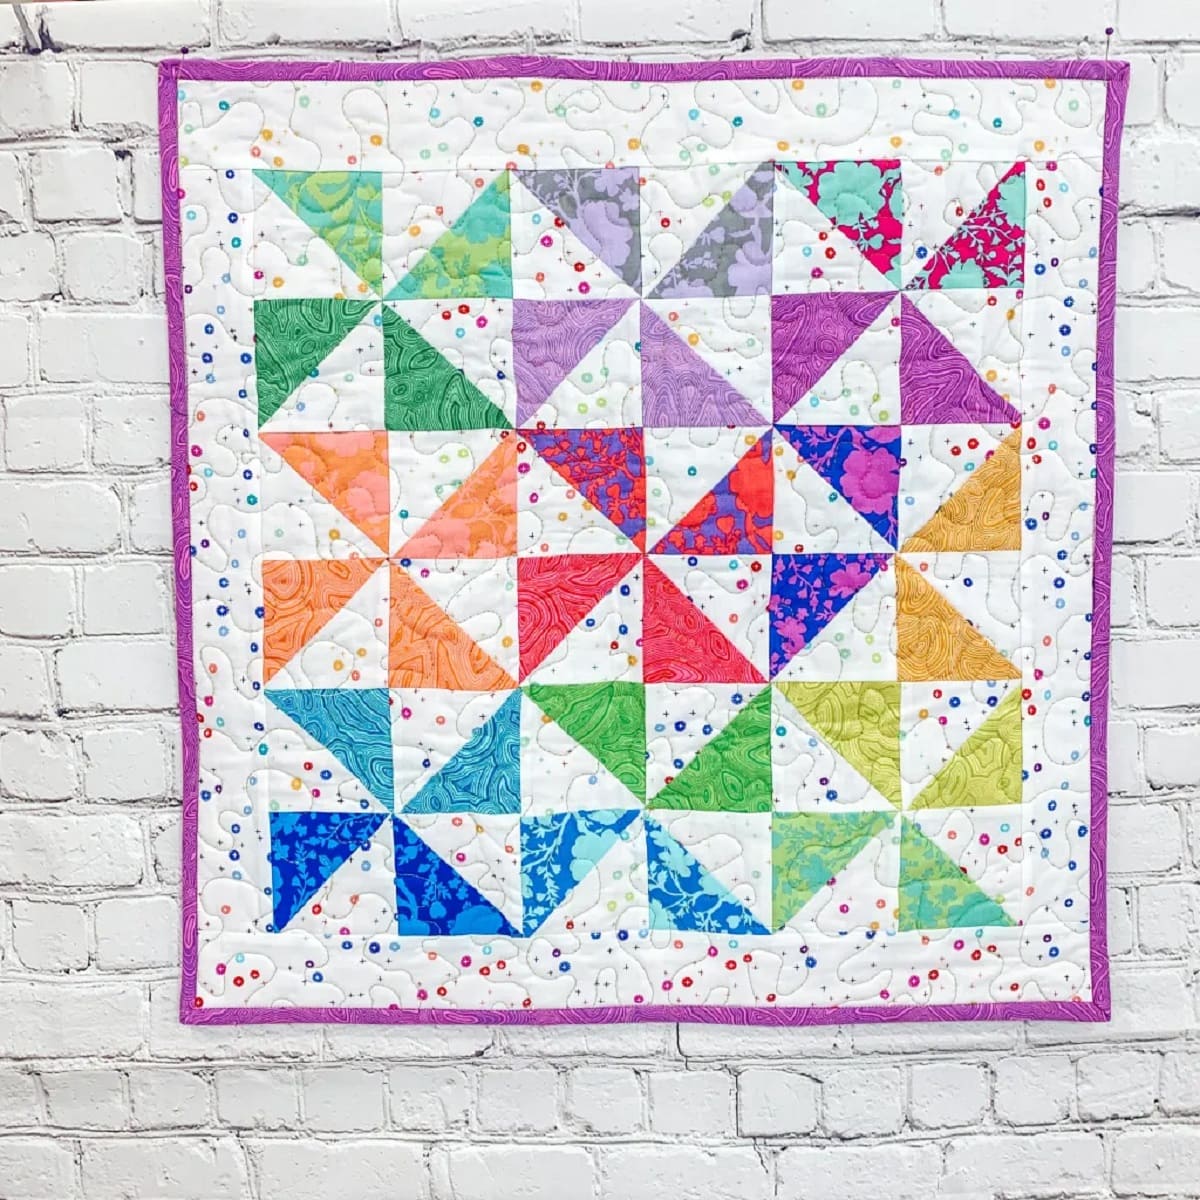
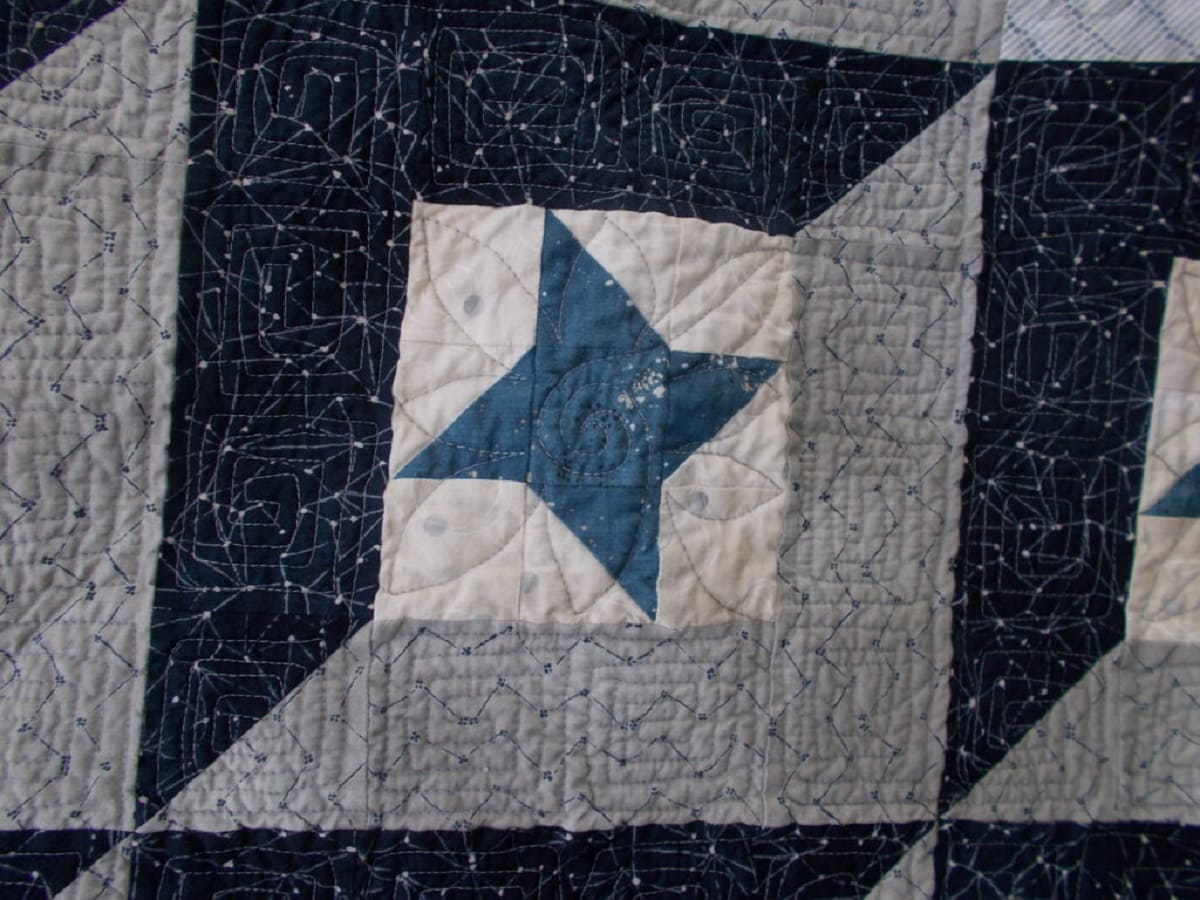
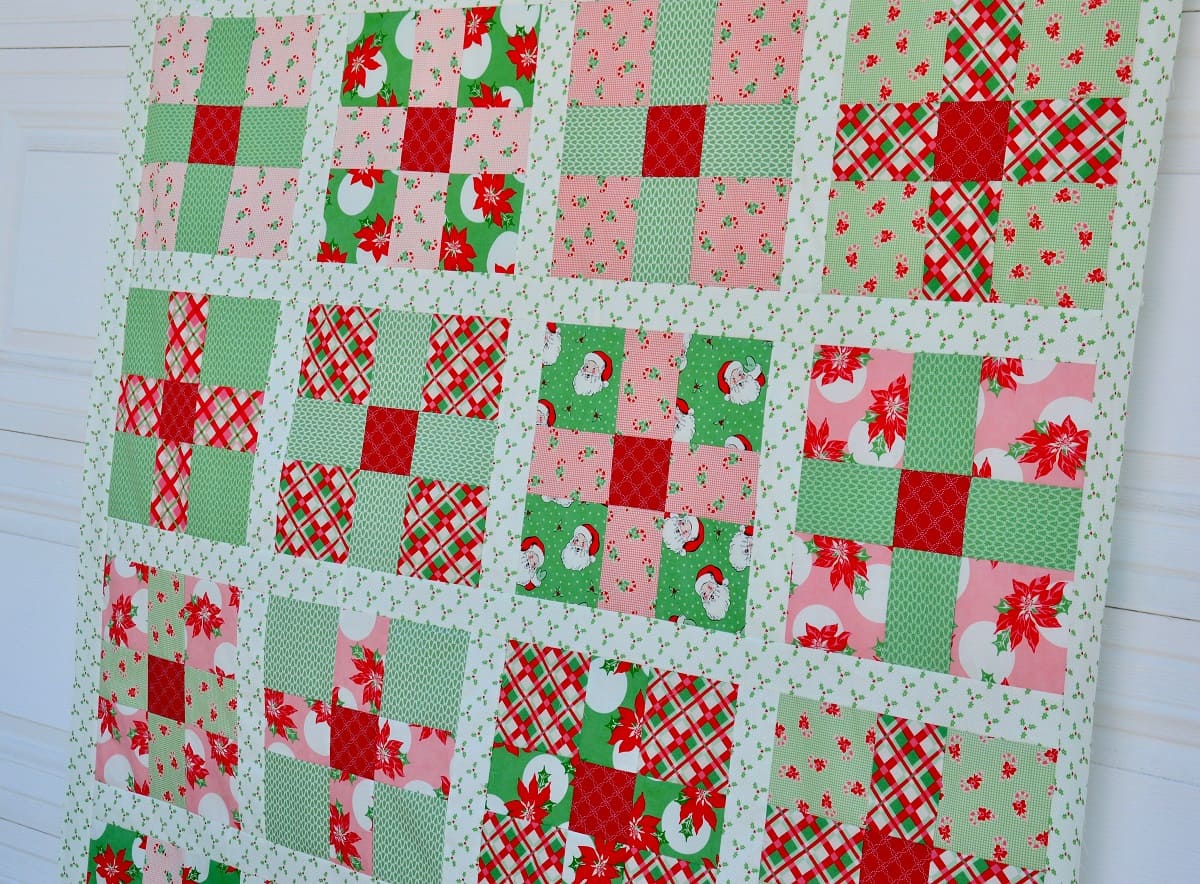
Quilting is a beloved craft that allows us to create beautiful and functional pieces of art. One popular quilt block design is the half-square triangle. This versatile and classic block can be used in countless quilt patterns, from intricate designs to simple layouts. In this article, we will guide you through the process of making a half-square triangle quilt block, from choosing the fabric to finishing the quilt.
Creating a half-square triangle quilt block involves cutting and sewing fabric pieces in a specific way to achieve the desired design. While it may seem intimidating at first, with a bit of practice and attention to detail, you can create stunning half-square triangle blocks to incorporate into your quilting projects.
Before we dive into the step-by-step process, let’s gather the materials you’ll need for this project:
- Fabric
- Rotary cutter
- Cutting mat
- Ruler
- Sewing machine
- Thread
- Iron
Once you have gathered all the necessary materials, we can move on to the first step: choosing the fabric and colors for your half-square triangle quilt block.
Key Takeaways:
- Master the art of creating stunning half-square triangle quilt blocks by carefully selecting fabric, precise cutting, and meticulous sewing techniques. Embrace your creativity and enjoy the quilting journey!
- From choosing fabric to finishing the quilt, this step-by-step guide empowers you to transform fabric into a beautiful and functional piece of art. Embrace the endless possibilities of quilting!
Read more: How To Make A Block Quilt
Materials Needed
Before you begin making a half-square triangle quilt block, it’s important to gather all the necessary materials. Here’s a list of what you’ll need:
- Fabric: Choose fabric in colors and patterns that complement your desired quilt design. It’s recommended to use cotton fabric for quilting projects since it’s easy to work with and holds up well over time.
- Rotary cutter: A rotary cutter is a tool with a sharp circular blade that allows for precise fabric cutting. It’s an essential tool for quilting projects as it makes cutting fabric much easier and more accurate than using scissors.
- Cutting mat: A cutting mat is a self-healing mat that provides a stable and safe surface for cutting fabric with a rotary cutter. The mat protects your tabletop and extends the life of your blades.
- Ruler: A quilting ruler is a long, transparent ruler with measurement markings. It helps you achieve accurate cuts and measurements when cutting fabric pieces for your quilt blocks.
- Sewing machine: You’ll need a sewing machine to stitch the fabric pieces together. Choose a machine that has a straight stitch and zigzag stitch capability since these stitches are commonly used in quilting.
- Thread: Select a high-quality thread that matches the colors of your fabric. Cotton thread is a popular choice for quilting projects as it provides strength and durability.
- Iron: An iron is used to press the fabric and seams throughout the quilting process. Make sure to have a good-quality iron and an ironing board or a heat-resistant surface for pressing.
Gathering the right materials ensures that you have everything you need to create your half-square triangle quilt block successfully. With these tools at hand, you’re ready to start your quilting journey!
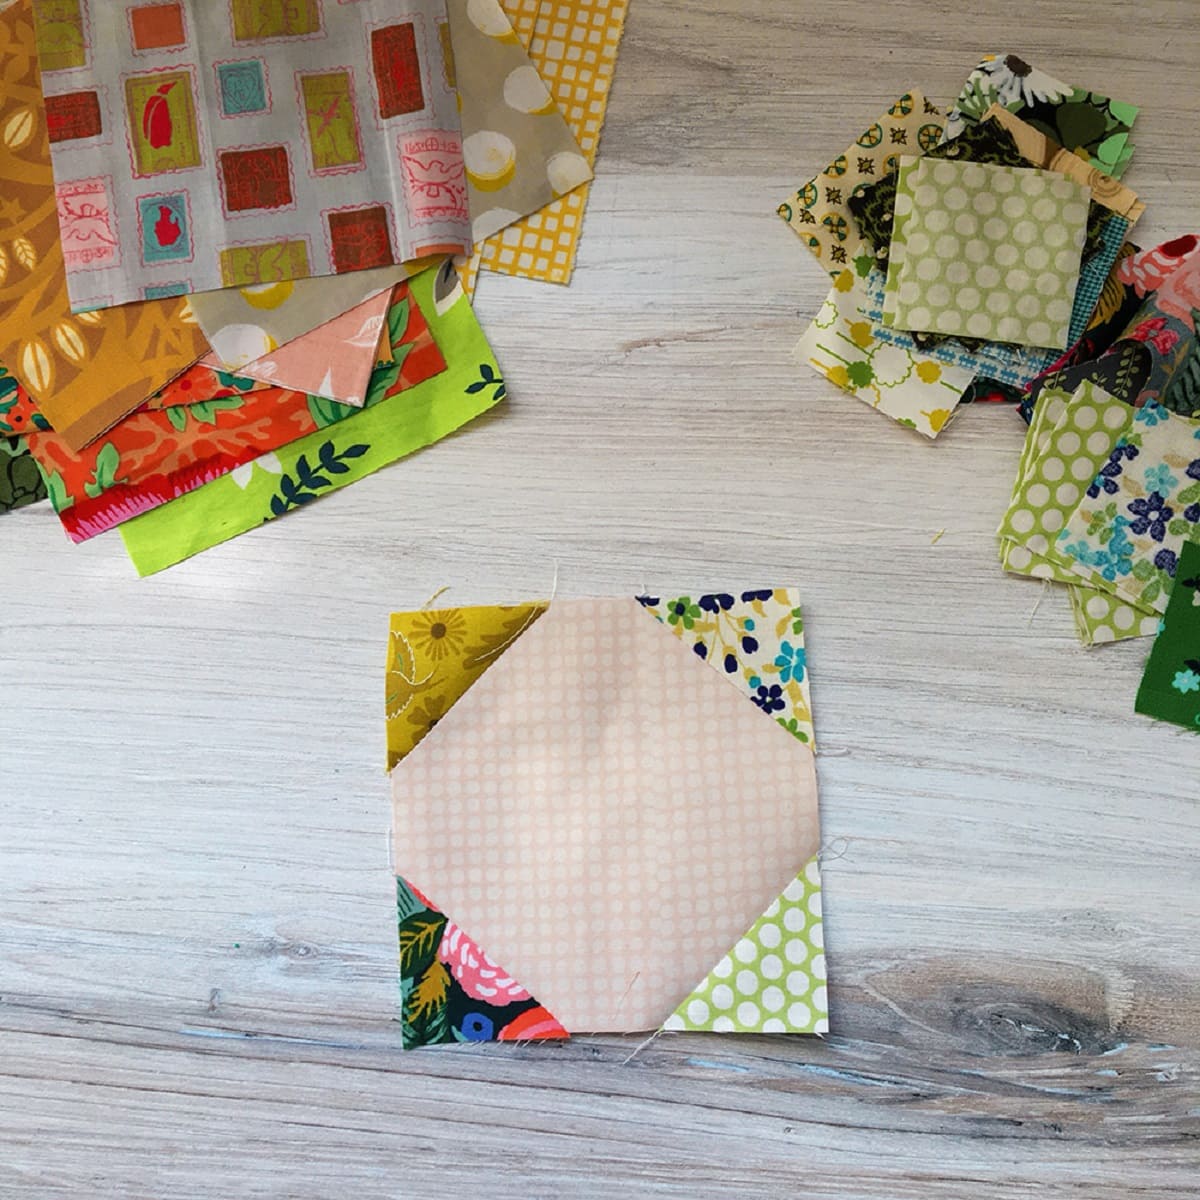
Step 1: Choosing Fabric and Colors
One of the most exciting parts of creating a half-square triangle quilt block is choosing the fabric and colors for your project. Your fabric selection can greatly impact the overall look and feel of your quilt block, so take some time to consider the following factors:
Color Palette: Think about the color scheme you want for your quilt block. Will it be bright and vibrant, or subtle and calming? Consider the mood you want to create and select fabric colors that align with that vision. You can choose a monochromatic color scheme using varying shades of a single color, or opt for a complementary color scheme using colors that are opposite each other on the color wheel.
Contrast: A quilt block with high contrast can create a striking design. Consider using fabrics with contrasting colors or patterns to bring visual interest to your block. This will help each triangle in the block stand out and add depth to your overall quilt design.
Fabric Designs: Fabrics with different patterns and designs can add texture and diversity to your quilt block. You can mix and match solid-colored fabrics with prints, or choose fabrics with coordinating patterns. Just make sure the scale of the print complements the size of your half-square triangles.
Fabric Quantity: Determine how much fabric you’ll need for your project. Consider the size of your quilt block and how many half-square triangles you plan to make. It’s always a good idea to buy a little extra fabric to account for any mistakes or future projects.
Once you have a clear vision of the fabric and colors you want to use, it’s time to move on to the next step: cutting the fabric for your half-square triangle quilt block.
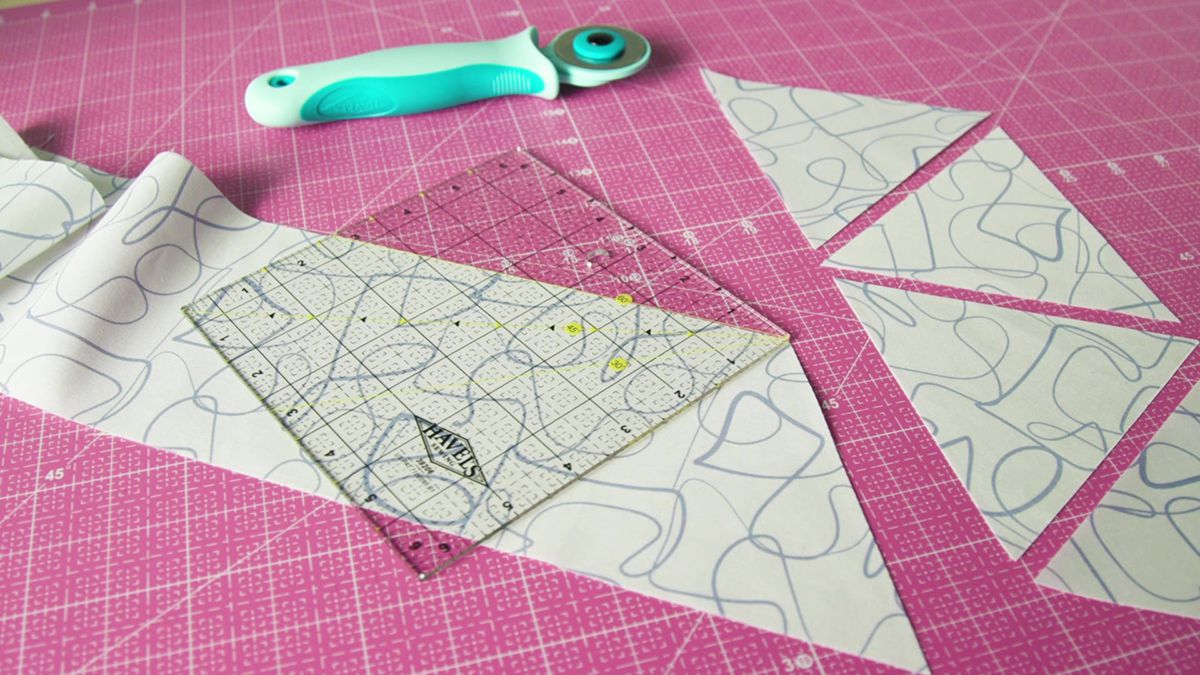
Step 2: Cutting Fabric
Now that you have selected your fabric and color scheme, it’s time to start cutting the fabric for your half-square triangle quilt block. This step is crucial as accurate cutting ensures precise and consistent blocks. Here are the two sub-steps involved in cutting the fabric:
Cutting the background fabric: The background fabric is the main fabric that forms the background of your half-square triangle block. Measure and cut pieces of fabric according to the desired finished size of your half-square triangles. Use a rotary cutter, ruler, and cutting mat to ensure straight and precise cuts. If you’re making multiple blocks, cut enough background fabric to accommodate all the triangles you’ll be sewing.
Cutting the contrasting fabric: The contrasting fabric is the fabric that will create the design and pattern in your half-square triangle block. Measure and cut pieces of fabric of the same size as the background fabric. These pieces will be paired with the background fabric to create the half-square triangles. Make sure to align the contrasting fabric’s pattern or design as desired before cutting. Again, use a rotary cutter, ruler, and cutting mat for accurate cutting.
It’s important to note that the size of the fabric pieces will depend on the desired finished size of your half-square triangles and the quilt block pattern you’re following. You can refer to your quilt block pattern instructions or calculate the dimensions based on your design preferences. Remember to account for seam allowances when cutting your fabric pieces as well.
Once you have cut all the necessary fabric pieces, you’re ready to move on to the next step: sewing the half-square triangles to bring your quilt block design to life.
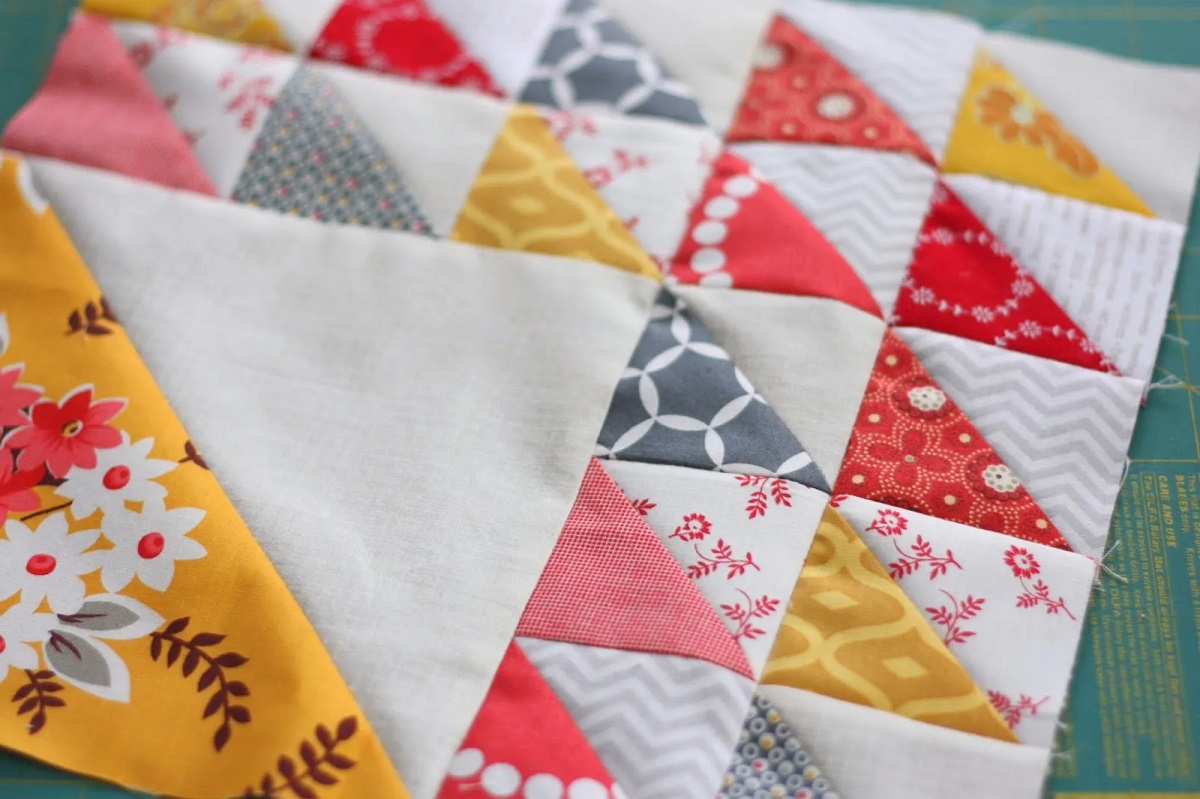
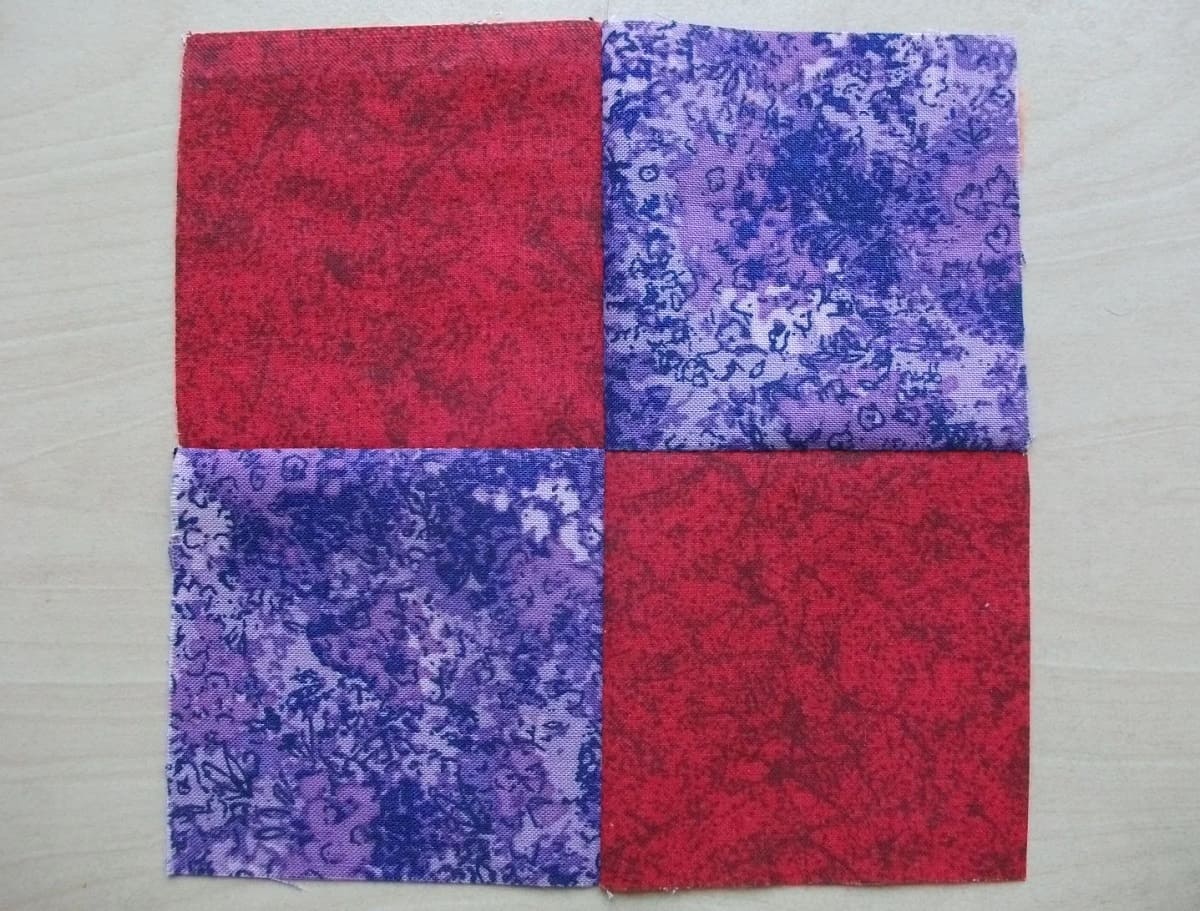
Step 3: Sewing the Half-Square Triangles
Now that you have cut the fabric pieces for your half-square triangle quilt block, it’s time to sew them together. This step involves precise sewing techniques to create the distinctive triangle shape. Here are the sub-steps involved in sewing the half-square triangles:
Marking the diagonal lines: Lay each contrasting fabric square on top of a background fabric square, right sides facing each other. Use a ruler and a fabric marking tool to mark a diagonal line from one corner to the opposite corner of the fabric squares. This line will serve as your sewing guide.
Sewing along the diagonal lines: Place the marked fabric squares under the presser foot of your sewing machine. Sew a straight line along each marked diagonal line, using a ¼ inch seam allowance. Make sure to backstitch at the beginning and end of each line to secure the stitches.
Cutting along the center line: With the stitched lines in place, carefully cut along the center of the sewn diagonal lines. This will create two equal half-square triangles. Take your time to ensure accurate cutting and maintain the integrity of the blocks.
Remember to press the stitched seams with an iron to set them in place. You can press them open or towards one side, depending on your preference and the pattern instructions.
By following these steps, you’ll create beautifully sewn half-square triangles that form the building blocks of your quilt design. With the half-square triangles complete, it’s time to move on to the next step: pressing and trimming the blocks.
When sewing half square triangles, always press the seams open to reduce bulk and create a flatter, more precise block.
Read more: How To Make A Quilt With Squares
Step 4: Pressing and Trimming
After sewing the half-square triangles, it’s important to press and trim them to ensure they lay flat and align properly when piecing your quilt block together. Here are the sub-steps involved in pressing and trimming:
Pressing the seams: Begin by pressing the stitched seams with an iron. Set the seam by pressing the blocks as sewn, then open the blocks and press the seam allowances to one side. This helps to flatten the fabric and create a crisp and polished look. You can use a pressing cloth to protect the fabric if needed. Pressing the seams also ensures your quilt blocks will lay flat and align correctly when sewn together.
Trimming the excess fabric: To create neat and uniform half-square triangles, you may need to trim the blocks to your desired size. Use a ruler and rotary cutter to trim the blocks evenly. Align the ruler with the edges of the block and cut away any excess fabric, ensuring that all the blocks are the same size and shape.
Take your time when trimming to achieve accurate measurements and precise edges. It is recommended to measure and mark the desired size of each half-square triangle before trimming to maintain consistency throughout your quilt block.
By taking the time to press and trim your half-square triangles, you will achieve professional-looking blocks that are ready to be arranged and sewn into your quilt design. With the pressing and trimming complete, you’re ready for the next step: arranging and sewing the blocks together.
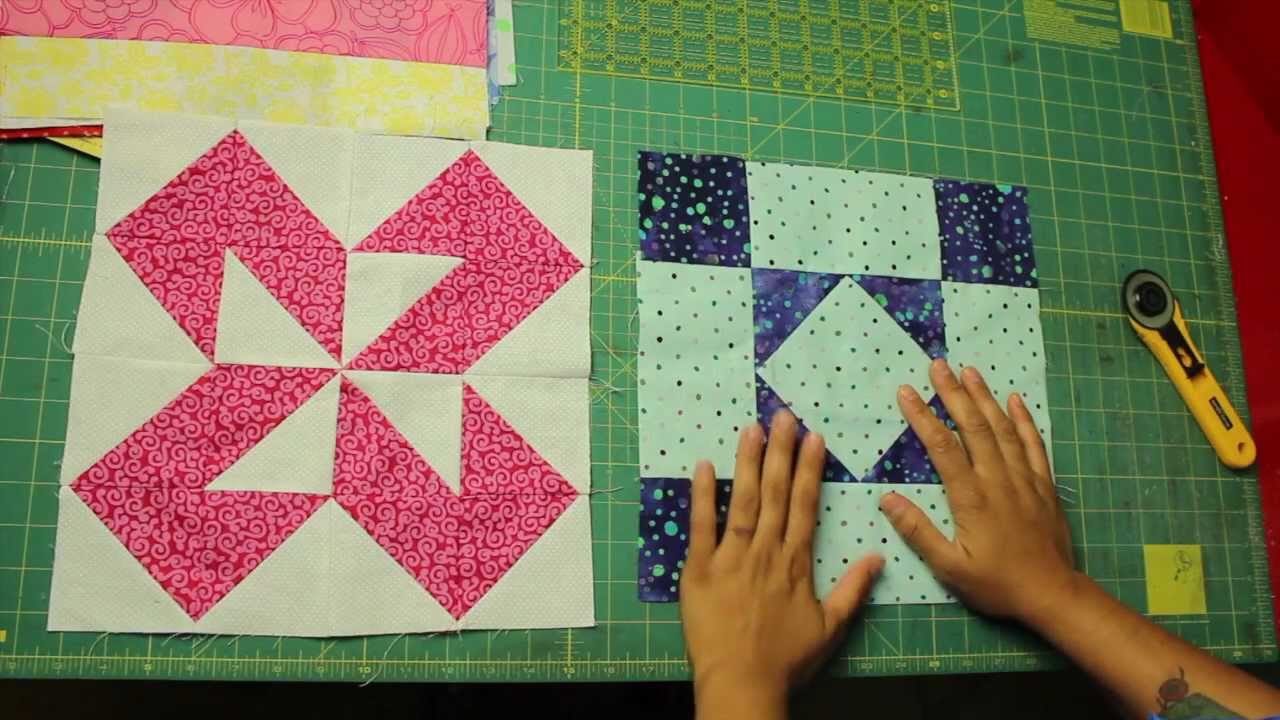
Step 5: Arranging and Sewing the Blocks
Now that you have pressed and trimmed the half-square triangle blocks, it’s time to arrange them to create your desired quilt design. This step allows you to get creative and experiment with different layouts. Here are the sub-steps involved in arranging and sewing the blocks:
Arranging the half-square triangle blocks: Lay out your half-square triangle blocks on a flat surface, such as a design wall or a large table. Experiment with different combinations to find a layout that you find visually appealing. You can create patterns, alternating colors, or simply arrange them randomly. Take your time with this step to ensure you’re happy with the overall design.
Sewing the blocks together: Once you’ve finalized the block arrangement, it’s time to sew the blocks together. Start by sewing the blocks into rows, ensuring they are placed right sides together. Use a ¼ inch seam allowance and sew along the edges of the blocks. Press the seam allowances open or towards one side, depending on your preference and the quilt pattern instructions.
After sewing the rows, join them together to complete the quilt block. Match the seams and use pins or clips to secure the pieces in place before sewing. Again, use a ¼ inch seam allowance and sew along the edges. Press the final seam allowances open or towards one side to complete the block.
It’s important to take your time when sewing the blocks together to ensure accuracy and alignment. Press the seams after each sewing step to flatten the fabric and create a polished look.
With the blocks sewn together, you have successfully created your half-square triangle quilt block. You’re now ready for the final step: finishing the quilt.
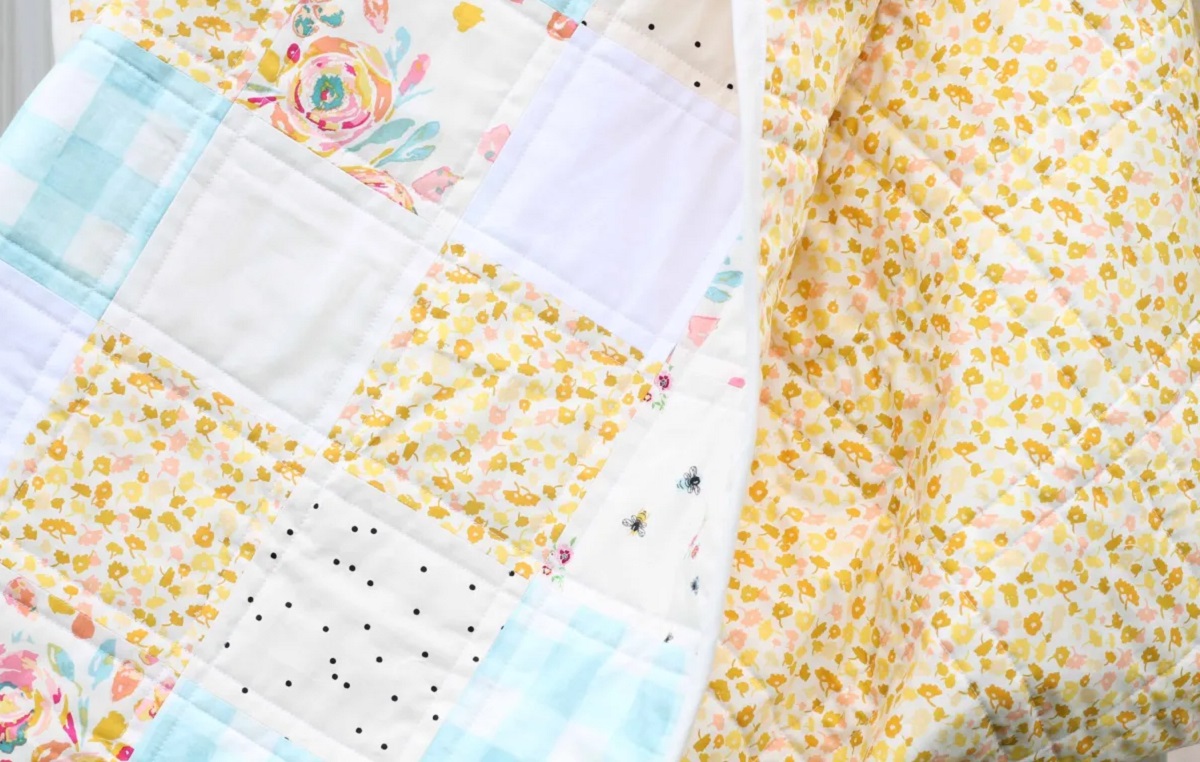
Step 6: Finishing the Quilt
Congratulations on reaching the final step of creating your half-square triangle quilt block! Now, it’s time to bring your quilt to completion. Here are the sub-steps involved in finishing the quilt:
Adding Borders: To frame your quilt block and give it a finished look, consider adding borders. Measure the dimensions of your quilt block and cut fabric strips for the borders. Sew the strips onto the sides of the quilt block, matching the edges and using a ¼ inch seam allowance. Press the seam allowances and continue adding borders to all four sides, if desired.
Quilting the Layers: After adding borders, it’s time to quilt the layers of your quilt together. You have several options for quilting, including hand quilting, machine quilting, or long-arm quilting. Quilting adds both decorative and functional elements to your quilt, securing the layers and adding texture. Choose a quilting design and method that suits your style and skill level.
Binding the Quilt: The final step in finishing your quilt is binding the edges. Binding not only gives your quilt a polished look but also secures the layers together. Cut fabric strips for binding, fold and press them in half lengthwise. Align the raw edges of the binding with the raw edges of the quilt, starting in the middle of one side. Sew the binding in place, mitering the corners as you go. Finally, fold the binding over the edges of the quilt and hand stitch or machine stitch it down.
Take your time with the finishing steps, as they contribute to the overall quality and appearance of your quilt. Remember to press the quilt top and backing before layering and basting, ensuring a smooth and wrinkle-free finish.
After completing these steps, you will have successfully finished your half-square triangle quilt block and transformed it into a beautiful quilt. Step back and admire your handiwork – you’ve created a functional piece of art that you can cherish or gift to someone special!
Happy quilting!
Conclusion
Creating a half-square triangle quilt block is a rewarding and enjoyable quilting project that allows you to showcase your creativity and sewing skills. By following the step-by-step process outlined in this article, you have learned how to choose fabric and colors, cut the fabric, sew the half-square triangles, press and trim the blocks, arrange and sew the blocks together, and finish the quilt.
Throughout the process, you have discovered the importance of careful fabric selection, accurate cutting, and precise sewing techniques. Pressing and trimming the blocks ensured a professional and polished appearance, while arranging and sewing the blocks together allowed you to create a unique and visually appealing quilt design.
Finishing the quilt with borders, quilting, and binding completed your project, bringing together all the elements for a beautiful and functional quilt. Whether you choose to display it in your home or gift it to someone special, your half-square triangle quilt block is a true testament to your quilting skills.
Remember to take your time, enjoy the process, and embrace your own creativity as you embark on future quilting projects. The possibilities are endless!
Thank you for joining us on this quilting journey. Happy quilting!
Frequently Asked Questions about How To Make A Half Square Triangle Quilt Block
Was this page helpful?
At Storables.com, we guarantee accurate and reliable information. Our content, validated by Expert Board Contributors, is crafted following stringent Editorial Policies. We're committed to providing you with well-researched, expert-backed insights for all your informational needs.


0 thoughts on “How To Make A Half Square Triangle Quilt Block”