Articles
How Do I Square Up A Quilt Block
Modified: October 18, 2024
Learn how to square up a quilt block with these informative articles. Get step-by-step instructions and expert tips to ensure your quilt blocks are perfectly aligned.
(Many of the links in this article redirect to a specific reviewed product. Your purchase of these products through affiliate links helps to generate commission for Storables.com, at no extra cost. Learn more)
Introduction
Imagine spending hours carefully piecing together a beautiful quilt block, only to realize that it doesn’t quite align or fit with the other blocks in your quilt. Don’t worry – you’re not alone! Squaring up a quilt block is a crucial step in the quilting process that ensures each block is the correct size and shape, allowing for seamless assembly of the quilt top.
In this article, we will walk you through the step-by-step process of squaring up a quilt block. Whether you’re a seasoned quilter or just starting out, mastering this technique will help you achieve professional-looking results and make your quilt project a success.
Key Takeaways:
- Master the art of squaring up quilt blocks to achieve professional-looking results and ensure seamless assembly of your quilt top. Don’t skip this crucial step in the quilting process!
- Gather the necessary materials, prepare the quilt block, trim away excess fabric, and square up the block to create a beautifully finished quilt. Embrace the joy of quilting and enjoy the satisfaction of creating a handmade masterpiece!
Gathering Materials
Before you begin squaring up your quilt block, it’s important to gather the necessary materials. Here’s what you will need:
- Quilt block(s) – The quilt block(s) that you want to square up.
- Rotary cutter – A sharp rotary cutter will make it easier to trim the excess fabric.
- Quilting ruler – A clear acrylic quilting ruler with 90-degree angles will help you achieve accurate measurements.
- Cutting mat – A self-healing cutting mat will protect your work surface and allow for precise cutting.
- Iron and ironing board – Having a well-pressed quilt block will provide better accuracy when squaring up.
- Pins – These will come in handy for securing the quilt block as you trim away the excess fabric.
- Marker or pencil – A washable marker or pencil can be used to mark the trimming lines.
Once you have these materials ready, you’re all set to move on to the next step: preparing the quilt block.
Preparing the Quilt Block
Before you can begin squaring up your quilt block, it is important to prepare it properly. Follow these steps to ensure your block is ready for trimming:
- Start by giving your quilt block a good press with an iron. This will remove any wrinkles or creases and make it easier to work with.
- Check your quilt block for any loose threads or fabric edges. Trim them away using scissors or a rotary cutter to ensure clean edges.
- Measure the unfinished size of your quilt block. The unfinished size refers to the size of the block before it has been sewn into the quilt top. This measurement will help you determine how much excess fabric needs to be trimmed.
- Using your quilting ruler, identify the center point of your quilt block. This will help you align the ruler properly when trimming.
- If your quilt block has directional elements, such as fabric prints or motifs, make sure they are all facing the same direction before squaring up. This will help maintain consistency in your quilt layout.
Once your quilt block is prepared, you’re ready to move on to the next step: trimming the block to remove the excess fabric.
Trimming the Quilt Block
Now that your quilt block is prepared, it’s time to trim away the excess fabric to achieve a perfectly square block. Follow these steps to trim your quilt block:
- Place your quilt block on a self-healing cutting mat, ensuring it is flat and smooth.
- Using your quilting ruler, align one of the ruler’s 90-degree angles along the center point of your quilt block. This will ensure that your trimming lines are straight and parallel to the block’s edges.
- Extend the ruler’s lines to the edges of the quilt block. These lines will serve as your trimming guides.
- Using a rotary cutter, carefully trim away the excess fabric along the ruler’s lines. Take your time and make precise cuts, ensuring that you do not cut into the block itself.
- Continue this process on all four sides of the block, aligning the ruler’s 90-degree angles and trimming away the excess fabric.
- After each trim, use a lint roller or brush to remove any loose threads or fabric fibers.
- Check the size of the trimmed block to ensure it matches the desired finished size. Make any necessary adjustments by trimming off additional fabric.
By taking your time and being precise with your cuts, you’ll end up with a perfectly squared quilt block. Once you’re satisfied with the trimming, it’s time to move on to the next step: squaring up the block.
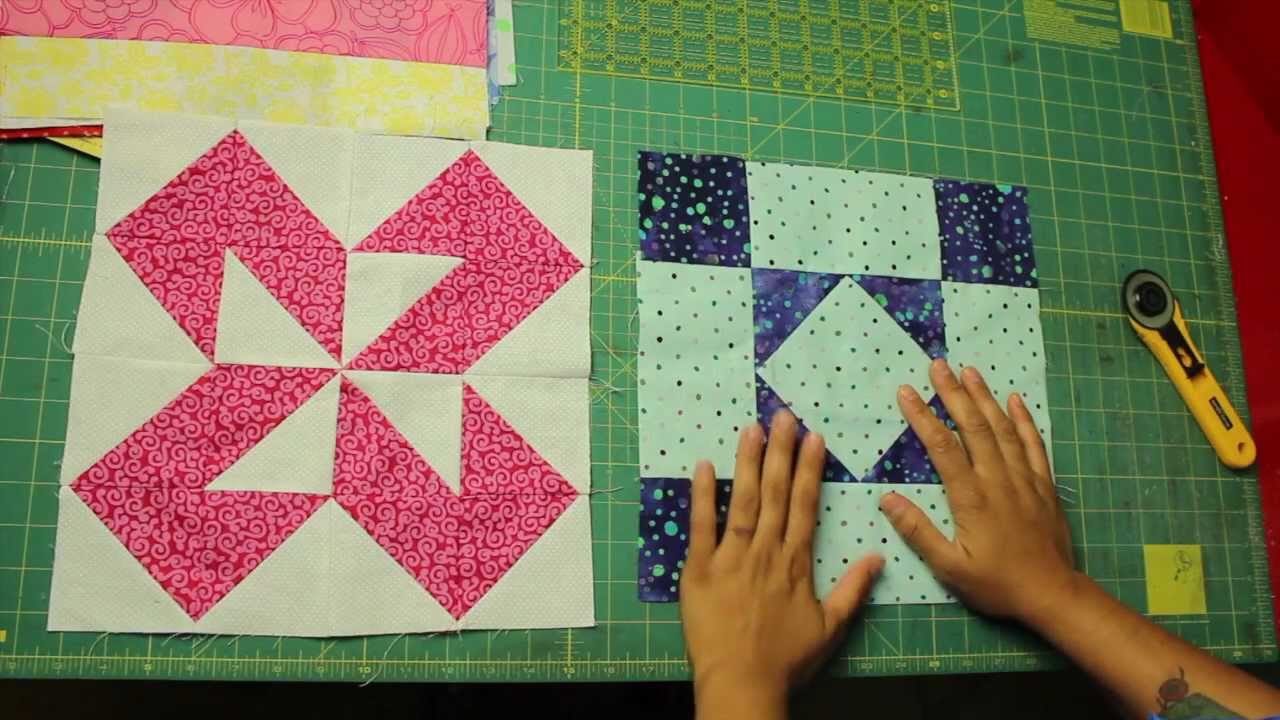
When squaring up a quilt block, use a square ruler to trim the block to the desired size, ensuring all edges are straight and corners are 90-degree angles. This will help your blocks fit together accurately when piecing your quilt top.
Squaring Up the Quilt Block
Now that your quilt block is trimmed and the excess fabric has been removed, it’s time to square up the block to ensure it is the correct size and shape. Follow these steps to square up your quilt block:
- Place your trimmed quilt block on a flat surface, ensuring it is positioned correctly.
- Using your quilting ruler, measure the desired finished size of your quilt block. This measurement will guide you in squaring up the block.
- Align one edge of the ruler with the corresponding edge of the block. Ensure that the ruler extends beyond the block’s edge, allowing for accurate measurements.
- Check that the ruler is parallel with the block’s edges and adjust as needed.
- Hold the ruler firmly in place and trim away any excess fabric along the ruler’s edge using a rotary cutter.
- Repeat this process on all four sides of the block, aligning the ruler, checking for parallelism, and trimming away the excess fabric.
- After each trim, double-check the size and shape of your block. Adjust as necessary to achieve the desired finished size.
Remember to be precise and take your time during the squaring up process to ensure that all sides of your quilt block are straight and aligned. This will result in a more cohesive and professional-looking finished quilt top.
Once your quilt block is squared up, it’s time to move on to the final steps of your quilt project.
Read more: How To Square Up A Quilt Before Binding
Final Steps
Now that your quilt block has been squared up, you’re almost ready to complete your quilt project. Here are the final steps to wrap up your quilt:
- Repeat the trimming and squaring up process for all the remaining quilt blocks to ensure consistency in size and shape.
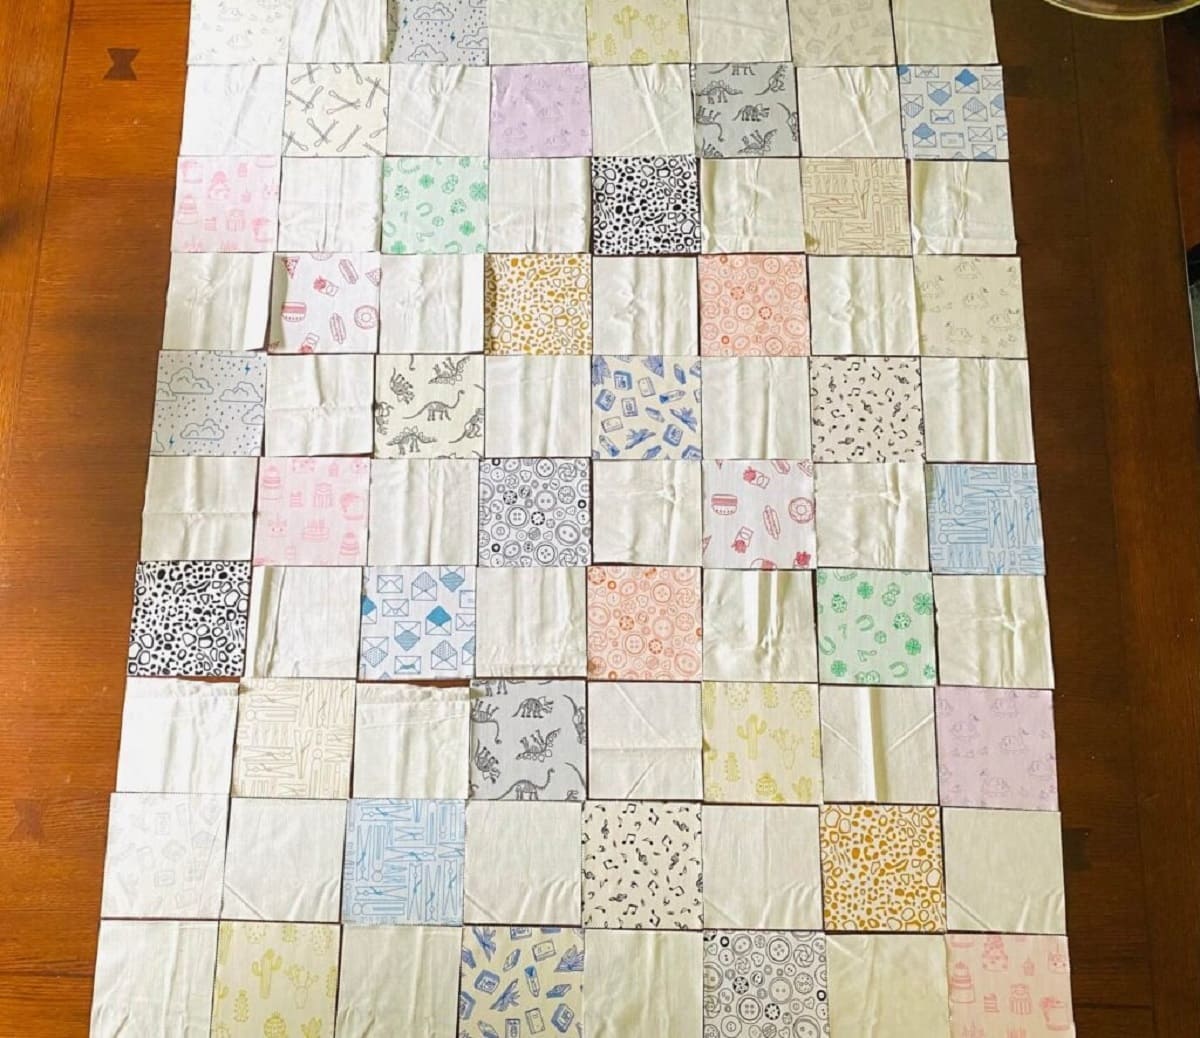
- Once all the blocks are squared up, lay them out in the desired pattern for your quilt top. Take your time to arrange them in a visually pleasing way.
- When you’re satisfied with the layout, begin sewing the blocks together, following the pattern or design you’ve chosen.
- After all the blocks are sewn together, press the seam allowances flat to create a smooth surface.
- Add any necessary borders or sashing to complete the quilt top. Ensure these elements are properly measured and aligned.
- Once the quilt top is complete, layer it with batting and backing fabric. Baste the layers together to secure them.
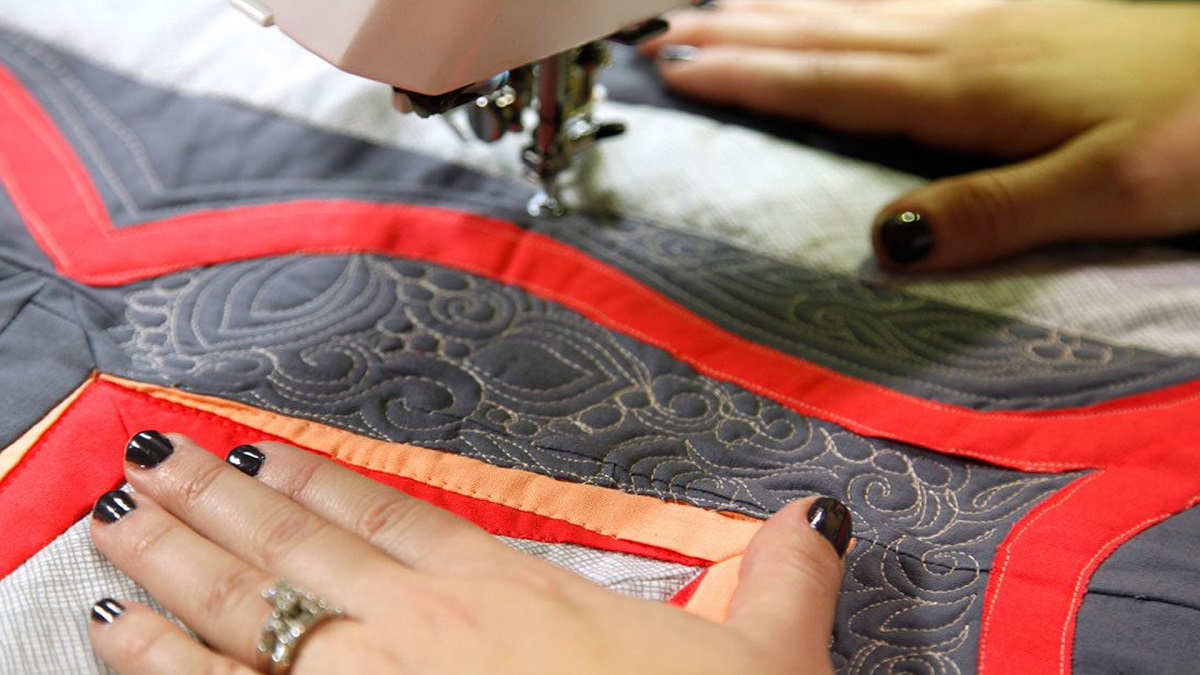
- Quilt the layers together using your preferred quilting technique. This can be done by hand or with a sewing machine.
- After quilting, trim the excess batting and backing fabric, leaving a small border around the quilt top.
- Finally, bind the edges of the quilt with binding fabric to give it a finished look. Hand stitch or machine stitch the binding in place.
With these final steps completed, your quilt project is finished! Admire your handiwork and enjoy the cozy warmth and beauty of your handmade quilt.
Remember that squaring up your quilt blocks is an essential part of the quilting process. Taking the time to trim and square up each block will ensure a more professional-looking finished quilt top. So don’t skip this important step and embrace the joy of quilting!
Conclusion
Squaring up a quilt block is an essential step in the quilting process that ensures each block is the correct size and shape, resulting in a cohesive and beautifully finished quilt top. By following the steps outlined in this article, you can confidently square up your quilt blocks and achieve professional-looking results.
Remember to gather all the necessary materials before starting, including a rotary cutter, quilting ruler, cutting mat, iron, pins, and a marker or pencil. Preparing the quilt block by pressing it, checking for loose threads, and measuring the unfinished size is crucial to ensure accurate trimming.
Trimming the quilt block involves aligning the ruler with the center point, extending trimming lines to the edges, and carefully removing the excess fabric. Taking your time and being precise with your cuts will result in a well-trimmed block.
Squaring up the quilt block involves aligning the ruler with the block’s edges and trimming away any remaining excess fabric. Checking for parallelism and adjusting as needed is important to ensure a squared-up block.
Finally, completing the final steps of your quilt project, such as sewing the blocks together, adding borders or sashing, quilting the layers, and binding the edges, will bring your quilt project to fruition.
Through these steps, you can create a quilt that not only showcases your creativity but also reflects your attention to detail and craftsmanship.
So, embrace the process of squaring up your quilt blocks, and enjoy the satisfaction of creating a beautiful and professionally finished quilt that you can cherish and share for years to come.
Frequently Asked Questions about How Do I Square Up A Quilt Block
Was this page helpful?
At Storables.com, we guarantee accurate and reliable information. Our content, validated by Expert Board Contributors, is crafted following stringent Editorial Policies. We're committed to providing you with well-researched, expert-backed insights for all your informational needs.


0 thoughts on “How Do I Square Up A Quilt Block”