Articles
How To Activate Ring Doorbell
Modified: September 1, 2024
Learn how to activate your Ring doorbell with our informative articles. Find step-by-step guides and troubleshooting tips to get your doorbell up and running in no time.
(Many of the links in this article redirect to a specific reviewed product. Your purchase of these products through affiliate links helps to generate commission for Storables.com, at no extra cost. Learn more)
Introduction
Welcome to the world of Ring Doorbells! If you’ve recently purchased a Ring Doorbell or are considering getting one, you’re in for a treat. These smart devices not only provide convenience and security to your home, but they also offer peace of mind. Activating your Ring Doorbell is a crucial step in getting it up and running. In this article, we will guide you through the process, step by step, so you can start enjoying the benefits of your Ring Doorbell.
Before we dive into the activation process, it’s important to understand what the Ring Doorbell is and what it can do. The Ring Doorbell is a smart doorbell that allows you to see, hear, and speak to anyone at your front door from your smartphone or tablet. It comes equipped with a high-definition camera, two-way audio, and motion sensors, ensuring you never miss a visitor or delivery.
Activating your Ring Doorbell involves setting up the device, connecting it to your Wi-Fi, and customizing the settings according to your preferences. But don’t worry, the process is simple and straightforward, even if you’re not tech-savvy. Let’s get started!
Key Takeaways:
- Activating your Ring Doorbell is a straightforward process that involves downloading the Ring app, creating a Ring account, setting up the device, connecting it to Wi-Fi, customizing settings, and testing its functionality.
- With your Ring Doorbell activated, you can enjoy enhanced security, convenience, and peace of mind. The device allows you to see, hear, and speak to visitors at your front door from anywhere using your smartphone or tablet, providing a reliable and advanced security system for your home.
Read more: What Is The Focus Of The Ring Toss Activity?
Step 1: Download the Ring App
The first step in activating your Ring Doorbell is to download the Ring app on your smartphone or tablet. The Ring app is available for both iOS and Android devices and can be found in the respective app stores. Simply search for “Ring” and look for the official Ring app developed by Ring.com.
Once you’ve found the app, tap on the “Download” or “Install” button to begin the installation process. Depending on your internet speed, the app should download and install within a few minutes.
After the installation is complete, locate the Ring app icon on your home screen or app drawer and tap on it to launch the app. You’ll be greeted with a welcome screen where you’ll have the option to create a new account or sign in if you already have one.
If you’re a new user, select the “Create Account” option. This will take you to the account creation page where you’ll need to provide some basic information such as your name, email address, and a secure password. After filling in the required fields, tap on “Create Account” to proceed.
If you’re an existing Ring user, tap on the “Sign In” button and enter your email address and password to access your account.
Once you’ve successfully created an account or signed in, you’re ready to move on to the next step: setting up your Ring Doorbell.
Step 2: Create a Ring Account
Creating a Ring account is an essential step in activating your Ring Doorbell. Your Ring account allows you to access and control your Ring devices, customize settings, receive notifications, and view recorded videos. Here’s what you need to do to create a Ring account:
- Open the Ring app on your smartphone or tablet and sign in if you haven’t done so already.
- Once you’re signed in, you’ll be prompted to set up a new Ring device. Tap on “Set Up Device” to proceed.
- Next, select “Doorbell” as the type of device you want to set up.
- The app will then guide you through the process of putting your Ring Doorbell into setup mode. This usually involves pressing and releasing the small setup button located on the side or back of the device.
- Once your Ring Doorbell is in setup mode, the app will prompt you to connect your device to your Wi-Fi network. Make sure you’re connected to the correct Wi-Fi network on your smartphone or tablet.
- Follow the on-screen instructions to connect your Ring Doorbell to your Wi-Fi. This typically involves selecting your Wi-Fi network from a list, entering the Wi-Fi password, and waiting for the Ring Doorbell to establish a connection.
- After your Ring Doorbell is successfully connected to your Wi-Fi, the app will ask you to customize the settings for your device. You can set your motion detection preferences, enable or disable certain features, and choose how you want to receive notifications.
- Once you’ve customized the settings to your liking, tap on “Save” to finalize the setup process.
- Congratulations! You’ve successfully created a Ring account and set up your Ring Doorbell.
With your Ring account in place, you’ll have full control over your Ring Doorbell and access to all the features and functionalities it offers. You can monitor your front door, receive alerts when someone rings the doorbell or triggers the motion sensors, and even communicate with visitors through the two-way audio.
Now that you’ve created a Ring account, it’s time to move on to the next step: setting up your Ring Doorbell.
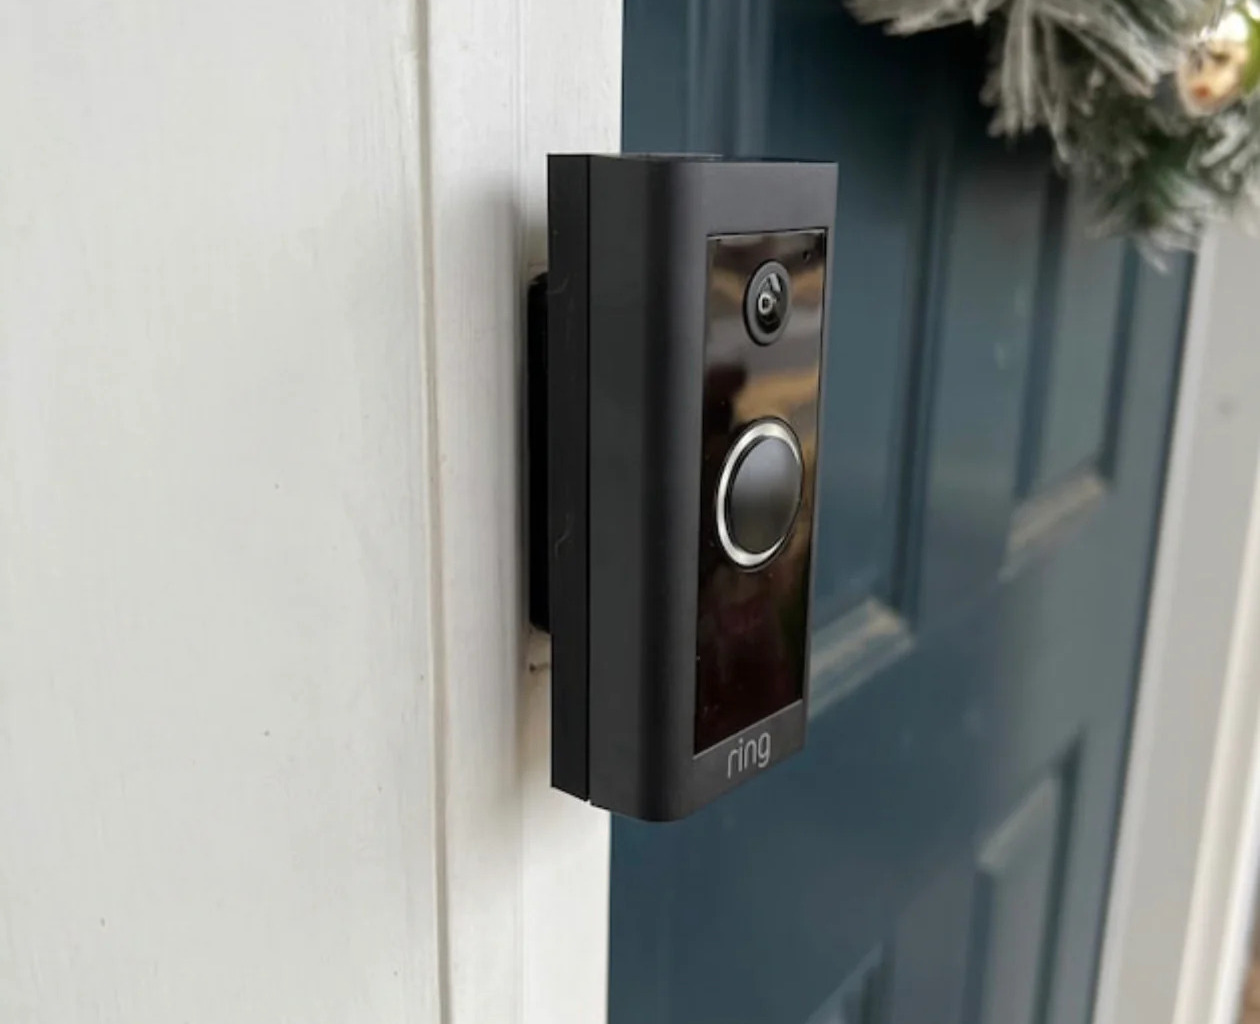
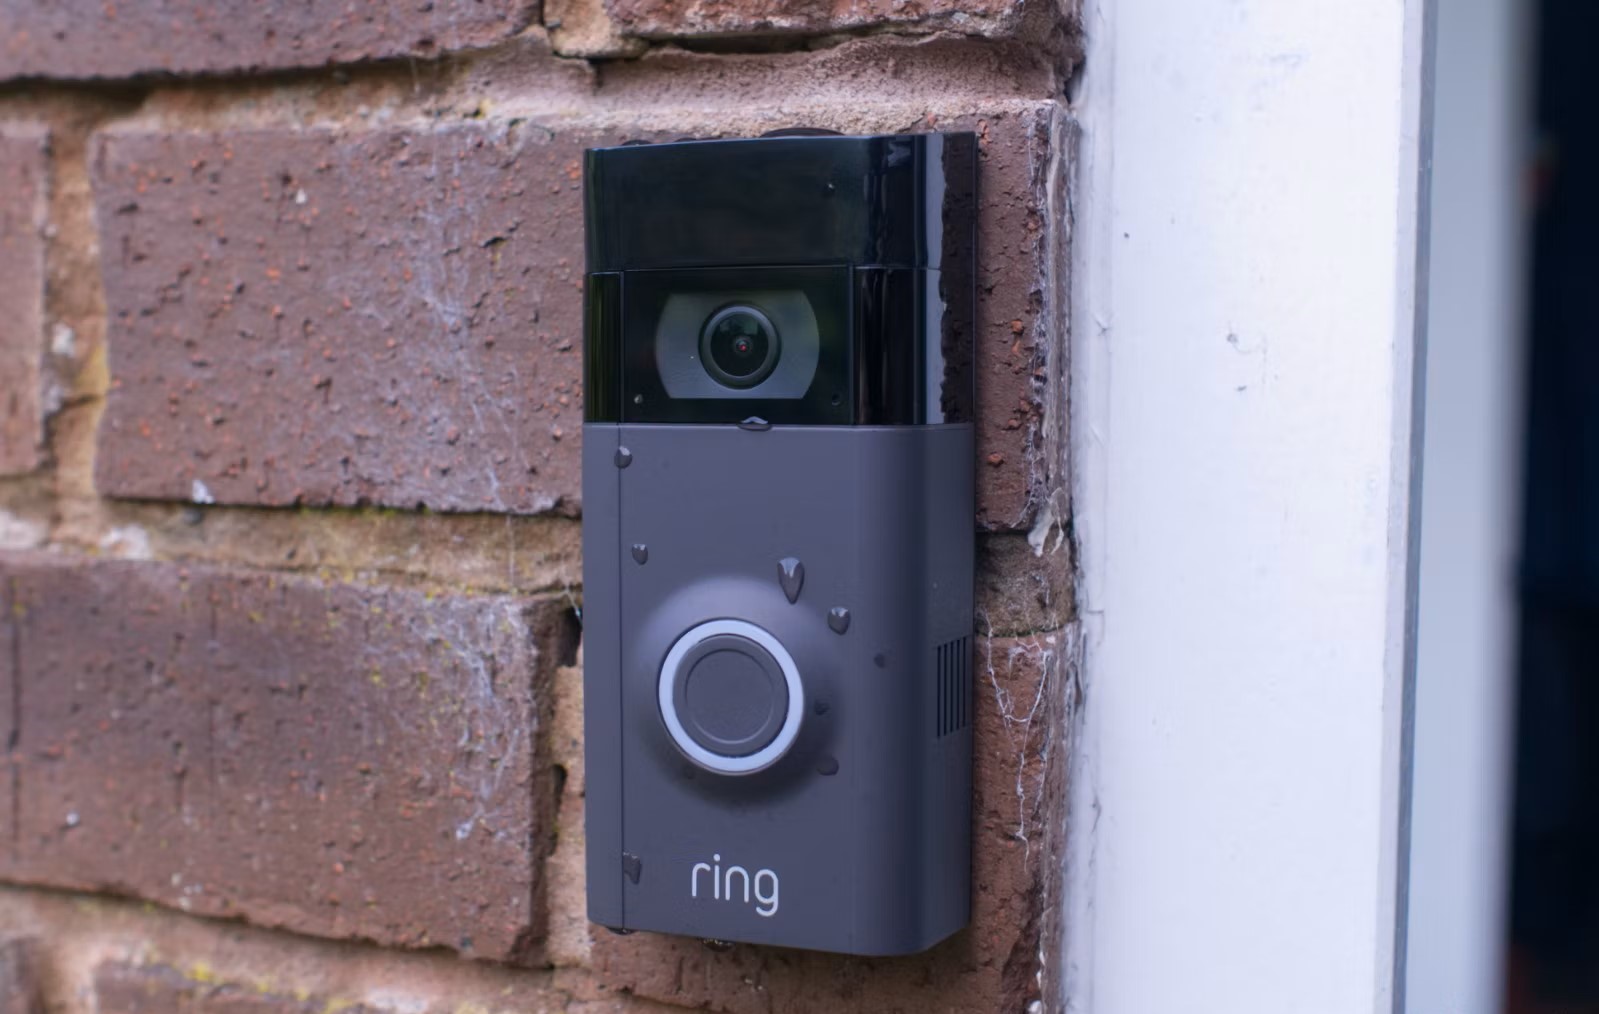
Step 3: Set Up the Ring Doorbell
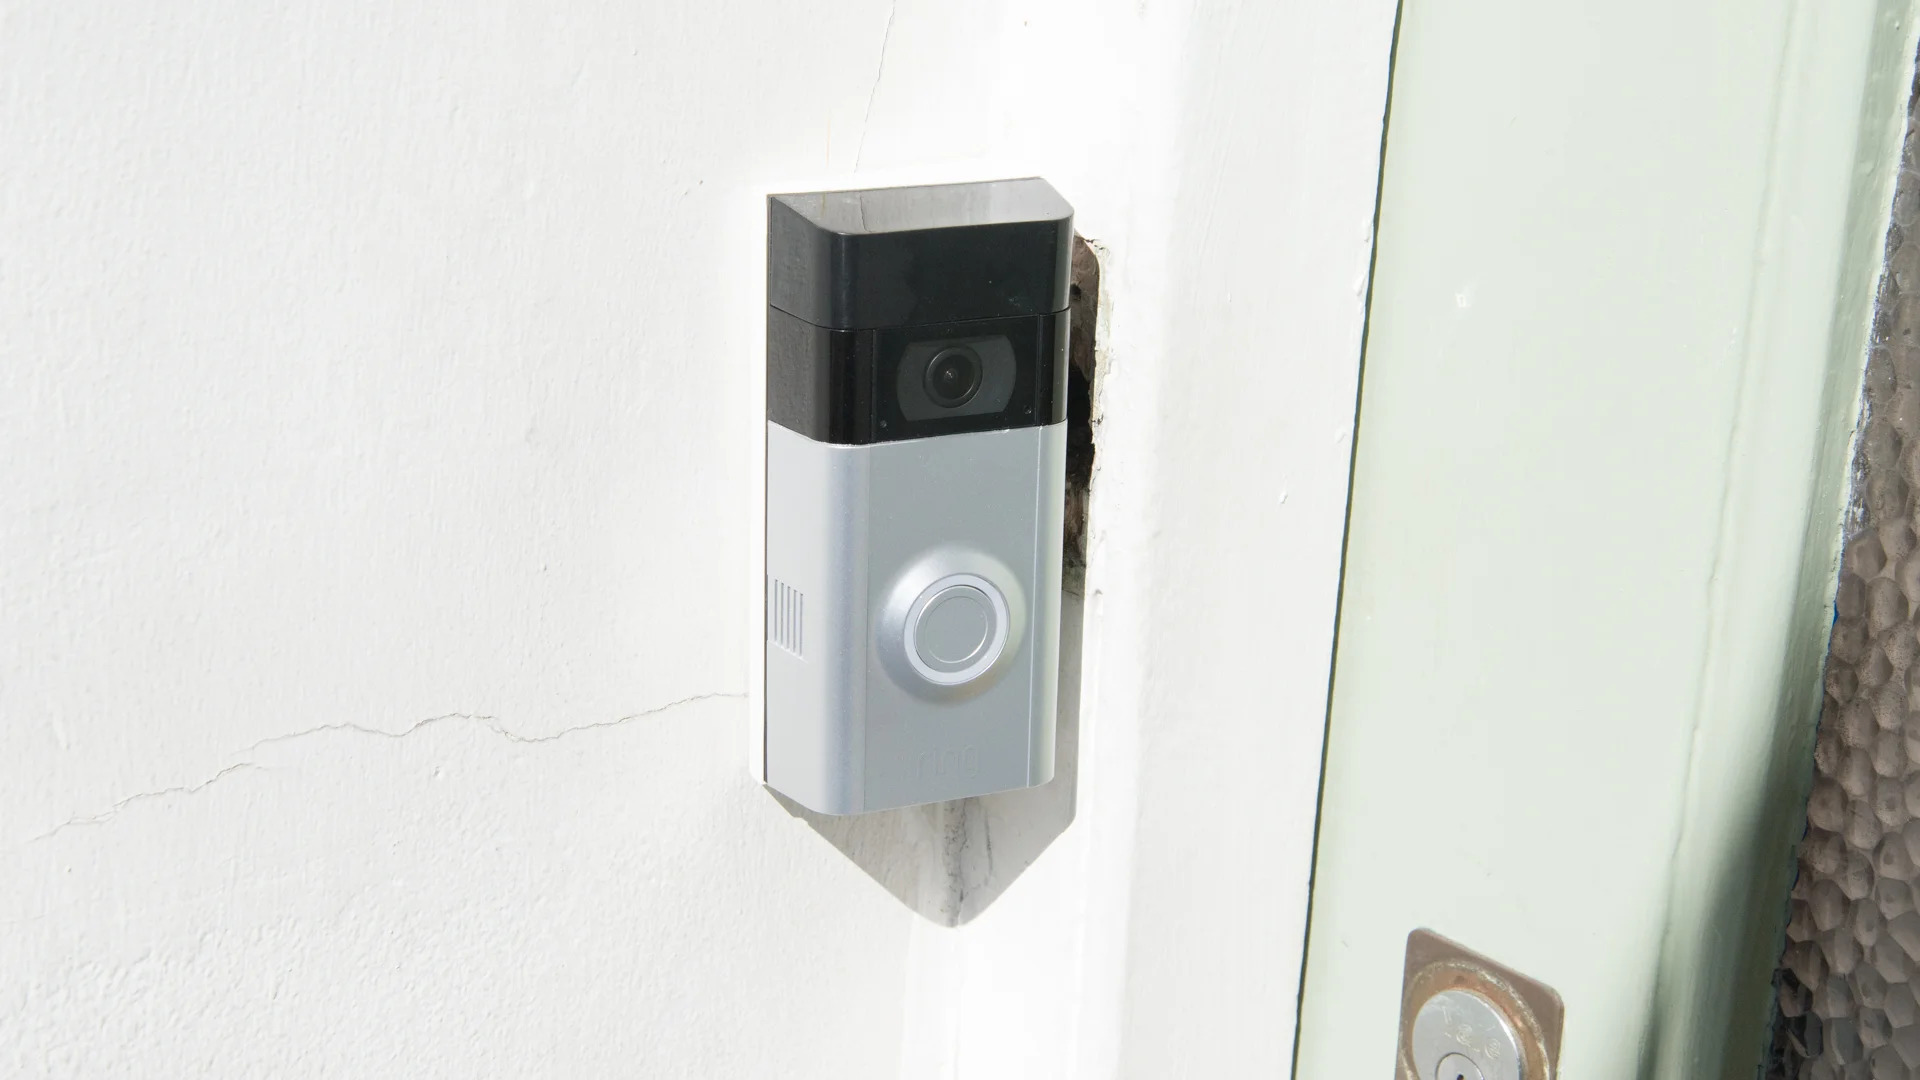
Now that you’ve created a Ring account, it’s time to set up your Ring Doorbell. This step involves physically installing the device at your front door and ensuring it is securely mounted. Follow these instructions to set up your Ring Doorbell:
- Choose the ideal location: Before you begin the installation process, decide where you want to position your Ring Doorbell. It should be placed at a height that allows for a clear view of your front door. Make sure it’s within reach of your Wi-Fi network for a reliable connection.
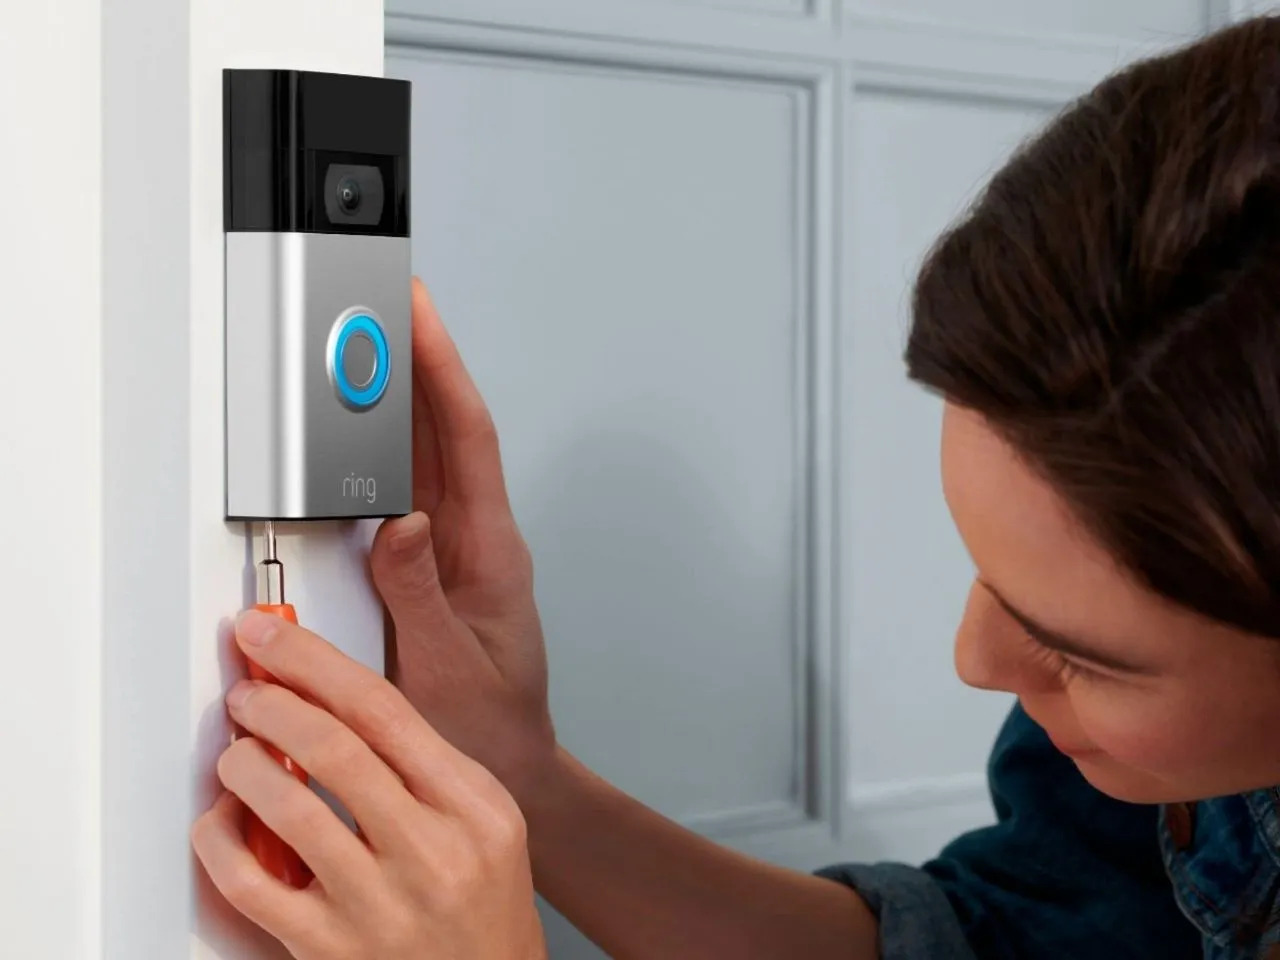
- Prepare the mounting bracket: The Ring Doorbell comes with a mounting bracket that needs to be installed on your wall or door frame. Use the included screws and a screwdriver to securely attach the bracket.
- Attach the Ring Doorbell to the mounting bracket: Line up the slots on the back of the Ring Doorbell with the tabs on the mounting bracket. Slide the device into place until it clicks into position. Give it a gentle tug to ensure it is securely attached.
- Adjust the angle: Once the Ring Doorbell is mounted, you can adjust the angle of the camera to ensure it captures the desired field of view. Use a screwdriver to loosen the screws on the side of the device and adjust the angle. Tighten the screws once you’ve achieved the desired position.
- Install the faceplate: The Ring Doorbell comes with interchangeable faceplates to match your home’s aesthetic. Choose the one that best suits your style and attach it to the front of the device.
- Power on the Ring Doorbell: Depending on the model, you may need to insert the battery or connect the device to a power source. Follow the instructions provided with your Ring Doorbell to power it on.
Once your Ring Doorbell is physically set up, it’s time to move on to the next step: connecting it to your Wi-Fi network.
Note: If you’re unsure about any aspect of the installation process, refer to the instruction manual included with your Ring Doorbell or visit the official Ring website for detailed installation guides.
To activate your Ring Doorbell, download the Ring app, create an account, and follow the in-app instructions to set up your device and connect it to your Wi-Fi network.
Step 4: Connect the Ring Doorbell to Wi-Fi
Now that your Ring Doorbell is installed, it’s time to connect it to your Wi-Fi network. Follow these steps to establish a connection:
- Make sure your smartphone or tablet is connected to the same Wi-Fi network you want to connect your Ring Doorbell to.
- Open the Ring app on your device and sign in to your Ring account if you haven’t already.
- In the app, tap on the menu icon in the top-left corner of the screen.
- Select “Devices” from the menu options.
- Tap on the Ring Doorbell device you want to connect.
- Tap on “Device Health” to access the settings for your Ring Doorbell.
- In the Device Health screen, tap on “Wi-Fi Network” to start the Wi-Fi setup process.
- The app will guide you through the Wi-Fi setup process. Follow the on-screen instructions to choose your Wi-Fi network from the available list.
- Enter your Wi-Fi network password when prompted.
- Wait for the app to establish a connection between your Ring Doorbell and your Wi-Fi network.
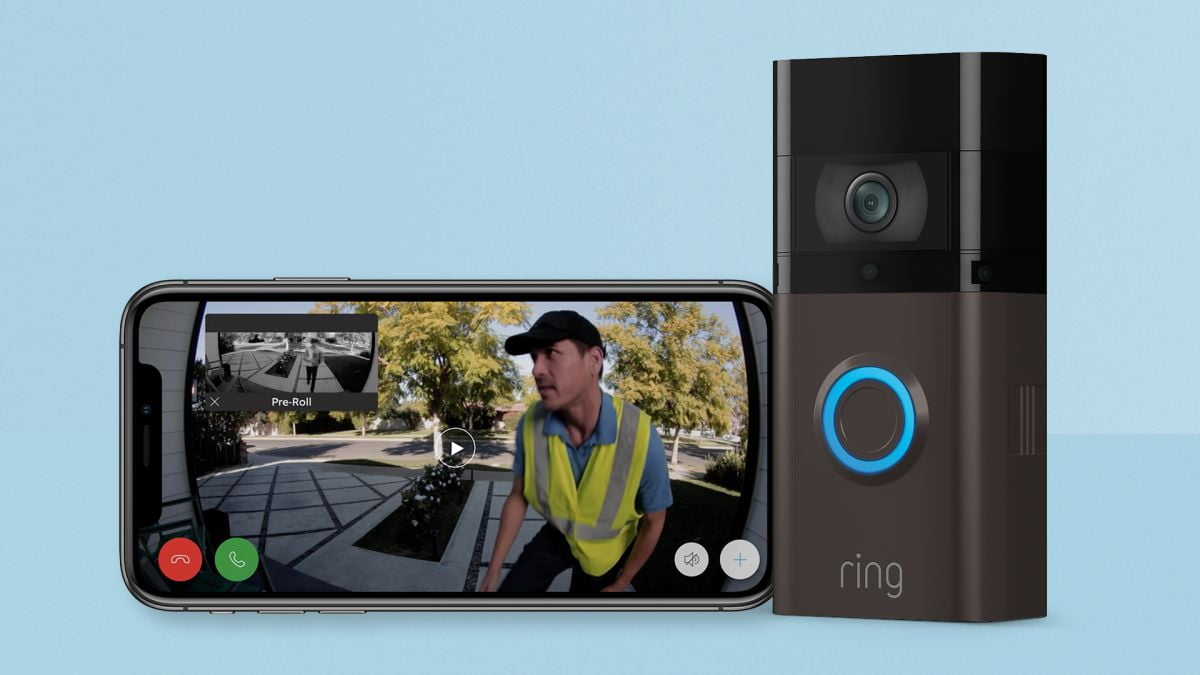
Once the connection is established, your Ring Doorbell will be able to communicate with your smartphone or tablet through the Ring app. This allows you to receive notifications, view live footage, and interact with visitors using the two-way audio feature.
If you encounter any issues during the Wi-Fi setup process, ensure that you’re using the correct Wi-Fi network and password. If problems persist, try moving your smartphone or tablet closer to your Ring Doorbell or restarting your Wi-Fi router.
With your Ring Doorbell successfully connected to Wi-Fi, you’re ready to move on to the next step: customizing the settings for your Ring Doorbell.
Read more: Why Is My Ring Doorbell Not Ringing
Step 5: Customize Ring Doorbell Settings
Now that your Ring Doorbell is connected to your Wi-Fi network, it’s time to customize its settings according to your preferences. The Ring app provides a range of options that allow you to personalize your device’s behavior and functionality. Follow these steps to customize your Ring Doorbell settings:
- Open the Ring app on your smartphone or tablet and sign in to your Ring account if necessary.
- In the app, tap on the menu icon in the top-left corner of the screen.
- Select “Devices” from the menu options.
- Tap on the Ring Doorbell device you want to customize.
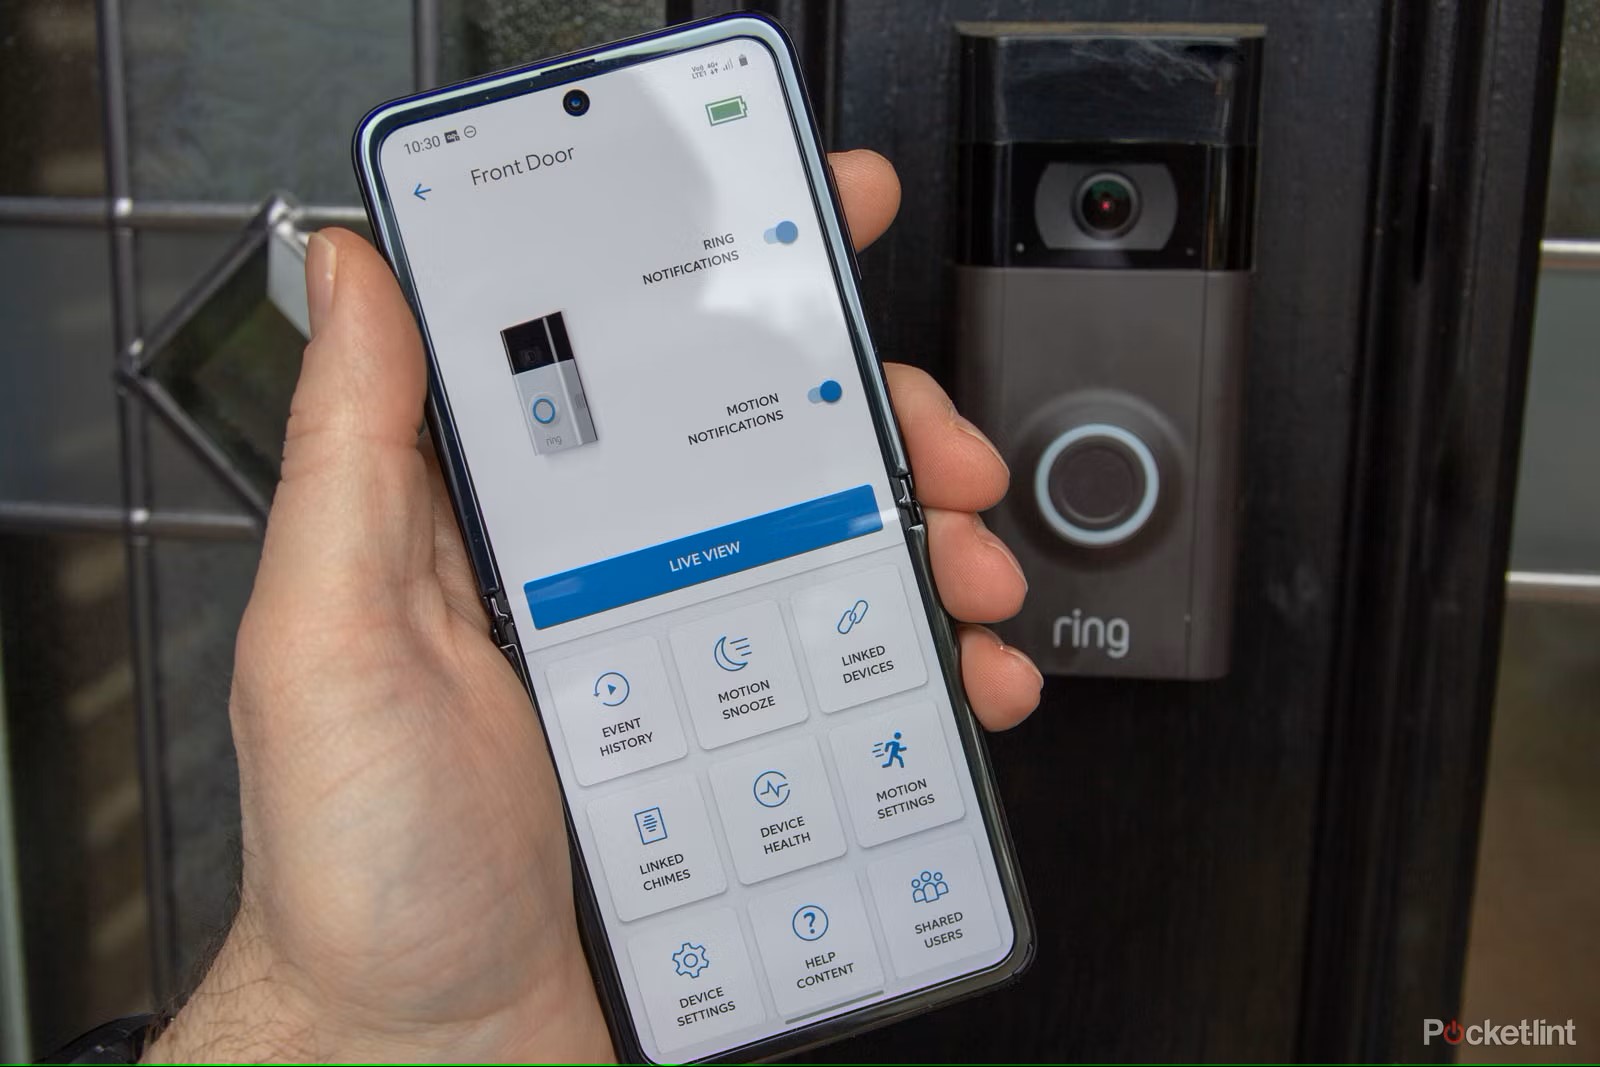
- You’ll be presented with various settings options. Here are some of the key settings you can adjust:
- Motion settings: Adjust the sensitivity and range of motion detection. You can specify areas to monitor and set motion zones to limit unnecessary notifications.
- Video settings: Customize video quality, choose between Live View and Snapshot Capture, and enable audio recording.
- Notification settings: Define how and when you receive notifications for doorbell rings, motion detection, and other events. You can enable push notifications, email alerts, or even link your Ring device with a compatible smart home assistant like Amazon Alexa or Google Assistant.
- Sharing settings: Grant access to other family members or trusted individuals by adding them as users in your Ring account. You can assign different levels of access and permissions to each user.
- Device health: Check the battery level, Wi-Fi signal strength, and overall health of your Ring Doorbell.
Take a moment to explore the various settings and customize them to your liking. Remember to save any changes you make before exiting the app. The customizations you make will enhance your experience with the Ring Doorbell and ensure it aligns with your specific needs.
Feel free to revisit these settings at any time to fine-tune them or make further adjustments as required.
Now that you’ve customized your Ring Doorbell settings, it’s time to move on to the final step: testing the functionality of your Ring Doorbell.
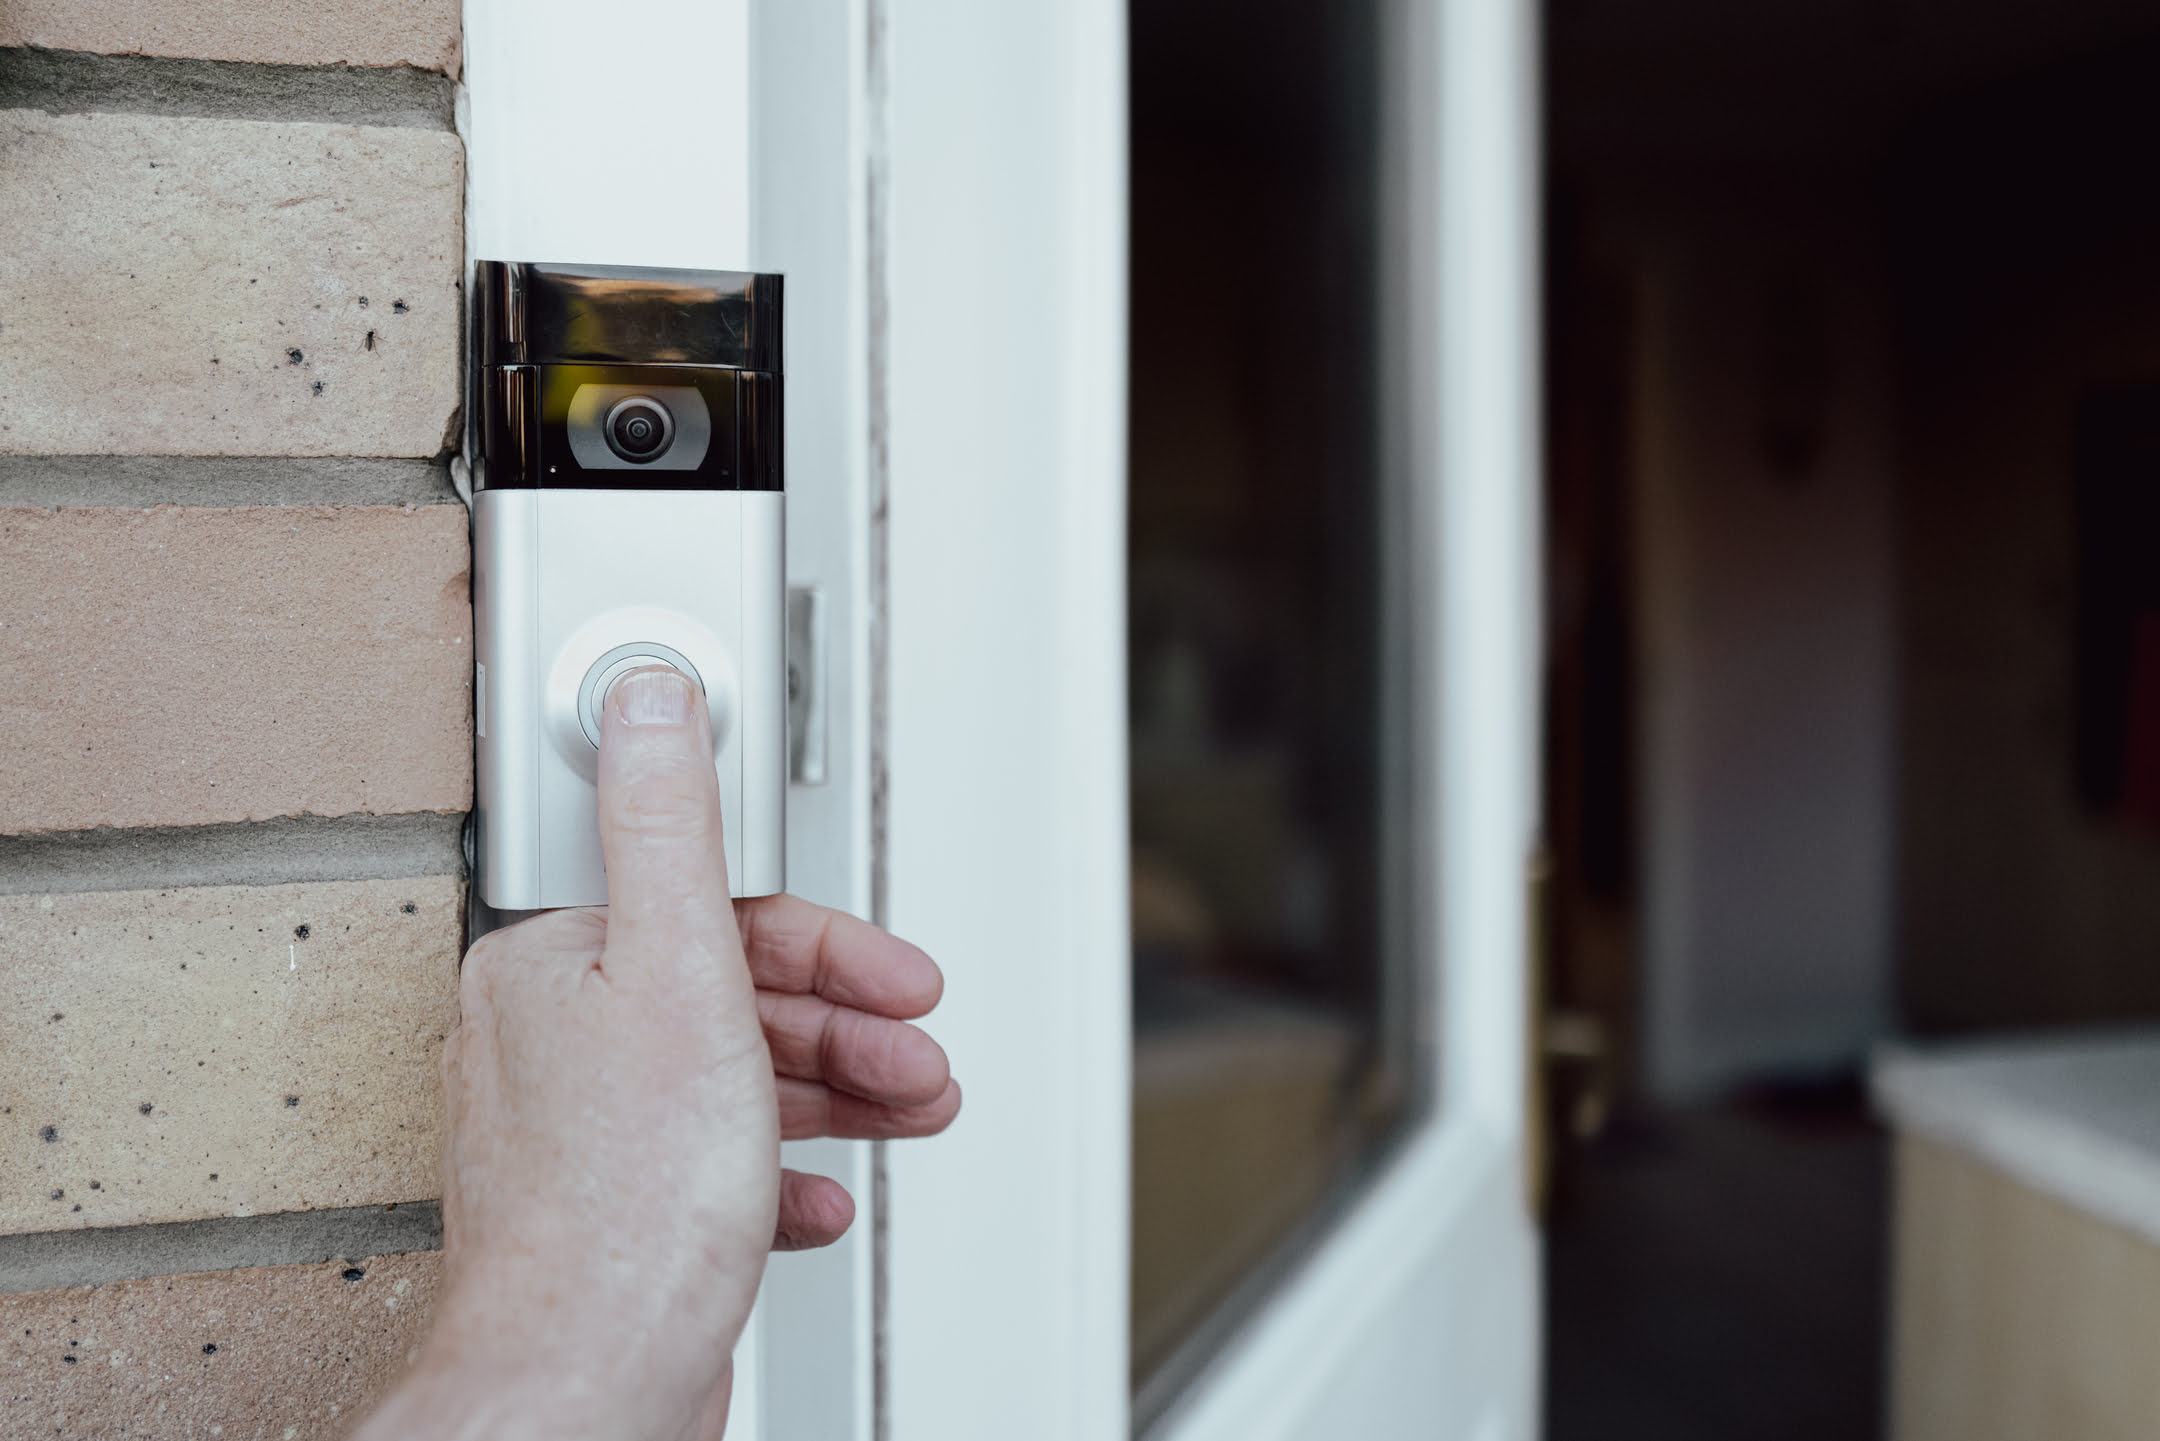
Step 6: Test the Ring Doorbell
After setting up and customizing your Ring Doorbell, it’s essential to test its functionality to ensure everything is working correctly. Here’s how you can test your Ring Doorbell:
- Stand outside your front door and press the doorbell button. This will trigger a doorbell ring event and send a notification to your smartphone or tablet.
- Check your device to see if you receive the notification. Tap on it to open the Ring app and access the live view of your Ring Doorbell’s camera.
- Take a moment to observe the live footage and listen for the audio from the Ring Doorbell.
- If you’ve connected your Ring Doorbell to a compatible smart home assistant, such as Amazon Alexa or Google Assistant, you can also test the voice command functionality. Try saying something like “Hey Alexa, show me the front door” to see if the live view appears on your Alexa-compatible device.
- Additionally, you can test the motion detection feature by having someone walk in the monitored area. This should trigger a motion event notification on your device.
While testing, make sure the audio is clear, the video is of sufficient quality, and the notifications are received in a timely manner. If you encounter any issues, such as poor Wi-Fi signal or incorrect notifications, double-check your network connection and review the settings you customized in the previous steps.
By thoroughly testing your Ring Doorbell, you can ensure that it is functioning properly and providing the level of security and convenience you expected. If any issues persist, consult the troubleshooting guide provided by Ring or reach out to their customer support for further assistance.
Congratulations! With the successful testing of your Ring Doorbell, you’ve completed all the necessary steps to activate and set up your device. Enjoy the enhanced security, convenience, and peace of mind that your Ring Doorbell provides!
Remember to regularly check for firmware updates for your Ring Doorbell and stay up to date with the latest features and improvements.
Thank you for choosing Ring and happy monitoring!
Conclusion
Activating your Ring Doorbell is a simple yet crucial process that allows you to fully utilize the features and benefits of your smart doorbell. By following the steps outlined in this guide, you’ve successfully set up your Ring Doorbell, connected it to your Wi-Fi network, customized the settings, and tested its functionality.
Your Ring Doorbell now offers you peace of mind, convenience, and enhanced security for your home. With the ability to see, hear, and speak to visitors at your front door from anywhere using your smartphone or tablet, you’re always connected and in control, even when you’re not at home.
Remember to periodically review and update your Ring Doorbell settings to suit your preferences and requirements. Whether it’s adjusting the motion detection settings, adding additional users to your Ring account, or integrating it with other smart home devices, you have the flexibility to customize it to your liking.
If you ever encounter any difficulties or need assistance, the Ring website provides comprehensive support resources, including FAQs, troubleshooting guides, and customer support channels to address any concerns or issues you may have.
With your Ring Doorbell activated, you can experience the peace of mind that comes with knowing you have a reliable and advanced security system in place. Whether it’s receiving package delivery notifications, monitoring for suspicious activities, or simply greeting your guests from afar, your Ring Doorbell is sure to enhance your home security and improve your overall living experience.
Thank you for choosing Ring for your smart doorbell needs. We hope you enjoy the convenience, security, and peace of mind that your Ring Doorbell brings to your home.
Happy monitoring!
Now that you've got your Ring Doorbell activated, why stop there? Enhancing safety measures at home is always smart. Dive into our detailed insights on why you should upgrade your home security, ensuring peace of mind. If you’re considering an upgrade, our guide on installing a Ring Doorbell 3 is perfect for a smooth setup. Ready to take home management to the next level? Don’t miss our roundup of the best home automation systems for 2024, transforming everyday routines into streamlined operations.
Frequently Asked Questions about How To Activate Ring Doorbell
Was this page helpful?
At Storables.com, we guarantee accurate and reliable information. Our content, validated by Expert Board Contributors, is crafted following stringent Editorial Policies. We're committed to providing you with well-researched, expert-backed insights for all your informational needs.


0 thoughts on “How To Activate Ring Doorbell”