
Articles
How To Open The Ring Doorbell
Modified: October 26, 2024
Learn how to open the Ring Doorbell with step-by-step instructions and helpful articles. Enhance your home security easily with our comprehensive guides.
(Many of the links in this article redirect to a specific reviewed product. Your purchase of these products through affiliate links helps to generate commission for Storables.com, at no extra cost. Learn more)
Introduction
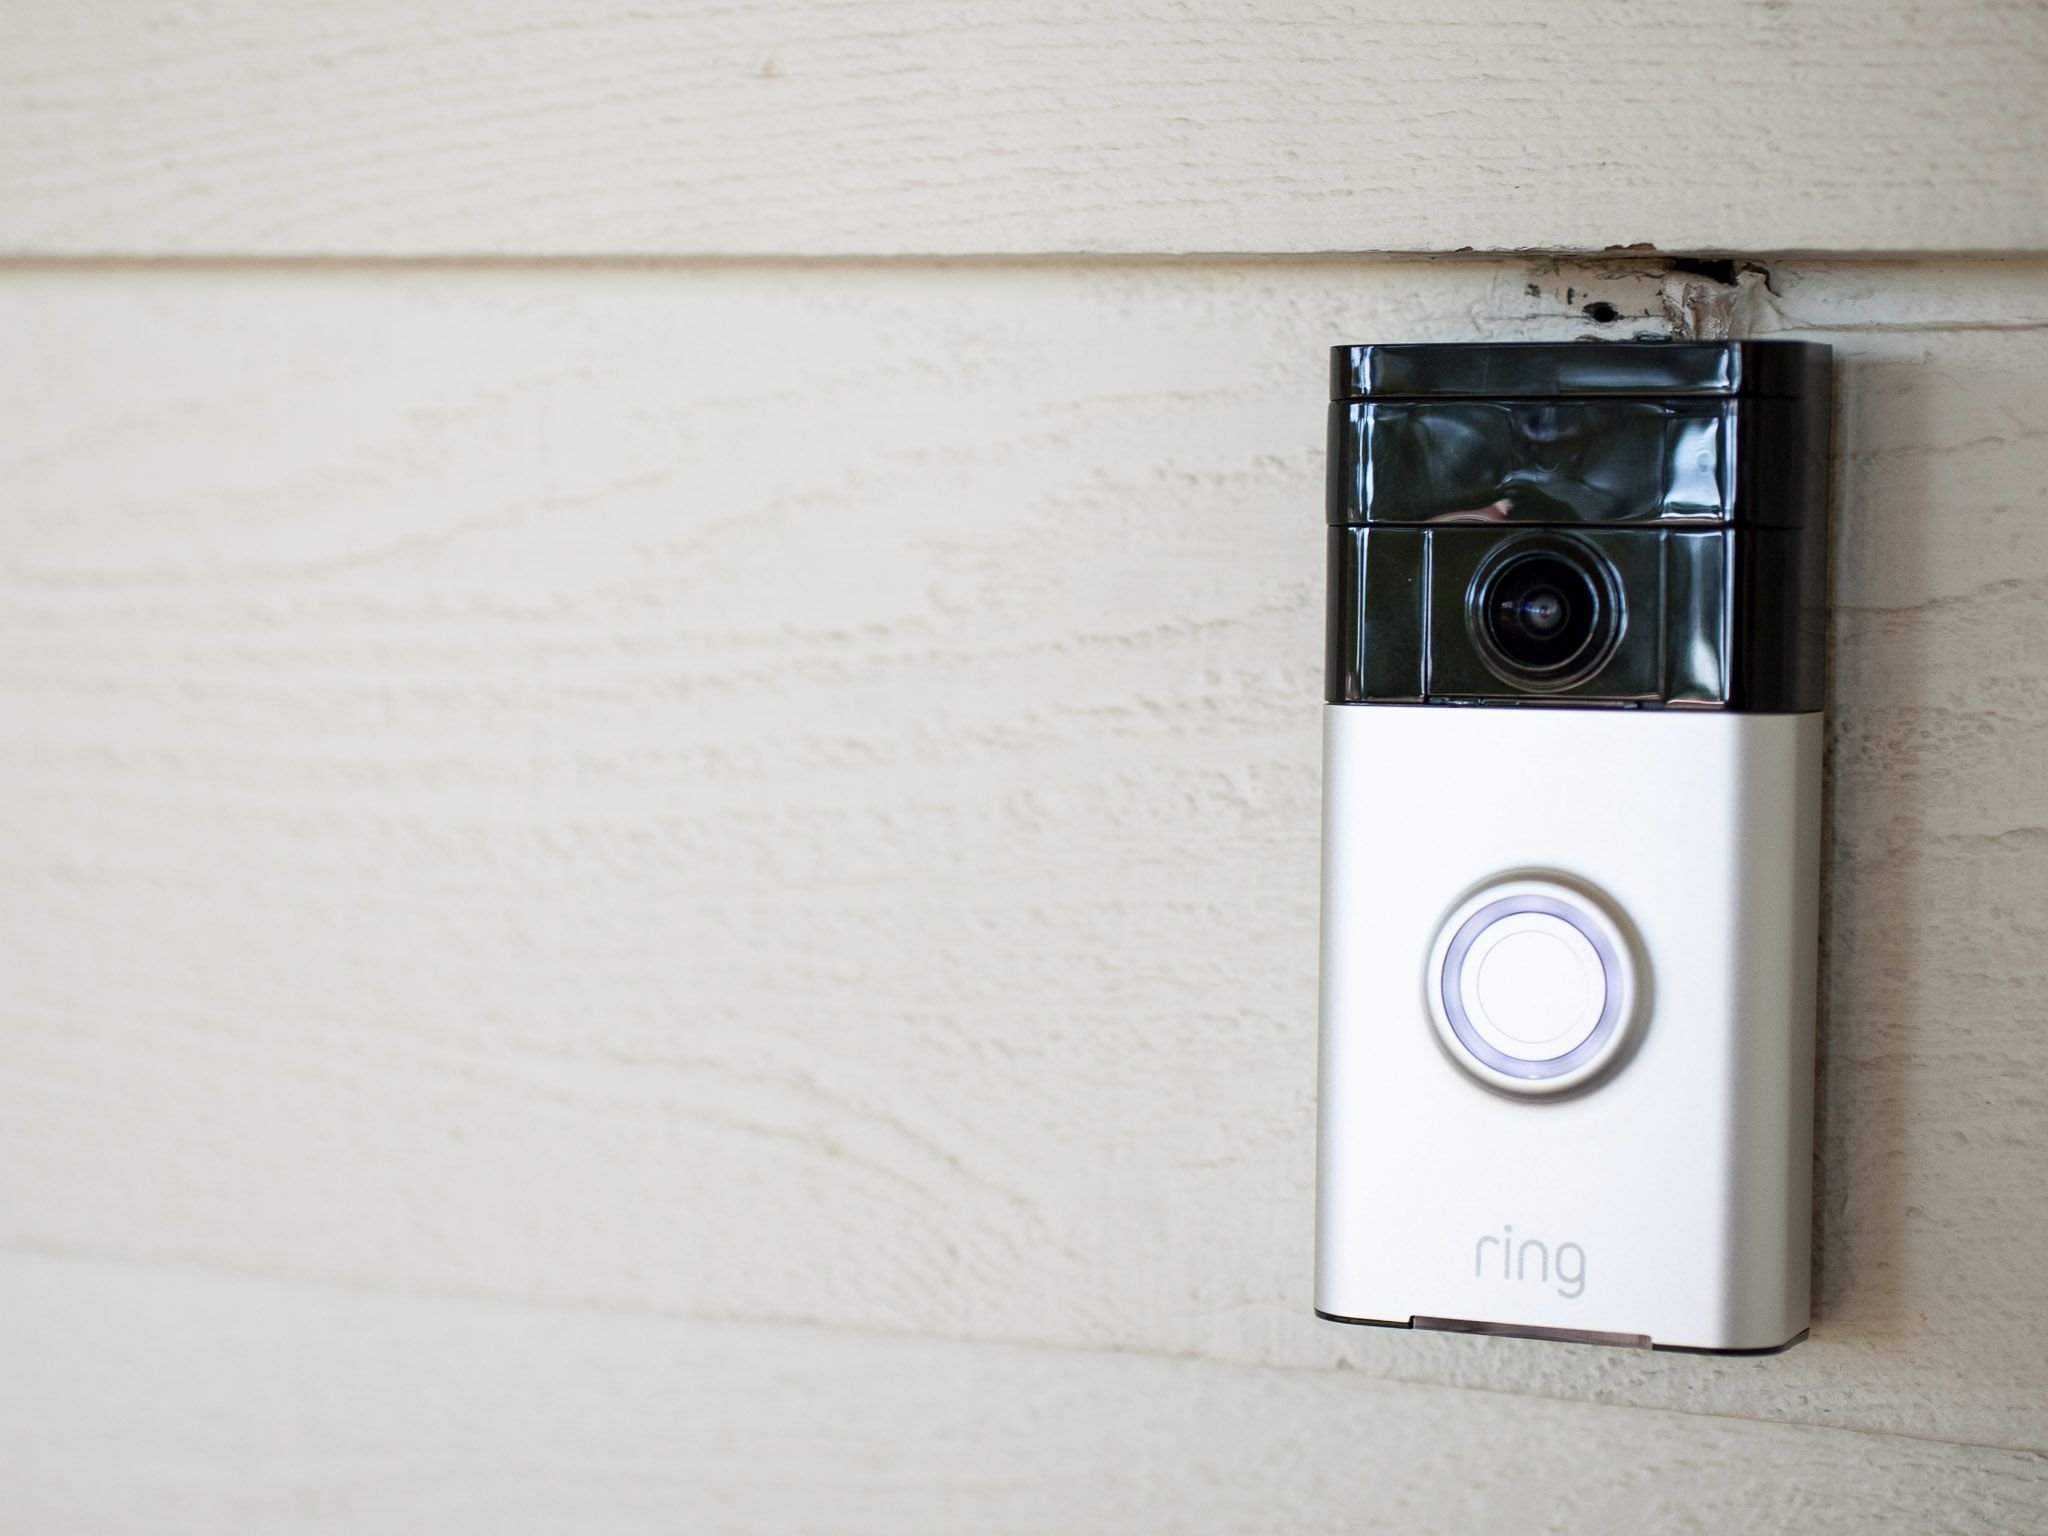
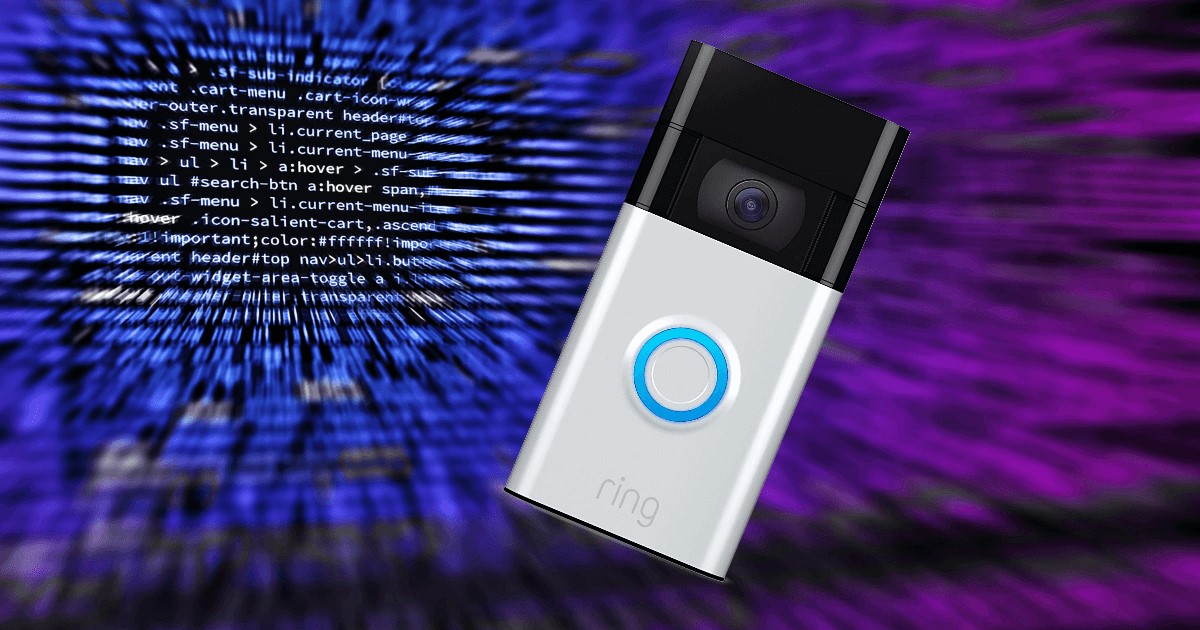
The Ring Doorbell is a popular home security device that allows you to monitor and interact with anyone at your front door, whether you’re at home or away. Opening the Ring Doorbell enables you to start enjoying its features, such as live video streaming, motion detection, and two-way audio communication. In this article, we will guide you through a step-by-step process on how to open your Ring Doorbell and get it set up for use.
Before we dive into the installation process, it’s essential to ensure you have all the necessary equipment and that you are familiar with the contents of the package. This will help make the installation smoother and more efficient.
Key Takeaways:
- Ensure a Smooth Installation
Before opening and setting up your Ring Doorbell, check the package contents, prepare for installation, and follow the step-by-step process to ensure a smooth and efficient setup. - Optimize Performance and Enjoy Features
After setting up your Ring Doorbell, test and adjust its settings, connect it to the Ring app, and explore additional features to optimize performance and fully enjoy its enhanced security benefits.
Read more: Why Is My Ring Doorbell Not Ringing
Step 1: Checking the Package Contents
Before opening the Ring Doorbell, take a moment to familiarize yourself with the package contents to ensure everything you need is included. Here are the key components you should find inside:
- Ring Doorbell device: The main unit of the Ring Doorbell, which houses the camera, speaker, and microphone.
- Mounting bracket: This is used to attach the Ring Doorbell to the wall or doorframe securely.
- Screws and anchors: These are provided to help you mount the Ring Doorbell securely to the desired location.
- Charging cable: The Ring Doorbell may need to be charged before installation, and this cable allows you to do so.
- Drill bit: Depending on your installation needs, a drill bit may be included to assist with creating holes for the mounting screws.
- User manual and installation guide: These documents provide detailed instructions on setting up and using your Ring Doorbell.
- Security stickers: These can be placed near the Ring Doorbell to deter potential intruders.
Ensure that all the items listed above are present and in good condition. If anything is missing or damaged, reach out to the manufacturer or the retailer you purchased the Ring Doobell from for assistance with replacements.
Once you have verified the package contents, you are ready to move on to the next step: preparing for installation.
Step 2: Preparing for Installation
Before you begin the installation process, it’s crucial to prepare for the installation of your Ring Doorbell. Here are a few steps to help you get ready:
- Charge the Ring Doorbell: The first thing you should do is charge the Ring Doorbell fully. Connect the charging cable to the device and plug it into a power source. Allow it to charge for a few hours until the battery is at 100%. This will ensure that your Ring Doorbell is ready to set up and use once installed.
- Choose the Installation Location: Consider where you want to install your Ring Doorbell. Choose a location that provides a clear view of your front door and is within range of your Wi-Fi network. Ensuring a stable internet connection is essential for the device to function correctly.
- Check Internet Connectivity: Ensure that your Wi-Fi network is functioning properly and has a strong signal in the chosen installation location. You can test the connectivity by bringing a device, such as your smartphone or laptop, to the proposed installation spot and checking the Wi-Fi strength. A stable connection will optimize the performance of your Ring Doorbell.
- Gather Tools and Equipment: To install the Ring Doorbell properly, gather the necessary tools and equipment. This usually includes a screwdriver, a level for ensuring the mounting bracket is straight, and a drill with the appropriate drill bit if you need to create holes for the screws.
- Review the User Manual: Take a few moments to review the user manual and installation guide provided with the Ring Doorbell. Familiarize yourself with the instructions and any safety precautions before proceeding. Understanding the installation process beforehand will make it easier and more efficient.
- Ensure Safety: Finally, ensure your safety during the installation process. Work during daylight hours or install appropriate lighting if working in the evening. If you’re uncomfortable or unfamiliar with electrical work, consider seeking professional installation assistance. Safety should always be a top priority.
By taking these steps and preparing appropriately, you’ll be ready to move forward with the installation of your Ring Doorbell and enjoy its features for enhanced home security.
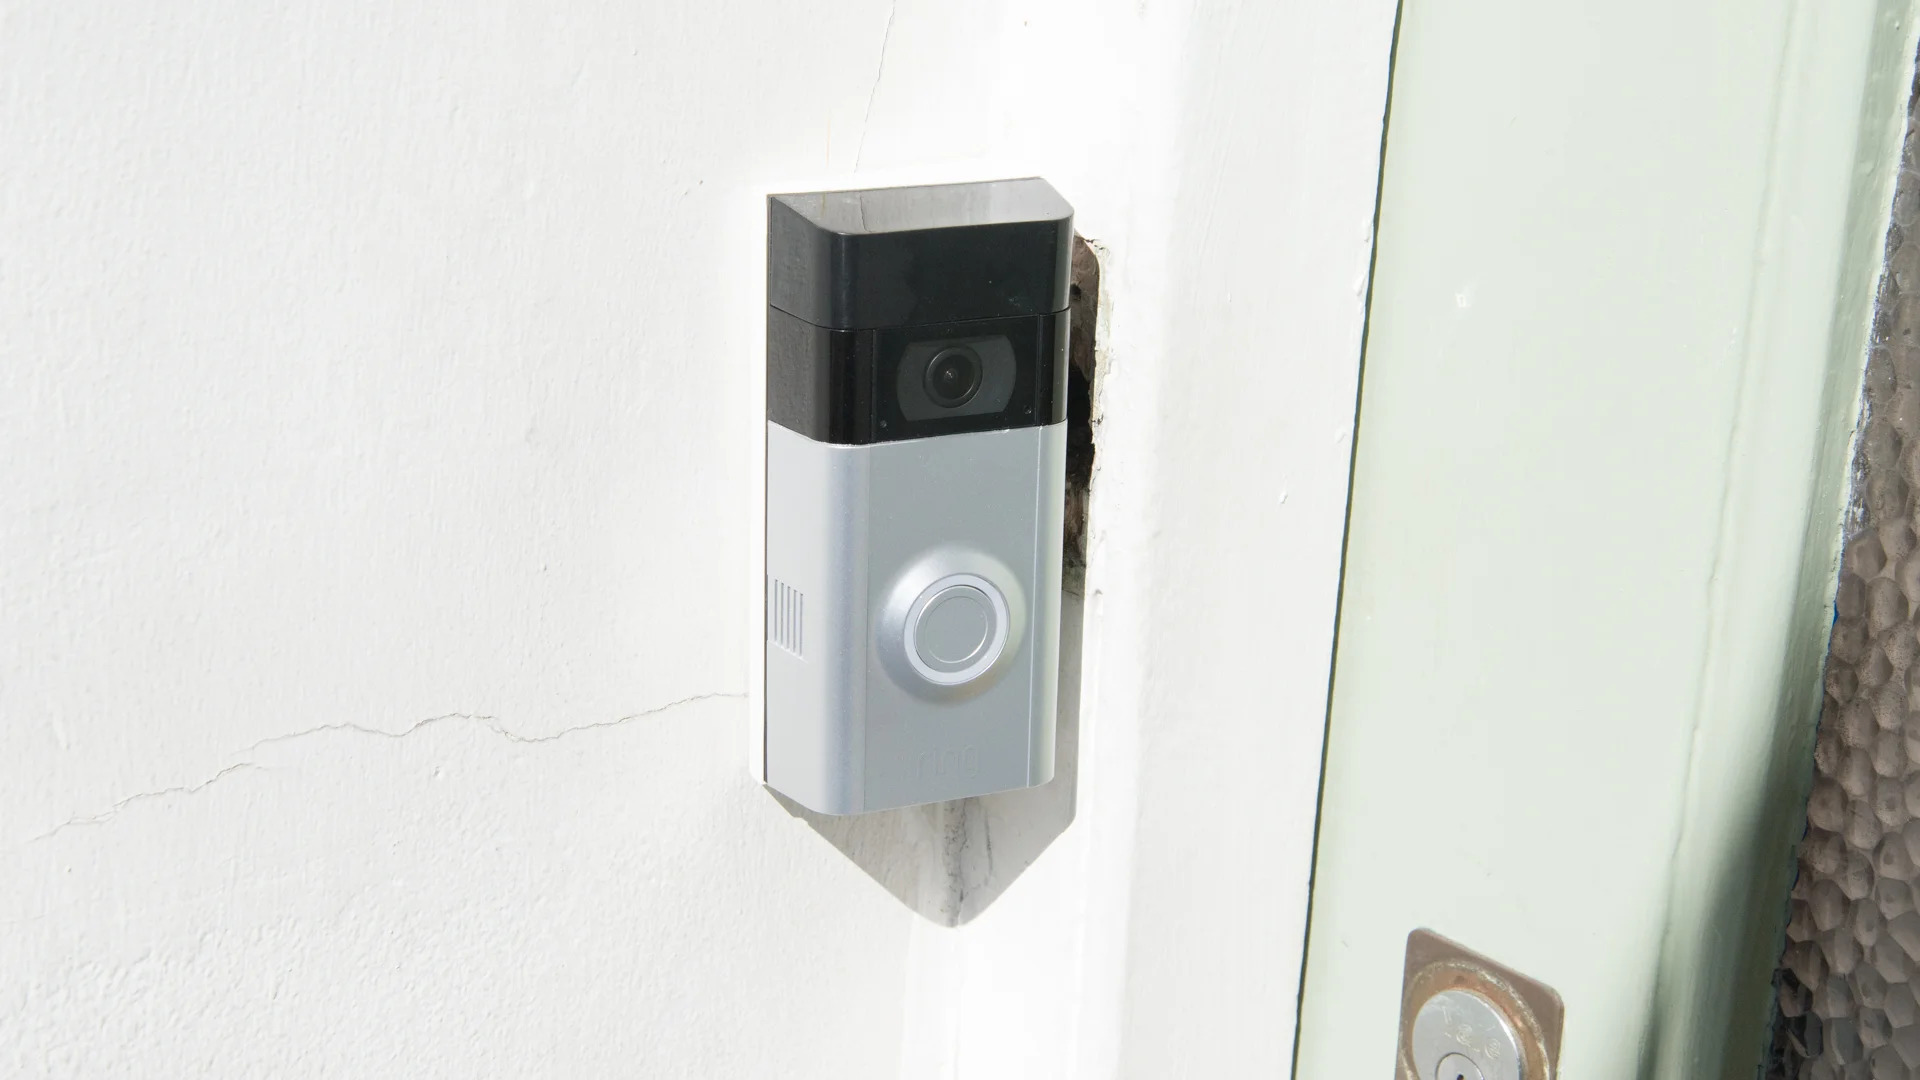
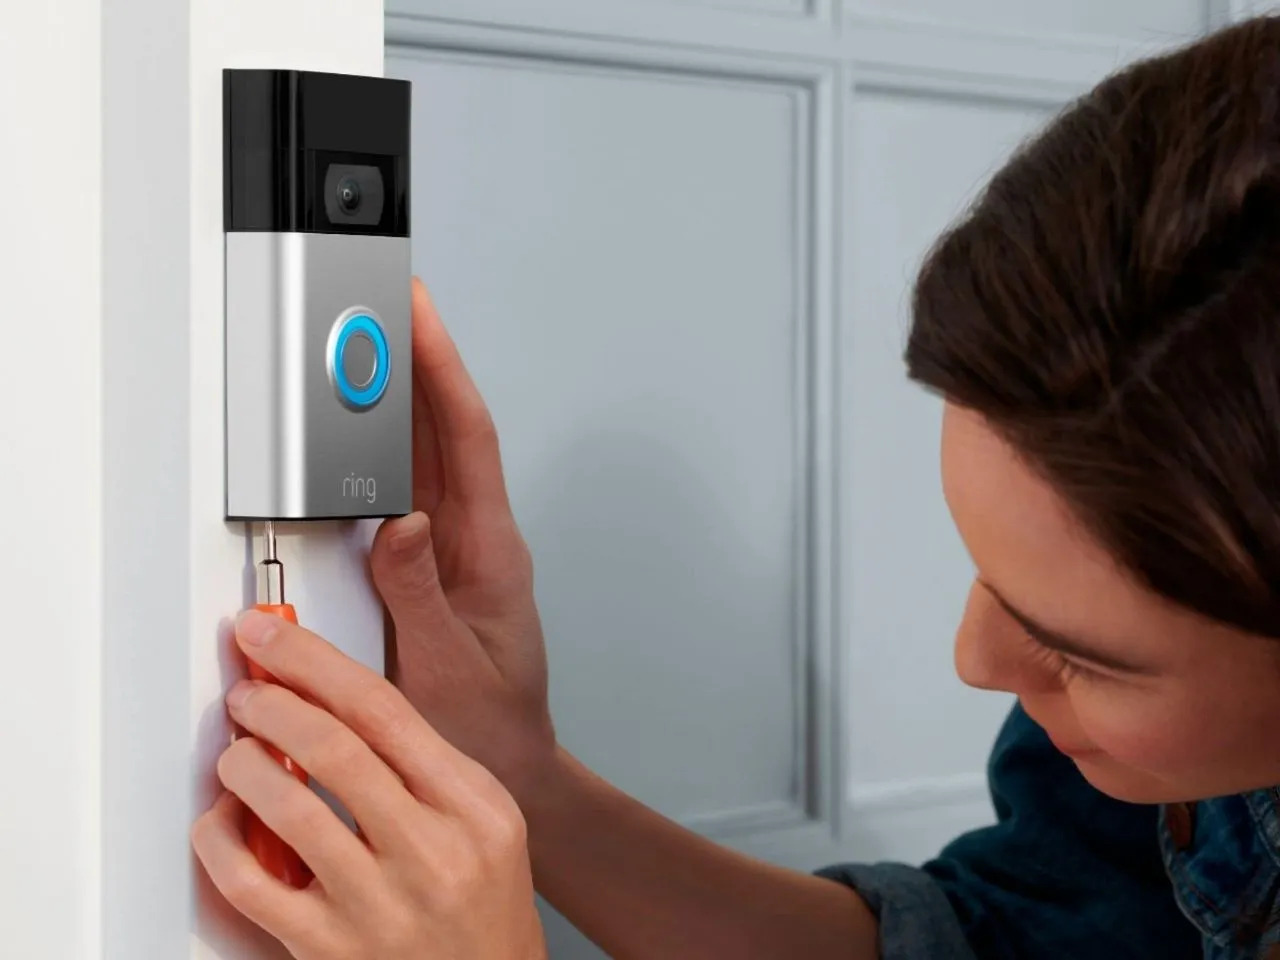
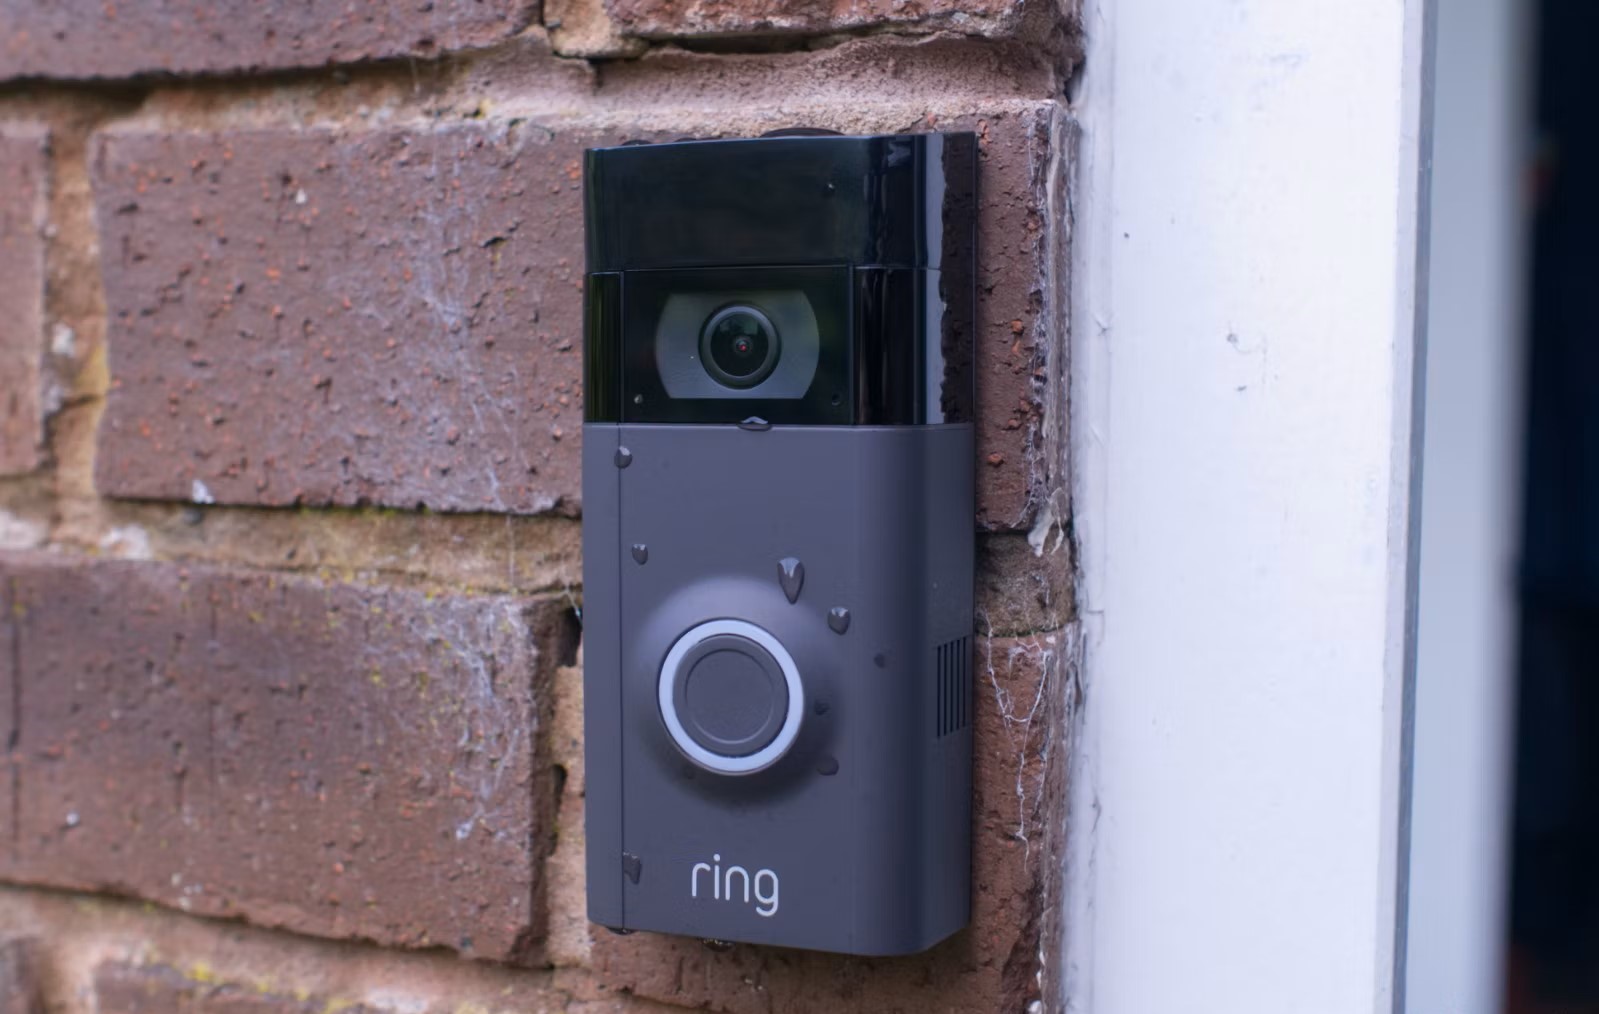
Step 3: Installing the Mounting Bracket
Now that you’ve prepared for the installation of your Ring Doorbell, it’s time to install the mounting bracket. The mounting bracket serves as the base that attaches the Ring Doorbell to your wall or doorframe securely. Follow these steps to install the mounting bracket:
- Choose the Mounting Location: Decide where you want to install the Ring Doorbell and hold the mounting bracket against the wall or doorframe in that location. Ensure that it is level and aligned properly.
- Mark the Mounting Holes: With the mounting bracket in place, use a pencil or marker to mark the location of the mounting holes on the wall or doorframe. These marks will guide you when it comes time to drill.
- Drill Pilot Holes: Using a drill and the appropriate drill bit, carefully drill pilot holes at the marked locations. Make sure the size of the holes matches the screws provided with the Ring Doorbell.
- Remove the Mounting Bracket: After drilling the pilot holes, temporarily remove the mounting bracket from the wall or doorframe. Keep track of the screws you will need to attach the bracket back in place.
- Insert Anchors (if necessary): If your installation location requires the use of anchors, insert them into the pilot holes. Gently tap them into place with a hammer until they are flush with the wall surface.
- Attach the Mounting Bracket: Align the mounting bracket with the pilot holes and place it back against the wall or doorframe. Insert the screws provided into the pilot holes or anchors and tighten them securely using a screwdriver.
- Check Stability: Ensure that the mounting bracket is secure and stable. Give it a gentle tug to make sure it’s firmly attached.
Once the mounting bracket is installed, you have a solid base to attach the Ring Doorbell. This takes us one step closer to fully setting up your Ring Doorbell.
Step 4: Wiring the Ring Doorbell
With the mounting bracket securely installed, it’s time to wire your Ring Doorbell. The wiring process is relatively straightforward and essential for powering the device. Follow these steps to wire your Ring Doorbell:
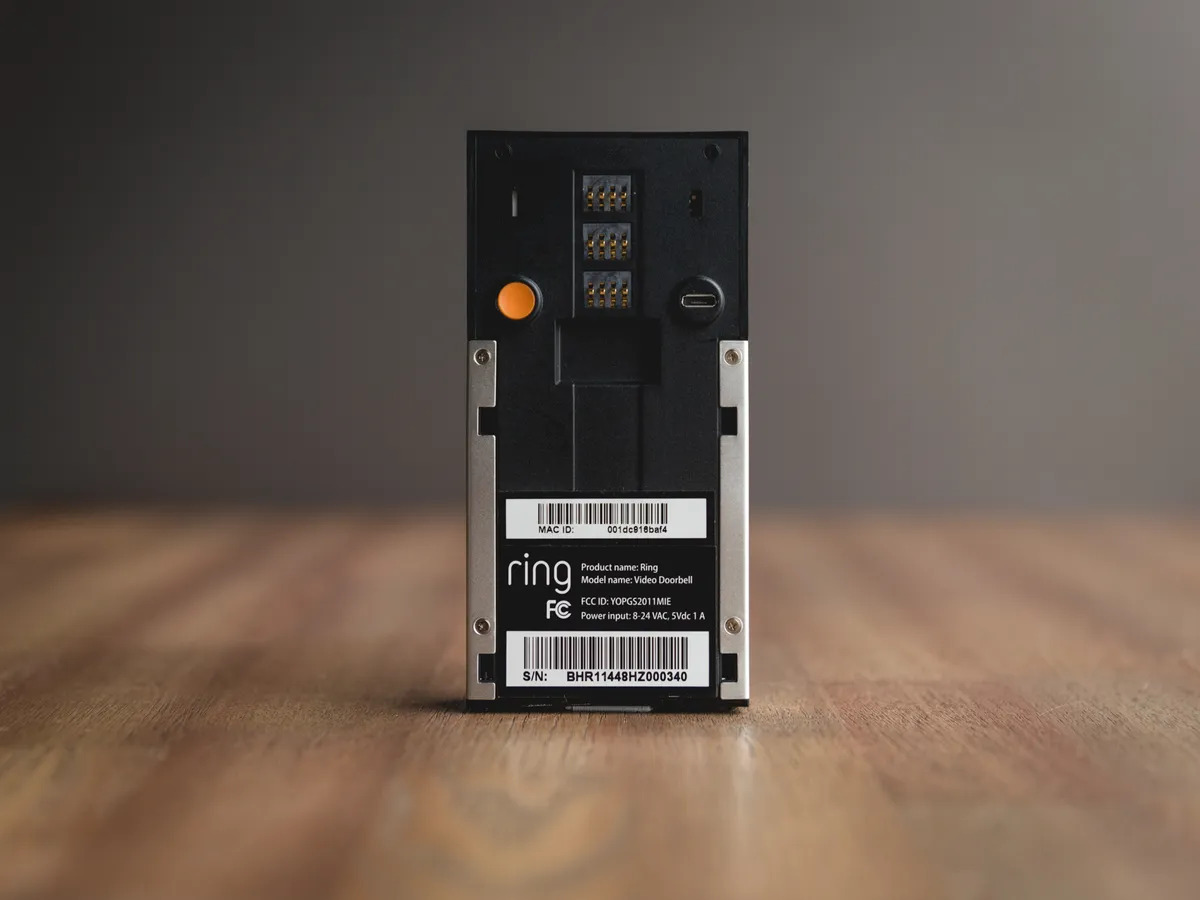
- Locate the Wiring Terminals: On the back of the Ring Doorbell, locate the wiring terminals. These terminals are usually labeled with “+” and “-” symbols.
- Prepare the Wires: Strip the ends of the wires that will be connected to the Ring Doorbell. You can use wire strippers to do this, exposing a small section of the copper wire inside.
- Connect the Wires: Identify the positive (+) and negative (-) wires from your existing doorbell wiring system. Connect the positive wire to the “+” terminal on the Ring Doorbell and the negative wire to the “-” terminal.
- Tighten the Terminal Screws: Once the wires are connected to the appropriate terminals, use a screwdriver to tighten the terminal screws securely. This will ensure a solid electrical connection.
- Wrap and Secure the Wires: To prevent any loose wires or potential damage, wrap electrical tape around the exposed wire ends. Additionally, use cable clips or wire staples to secure the wires neatly along the wall or doorframe.
- Verify Power and Function: Before proceeding, double-check that the power to your doorbell wiring system is turned off to avoid any electrical mishaps. Once confirmed, turn the power back on and verify that the Ring Doorbell receives power and is functioning correctly. You should see the device light up or hear a chime indicating power.
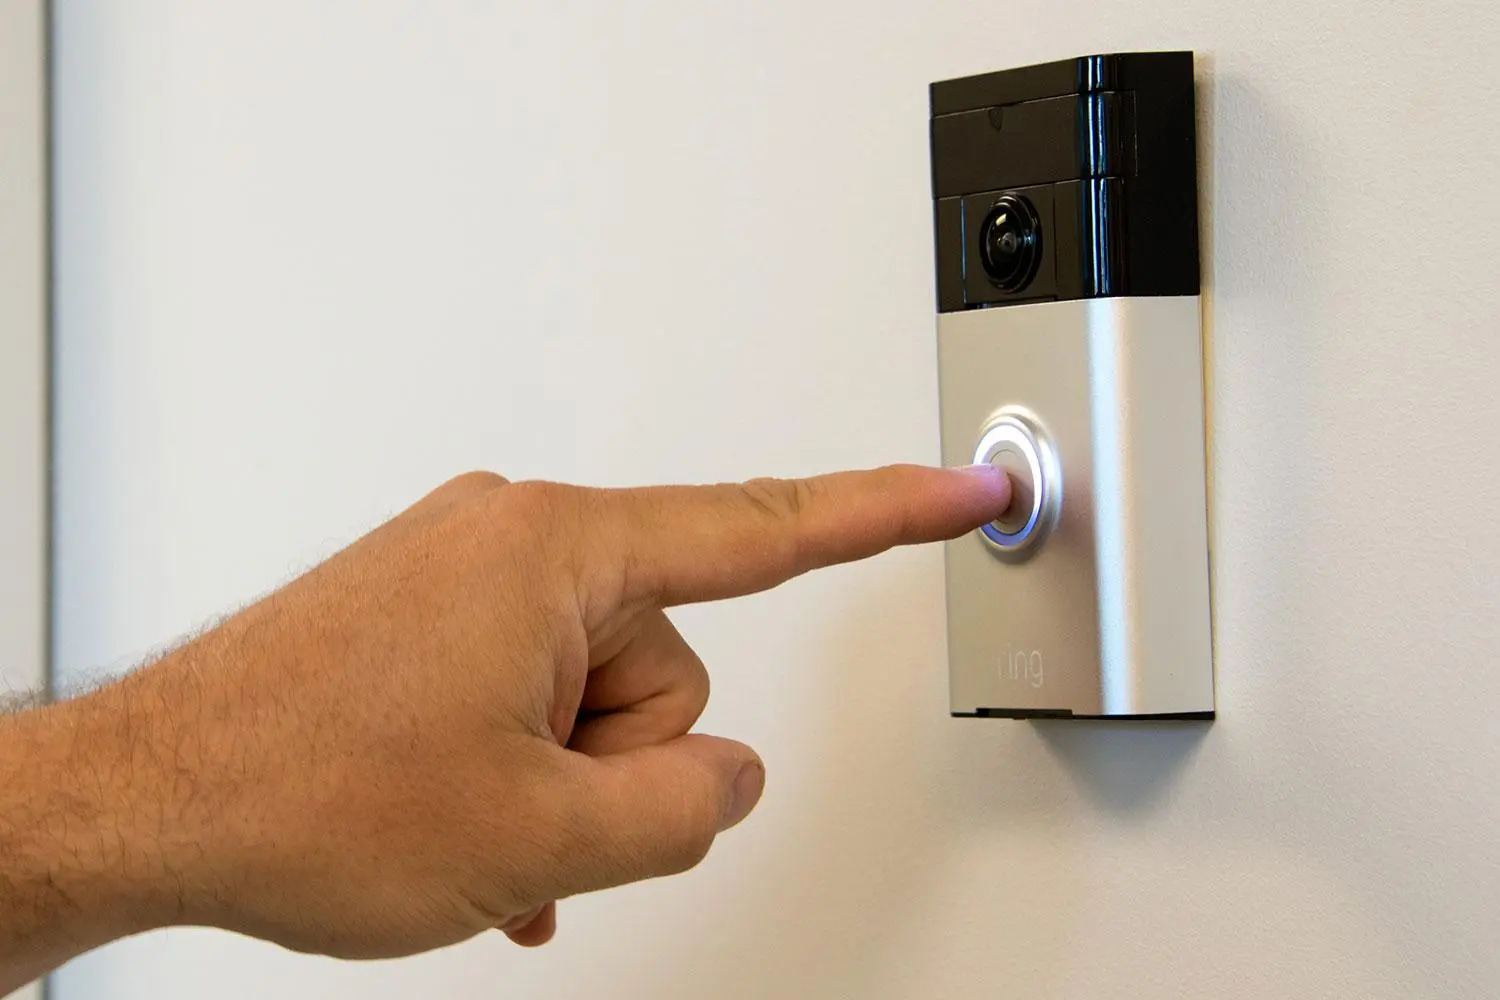
- Test the Doorbell: Press the doorbell button to ensure the Ring Doorbell is working properly. You should hear a chime and see or hear any notifications on your connected device or through the Ring mobile app.
By following these steps, you have successfully wired your Ring Doorbell, providing it with the necessary power to function effectively. The next step is to attach the device to the mounting bracket.
When setting up your Ring Doorbell, make sure to follow the installation instructions carefully and ensure that your Wi-Fi signal is strong enough for the device to connect properly.
Read more: How To Program Ring Doorbell
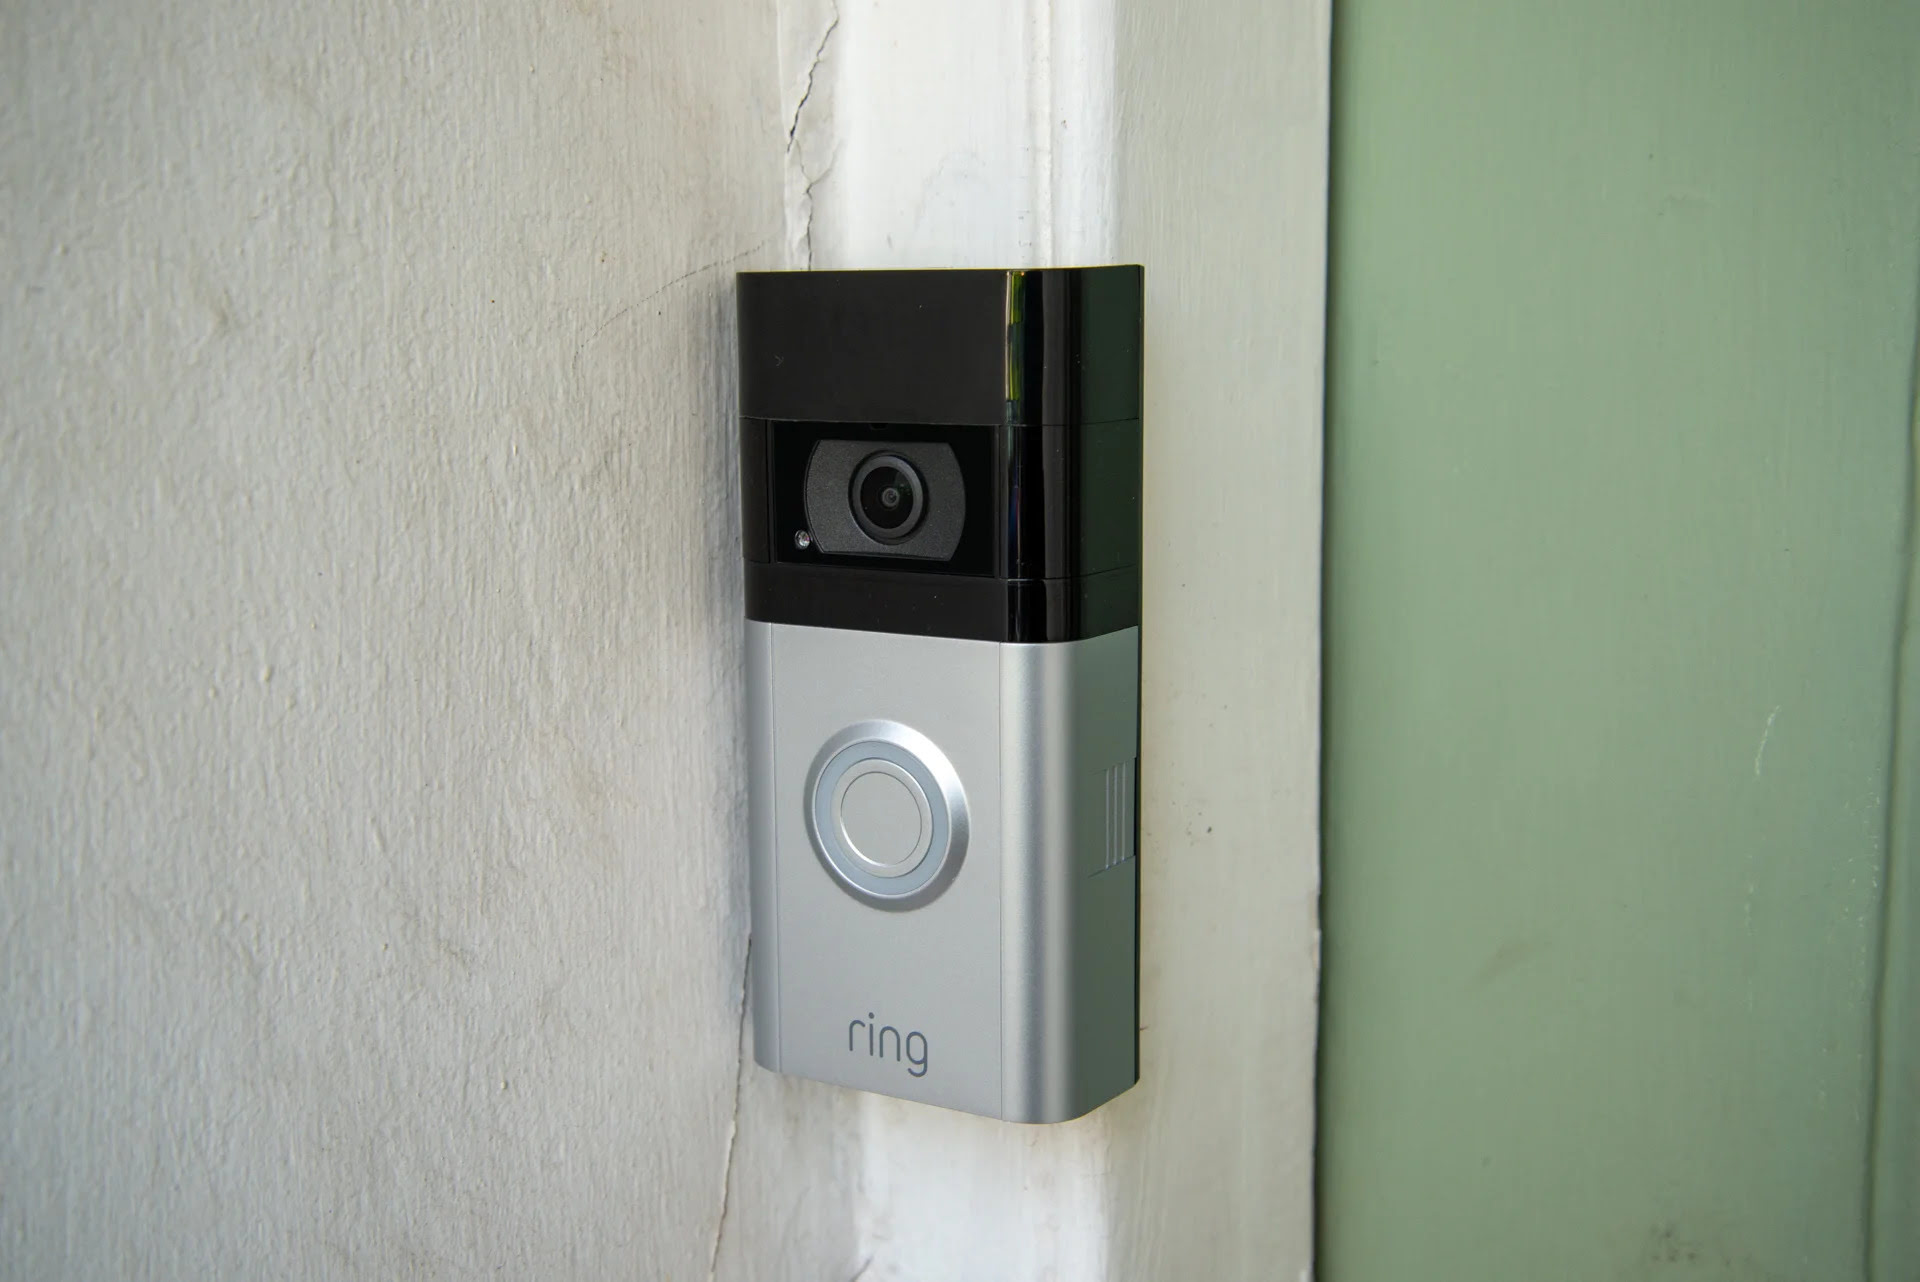
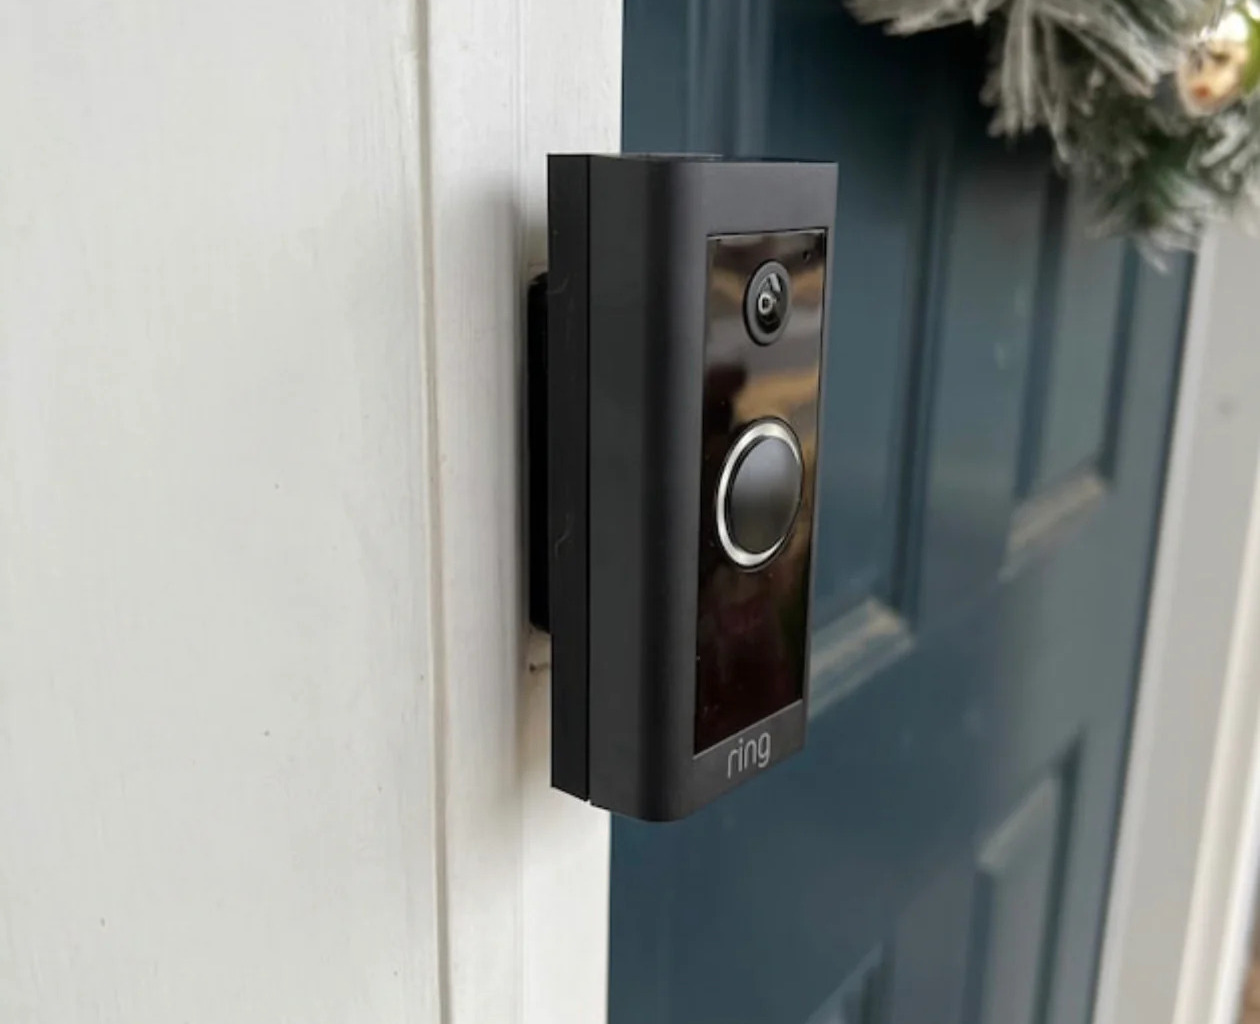
Step 5: Attaching the Ring Doorbell
Now that you have the mounting bracket installed and the Ring Doorbell wired, it’s time to attach the device to the bracket. Follow these steps to securely attach your Ring Doorbell:
- Align the Ring Doorbell: Hold the Ring Doorbell in front of the mounting bracket and align it with the screw holes on the bracket. Make sure the device is level and centered.
- Insert and Tighten the Security Screws: Insert the included security screws into the screw holes on the Ring Doorbell. Use a screwdriver to tighten the screws securely. Ensure that the device is firmly attached to the mounting bracket.
- Check Stability: Gently test the stability of the Ring Doorbell by giving it a slight tug. It should be secure and not move or wobble. If it feels loose, double-check that the security screws are tightened correctly.
- Adjust the Viewing Angle: The Ring Doorbell is designed to allow you to adjust the viewing angle to best suit your needs. Using your hands, tilt and rotate the device until you achieve the desired angle for optimal coverage of your front entrance.
- Finishing Touches: Once the Ring Doorbell is securely attached and adjusted, take a moment to clean any smudges or fingerprints from the camera lens and surrounding areas. This will ensure clear and unobstructed video footage.
With the Ring Doorbell properly attached to the mounting bracket, it’s time to move on to the next step: connecting your device to your Wi-Fi network.
Step 6: Connecting to Wi-Fi
Now that your Ring Doorbell is securely attached, it’s time to connect it to your Wi-Fi network. This step is crucial for enabling remote access and allowing you to receive notifications and live video footage. Follow these steps to connect your Ring Doorbell to Wi-Fi:
- Open the Ring App: On your smartphone or tablet, open the Ring app. If you haven’t already installed the app, you can download it from the App Store or Google Play Store.
- Create or Log in to Your Ring Account: If you’re a new user, follow the prompts to create a Ring account. If you already have an account, log in using your existing credentials.
- Add a Device: In the Ring app, tap on the “Set Up a Device” option or similar. Select “Doorbells” from the list of available devices.
- Scan the QR Code: The app will instruct you to scan the QR code on the back of the Ring Doorbell using your smartphone’s camera. Follow the on-screen instructions and position your camera to capture the QR code.
- Connect to Wi-Fi: The app will guide you through the process of connecting your Ring Doorbell to your Wi-Fi network. Select your network from the available options and enter the password when prompted. Ensure that the network credentials are correct to establish a successful connection.
- Wait for Setup: The Ring Doorbell will attempt to connect to the Wi-Fi network. Wait for the setup process to complete. This may take a few minutes.
- Successful Connection: Once the Ring Doorbell is successfully connected to your Wi-Fi network, you will receive a notification or see a confirmation screen in the app. This indicates that your Ring Doorbell is now online and ready to use.
- Test Connectivity: To ensure that the connection is stable, test the connectivity by accessing the live video stream from your Ring Doorbell through the app. Verify that you can see and hear the feed without any issues.
By following these steps, you have successfully connected your Ring Doorbell to your Wi-Fi network, allowing you to enjoy all the features and functionality it has to offer.
Step 7: Testing and Adjusting the Doorbell
After connecting your Ring Doorbell to Wi-Fi, it’s time to test and adjust its settings to ensure optimal performance. Follow these steps to test and adjust your Ring Doorbell:
- Check Motion Detection: Walk in front of your Ring Doorbell to test the motion detection feature. Ensure that you receive timely notifications on your connected device and that the camera begins recording when motion is detected.
- Test Two-Way Audio: Use the two-way audio feature to have a conversation with someone at your front door. Speak into your smartphone or device to test if the audio is clear and if the other person can hear you properly through the Ring Doorbell’s built-in microphone and speaker.
- Adjust Motion Settings: Within the Ring app, navigate to the settings for your Ring Doorbell. Here, you can adjust the motion sensitivity and motion zones to customize the device’s response to detected movement. Experiment with these settings to ensure you receive notifications for desired motion activity while minimizing false alarms.
- Review Video Storage Options: Explore the video storage options available for your Ring Doorbell. Depending on your subscription plan, you may have access to cloud storage for recorded videos. Familiarize yourself with the storage capacity and consider adjusting the settings to your preferences.
- Test Night Vision: If your Ring Doorbell has night vision capabilities, test it by checking the live video feed in low-light or nighttime conditions. Ensure that the camera provides clear visibility and that the infrared LEDs are functioning correctly.
- Check Battery Life (if applicable): If your Ring Doorbell is battery-powered, monitor the battery life regularly. Ensure that the device is charging as expected and consider adjusting settings or placement if the battery drains too quickly.
- Update Firmware: Keep your Ring Doorbell up to date by checking for firmware updates regularly. Firmware updates often include bug fixes and performance improvements to enhance the device’s functionality.
By testing and adjusting the settings of your Ring Doorbell, you can optimize its performance and ensure that it meets your specific needs. This step will help you make the most out of the device’s features and enhance your home security.
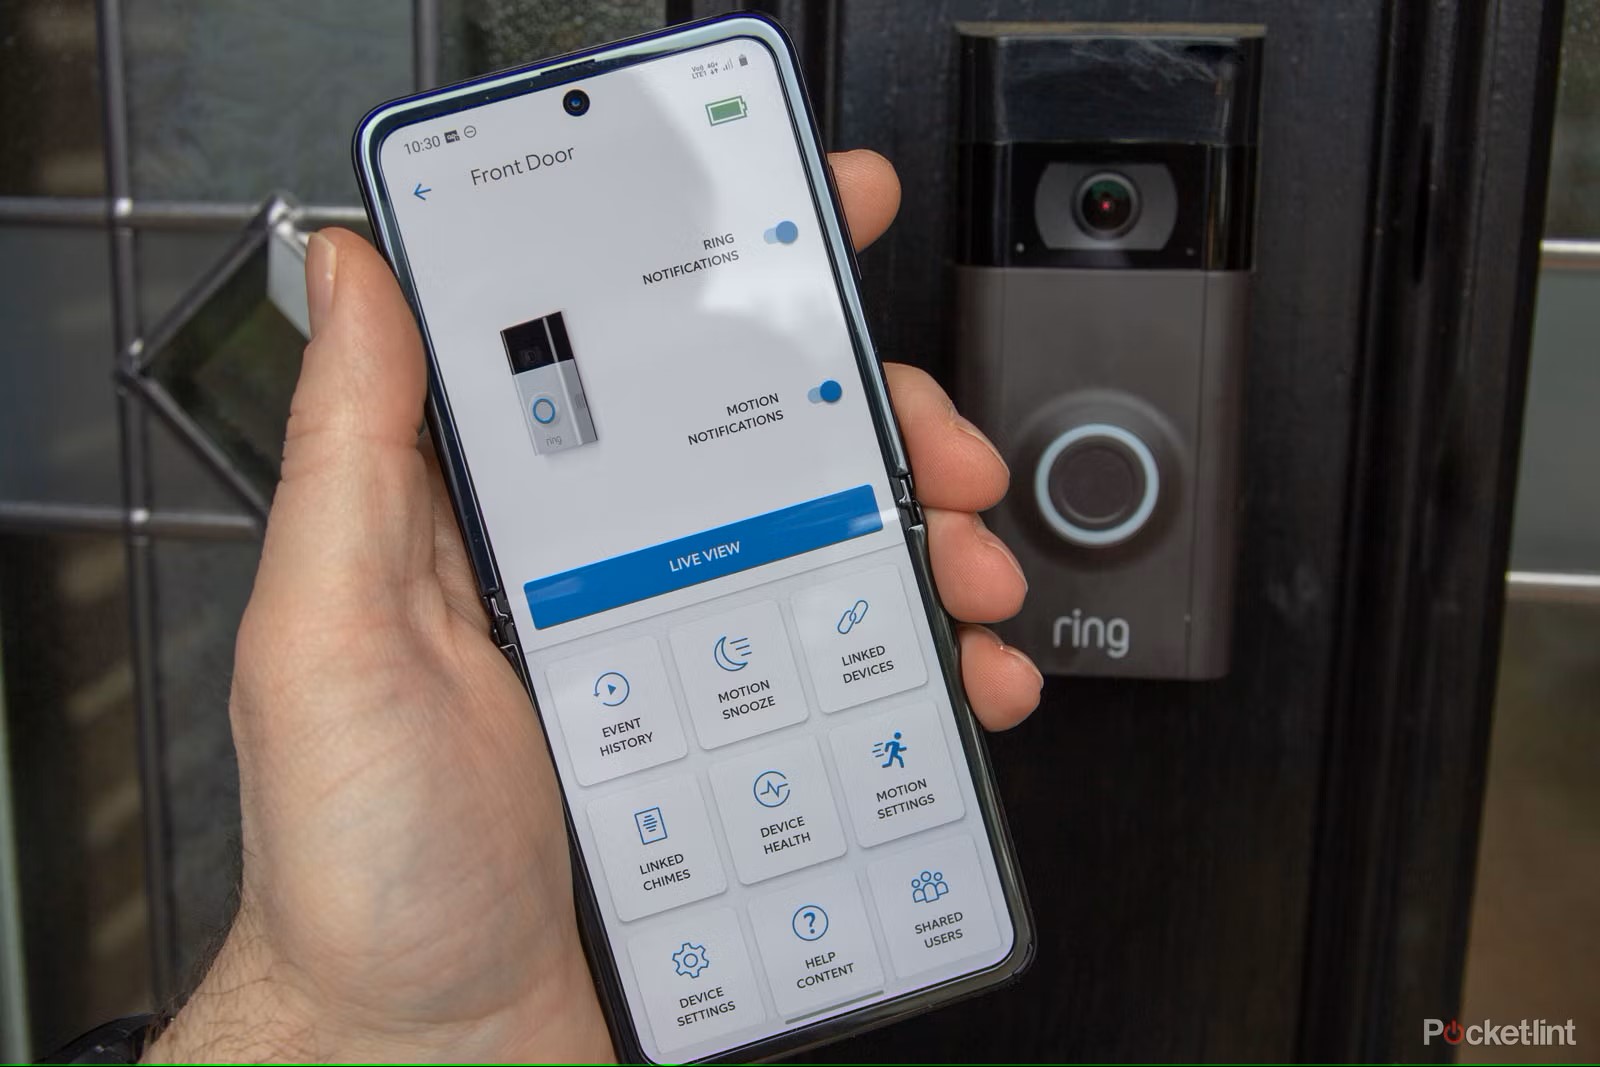
Step 8: Setting Up the Ring App
Setting up the Ring app is the final step in fully utilizing your Ring Doorbell’s features and functionalities. The Ring app serves as a central hub for managing and monitoring your Ring devices. Follow these steps to set up the Ring app:
- Download and Install the App: If you haven’t already done so, search for the Ring app in the App Store (iOS) or Google Play Store (Android) and download it to your smartphone or tablet.
- Open the App and Log In: Once the app is installed, open it and log in using your Ring account credentials. If you don’t have an account, follow the prompts to create one.
- Add Your Ring Doorbell: In the app, tap on the “Add Device” or similar option. Select “Doorbells” from the list of available devices. Follow the on-screen instructions to add your Ring Doorbell to the app.
- Configure Device Settings: Once your Ring Doorbell is added to the app, navigate to the device settings to customize preferences. This includes adjusting motion detection settings, enabling or disabling specific features, and setting up notification preferences.
- Explore Additional Features: Take some time to explore the additional features offered by the Ring app. This may include setting up additional Ring devices, configuring home and away modes, and integrating the Ring app with other compatible smart home devices.
- Set Up Notifications: Customize the notification settings in the app to receive alerts for doorbell rings, motion detection, and other events. You can choose to receive notifications on your smartphone, tablet, or other connected devices.
- Test Connectivity: Finally, test the connectivity between the Ring app and your Ring Doorbell. Ensure that you can view the live video feed, receive notifications, and access recorded videos (if applicable) through the app.
By completing these steps, you have successfully set up the Ring app and connected it to your Ring Doorbell. Now you have full control and access to the features and functionality of your Ring Doorbell right at your fingertips.
Remember to update the Ring app regularly to benefit from any new features and improvements released by the manufacturer. Enjoy the convenience and enhanced security that the Ring app provides!
Read more: How Do I Get My Ring Doorbell To Ring Inside
Conclusion
Congratulations! You have successfully learned how to open and set up your Ring Doorbell. By following the step-by-step process outlined in this article, you have taken the necessary steps to enhance your home security and enjoy the features and functionalities that the Ring Doorbell offers.
Throughout the installation process, you checked the package contents, prepared for installation, installed the mounting bracket, wired the Ring Doorbell, and attached it securely. You then connected it to your Wi-Fi network, tested and adjusted its settings, and set up the Ring app to manage and monitor your Ring Doorbell.
With your Ring Doorbell in place, you can now enjoy real-time video streaming, motion detection, two-way audio communication, and other features that contribute to a safer and more convenient living environment. Whether you’re at home or away, you can keep an eye on your front door and interact with visitors remotely.
Remember, periodic maintenance is essential to ensure optimal performance. Regularly update your firmware, test the device’s functionalities, and check battery life (if applicable). This will help keep your Ring Doorbell functioning properly and maximizing its capabilities.
Thank you for following this guide. We hope it has been helpful in setting up and getting started with your Ring Doorbell. Enjoy the added peace of mind and convenience that your Ring Doorbell brings to your home security system.
Frequently Asked Questions about How To Open The Ring Doorbell
Was this page helpful?
At Storables.com, we guarantee accurate and reliable information. Our content, validated by Expert Board Contributors, is crafted following stringent Editorial Policies. We're committed to providing you with well-researched, expert-backed insights for all your informational needs.


0 thoughts on “How To Open The Ring Doorbell”