Articles
How To Disconnect A Ring Doorbell
Modified: February 17, 2024
Learn how to disconnect a Ring Doorbell with step-by-step instructions in this helpful article. Find out how to disconnect and remove your Ring Doorbell safely.
(Many of the links in this article redirect to a specific reviewed product. Your purchase of these products through affiliate links helps to generate commission for Storables.com, at no extra cost. Learn more)
Introduction
With the rise of smart home technology, the Ring Doorbell has become a popular choice for homeowners looking to enhance their home security. However, there may come a time when you need to disconnect your Ring Doorbell, whether it’s for maintenance, relocation, or simply because you no longer need it.
Disconnecting a Ring Doorbell may seem like a daunting task, especially if you’re not familiar with the process. But fear not, we’re here to guide you through each step and make the process as smooth as possible.
In this article, we’ll walk you through how to disconnect a Ring Doorbell safely and efficiently. We’ll cover everything from gathering the necessary tools to resetting the device, if necessary. So, let’s get started!
Key Takeaways:
- Safely disconnecting a Ring Doorbell requires gathering tools, powering it down, removing the faceplate and backplate, disconnecting wires, and optionally resetting the device. Exercise caution and consider future use or disposal options.
- When disconnecting a Ring Doorbell, ensure safety by following each step carefully. Consider resetting the device and decide whether to store, give away, sell, or responsibly dispose of it. This process equips you for future smart home endeavors.
Read more: How To Disconnect Doorbell
Step 1: Gather the necessary tools
Before you begin disconnecting your Ring Doorbell, it’s important to have the right tools on hand to make the process easier and safer. Here are the tools you’ll need:
- Phillips screwdriver
- Wire cutters/strippers
- Electrical tape
- Optional: drill and drill bits
Having these tools readily available will help you navigate each step with confidence and ensure that you can safely disconnect your Ring Doorbell without causing any damage.
Once you’ve gathered all the tools, you’re ready to move on to the next step.
Step 2: Power down the Ring Doorbell
In order to safely disconnect your Ring Doorbell, you’ll need to power it down first. Follow these steps to do so:
- Locate the power supply for your Ring Doorbell. This is typically a low-voltage wire connected to a transformer or a doorbell chime.
- Shut off the power to the Ring Doorbell by flipping the circuit breaker that controls it. Alternatively, you can switch off the power at the transformer or doorbell chime.
- Double-check that the power is truly off by pressing the doorbell button. If it doesn’t ring or light up, then you can be sure that the power is successfully turned off.
Powering down the Ring Doorbell is an essential step to ensure your safety while disconnecting the device. By following these steps, you can proceed with confidence knowing that there will be no electrical current flowing through the wires.
Now that the power is off, you can move on to the next step of disconnecting the Ring Doorbell.
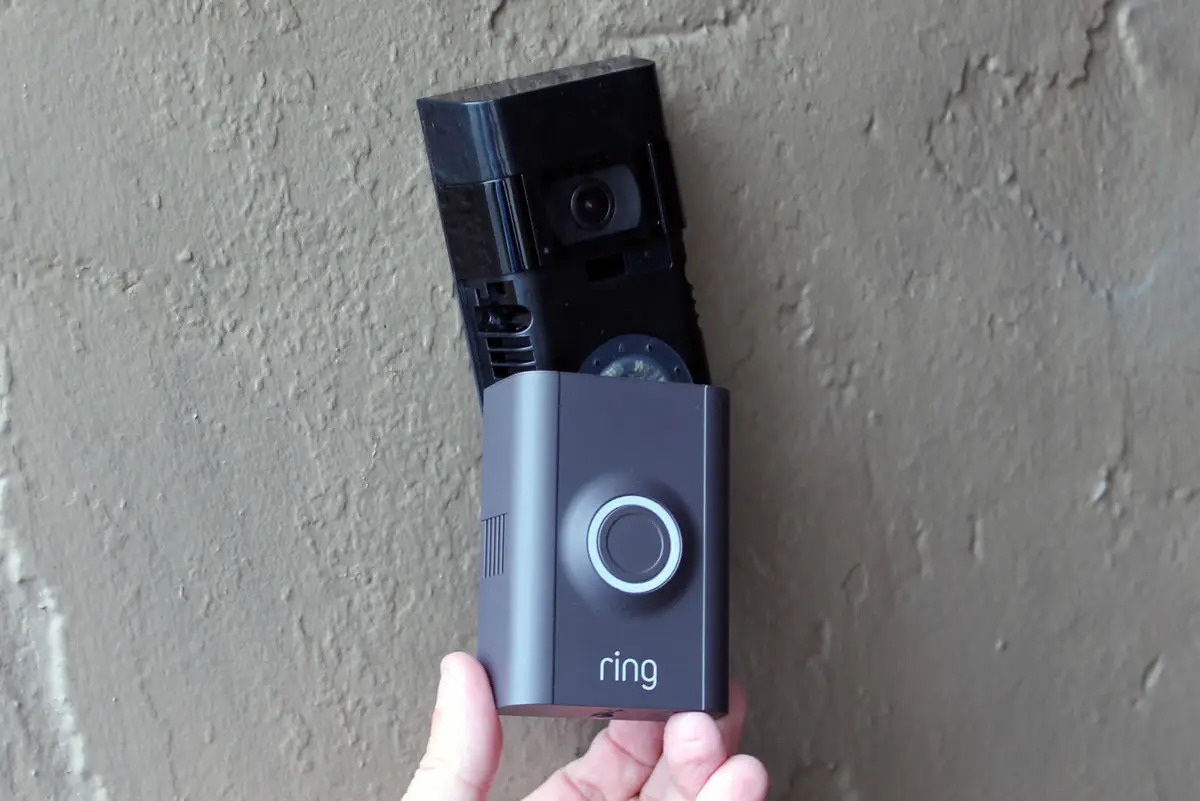
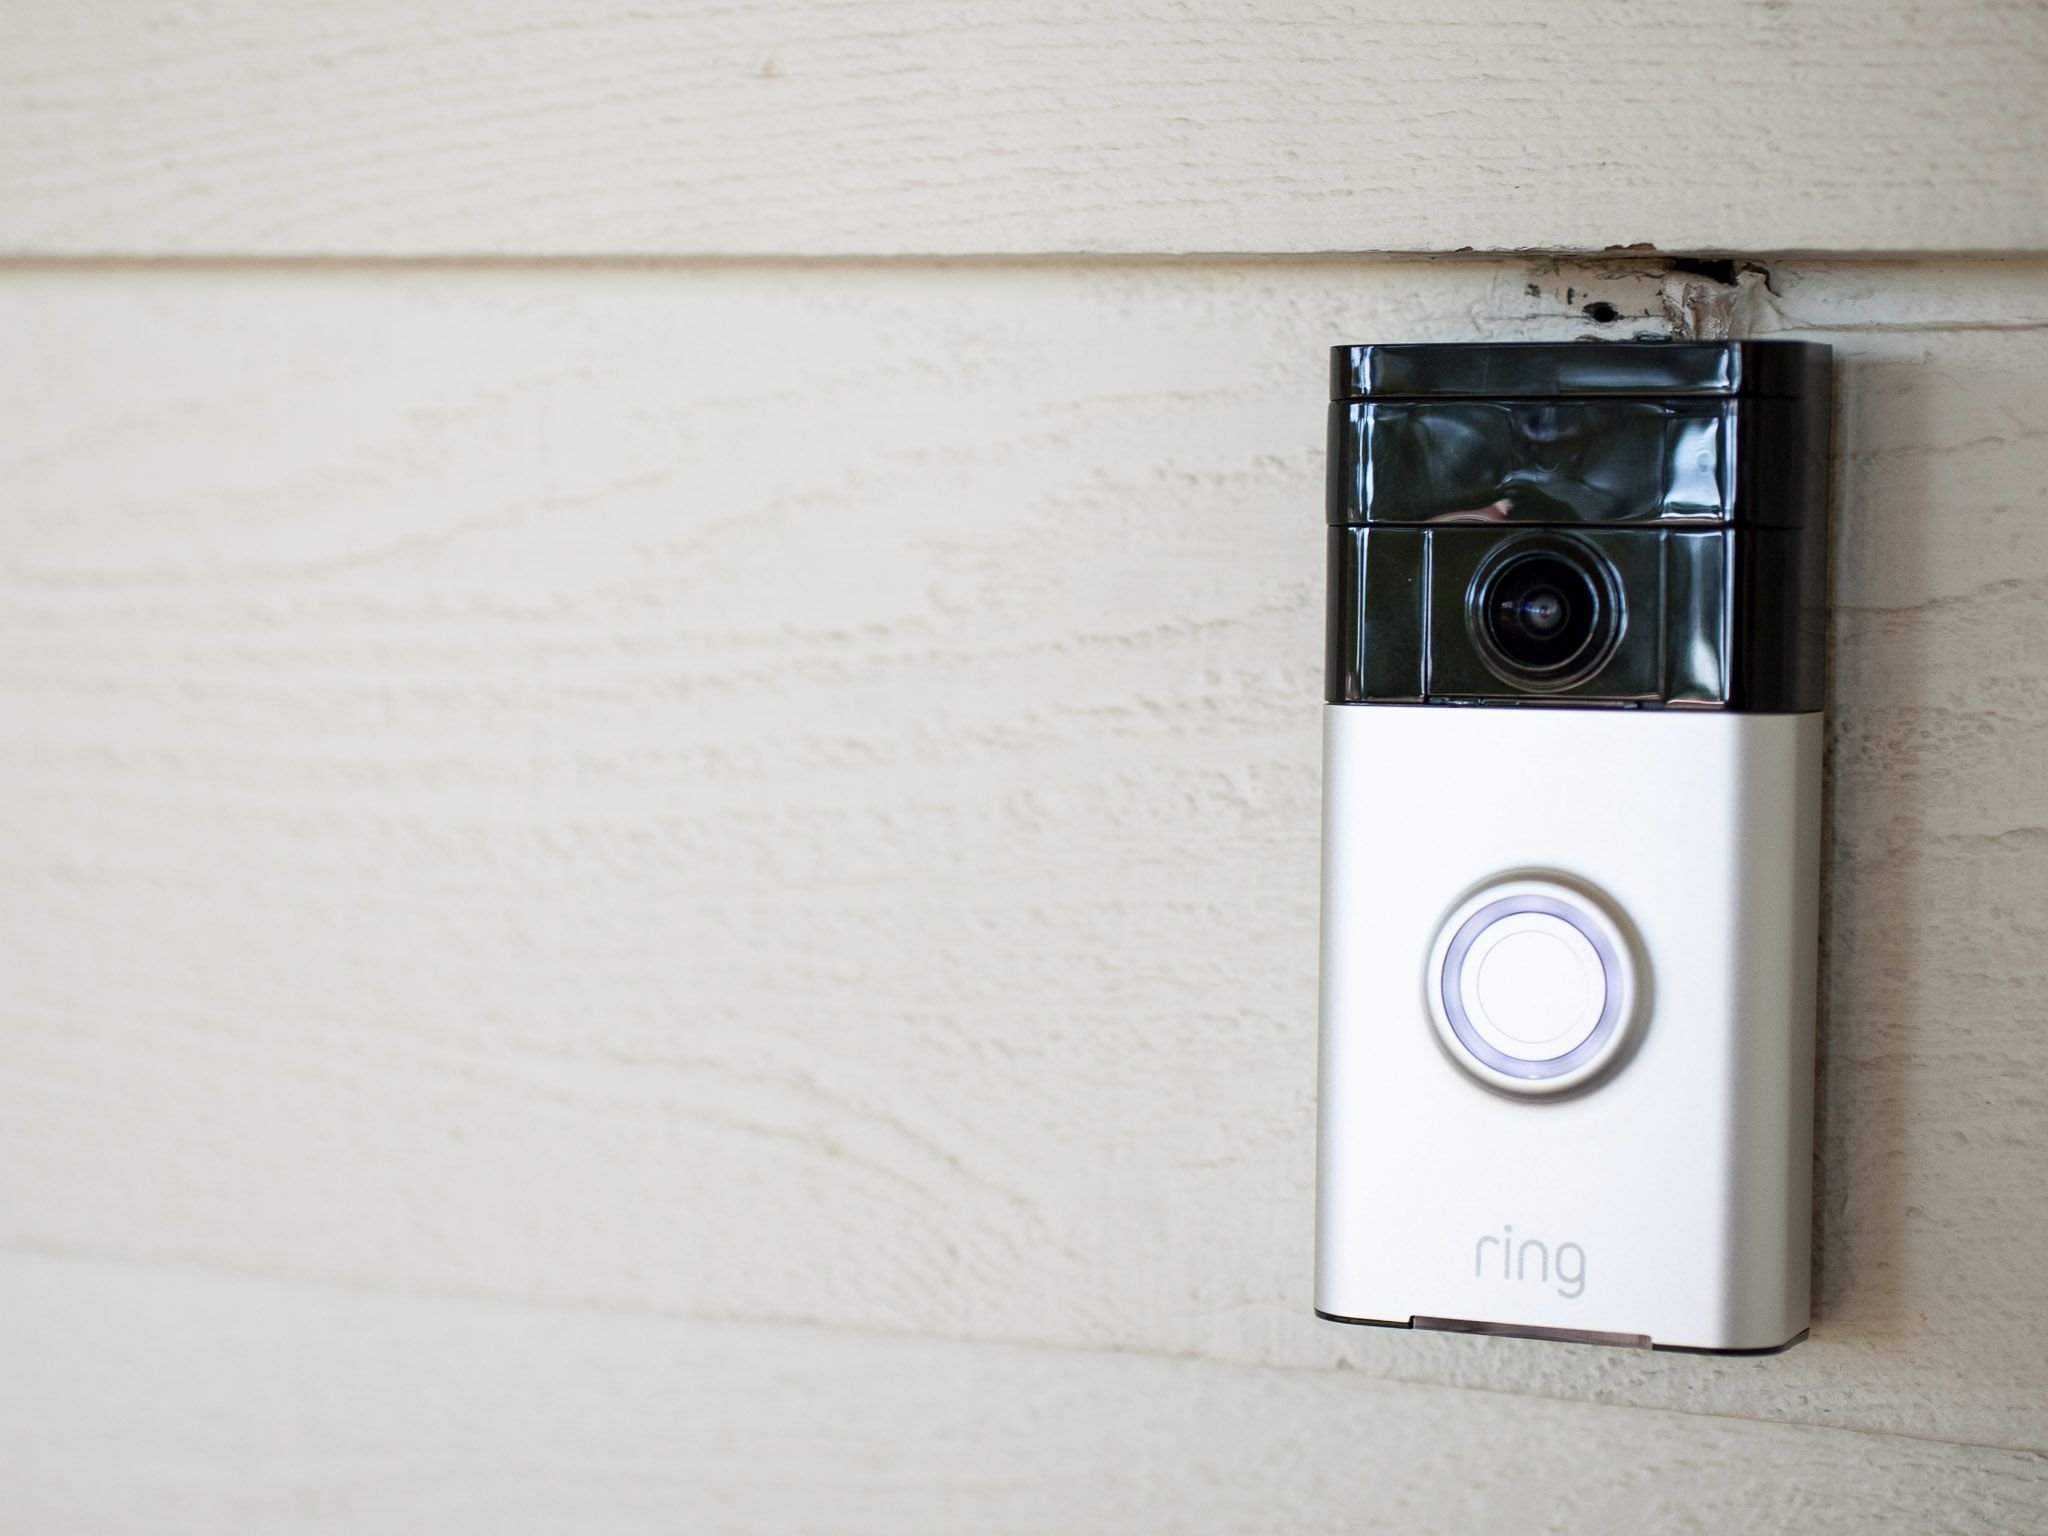
Step 3: Remove the faceplate
With the Ring Doorbell powered down, it’s time to remove the faceplate. This is a relatively simple process that involves the following steps:
- Locate the screws that hold the faceplate in place. These screws are typically located at the bottom of the device.
- Using a Phillips screwdriver, carefully unscrew the screws counterclockwise to loosen them.
- Once the screws are loose, gently lift the faceplate away from the backplate.
As you remove the faceplate, be mindful of any wiring that may be attached to it. Take care not to yank or pull on the wires forcefully, as this could damage them or the device.
If your Ring Doorbell is battery-powered, you may need to remove the battery before you can access the faceplate. Consult the manufacturer’s instructions for guidance on how to remove the battery safely.
Once the faceplate is removed, set it aside in a safe place. You can clean it or store it away for future use if needed.
Next, we’ll move on to the next step of disconnecting the Ring Doorbell, which involves disconnecting the wires.
Step 4: Disconnect the wires
Now that the faceplate has been removed, it’s time to disconnect the wires from the Ring Doorbell. Follow these steps:
- Identify the wires connected to the backplate of the Ring Doorbell. Typically, there will be two wires – a red wire and a white wire.
- Using wire cutters or wire strippers, carefully strip about half an inch of insulation from the ends of the wires.
- Once the wires are exposed, use your fingers or a pair of pliers to detach them from the terminals on the backplate. Start with the red wire, followed by the white wire.
- Wrap each wire individually with electrical tape to prevent any exposed metal from causing a short circuit.
By disconnecting the wires, you’re effectively separating the Ring Doorbell from its power source. This step is crucial to ensure the safe removal of the device without any electrical hazards.
Remember to handle the wires with care and avoid bending or damaging them. If necessary, you can label the wires to make it easier for reconnection in the future.
Now that the wires are safely disconnected, we can proceed to the next step of removing the backplate of the Ring Doorbell.
When disconnecting a Ring doorbell, start by turning off the power to the doorbell at the breaker. Then, remove the faceplate and unscrew the wires from the terminals. Be sure to label the wires for easy reinstallation.
Read more: Why Is My Ring Doorbell Not Ringing
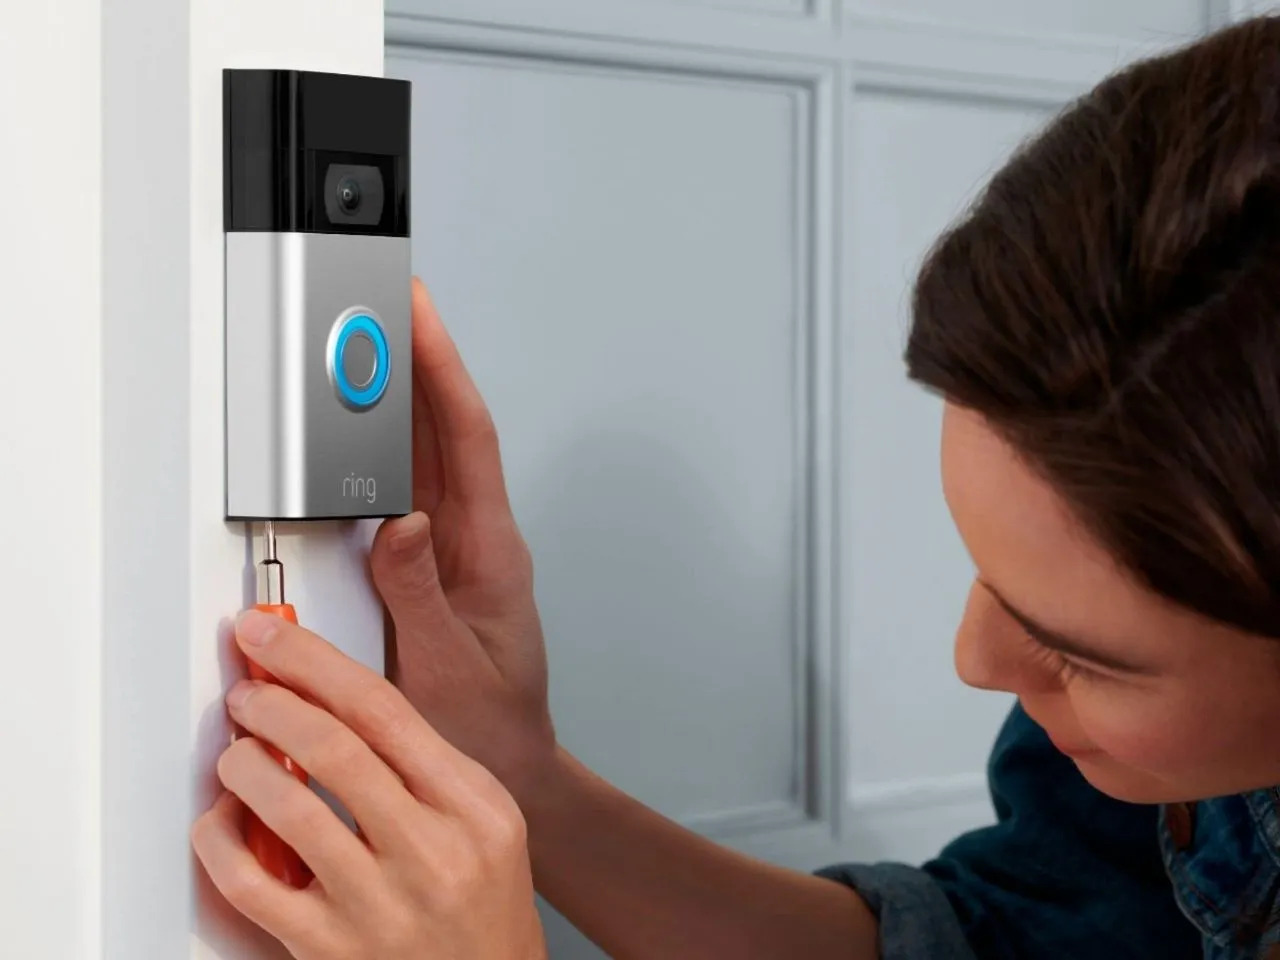
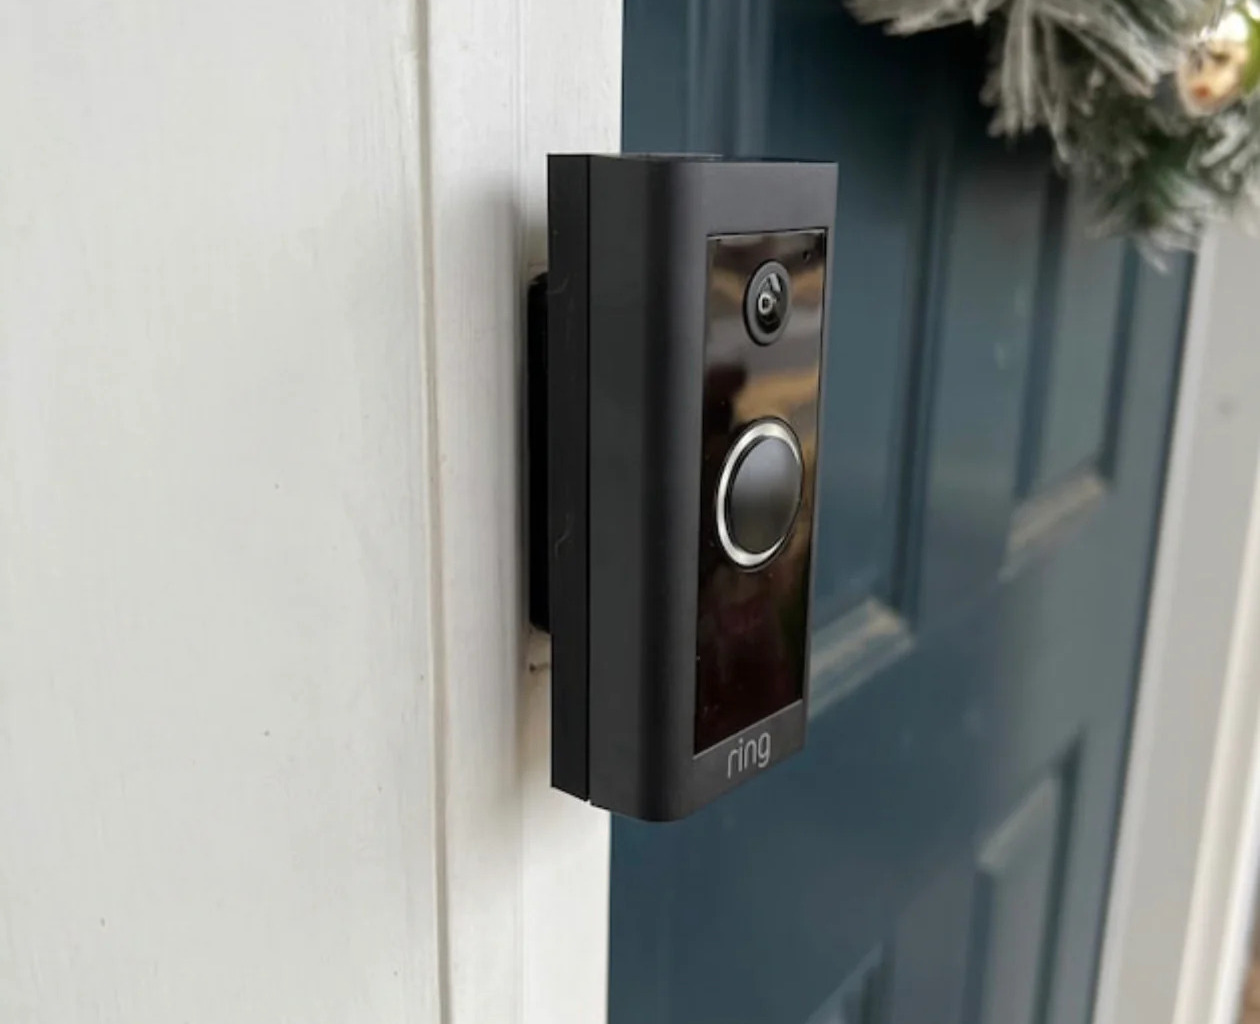
Step 5: Remove the backplate
With the wires disconnected, you can now proceed to remove the backplate of the Ring Doorbell. Follow these steps:
- Locate the screws that secure the backplate to the wall or mounting surface.
- Using a Phillips screwdriver, carefully unscrew the screws counterclockwise to loosen them.
- Once the screws are loose, gently lift the backplate away from the wall, taking care not to damage the mounting surface.
If your Ring Doorbell is mounted using adhesive or tape, carefully peel the backplate away from the mounting surface, exerting gentle pressure to avoid damaging the surface.
As you remove the backplate, be cautious of any wires that may still be connected to it. Ensure that the wires are free and not tangled or caught on any part of the backplate.
Set the backplate aside in a safe place. If you plan to reinstall the Ring Doorbell in the same location in the future, you can keep the backplate for convenience.
Now that the backplate is removed, we can move on to the next step, which involves resetting the Ring Doorbell, if desired.
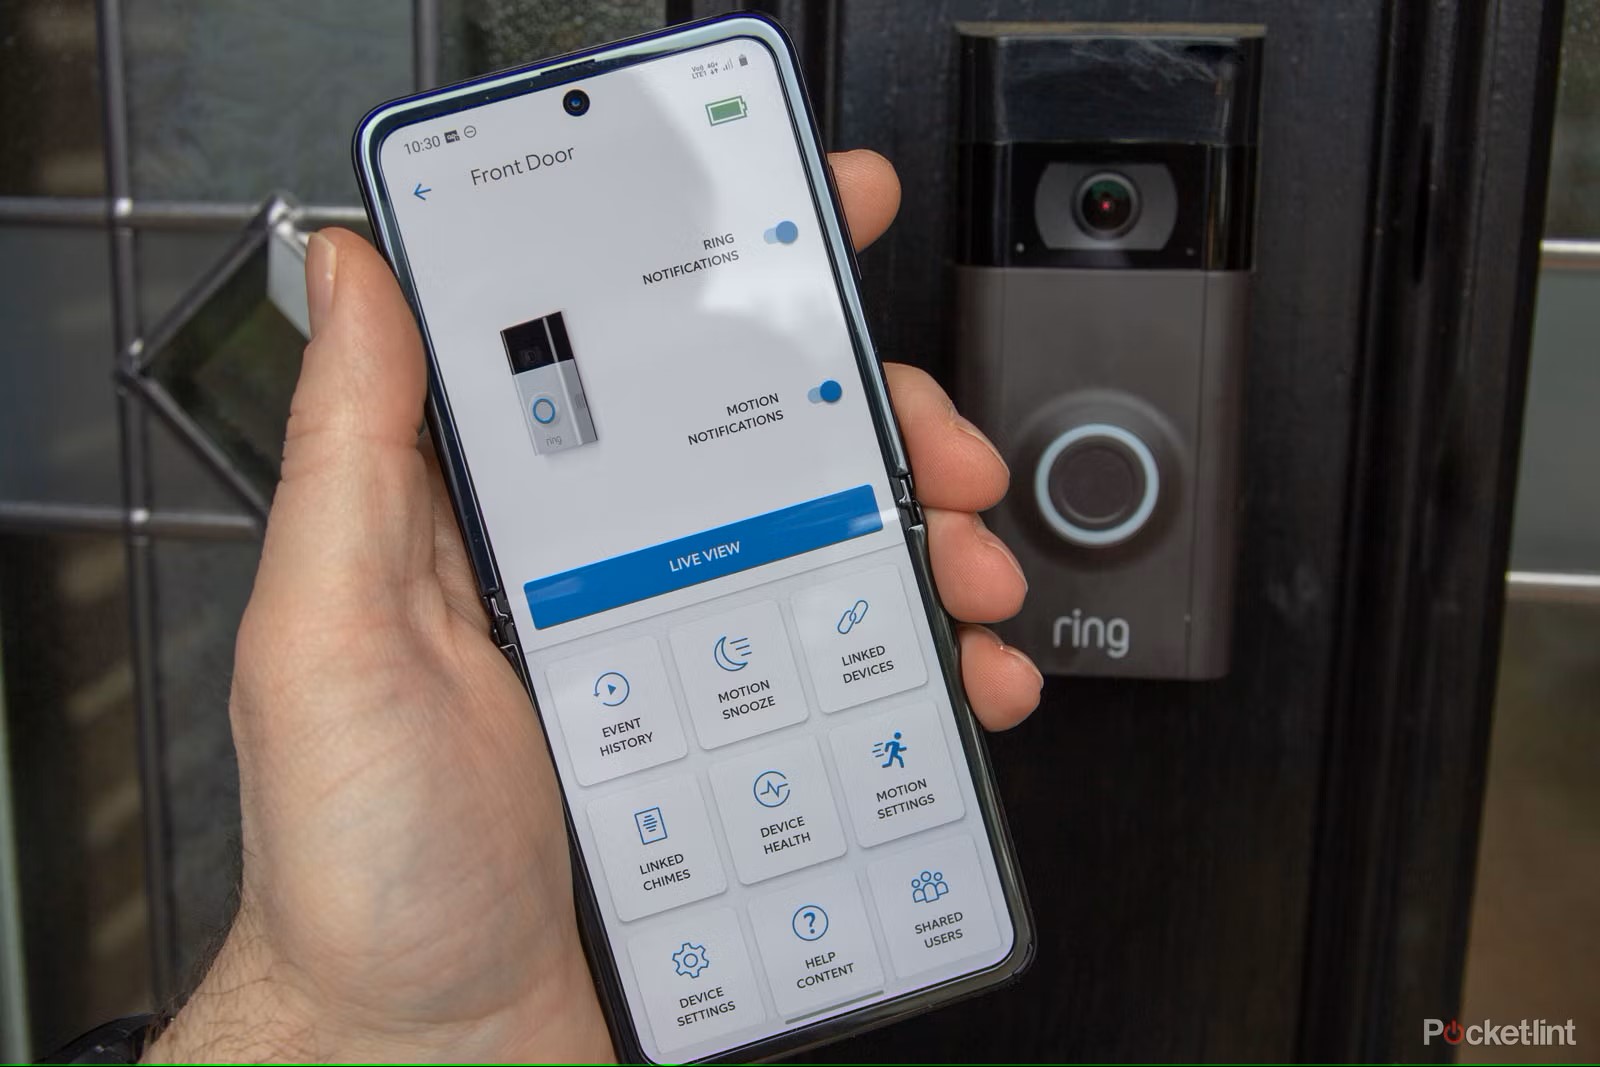
Step 6: Reset the Ring Doorbell (optional)
If you plan on selling or giving away your Ring Doorbell, or if you simply want to start fresh with a clean slate, you can choose to reset the device to its factory settings. Here’s how:
- Locate the small reset button on the back of the Ring Doorbell. It is usually a small pinhole.
- Using a paperclip or a similar small tool, press and hold the reset button for about 15 seconds.
- You will notice the LED light on the front of the device flash, indicating that the reset process has begun.
- Continue holding the reset button until the LED light stops flashing and remains solid for a few seconds.
- Release the reset button, and the Ring Doorbell will be reset to its factory settings.
Resetting the Ring Doorbell erases all settings, including any connected accounts, configurations, and stored footage. It essentially restores the device to its original state when you first purchased it.
Keep in mind that resetting the Ring Doorbell is optional and should only be done if you no longer plan to use the device or if you want to ensure that your personal data is completely removed from the device before transferring ownership.
Now that you’ve reset the Ring Doorbell (if applicable), we can move on to the final step of the disconnecting process.
Step 7: Store or dispose of the Ring Doorbell
Now that you have successfully disconnected your Ring Doorbell, you have a few options for what to do with it next. Here are the options to consider:
- Store it: If you plan on reinstalling the Ring Doorbell in the future or if you want to keep it as a backup, store it in a safe and dry place. Make sure to protect it from dust, moisture, and extreme temperatures that could damage the device.
- Give it away: If you no longer need the Ring Doorbell but it is still in good working condition, consider giving it to a friend, family member, or even donating it to a local charity or organization that could benefit from it.
- Sell it: If your Ring Doorbell is in good condition and you would like to recover some of its value, you can sell it online through platforms such as eBay or Craigslist. Be sure to provide accurate and detailed information about the device in your listing.
- Dispose of it: If your Ring Doorbell is no longer functional or if it is damaged beyond repair, it is important to dispose of it responsibly. Check with local recycling centers or electronic waste disposal facilities in your area to find out how to properly recycle or dispose of the device.
By considering these options, you can ensure that your Ring Doorbell is either put to good use, safely stored, or disposed of in an environmentally-friendly manner.
Remember to remove any personal information or data associated with the Ring Doorbell before giving it away or disposing of it. This includes unlinking any accounts, deleting stored footage, and resetting the device (if not already done).
Congratulations! You have successfully disconnected your Ring Doorbell and now have the knowledge to handle the process safely and effectively.
Should you choose to reinstall your Ring Doorbell or install a new one in the future, you can refer back to this guide for a refresher on how to disconnect it.
Thank you for following along, and we wish you the best in all your smart home endeavors!
Conclusion
Disconnecting a Ring Doorbell may seem like a daunting task, but with the right tools and knowledge, it can be a straightforward process. In this article, we have provided a step-by-step guide to help you safely disconnect your Ring Doorbell.
From gathering the necessary tools to removing the faceplate, disconnecting the wires, and removing the backplate, each step is crucial in ensuring a smooth and efficient disconnection process. We have also provided optional steps for resetting the Ring Doorbell and guidance on what to do with the device once it is disconnected.
Remember to exercise caution throughout the process, taking care not to damage any components or wiring. Powering down the Ring Doorbell and properly disconnecting the wires are essential for your safety and the longevity of the device.
Whether you are relocating your Ring Doorbell, no longer need it, or simply want to upgrade to a new model, this guide has equipped you with the necessary knowledge to carry out the disconnection process confidently.
Lastly, we encourage you to consider storing, giving away, selling, or responsibly disposing of your Ring Doorbell to ensure it finds a new purpose and does not contribute to electronic waste.
We hope this article has been informative and helpful in guiding you through the process of disconnecting your Ring Doorbell. Thank you for reading, and we wish you success in all your future smart home endeavors!
Frequently Asked Questions about How To Disconnect A Ring Doorbell
Was this page helpful?
At Storables.com, we guarantee accurate and reliable information. Our content, validated by Expert Board Contributors, is crafted following stringent Editorial Policies. We're committed to providing you with well-researched, expert-backed insights for all your informational needs.


0 thoughts on “How To Disconnect A Ring Doorbell”