Articles
How To Install A Wireless Ring Doorbell
Modified: August 27, 2024
Learn how to easily install a wireless Ring doorbell with this informative article. Step-by-step instructions and tips for a successful installation.
(Many of the links in this article redirect to a specific reviewed product. Your purchase of these products through affiliate links helps to generate commission for Storables.com, at no extra cost. Learn more)
Introduction
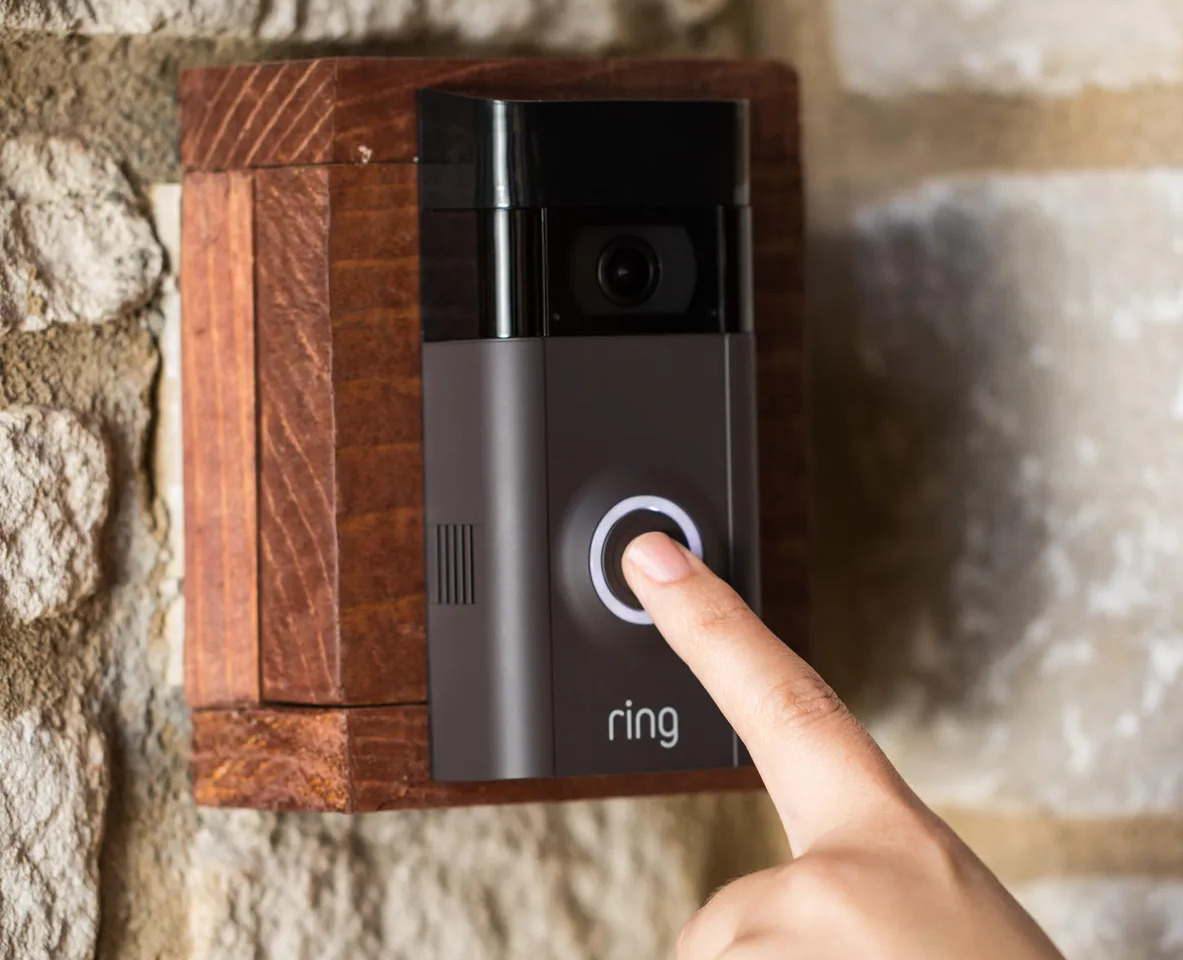
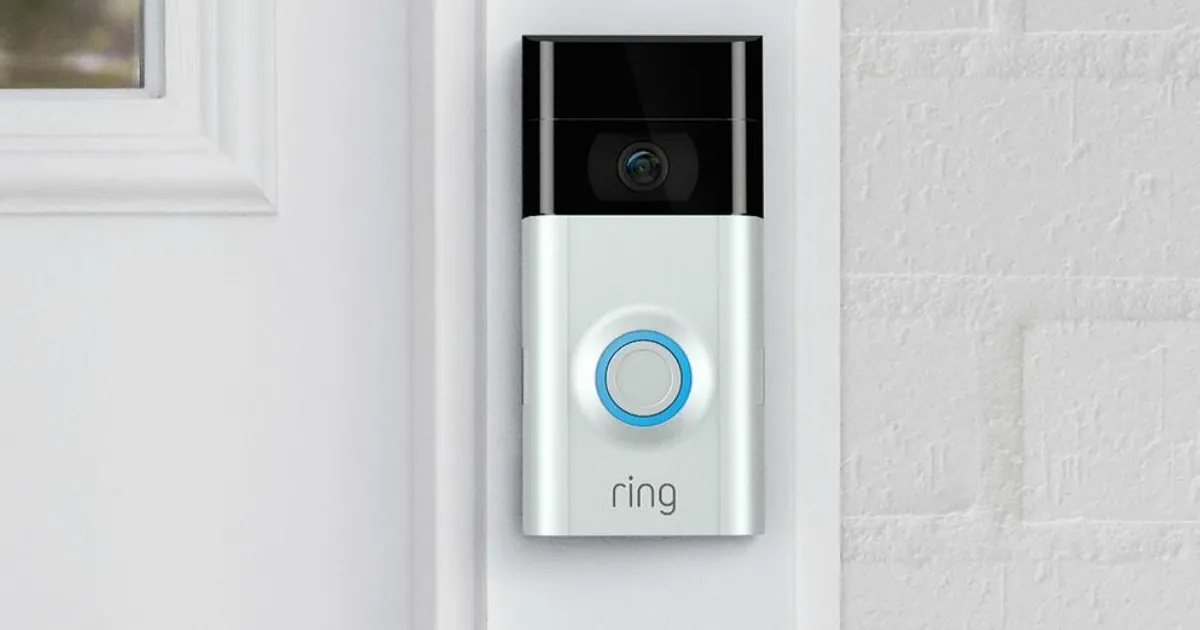
Wireless Ring doorbells have become increasingly popular in recent years for homeowners looking to enhance their home security and convenience. These smart doorbells offer features such as two-way audio, motion detection, and live video streaming, allowing homeowners to see and communicate with visitors right from their smartphones or tablets.
Installing a wireless Ring doorbell may seem like a daunting task, but with the right instructions and a few simple tools, it can be done by anyone. In this article, we will guide you through the step-by-step process of installing a wireless Ring doorbell, ensuring a seamless and hassle-free setup.
Before we dive into the installation process, it’s important to note that wireless Ring doorbells require a stable Wi-Fi connection and a compatible mobile device to access their full range of features. Make sure you have a reliable internet connection and a smartphone or tablet that meets the device requirements.
Now, let’s get started on installing your wireless Ring doorbell and enjoy the benefits of increased home security and convenience.
Key Takeaways:
- Installing a wireless Ring doorbell is a straightforward process that enhances home security and convenience. From gathering tools to testing functionality, each step ensures a seamless setup for peace of mind and doorstep monitoring.
- With the right tools and guidance, anyone can install a wireless Ring doorbell. Enjoy features like two-way audio and motion detection, providing added security and convenience for your home.
Read more: How To Install Wireless Doorbell
Step 1: Gather the necessary tools and materials
Before you begin the installation process, it’s essential to gather all the required tools and materials. Having everything you need at hand will ensure a smooth and efficient installation. Here are the tools and materials you will need:
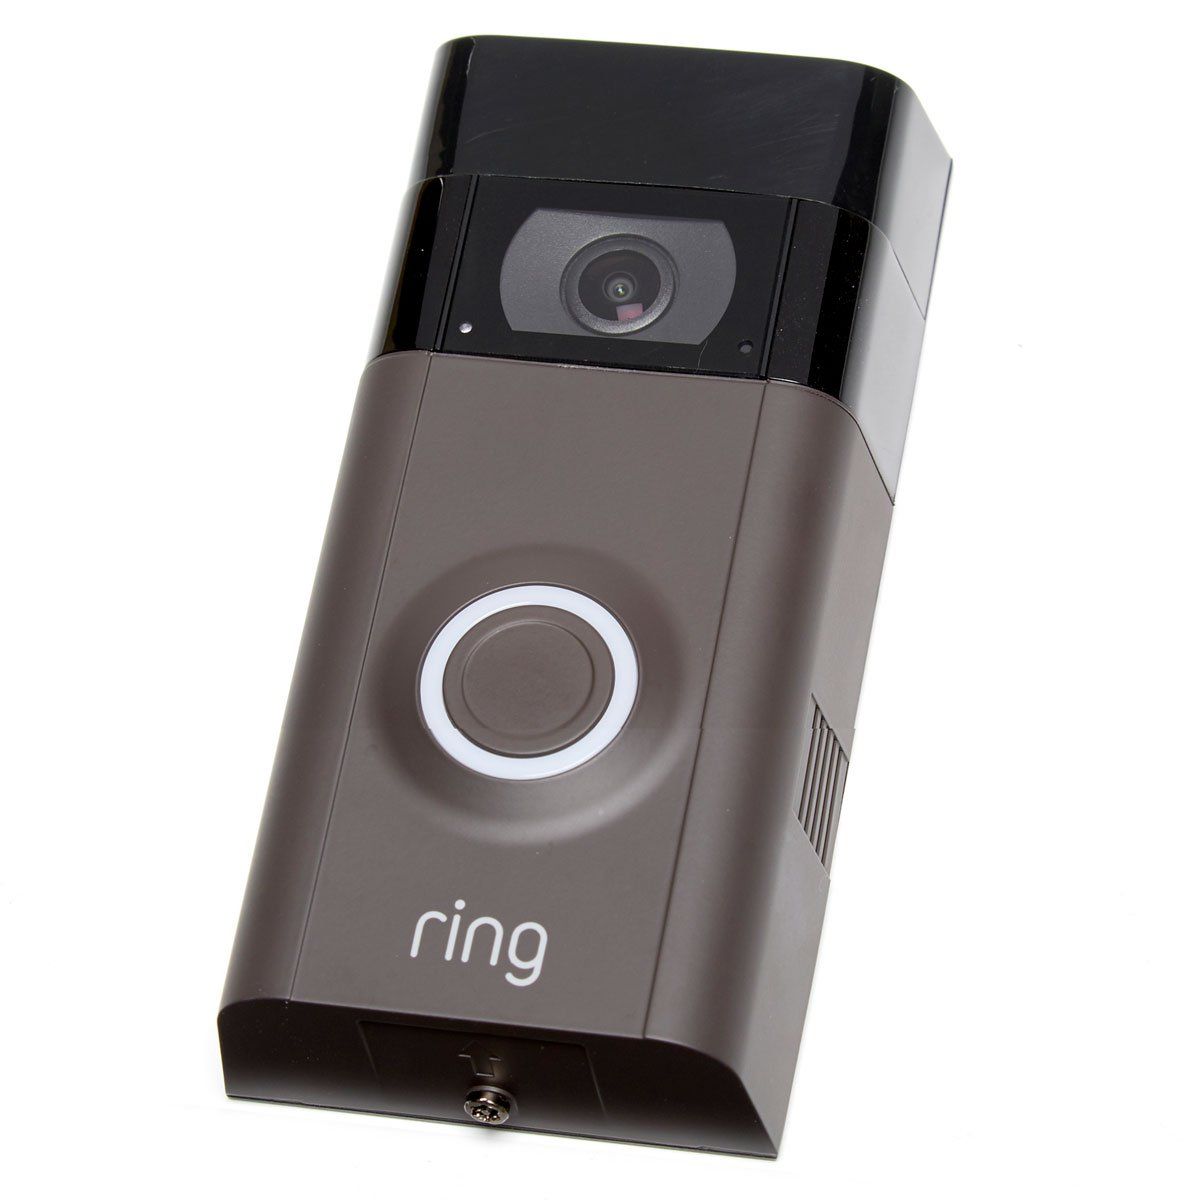
- Wireless Ring doorbell
- Screwdriver (typically a Phillips head)
- Drill (if needed for mounting)
- Level
- Tape measure
- Pencil or marker
- Wire strippers (if necessary)
Before purchasing a wireless Ring doorbell, it’s essential to ensure compatibility with your existing doorbell wiring or power source. Some Ring doorbells are battery-powered, while others require existing doorbell wiring for power. Make sure to select the appropriate model based on your needs.
Once you have gathered all the necessary tools and materials, double-check that everything is in good working condition and readily accessible. Having everything prepared beforehand will streamline the installation process and prevent any delays or interruptions.
Step 2: Prepare the doorbell location
Now that you’ve gathered all the tools and materials, it’s time to prepare the doorbell location for installation. Follow these steps to ensure a suitable and secure placement:
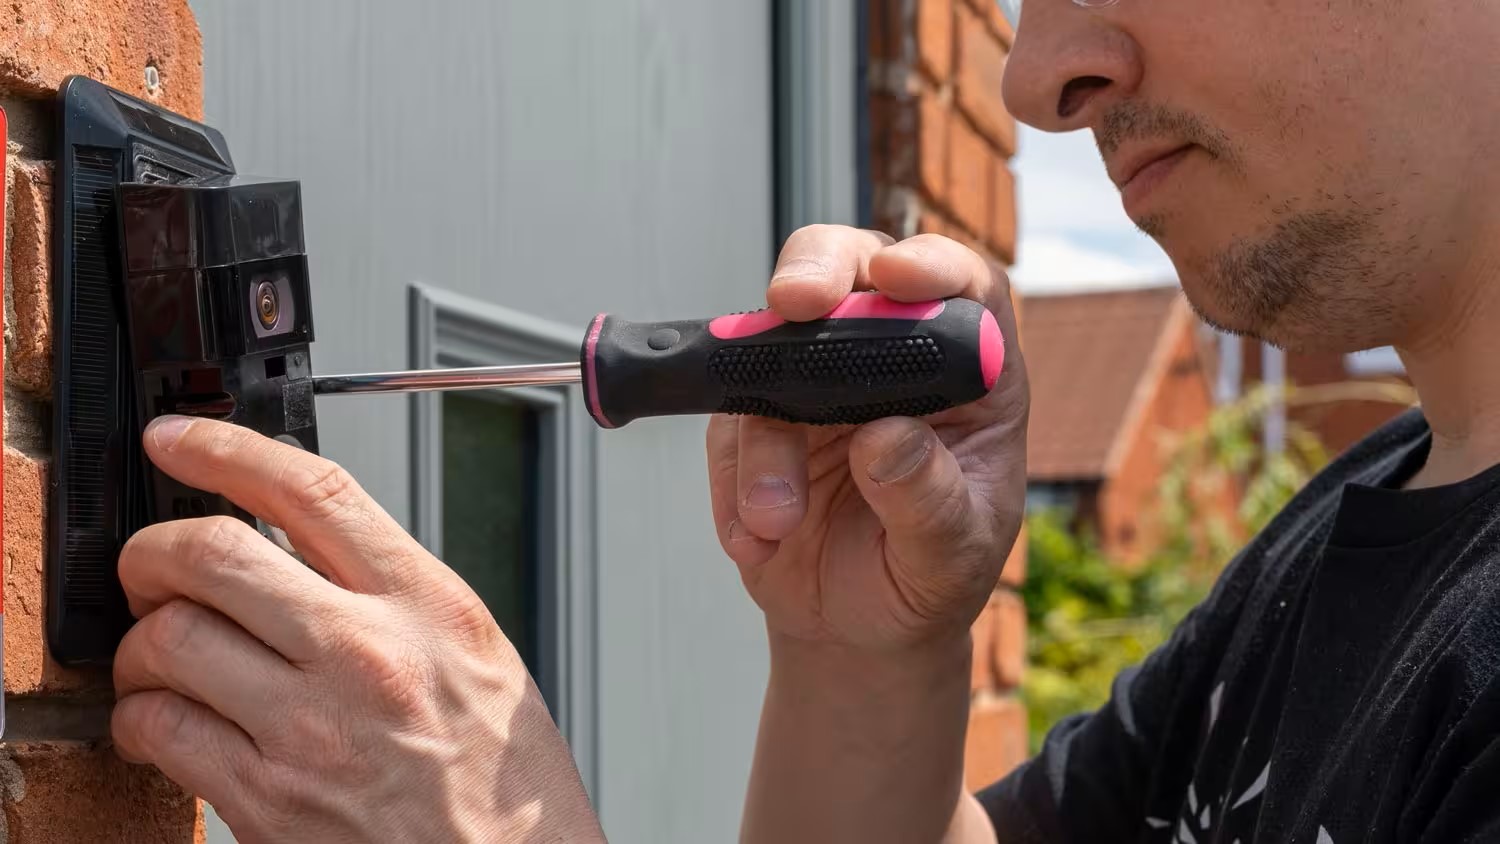
- Remove the existing doorbell (if applicable): If you have an existing wired doorbell, you’ll need to remove it before installing the wireless Ring doorbell. To do this, detach the wires from the current doorbell and carefully unscrew and remove it from the wall.
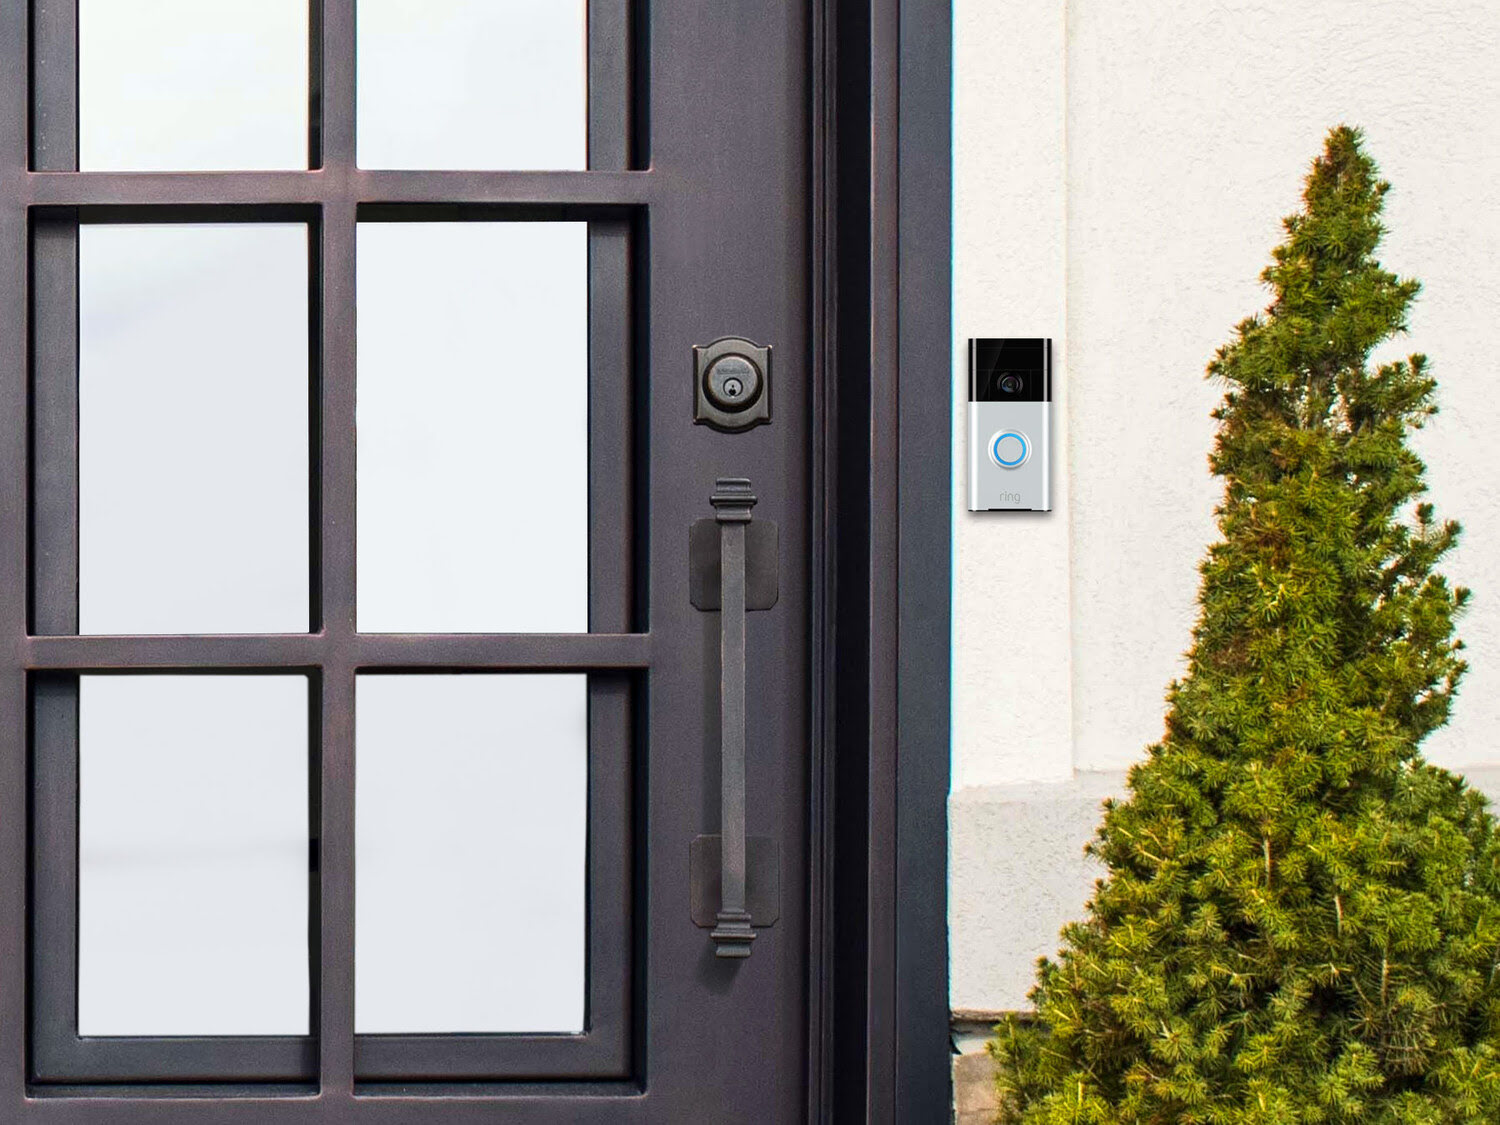
- Select the ideal placement: Determine where you want to install the wireless Ring doorbell. It’s best to place it near your front door, providing a clear view of the entrance area. Ensure that the chosen location has a strong Wi-Fi signal and is within the recommended range for the doorbell to function correctly.
- Check the doorbell height: The recommended height for installing a doorbell is 48 inches from the ground. However, you can adjust this according to your preference or any specific installation requirements.
- Check the doorbell visibility: Assess whether the doorbell will have an obstructed view due to any obstacles such as plants, decorations, or overhanging roof eaves. Clear away any obstructions to ensure optimal visibility.
- Mark the mounting holes: Hold the Ring doorbell against the wall or door frame in the desired location, making sure it is level. Use a pencil or marker to mark the spots where you will need to drill the mounting holes.
By adequately preparing the doorbell location, you will ensure a secure installation and optimal performance of your wireless Ring doorbell. Take your time with this step, as it will set the foundation for the rest of the installation process.
Step 3: Install the mounting bracket
With the doorbell location prepared, it’s time to install the mounting bracket to securely hold the wireless Ring doorbell in place. Follow these steps to complete this process:
- Line up the mounting bracket: Take the mounting bracket that came with your Ring doorbell and position it against the wall or door frame, aligning it with the marked mounting holes.
- Ensure level placement: Use a level to ensure that the mounting bracket is perfectly straight. Adjust it as necessary to achieve a level position.
- Mark the screw hole locations: Once the mounting bracket is level, use a pencil or marker to mark the spots where you will need to insert the screws to secure the bracket to the wall.
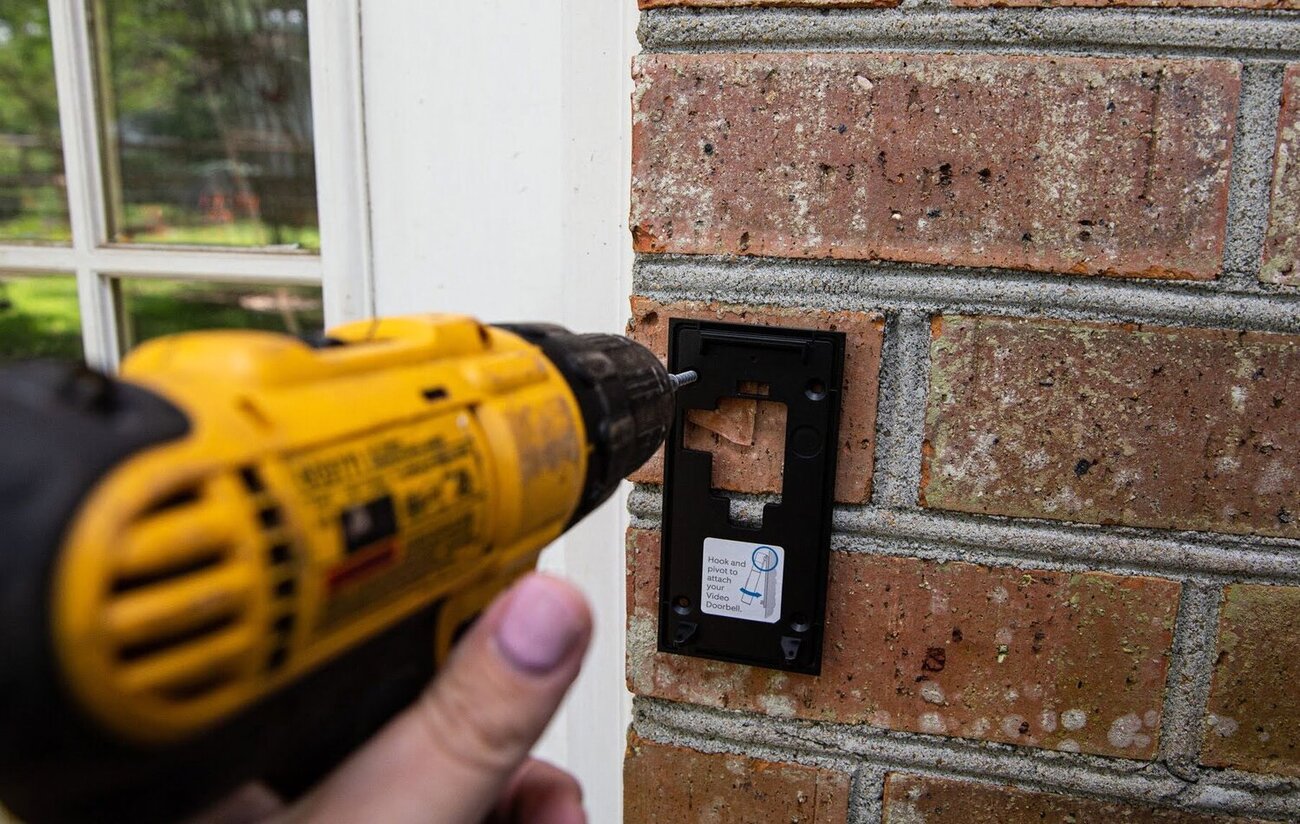
- Drill pilot holes (if required): If the surface you’re installing the mounting bracket onto is too tough for the screws to penetrate easily, use a drill with an appropriate drill bit to create pilot holes for the screws.
- Secure the bracket: Using the marked spots as a guide, screw in the provided screws to secure the mounting bracket firmly to the wall. Ensure that the bracket is tightly in place and doesn’t wobble.
Installing the mounting bracket is a crucial step in ensuring the stability and longevity of your wireless Ring doorbell. Take your time to align it properly and secure it tightly to the wall or door frame.
Once the mounting bracket is installed, you can proceed to the next step of connecting the doorbell wires to power up your wireless Ring doorbell.
Step 4: Connect the doorbell wires
Now that the mounting bracket is securely in place, it’s time to connect the doorbell wires to power up your wireless Ring doorbell. Follow these steps to ensure a proper connection:
- Identify the doorbell wires: If you have an existing wired doorbell, you will see two wires coming out of the wall. In most cases, they are colored red and white. These wires provide the power and connectivity for your doorbell.
- Prepare the wires: If the ends of the wires are stripped and exposed, proceed to the next step. If not, use wire strippers to remove a small portion of the insulation from the ends of the wires, exposing the copper conductor.
- Connect the wires to the Ring doorbell: On the back of the Ring doorbell, there are two screw terminals labeled “Trans” or “Transformer” and “Front” or “Front Door.” Loosen the screws on these terminals to create space for the wire ends.
- Connect the wires: Place the exposed ends of the wires into the respective screw terminals. The red wire usually connects to the “Trans” or “Transformer” terminal, and the white wire connects to the “Front” or “Front Door” terminal. Tighten the screws to secure the wires in place.
- Tuck the wires into the mounting bracket: Carefully tuck the connected wires into the mounting bracket, ensuring they are neatly positioned and don’t interfere with the doorbell installation.
By properly connecting the doorbell wires, you are providing the necessary power and connectivity for your wireless Ring doorbell to function. Ensure that the wires are securely connected and tucked away to avoid any accidental disconnection or damage.
With the doorbell wires connected, you’re now ready to attach the Ring doorbell to the mounting bracket and move on to the next step of the installation process.
When installing a wireless Ring doorbell, make sure to fully charge the battery before beginning the installation process. This will ensure that the doorbell is ready to use once installed.
Read more: How To Install A Wired Ring Doorbell
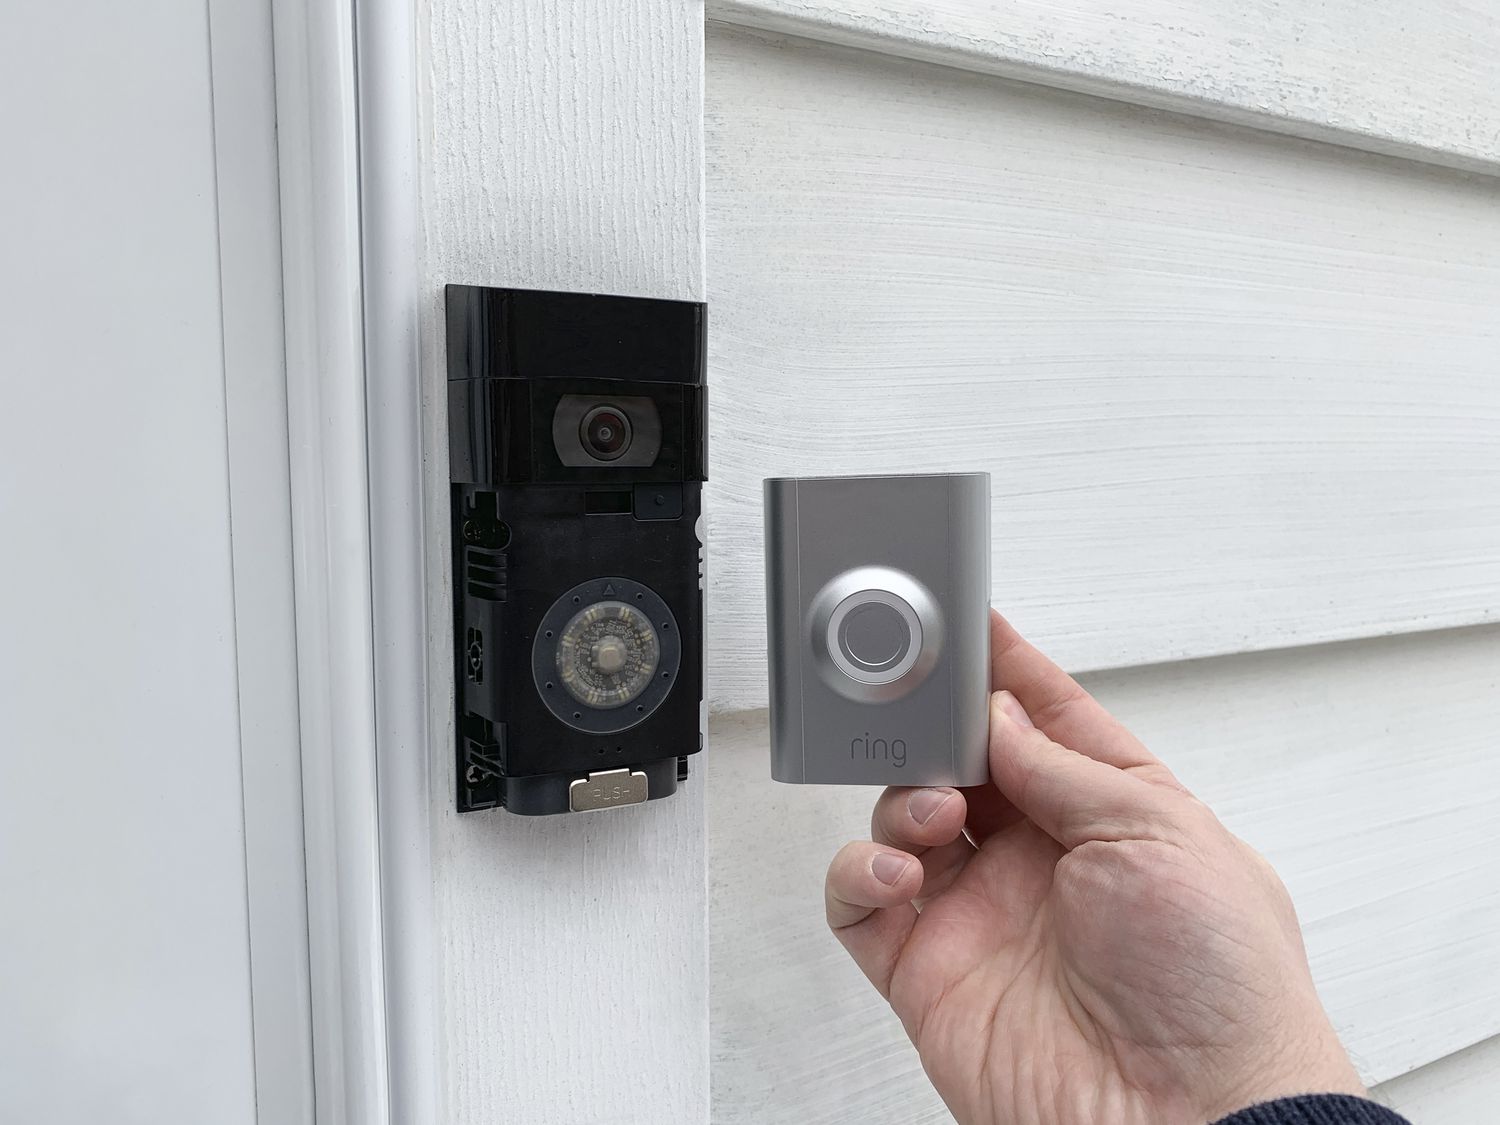
Step 5: Attach the doorbell to the bracket
With the doorbell wires connected and secured, it’s time to attach the wireless Ring doorbell to the mounting bracket. Follow these steps for a secure installation:
- Hold the Ring doorbell: Take the wireless Ring doorbell and hold it firmly in your hand.
- Align the doorbell: Position the back of the doorbell against the mounting bracket, ensuring that the screw holes on the doorbell line up with the holes on the bracket.
- Secure the doorbell: Insert the provided screws into the holes on the doorbell and tighten them using a screwdriver. Make sure the doorbell is securely fastened to the mounting bracket, but avoid overtightening to prevent damage.
- Check the doorbell alignment: Double-check that the doorbell is level and properly aligned with the mounting bracket. Adjust if necessary.
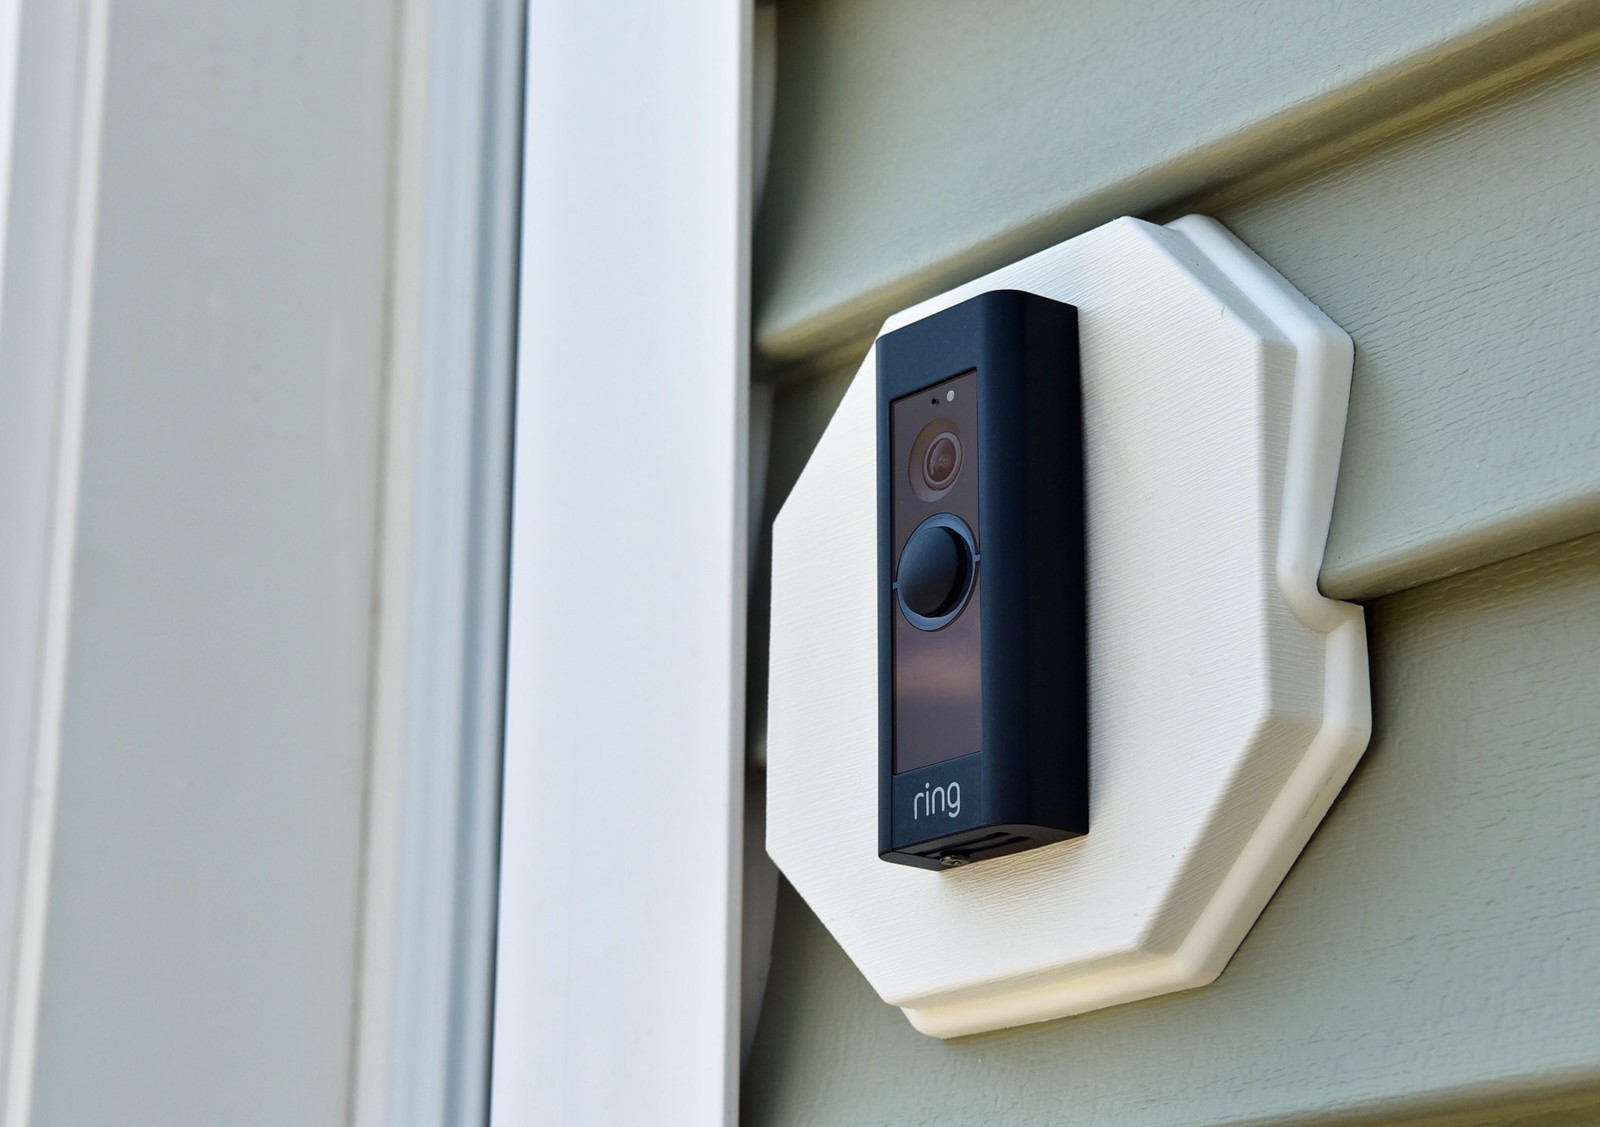
Attaching the doorbell to the mounting bracket is a crucial step in completing the installation. Ensure that the doorbell is firmly secured and aligned properly for optimal functionality.
Once the doorbell is securely attached, you can proceed to the next step of downloading and setting up the Ring app on your mobile device.
Step 6: Download and set up the Ring app
After attaching the wireless Ring doorbell to the mounting bracket, it’s time to download and set up the Ring app on your mobile device. Follow these steps to get started:
- Go to the app store: Open the app store on your smartphone or tablet and search for “Ring” in the search bar.
- Download the Ring app: Locate the official Ring app and tap the “Download” or “Install” button to begin the download. Wait for the app to finish downloading and installing on your device.
- Launch the Ring app: Once the app is installed, find the Ring app icon on your device’s home screen or app drawer and tap on it to launch the app.
- Create a Ring account: If you don’t have a Ring account, you will need to create one. Tap on the “Sign Up” or “Create Account” button and follow the onscreen instructions to set up your Ring account.
- Add your Ring doorbell: Once you have a Ring account, log in to the app using your credentials. Tap on the “Set up a Device” or similar option and select “Doorbell.” Follow the prompts to add your specific Ring doorbell model to the app.
- Connect the app to your doorbell: The app will guide you through the process of connecting the Ring doorbell to your Wi-Fi network. Make sure your phone or tablet is connected to the same Wi-Fi network that you want to connect your doorbell to. Follow the onscreen instructions to complete the setup.
Downloading and setting up the Ring app will allow you to configure and access the full range of features offered by your wireless Ring doorbell. It will also enable you to receive notifications, view live video feeds, and interact with visitors from your mobile device.
Once the Ring app is successfully set up, proceed to the next step of connecting the wireless doorbell to your Wi-Fi network.
Step 7: Connect the doorbell to the Wi-Fi network
With the Ring app installed and set up, it’s time to connect your wireless Ring doorbell to your Wi-Fi network. Follow these steps to establish a reliable connection:
- Open the Ring app: Launch the Ring app on your mobile device and log in to your account if prompted.
- Select your device: In the app’s main screen, find and select your Ring doorbell from the list of devices associated with your account.
- Go to device settings: Locate and tap on the settings icon or option specific to your Ring doorbell within the app.
- Choose Wi-Fi settings: Look for the Wi-Fi settings or network settings option in the device settings menu and select it.
- Connect to Wi-Fi: Follow the onscreen instructions to connect your Ring doorbell to your Wi-Fi network. You may need to enter your network password or perform other necessary steps as prompted by the app.
- Wait for connection: Allow your Ring doorbell a few moments to establish a connection to the Wi-Fi network. The app will provide updates on the connection process and notify you when it’s successfully connected.
Connecting your Ring doorbell to your Wi-Fi network is vital for seamless communication and access to its features. Make sure you have a stable and reliable Wi-Fi signal in the vicinity of the doorbell for optimal performance.
Once your Ring doorbell is successfully connected to the Wi-Fi network, you’re ready to move on to the final step of testing the wireless doorbell function.
Step 8: Test the wireless doorbell function
Now that your wireless Ring doorbell is connected to the Wi-Fi network, it’s time to test its functionality and ensure everything is working correctly. Follow these steps to test the wireless doorbell function:
- Ensure your mobile device is connected to the internet: Make sure the device you’re using to access the Ring app is connected to a stable internet connection.
- Activate the doorbell: Have someone stand in front of the doorbell or press the doorbell button to simulate a visitor.
- Check for notifications: Once activated, your mobile device should receive a notification from the Ring app indicating that motion is detected or someone is at the door.
- Open the Ring app: Tap on the notification or open the Ring app manually to access the live video feed from your doorbell.
- Test the two-way audio: Using the app, speak into your mobile device’s microphone and check if your voice is transmitted through the doorbell’s speaker. Have the person near the doorbell respond to test two-way communication.
- Adjust settings (if desired): Explore the Ring app settings to customize notification preferences, motion detection sensitivity, and other features according to your preferences.
Testing the functionality of your wireless Ring doorbell is essential to ensure that it operates as intended and that you receive timely notifications for any visitors or activity at your doorstep.
If everything is working correctly during the testing phase, congratulations! You have successfully installed and set up your wireless Ring doorbell. You can now enjoy the enhanced security and convenience it provides for your home.
If any issues arise during testing, refer to the Ring app’s troubleshooting guide or consult the Ring Help Center for assistance in troubleshooting and resolving the problem.
Remember to regularly check for software updates and perform maintenance tasks to ensure your wireless Ring doorbell continues to function optimally over time.
Enjoy the peace of mind and convenience that comes with having a wireless Ring doorbell installed at your home!
Read more: How To Install Ring Doorbell In An Apartment
Conclusion
Installing a wireless Ring doorbell is a relatively simple process that can greatly enhance the security and convenience of your home. By following the step-by-step instructions provided in this article, you can successfully install and set up your own wireless doorbell in no time.
From gathering the necessary tools and materials to connecting the doorbell to your Wi-Fi network, each step is crucial in ensuring a seamless installation and optimal functionality. Remember to take your time, double-check your work, and consult the Ring app’s resources if you encounter any difficulties along the way.
Once your wireless Ring doorbell is up and running, you can enjoy features such as two-way audio communication, motion detection, and live video streaming straight from your mobile device. This added level of security and convenience provides peace of mind and the ability to monitor your doorstep from anywhere.
Regularly check for software updates offered by Ring to ensure that your doorbell operates on the latest firmware, optimizing its performance and security features. Additionally, make sure to maintain a strong Wi-Fi connection and keep your mobile device’s battery charged to fully utilize the capabilities of your wireless Ring doorbell.
With proper installation, configuration, and ongoing maintenance, your wireless Ring doorbell will serve as a reliable and effective home security solution for years to come.
So, take the plunge, install your wireless Ring doorbell, and experience the convenience, peace of mind, and added security that it brings to your home!
Now that you've mastered installing your wireless Ring doorbell, why stop there? Dive deeper into home enhancement by exploring home automation, which highlights the 12 best systems for 2024. If your house features siding, you might want to learn more about Ring doorbell installation to ensure smooth setup. For those interested in broader security measures, our article on home security systems offers valuable insights into available options.
Frequently Asked Questions about How To Install A Wireless Ring Doorbell
Was this page helpful?
At Storables.com, we guarantee accurate and reliable information. Our content, validated by Expert Board Contributors, is crafted following stringent Editorial Policies. We're committed to providing you with well-researched, expert-backed insights for all your informational needs.


0 thoughts on “How To Install A Wireless Ring Doorbell”