
Articles
How To Program Ring Doorbell
Modified: August 26, 2024
Learn how to program your Ring Doorbell with step-by-step instructions and helpful articles. Master the process and enhance your home security today!
(Many of the links in this article redirect to a specific reviewed product. Your purchase of these products through affiliate links helps to generate commission for Storables.com, at no extra cost. Learn more)
Introduction
Welcome to the world of Ring Doorbells! Ring Doorbells have quickly become a popular smart home device, offering convenience, security, and peace of mind to countless homeowners. Whether you’re looking to enhance the security of your property or streamline your daily routines, the Ring Doorbell is a reliable and user-friendly option.
In this article, we will guide you through the process of setting up and programming your Ring Doorbell. From downloading the app to configuring motion settings and customizing notifications, we’ll cover everything you need to know to get your Ring Doorbell up and running.
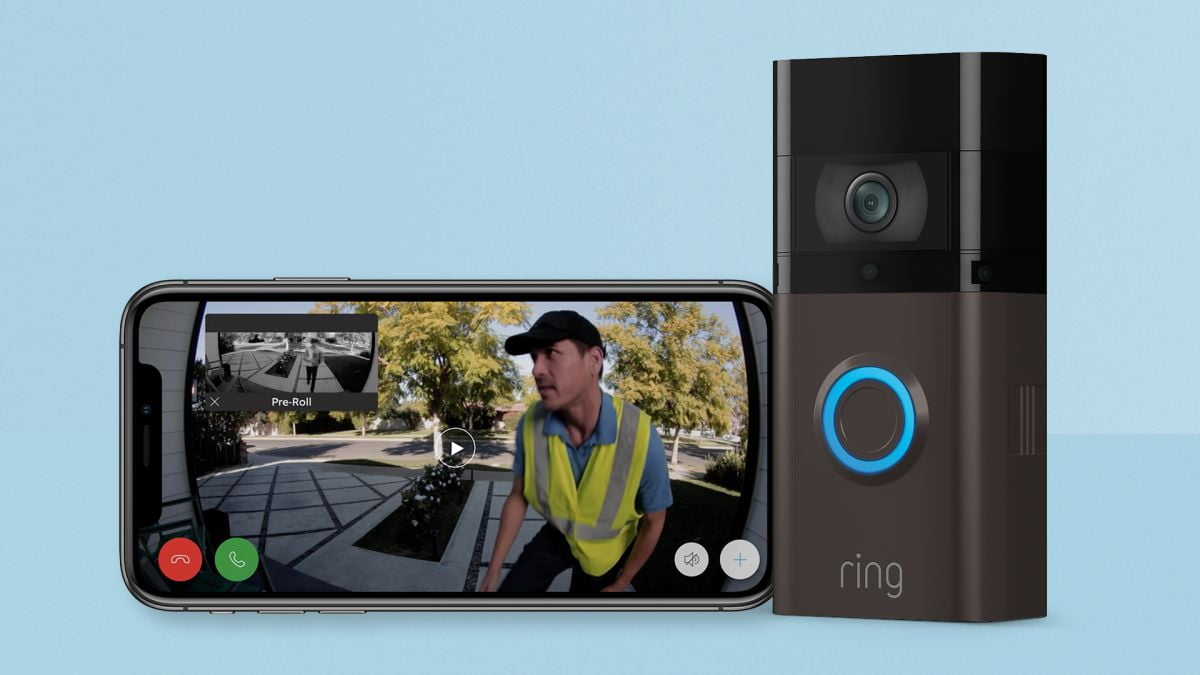
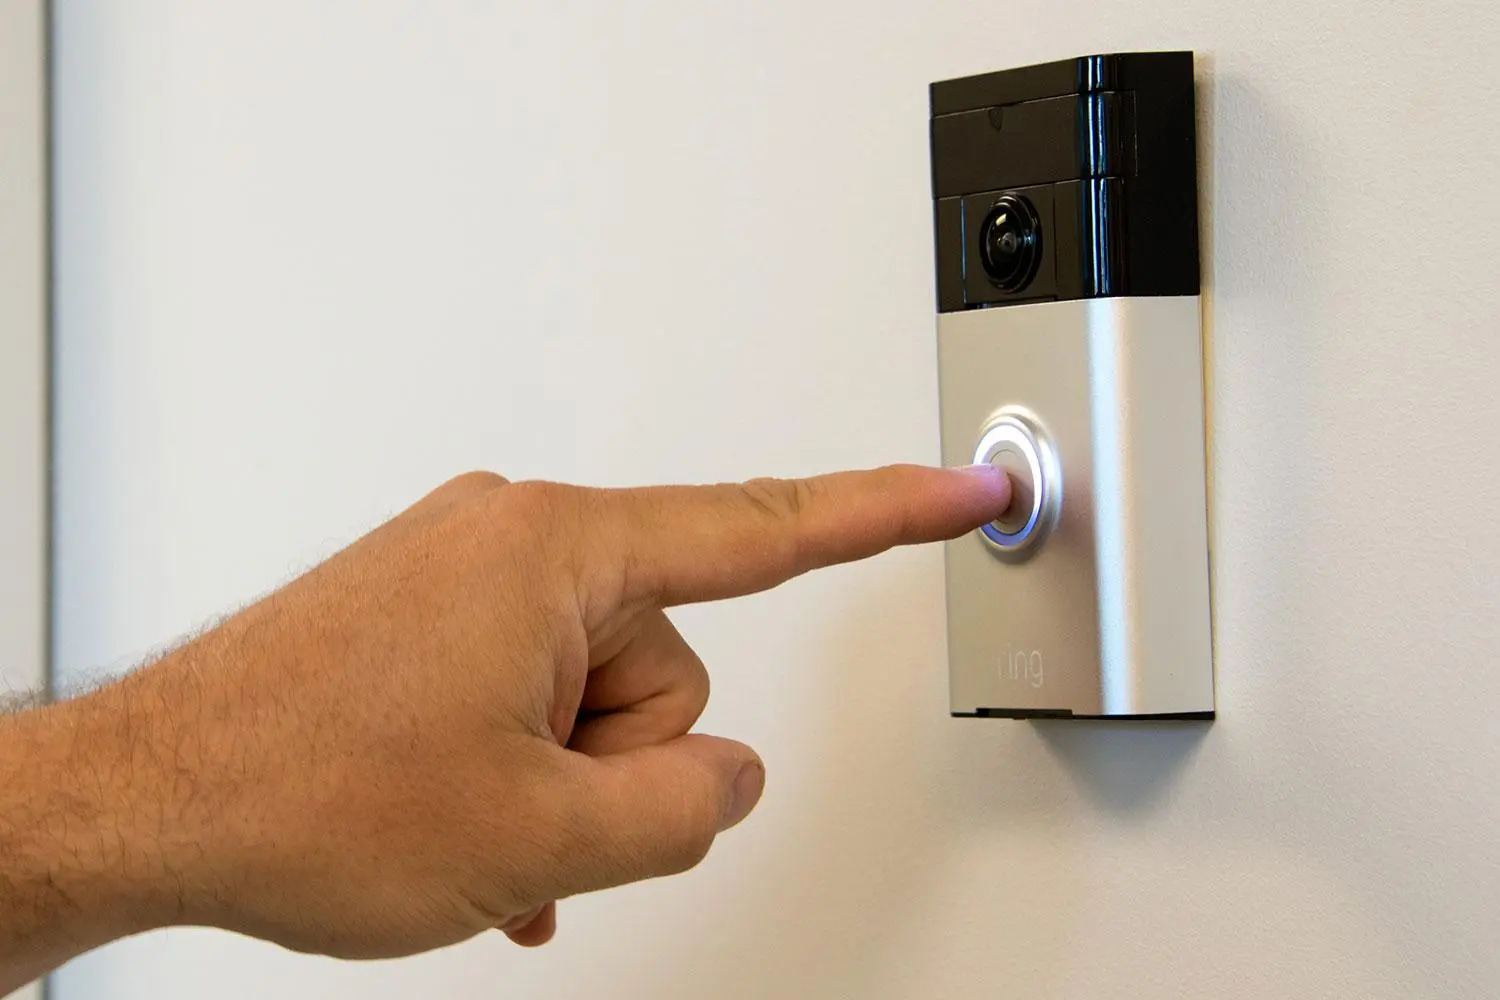
But before we dive into the details, let’s take a moment to explore what makes the Ring Doorbell such a valuable addition to any home. The Ring Doorbell is a smart video doorbell that allows you to see, hear, and speak to visitors from your smartphone, tablet, or computer. With its high-definition camera and two-way audio, you’ll never miss a visitor, even if you’re not at home.
Additionally, the Ring Doorbell offers motion detection capabilities, which means it can send you instant alerts when someone approaches your door. This feature is especially useful for enhancing the security of your property or keeping an eye on deliveries when you’re away.
Not only does the Ring Doorbell provide convenience and security, but it also offers a range of advanced features to suit your specific needs. These features include customizable motion zones, night vision, and compatibility with other smart home devices.
Now that we’ve touched on the benefits of the Ring Doorbell, let’s get started with the setup process. In the next section, we’ll walk you through the initial steps of setting up your Ring Doorbell.
Key Takeaways:
- Setting up your Ring Doorbell is a simple process that involves finding the ideal location, charging the device, and connecting it to your Wi-Fi network. The Ring app provides easy access to features like motion settings and notifications, enhancing your home security.
- By customizing motion zones, configuring notifications, and exploring advanced features such as two-way audio and video recording, you can maximize the potential of your Ring Doorbell. Enjoy enhanced security, convenience, and peace of mind with this smart home device.
Read more: Why Is My Ring Doorbell Not Ringing
Step 1: Set up the Ring Doorbell
Setting up your Ring Doorbell is a straightforward process that requires a few simple steps. Before you begin, ensure that you have the necessary tools and materials, including a smartphone or tablet, a stable Wi-Fi connection, and the Ring Doorbell device itself.
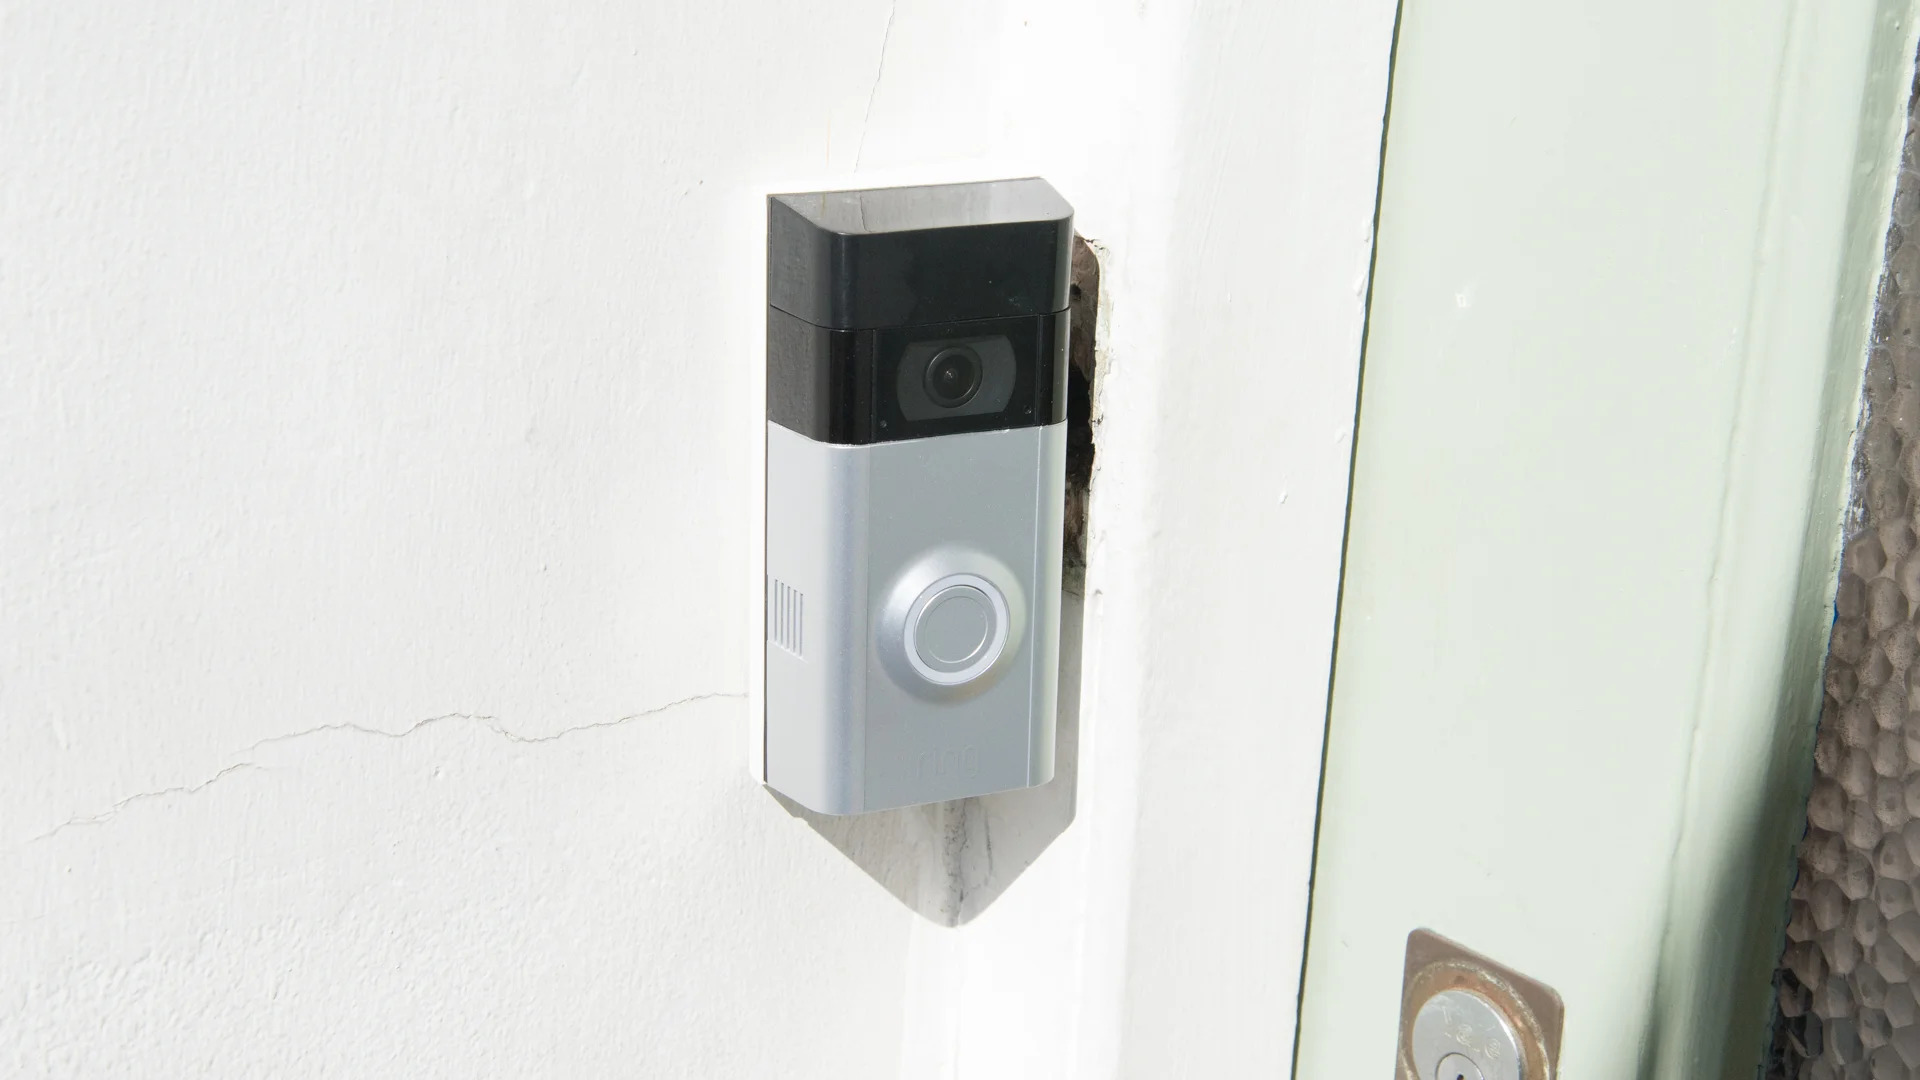
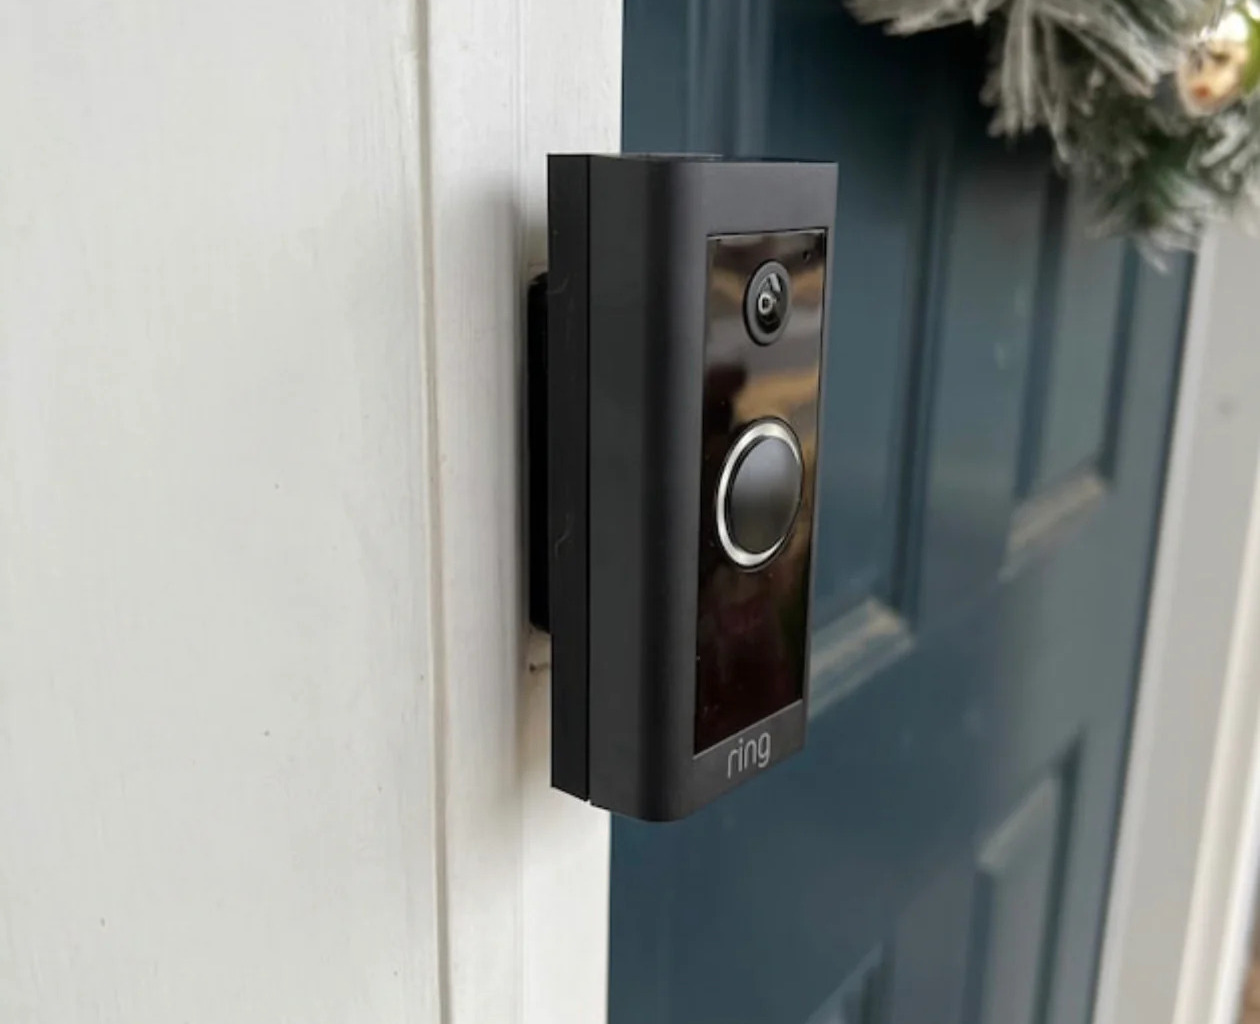
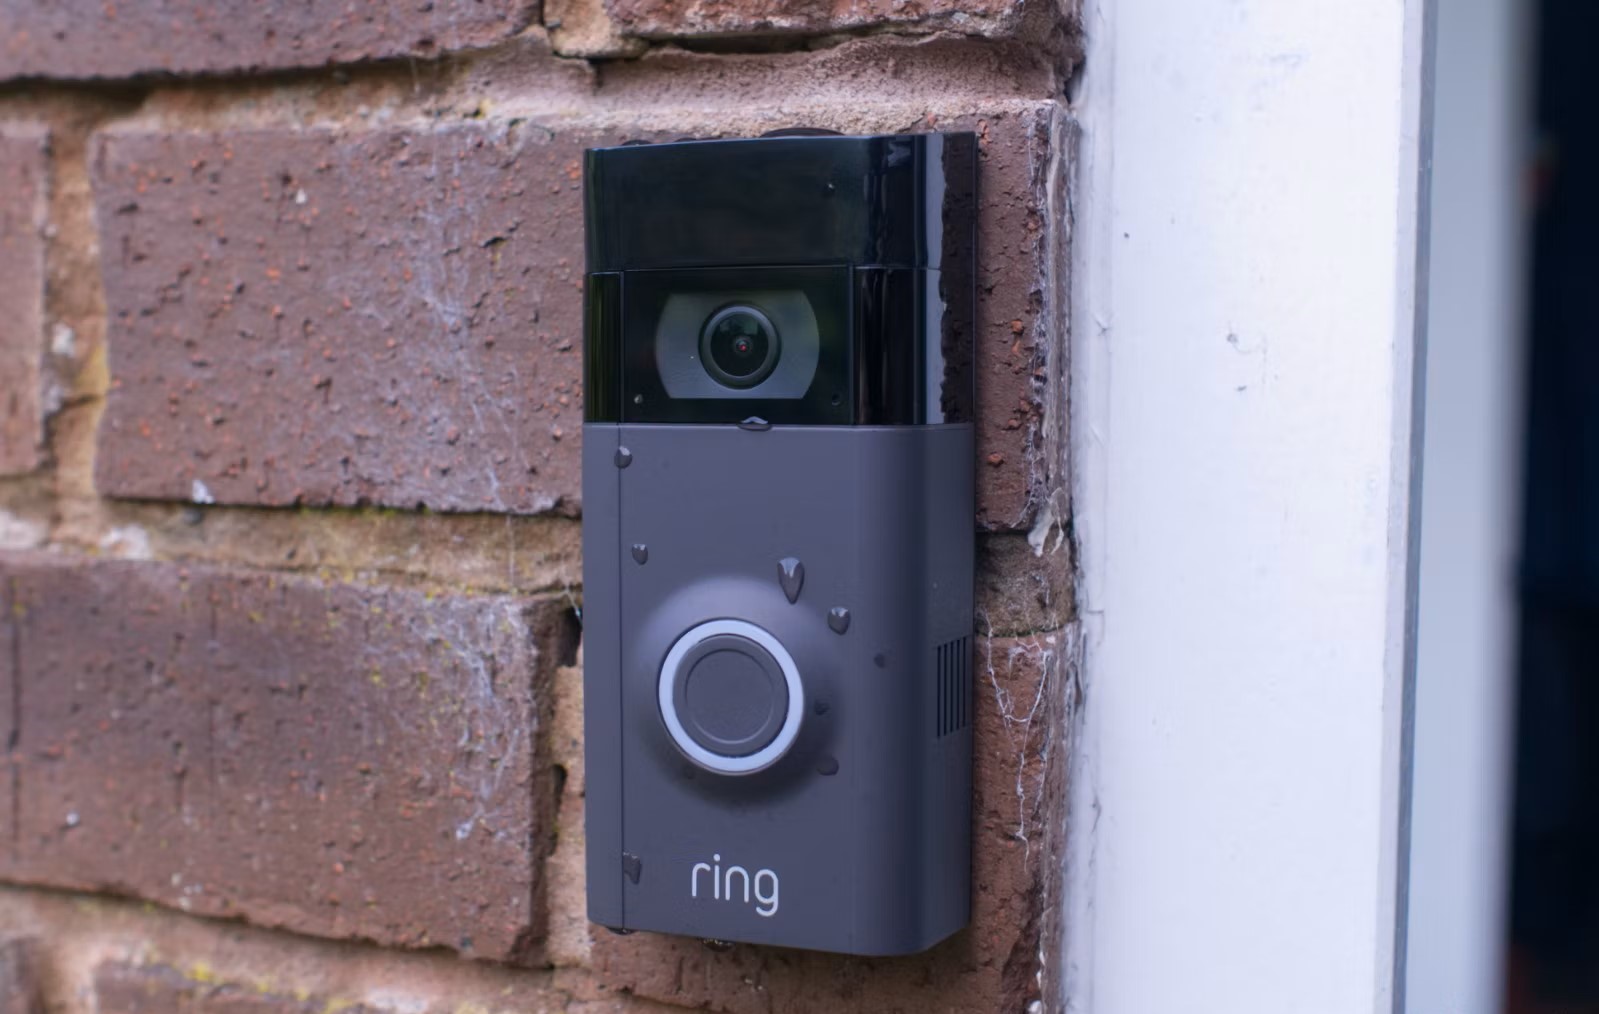
1. Start by finding the ideal location for your Ring Doorbell. It should be near your front door or any other entryway that you want to monitor. Ensure that there is a clear line of sight and easy access for mounting.
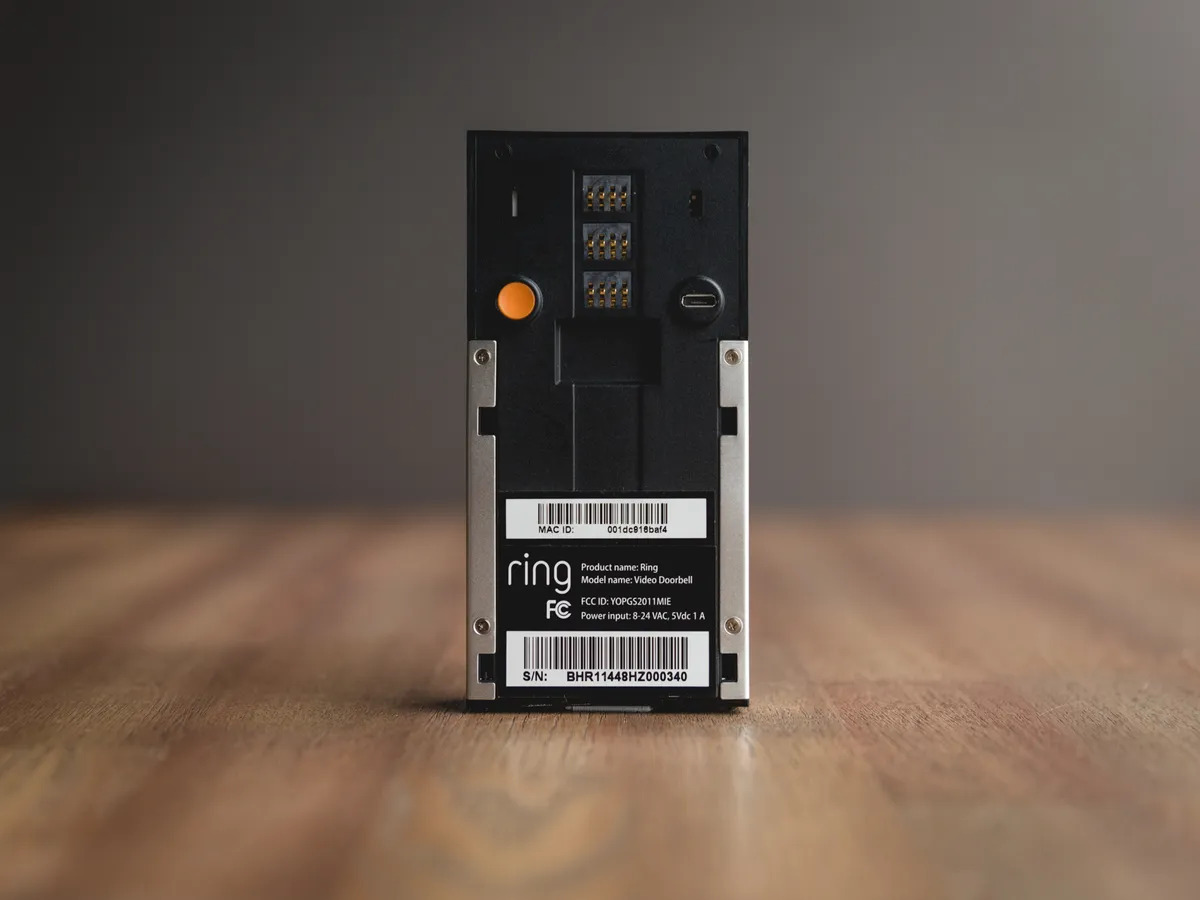
2. Next, you’ll need to charge the Ring Doorbell. If your device came with a rechargeable battery, use the provided USB cable to connect it to a power source. Allow it to charge fully before proceeding.
3. Once your Ring Doorbell is charged, you can proceed with the installation. If you have a wired doorbell, you can connect the Ring Doorbell to the existing wiring. This will provide a continuous power supply to the device. Alternatively, if you don’t have a wired doorbell, you can use the included rechargeable battery as the power source.
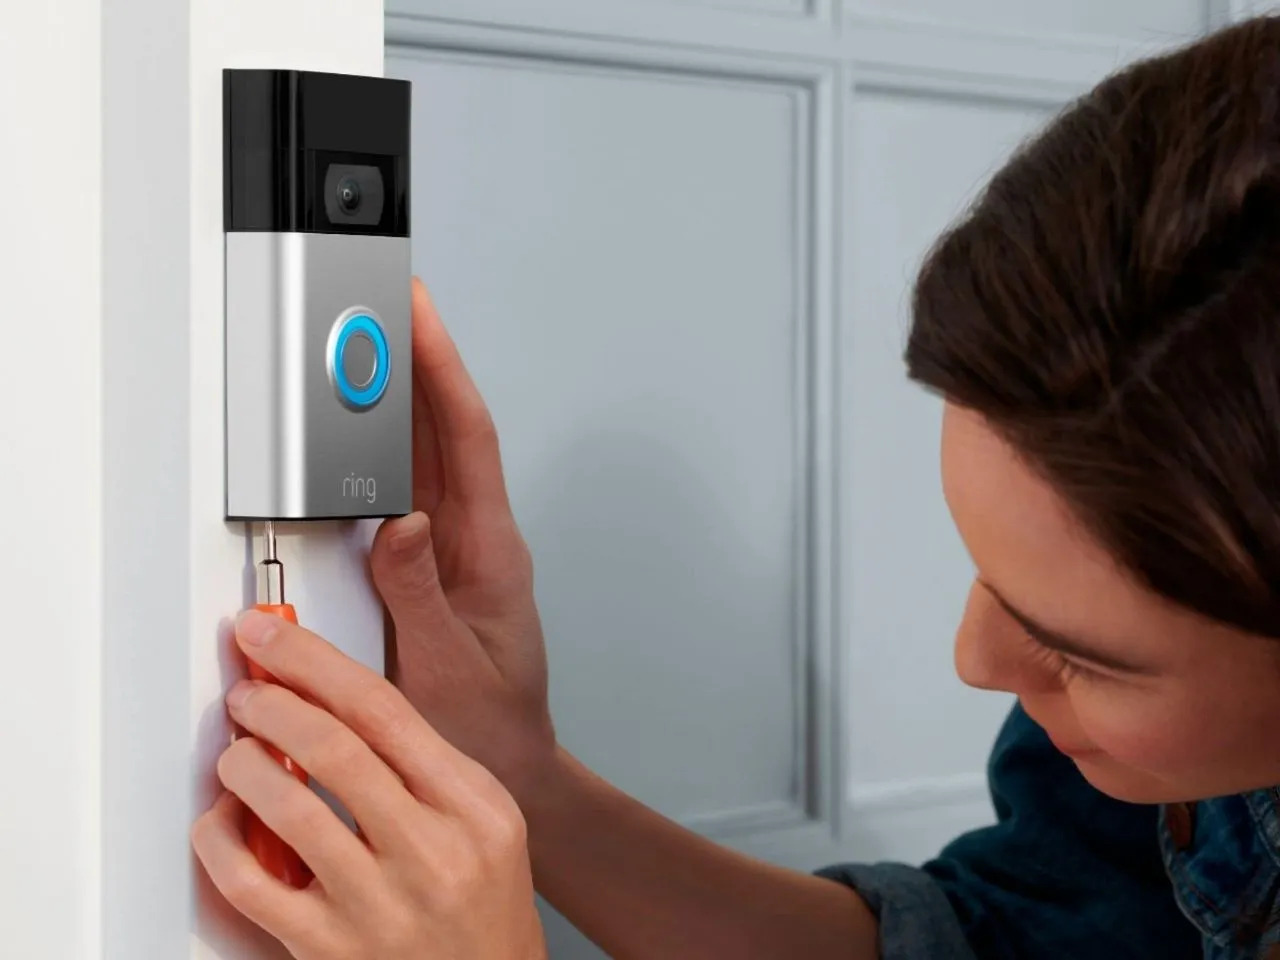
4. At this point, you can begin mounting the Ring Doorbell. Follow the instructions in the Ring app to securely attach the device to your door frame or wall. Make sure it is level and firmly in place to ensure optimal performance.
5. After mounting the Ring Doorbell, you’ll want to test it to ensure it’s functioning properly. Follow the instructions in the app to complete the setup process, which will include connecting the device to your Wi-Fi network.
6. Once your Ring Doorbell is connected to Wi-Fi, it will be ready to use. You can now proceed to the next steps to fine-tune the settings and customize your Ring Doorbell experience.
That’s it! You’ve successfully set up your Ring Doorbell. In the next section, we’ll guide you through the process of downloading and installing the Ring app, which is essential for accessing and controlling your Ring Doorbell.
Step 2: Download and Install the Ring App
Now that you have your Ring Doorbell set up, it’s time to download and install the Ring app. The Ring app is available for both iOS and Android devices and is essential for accessing and managing your Ring Doorbell.
Follow these simple steps to download and install the Ring app:
- Open the App Store on your iOS device or the Google Play Store on your Android device.
- Search for “Ring” in the search bar.
- Locate the official Ring app developed by Ring.com and tap on it.
- Tap the “Install” button (for Android) or the “Get” button (for iOS) to begin the download and installation process.
- Wait for the app to download and install on your device. This may take a few moments depending on your internet connection.
- Once the Ring app is installed, open it and sign in to your Ring account. If you don’t have an account, you can create one by following the on-screen prompts.
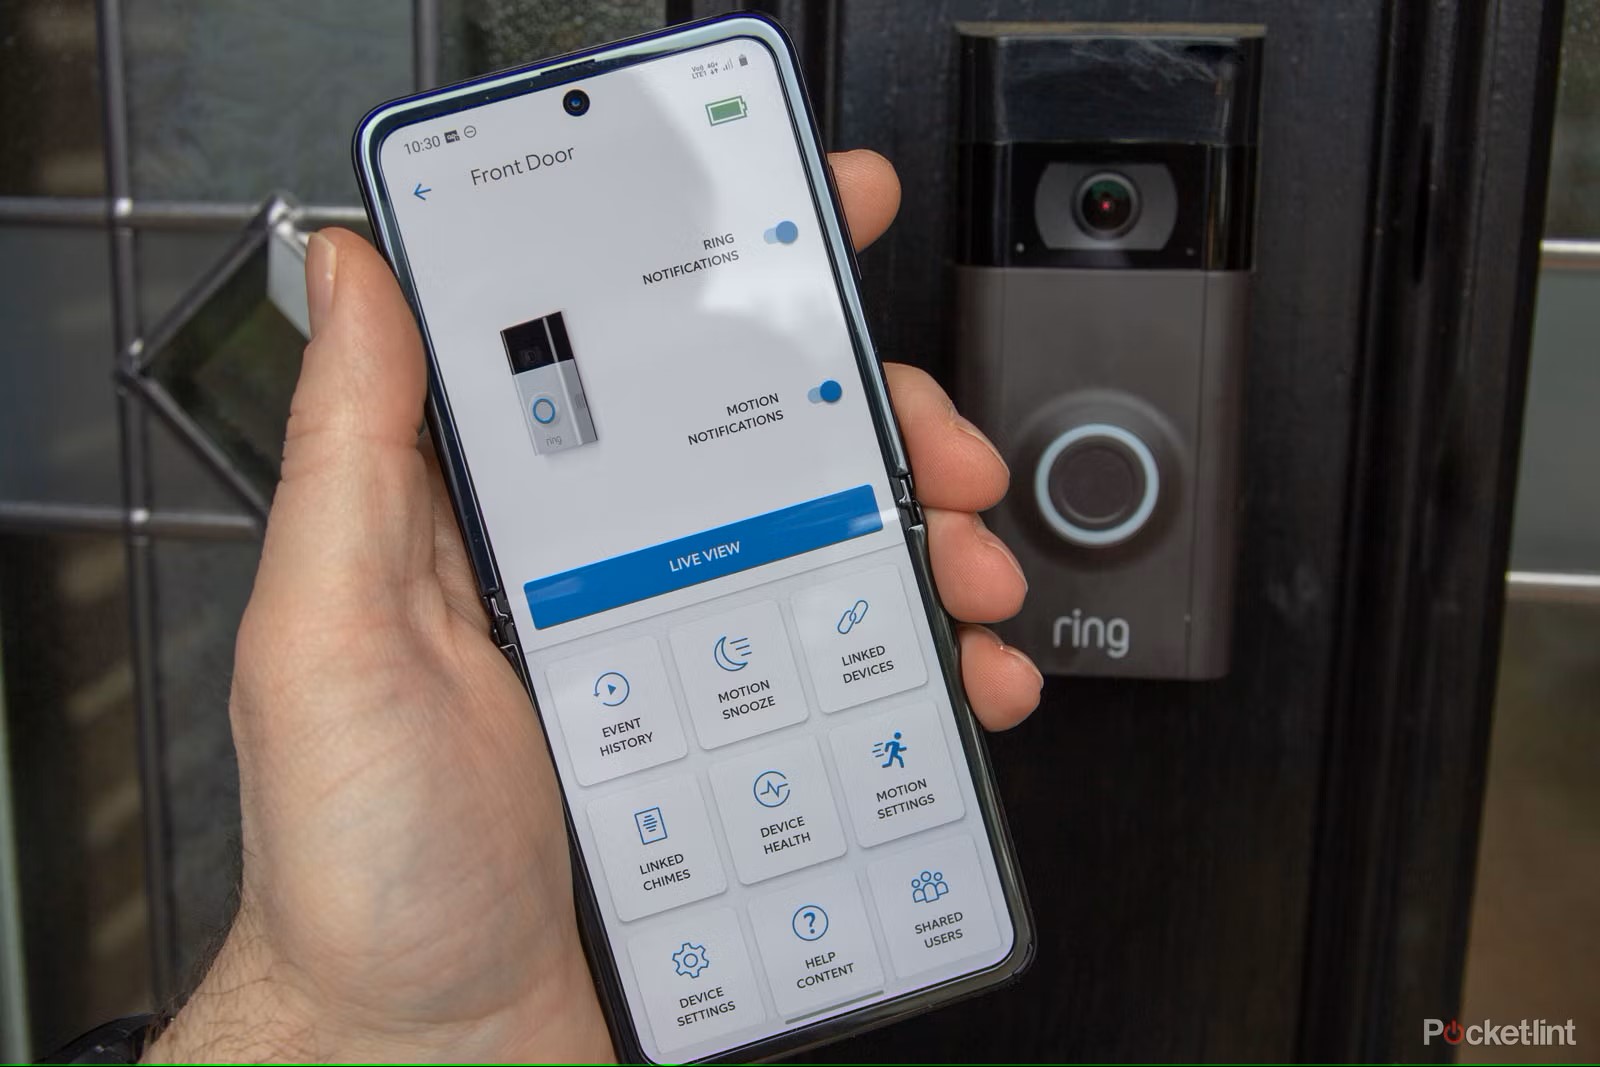
Once you’re signed in to the Ring app, you’ll have access to a wide range of features and settings to control your Ring Doorbell. The app allows you to view live video feeds, adjust motion detection settings, customize notification preferences, and more.
With the Ring app installed on your device, you can also receive instant alerts and notifications whenever someone rings your doorbell or triggers the motion sensor. This ensures that you never miss a visitor or any activity near your doorstep.
Additionally, the Ring app provides a user-friendly interface that allows for seamless navigation and easy configuration. You can explore various features and settings, making adjustments to suit your preferences and needs.
That’s it! You’re now ready to connect and control your Ring Doorbell using the Ring app. In the next step, we’ll guide you through the process of creating a Ring account if you haven’t already done so.
Step 3: Create an Account
In order to fully utilize the features and functionalities of your Ring Doorbell, you’ll need to create a Ring account. Your Ring account serves as the central hub for accessing and managing your Ring devices through the Ring app.
Follow these simple steps to create a Ring account:
- Open the Ring app on your smartphone or tablet.
- On the login screen, tap on “Create Account”.
- Enter your email address and create a strong, unique password for your Ring account.
- You’ll need to verify your email address by clicking on the verification link sent to your inbox.
- Once your email address is verified, return to the Ring app and sign in using your newly created account credentials.
- Follow the on-screen prompts to complete the account setup process, which may include providing your name, address, and contact information.
Creating a Ring account is necessary to access features such as live view, two-way audio, and motion detection settings. It also enables you to receive alerts and notifications on your smartphone whenever there is activity detected by your Ring Doorbell.
Having a Ring account also allows you to take advantage of additional Ring products and services, such as Ring Security Cameras and Ring Alarm systems. You can easily integrate and manage these devices within the same app, providing a comprehensive home security solution.
With your Ring account set up, you’ll have full control over your Ring Doorbell and other Ring devices. You can customize settings, review event history, and interact with visitors using the two-way audio feature.
That’s it! You’ve successfully created a Ring account. In the next step, we’ll guide you through the process of connecting your Ring Doorbell to your Wi-Fi network.
Step 4: Connect Ring Doorbell to Wi-Fi
Connecting your Ring Doorbell to your Wi-Fi network is crucial for enabling remote access and functionality through the Ring app. By connecting to Wi-Fi, you can monitor your front door, receive notifications, and interact with visitors from anywhere using your smartphone or tablet.
Follow these steps to connect your Ring Doorbell to Wi-Fi:
- Open the Ring app on your device and sign in to your Ring account if you haven’t already.
- Tap on the “Set Up a Device” option in the app menu.
- Select “Doorbell” or the specific model of your Ring Doorbell.
- The app will guide you through the setup process. Follow the on-screen instructions carefully.
- When prompted, enter the Wi-Fi network name (SSID) and password that you want to connect your Ring Doorbell to.
- Wait for the Ring Doorbell to connect to your Wi-Fi network. This may take a few moments.
- Once connected, the Ring app will confirm the successful connection, and your Ring Doorbell will be ready to use.
It’s important to note that during the initial setup of the Ring Doorbell, it’s recommended to be within close proximity to your Wi-Fi router. This ensures a strong and stable connection between the Ring Doorbell and your network.
If you encounter any issues during the Wi-Fi setup process, make sure that you have entered the correct Wi-Fi credentials and that your network is functioning properly. You can also try restarting your router or contacting Ring support for assistance.
Once your Ring Doorbell is successfully connected to Wi-Fi, you’ll be able to access its features and functionalities through the Ring app. You can view live video feeds, receive motion alerts, and interact with visitors using the two-way audio feature.
That’s it! You’ve now successfully connected your Ring Doorbell to your Wi-Fi network. In the next step, we’ll guide you through the process of configuring your motion settings to optimize the performance of your Ring Doorbell.
When programming your Ring Doorbell, make sure to connect it to a strong and stable Wi-Fi network to ensure reliable performance and notifications.
Read more: How Do I Get My Ring Doorbell To Ring Inside
Step 5: Configure Motion Settings
Configuring the motion settings of your Ring Doorbell is an essential step to ensure that you receive accurate and relevant notifications for any activity detected near your front door. By customizing these settings, you can minimize false alarms while still staying informed about important events.
Follow these steps to configure the motion settings of your Ring Doorbell:
- Open the Ring app on your device and navigate to the settings for your Ring Doorbell.
- Select the “Motion Settings” option.
- You will see a range of motion settings that you can adjust. These may include motion sensitivity, motion zones, and motion frequency.
- Adjust the motion sensitivity slider to increase or decrease the sensitivity of the motion detection. Higher sensitivity may result in more notifications, while lower sensitivity may reduce the number of alerts.
- Define motion zones by dragging and resizing the designated areas on the motion zone map. This allows you to focus on specific areas where you want the Ring Doorbell to detect motion, such as your porch or driveway.
- Take note of any additional motion settings that may be available, such as the ability to customize the length of recording or setting specific time frames for motion alerts.
- Once you have made the desired adjustments, save your settings.
It’s recommended to experiment with different motion settings to find the right balance that suits your preferences and environment. Keep in mind that excessive sensitivity or large motion zones may result in more false alarms, such as triggered by passing cars or movement of pets.
Remember to periodically review and adjust your motion settings based on your needs and any changes in the surrounding environment. This ensures that your Ring Doorbell continues to provide accurate and reliable motion detection.
With your motion settings configured, your Ring Doorbell will be fine-tuned to detect and notify you about relevant activity near your front door, providing you with added security and convenience.
That’s it! You’ve successfully configured the motion settings for your Ring Doorbell. In the next step, we’ll guide you through customizing your notifications to suit your preferences.
Step 6: Customize Your Notifications
Customizing the notifications for your Ring Doorbell allows you to fine-tune how and when you receive alerts about any activity detected at your front door. By tailoring these settings to your preferences, you can ensure that you stay informed while minimizing unnecessary interruptions.
Follow these steps to customize your notifications for your Ring Doorbell:
- Open the Ring app on your device and navigate to the settings for your Ring Doorbell.
- Select the “Notifications” option.
- You will see a list of different notification types that you can customize, such as motion alerts, doorbell ring alerts, and live view alerts.
- Tap on the specific notification type you want to customize, such as “Motion Alerts”.
- Adjust the settings for that notification type to suit your preferences. This may include toggling the notification on or off, selecting the specific devices to receive the notification, and choosing the sound or vibration pattern for the notification.
- Repeat the process for other notification types, such as “Doorbell Ring Alerts” or “Live View Alerts”, if desired.
- Save your notification settings.
Customizing your notifications allows you to tailor the notifications to your specific needs and preferences. For example, you may choose to receive motion alerts only during certain hours of the day or select specific devices (such as your smartphone or tablet) to receive the alerts.
It’s recommended to strike a balance between staying informed and avoiding notification overload. Experiment with different settings to find what works best for you, considering factors such as your daily routine, noise preferences, and the level of activity around your front door.
By customizing your notifications, you can ensure that you never miss an important alert while also avoiding unnecessary interruptions when they are not needed.
That’s it! You’ve successfully customized the notifications for your Ring Doorbell. In the next step, we’ll explore some of the advanced features that you can explore to further enhance your Ring Doorbell experience.
Step 7: Explore Advanced Features
Congratulations! By now, you have successfully set up, connected, and customized your Ring Doorbell. But did you know that there are even more advanced features you can explore to further enhance your Ring Doorbell experience? Let’s dive into some of these advanced features:
1. Customizable Motion Zones: Take advantage of the ability to create custom motion zones to focus on specific areas near your front door. This allows you to tailor the motion detection to areas that are most important to you while minimizing false alerts from irrelevant areas.
2. Two-Way Audio: Use the built-in microphone and speaker on your Ring Doorbell to have a conversation with visitors at your door, whether you’re at home or away. This feature is especially convenient for communicating with delivery drivers, guests, or even potential intruders.
3. Video Recording and Cloud Storage: Consider subscribing to a Ring Protect plan to unlock additional benefits, such as video recording and cloud storage. With this service, your Ring Doorbell can record and store video clips when motion is detected or when the doorbell is rung, giving you access to a history of events.
4. Smart Home Integration: If you have other smart home devices, explore the possibilities of integrating your Ring Doorbell with platforms like Amazon Alexa or Google Assistant. This allows you to control your Ring Doorbell using voice commands or even trigger actions with other connected devices.
5. Neighborhood Watch: Participate in the Ring Neighborhood Watch program, which enables you to share and receive real-time crime and safety alerts from neighbors in your area. Stay informed about potential security threats or incidents happening nearby and contribute to a safer community.
6. Ring Chime or Chime Pro: Consider adding a Ring Chime or Chime Pro to your setup to extend the range of your Ring Doorbell notifications. These devices plug into a power outlet and play a customizable ringtone or chime when someone rings your doorbell or when motion is detected.
These are just a few examples of the advanced features and options available with your Ring Doorbell. Take some time to explore the Ring app and familiarize yourself with all the possibilities. The more you delve into the advanced features, the more you can customize your Ring Doorbell to fit your unique needs and preferences.
With these advanced features at your disposal, your Ring Doorbell becomes much more than just a doorbell. It transforms into a powerful tool for security, convenience, and peace of mind.
That’s it! You’ve now reached the end of our step-by-step guide. By following these seven steps, you have successfully set up, programmed, and explored the advanced features of your Ring Doorbell. Enjoy the enhanced security and convenience that your Ring Doorbell brings to your home!
Conclusion
Congratulations on successfully setting up and programming your Ring Doorbell! You’ve taken the necessary steps to enhance the security and convenience of your home. The Ring Doorbell offers a wide range of features and functionalities that allow you to monitor your front door, interact with visitors, and receive notifications on your smartphone or tablet.
Throughout this guide, we’ve covered the essential steps, from setting up your Ring Doorbell to connecting it to Wi-Fi, customizing motion settings, and configuring notifications. We’ve also explored advanced features like customizable motion zones, two-way audio, video recording and cloud storage, smart home integration, and the Neighborhood Watch program. By taking advantage of these advanced features, you can truly maximize the potential of your Ring Doorbell.
By setting up your Ring Doorbell, you’ve now improved the security of your property and gained peace of mind. Whether you’re at home or away, you can monitor your front door, communicate with visitors, and keep an eye on any activity. With the ability to customize motion settings and notifications, you can ensure that you only receive relevant alerts while minimizing false alarms.
Remember to periodically review and adjust your settings to meet your changing needs. Stay up to date with any new features or updates from Ring to make the most of your Ring Doorbell experience.
We hope this guide has been helpful in getting your Ring Doorbell up and running. Enjoy the convenience and security that your Ring Doorbell brings, and rest easy knowing that you have reliable monitoring and communication right at your fingertips.
Thank you for choosing Ring, and we wish you many worry-free days ahead with your Ring Doorbell!
Frequently Asked Questions about How To Program Ring Doorbell
Was this page helpful?
At Storables.com, we guarantee accurate and reliable information. Our content, validated by Expert Board Contributors, is crafted following stringent Editorial Policies. We're committed to providing you with well-researched, expert-backed insights for all your informational needs.


0 thoughts on “How To Program Ring Doorbell”