
Articles
How To Subscribe To Ring Doorbell
Modified: August 17, 2024
Discover step-by-step instructions and expert advice in our collection of informative articles on how to subscribe to Ring Doorbell. Unlock the full potential of your smart home security system.
(Many of the links in this article redirect to a specific reviewed product. Your purchase of these products through affiliate links helps to generate commission for Storables.com, at no extra cost. Learn more)
Introduction
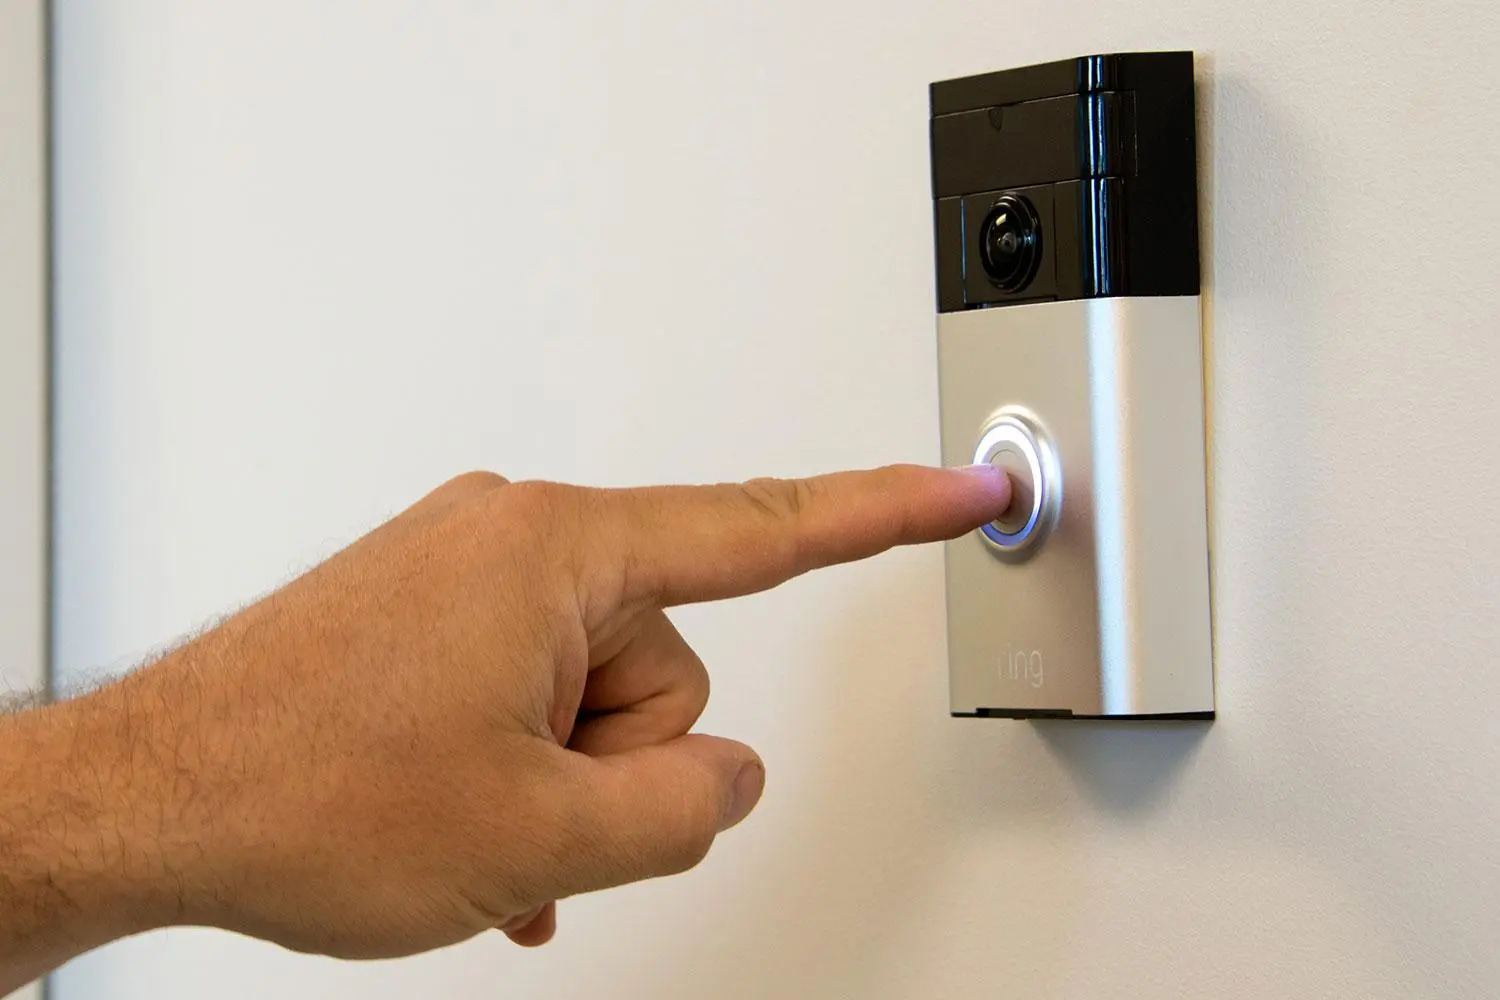
Welcome to the world of smart home security! The Ring Doorbell is an innovative device that allows you to monitor and protect your home with ease. Whether you’re looking to enhance the security of your property, keep tabs on deliveries, or simply enjoy the convenience of seeing who’s at your door without having to open it, subscribing to the Ring Doorbell is a smart choice.
In this article, we will guide you through the step-by-step process of subscribing to the Ring Doorbell, from creating your Ring account to customizing your device settings. So, let’s get started and make sure you’re well-equipped to make the most of your Ring Doorbell subscription.
Before we dive into the details, it’s important to note that in order to subscribe to the Ring Doorbell, you will need a compatible smartphone or tablet, a stable internet connection, and the Ring app downloaded on your device. Once you have these prerequisites in place, you’re ready to begin!
So, without further ado, let’s explore how to subscribe to the Ring Doorbell.
Key Takeaways:
- Subscribing to the Ring Doorbell is a seamless process that involves creating a Ring account, installing the Ring app, adding your device, setting it up, connecting to Wi-Fi, and customizing settings for enhanced home security and convenience.
- With a Ring Doorbell subscription, you gain access to features like motion detection, live video streaming, two-way audio communication, and smart home device integration. Regularly updating settings ensures optimal performance and peace of mind.
Read more: Why Is My Ring Doorbell Not Ringing
Step 1: Creating a Ring Account
Before you can start using the Ring Doorbell and accessing its features, you need to create a Ring account. Here’s how:
1. Sign up for a Ring account: Visit the Ring website or download the Ring app on your smartphone or tablet. Look for the ‘Sign Up’ or ‘Create Account’ option and click on it.
2. Enter your email address: Provide a valid email address to create your account. This will be used for account verification and future communication.
3. Create a password: Choose a strong and secure password to protect your Ring account. Make sure it includes a mix of uppercase and lowercase letters, numbers, and special characters.
4. Verify your email address: After signing up, Ring will send you an email with a verification link. Check your inbox and click on the link to verify your email address. This step ensures the security and authenticity of your account.
5. Complete your account setup: Once your email is verified, follow the prompts to provide additional information, such as your name, address, and contact details. This information helps Ring provide you with personalized notifications and alerts related to your device.
By creating a Ring account, you gain access to Ring’s ecosystem of devices and services, allowing you to fully utilize the features of your Ring Doorbell. Now that you have your Ring account ready, it’s time to move on to the next step: installing the Ring app.
Step 2: Installing the Ring App
To control and manage your Ring Doorbell, you’ll need to install the Ring app on your smartphone or tablet. Follow these steps to get the app up and running:
1. Download the Ring app: Visit the App Store (for iOS devices) or the Google Play Store (for Android devices) on your smartphone or tablet. Search for “Ring” in the search bar and locate the official Ring app. Tap on the app to download it.
2. Install the app on your device: Once the download is complete, tap on the app icon to install it. The installation process may take a few moments, so be patient.
3. Sign in to your Ring account: Once the installation is complete, open the Ring app. You will be prompted to sign in to your Ring account that you created in the previous step. Enter your email address and password and tap on the “Sign In” button.
4. Grant necessary permissions: The Ring app may request certain permissions, such as access to your camera, microphone, and notifications. It’s essential to grant these permissions, as they are required for the app to function properly and provide you with a seamless user experience.
5. Complete the initial setup: After signing in, the app will guide you through the initial setup process. This may include accepting the terms of service, enabling two-factor authentication for added security, and configuring any additional devices or services you may have.
By installing the Ring app on your smartphone or tablet, you gain complete control over your Ring Doorbell and can access its features and settings with ease. Now that the app is installed, let’s move on to the next step: adding your Ring Doorbell to the app.
Step 3: Adding Your Ring Doorbell to the App
Now that you have the Ring app installed, it’s time to add your Ring Doorbell to the app. Follow these simple steps:
1. Open the Ring app on your smartphone or tablet. You will be greeted with the login screen if you haven’t signed in already.
2. Tap on the “+” or “Add Device” option. This will initiate the process of adding a new device to your Ring app.
3. From the list of devices, select “Ring Doorbell”. If you have multiple Ring devices, make sure to choose the Ring Doorbell that you want to add.
4. Follow the on-screen instructions to connect your doorbell to the app. This typically involves pressing the setup button on your Ring Doorbell and allowing it to enter into setup mode.
5. The app will guide you through the process of connecting your Ring Doorbell to your Wi-Fi network. Make sure to have your Wi-Fi network name and password handy. The app will scan for available networks and prompt you to select your network and enter the password.
6. Once your Ring Doorbell successfully connects to your Wi-Fi network, the app will confirm the connection and prompt you to name your device. Choose a descriptive name for your doorbell that will help you easily identify it among other devices.
7. Finally, the app will ask for your permission to enable notifications and alerts on your smartphone or tablet. This will allow you to receive real-time alerts and view live video footage when someone rings your doorbell or when motion is detected.
By adding your Ring Doorbell to the app, you can now take advantage of all the features and functionalities that it offers. From monitoring your front door to interacting with visitors remotely, the possibilities are endless. Now that your doorbell is added, let’s proceed to the next step: setting up your Ring Doorbell.
To subscribe to Ring Doorbell, open the Ring app, go to the “Protect” tab, choose a plan, enter payment details, and follow the prompts to complete the subscription process.
Step 4: Setting Up Your Ring Doorbell
After adding your Ring Doorbell to the app, it’s time to physically install and set it up. Follow these steps to get your doorbell ready:
1. Choose a suitable location for your doorbell: Before attaching the doorbell, carefully select a location that provides a clear view of your front door area. Ensure it is within the range of your Wi-Fi network for a strong and stable connection.
2. Attach the mounting bracket to the desired surface: Using the provided screws and a screwdriver, securely attach the mounting bracket to the chosen surface. It could be a wall, door frame, or any other suitable location that offers stability and a good viewing angle.
3. Securely attach the doorbell to the mounting bracket: Once the mounting bracket is in place, align the mounting holes on the back of your Ring Doorbell with the corresponding holes on the mounting bracket. Gently slide the doorbell onto the bracket until it clicks into place. Ensure it is firmly attached and does not wobble or move.
4. Adjust the positioning: Once the doorbell is attached, you can adjust its positioning to get the desired view. Most Ring Doorbells come with a tilting mechanism that allows you to change the angle of the camera. Make sure to align it properly so that the camera captures the optimal view of your entryway.
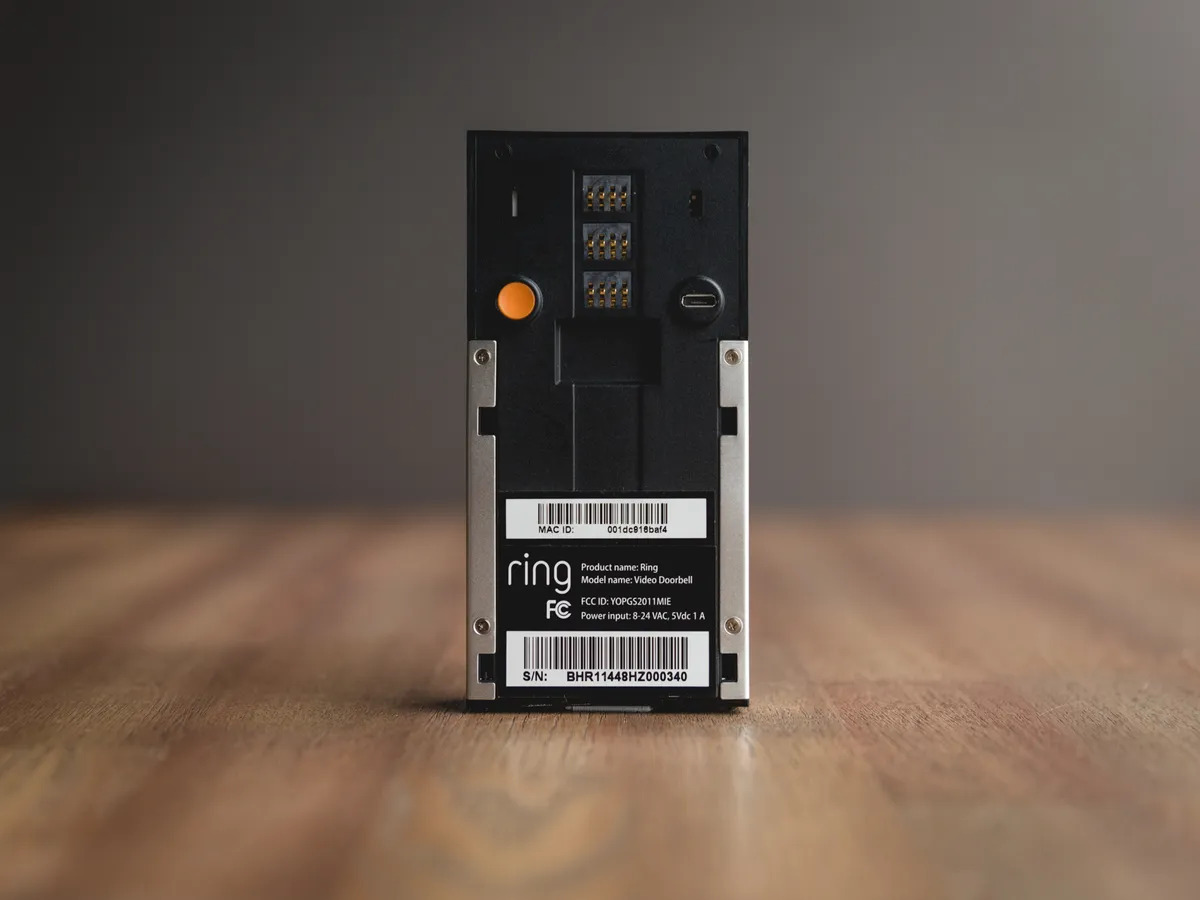
5. Power on the doorbell: If your Ring Doorbell is battery-powered, insert the charged battery into the designated slot. For hardwired doorbells, make sure the power is switched on and providing a consistent electrical connection.
By setting up your Ring Doorbell properly, you ensure that it is in the ideal location and securely mounted for optimal performance. Now that your doorbell is physically installed, let’s move on to the next step: connecting the Ring Doorbell to your Wi-Fi network.
Read more: How To Program Ring Doorbell
Step 5: Connecting the Ring Doorbell to your Wi-Fi Network
Now that your Ring Doorbell is securely mounted, it’s time to connect it to your Wi-Fi network. Follow these steps to ensure a successful connection:
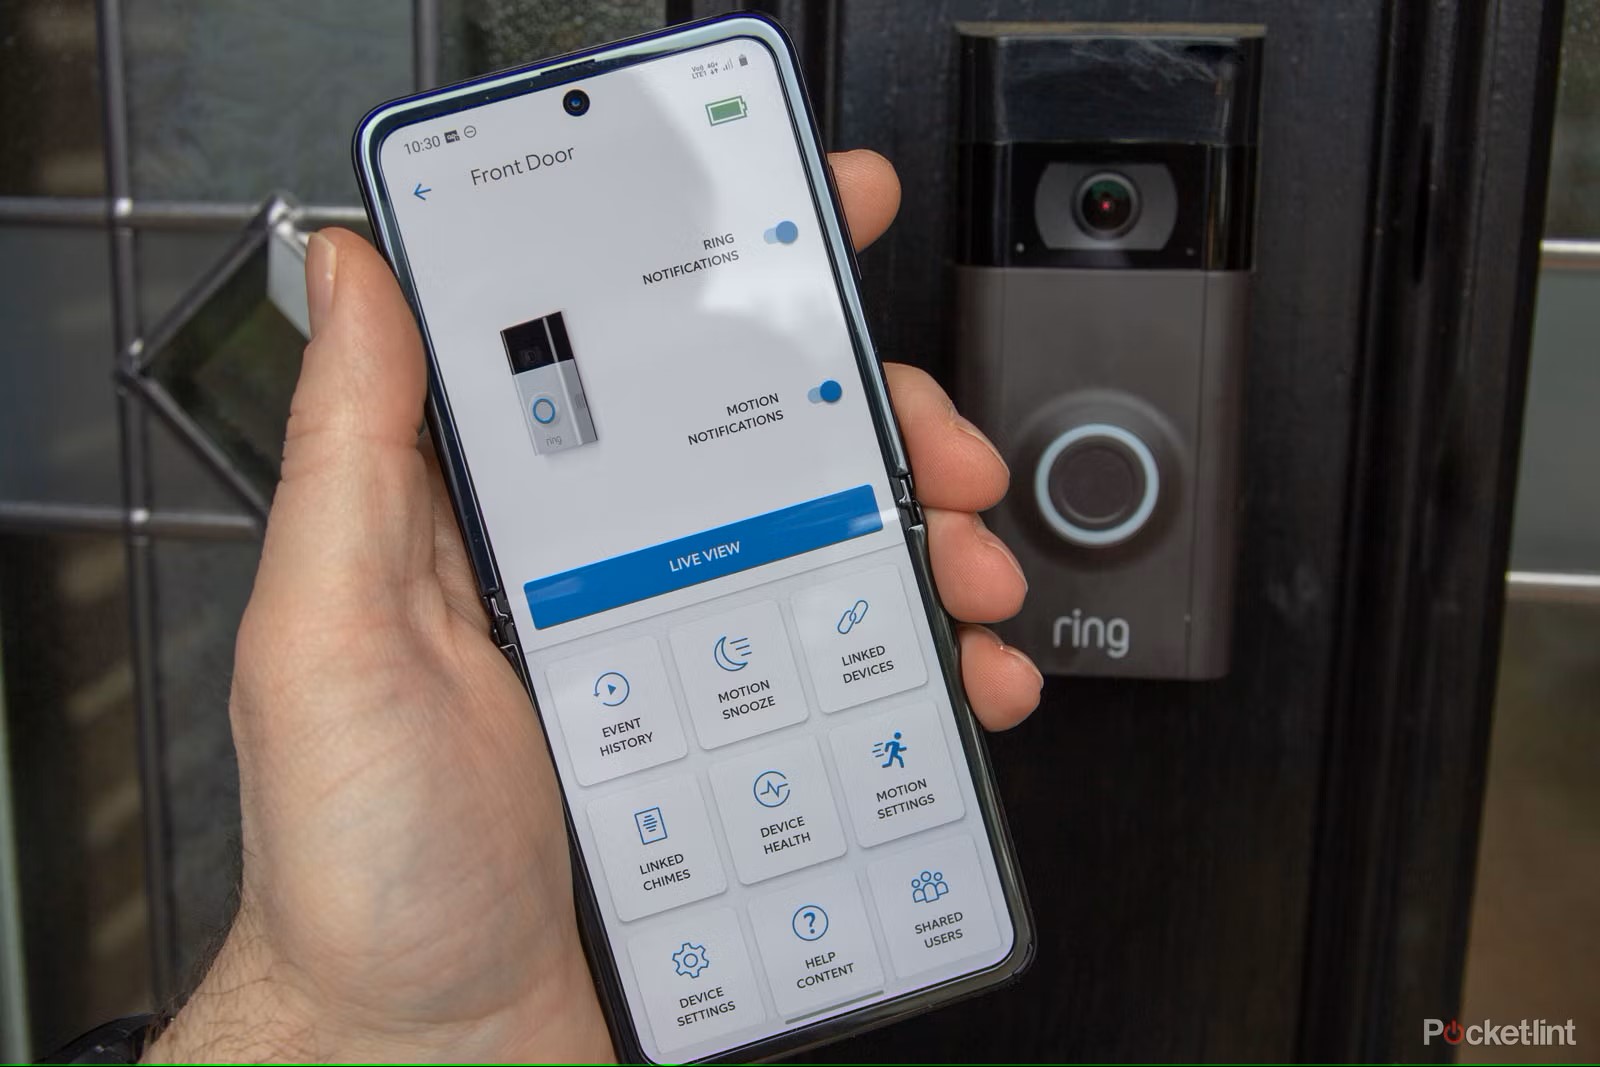
1. Go to the “Device Health” section in the Ring app: Open the Ring app on your smartphone or tablet and navigate to the “Device Health” section. This section provides information about your Ring Doorbell’s status and allows you to manage various settings.
2. Select “Wi-Fi Setup”: Look for the “Wi-Fi Setup” option within the Device Health section. Tap on it to start the process of connecting your Ring Doorbell to your Wi-Fi network.
3. Follow the instructions to connect your doorbell to your Wi-Fi network: The app will guide you through the steps necessary to connect your doorbell to your Wi-Fi network. This typically involves selecting your Wi-Fi network from the available list, entering the Wi-Fi password, and confirming the connection.
4. Wait for the connection to be established: After entering the necessary information, the Ring Doorbell will attempt to establish a connection with your Wi-Fi network. This may take a few moments, so be patient and ensure that your device is in close proximity to the Wi-Fi router for a strong signal.
5. Confirmation and testing: Once the connection is established, the app will confirm the successful connection and display a notification. You can now test the connection by using the app to access live video footage or triggering a test event like ringing the doorbell or walking in front of the motion sensor.
By connecting your Ring Doorbell to your Wi-Fi network, you enable features such as live video streaming, remote notifications, and access to recorded footage. Now that your doorbell is connected, let’s move on to the final step: customizing your Ring Doorbell settings.
Step 6: Customizing Your Ring Doorbell Settings
Now that your Ring Doorbell is set up and connected, it’s time to customize the settings according to your preferences. Here’s how:
1. Explore the various settings options in the Ring app: Open the Ring app on your smartphone or tablet and navigate to the settings section specific to your Ring Doorbell. Here, you’ll find a range of options to customize your device’s functionality.
2. Personalize your motion detection settings: One of the key features of the Ring Doorbell is its motion detection capability. In the settings, you’ll find options to adjust the sensitivity and range of motion detection. You can also create custom zones to specify the areas where you want the device to focus on detecting motion.
3. Adjust other preferences such as notification settings and camera settings: Customize your notification preferences to receive alerts and notifications when someone rings your doorbell or when motion is detected. You can choose to receive these notifications on your smartphone, tablet, or even through email or SMS. Additionally, explore the camera settings to adjust aspects such as video quality, night vision mode, and audio settings.
4. Set up additional features and integrations: Depending on the specific model of your Ring Doorbell, you may have access to additional features such as two-way audio communication, cloud storage for recorded footage, and integration with other smart home devices. Explore these options and set them up according to your needs and preferences.
5. Regularly review and update your settings: As your needs change or you want to fine-tune the performance of your Ring Doorbell, make it a habit to periodically review and update your settings. This will ensure that your device continues to function optimally and meets your specific requirements.
By customizing your Ring Doorbell settings, you can tailor its functionality to suit your preferences and maximize its effectiveness in enhancing your home security. With the settings customized, you can confidently enjoy the benefits of your Ring Doorbell subscription.
With the completion of the settings customization, you are ready to fully utilize your Ring Doorbell. Congratulations! You have successfully subscribed to the Ring Doorbell and set it up to meet your specific needs. Enjoy the enhanced security, convenience, and peace of mind that the Ring Doorbell brings to your home!
Conclusion
Subscribing to and setting up your Ring Doorbell opens up a world of enhanced home security and convenience. Through the steps outlined in this article, you have learned how to create a Ring account, install the Ring app, connect your doorbell to the app, set up your physical device, connect it to your Wi-Fi network, and customize its settings to suit your needs.
The Ring Doorbell offers a wide range of features, such as motion detection, live video streaming, two-way audio communication, and integration with other smart home devices. By leveraging these features and customizing the settings, you can have peace of mind knowing that you have a reliable and effective home security solution in place.
Remember to regularly review and update your settings as your needs may change over time. By staying proactive in managing your Ring Doorbell, you can ensure that it continues to operate optimally and provide you with the desired level of security.
With your Ring Doorbell subscription, you can monitor your front door, receive real-time alerts, communicate with visitors, and even deter potential intruders. The convenience of remote access and control cannot be overstated, allowing you to stay connected to your home no matter where you are.
As you enjoy the benefits of your Ring Doorbell subscription, don’t forget to take advantage of the support and resources available. Ring offers extensive online documentation, forums, and customer support to assist you with any questions or issues you may encounter along the way.
In conclusion, by subscribing to the Ring Doorbell and following the steps outlined in this article, you have taken a significant step towards enhancing the security of your home. Enjoy the peace of mind and convenience that comes with knowing who is at your door and having control over your home security, all at your fingertips.
Frequently Asked Questions about How To Subscribe To Ring Doorbell
Was this page helpful?
At Storables.com, we guarantee accurate and reliable information. Our content, validated by Expert Board Contributors, is crafted following stringent Editorial Policies. We're committed to providing you with well-researched, expert-backed insights for all your informational needs.


0 thoughts on “How To Subscribe To Ring Doorbell”