Home>Articles>How To Add Width To A Finished Crochet Blanket

Articles
How To Add Width To A Finished Crochet Blanket
Modified: May 6, 2024
Learn how to add width to your finished crochet blanket with these helpful articles. Expand your skills and create the perfect blanket for any size.
(Many of the links in this article redirect to a specific reviewed product. Your purchase of these products through affiliate links helps to generate commission for Storables.com, at no extra cost. Learn more)
Introduction
Adding width to a finished crochet blanket is a great way to customize and modify the size to your liking. Whether you want a larger blanket to snuggle up in or you simply want to adjust the dimensions to fit a specific purpose, this guide will walk you through the process of expanding your crochet blanket with ease.
Crocheting is a popular craft that allows you to create beautiful and cozy blankets. Oftentimes, we find ourselves finishing a project only to realize that the size isn’t quite what we had envisioned. Instead of unraveling and starting over, you can easily add width to your finished crochet blanket. By following a few simple steps, you’ll be able to extend its dimensions and create a truly customized piece.
Not only is adding width to a finished crochet blanket practical, but it’s also a great way to enhance the overall design. You can introduce new colors, patterns, and textures to make your blanket even more visually appealing. Plus, with a bigger blanket, you’ll have more room to wrap yourself up in and enjoy those cozy winter evenings.
In this article, we’ll walk you through the materials needed, the steps to follow, and provide tips to ensure your finished product looks seamless and professional. So, get your crochet hooks ready and let’s start expanding that crochet blanket!
Key Takeaways:
- Customize and Modify
Easily adjust the size of your crochet blanket by adding width. Choose the right materials, stitch pattern, and take your time to create a personalized and seamless finished product. - Creative Transformation
Transform a finished crochet blanket into a unique and customized piece. Enjoy the process of expanding the width and weaving in the loose ends to create a beautifully crafted and personalized project.
Read more: How To Start Crocheting A Blanket
Materials Needed
Before you begin adding width to your finished crochet blanket, make sure you have the following materials on hand:
- Crochet hook: Choose a hook size that is compatible with the yarn you will be using.
- Yarn: You will need the same type and weight of yarn that was used to create the original blanket. It’s best to have some extra yarn on hand to ensure you have enough to complete the desired width increase.
- Tapestry needle: This will be used for weaving in loose ends.
- Scissors: A pair of sharp scissors will come in handy for cutting yarn and trimming loose ends.
It’s important to note that when selecting the additional yarn, try to choose a color that complements or matches the existing colors in your blanket. This will help create a seamless transition as you add width to your project.
Once you have gathered all the necessary materials, you’re ready to begin expanding your crochet blanket.
Step 1: Determine Desired Width Increase
The first step in adding width to your finished crochet blanket is to determine how much wider you want it to be. This will help you plan and calculate the amount of additional yarn needed.
Start by measuring the current width of your blanket. Use a tape measure or ruler to determine the exact dimensions. Once you have this measurement, decide on the desired width increase. You can add a few inches or even double the current width, depending on your preferences.
It’s important to consider the practicality of the size as well. If you want a larger blanket for cozying up on the couch, make sure it will comfortably cover your body. If you’re adding width for a specific purpose, like covering a wider bed, take the mattress dimensions into account.
Pro tip: If you’re unsure about how much width to add, consider using a standard blanket size guide for reference. This can give you an idea of the typical dimensions for various blanket sizes.
Once you have determined the desired width increase, you’re ready to move on to the next step: gathering additional yarn.
Step 2: Gather Additional Yarn
Now that you have a clear idea of how much wider you want your crochet blanket to be, it’s time to gather the additional yarn needed to achieve that width increase.
It’s crucial to choose the same type and weight of yarn that was used for the original blanket. This ensures that the new yarn seamlessly blends with the existing yarn and maintains a consistent texture and appearance. If possible, try to match the color as closely as you can, or choose a complementary shade if an exact match isn’t available.
If you don’t have any leftover yarn from the original project, check if the same yarn is still available at the store. If it’s no longer available, consider selecting a similar yarn that closely matches the weight and fiber content of your existing blanket yarn.
Estimating the amount of additional yarn needed can be a bit tricky, as it depends on the width increase and the stitch pattern you will be using. As a general rule of thumb, it’s better to have a little more yarn than you think you’ll need. It’s always better to be safe than sorry when it comes to yarn requirements.
Once you have gathered the necessary additional yarn, you’re ready to move on to choosing a compatible crochet stitch pattern.
Step 3: Choose a Compatible Crochet Stitch Pattern
Choosing a compatible crochet stitch pattern is an important step in adding width to your crochet blanket. The stitch pattern you choose should not only be visually appealing but also compatible with the existing stitch pattern of your blanket.
Start by assessing the stitch pattern used in your original blanket. Take note of the stitch type and pattern repeat. This will help you find a complementary stitch pattern that seamlessly blends with the existing design.
If you’re unsure about which stitch pattern to choose, consider some common options such as the single crochet, half-double crochet, double crochet, or even a combination of these stitches. These basic stitches are versatile and can easily adapt to different blanket designs.
Alternatively, you can explore various decorative stitch patterns like shells, clusters, bobbles, or cables to add interest and texture to your blanket. Just make sure that the chosen stitch pattern aligns with the dimensions and overall style of your original blanket.
Keep in mind that the stitch pattern you choose may affect the overall gauge and draping of your blanket. If you’re adding a significantly wider section, it’s a good idea to make a small swatch using the chosen stitch pattern to ensure that the new section will integrate smoothly with the rest of the blanket.
Once you have selected a compatible crochet stitch pattern, you’re ready to move on to the next step: starting to add width to your crochet blanket.
To add width to a finished crochet blanket, you can crochet additional rows or add a border using a complementary yarn color. This will help increase the size of the blanket without having to start from scratch.
Read more: How To Crochet A Star Into A Blanket
Step 4: Start Adding Width to the Blanket
With your additional yarn and compatible crochet stitch pattern chosen, it’s time to start adding width to your crochet blanket. Follow these steps to seamlessly expand the dimensions of your project:
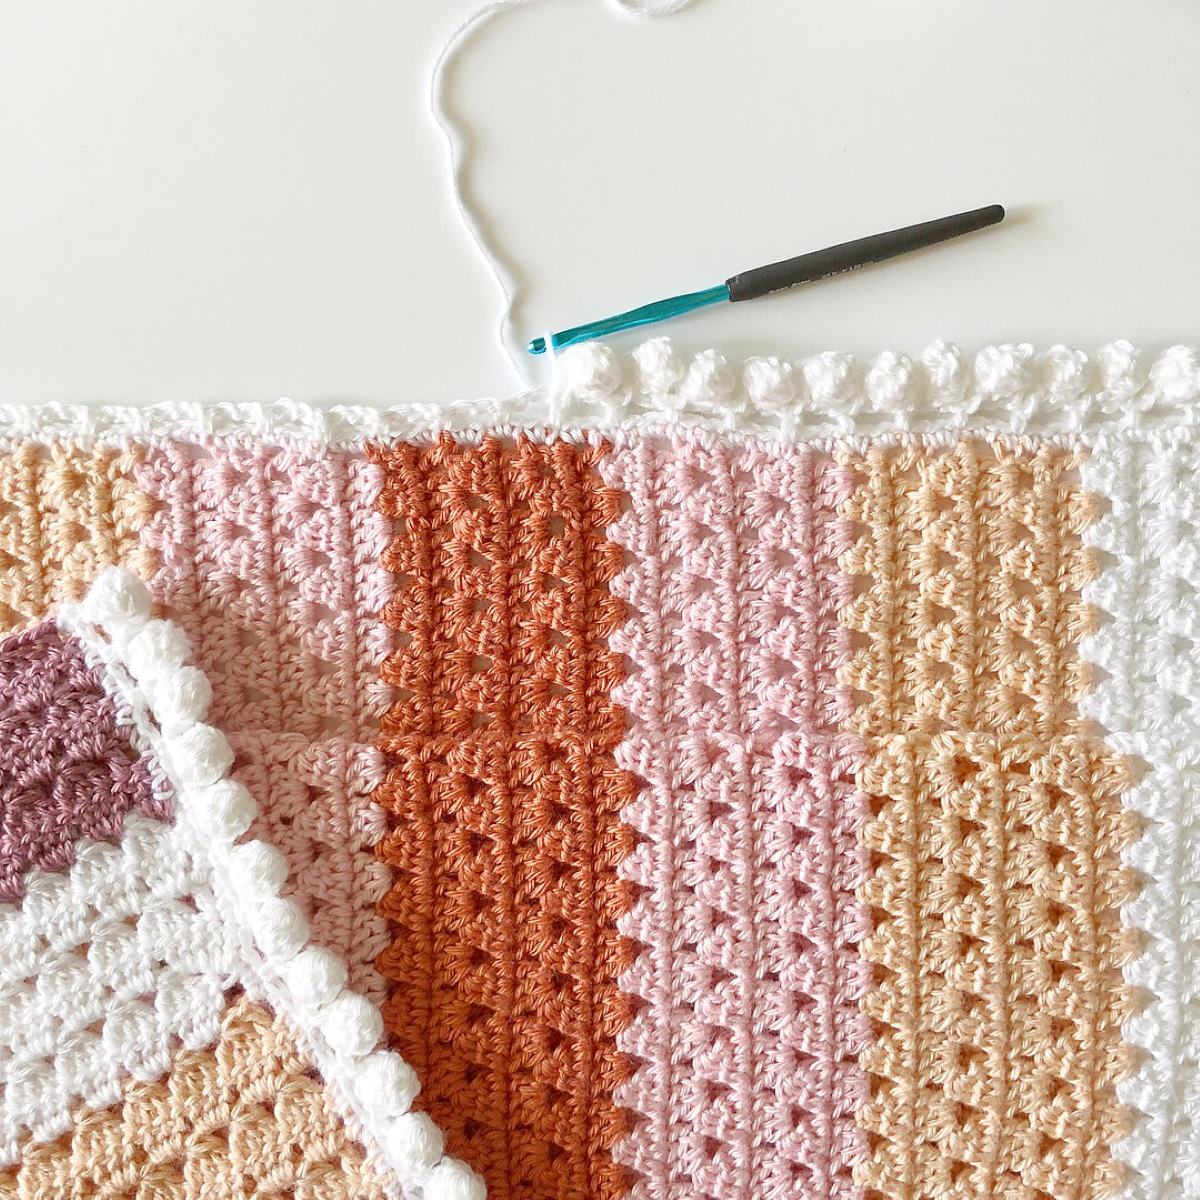
- Locate the starting point: Examine your blanket and identify the starting point where you will begin adding width. Take note of the last stitch made in the original blanket, as this will be your reference point.
- Attach the additional yarn: Join the new yarn to your crochet hook using a slipknot or other joining method. Insert your hook into the last stitch made in the original blanket and pull the new yarn through.
- Begin crocheting the new section: Follow the chosen crochet stitch pattern to start creating the wider section of your blanket. Make sure to maintain the same tension and stitch size as the original blanket for a consistent appearance. Work each stitch into the appropriate stitch space, keeping track of your stitch count if necessary.
- Continue crocheting across the row: Work across the row until you reach the desired width increase. Pay attention to any pattern repeats or shaping instructions within the stitch pattern to ensure consistent results throughout the new section.
- Turn and work back: Once the desired width is achieved, turn your work and begin working back across the row in the chosen stitch pattern. This will continue the expansion of the blanket and create a symmetrical appearance.
- Repeat the pattern: Continue working rows back and forth, following the chosen stitch pattern, until the new section matches the width of the original blanket.
Remember to take breaks if needed and periodically lay your blanket flat to assess the progress and make any necessary adjustments. This will help ensure a smooth and uniform expansion of the width.
Keep in mind that the speed at which you add width to your blanket depends on your crochet skill level and the complexity of the chosen stitch pattern. Take your time and enjoy the process of creating a larger, more personalized blanket.
Once the desired width is achieved, you can proceed to the next step: continuing to crochet until the blanket reaches its desired length.
Step 5: Continue Crocheting Until Desired Width is Achieved
Now that you have successfully started adding width to your crochet blanket, it’s time to continue crocheting until you reach the desired width. Follow these steps to ensure that your expanded section seamlessly blends with the original blanket:
- Work in pattern: As you continue crocheting, make sure to maintain the chosen stitch pattern that you selected in Step 3. This will ensure consistency and a cohesive look throughout the entire blanket.
- Count your stitches: Keep track of the number of stitches you are making in each row to ensure that the width increase remains consistent. Double-check the stitch count periodically to maintain the desired width.
- Pay attention to pattern repeats: If your stitch pattern has repeats, make sure to follow the pattern instructions to achieve the desired width increase. This will ensure that the expanded section maintains the same pattern as the original blanket.
- Refer to your measuring tape: Periodically measure the width of the expanded section to see if it matches your desired dimensions. This will help you stay on track and make any adjustments if needed.
- Take breaks as needed: Crocheting a large section can be time-consuming, so feel free to take breaks when necessary. This will prevent fatigue and help keep your stitches consistent and neat.
- Be patient: Adding width to your crochet blanket is a process that takes time. Embrace the journey and enjoy the creativity and craftsmanship that goes into expanding your project.
Continue crocheting rows until the new section matches the width of the original blanket. Once the desired width is achieved, you can move on to the final step: weaving in loose ends.
By following these steps, you will successfully expand the width of your crochet blanket and create a beautifully customized piece that perfectly fits your preferences and needs.
Step 6: Weaving in Loose Ends
Once you have completed adding width to your crochet blanket, it’s time to weave in the loose ends to give your project a clean and polished finish. Follow these steps to ensure your blanket looks neat and professional:
- Cut the yarn: Use a pair of sharp scissors to trim the excess yarn, leaving a tail of about 6 inches.
- Weave in the ends: Thread the tail of yarn onto a tapestry needle. Insert the needle under the loops of the nearby stitches, going back and forth horizontally and vertically to secure the loose end. Repeat this process for each loose end, making sure to weave them in securely.
- Avoid cutting too close: Be careful not to cut the yarn too close to the fabric, as it may come undone and unravel. Leave a small tail to ensure your ends remain securely in place.
- Check for any missed ends: After weaving in the main ends, inspect your blanket closely to make sure you haven’t missed any loose ends. If you find any additional loose ends, repeat the process of weaving them in.
Weaving in the loose ends is an important step in the finishing process of your crochet blanket. It not only ensures that the ends are secured but also adds to the longevity and durability of your project.
Once you have completed weaving in all the loose ends, take a moment to admire your beautifully expanded crochet blanket. The added width has transformed your project into a customized piece that fits your desired dimensions.
Remember to care for your crochet blanket by following the washing instructions for the specific yarn used. Proper washing and storage will help maintain the integrity and beauty of your finished project.
Congratulations! You have successfully added width to your crochet blanket and finished it off with clean and secure ends.
Conclusion
Expanding the width of a finished crochet blanket is a rewarding and creative process that allows you to customize your project to your desired dimensions. By following the steps outlined in this guide, you can confidently add width to your blanket while maintaining a seamless and professional look.
Throughout this article, we have covered important aspects such as determining the desired width increase, gathering the additional yarn, choosing a compatible stitch pattern, starting the expansion, continuing the crocheting process, and finally, weaving in the loose ends. Each step is crucial in ensuring a successful and well-executed modification of your crochet blanket.
Remember to take your time and thoroughly plan out your project. Measure carefully, choose the right materials, and pay attention to stitch patterns to achieve the desired results. Stay patient and enjoy the process, as adding width to your crochet blanket allows you to exercise your creativity and transform a finished project into something truly unique and personalized.
Now, armed with the knowledge and skills acquired from this guide, you can confidently tackle any future projects that require adjusting the width of a crochet blanket. Whether you’re creating a larger cozy blanket or tailoring the size to fit a specific need, you have the tools to accomplish your goals.
So, gather your materials, select your favorite stitch pattern, and start expanding the width of your crochet blanket. Let your creativity shine as you transform your finished project into a customized work of art that you can enjoy for years to come.
Now that you've mastered adding width to your crochet blanket, why not dive into another creative project? If your home could use a touch of personality, our guide on how to make DIY home decor is perfect for you. From simple crafts to more intricate designs, these ideas will transform your space with unique flair and a personal touch. So grab your crafting tools and let's make your home as cozy and inviting as your newly widened blanket!
Frequently Asked Questions about How To Add Width To A Finished Crochet Blanket
Was this page helpful?
At Storables.com, we guarantee accurate and reliable information. Our content, validated by Expert Board Contributors, is crafted following stringent Editorial Policies. We're committed to providing you with well-researched, expert-backed insights for all your informational needs.
