Articles
How To Adjust Roll Up Garage Door
Modified: February 23, 2024
Learn how to adjust your roll up garage door with step-by-step articles. Get expert tips and tricks to keep your door working smoothly.
(Many of the links in this article redirect to a specific reviewed product. Your purchase of these products through affiliate links helps to generate commission for Storables.com, at no extra cost. Learn more)
Introduction
Roll up garage doors are a popular choice for homeowners due to their convenience and space-saving design. However, over time, these doors may require adjustments to ensure smooth and proper operation. Whether your roll-up garage door is becoming difficult to open and close or is not balanced correctly, adjusting it can help restore its functionality. In this article, we will guide you through the process of adjusting a roll-up garage door to ensure optimal performance.
Before getting started, it’s important to note that adjusting a roll-up garage door can be potentially dangerous if not done properly. We recommend following safety precautions and, if you’re not confident in your abilities, consulting a professional garage door technician. With that said, let’s dive into the steps required to adjust a roll-up garage door.
Key Takeaways:
- Regularly adjusting and maintaining your roll-up garage door is crucial for optimal performance and longevity. Follow safety precautions and seek professional help if unsure about the process.
- Properly balanced, aligned, and lubricated roll-up garage doors reduce strain on openers and ensure smooth, efficient functioning for years to come. Regular maintenance can prevent costly repairs.
Read more: How To Insulate A Roll Up Garage Door
Tools and Materials Needed
Before you begin adjusting your roll-up garage door, it’s essential to gather the necessary tools and materials. Having these items prepared will help ensure a smooth and efficient adjustment process. Here’s a list of what you’ll need:
- Adjustable wrench
- Screwdriver (Phillips and flathead)
- Pliers
- Measuring tape
- Step ladder
- Safety glasses
- Gloves
- Stepladder
- Lubricant (such as silicone spray or white lithium grease)
These tools and materials are essential for various adjustment procedures, including tension adjustment, track alignment, and lubrication. It’s important to ensure that you have them all at hand before proceeding with the adjustment process.
Step 1: Assessing the Door’s Balance
Before making any adjustments, it’s crucial to assess the balance of your roll-up garage door. An unbalanced door can cause strain on the opener mechanism and lead to premature wear and tear. Follow these steps to assess the door’s balance:
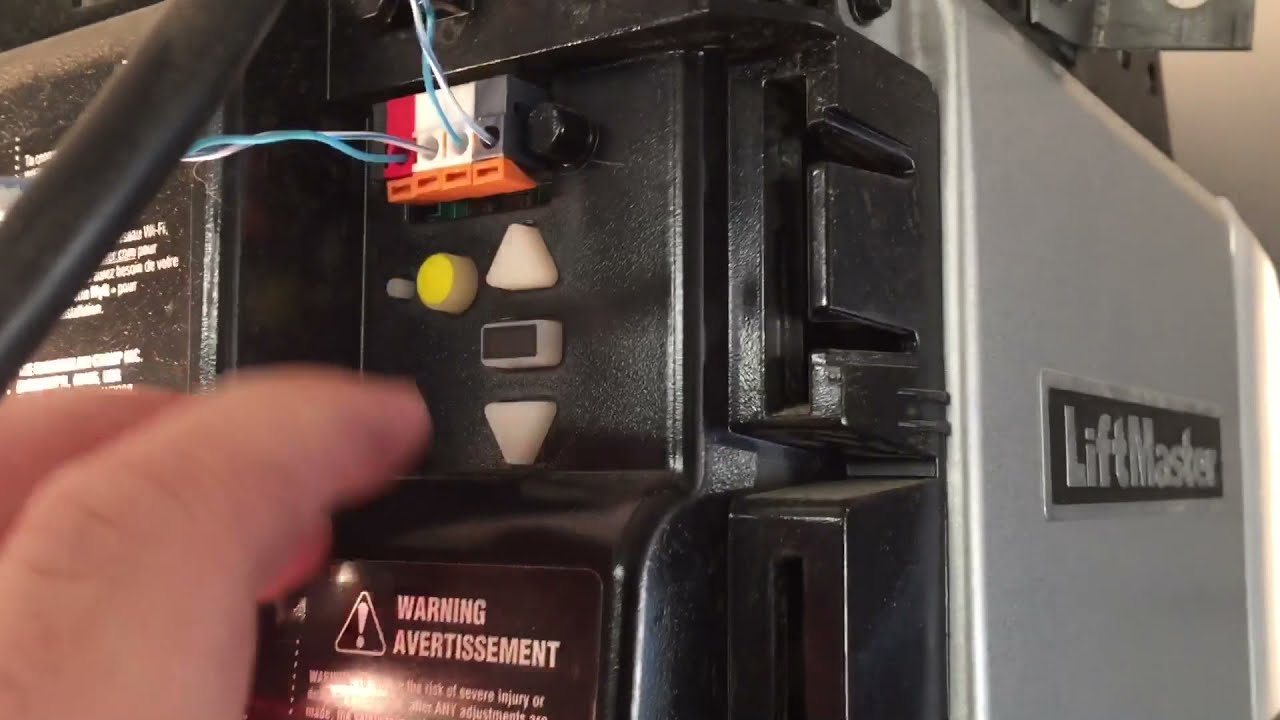
- Disconnect the door from the opener: Start by pulling the emergency release cord to disconnect the door from the opener. This will allow you to manually operate the door.
- Manually open the door halfway: With the door disconnected, lift it manually until it’s halfway open. Hold it in place and release your grip to see if it stays in position. If the door immediately falls or rises, it’s likely unbalanced.
- Check the door’s position: While the door is halfway open, observe its positioning. An evenly balanced door should stay in place without wobbling or leaning to one side. If you notice any significant imbalances, it’s time to adjust the tension.
Assessing the balance of your garage door is crucial before making any adjustments. An unbalanced door can cause additional strain on the opener and compromise the door’s overall performance. By following these steps, you can determine whether a tension adjustment is necessary.
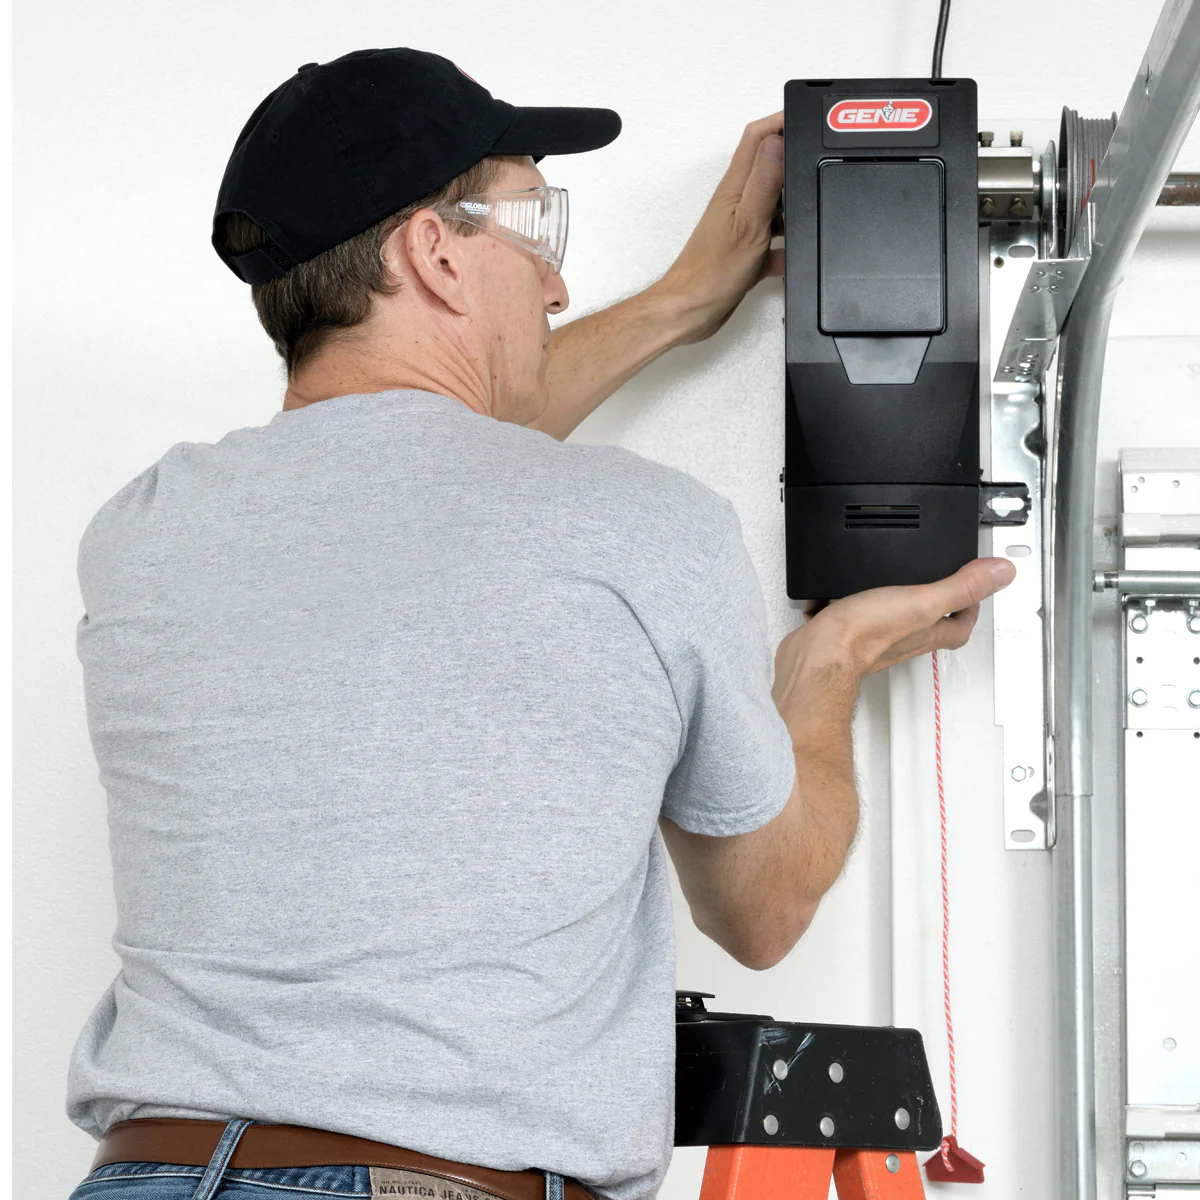
Step 2: Identifying the Adjustment Points
Before you can begin adjusting the tension of your roll-up garage door, it is important to identify the specific adjustment points. These points may vary depending on the type of garage door mechanism you have. Here are some common adjustment points to look for:
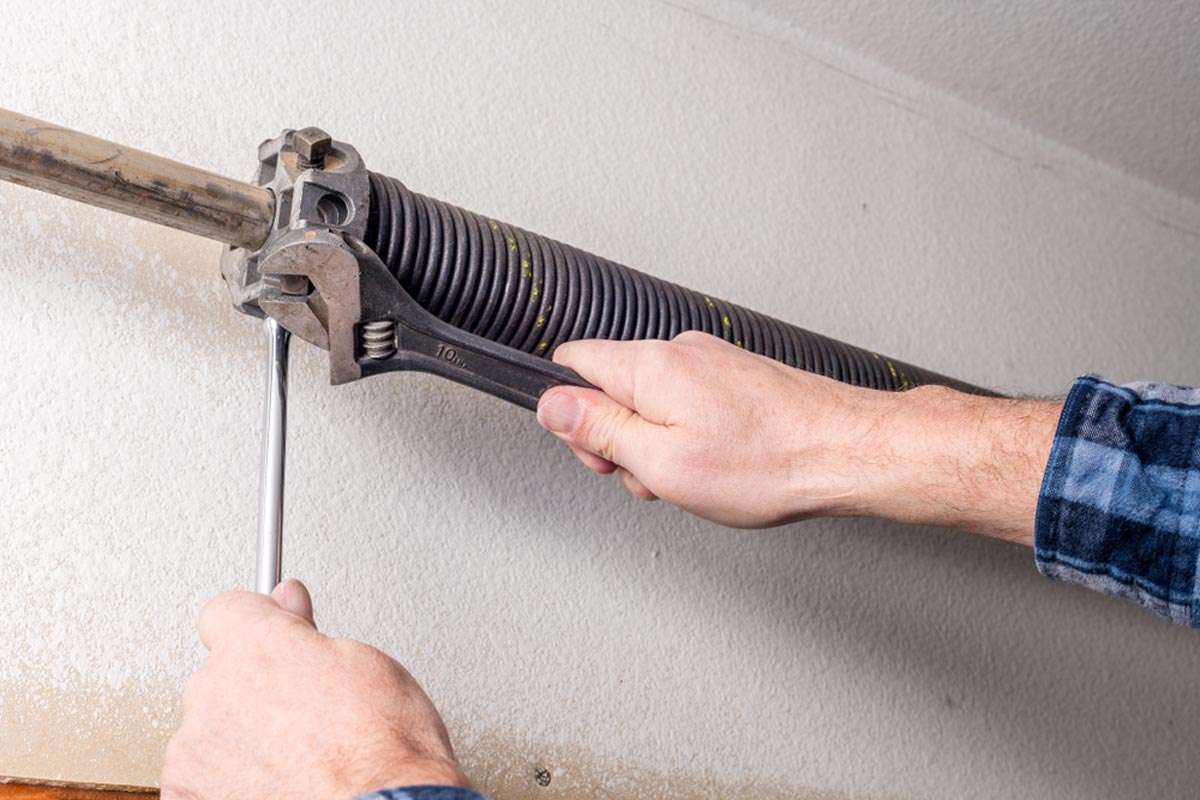
- Spring tension adjustment: Roll-up garage doors typically have torsion springs located above the door opening. These springs are responsible for counterbalancing the weight of the door and controlling its movement. Look for adjustment screws or bolts on the torsion spring mechanism.
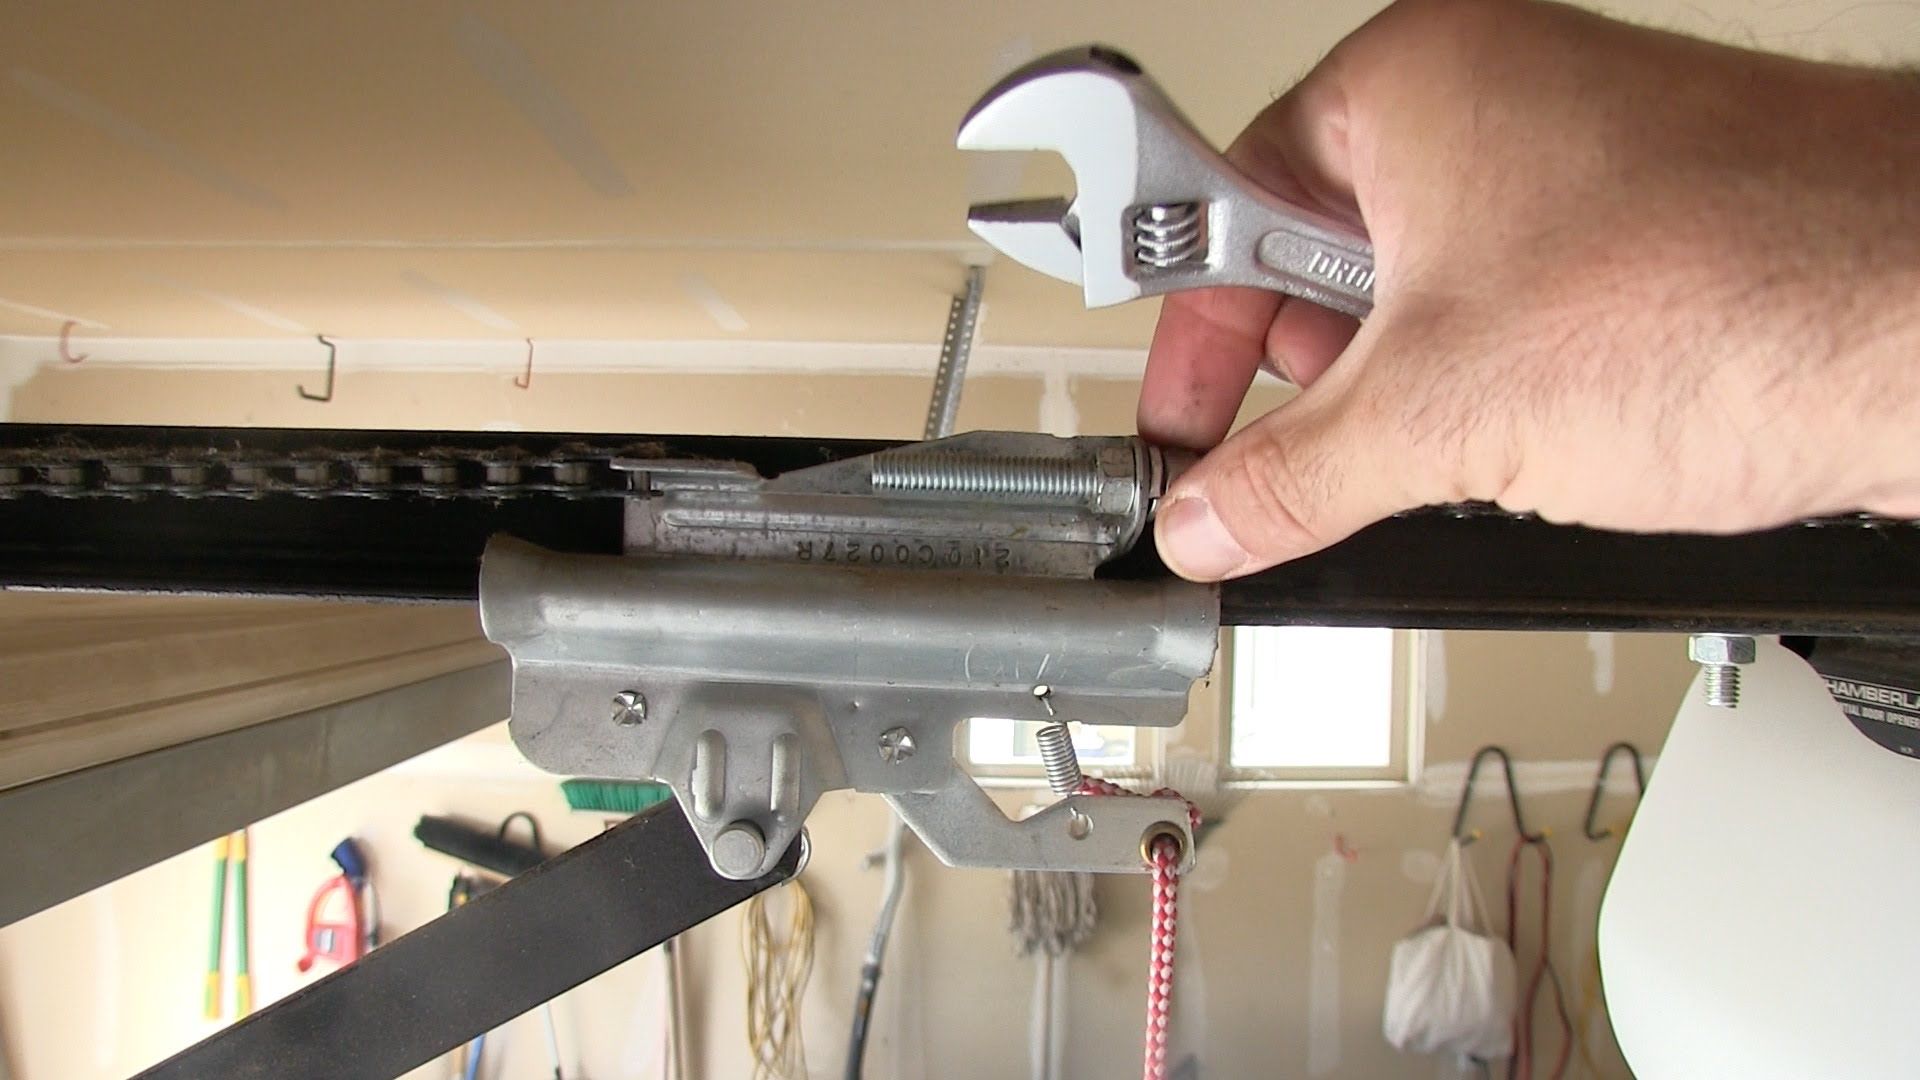
- Track alignment adjustment: The tracks that guide the movement of your roll-up garage door need to be aligned properly. Look for adjustment bolts or brackets along the track that allow you to tweak their position. Additionally, check for any debris or obstructions that may be causing misalignment.
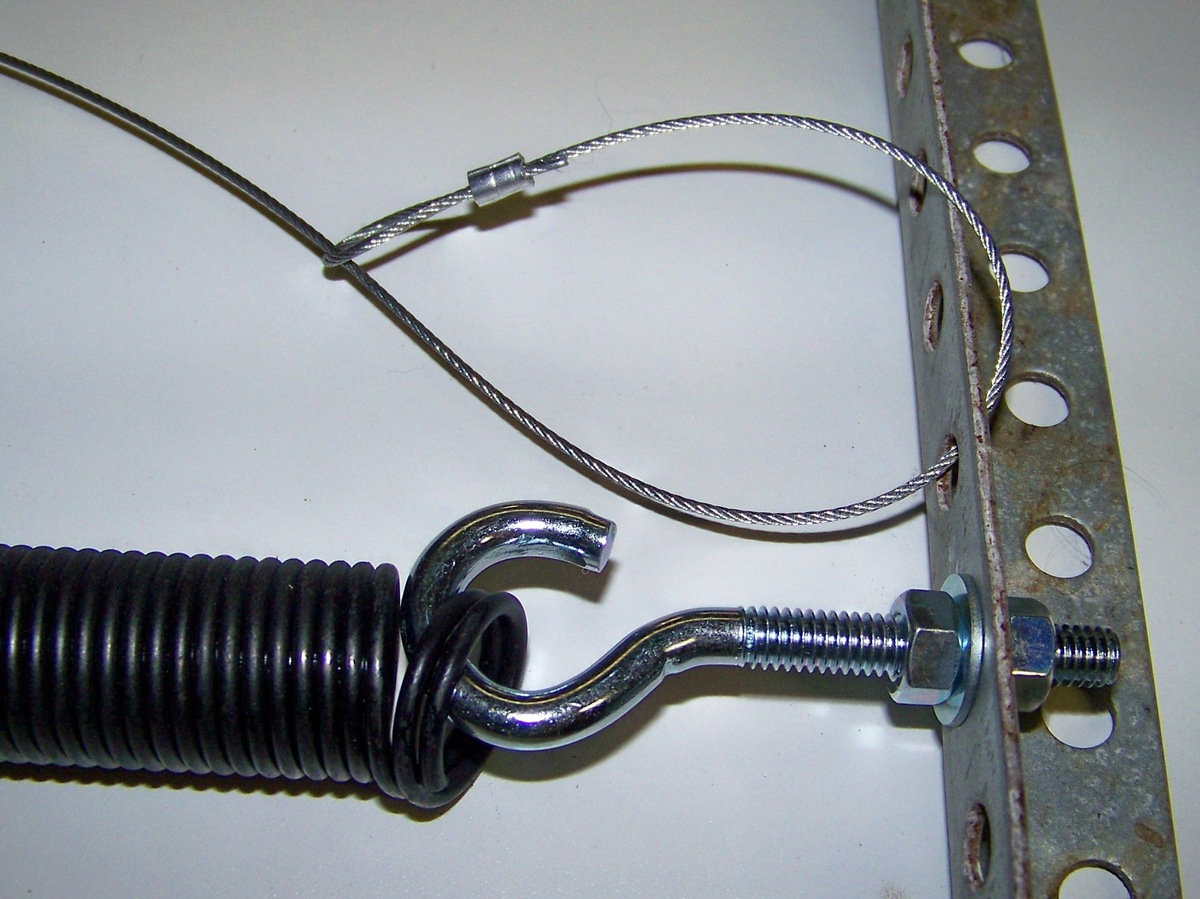
- Safety cable adjustment: Many roll-up garage doors are equipped with safety cables that run through the torsion springs. These cables serve as an additional safety measure in case the springs break. Check for any loose or slack cables and adjust them accordingly.
Identifying these adjustment points is crucial, as it will help you understand where and how to make the necessary adjustments. Take a close look at your garage door mechanism, refer to the manufacturer’s instructions if available, and visually inspect the various components to locate the specific adjustment points.
Step 3: Adjusting the Door Tension
Once you’ve identified the adjustment points, you can proceed with adjusting the tension of your roll-up garage door. This step is crucial in maintaining the door’s balance and smooth operation. Follow these steps to adjust the door tension:
- Ensure safety: Before starting any adjustment, ensure that the door is disconnected from the opener and the power source. This will prevent any accidental movement or injury.
- Torsion spring adjustment: To adjust the tension of the torsion springs, you’ll need to tighten or loosen the adjustment screws or bolts located on the spring mechanism. Use an adjustable wrench or a suitable tool to make the necessary adjustments. Keep in mind that the exact adjustment process may vary depending on the type of torsion spring system you have. Refer to the manufacturer’s instructions for more specific guidance.
- Make incremental adjustments: It’s essential to make adjustments gradually and in small increments. Start by making a quarter-turn adjustment (either tightening or loosening) to the adjustment screws or bolts. Test the door’s balance by manually opening and closing it. Repeat the process until the door is correctly balanced and stays in position when partially opened.
- Document the adjustments: As you make the tension adjustments, it’s a good practice to document each adjustment you make. This will help you keep track of the changes and ensure that the door is properly balanced and adjusted.
Adjusting the tension of your roll-up garage door may require some trial and error. It’s important to be patient and make incremental adjustments until you achieve the desired balance. Remember to consult the manufacturer’s instructions or seek professional assistance if you’re unsure about the adjustment process.
Regularly lubricate the moving parts of the roll-up garage door, such as the tracks, rollers, and hinges, to ensure smooth operation and prevent unnecessary strain on the motor.
Read more: How To Install A Roll Up Garage Door
Step 4: Testing the Door’s Balance
After adjusting the tension of your roll-up garage door, it’s essential to test its balance to ensure optimal performance. Testing the balance will help determine if any further adjustments are needed. Follow these steps to test the door’s balance:
- Reconnect the door to the opener: Once you are satisfied with the tension adjustments, reconnect the door to the opener by pulling the emergency release cord back into place.
- Manually open the door: Operate the door using the opener or manually lift it to fully open position. Observe if the door moves smoothly and evenly without any sticking points or imbalances.
- Manually close the door: Close the door and monitor its movement. It should move smoothly without any jerking or dragging.
- Check the door’s balance: Lift the door to the halfway position and release your grip. The door should remain in place without rising or falling. If it is balanced, the adjustment process is complete.
If the door fails any of the balance tests or shows signs of imbalance, you may need to make further adjustments to the tension or track alignment. Repeat the adjustment steps as necessary until the door is properly balanced.
Ensuring the door’s balance is crucial to prevent additional strain on the opener mechanism and maintain the overall functionality of the roll-up garage door. Take the time to thoroughly test the door’s balance before proceeding to the next steps.
Step 5: Adjusting the Track Alignment
In addition to adjusting the tension, it’s important to ensure that the tracks guiding your roll-up garage door are properly aligned. Misaligned tracks can cause the door to operate inefficiently and may lead to premature wear and tear. Follow these steps to adjust the track alignment:
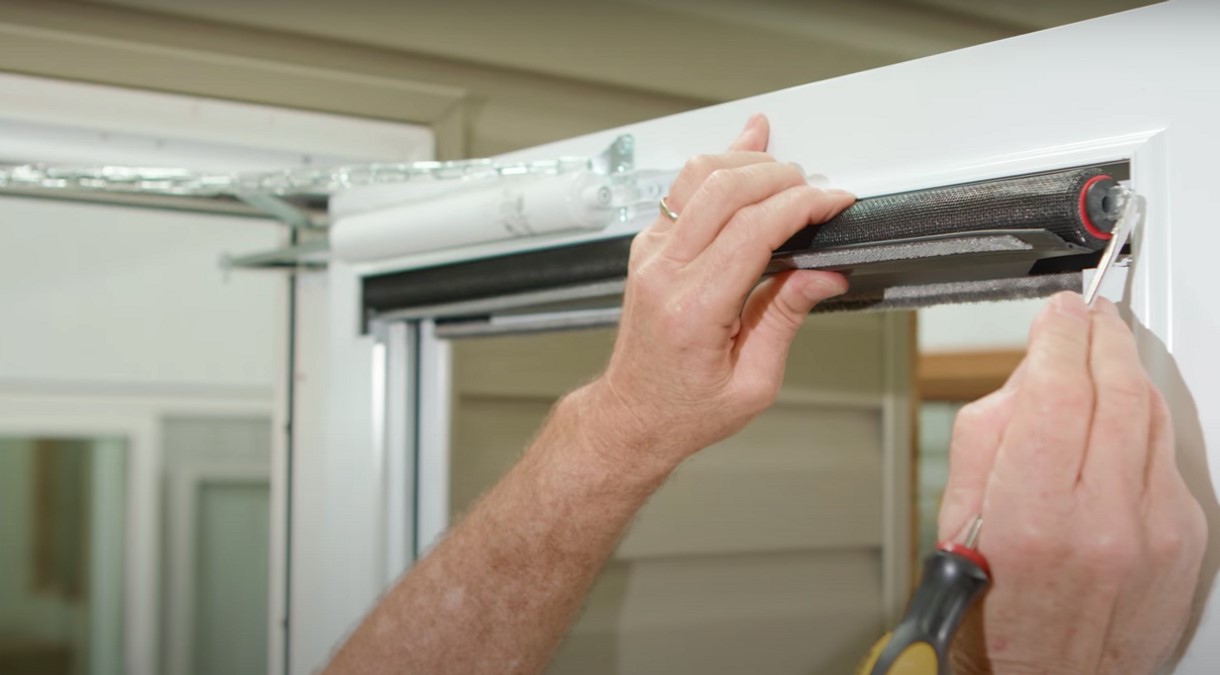
- Inspect the tracks: Examine the tracks along the sides of the garage door. Look for any visible signs of misalignment such as gaps, bends, or debris that may be obstructing the smooth movement of the door.
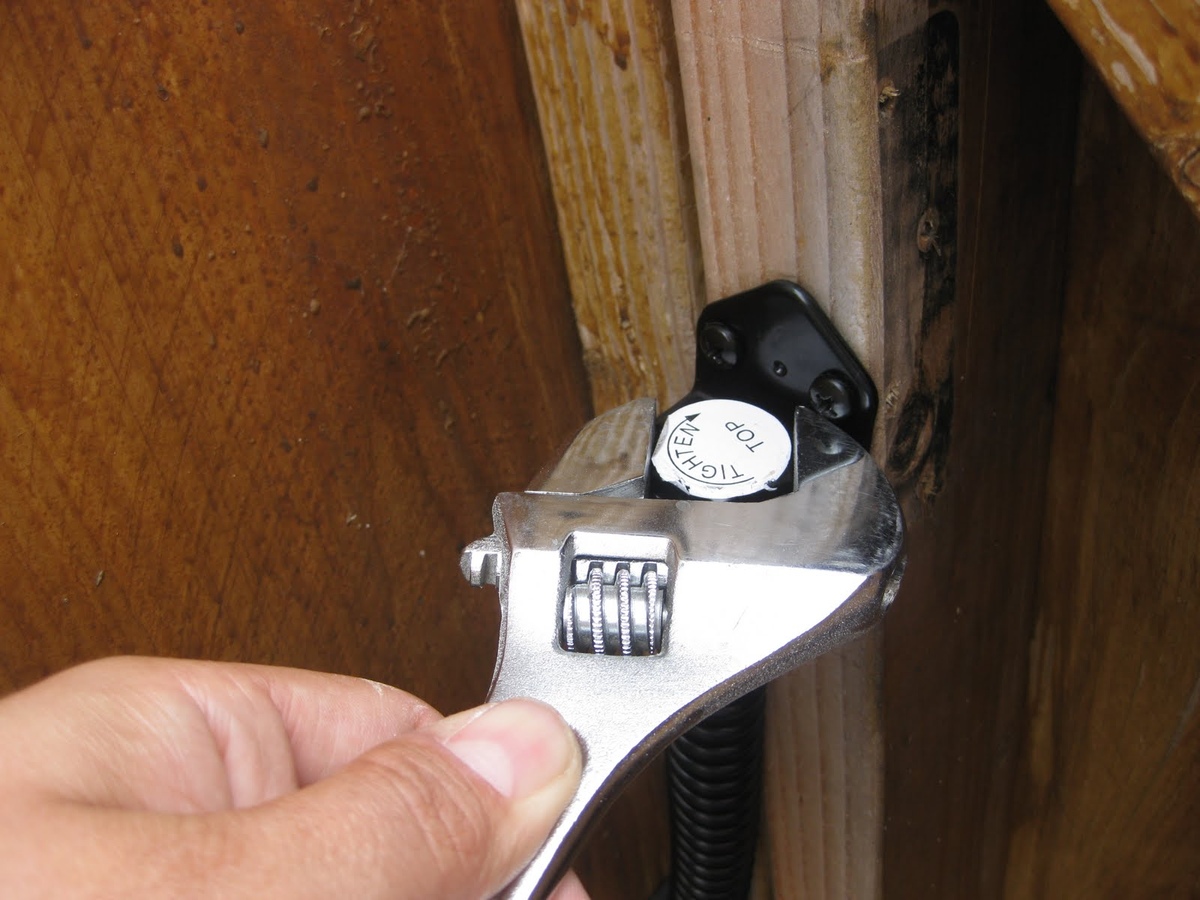
- Tighten loose bolts: Use a wrench to tighten any loose bolts or screws that secure the tracks to the wall or ceiling. This will help stabilize the tracks and minimize any movement or misalignment.
- Align the tracks: Using a rubber mallet or a block of wood, gently tap the misaligned sections of the track to bring them back into proper alignment. Be careful not to apply excessive force as it may cause further damage.
- Check for parallel alignment: After adjusting the track, use a level to ensure that the tracks are parallel to each other. This will facilitate smooth and balanced movement of the door.
- Test the door: Manually open and close the door to check if it moves smoothly along the tracks. Pay attention to any sticking points or resistance, which may indicate the need for further adjustment or lubrication.
Properly aligned tracks are essential for the smooth operation of your roll-up garage door. By following these steps and ensuring proper track alignment, you can prevent unnecessary strain on the door and increase its longevity.
Step 6: Lubricating the Moving Parts
Lubricating the moving parts of your roll-up garage door is an important maintenance step that can improve its performance and extend its lifespan. Over time, the various components of the door can become dry, causing friction and hindering smooth operation. Follow these steps to lubricate the moving parts:
- Clean the tracks: Before applying any lubricant, use a clean cloth or brush to remove any debris or dirt from the tracks. This will ensure that the lubricant can be applied directly to the metal surfaces.
- Apply lubricant to the tracks: Use a silicone-based lubricant or white lithium grease to lubricate the tracks. Apply a thin, even layer along the length of each track, ensuring that the lubricant covers both the inside and outside surfaces.
- Lubricate the rollers: Apply lubricant to the rollers at the top and bottom of the garage door. Use a spray lubricant or a lubricating oil to coat the rollers, allowing them to move smoothly within the tracks.
- Lubricate hinges and pivot points: Apply lubricant to the hinges and pivot points of the garage door. This will ensure smooth movement and reduce any squeaking or squealing noises.
- Operate the door: After applying the lubricant, manually open and close the door several times to distribute the lubricant evenly. This will help the lubricant penetrate and coat all the moving parts, reducing friction and enhancing the door’s performance.
Regularly lubricating the moving parts of your roll-up garage door is a simple yet effective way to maintain its smooth operation. By following these steps and applying lubricant to the necessary components, you can reduce friction, minimize wear and tear, and ensure a longer lifespan for your garage door.
Step 7: Final Testing and Safety Precautions
Once you have completed the adjustments and lubrication of your roll-up garage door, it’s crucial to perform a final round of testing to ensure everything is in proper working order. Additionally, it’s important to observe safety precautions to prevent any accidents or injuries during and after the adjustment process. Follow these steps for final testing and to ensure safety:
- Test the door operation: Operate the door using both the opener and manual methods to test its functionality. Pay attention to any unusual sounds, jerking motions, or sticking points, as these may indicate further adjustments or maintenance is needed.
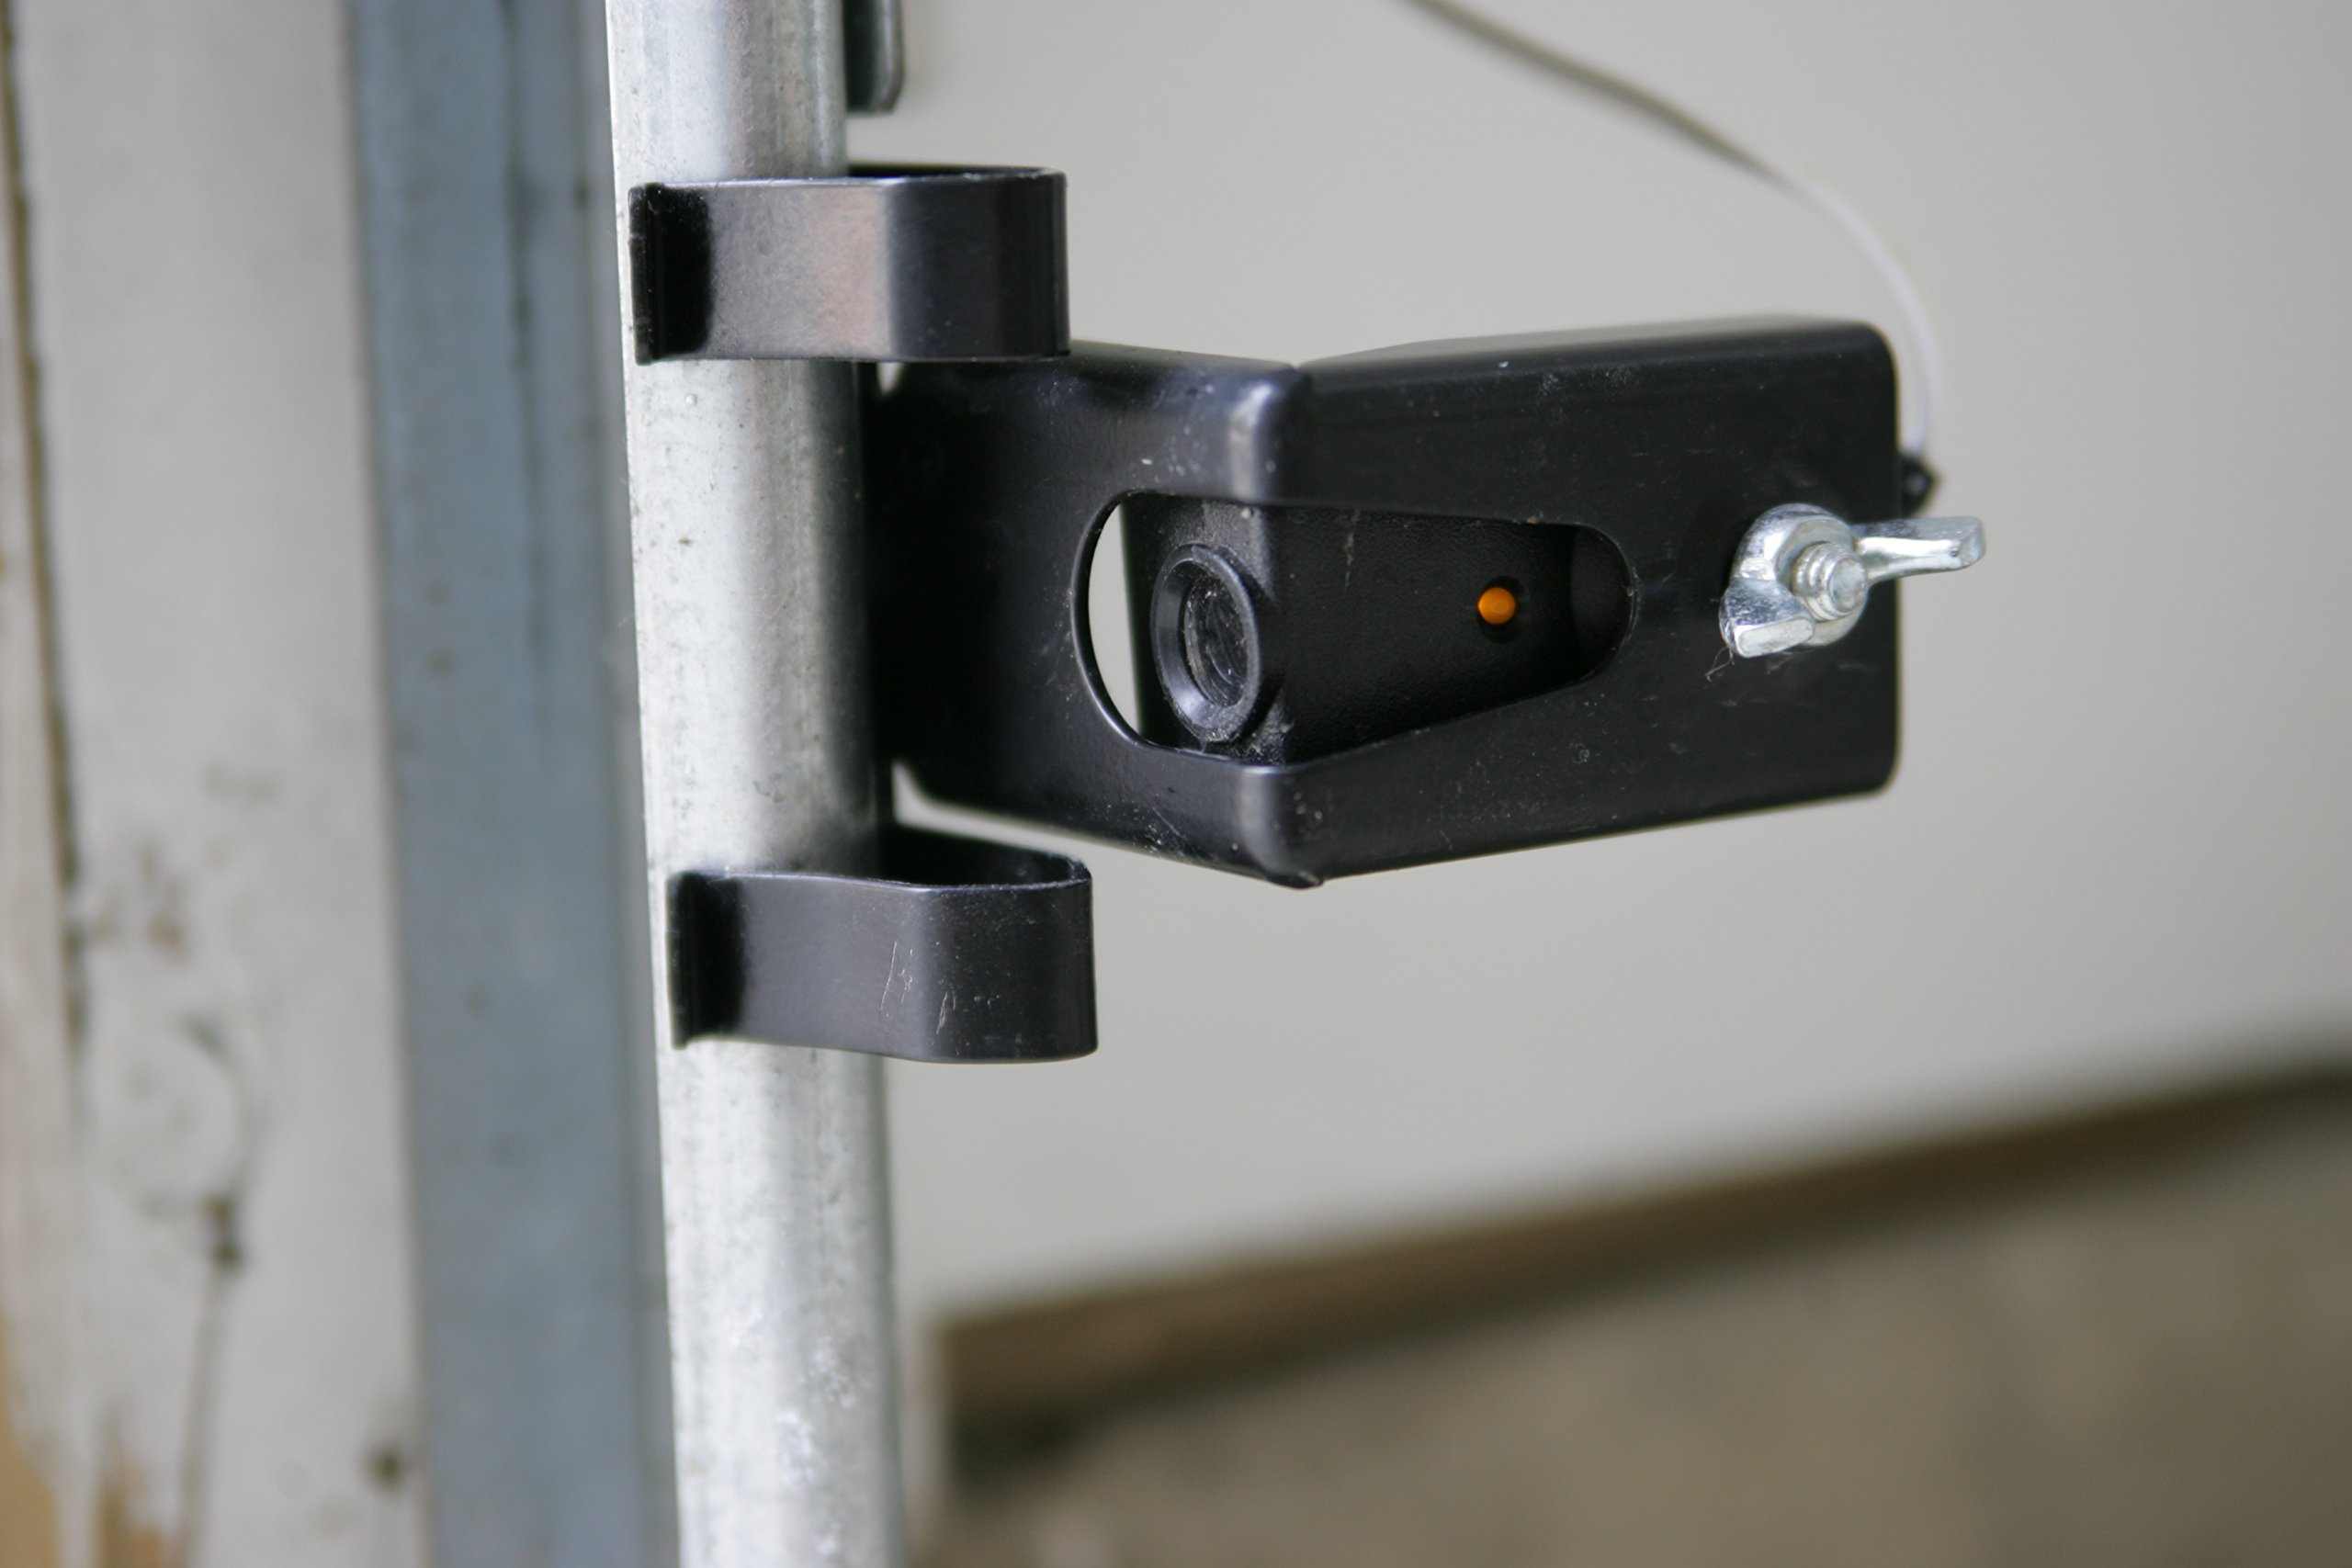
- Check safety features: Verify that the safety features of your roll-up garage door, such as the auto-reverse mechanism, are working correctly. Place an obstacle in the path of the closing door to ensure it reverses when it comes into contact.
- Secure loose hardware: During the adjustment process, some hardware may have become loose. Check all bolts, screws, and brackets to ensure they are securely tightened.
- Clear the area: Make sure there are no obstructions or clutter near the garage door tracks or in the path of the door. This will prevent accidents or damage to the door or surrounding items when it is in operation.
- Keep children and pets away: Educate your family members, especially children, about the potential dangers of a moving garage door. Ensure they understand to keep a safe distance when the door is opening or closing.
- Maintain regular maintenance: To keep your roll-up garage door in optimal condition, perform regular maintenance tasks such as lubricating the moving parts, cleaning the tracks, and inspecting for any signs of wear or damage.
By conducting final testing and following safety precautions, you can ensure the proper functioning and safety of your roll-up garage door. Regular maintenance and periodic checks will help identify any issues early on, allowing you to address them before they become major problems.
Read more: How To Adjust Garage Door Tracks
Conclusion
Adjusting a roll-up garage door is an important maintenance task that can help ensure its proper operation and longevity. By following the steps outlined in this guide, you can confidently assess and adjust the tension, align the tracks, lubricate the moving parts, and perform essential tests to ensure the door is balanced and functioning optimally.
Remember, safety should always be a top priority when working with garage doors. If you are unsure about any aspect of the adjustment process or feel uncomfortable performing the adjustments yourself, it is recommended to seek professional assistance. A qualified garage door technician can ensure that the adjustments are done correctly and safely.
Regular maintenance and attention to your roll-up garage door can save you from costly repairs and extend the life of your door. By keeping the door balanced, properly aligned, and well-lubricated, you can prevent unnecessary wear and tear, reduce the strain on the opener, and enjoy smooth and efficient functioning for years to come.
Be sure to refer to your specific garage door manufacturer’s instructions for any additional guidance or considerations that may be specific to your door model.
Frequently Asked Questions about How To Adjust Roll Up Garage Door
Was this page helpful?
At Storables.com, we guarantee accurate and reliable information. Our content, validated by Expert Board Contributors, is crafted following stringent Editorial Policies. We're committed to providing you with well-researched, expert-backed insights for all your informational needs.


0 thoughts on “How To Adjust Roll Up Garage Door”