Articles
How To Adjust Gutters Slope
Modified: February 23, 2024
Learn how to adjust gutter slope with our informative articles. Find step-by-step guides and tips to ensure proper water drainage from your gutters.
(Many of the links in this article redirect to a specific reviewed product. Your purchase of these products through affiliate links helps to generate commission for Storables.com, at no extra cost. Learn more)
Introduction
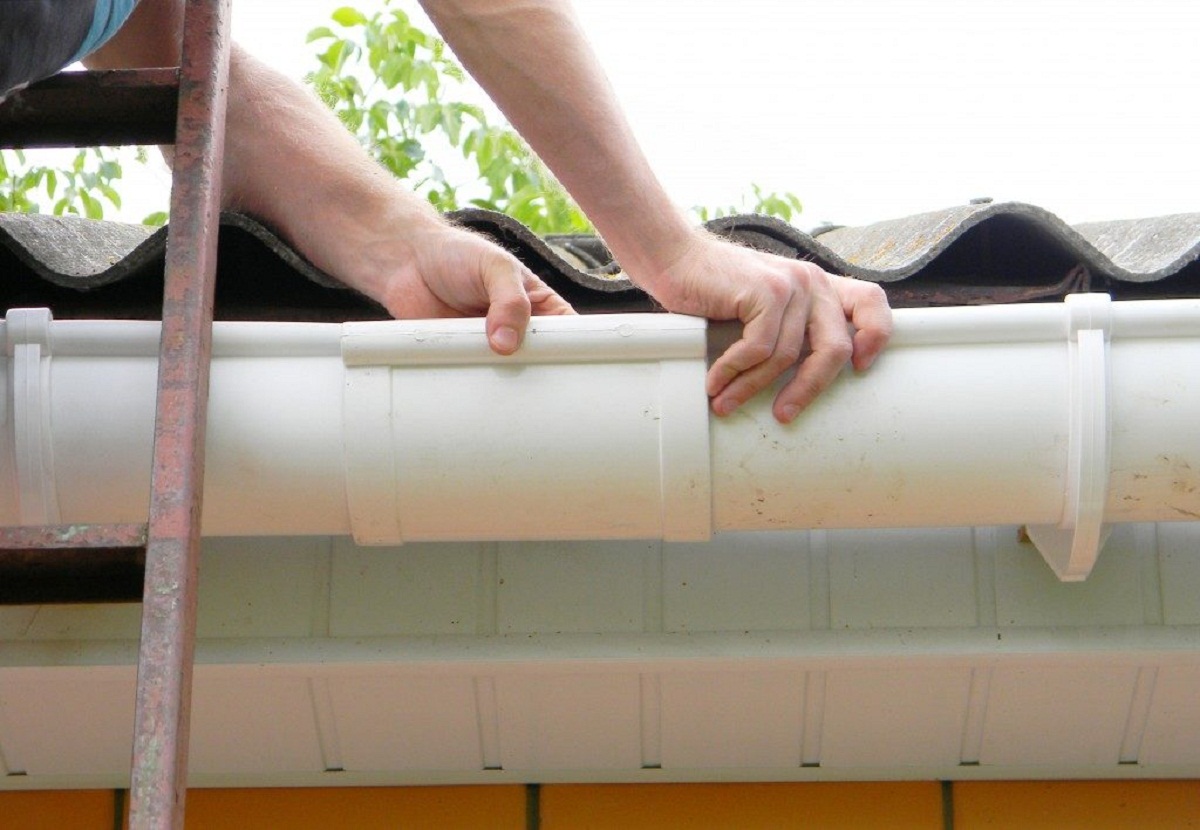
Having properly functioning gutters is essential for protecting your home from water damage. One crucial aspect of maintaining healthy gutters is ensuring that they have the correct slope. The gutter slope is the angle at which the gutters are positioned to allow water to flow towards the downspouts and away from your home’s foundation. Without the proper slope, rainwater can accumulate, leading to overflowing gutters, leaks, and potential structural damage.
In this article, we will guide you through the process of adjusting the slope of your gutters. We will explain why proper gutter slope is important, provide a list of the tools and materials you will need, and take you step-by-step through the adjustment process. By the end, you will have the knowledge and confidence to ensure that your gutters are functioning optimally and protecting your home.
Key Takeaways:
- Maintaining the proper gutter slope is crucial for protecting your home from water damage, preventing overflowing gutters, and ensuring the longevity of your gutter system. By following the step-by-step guide, you can optimize your gutters’ performance and safeguard your property.
- Regular maintenance, including adjusting the gutter slope when necessary, is essential for preventing leaks and potential structural damage. Investing time and effort into maintaining the correct gutter slope will save you from costly repairs in the long run and provide peace of mind knowing that your home is well-protected.
Read more: How Much Slope On Gutters
Why Proper Gutter Slope is Important
Proper gutter slope is essential for several reasons. Firstly, it ensures that rainwater is effectively directed away from your home’s foundation. When gutters are pitched correctly, water flows smoothly towards the downspouts and is carried away from the house. This prevents water from pooling around the foundation, which can lead to cracks, leaks, and even structural damage over time.
Secondly, the right gutter slope helps to prevent overflowing gutters. If the pitch is too shallow or uneven, water may accumulate in certain sections of the gutter, causing it to overflow during heavy rainfall. This overflow not only causes damage to the gutters themselves but can also result in water seeping into your home’s walls, causing moisture-related issues and potential mold growth.
Furthermore, maintaining the proper gutter slope can help to prevent ice dams from forming during colder months. Ice dams occur when water freezes in the gutters, blocking the flow of subsequent meltwater. When the gutters are sloped correctly, the water will be directed towards the downspouts, reducing the likelihood of ice dams forming in the first place.
Lastly, proper gutter slope promotes the longevity and effectiveness of your entire gutter system. By ensuring that water flows smoothly through the gutters and downspouts, you minimize the risk of debris accumulation and clogs. This reduces the need for frequent gutter cleaning and extends the lifespan of your gutters, saving you time and money in the long run.
Overall, proper gutter slope is crucial for protecting your home’s foundation, preventing overflowing gutters, minimizing the risk of ice dams, and ensuring the longevity of your gutter system. It is a relatively simple but important maintenance task that can greatly contribute to the overall health and functionality of your home’s exterior.
Tools and Materials Needed
Before you begin adjusting the slope of your gutters, gather the following tools and materials:
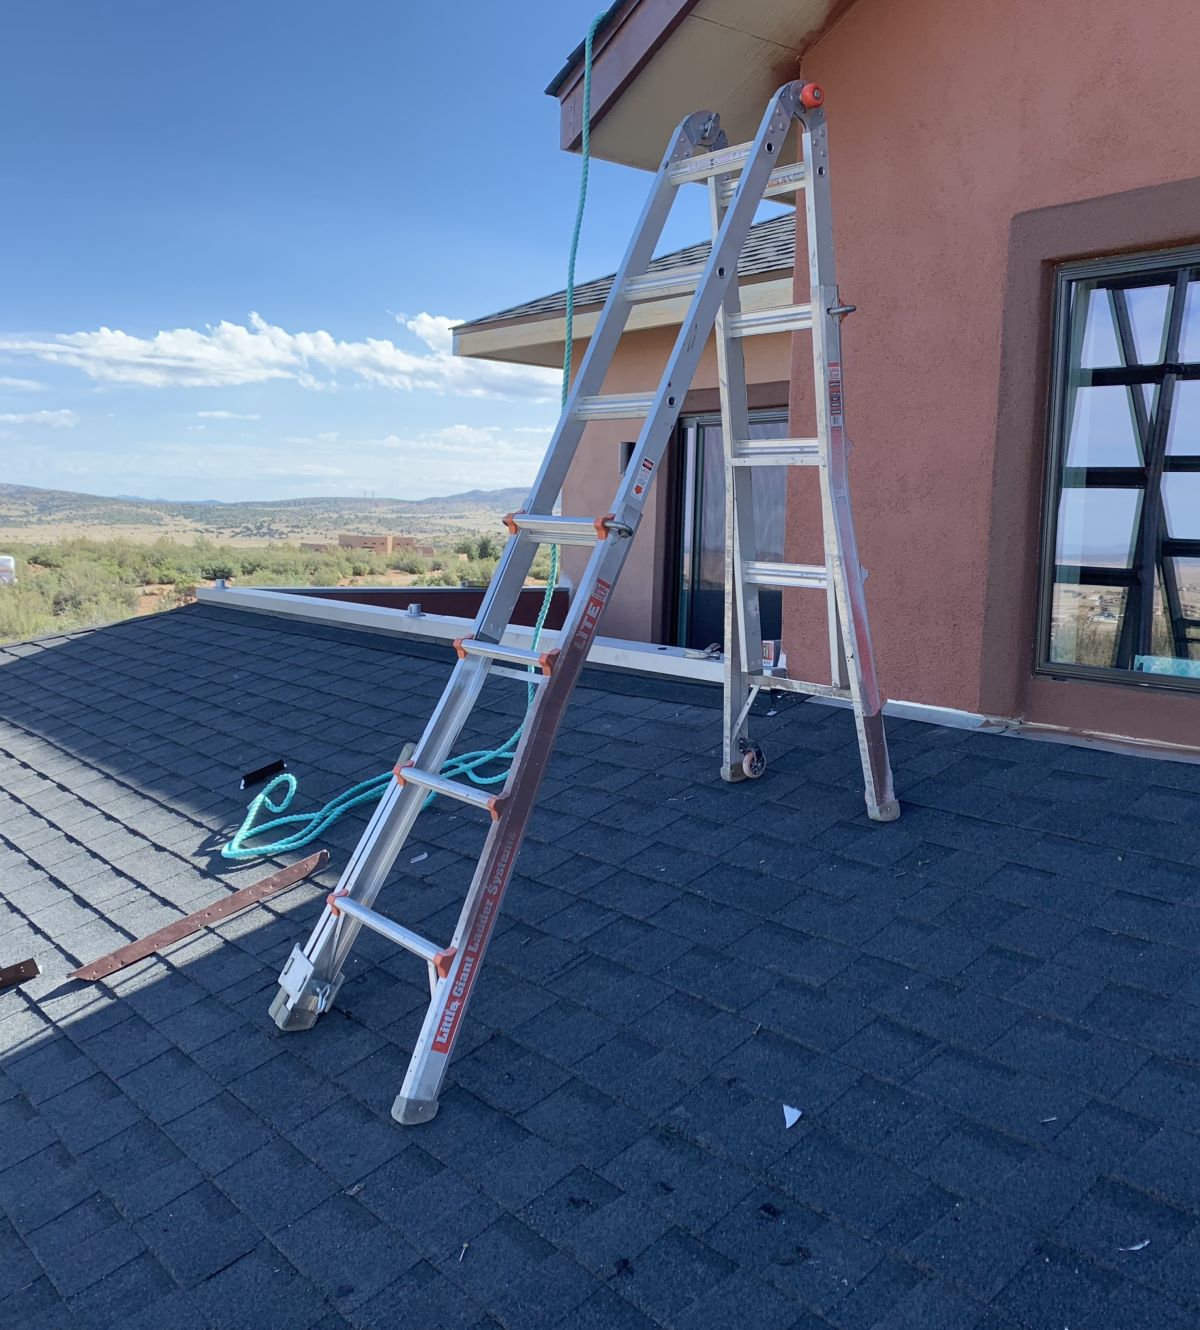
- Ladder: A sturdy ladder is necessary to safely access your gutters. Choose a ladder that is appropriate for the height of your home and ensure that it is on a stable surface.
- Tape Measure: You will need a tape measure to accurately measure the slope and make adjustments accordingly.
- Screwdriver or Drill: Depending on the type of gutter brackets or hangers you have, you may need a screwdriver or drill to loosen or tighten them as needed.
- Level: A level is useful for ensuring that your gutters have the correct slope. It will help you determine if the gutters are even and pitched appropriately.
- Garden Hose: Have a garden hose ready to test the new gutter slope and check for proper water flow.
- Gutter Sealer: If you find any leaks or gaps in your gutters during the adjustment process, a gutter sealer will come in handy for repairing them.
- Protective Gear: It’s important to wear gloves and safety glasses to protect yourself from debris and potential injury during the adjustment process.
Make sure to gather all the necessary tools and materials before starting the adjustment process. This will ensure that you have everything you need within reach and can complete the task efficiently and safely.
Step 1: Assessing the Current Gutter Slope
The first step in adjusting the slope of your gutters is to assess the current slope and determine if any adjustments are needed. Follow these steps:
- Start by positioning your ladder securely near one end of the gutter system.
- Using a tape measure, measure the distance between the high end of the gutter and the low end. This will give you an idea of the existing slope.
- Inspect the gutters closely for any signs of sagging or unevenness. Look for areas where water may be pooling or where debris has accumulated, as these can indicate improper slope.
- Check for any leaks or gaps in the gutters. This is a good time to take note of any areas that may require repairs.
- Use a level to ensure that the gutters are straight and not tilted or bowed. A level will help you determine if the existing slope is even across the entire gutter system.
Take your time during this assessment to accurately gauge the condition of your gutters. This will provide a baseline for determining the adjustments needed to achieve the proper slope.
If you notice significant issues with the current slope, such as unevenness or areas with poor drainage, it is likely that adjustments are necessary. Proceed to the next steps to correct the slope and improve the overall functionality of your gutters.
Step 2: Removing Debris and Obstructions
Before making any adjustments to the gutter slope, it is important to remove any debris or obstructions that may be impeding the proper flow of water. Follow these steps:
- Make sure to wear gloves and safety glasses to protect yourself from any sharp or dirty objects.
- Start at one end of the gutter system and work your way towards the downspout.
- Remove any leaves, sticks, or other debris by hand or using a small garden trowel. Dispose of the debris in a bag or compost bin.
- Check the downspout opening for any blockages. Use a small broom or brush to remove any debris that may be stuck inside.
- Inspect the gutters for any loose brackets or hangers. Tighten them using a screwdriver or drill if necessary.
- Use a hose to flush out any remaining debris and ensure that water flows freely through the gutters and downspouts.
Clearing the gutters of debris and obstructions will improve the overall performance and effectiveness of the gutter system. It allows for proper water flow and prevents clogs that can lead to overflowing gutters and potential damage to your home.
Once you have removed all debris and checked for any loose components, you are ready to proceed to the next step: adjusting the downspout angle.
Make sure the gutter slope is at least ¼ inch for every 10 feet of run to ensure proper water flow. Use a level to check and adjust as needed.
Read more: What Is The Maximum Slope For A Driveway
Step 3: Adjusting the Downspout Angle
The next step in adjusting the slope of your gutters is to ensure that the downspouts are angled correctly. Follow these steps:
- Starting at the lowest point of your gutter system, loosen the screws or brackets that attach the downspout to the wall or gutter.
- Gently rotate the downspout until it is angled away from your home’s foundation. The ideal angle is about 45 degrees.
- Use a level to ensure that the downspout is straight and not tilted to one side.
- Tighten the screws or brackets to secure the downspout in its new position.
By adjusting the downspout angle, you ensure that water is directed away from your home’s foundation, preventing potential damage. This step is crucial in maintaining proper drainage and ensuring the overall effectiveness of your gutter system.
After adjusting the downspout angle, move on to the next step: modifying the gutter pitch.
Step 4: Modifying the Gutter Pitch
Now that you have assessed the current gutter slope, cleared any debris, and adjusted the downspout angle, it’s time to modify the gutter pitch. Follow these steps:
- Start at one end of the gutter system and work your way towards the downspout.
- Loosen the screws or brackets that hold the gutter in place. Be careful not to remove them completely.
- Using a level, determine the proper pitch for your gutters. The recommended slope for gutters is a minimum of 1/4 inch per 10 feet towards the downspout.
- Gently lift the low end of the gutter and insert a wooden block or spacer underneath. This will help you maintain the desired pitch.
- Use the level to ensure that the gutter is sloping correctly. Adjust the position of the wooden block as needed.
- Tighten the screws or brackets to secure the gutter in its new position.
- Repeat this process for each section of the gutter system.
Modifying the gutter pitch is crucial to ensure that water flows smoothly towards the downspouts and away from your home’s foundation. Proper slope prevents water from pooling in the gutters and reduces the risk of overflowing and leaks.
Once you have completed the modification of the gutter pitch, move on to the final step: testing the new slope.
Step 5: Testing the New Slope
After making adjustments to the gutter slope, it’s important to test the new slope to ensure that water is flowing properly and away from your home. Follow these steps:
- Using a garden hose, gently pour water into the gutters at the highest point, away from the downspouts.
- Observe the flow of water as it travels through the gutter system. Check for any areas where water may be pooling or flowing slowly.
- Ensure that water is being directed towards the downspouts and that it is draining away from your home’s foundation.
- Inspect the gutters for any leaks, especially at the joints and seams. If you notice any leaks, apply a gutter sealer to seal the gaps.
- Continue testing the new slope by pouring water into different sections of the gutters. This will help you identify any problem areas that may require further adjustment.
By testing the new slope, you can identify and address any issues before they lead to potential damage or inefficiency in your gutter system. This step ensures that your gutters are performing optimally and protecting your home.
If you encounter any persistent problems or are unsure about the effectiveness of your gutter slope, it may be beneficial to consult a professional gutter specialist for further guidance.
With the completion of this final step, you have successfully adjusted the slope of your gutters and taken the necessary steps to ensure their functionality and longevity.
Conclusion
Proper gutter slope is an essential aspect of maintaining a well-functioning gutter system. Ensuring that water flows smoothly towards the downspouts and away from your home’s foundation helps prevent water damage and protects the structural integrity of your property.
In this article, we have provided a step-by-step guide to help you adjust the slope of your gutters effectively. By assessing the current gutter slope, removing debris and obstructions, adjusting the downspout angle, modifying the gutter pitch, and testing the new slope, you can optimize the performance of your gutters for years to come.
Remember, regular maintenance of your gutters, including adjusting the slope when necessary, is crucial to prevent overflowing gutters, leaks, and potential structural damage. By taking the time to perform these adjustments, you can protect your home from water-related issues and prolong the lifespan of your gutter system.
If you are unsure about adjusting the gutter slope yourself or encounter any persistent problems, it is always recommended to consult a professional for assistance. They have the expertise and specialized tools to ensure the proper functioning of your gutters.
Investing time and effort into maintaining the proper gutter slope will save you from costly repairs in the long run while providing peace of mind knowing that your home is well protected.
So, take the necessary steps to adjust the gutter slope and enjoy the benefits of a well-maintained gutter system. Your home will thank you for it!
Frequently Asked Questions about How To Adjust Gutters Slope
Was this page helpful?
At Storables.com, we guarantee accurate and reliable information. Our content, validated by Expert Board Contributors, is crafted following stringent Editorial Policies. We're committed to providing you with well-researched, expert-backed insights for all your informational needs.


0 thoughts on “How To Adjust Gutters Slope”