Home>Furniture>Outdoor Furniture>How To Slope A Paver Patio
Outdoor Furniture
How To Slope A Paver Patio
Modified: October 18, 2024
Learn how to properly slope a paver patio for optimal drainage and durability. Enhance your outdoor furniture setup with a level and functional space.
(Many of the links in this article redirect to a specific reviewed product. Your purchase of these products through affiliate links helps to generate commission for Storables.com, at no extra cost. Learn more)
Introduction
Welcome to our comprehensive guide on how to slope a paver patio. If you’re planning to create or renovate an outdoor living space, a paver patio can be a fantastic addition to your home. Not only does it provide a beautiful and functional area for entertaining and relaxation, but it also adds value to your property.
One crucial aspect of constructing a paver patio is ensuring proper drainage by sloping the surface. This is essential to prevent water from pooling on the patio and causing damage over time. In this guide, we will walk you through the step-by-step process of sloping a paver patio, from preparing the base to finishing touches.
Whether you’re a seasoned DIY enthusiast or a beginner, following these instructions will help you create a properly sloped paver patio that will withstand the test of time and weather conditions.
Before we dive into the details, let’s take a moment to understand why sloping is important and the potential problems that can arise if it’s not done correctly.
Key Takeaways:
- Properly sloping a paver patio is crucial to prevent water pooling, mold growth, and safety hazards. Follow the step-by-step guide to create a stable, visually appealing, and long-lasting outdoor space.
- After sloping your paver patio, add edge restraints, clean regularly, and personalize with furniture and decor to transform it into a beautiful and functional outdoor oasis.
Read more: How To Build A Paver Walkway On A Slope
Understanding the Importance of Sloping a Paver Patio
Properly sloping a paver patio is crucial for several reasons. Firstly, it ensures effective drainage of water away from the surface, preventing issues such as puddling, erosion, and damage to the pavers themselves.
Without proper slope, water can accumulate on the patio, creating a breeding ground for mosquitos and other pests. Over time, the constant presence of moisture can also lead to the growth of mold and mildew, compromising the aesthetics and cleanliness of your outdoor space.
In addition to water-related problems, an uneven patio surface can create tripping hazards and pose a safety risk. By sloping the patio, you ensure that it is level and stable, providing a safe environment for you, your family, and your guests.
Additionally, a properly sloped patio is less likely to experience frost heave during winter months. Frost heave occurs when water freezes beneath the pavers, causing them to shift and become uneven. By creating a proper slope, you can minimize the risk of this phenomenon and avoid costly repairs in the future.
Now that you understand the importance of sloping, let’s move on to the tools and materials you’ll need to complete this project.
Tools and Materials Needed
Before you begin the process of sloping your paver patio, make sure you have the necessary tools and materials on hand. Here’s a list of what you’ll need:
- Shovel: A sturdy shovel will be essential for excavating the area and preparing the base.
- Wheelbarrow: This will come in handy for transporting and disposing of soil, gravel, and other materials.
- Tape Measure: Accurate measurements are crucial for planning and ensuring the proper slope.
- Level: A level will help you determine if the patio surface is even and sloped correctly.
- Screed: A long, straight board or screed is used to smooth and level the sand base.
- Plate Compactor: This tool is used to compact the base materials, ensuring stability and preventing settling.
- Masonry Saw or Angle Grinder: You may need to cut pavers to fit the edges or corners of your patio.
- Paver Sealer: Sealing the pavers will protect them from stains, moisture, and fading over time.
- Protective Gear: Don’t forget safety goggles, gloves, and a dust mask to keep yourself protected during the construction process.
In addition to the tools, you’ll also need the following materials:
- Pavers: Choose pavers of your preferred style, size, and color to create the desired look for your patio.
- Gravel: A layer of compacted gravel provides a stable base and promotes proper drainage.
- Sand: Coarse sand is used for leveling the base and filling the gaps between pavers.
- Edging Material: This helps contain the pavers and maintain their alignment.
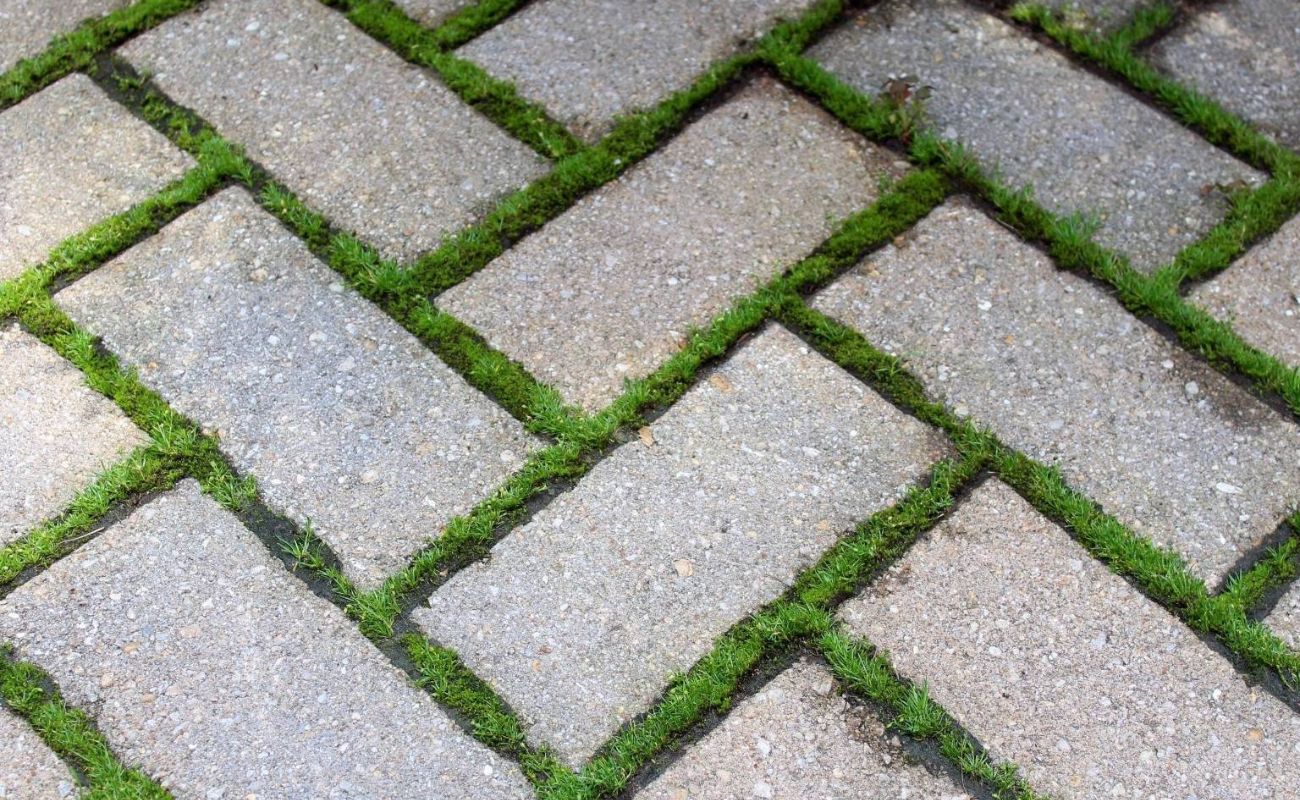
- Polymeric Sand or Jointing Sand: This special sand is used for filling the joints between pavers, preventing weed growth and enhancing stability.
- Landscaping Fabric: Optional, but it can help prevent weed growth and enhance the durability of your patio.
Once you have all the necessary tools and materials, you’ll be well-prepared to begin the process of sloping your paver patio. In the next section, we’ll guide you through the first step: preparing the base.
Step 1: Preparing the Base
The first step in sloping your paver patio is to prepare the base. This involves excavating the area, ensuring proper drainage, and creating a stable foundation for the pavers.
Here’s a breakdown of the process:
- Mark the area: Use stakes and string to outline the boundaries of your patio. This will give you a clear visual reference and help ensure that your patio is the desired size and shape.
- Excavate the area: Using a shovel, dig out the marked area to a depth of about 8-10 inches. Make sure to remove any vegetation, rocks, or debris. This will provide ample space for the base materials.
- Create a slight slope: Determine the direction of the slope by using a level and a string line. A slope of 1/8 inch per foot is generally sufficient for proper drainage. This means that for every 1 foot of patio width, the surface should slope 1/8 inch.
- Compact the soil: Use a plate compactor or hand tamper to compact the soil evenly throughout the excavated area. This will help create a stable and solid base for the patio.
- Add a layer of landscape fabric (optional): If you want to prevent weed growth or enhance the durability of your patio, you can lay down a layer of landscaping fabric over the compacted soil. This will act as a barrier, preventing weeds from growing up through the base.
- Add gravel: Pour a layer of compactable gravel over the fabric (if used) or directly onto the compacted soil. This layer should be about 4-6 inches deep. Spread the gravel evenly using a rake and ensure it is compacted with a plate compactor. This will create a stable and permeable base that allows for proper water drainage.
Once you have completed these steps, your base will be ready to take on the pavers. In the next section, we will guide you through the process of setting the slope on your newly prepared base.
Step 2: Setting the Slope
Setting the slope of your paver patio is a critical step to ensure proper drainage. This step involves adding a thin layer of sand and using a screed to create a slight slope that will direct water away from the patio surface.
Follow these steps to set the slope:
- Spread a layer of sand: Pour a layer of coarse sand over the compacted gravel base. The sand should be approximately 1 inch thick.
- Smooth and level the sand: Use a rake to evenly distribute the sand over the gravel. Then, use a screed (a long, straight board) to smooth and level the sand surface. Place the screed on the sand and drag it across the surface, filling in any low spots and removing excess sand.
- Create the slope: To set the slope, place one end of the screed at the desired high point of the slope and the other end at the low point. Gradually lift the low end of the screed to create the desired slope. Check the slope using a level or a string line, making sure it slopes away from your house or other structures.
Move the screed back and forth along the surface to distribute the sand evenly and create a consistent slope. Take your time during this process to ensure the slope is smooth and gradual.
Once you have finished setting the slope, take a moment to double-check its accuracy using a level or a string line. This will help ensure that water will drain properly off the patio surface.
In the next section, we will guide you through the process of installing the pavers onto the sloped base.
When sloping a paver patio, make sure to have a slight slope away from your house to prevent water from pooling. Aim for a 1/4 inch drop for every foot of patio. Use a string level or a laser level to ensure an even slope.
Read more: What Is A Paver Patio
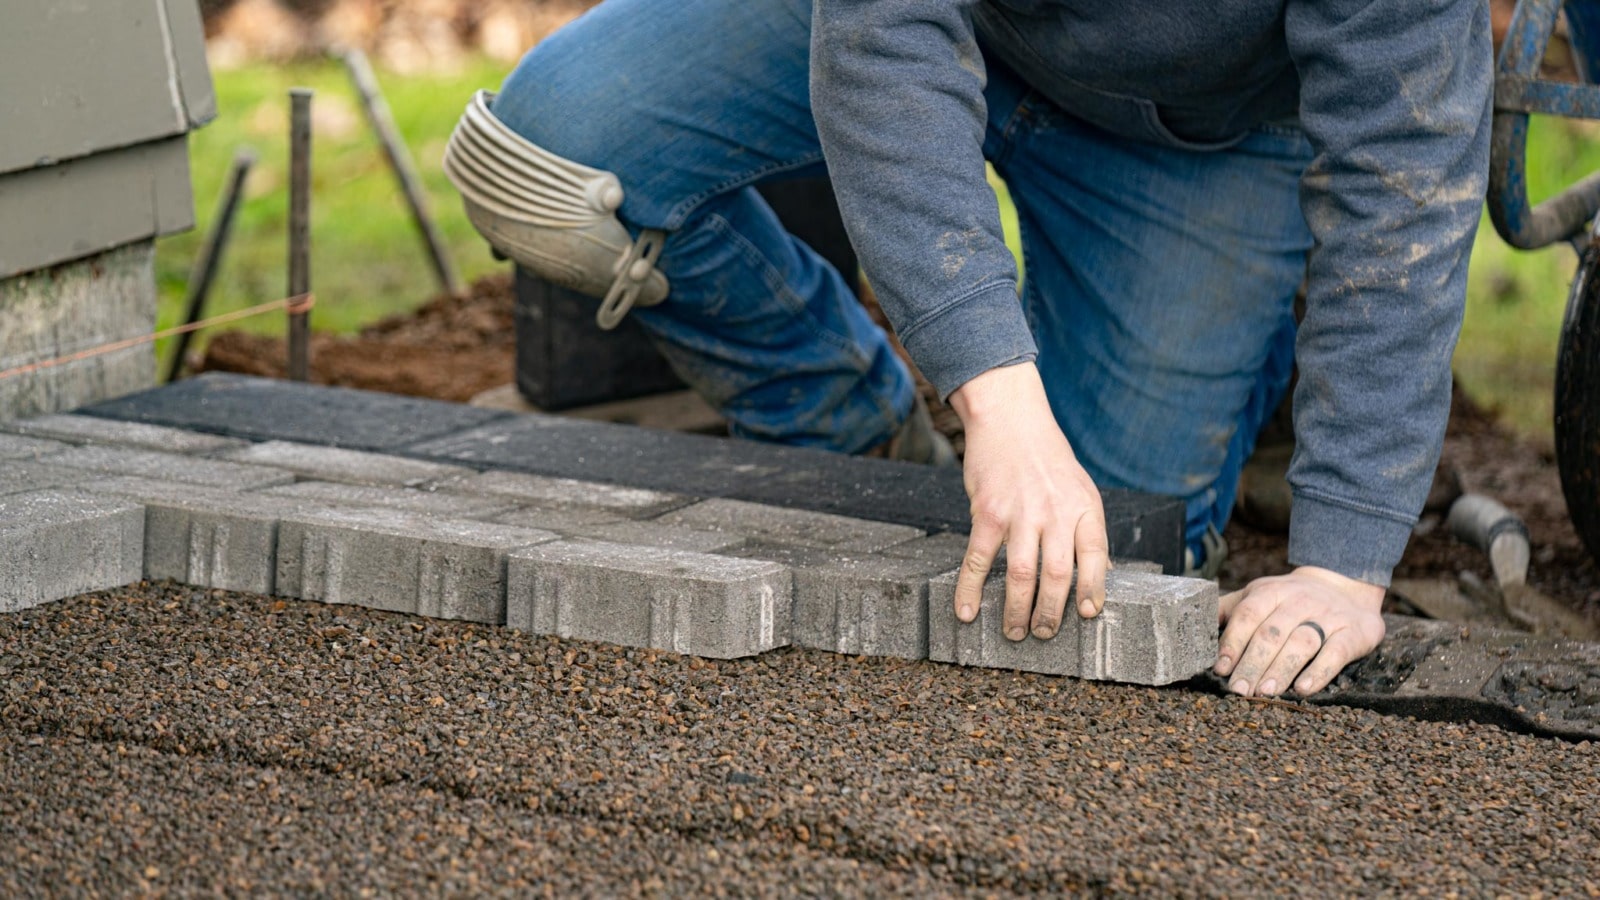
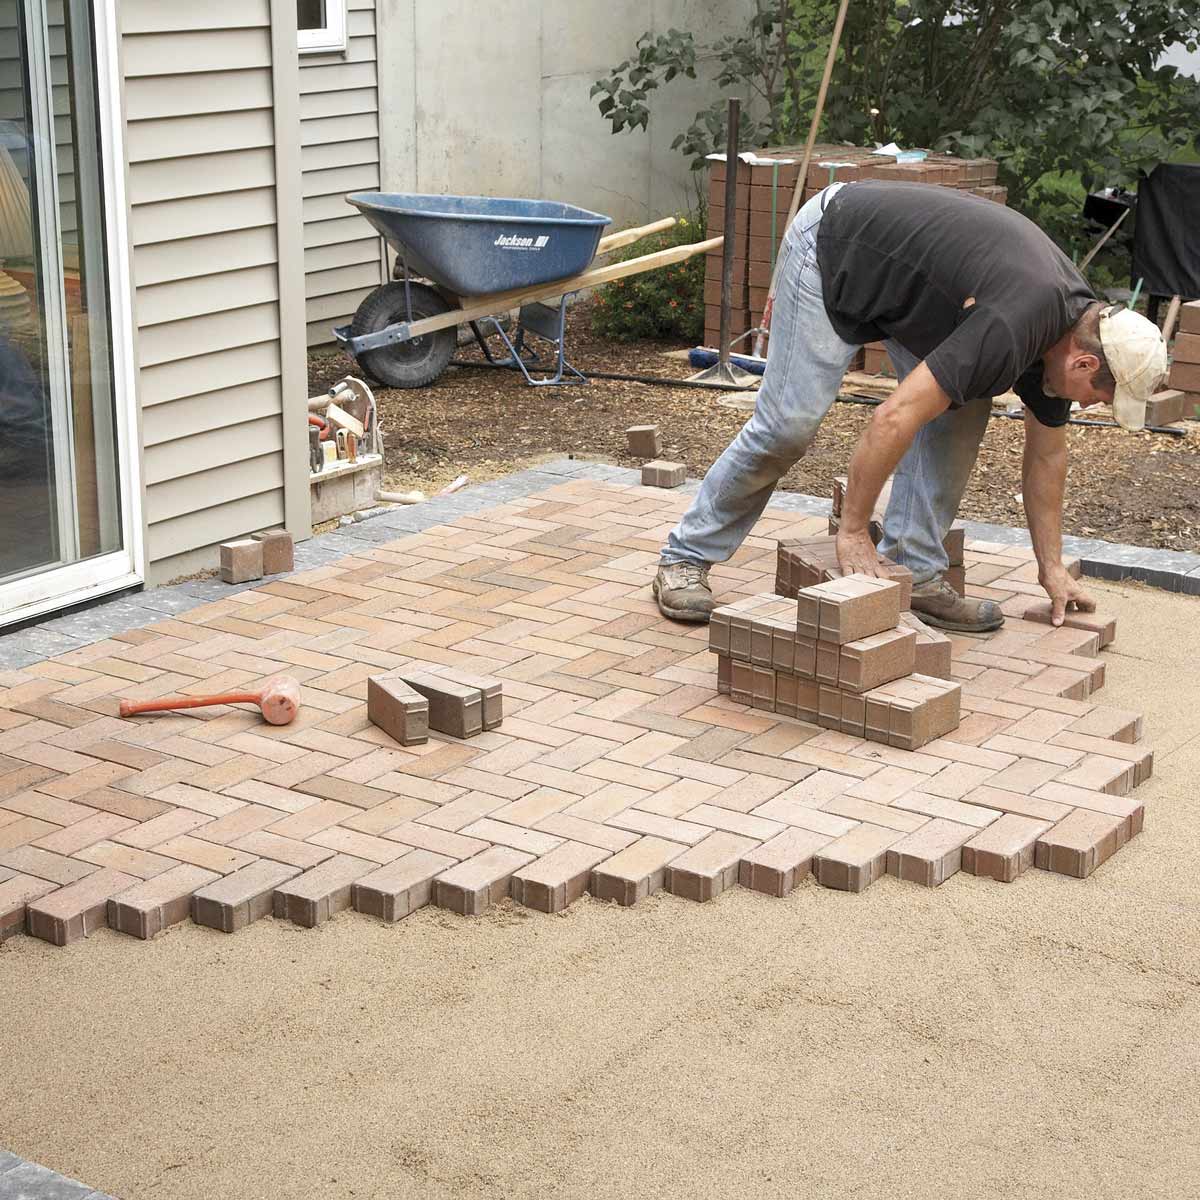
Step 3: Installing the Pavers
With the slope set and the base prepared, it’s time to start installing the pavers on your patio. This step requires careful planning and precision to ensure a stable and visually appealing result.
Follow these steps to install the pavers:
- Start at one end: Begin laying the pavers at one corner or edge of the patio. This will serve as your starting point.
- Place the pavers: Lay each paver onto the sand surface, starting from the chosen starting point. Make sure to leave a small gap, about 1/8 inch, between each paver to allow for jointing material later on.
- Use a pattern: Depending on the style and design you want to achieve, you can lay the pavers in a specific pattern such as a herringbone or running bond. Follow the pattern consistently for a cohesive look.
- Adjust as needed: As you lay the pavers, check their alignment and level using a level or string line. Make adjustments as necessary to ensure they are evenly placed and aligned with the desired slope.
- Cut pavers if needed: Using a masonry saw or angle grinder, cut pavers to fit along the edges or corners of your patio. Ensure the cuts are clean and precise to maintain a professional finish.
- Continue laying: Work your way across the patio, one row at a time, until all pavers are laid. Take breaks as needed to rest and reevaluate the slope and alignment.
Remember to take your time during this step to ensure the pavers are properly positioned and aligned. It’s important to maintain the desired slope throughout the installation process.
Now that all the pavers are in place, the next step is to tamp and level them to ensure a stable surface. We’ll cover this in the next section.
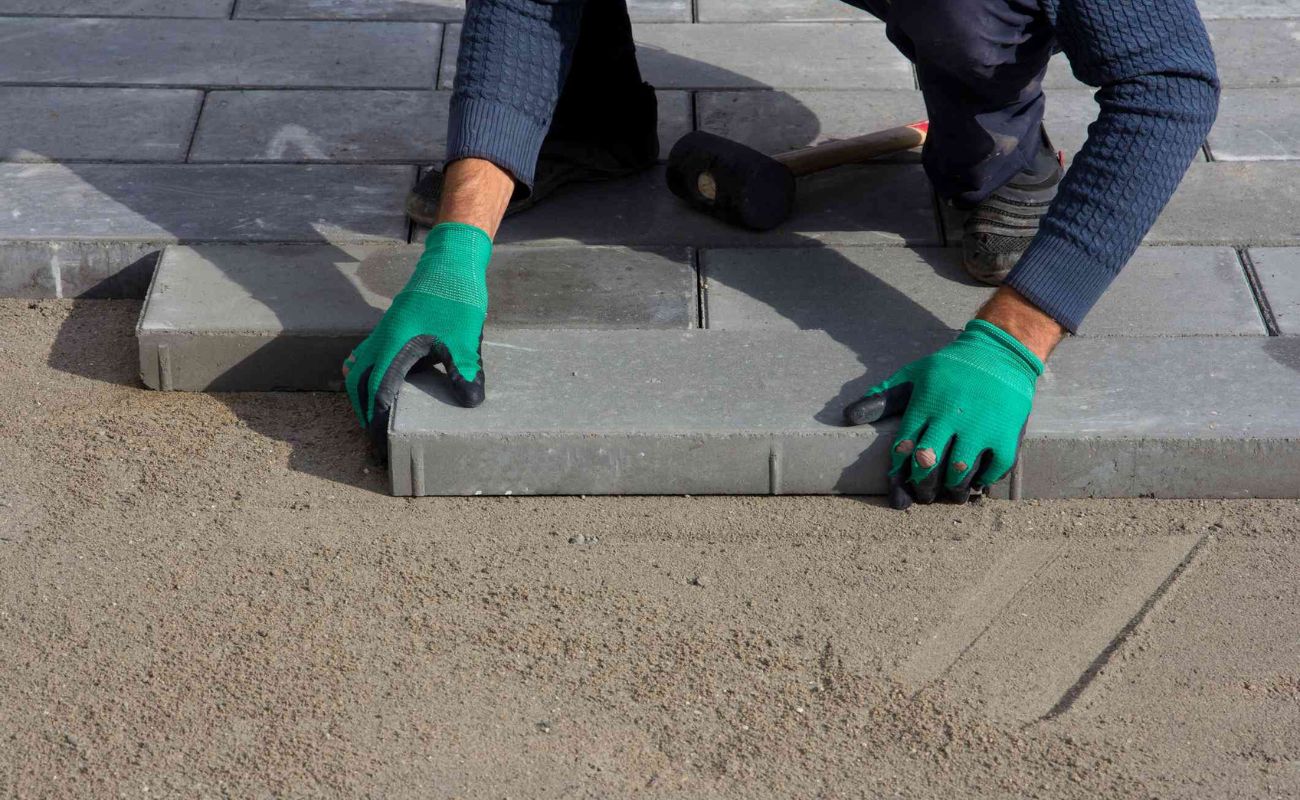
Step 4: Tamping and Leveling
After installing the pavers, it’s crucial to tamp and level them to ensure a stable and even surface. This step helps to secure the pavers in place and eliminate any unevenness or gaps between them.
Follow these steps to tamp and level the pavers:
- Use a plate compactor: Start by running a plate compactor over the entire patio surface, starting from one end and working your way to the other. This will help to set the pavers into the sand base and ensure they are firmly in place.
- Check for levelness: Use a level or a straight edge to check the levelness of the pavers. Check both horizontally and vertically to ensure they are even and aligned with the desired slope.
- Add or remove sand: If you notice any areas where the pavers are not level, gently lift them and add or remove sand as needed to achieve the desired levelness. Use a rubber mallet or a block of wood to tap the pavers into place.
- Fill the gaps: Once the pavers are leveled, sweep fine, dry sand into the gaps between them. This will help stabilize the pavers and prevent shifting. Use a broom or brush to ensure the sand is evenly distributed.
Continue this process of tamping, leveling, and filling the gaps until the entire patio surface is uniform and stable. Take your time to ensure precision and attention to detail to achieve the best results.
With the pavers now tamped and leveled, the next step is to joint and seal the patio. We will cover this step in the following section.
Step 5: Jointing and Sealing
Jointing is an essential step in the process of completing your paver patio. It involves filling the gaps between the pavers with jointing material to enhance stability and prevent weed growth. Sealing the pavers, on the other hand, helps protect them from stains, moisture, and fading over time.
Follow these steps to joint and seal your paver patio:
- Choose the jointing material: Select a polymeric sand or jointing sand specifically designed for paver installations. These types of sands harden when activated with water, creating a solid barrier between the pavers.
- Apply the jointing material: Pour the jointing sand onto the patio surface, ensuring that it fills the gaps between the pavers. Use a broom or brush to sweep the sand into the joints, making sure it is evenly distributed.
- Compact the sand: Gently tamp the sand down into the joints using a plate compactor or by hand. This will help ensure firmness and stability.
- Activate the sand: Follow the manufacturer’s instructions to activate the jointing sand. Usually, this involves spraying a mist of water over the entire patio surface, allowing the water to soak into the sand and activate the hardening process.
- Seal the pavers: Once the jointing sand has hardened and dried, consider applying a paver sealer to enhance the longevity and aesthetics of your patio. Follow the manufacturer’s instructions for application and drying time.
Jointing and sealing your paver patio will not only improve its overall stability but also protect it from potential damage and enhance its visual appeal.
Now that your patio is jointed and sealed, we will move on to the final step: finishing touches.
Step 6: Finishing Touches
With your paver patio now complete, it’s time to add the finishing touches that will elevate its aesthetic appeal and functionality.
Consider these final steps to enhance your patio:
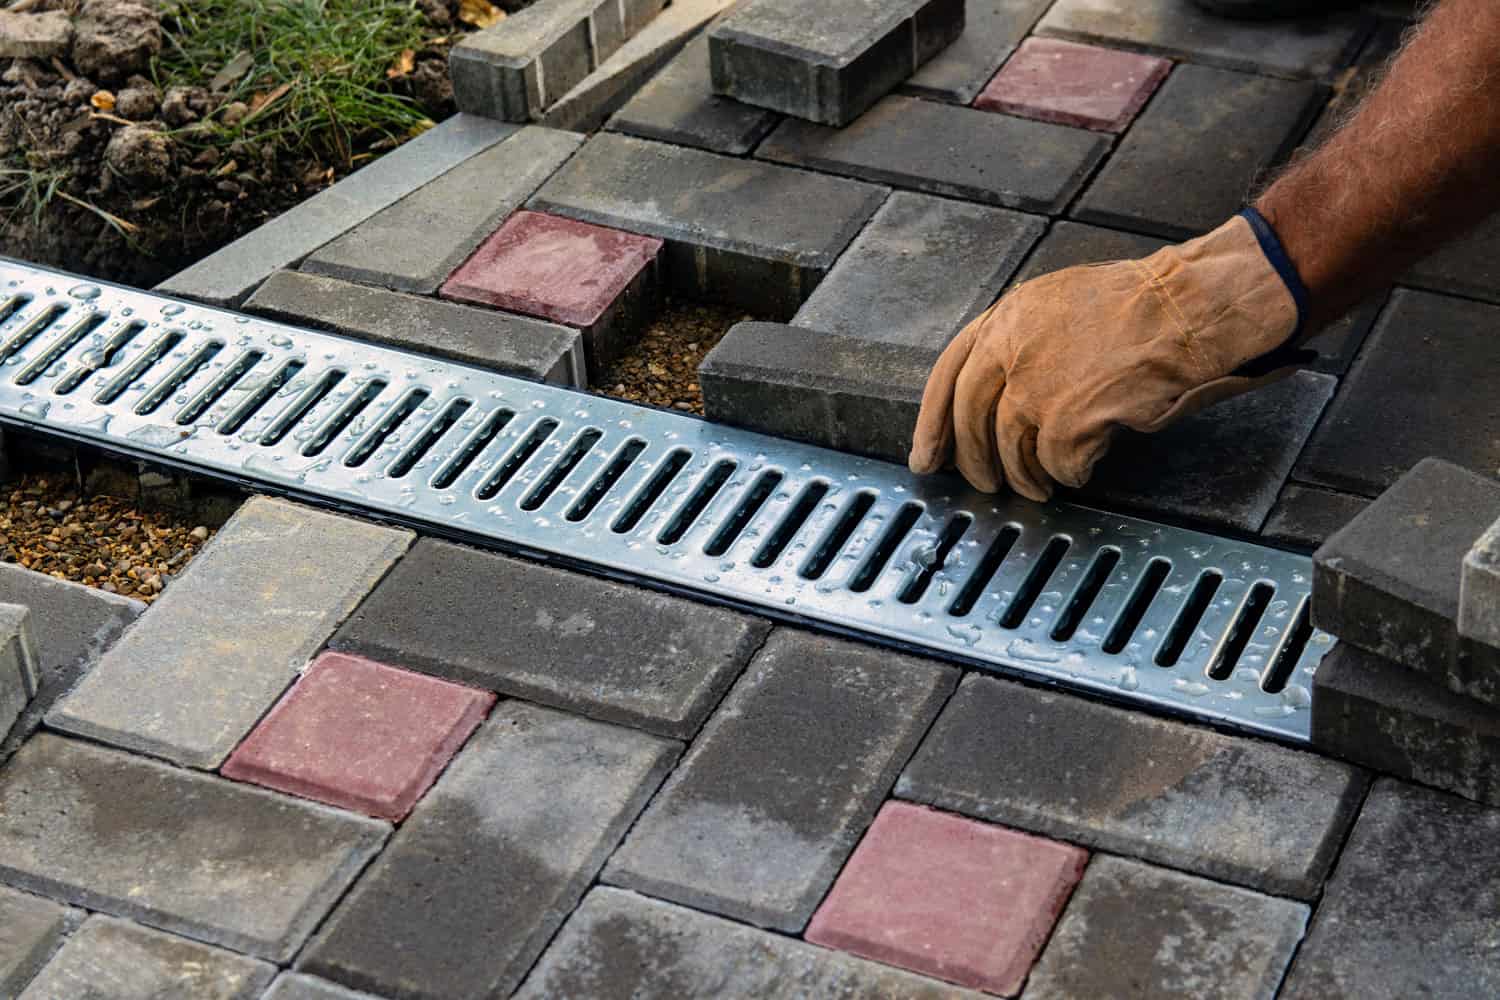
- Add edge restraints: Install edge restraints along the perimeter of your patio to secure the pavers and prevent them from shifting over time. This can be done using plastic or metal edging materials.
- Clean the surface: Sweep off any excess sand or debris from the surface of the pavers. Use a pressure washer or a mild detergent solution to remove any stains or dirt that may have accumulated during the construction process.
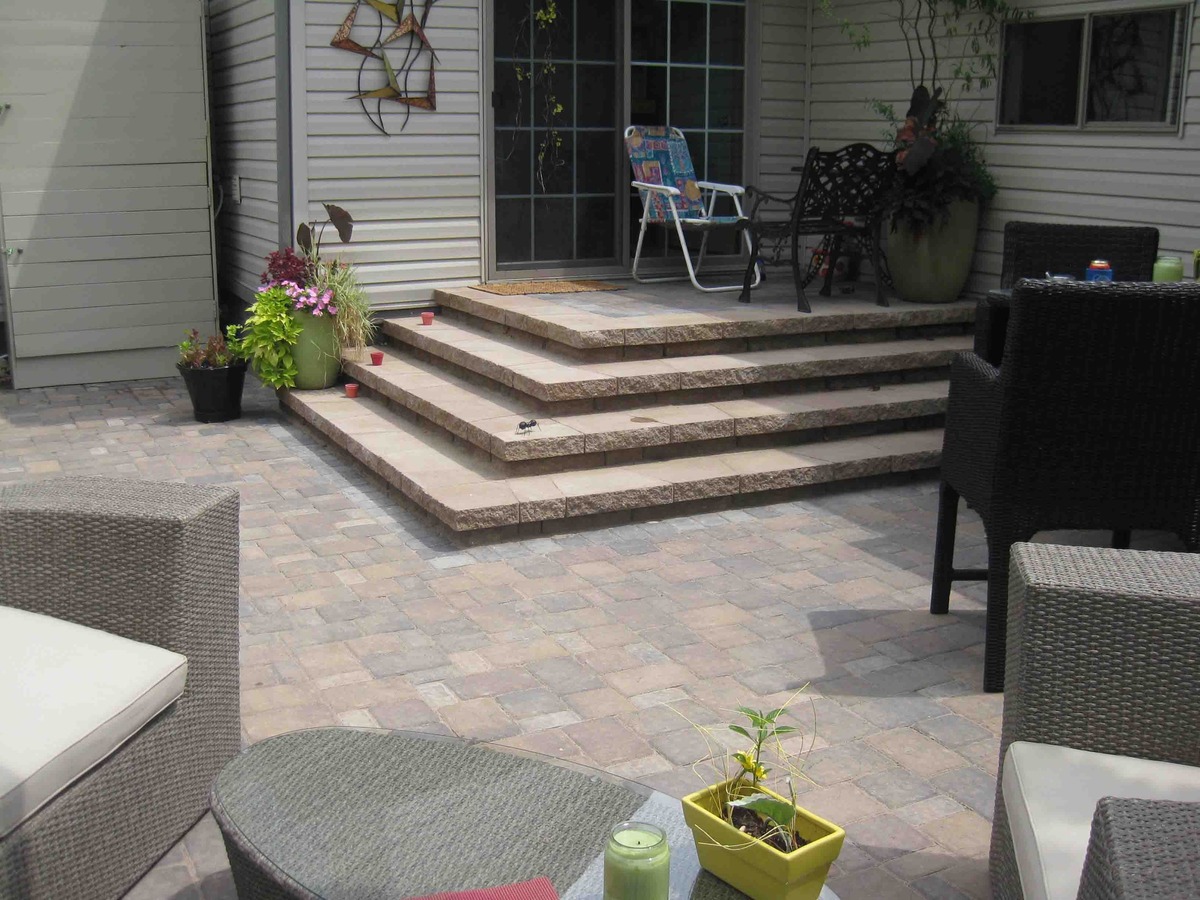
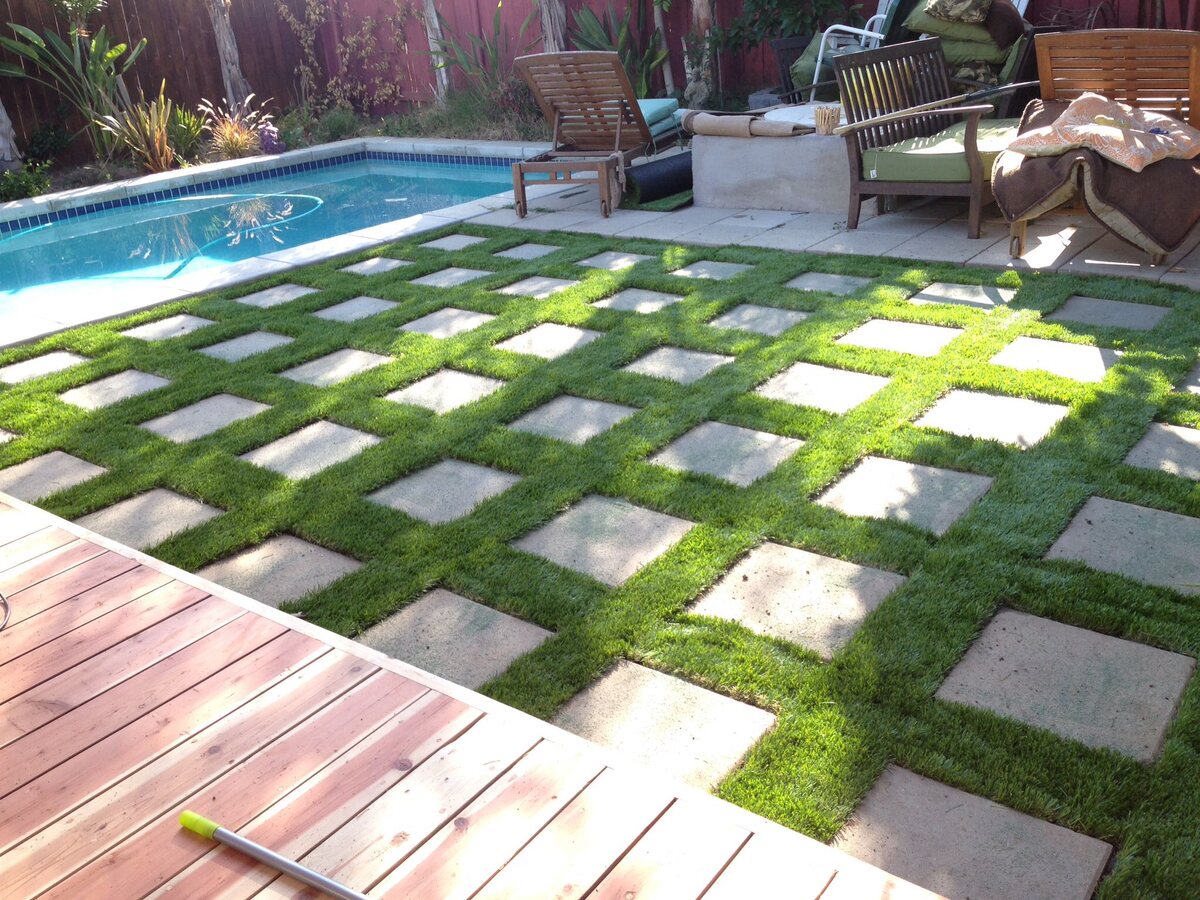
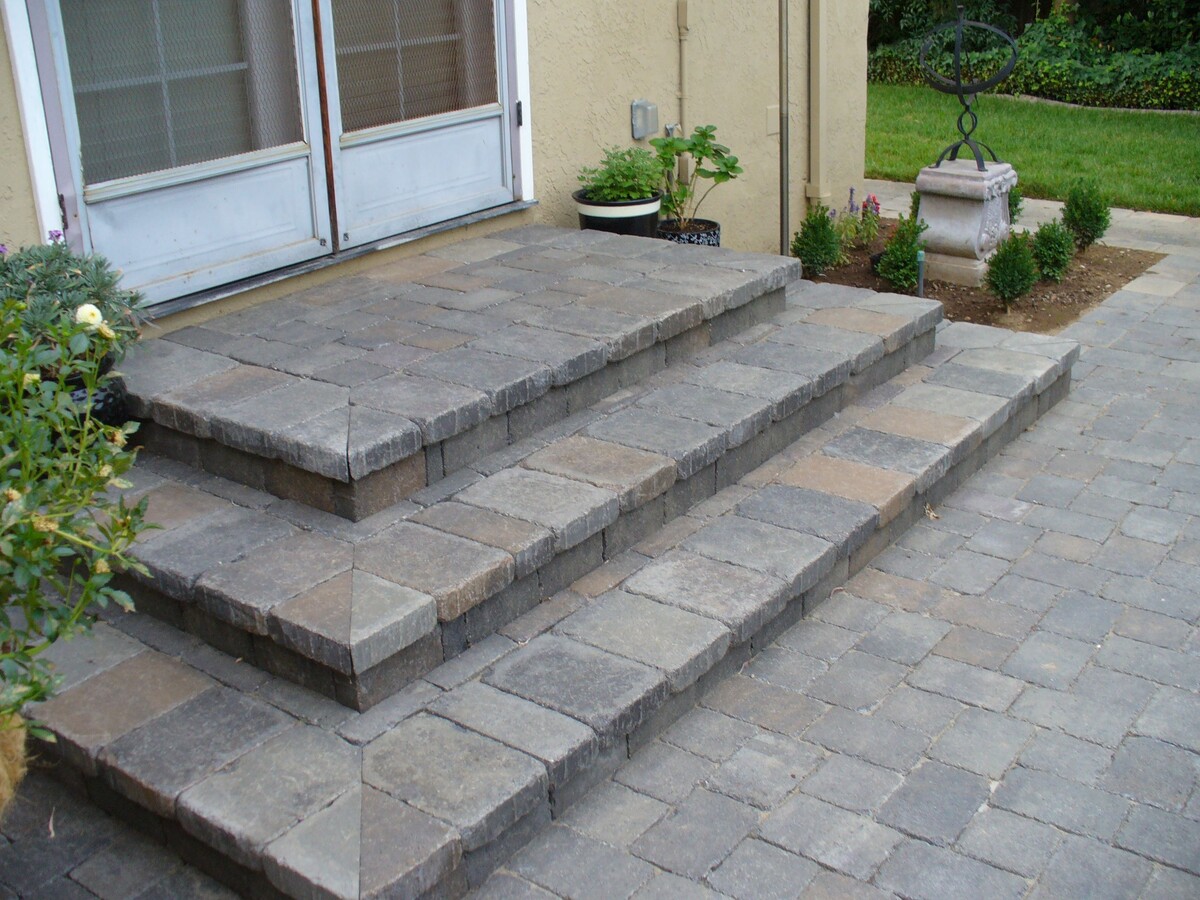
- Accessorize: Add outdoor furniture, decorative elements, and plants to personalize and complete your outdoor living space. Consider incorporating seating areas, lighting fixtures, or a fire pit to create a cozy and inviting atmosphere.
- Maintain the patio: Regularly maintain your patio by sweeping away debris, periodically reapplying jointing sand as needed, and resealing the pavers every few years to protect their appearance and longevity. Follow manufacturer recommendations for specific maintenance guidelines.
By paying attention to these finishing touches, you can transform your newly sloped paver patio into an outdoor oasis that you can enjoy for years to come.
Congratulations! You have successfully learned how to slope a paver patio and navigate through each step of the installation process. Now, it’s time to sit back, relax, and take pleasure in your beautiful and functional outdoor space!
If you have any further questions or need assistance, feel free to consult with a professional or refer back to this guide as a handy reference.
Happy patio building!
Read more: How To Make A Patio With Pavers
Conclusion
Creating a properly sloped paver patio can greatly enhance the beauty and functionality of your outdoor living space. By following the step-by-step guide outlined in this article, you have learned how to successfully slope a paver patio and ensure proper drainage.
From preparing the base to installing the pavers, tamping and leveling, jointing and sealing, and adding the finishing touches, each step plays a crucial role in achieving a stable, visually appealing, and long-lasting patio.
Remember, sloping the patio is essential to prevent water pooling, mold growth, and uneven surfaces that can pose safety hazards. By carefully following the instructions and utilizing the necessary tools and materials, you have the knowledge to create a patio that will withstand the test of time.
Additionally, by incorporating edge restraints, cleaning and maintaining the patio regularly, and adding personalized touches such as furniture and decor, you can transform your outdoor space into a true oasis.
We hope this comprehensive guide has empowered you to embark on your paver patio project with confidence. However, if you ever encounter challenges or require further assistance, don’t hesitate to consult with professionals or refer back to this guide as a helpful resource.
Now it’s time to enjoy your outdoor retreat, whether it’s for peaceful relaxation, entertaining guests, or simply appreciating the joys of nature. So go ahead, sit back, and savor the fruits of your labor on your beautifully sloped paver patio!
Frequently Asked Questions about How To Slope A Paver Patio
Was this page helpful?
At Storables.com, we guarantee accurate and reliable information. Our content, validated by Expert Board Contributors, is crafted following stringent Editorial Policies. We're committed to providing you with well-researched, expert-backed insights for all your informational needs.


0 thoughts on “How To Slope A Paver Patio”