
Furniture
How To Hang A Chandelier On A Sloped Ceiling
Modified: November 2, 2024
Learn the best technique for hanging a chandelier on a sloped ceiling. Our step-by-step guide will help you decorate your space with elegant furniture.
(Many of the links in this article redirect to a specific reviewed product. Your purchase of these products through affiliate links helps to generate commission for Storables.com, at no extra cost. Learn more)
Introduction
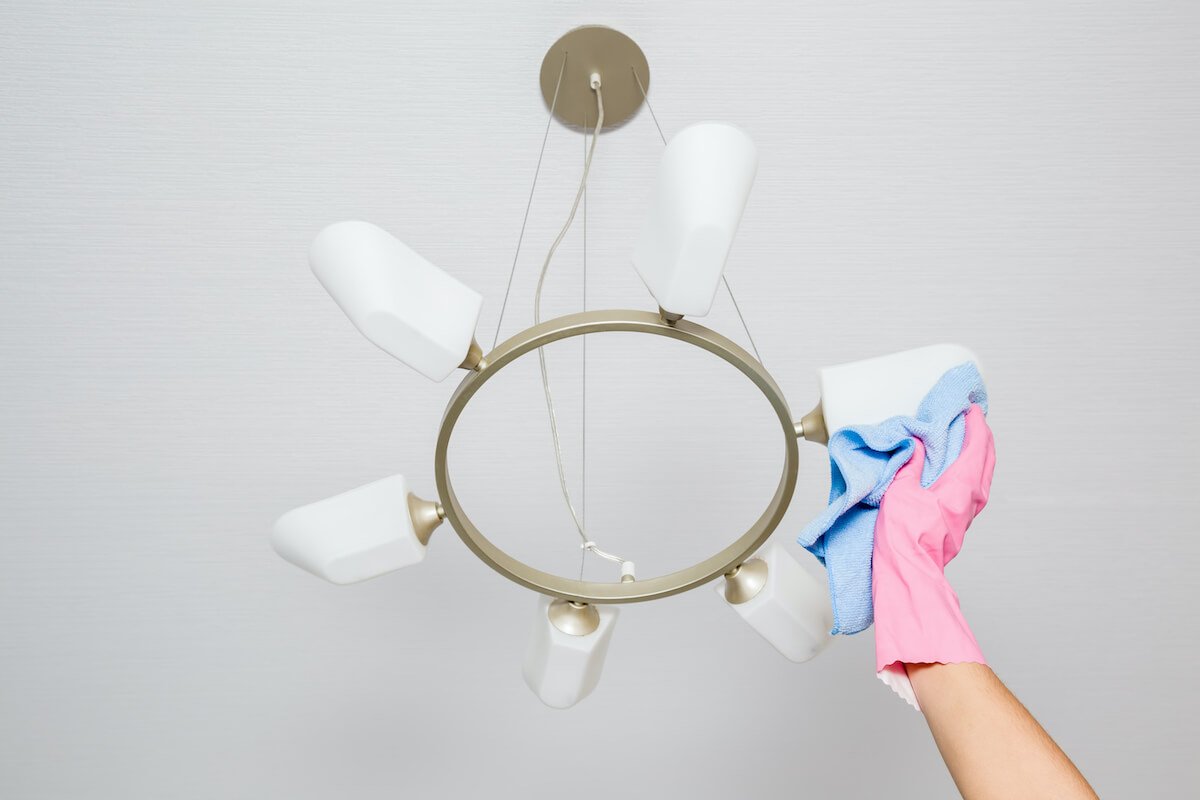
When it comes to home decor, a chandelier can instantly add a touch of elegance and charm to any room. However, installing a chandelier on a sloped ceiling can present some challenges. The uneven surface can make it difficult to achieve a level hanging position, potentially compromising the stability and aesthetics of your lighting fixture.
In this article, we will guide you through the process of hanging a chandelier on a sloped ceiling. We will cover everything from measuring the slope of the ceiling to installing a sloped ceiling adapter and securing the chandelier. By following these steps, you’ll be able to safely and effectively hang your chandelier, creating a stunning focal point in any room.
Key Takeaways:
- Ensure a visually appealing and stable chandelier installation on a sloped ceiling by measuring the slope, determining the hanging point, and using a sloped ceiling adapter for secure mounting.
- Prioritize safety and aesthetics by gathering tools, testing stability, and seeking professional assistance if needed for a stunning chandelier installation on a sloped ceiling.
Read more: How To Hang A Chandelier From The Ceiling
Step 1: Gather the necessary tools and materials
Before you begin the process of hanging a chandelier on a sloped ceiling, it’s important to gather all the tools and materials you will need. Having everything ready beforehand will make the installation process much smoother.
Here is a list of the essential tools and materials you will need:
- Chandelier
- Sloped ceiling adapter
- Measuring tape or laser level
- Pencil
- Stud finder
- Drill
- Screws or toggle bolts
- Wire stripper
- Wire nuts
- Electrical tape
- Ladder or scaffold
Make sure to gather all the necessary tools and materials before starting the installation process. This will save you time and allow you to complete the task without any interruptions.
Step 2: Measure the ceiling slope
Measuring the slope of your ceiling is crucial to ensure that your chandelier hangs correctly and securely. This step will help you determine the angle at which you’ll need to install the sloped ceiling adapter.
To measure the slope of your ceiling, follow these steps:
- Position your ladder or scaffold directly under the area where you plan to hang the chandelier.
- Hold a measuring tape or laser level against the ceiling, parallel to the floor.
- Measure the distance between the ceiling and the floor at various points along the slope. Take multiple measurements to ensure accuracy.
- Calculate the angle of the slope using the measurements. This can be done manually or by using a slope indicator tool available at hardware stores.
Once you have determined the angle of the slope, you will have a better understanding of how to position the sloped ceiling adapter and ensure that your chandelier hangs straight. This will help create a visually appealing and stable lighting fixture in your space.
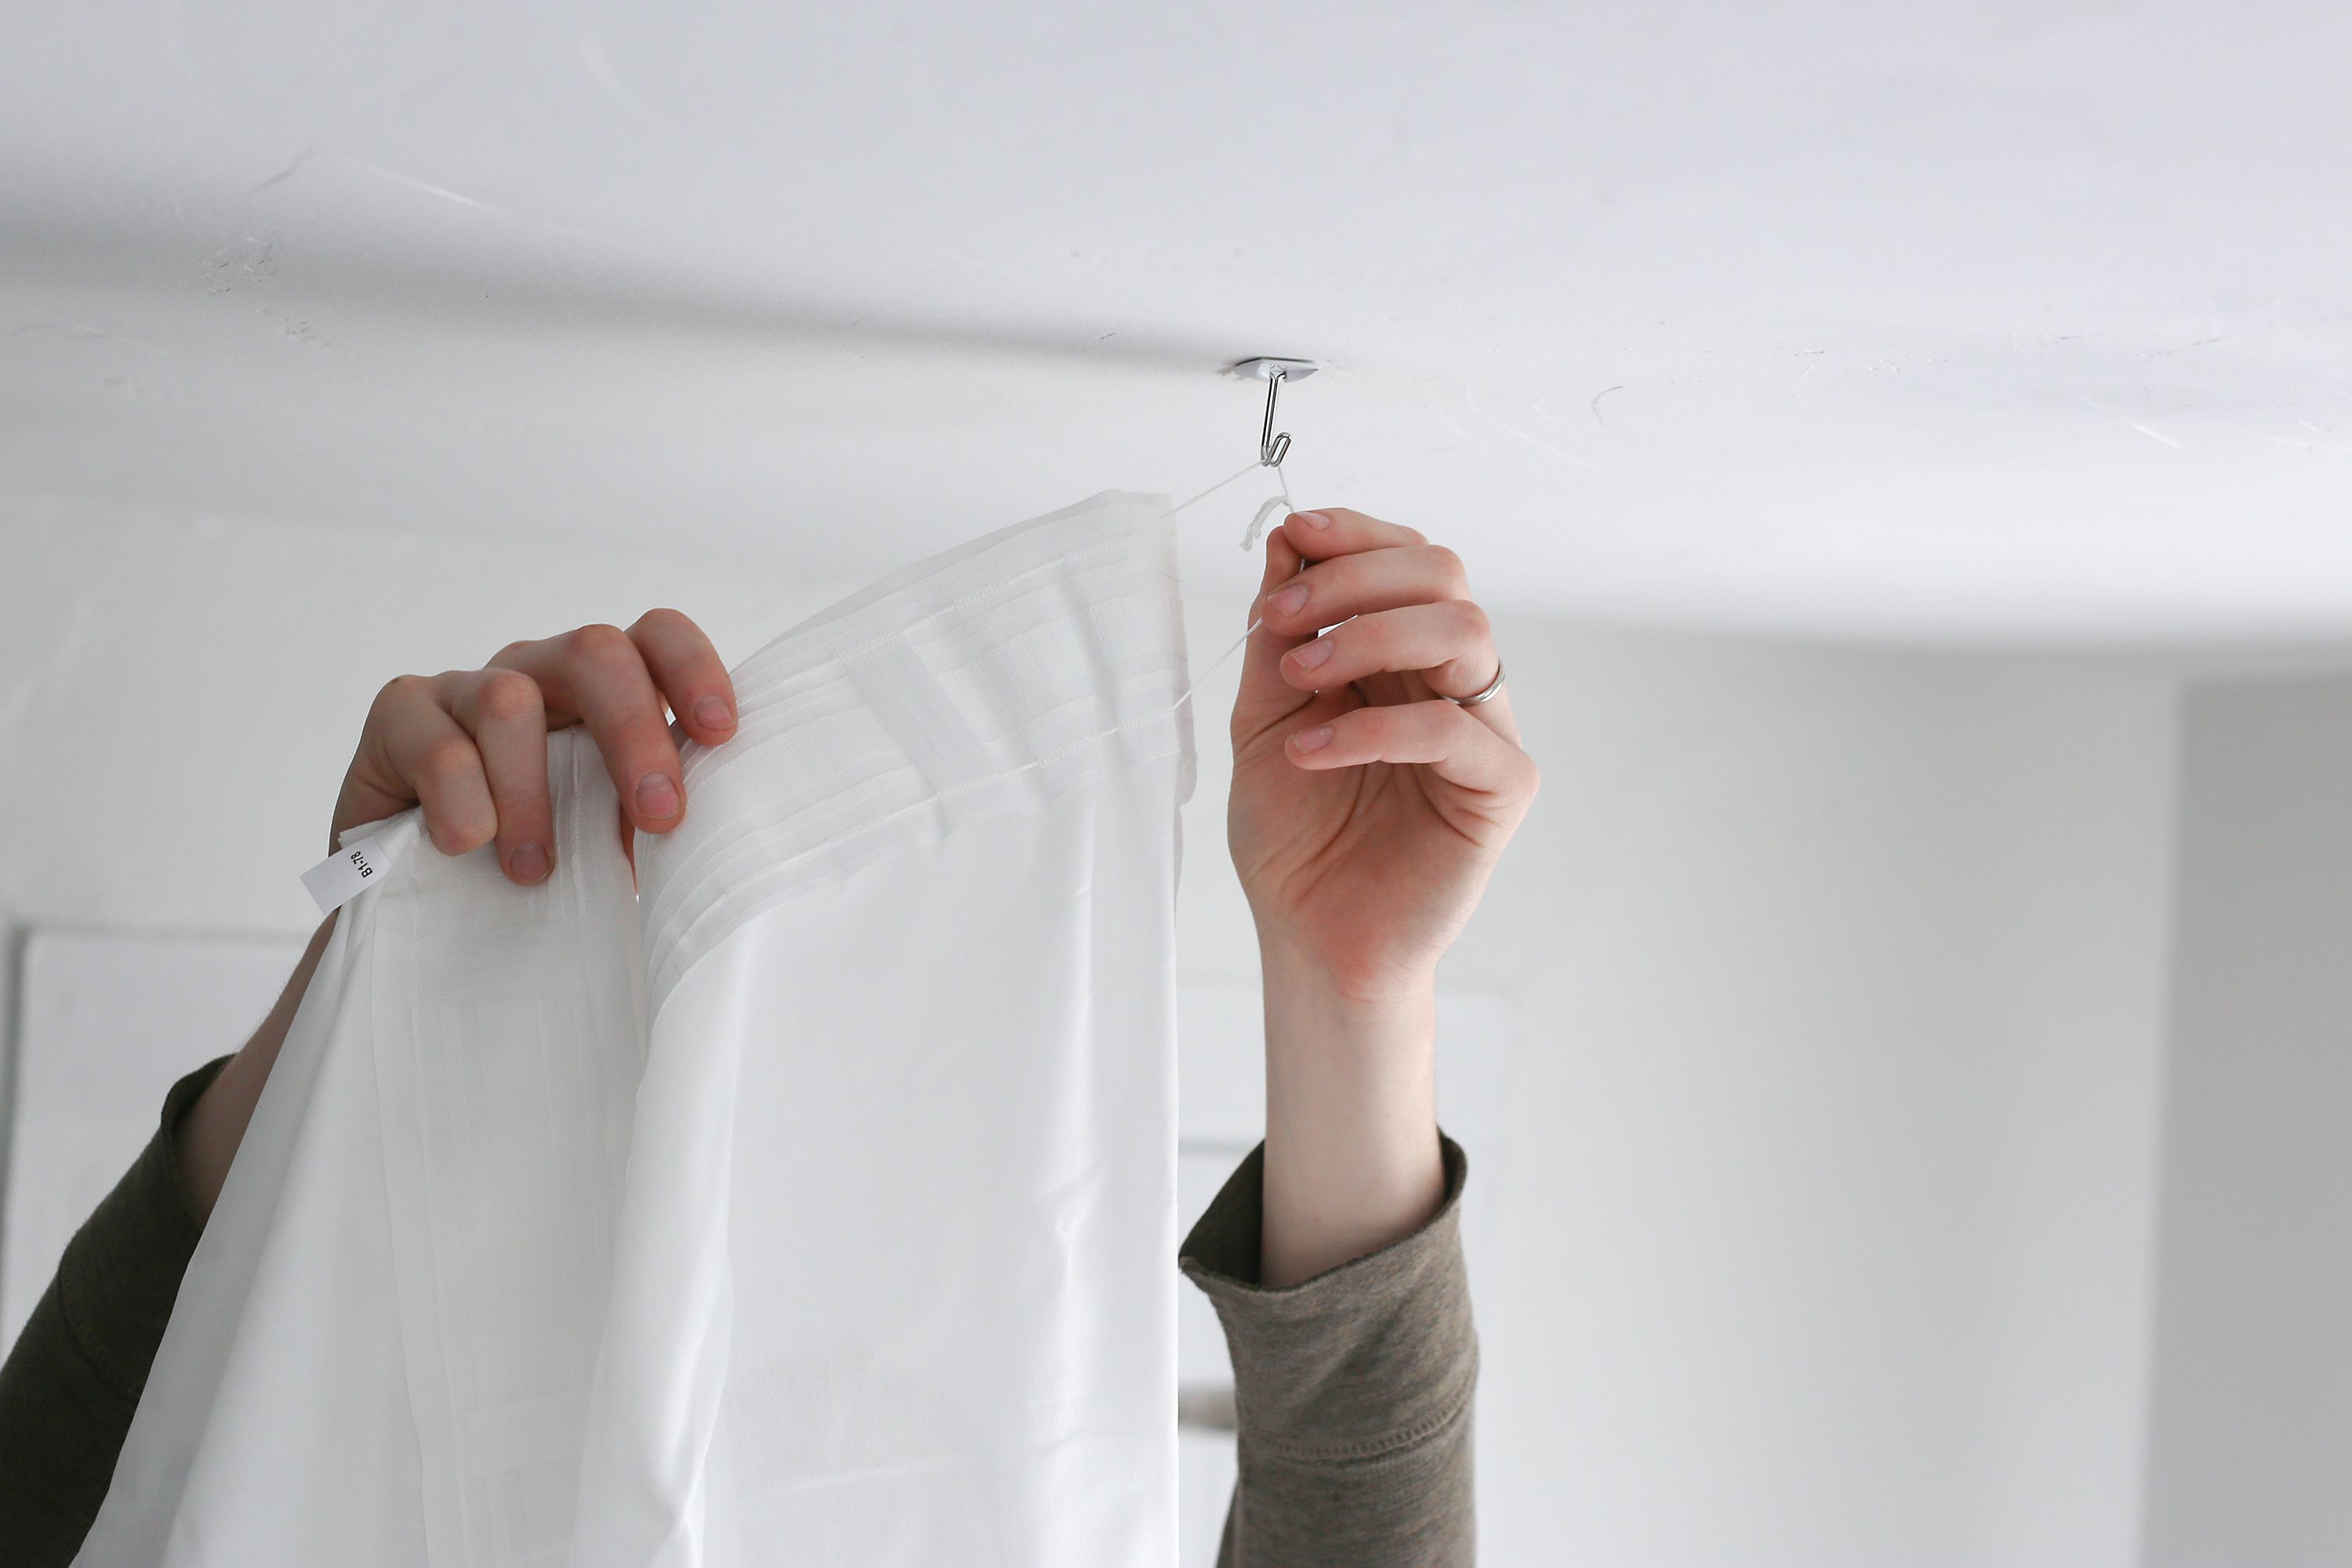
Step 3: Determine the chandelier’s hanging point
Before you can install the chandelier on a sloped ceiling, you need to determine the ideal hanging point. This step is crucial to ensure that the chandelier is centered and properly positioned in the room.
To determine the hanging point of your chandelier, follow these steps:
- Measure the width and length of the room to find its center point.
- Using the center point as a reference, mark the desired location for the chandelier’s hanging point on the ceiling.
- Consider the overall layout and design of the room when determining the hanging point, ensuring that the chandelier will be placed in a visually appealing position.
By determining the hanging point of your chandelier, you will have a clear reference for the installation process. This will help you achieve balance and symmetry in the room while maximizing the impact of your lighting fixture.
Step 4: Install a sloped ceiling adapter
Installing a sloped ceiling adapter is necessary to ensure that your chandelier hangs securely and at the correct angle on a sloped ceiling. The sloped ceiling adapter allows you to adjust the chandelier’s position to align with the angle of the ceiling.
Follow these steps to install a sloped ceiling adapter:
- Turn off the power supply to the chandelier at the breaker box to ensure safety.
- Remove the existing canopy from the chandelier, exposing the wiring and mounting bracket.
- Attach the sloped ceiling adapter to the mounting bracket. This adapter is designed specifically for sloped ceilings and will allow you to adjust the angle of the chandelier.
- Securely fasten the sloped ceiling adapter to the mounting bracket using the provided screws or bolts.
Once the sloped ceiling adapter is installed, you can adjust the angle of the chandelier to match the slope of the ceiling. This will ensure that the chandelier hangs straight and in the desired position, creating a visually appealing and balanced look in the room.
When hanging a chandelier on a sloped ceiling, use a swivel adapter to ensure the fixture hangs straight. This will help maintain balance and prevent any potential hazards.
Read more: How To Hang Heavy Chandelier
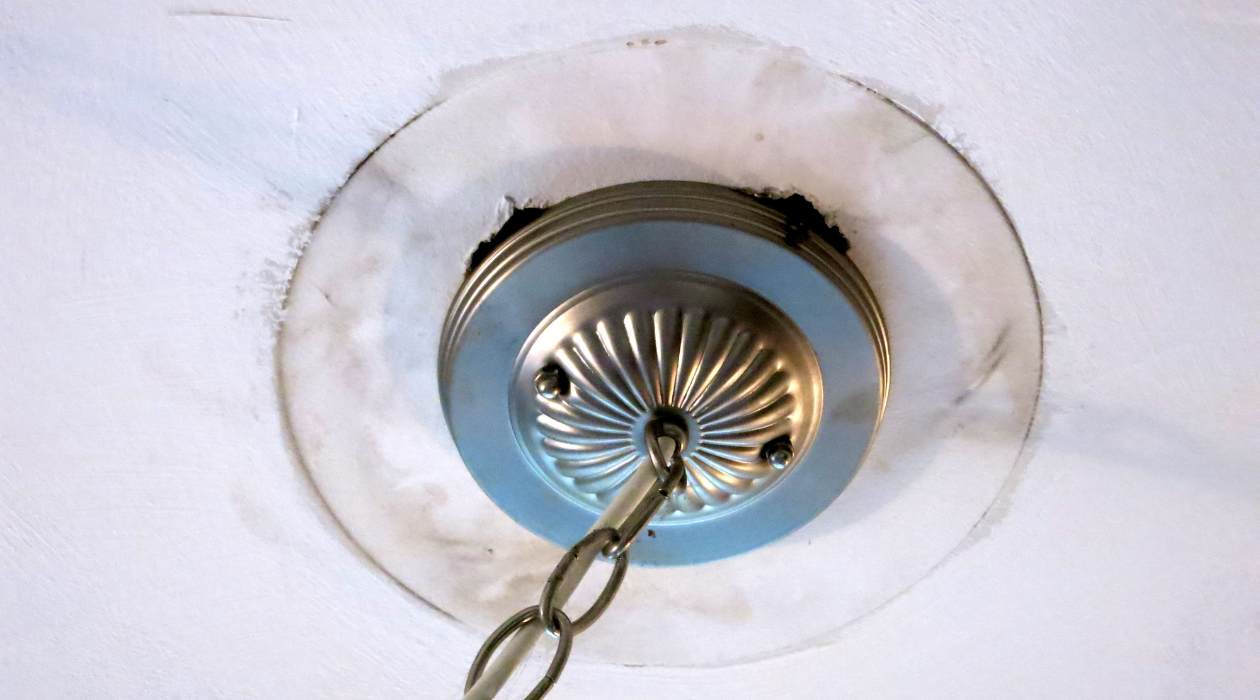
Step 5: Attach the chandelier canopy to the adapter
After installing the sloped ceiling adapter, the next step is to attach the chandelier canopy to the adapter. The canopy serves as the decorative covering for the electrical wiring, providing a polished and finished look to your chandelier installation.
Follow these steps to attach the chandelier canopy to the adapter:
- Ensure that the power supply is still turned off at the breaker box for safety.
- Slide the chandelier canopy over the mounting bracket and onto the sloped ceiling adapter.
- Align the openings or holes on the canopy with the corresponding holes on the sloped ceiling adapter.
- Secure the canopy in place by tightening the screws or bolts provided with the adapter.
By attaching the chandelier canopy to the adapter, you are enclosing the wiring and creating a clean, finished appearance for your lighting fixture. This step adds to the overall aesthetics of the chandelier installation and ensures that all the components are securely in place.
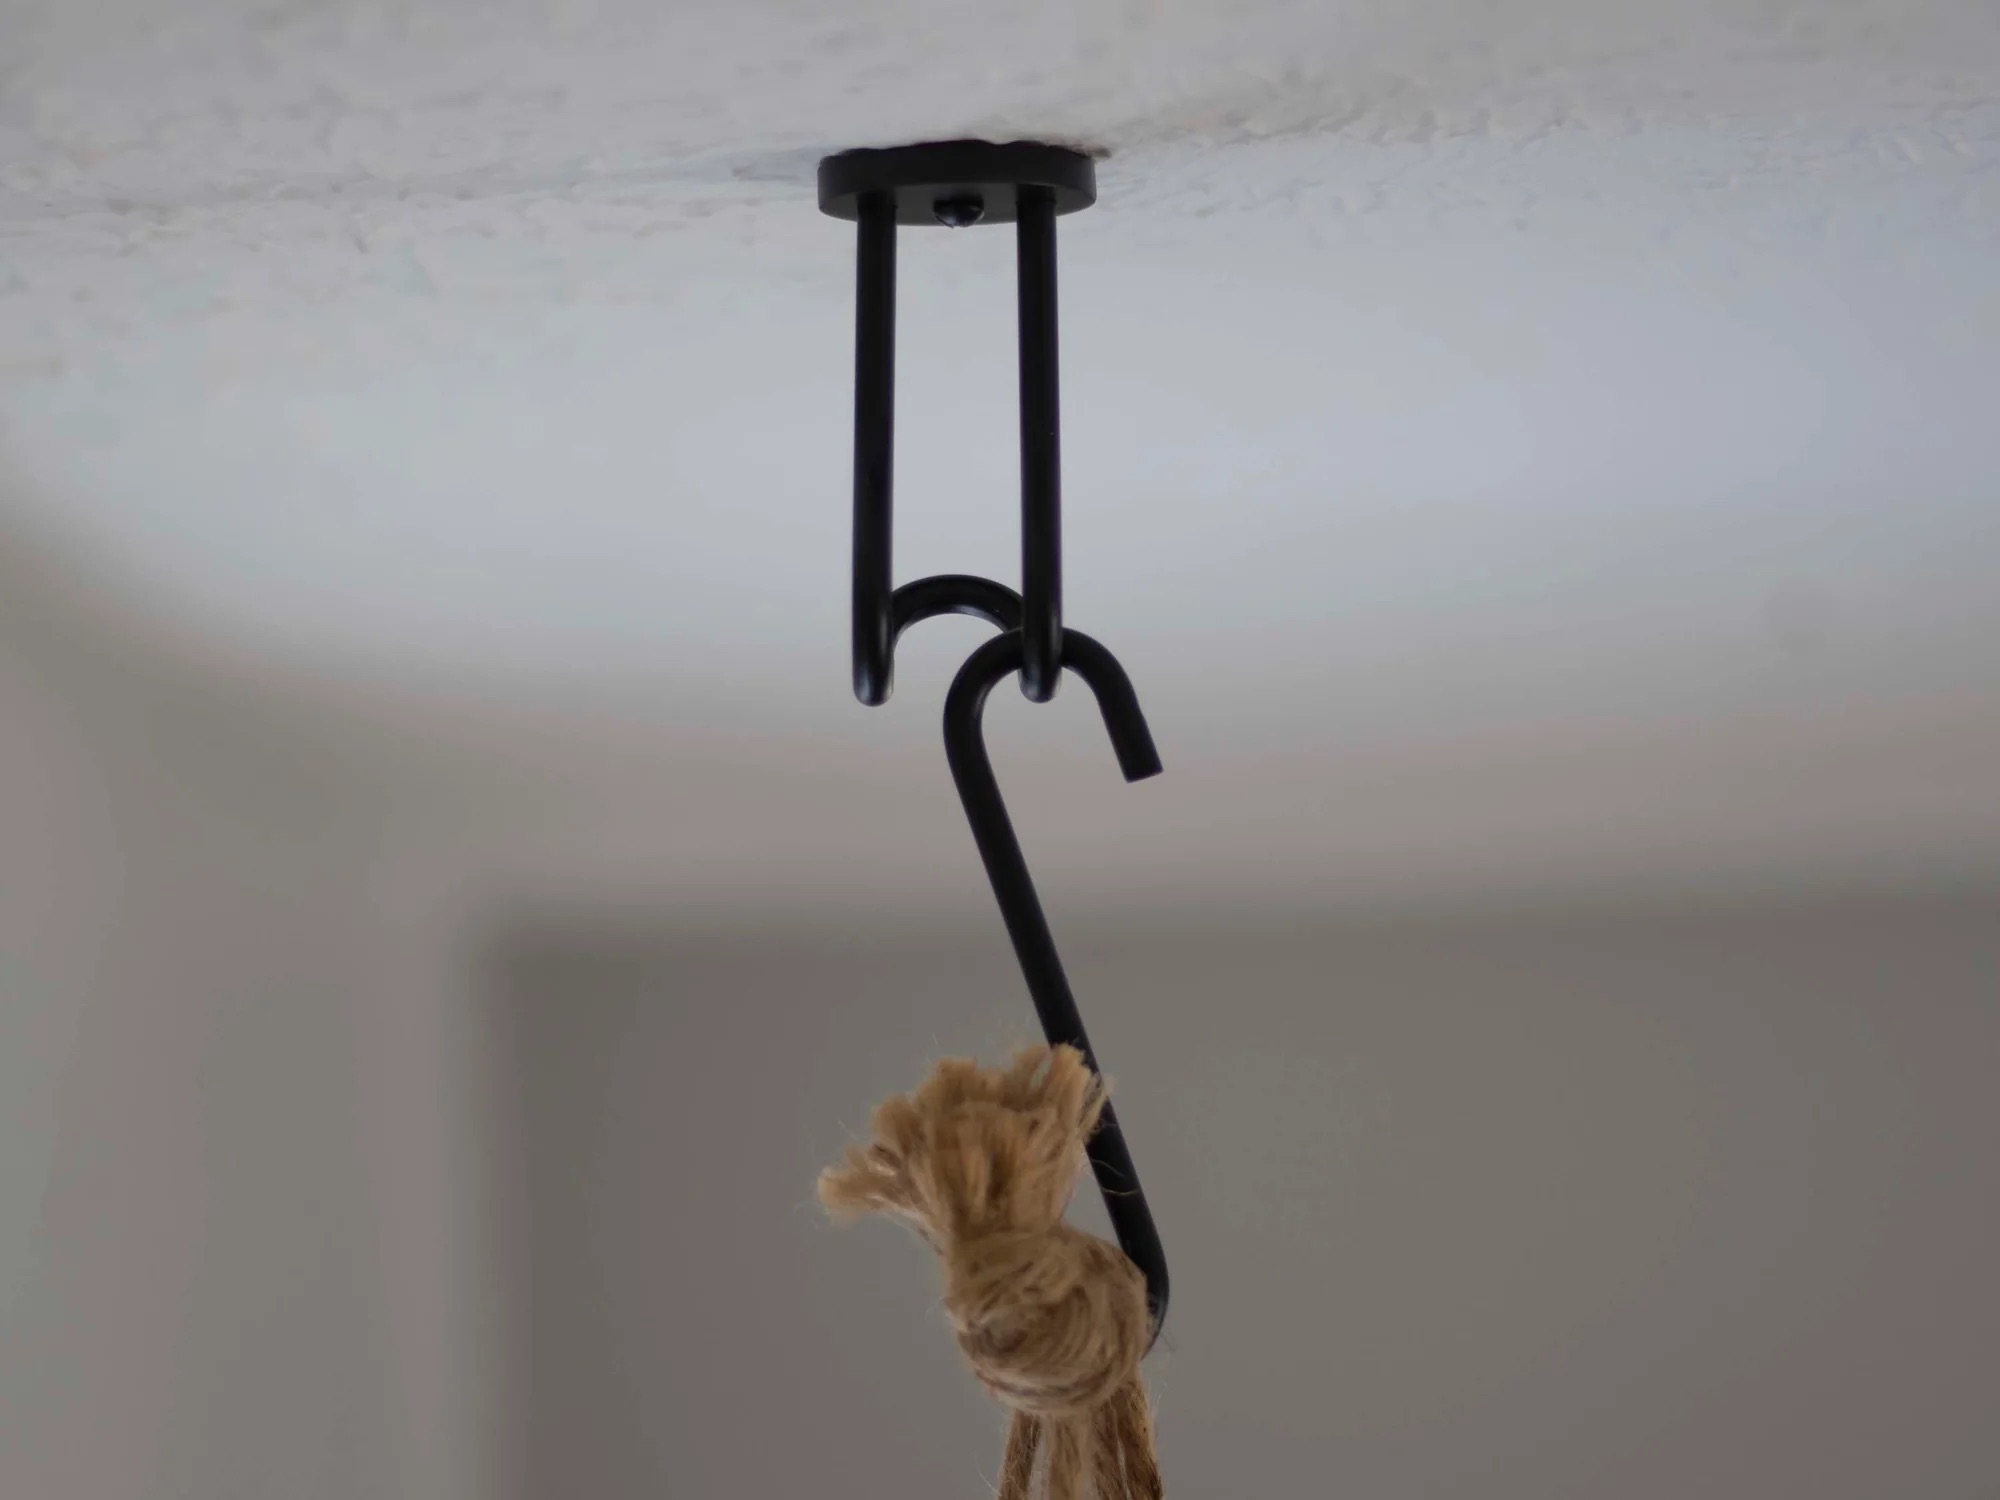
Step 6: Securely mount the chandelier
With the sloped ceiling adapter and chandelier canopy in place, it’s time to securely mount the chandelier onto the ceiling. This step ensures that the chandelier is stable and won’t pose a safety hazard.
Follow these steps to securely mount the chandelier:
- Double-check that the power supply is still turned off at the breaker box.
- Lift the chandelier carefully and align the mounting bracket with the holes on the chandelier canopy.
- Insert screws or bolts through the mounting bracket and into the corresponding holes on the canopy.
- Tighten the screws or bolts using a screwdriver or wrench, ensuring that the chandelier is securely attached to the ceiling.
It’s crucial to make sure that the chandelier is properly mounted and securely attached to the ceiling to prevent any accidents or damage. Take your time during this step to ensure that the chandelier is level and balanced.
If your chandelier is heavier or larger in size, it’s recommended to seek assistance from another person to safely lift and install the chandelier onto the mounting bracket.
Step 7: Test the chandelier’s stability
Once the chandelier is securely mounted on the sloped ceiling, the final step is to test its stability. This step is crucial to ensure that the chandelier is safely installed and will not pose any risks or hazards.
Follow these steps to test the chandelier’s stability:
- Turn on the power supply to the chandelier at the breaker box.
- Observe the chandelier for any excessive swaying or movement. It should remain relatively still and stable.
- Listen for any unusual sounds such as rattling or clinking, which could indicate loose components.
- If the chandelier appears unstable or makes unusual sounds, turn off the power supply and carefully inspect the installation.
- Tighten any loose screws or bolts and make sure all parts are securely fastened.
Testing the stability of the chandelier is crucial for the safety of both your household and the integrity of the chandelier itself. Taking the time to ensure a stable installation will give you peace of mind and allow you to fully enjoy the beauty of your new chandelier.
It is worth noting that if you have any doubts about installing the chandelier or if you encounter any issues during the installation process, it is always recommended to consult a professional electrician or a qualified technician for assistance.
Conclusion
Installing a chandelier on a sloped ceiling may seem daunting at first, but by following the steps outlined in this guide, you can successfully hang a chandelier that is not only visually appealing but also securely mounted. Taking the time to measure the ceiling slope, determine the hanging point, install a sloped ceiling adapter, attach the chandelier canopy, securely mount the chandelier, and test its stability are all essential to ensure a safe and aesthetically pleasing installation.
Remember to gather all the necessary tools and materials beforehand to make the process smoother. Take precautions by turning off the power supply and seeking assistance if needed, particularly for larger or heavier chandeliers. Safety should always be a top priority when working with electrical fixtures.
By following these steps, you can transform your sloped ceiling into a stunning focal point with a beautifully installed chandelier. The elegant lighting fixture will add a touch of sophistication and charm to any room, making it a true statement piece.
However, it is important to note that if you are uncertain or uncomfortable with any aspect of the installation process, it is recommended to consult a professional electrician or a qualified technician to ensure a safe and proper installation. They have the knowledge and expertise to handle complex installations and can provide guidance tailored to your specific needs.
Now, armed with the knowledge and confidence to hang a chandelier on a sloped ceiling, you can embark on this exciting project and enjoy the beauty and ambiance that a chandelier brings to your living space.
Frequently Asked Questions about How To Hang A Chandelier On A Sloped Ceiling
Was this page helpful?
At Storables.com, we guarantee accurate and reliable information. Our content, validated by Expert Board Contributors, is crafted following stringent Editorial Policies. We're committed to providing you with well-researched, expert-backed insights for all your informational needs.


0 thoughts on “How To Hang A Chandelier On A Sloped Ceiling”