Home>Furniture>Outdoor Furniture>How Much Slope On A Concrete Patio
Outdoor Furniture
How Much Slope On A Concrete Patio
Modified: March 7, 2024
Find out how to determine the perfect slope for your concrete patio to ensure proper drainage and prevent water damage. Transform your outdoor furniture setup with this helpful guide!
(Many of the links in this article redirect to a specific reviewed product. Your purchase of these products through affiliate links helps to generate commission for Storables.com, at no extra cost. Learn more)
Introduction
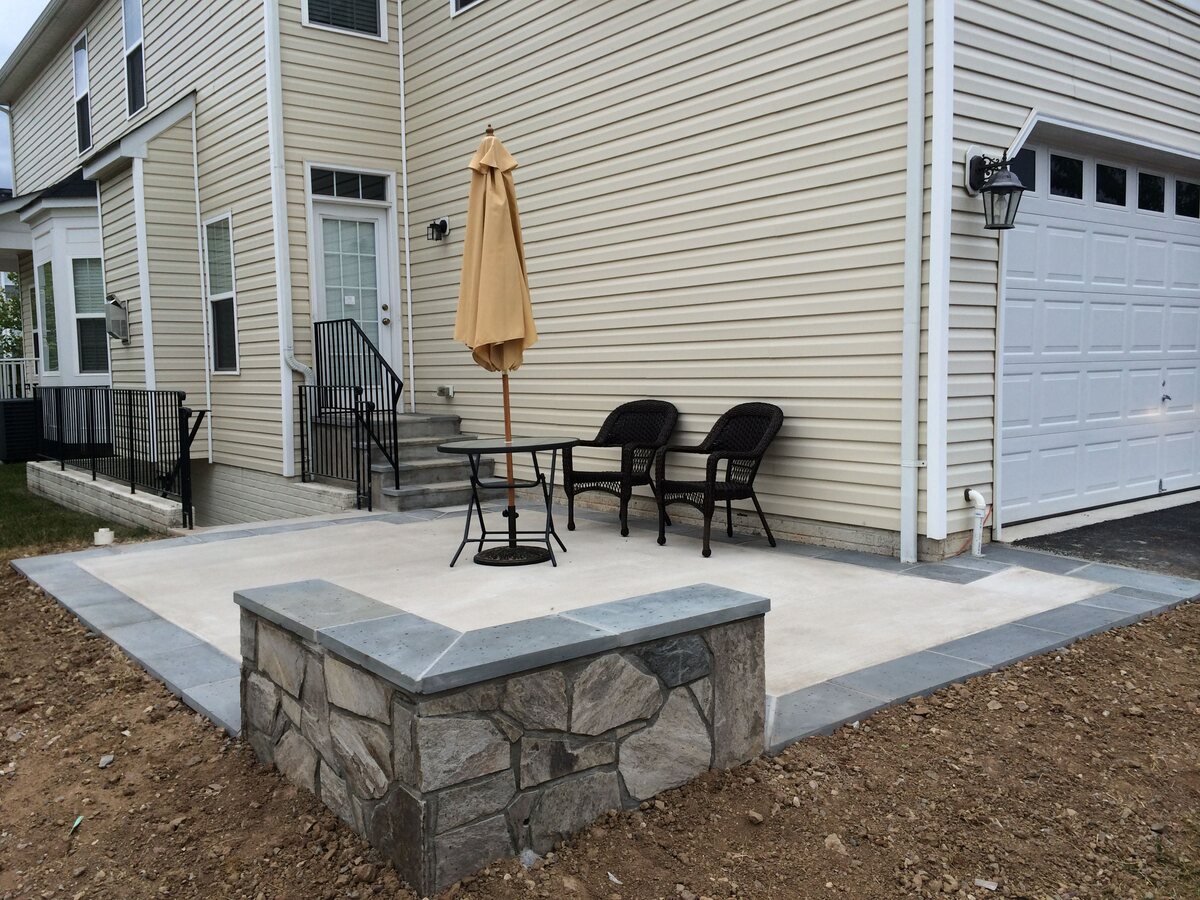
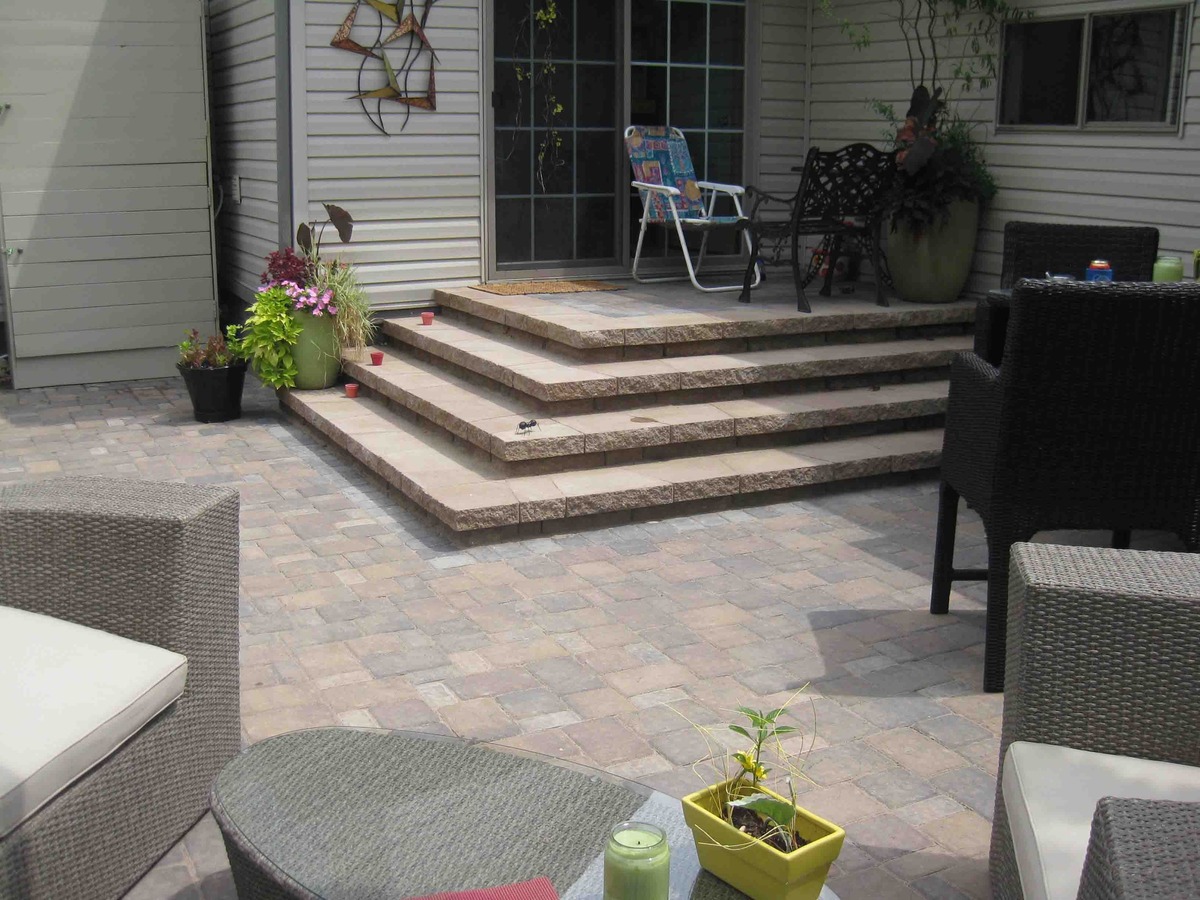
Welcome to our comprehensive guide on how much slope is needed for a concrete patio. If you’re planning to install or renovate a patio in your outdoor space, you’ll want to ensure that proper slope is incorporated into the design. Slope is crucial for effective drainage, preventing standing water, and maintaining the integrity of your patio. In this article, we’ll explore the factors that affect the slope of a concrete patio, explain why it’s important, and provide a step-by-step guide to help you achieve the right amount of slope for your patio project.
When it comes to installing a concrete patio, the slope or gradient refers to the slight incline that is intentionally created to ensure water runoff. Without a proper slope, rainwater and other forms of moisture can collect on the surface, leading to water damage, erosion, and even structural issues. By incorporating the correct slope, you can effectively direct water away from your patio, protecting it from potential damage.
There are several factors that can influence the slope of a concrete patio. The first consideration is the location and topography of your outdoor space. If your patio is situated on a flat surface, you’ll need to create an artificial slope by adjusting the height of the concrete at various points. On the other hand, if your patio is already on a slope, you may need to work with the existing gradient to ensure proper drainage.
The second factor to consider is climate. If you live in an area with heavy rainfall, a steeper slope may be required to accommodate the increased volume of water. Conversely, if you have a drier climate, a gentler slope may be suitable. The amount of precipitation your region receives should be taken into account when determining the slope of your patio.
Another aspect to consider is the size of the patio. Larger patios will require a slightly higher slope compared to smaller ones to facilitate effective water runoff. Additionally, the type of ground surface beneath the patio plays a role in slope determination. Soils with poor drainage may require a steeper slope to prevent water accumulation. It’s essential to evaluate these factors to ensure you achieve the correct slope for your concrete patio.
Proper slope on a concrete patio is crucial for various reasons. One of the primary benefits is preventing water damage. When water is allowed to collect on the surface of the patio, it can seep into the concrete, causing cracks, corrosion of reinforcement, and deterioration over time. By incorporating the appropriate slope, you can effectively redirect the water away from the patio, minimizing the risk of structural damage.
Additionally, proper slope ensures efficient drainage. Standing water on a patio can be not only unsightly but also a breeding ground for mosquitoes and other pests. It can also create a slippery surface, posing a safety hazard. By designing your patio with the right amount of slope, you can prevent the accumulation of water, promoting a dry and safe outdoor environment.
By now, you understand the importance of incorporating the correct slope into a concrete patio design. In the next section, we will discuss how to determine the right amount of slope for your patio and the tools and materials you’ll need for the project.
Key Takeaways:
- Proper slope on a concrete patio is crucial for effective water drainage, preventing damage, and creating a safe outdoor space. Consider factors like location, climate, and patio size to determine the right slope.
- Avoid common mistakes like insufficient slope, inaccurate measurements, and neglecting maintenance when sloping a concrete patio. Proper planning, execution, and regular maintenance are key to a successful patio project.
Read more: How Much Slope Should A Patio Have
Factors Affecting the Slope of a Concrete Patio
When it comes to ensuring proper slope on a concrete patio, there are several factors that need to be considered. Understanding these factors will help you design a patio that effectively drains water and prevents potential damage. Let’s take a closer look at the key factors that influence the slope of a concrete patio.
1. Location and Topography: The location and topography of your outdoor space play a significant role in determining the slope of your patio. If your patio is located on a flat surface, you’ll need to create an artificial slope by adjusting the height of the concrete at different points. This is typically achieved by adding a layer of sand or gravel beneath the concrete to create the desired slope. On the other hand, if your patio is situated on a slope, you may need to work with the existing gradient, ensuring proper drainage without compromising the patio’s stability.
2. Climate: The climatic conditions of your area should also be taken into consideration when determining the slope of your patio. If you live in an area with heavy rainfall, you’ll need a steeper slope to accommodate the increased volume of water runoff. This will help prevent water from pooling on the patio’s surface, ensuring efficient drainage. On the contrary, if you live in an arid region with minimal rainfall, a gentler slope may be sufficient to redirect any water that does accumulate.
3. Size of the Patio: The size of your patio is another factor that affects the slope. Larger patios typically require a slightly higher slope compared to smaller ones. The reason behind this is that a larger surface area will accumulate more water, necessitating a steeper slope for efficient drainage. However, it’s important to strike the right balance, as an excessively steep slope can affect the patio’s aesthetics and functionality.
4. Ground Surface and Soil Type: The type of ground surface and soil beneath the patio can also impact the slope. Soils with poor drainage, such as clay or compacted soils, may require a steeper slope to prevent water accumulation. On the other hand, well-drained or sandy soils may not need as much slope. It’s essential to assess the soil conditions and consult with a professional if needed to determine the appropriate slope for your patio.
5. Local Building Codes and Regulations: It’s worth mentioning that local building codes and regulations may have specific requirements for the slope of a concrete patio. These regulations are typically in place to ensure proper water drainage and prevent any potential issues. Before starting your patio project, it’s important to check with your local municipality or building department to understand any specific guidelines or requirements you need to adhere to.
By taking these factors into account, you can determine the optimal slope for your concrete patio. In the next section, we’ll explore the importance of having the right amount of slope and the potential consequences of an improperly sloped patio.
Importance of Proper Slope on a Concrete Patio
Having a proper slope on a concrete patio is vital to its functionality and longevity. The slope ensures effective drainage, prevents water damage, and creates a safe and enjoyable outdoor space. Let’s delve into the reasons why proper slope is so crucial for a concrete patio.
1. Efficient Water Drainage: One of the primary purposes of incorporating slope into a concrete patio design is to facilitate efficient water drainage. When it rains or when you use water to clean the patio, the slope helps direct the water away from the surface, preventing it from pooling. Standing water can seep into the concrete, leading to cracks, erosion, and deterioration over time. With the right amount of slope, you can ensure that water flows away from the patio, reducing the risk of damage.
2. Prevention of Water Damage: A poorly sloped patio can be a breeding ground for water damage. When water accumulates on the surface for an extended period, it can seep into the concrete, causing it to weaken and crack. Over time, this can result in significant structural damage, compromising the patio’s stability. By incorporating the appropriate slope, you effectively direct the water away, preventing water damage and preserving the integrity of your patio.
3. Protection from Erosion: Proper slope on a concrete patio also helps protect against erosion. When water is allowed to collect and pool around the patio, it can erode the surrounding soil. This can lead to the patio sinking or tilting, compromising its durability and stability. By designing the patio with the right slope, you redirect water away from the edges, minimizing the risk of erosion and maintaining the patio’s structural integrity.
4. Prevention of Slippery Surfaces: A flat or incorrectly sloped patio can become hazardous when water accumulates, creating a slippery surface. This can increase the risk of accidents, especially during rainy or wet conditions. By incorporating the right amount of slope, you ensure that water flows off the patio, keeping it dry and safe for use, even in inclement weather.
5. Enhanced Aesthetics and Comfort: An improperly sloped concrete patio can be visually unappealing and impact the overall aesthetics of your outdoor space. Pooled water and uneven surfaces can create an unsightly appearance. Additionally, a flat or improperly sloped patio may not drain effectively, leading to lingering odors, mold, and mildew growth. By maintaining the proper slope, you enhance the visual appeal of your patio while also creating a more comfortable and enjoyable outdoor environment.
It’s clear that having the correct slope on a concrete patio is essential for both practical and aesthetic reasons. The next section will provide you with a step-by-step guide on how to determine the right amount of slope for your patio project and the tools and materials required.
Determining the Right Amount of Slope for a Concrete Patio
When it comes to determining the correct amount of slope for your concrete patio, several factors need to be considered. Achieving the optimal slope ensures effective water drainage and prevents potential issues such as water damage and erosion. In this section, we’ll provide you with some guidelines to help you determine the right amount of slope for your patio project.
1. Recommended Slope: The general rule of thumb is to have a minimum slope of 1/8 inch per foot for a concrete patio. This slope allows for efficient water runoff and prevents water from pooling. However, this slope can vary depending on factors such as local building codes, climate, and the size of the patio. It’s important to consult with local building authorities or professionals to ensure compliance and obtain specific recommendations for your area.
2. Calculate the Slope: To calculate the slope, you first need to determine the patio’s total length and width. For example, if your patio is 10 feet wide, the total drop from one end to the other should be 1.25 inches (10 feet x 1/8 inch). This will create the recommended slope of 1/8 inch per foot. It’s important to note that you may need to adjust the slope based on your specific requirements and the factors mentioned earlier.
3. Use a String Level: Another method to determine the slope of your patio is by using a string level or a water level. Attach one end of the level to a fixed point at the higher end of the patio and extend it to the lower end. Measure the distance between the level and the patio’s surface at both ends. The difference in the measurements will indicate the slope. For example, if the height difference is 1 inch over a 10-foot span, you have a slope of 1/10 inch per foot.
4. Consider Practicality and Aesthetics: While it’s important to adhere to recommended slope guidelines, it’s also crucial to consider the practicality and aesthetics of your patio. For instance, an excessively steep slope may be impractical for furniture placement and walking surfaces. Additionally, a very noticeable slope can affect the visual appeal of your patio. Finding the right balance between functionality and aesthetics is key to achieving a successful design.
5. Seek Professional Advice: If you’re unsure about determining the optimal slope for your concrete patio or if your project is complex, it’s recommended to seek the advice of professionals. Consulting with a contractor or a landscape designer can provide valuable insights and ensure that the slope is accurately calculated for your specific patio needs.
By considering these factors and following the recommended guidelines, you can determine the right amount of slope for your concrete patio. In the next section, we’ll discuss the tools and materials you’ll need for the job and provide a step-by-step guide to sloping a concrete patio.
Tools and Materials Required for Sloping a Concrete Patio
When it comes to sloping a concrete patio, you’ll need a few essential tools and materials to ensure a successful project. Gathering the right equipment beforehand will help you work efficiently and achieve the desired slope. In this section, we’ll outline the necessary tools and materials you’ll need to slope a concrete patio.
1. Shovel: A sturdy shovel is crucial for excavating the area where the patio will be installed. You’ll use it to remove the existing soil or dig the trench for the patio’s foundation, depending on the design and layout of your project.
2. Level: A level is essential for establishing and checking the slope of the patio. A standard bubble or spirit level will suffice for small to medium-sized patios. However, for larger projects, it may be beneficial to have a longer level, such as a 4-foot or 6-foot level, to ensure accuracy over a larger span.
3. String Line: A strong, durable string line serves as a guide to ensure a consistent slope across the patio’s surface. It will help you establish the correct height at various points and maintain a uniform slope during the concrete pouring process.
4. Screed: A screed is a long, straight board or metal bar used to level and smooth the concrete. It helps distribute the concrete and create a flat surface while ensuring the desired slope is maintained. You can use a purpose-made screed or a simple piece of lumber as long as it is straight and sturdy.
5. Tamping Tool: A tamping tool, such as a hand tamper or a vibrating plate compactor, is essential for compacting the soil or gravel base before pouring the concrete. It helps ensure that the base is stable and provides a solid foundation for the patio.
6. Concrete Mix: You’ll need an appropriate amount of concrete mix for your patio project. The quantity will depend on the size and thickness of the patio. Consider using a concrete mix specifically formulated for outdoor applications and consult with your local supplier for the right type and quantity of concrete mix for your project.
7. Reinforcement Materials (Optional): Depending on the design and load requirements of your patio, you may need reinforcement materials such as rebar or wire mesh. These materials help enhance the strength and durability of the concrete, particularly if you anticipate heavy loads or frequent use of the patio.
8. Protective Gear: It’s crucial to prioritize safety while working on your patio project. Wear appropriate protective gear, including gloves, safety glasses, and sturdy boots to protect yourself from potential hazards during the construction process.
9. Water Source: Having a nearby water source or access to water is essential for various steps in the concrete pouring process. Make sure you have a water supply readily available to mix the concrete and keep it moist during curing.
Keep in mind that these are the basic tools and materials required for most concrete patio sloping projects. Depending on the complexity of your design or specific circumstances, you may need additional tools or materials. Consult with professionals or local building authorities for any specific requirements or recommendations for your area.
Now that you have the necessary tools and materials, the next section will provide you with a step-by-step guide on how to slope a concrete patio effectively.
When pouring a concrete patio, aim for a slope of 1/4 inch per foot to ensure proper drainage. This will prevent water from pooling and causing damage.
Read more: How Much To Remove A Concrete Patio
Step-by-Step Guide to Sloping a Concrete Patio
Sloping a concrete patio is a process that requires careful planning and execution. Follow this step-by-step guide to ensure that you achieve the proper slope for effective water drainage and a sturdy patio.
Step 1: Prepare the Area
Start by clearing the area where the patio will be installed. Remove any plants, debris, or existing structures. Use a shovel to excavate the ground to the necessary depth, taking into account the thickness of the concrete and any additional base layers.
Step 2: Compact the Base
Use a tamping tool (hand tamper or plate compactor) to thoroughly compact the soil or gravel base. This step ensures a solid foundation for the patio and helps prevent settling and shifting over time.
Step 3: Establish the Slope
Using a string line and a level, establish the desired slope of the patio. Attach one end of the string line to a fixed point at the higher end of the patio and stretch it across to the lower end. Adjust the height of the string line according to the desired slope and ensure that it is level by using a bubble or spirit level.
Step 4: Create a Guideboard
Drive stakes into the ground at various intervals along the string line. Attach a guideboard to the stakes at the desired height, maintaining the slope indicated by the string line. The guideboard will serve as a reference point during the concrete pouring process.
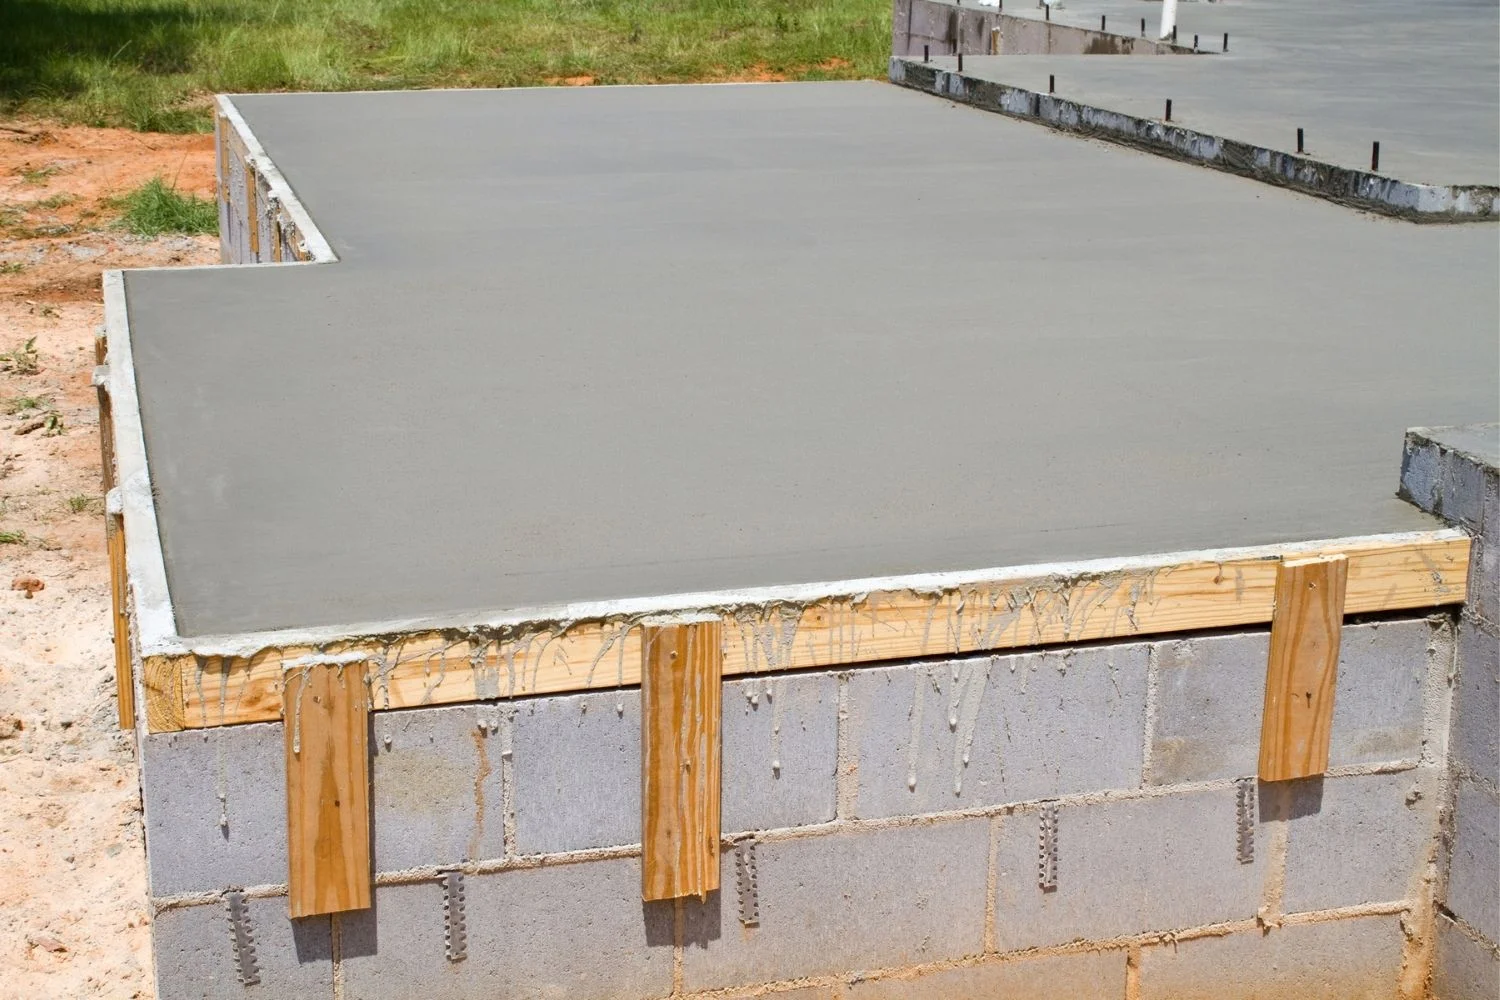
Step 5: Mix and Pour the Concrete
Prepare the concrete mix according to the manufacturer’s instructions. Pour the concrete evenly onto the prepared area, starting at the higher end of the patio. Use a screed to level the surface, working from the guideboard towards the lower end of the patio. Ensure that the concrete maintains the desired slope by periodically checking with the level and adjusting as necessary.
Step 6: Smooth and Finish the Surface
Once the concrete is poured, use the screed to level and smooth the surface, ensuring that the slope is maintained. A back-and-forth sawing motion can help achieve a smooth finish. If desired, add decorative elements or textures to enhance the appearance of the patio.
Step 7: Cure and Seal the Concrete
Allow the concrete to cure according to the manufacturer’s recommendations. This typically involves keeping the patio moist and protected from extreme temperatures for a designated period. Once fully cured, consider applying a concrete sealer to enhance durability and protect the surface from staining and moisture damage.
Step 8: Test the Water Drainage
After the patio has had ample time to cure and dry, test the water drainage by pouring water onto the surface. Observe how the water flows and ensure that it effectively drains away from the patio without pooling. Make any necessary adjustments if you notice any areas where water accumulates.
Step 9: Finishing Touches
Add any finishing touches to the patio, such as installing edging or landscaping around the perimeter. Consider incorporating furniture, plants, or outdoor accessories to create a welcoming and functional outdoor space.
By following this step-by-step guide, you can effectively slope a concrete patio to ensure proper water drainage and a durable, long-lasting outdoor space. Remember to consult with professionals or local building authorities for any specific guidelines or requirements in your area.
Tips for Achieving Proper Slope on a Concrete Patio
When it comes to achieving the proper slope on a concrete patio, attention to detail is key. Follow these helpful tips to ensure that your patio has the correct slope for effective water drainage and longevity.
1. Plan and Measure Carefully: Before starting your patio project, carefully plan and measure the area to determine the appropriate slope. Consider the size of the patio, the existing topography, and the recommendations for your specific climate and location.
2. Use String Lines and Levels: String lines and levels are essential tools for establishing and maintaining the correct slope. Double-check the accuracy of your slope using string lines and bubble levels, ensuring that the patio surface is consistently sloped.
3. Incorporate a Slight Overcompensation: To account for any slight settlement or minor changes in the long run, it may be beneficial to slightly overcompensate the slope. This can help ensure that even after some settling occurs, the slope remains effective for proper drainage.
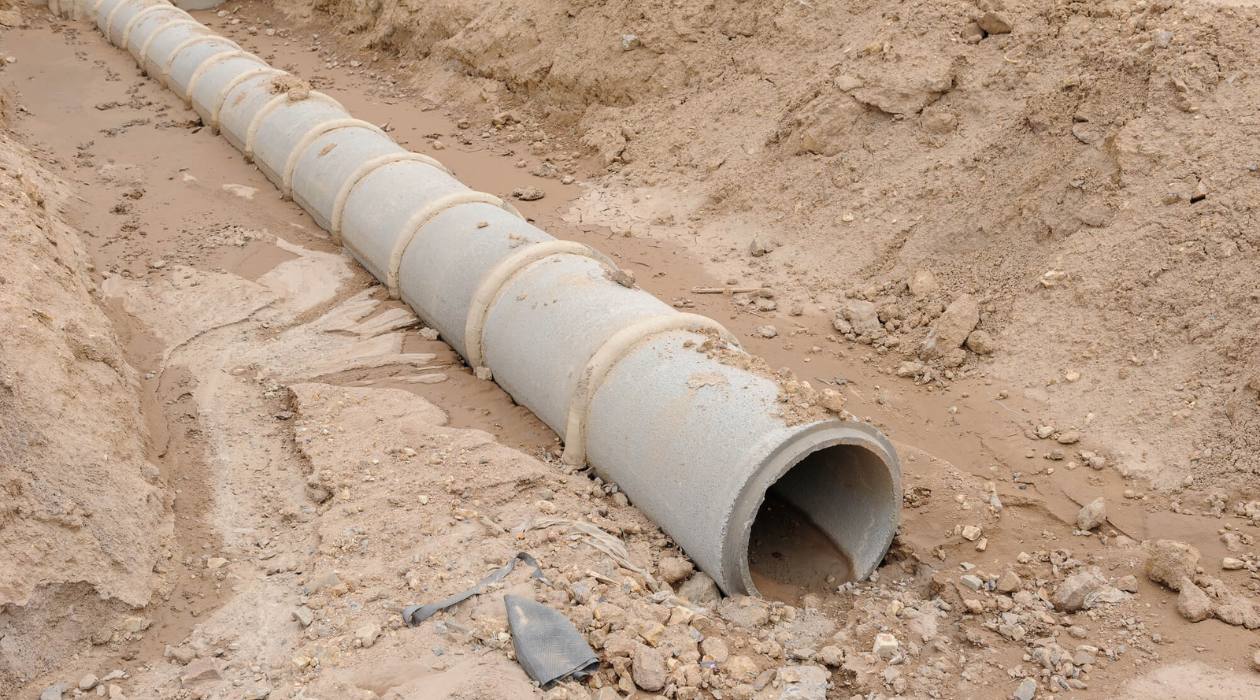
4. Consider Drainage Points: Identify the low points of your patio where water can pool and plan for drainage points. Incorporate drain pipes or channels in these areas to prevent water accumulation and ensure effective water drainage.
5. Regularly Check the Slope: During the concrete pouring process, use a level and check the slope frequently to maintain accuracy. Continuously monitoring the slope will help you address any discrepancies and ensure a consistent and proper slope across the entire patio surface.
6. Use a Slope Guideboard: Installing a guideboard that follows the desired slope can serve as a valuable reference point while pouring and leveling the concrete. It will help you maintain the correct slope throughout the project and ensure a uniform and even surface.
7. Test Water Drainage: After the concrete has cured, perform a water drainage test to ensure that water properly flows away from the patio. Use a hose to simulate rainwater and observe how the water moves and drains. Make any necessary adjustments if water is pooling or flowing in unexpected directions.
8. Seek Professional Advice: If you are unsure about determining or achieving the proper slope for your concrete patio, don’t hesitate to seek guidance from professionals. Consulting with a contractor or a landscape designer can provide valuable insights and ensure that your patio slope is accurate and effective.
9. Regular Maintenance: Once your patio is complete, maintain the proper slope by regularly inspecting the surface and addressing any issues promptly. Remove debris and clean the patio regularly to prevent any obstructions to the water flow and ensure consistent and effective drainage.
10. Follow Local Regulations: Be aware of any local building codes or regulations regarding patio slope requirements. Ensure that your project adheres to these guidelines to ensure compliance and avoid potential issues in the future.
By following these tips, you can achieve the proper slope on your concrete patio, ensuring effective water drainage and enhancing the longevity of your outdoor space. Remember that proper planning, accurate measurements, and regular maintenance are crucial for maintaining a functional and visually pleasing patio.
Common Mistakes to Avoid When Sloping a Concrete Patio
When sloping a concrete patio, it’s important to be aware of common mistakes that can lead to improper drainage or other issues. By understanding these mistakes and taking precautions, you can ensure a successful patio project. Here are some common mistakes to avoid:
1. Insufficient Slope: One of the most common mistakes is not providing enough slope for proper water drainage. Insufficient slope can lead to water pooling on the patio, increasing the risk of water damage, surface erosion, and safety hazards. Always adhere to the recommended slope guidelines for effective drainage.
2. Inaccurate Measurements: Accurate measurements are essential for achieving the correct slope. Failing to measure accurately or overlooking variations in height can result in an uneven or inconsistent slope across the patio surface. Double-check measurements and use tools such as string lines and levels to ensure accuracy.
3. Inadequate Base Preparation: Neglecting proper base preparation can lead to settling, shifting, and unevenness in the patio. Failing to compact the soil or gravel base adequately can result in an unstable foundation, compromising the structural integrity and the slope of the patio. Take the time to thoroughly compact the base before pouring the concrete.
4. Improper Concrete Mixing and Pouring: Inconsistent or incorrect mixing of the concrete can result in weak spots, uneven surfaces, and difficulty maintaining the desired slope. Follow the manufacturer’s instructions for mixing the concrete and take care during the pouring process to ensure an even distribution and a smooth surface.
5. Neglecting Proper Finishing: Inadequate finishing techniques can lead to a rough or uneven surface, making it difficult for water to flow smoothly off the patio. Properly screeding and finishing the surface is essential to achieving a flat, level, and sloped patio that facilitates effective drainage.
6. Ignoring Local Building Codes and Regulations: Failure to adhere to local building codes and regulations can have serious consequences. Always consult with local authorities or building departments to ensure that your patio project complies with any specific guidelines or requirements regarding slope, drainage, or construction permits.
7. Overlooking Landscaping and Drainage Solutions: Landscaping elements, such as plants or hardscaping features, can obstruct water flow if not properly planned for. Consider the location and placement of these elements to ensure they do not impede proper water drainage. Additionally, incorporate appropriate drainage solutions, such as drain pipes or channels, to direct water away from the patio area.
8. Neglecting Regular Maintenance: Once your patio is complete, regular maintenance is important to ensure ongoing proper slope and drainage. Neglecting maintenance tasks, such as clearing debris or addressing surface damage, can hinder water flow and potentially lead to long-term issues. Regularly inspect and maintain your patio to preserve its integrity.
9. Rushing the Project: Patience is key when sloping a concrete patio. Rushing the project can lead to careless mistakes and compromises in quality. Take the time to plan, measure, and execute each step carefully, ensuring that the slope is properly established and maintained throughout the construction process.
10. Foregoing Professional Guidance: If you are unsure about any aspect of sloping a concrete patio, seeking professional guidance is highly recommended. Consulting with experts, such as contractors or landscape designers, can help you avoid common mistakes and ensure a successful outcome.
By being aware of these common mistakes, you can improve the overall quality and functionality of your concrete patio. Take the time to plan, measure accurately, and follow proper construction techniques to achieve a well-sloped patio that provides effective water drainage and enhances your outdoor space.
Conclusion
Proper slope on a concrete patio is critical for effective water drainage, preventing damage, and ensuring a safe and enjoyable outdoor space. By considering factors such as location, climate, and patio size, you can determine the right amount of slope to incorporate into your design. Using string lines, levels, and guideboards, you can establish and maintain the desired slope during the concrete pouring process.
When sloping a concrete patio, it is essential to avoid common mistakes such as insufficient slope, inaccurate measurements, inadequate base preparation, improper concrete mixing and pouring, and neglecting proper finishing. Always take into account local regulations and consider landscaping and drainage solutions to avoid obstacles and ensure effective water flow. Regular maintenance and seeking professional guidance when needed are also key elements for a successful patio project.
Remember, a well-sloped concrete patio offers numerous benefits, including efficient water drainage, prevention of water damage and erosion, and the creation of a safe and visually appealing outdoor space. With proper planning, diligent execution, and regular maintenance, you can achieve a high-quality concrete patio that stands the test of time.
So, whether you’re installing a new patio or renovating an existing one, make sure to prioritize the proper slope to ensure the functionality, longevity, and beauty of your outdoor space. By following the guidelines, avoiding common mistakes, and seeking professional advice when needed, you’ll be well on your way to creating a well-sloped concrete patio that enhances your overall outdoor living experience.
Frequently Asked Questions about How Much Slope On A Concrete Patio
Was this page helpful?
At Storables.com, we guarantee accurate and reliable information. Our content, validated by Expert Board Contributors, is crafted following stringent Editorial Policies. We're committed to providing you with well-researched, expert-backed insights for all your informational needs.


0 thoughts on “How Much Slope On A Concrete Patio”