Home>Articles>How To Bring A Waffle Iron Back With Wood Handles

Articles
How To Bring A Waffle Iron Back With Wood Handles
Modified: August 25, 2024
Learn how to bring your waffle iron back to life with wooden handles. Our informative articles provide step-by-step instructions for this DIY project.
(Many of the links in this article redirect to a specific reviewed product. Your purchase of these products through affiliate links helps to generate commission for Storables.com, at no extra cost. Learn more)
Introduction
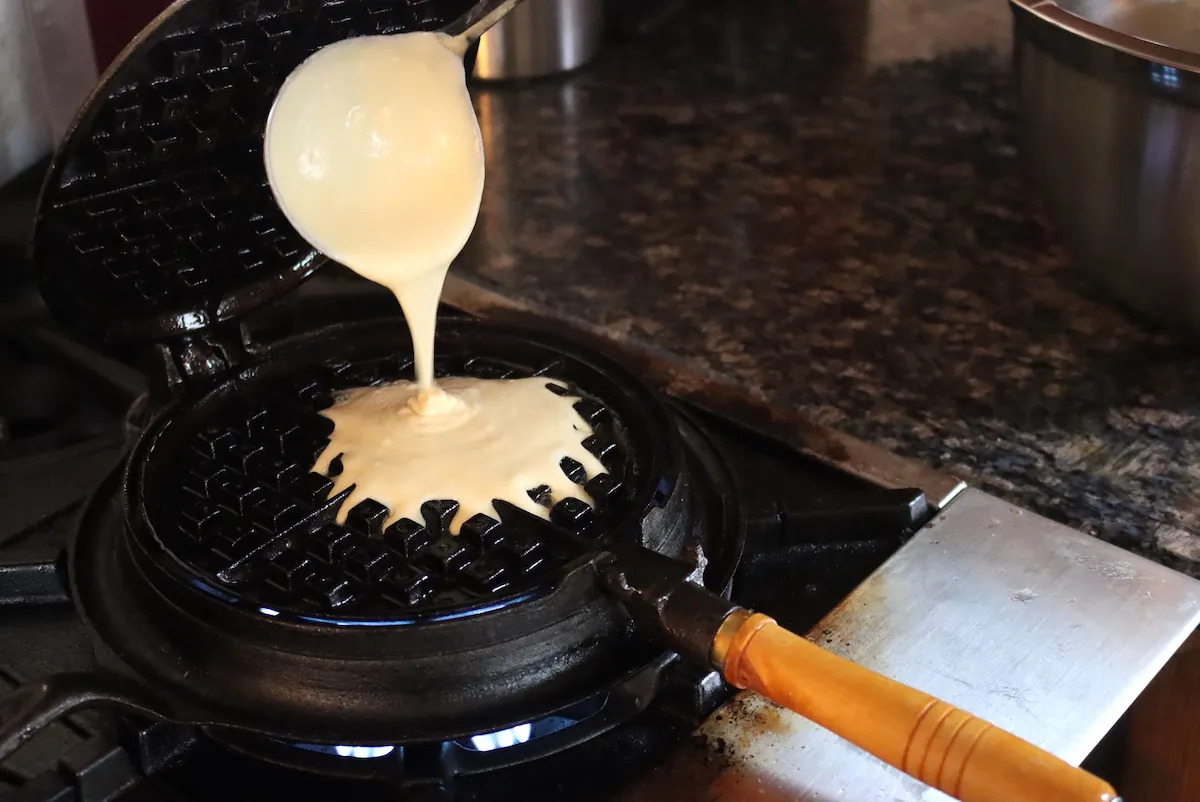
Waffle irons with wood handles are a classic and nostalgic addition to any kitchen. The combination of the modern technology of a waffle iron with the traditional charm of wooden handles adds a touch of warmth and elegance to your cooking experience. However, over time, these wood handles may start to show signs of wear and tear. They can become dull, faded, or even lose their grip. But fear not! With a little bit of effort and some basic tools, you can bring a waffle iron back to life by restoring its wood handles.
In this article, we will guide you through the step-by-step process of cleaning, restoring, and reattaching wood handles on a waffle iron. So let’s roll up our sleeves and get ready to bring that waffle iron back to its former glory!
Key Takeaways:
- Revive the nostalgic charm of your waffle iron by restoring its wood handles with simple tools and techniques. Enjoy the visual appeal and practical benefits of wooden handles while creating delicious waffles.
- Preserve the timeless beauty and functionality of your waffle iron with a step-by-step process to clean, remove, sand, stain, and reattach wood handles. Embrace the warmth and elegance of classic kitchen appliances.
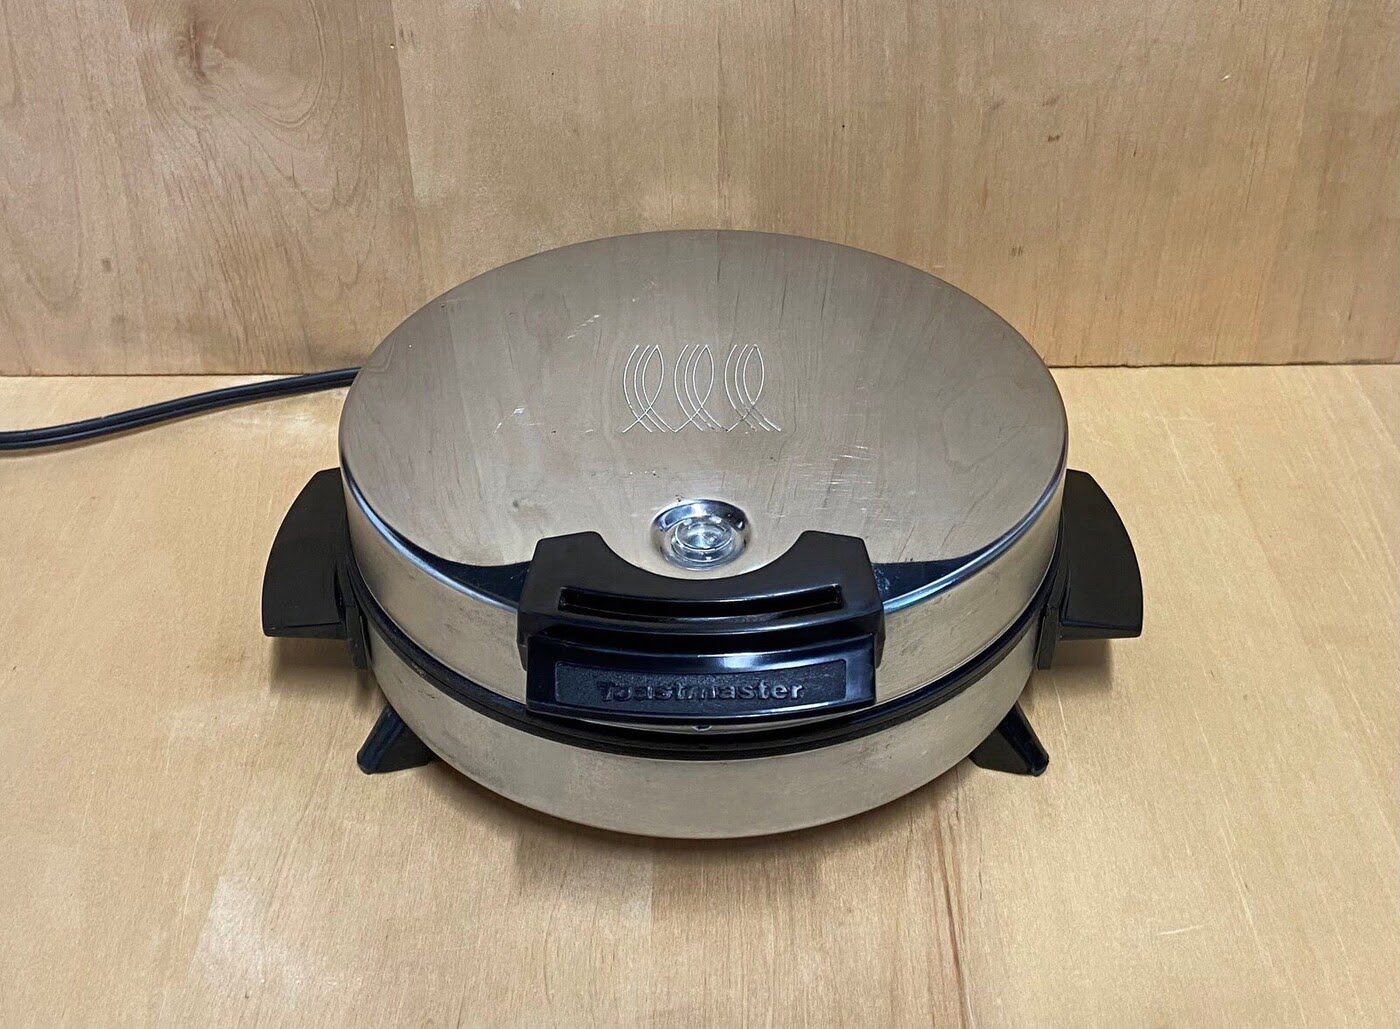
About Waffle Irons with Wood Handles
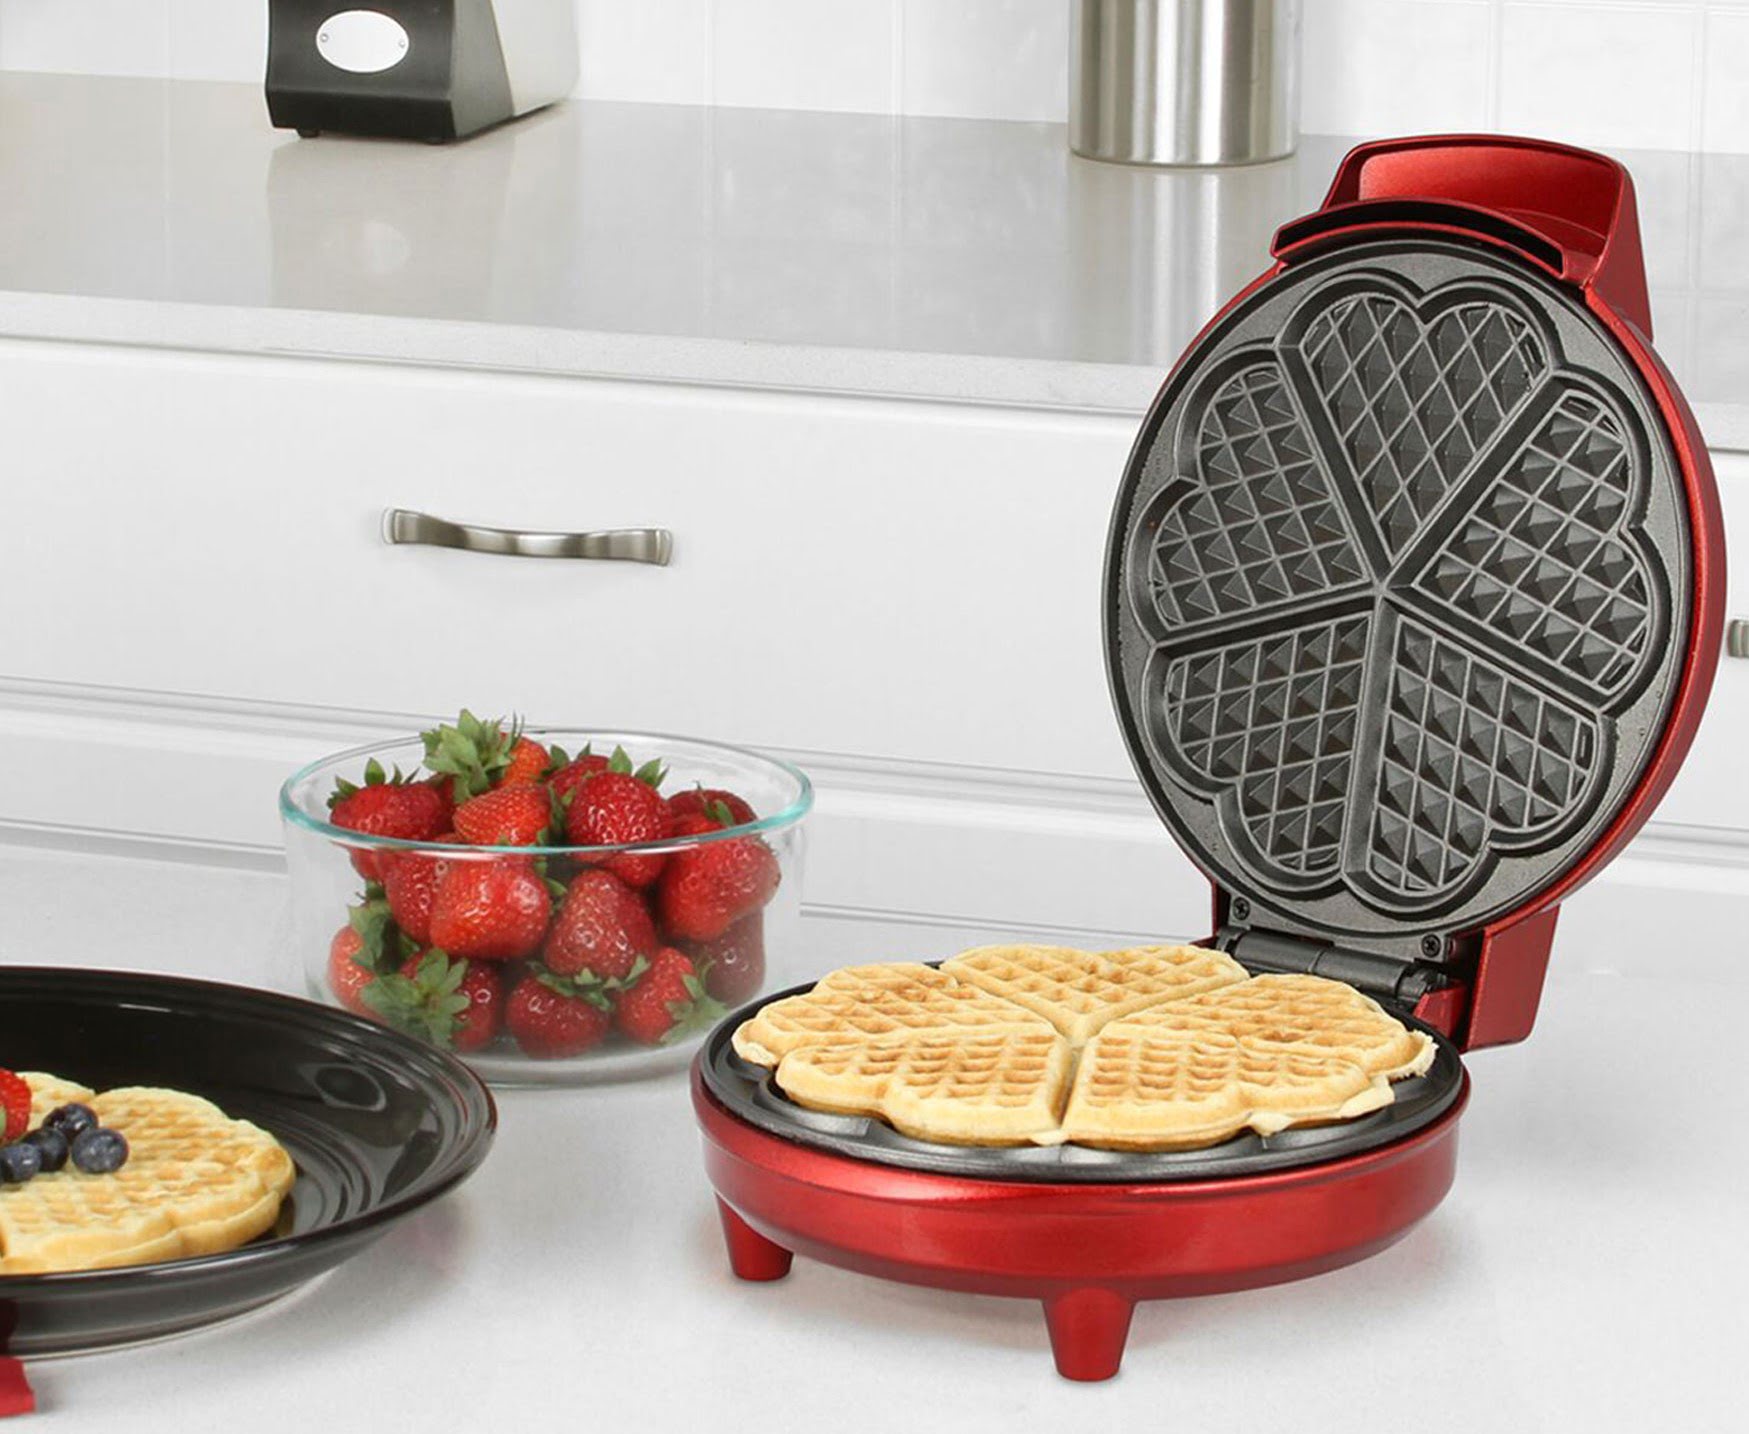
Waffle irons with wood handles have a long history and exude a timeless charm. The combination of the sleek metal exterior with the warm and natural feel of wooden handles creates a unique aesthetic that can enhance any kitchen decor.
Wood handles not only add visual appeal, but they also provide practical benefits. The insulating properties of wood help to keep the handles cool to the touch, reducing the risk of burns while using the waffle iron. Additionally, wood handles provide a comfortable grip, making it easier to maneuver the waffle iron and flip the waffles with precision.
Over time, however, the wood handles may start to show signs of wear and tear. Exposure to heat, moisture, and repeated use can cause the wood to become dull, develop scratches, or lose its original luster. Fortunately, with some simple restoration techniques, you can bring these handles back to life and preserve the charm of your waffle iron.
Restoring waffle iron handles not only improves their appearance but also extends their lifespan. By taking the time to care for these wooden handles, you can ensure that your waffle iron remains a functional and beautiful piece in your kitchen for years to come.
Materials Needed
Before we dive into the restoration process, let’s gather the materials you’ll need to bring your waffle iron’s wood handles back to their former glory. Here’s a list of essential items:
- Screwdriver: You’ll need this to remove the handles from the waffle iron.
- Sandpaper: Choose a variety of grits, such as coarse, medium, and fine, to help with the sanding process.
- Stain: Pick a wood stain that compliments the overall aesthetic of your waffle iron. Make sure to choose a stain that is safe for food contact.
- Brush or cloth: Use this to apply the wood stain to the handles.
- Sealant: A clear sealant will protect the wood and enhance its durability.
- Clean cloth: This will come in handy for wiping down the handles and removing excess stain or sealant.
- Optional: If the handles are severely damaged or worn, you may also need wood filler to repair any cracks or holes.
Make sure you have all these materials on hand before starting the restoration process to ensure a smooth and efficient experience.
Step 1: Cleaning the Waffle Iron
The first step in restoring the wood handles of your waffle iron is to clean the entire appliance. Over time, dust, grease, and food residue can accumulate, making it difficult for the restoration process to adhere properly.
1. Unplug the waffle iron and allow it to cool completely. This is crucial for your safety and the effectiveness of the cleaning process.
2. Using a damp cloth or sponge, wipe down the exterior and interior surfaces of the waffle iron to remove any loose debris or food particles. Pay extra attention to the area around the wood handles.
3. For stubborn stains or grease build-up, mix a solution of warm water and mild dish soap. Dip a cloth or sponge into the soapy water and gently scrub the affected areas. Be careful not to saturate the waffle iron with the water, as excess moisture can damage the internal components.
4. After cleaning, rinse the cloth or sponge with clean water and wipe away any soap residue from the waffle iron. Dry the entire appliance thoroughly with a clean towel or allow it to air dry.
By starting with a clean waffle iron, you’ll ensure that the restoration process will be more effective and yield better results. Once the waffle iron is dry, you can move on to the next step of restoring the wood handles.
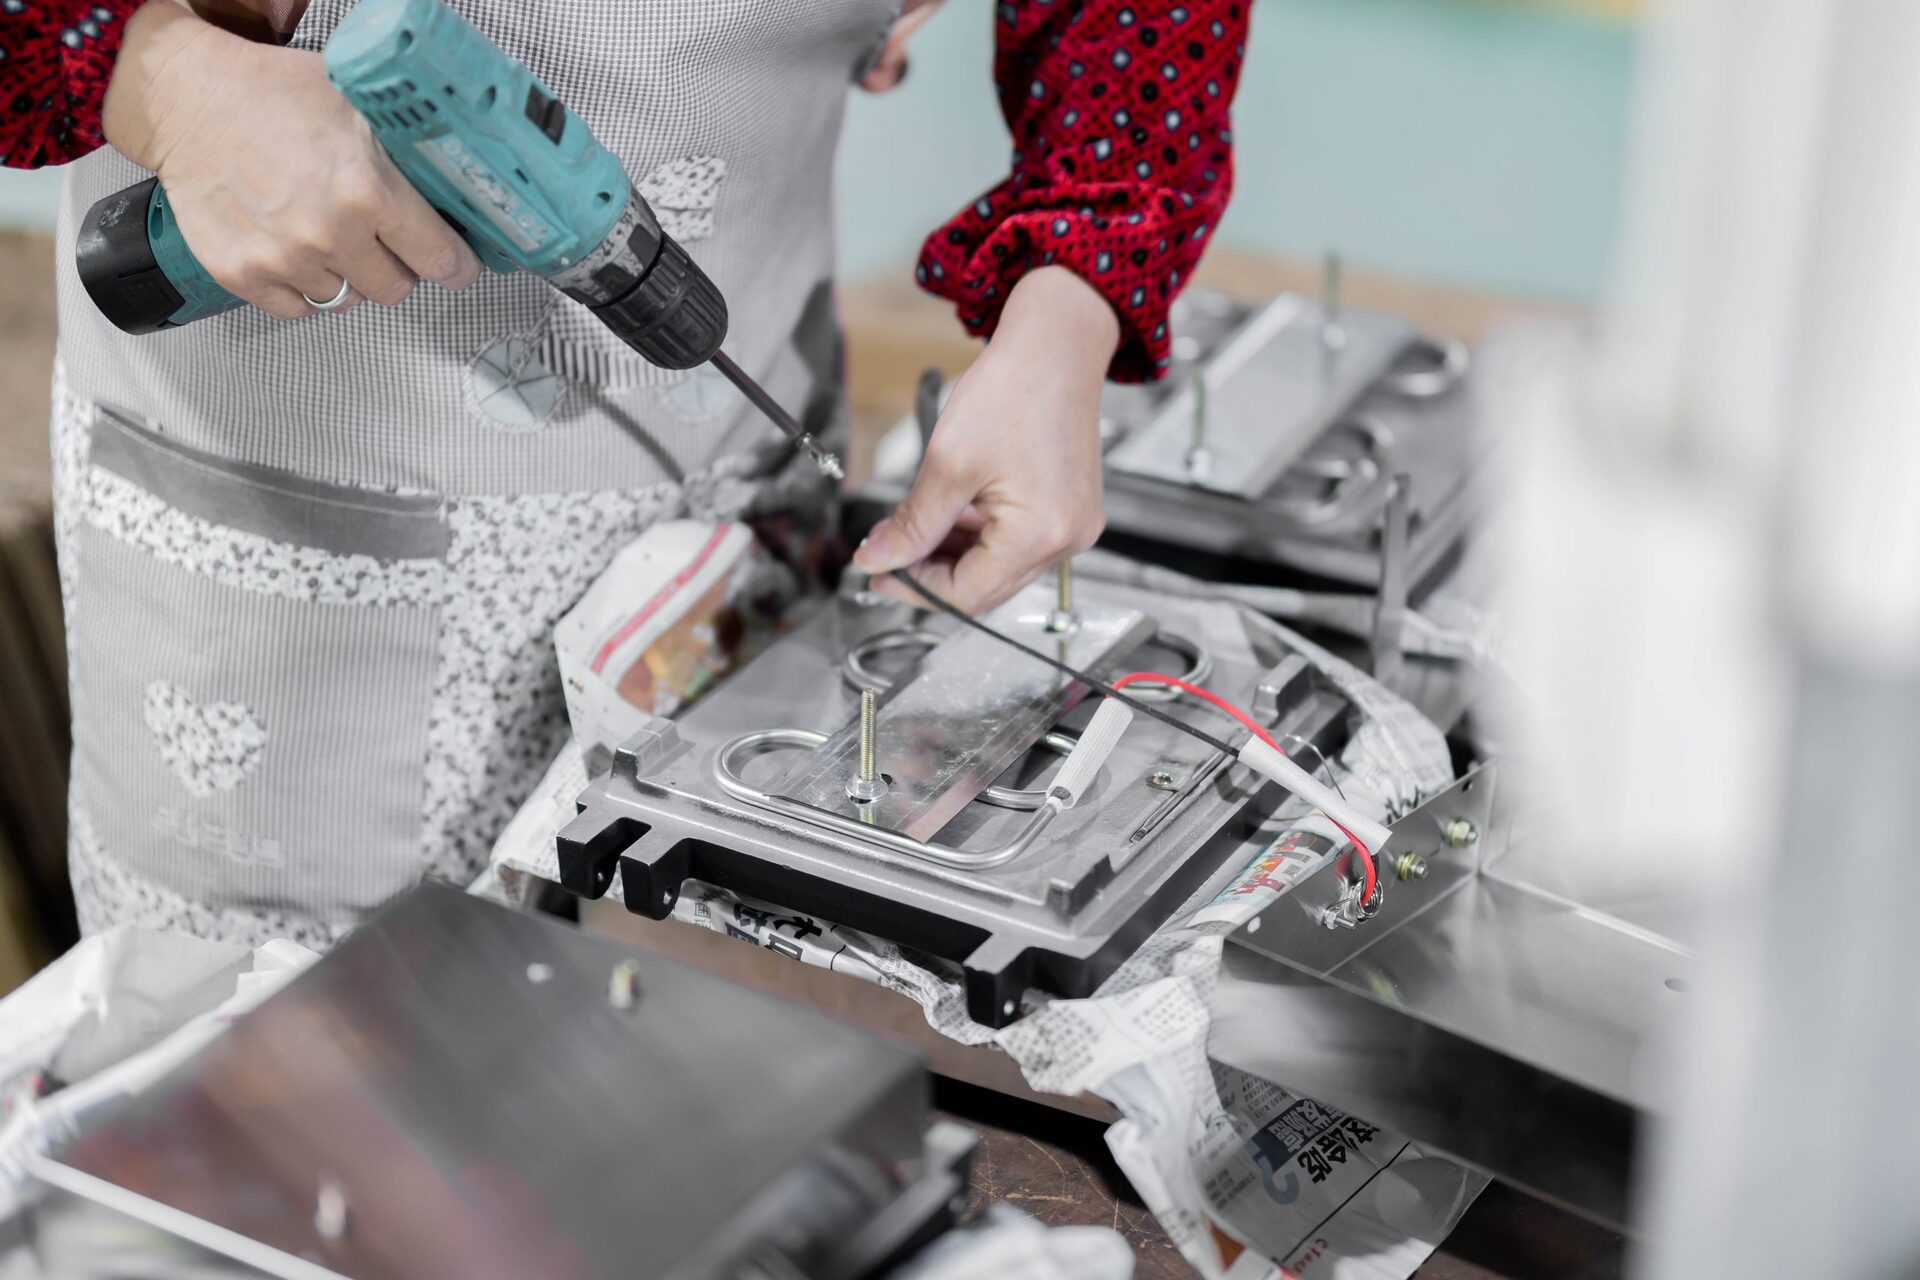
Step 2: Removing the Wood Handles
Now that you have a clean waffle iron, it’s time to remove the wood handles in order to work on them separately. Follow these steps to safely detach the handles:
1. Examine the waffle iron and locate the screws that hold the wood handles in place. These screws are typically located on the sides or underside of the handles.
2. Using a screwdriver that fits the screws, carefully and slowly unscrew them. Make sure to keep the screws in a safe place, as you will need them when reattaching the handles later.
3. Once all the screws are removed, gently lift the wood handles away from the waffle iron. Be cautious as you detach the handles to prevent any damage to the appliance or the handles themselves.
4. Set the handles aside in a safe and clean area where you can comfortably work on them without any risk of damage or interference.
By removing the wood handles, you’ll have better access to restore and beautify them without worrying about any damage to the waffle iron itself. With the handles safely removed, you can now move on to the next step: sanding the wood handles.
To bring a waffle iron back with wood handles, sand the handles to remove any rough spots, then apply a food-safe wood conditioner to restore their luster and protect them from heat and moisture.
Step 3: Sanding the Wood Handles
The next step in restoring the wood handles of your waffle iron is sanding. Sanding will help remove any rough areas, scratches, or old finishes, allowing you to achieve a smooth and even surface for the stain and sealant.
Follow these steps to sand the wood handles:
1. Start with a coarse-grit sandpaper (around 80-100 grit) to remove any stubborn stains or rough patches on the wood handles. Use long, even strokes in the direction of the wood grain. Avoid applying excessive pressure as it can cause uneven sanding or damage to the handles.
2. Once the handles are smooth and free of any major imperfections, switch to a finer-grit sandpaper (around 220-280 grit). This will help refine the surface and remove any remaining scratches left by the coarse-grit sandpaper. Sanding with a finer grit will also prepare the wood for better stain absorption.
3. Remember to sand not only the flat surfaces of the handles but also the edges and contours. Pay close attention to any intricate details or corners to ensure an even and consistent finish.
4. After you’ve finished sanding with the finer-grit sandpaper, use a clean cloth or brush to remove any dust or debris from the handles. This will ensure a clean surface for the staining process.
By sanding the wood handles, you’re creating a smooth and receptive surface for the upcoming staining process. Once the handles are sanded to your satisfaction, you can proceed to the next step: staining the wood handles.
Step 4: Staining the Wood Handles
Now that you’ve sanded the wood handles, it’s time to apply the wood stain to enhance their appearance and restore their natural beauty. Staining will not only add color but also protect the wood from future damage. Follow these steps to stain the wood handles:
1. Prepare the wood stain according to the manufacturer’s instructions. Stir the stain well to ensure an even distribution of color.
2. Using a clean brush or cloth, apply a thin, even layer of wood stain to the handles. Work in the direction of the wood grain, ensuring that the entire surface is covered.
3. Allow the stain to penetrate the wood for the recommended amount of time specified on the stain container. This will typically range from a few minutes to several hours, depending on the type of stain and desired color intensity.
4. After the recommended time has passed, wipe away any excess stain with a clean cloth. This will help prevent the stain from becoming overly dark or streaky.
5. Let the stained handles dry completely. This may take a few hours or overnight, so be patient to achieve the best results.
6. If you desire a darker or richer color, you can repeat the staining process, applying another thin layer of stain and allowing it to penetrate the wood accordingly.
By staining the wood handles, you’re bringing out the natural beauty of the wood grain and adding a protective layer. Once the stain has dried, you can move on to the final step: reattaching the wood handles.
Step 5: Reattaching the Wood Handles
After completing the staining process and allowing the wood handles to dry, it’s time to reattach them to the waffle iron. Follow these steps to securely and properly reattach the handles:
1. Retrieve the screws that you set aside earlier when removing the handles.
2. Align the holes on the waffle iron with the holes on the wood handles. Make sure that the handles are positioned correctly and facing the right way.
3. Insert the screws into the holes and tighten them using a screwdriver. Start with one screw to hold the handle in place, and then secure the remaining screws one by one. Be careful not to overtighten the screws, as it may damage the wood or the appliance.
4. Check that the handles are securely attached and do not wobble or feel loose. If needed, readjust the screws to ensure a snug fit.
5. Once the handles are securely attached, give them a gentle tug to confirm their stability. They should not move or come off easily.
By reattaching the wood handles to the waffle iron, you’re completing the restoration process and ensuring that they are properly fixed for safe and comfortable use.
With that, your waffle iron with its beautifully restored wood handles is now ready to create deliciously golden and perfectly textured waffles. Enjoy the nostalgia and charm of your restored appliance as you indulge in delightful breakfast or brunch creations!
Conclusion
Restoring the wood handles of a waffle iron allows you to bring back their original beauty and preserve the charm of this classic kitchen appliance. By following the step-by-step process outlined in this article, you can easily clean, remove, sand, stain, and reattach the wood handles, transforming your waffle iron into a visually appealing and functional piece once again.
Remember, cleaning the waffle iron and removing the wood handles are essential first steps. Sanding the wood handles helps to create a smooth surface, and staining them brings out the natural beauty of the wood. Finally, reattaching the handles securely ensures a safe and comfortable cooking experience.
Throughout the restoration process, it’s important to be patient and take your time. Carefully follow the instructions and allow adequate drying time between each step. This will ensure the best possible results and longevity of the restored wood handles.
So, don’t let worn-out and dull wood handles diminish the beauty and functionality of your waffle iron. With some basic tools, a little effort, and the guidance provided in this article, you can easily bring those wood handles back to life, adding a touch of nostalgia and elegance to your culinary adventures.
Now, it’s time to enjoy delicious homemade waffles with confidence, knowing that your waffle iron is not only functioning at its best but also looking stunning with its restored wood handles. Happy cooking!
Frequently Asked Questions about How To Bring A Waffle Iron Back With Wood Handles
Was this page helpful?
At Storables.com, we guarantee accurate and reliable information. Our content, validated by Expert Board Contributors, is crafted following stringent Editorial Policies. We're committed to providing you with well-researched, expert-backed insights for all your informational needs.


0 thoughts on “How To Bring A Waffle Iron Back With Wood Handles”