Home>Articles>How To Remove Spiral Handles From Griswold Waffle Iron
Articles
How To Remove Spiral Handles From Griswold Waffle Iron
Modified: August 25, 2024
Learn how to remove spiral handles from your Griswold waffle iron with these helpful articles. Easily upgrade and maintain your vintage piece.
(Many of the links in this article redirect to a specific reviewed product. Your purchase of these products through affiliate links helps to generate commission for Storables.com, at no extra cost. Learn more)
Introduction
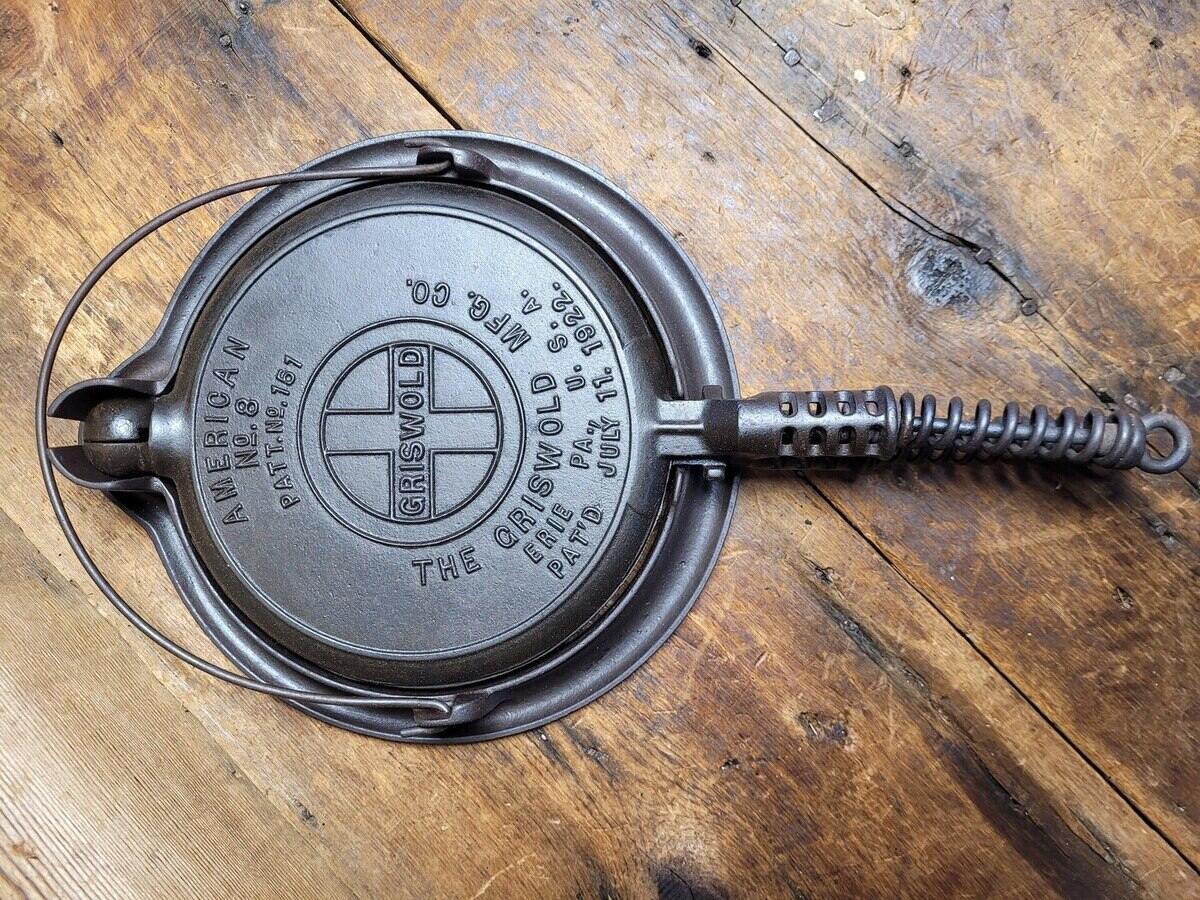
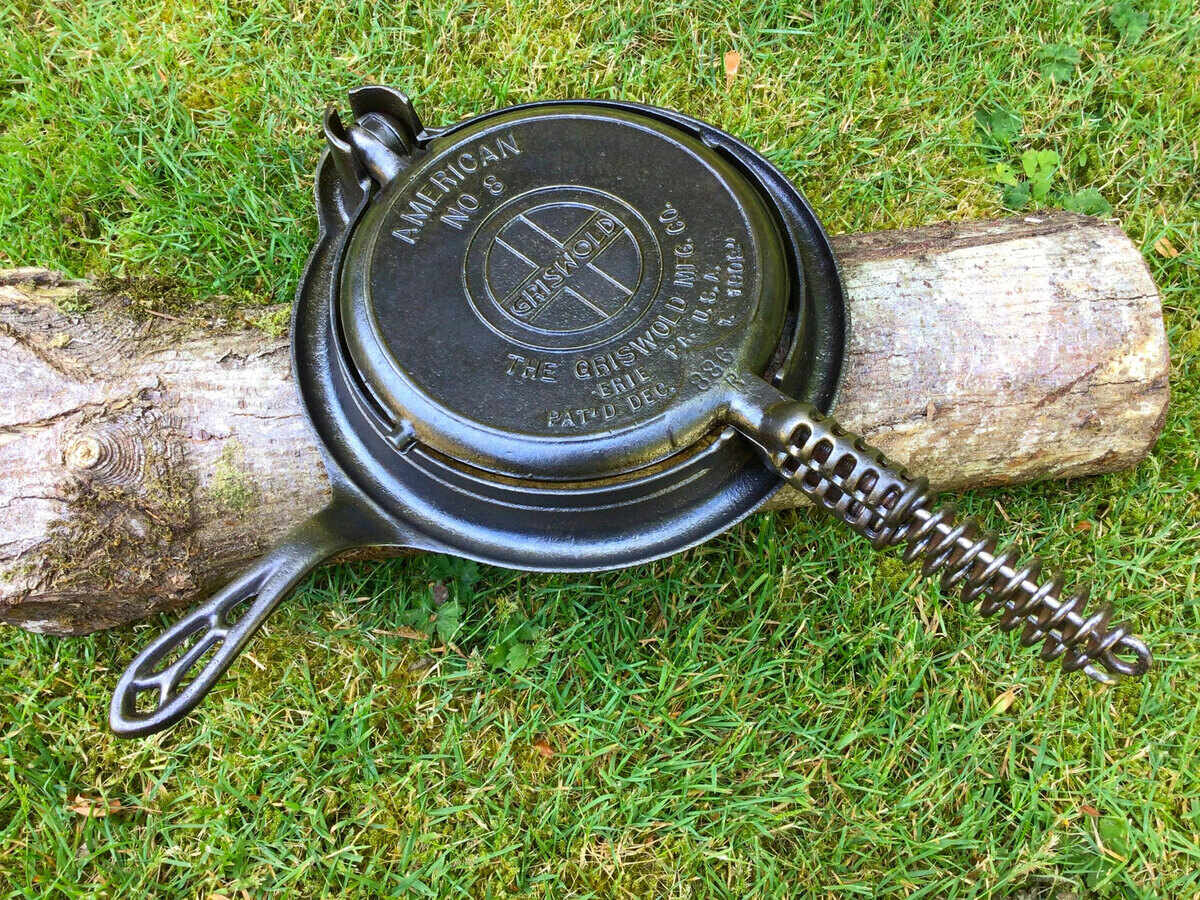
Are you a proud owner of a Griswold waffle iron but find the spiral handles a bit outdated or cumbersome? Removing these handles can give your waffle iron a sleeker and more modern look, making it easier to store and transport. In this article, we will guide you through the step-by-step process of removing the spiral handles from your Griswold waffle iron.
Before we dive into the removal process, it is important to note that safety should always be your top priority. Make sure to follow all the safety precautions outlined in this article and use the proper tools and techniques to avoid injury. Now, let’s get started!
Key Takeaways:
- Transform your Griswold waffle iron into a sleek, modern appliance by safely removing the outdated spiral handles. Prioritize safety, gather the right tools, and follow the step-by-step process for a successful transformation.
- Enjoy a revamped waffle iron with a fresh look and improved convenience for storage and transportation. Follow the detailed steps, prioritize safety, and embrace the modernized appearance of your Griswold waffle iron.
Safety Precautions
Before you begin the process of removing the spiral handles from your Griswold waffle iron, it is essential to take a few safety precautions to ensure a smooth and accident-free experience. Here are some important guidelines to follow:
- Unplug the waffle iron: Before you start working on the waffle iron, make sure it is completely unplugged from the power source. This will help prevent any accidental electrocution.
- Allow the waffle iron to cool down: Give the waffle iron enough time to cool down completely. This will prevent any burns or injuries from the heated surfaces.
- Wear protective gloves: When handling the waffle iron or any tools, it is advisable to wear protective gloves. This will provide an extra layer of protection and minimize the risk of cuts or burns.
- Work in a well-ventilated area: As you may need to use certain cleaning agents or solvents during the process, it is important to work in a well-ventilated area to avoid inhaling any harmful fumes.
- Read the manufacturer’s instructions: Familiarize yourself with the specific guidelines provided by the manufacturer for your Griswold waffle iron. This will ensure that you follow any unique instructions or safety measures specific to your appliance.
By adhering to these safety precautions, you can significantly reduce any potential risks or accidents while removing the spiral handles from your Griswold waffle iron. Remember, always prioritize your safety and take the necessary steps to protect yourself throughout the process.
Tools and Materials Needed
Before you begin the process of removing the spiral handles from your Griswold waffle iron, it’s important to gather all the necessary tools and materials. Here’s a list of the items you’ll need:
- Phillips screwdriver: This will be used to loosen and remove the screws holding the spiral handles in place.
- Flathead screwdriver: You may need a flathead screwdriver to assist in prying or loosening certain components during the removal process.
- Pliers: Pliers can be handy for gripping and twisting stubborn screws or other small parts.
- Soft cloth: A soft cloth or microfiber cloth will be used to clean and wipe down the waffle iron surfaces.
- Cleaning solution: Depending on the condition of your waffle iron, you may need a mild cleaning solution or a mixture of vinegar and water to remove any built-up grime or residue.
- Small brush or toothbrush: A small brush or toothbrush can come in handy for cleaning hard-to-reach areas and removing dirt or debris.
- Replacement screws (optional): If you plan on replacing the spiral handles with a different type or style, you may need replacement screws to secure the new handles in place.
Make sure to gather all of these tools and materials before you start the removal process. Having everything ready will help streamline the process and ensure that you have everything you need to complete the task successfully.
Step 1: Heating the Waffle Iron
The first step in removing the spiral handles from your Griswold waffle iron is to heat the appliance. By heating the waffle iron, you will help loosen any adhesive or grime that may be holding the handles in place. Here’s how to do it:
- Plug in the waffle iron and turn it on to the desired temperature setting. Follow the manufacturer’s instructions for the recommended temperature.
- Allow the waffle iron to heat up for a few minutes until it reaches the desired temperature. This can usually take around 5-10 minutes, depending on the model.
- Once the waffle iron has reached the desired temperature, unplug it to ensure your safety while working on the appliance. Let it cool down slightly, but do not let it cool completely.
Heating the waffle iron helps soften any adhesives or build-up that may have accumulated around the spiral handles over time. This will make it easier to remove them in the subsequent steps. Once the waffle iron is heated and cooled down slightly, you can proceed to the next step of removing the base plate.
Step 2: Removing the Base Plate
After heating the waffle iron, the next step is to remove the base plate. This will give you access to the screws that secure the spiral handles in place. Follow these steps to remove the base plate:
- Inspect the underside of the waffle iron and locate the screws that hold the base plate in place. These screws are usually located near the edges of the base plate.
- Using a Phillips screwdriver, carefully loosen and remove the screws one by one. Make sure to keep track of the screws so that you can easily reassemble the waffle iron later.
- Once all the screws are removed, gently lift off the base plate from the waffle iron. Take care not to damage any electrical components or cables that may be attached to the base plate.
- Set the base plate aside in a safe place where it won’t get damaged or misplaced during the rest of the process.
Removing the base plate will provide you with better visibility of the screws that secure the spiral handles. This will make it easier to proceed with the next steps of loosening and detaching the handles from the waffle iron.
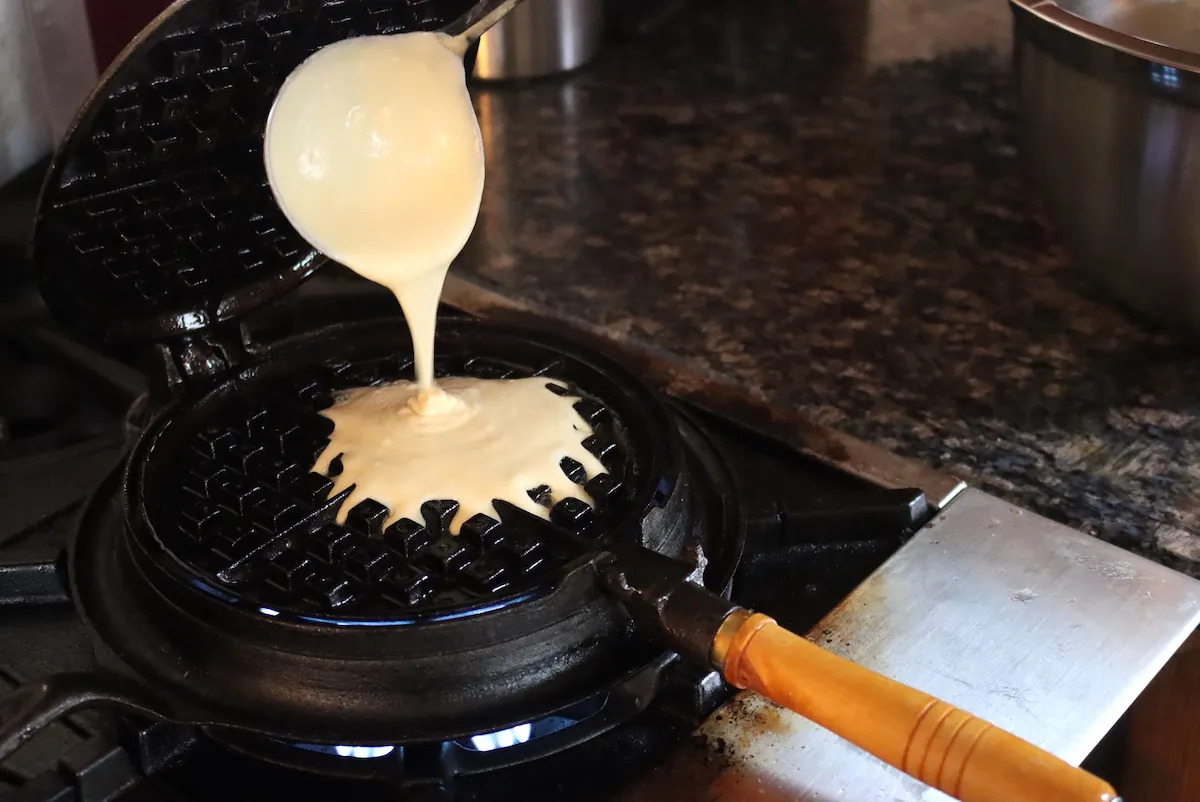
To remove spiral handles from a Griswold waffle iron, use a heat gun to soften the old solder, then carefully pry the handles off with a flathead screwdriver. Be sure to wear gloves and work in a well-ventilated area.
Step 3: Loosening the Screws
With the base plate removed, it’s time to move on to loosening the screws that hold the spiral handles in place. Follow these steps to loosen the screws:
- Using a Phillips screwdriver, carefully loosen each screw by turning it counterclockwise. Apply gentle and steady pressure to prevent stripping the screws or damaging the surrounding area.
- If a screw proves difficult to loosen, try applying a small amount of lubricant, such as WD-40, to help break up any rust or debris that may be causing the resistance. Let the lubricant sit for a few minutes and then try loosening the screw again.
- Repeat this process for each screw that secures the spiral handles. Take your time and be patient to avoid any unnecessary damage to the waffle iron.
- Once all the screws are loosened, carefully set them aside in a secure location so they don’t get misplaced during the rest of the process.
Loosening the screws will make it easier to detach the spiral handles from the waffle iron. However, be cautious not to remove the screws completely just yet, as they will still be needed to hold the handles in place until the final step.
Step 4: Detaching the Spiral Handles
Now that the screws holding the spiral handles are loosened, it’s time to detach the handles from the waffle iron. Follow these steps to safely remove the spiral handles:
- With the screws loosened, gently wiggle and pull on one of the handles to begin detaching it from the waffle iron. If the handle doesn’t come off easily, you may need to use a flathead screwdriver to gently pry it away from the surface.
- Continue wiggling and pulling until the handle is completely free from the waffle iron. Take your time and be careful not to apply too much force, as you don’t want to damage any parts or components in the process.
- Repeat the same process for the other spiral handle, ensuring that it is completely detached from the waffle iron.
- Once both handles are removed, set them aside in a safe place for future use or disposal.
Removing the spiral handles will not only give your waffle iron a sleeker look but also make it more compact for storage or transport. Take care during this step to avoid any accidental damage, and remember to keep the screws nearby for the final step of reassembling the waffle iron.
Step 5: Cleaning and Reassembling the Waffle Iron
Now that the spiral handles are removed, it’s time to clean the waffle iron and reassemble it. Follow these steps to ensure a thorough cleaning and successful reassembly:
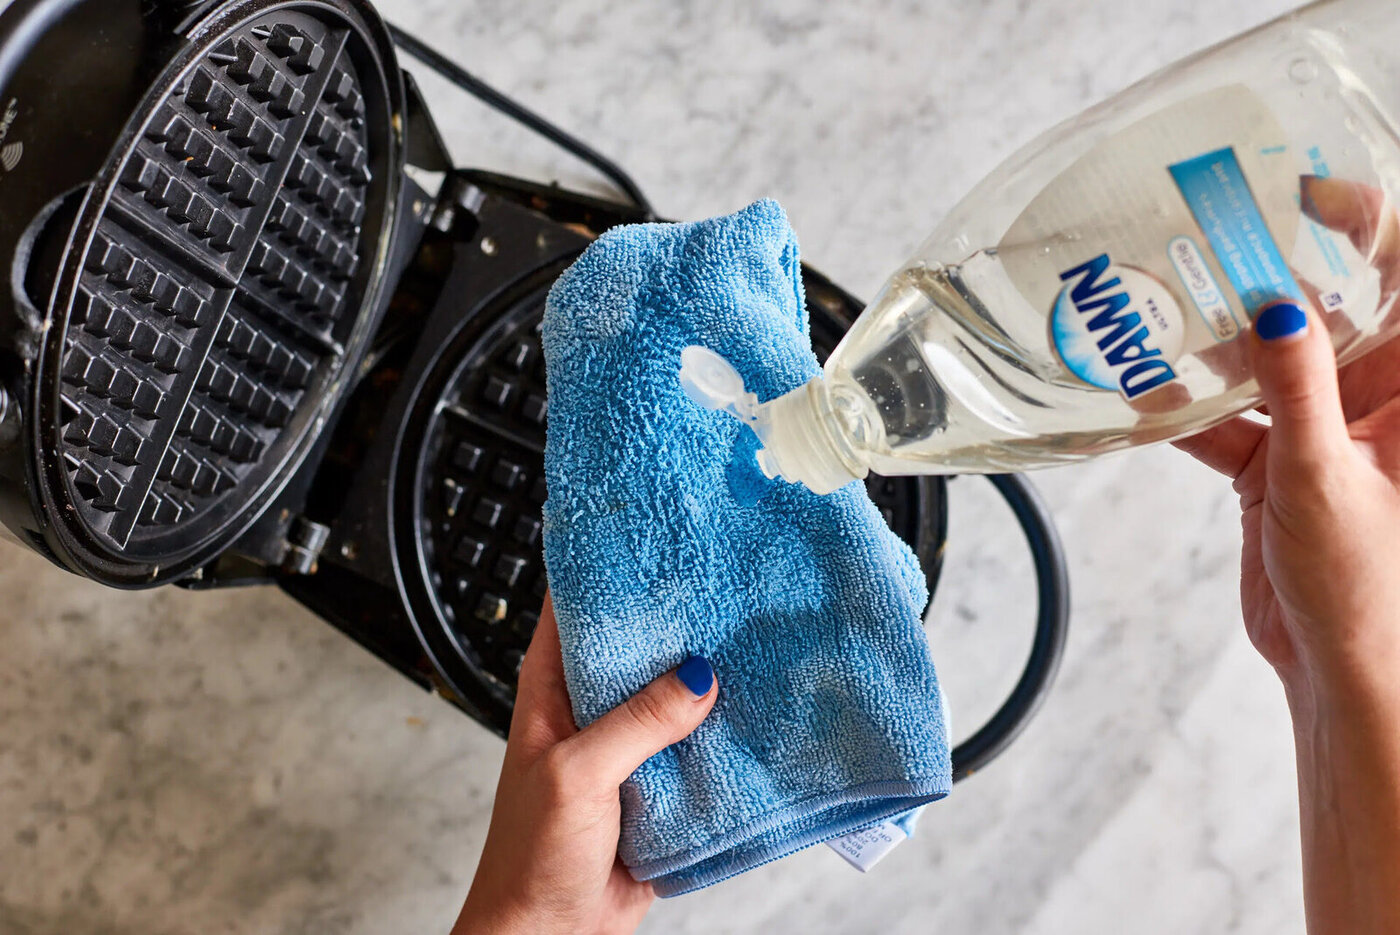
- Using a soft cloth or microfiber cloth, wipe down the surfaces of the waffle iron to remove any dust, crumbs, or residue that may have accumulated during the removal process.
- If there are any stubborn stains or build-up on the waffle iron, create a cleaning solution by mixing equal parts vinegar and water. Dampen a cloth or sponge in the solution and gently scrub the affected areas.
- Rinse the cloth or sponge with clean water and wipe down the waffle iron again to remove any cleaning solution residue.
- Allow the waffle iron to dry completely before proceeding to the reassembly step. This will help prevent any moisture or damage when reconnecting the base plate and screws.
- Once the waffle iron is dry, carefully align the base plate with the screw holes on the underside of the waffle iron.
- Using the saved screws, insert and tighten them one by one to secure the base plate in place. Be sure to tighten the screws firmly but not too tight, as overtightening can damage the waffle iron.
- Double-check that all screws are securely fastened and that the base plate is properly attached to the waffle iron. This will ensure stability and safety when using the appliance.
After reassembling the waffle iron, it’s ready to be used without the spiral handles. Whether you choose to store it in a cabinet or display it on your kitchen counter, the waffle iron will now have a sleek and modern appearance.
Remember to keep the screws in a safe place in case you decide to reattach the spiral handles in the future or if you choose to use replacement handles. Enjoy making delicious waffles with your revamped Griswold waffle iron!
Conclusion
Removing the spiral handles from your Griswold waffle iron can give it a fresh and modern look while making it more convenient for storage and transportation. By following the step-by-step process outlined in this article, you can safely and successfully remove the handles and clean your waffle iron.
Throughout the process, it’s essential to prioritize safety by unplugging the waffle iron, allowing it to cool down, and wearing protective gloves. Additionally, gathering the necessary tools, such as a Phillips screwdriver and pliers, will make the job easier.
Starting with heating the waffle iron and removing the base plate, the subsequent steps involve loosening the screws and detaching the spiral handles. Take your time during these steps to ensure you don’t damage any parts of the waffle iron.
Once the handles are removed, be sure to clean the surfaces of the waffle iron and reassemble it by securing the base plate with screws. This will give your waffle iron a fresh and clean look, ready for future use.
Remember, should you decide to reattach the spiral handles in the future or opt to use replacement handles, it’s important to keep the screws in a safe place.
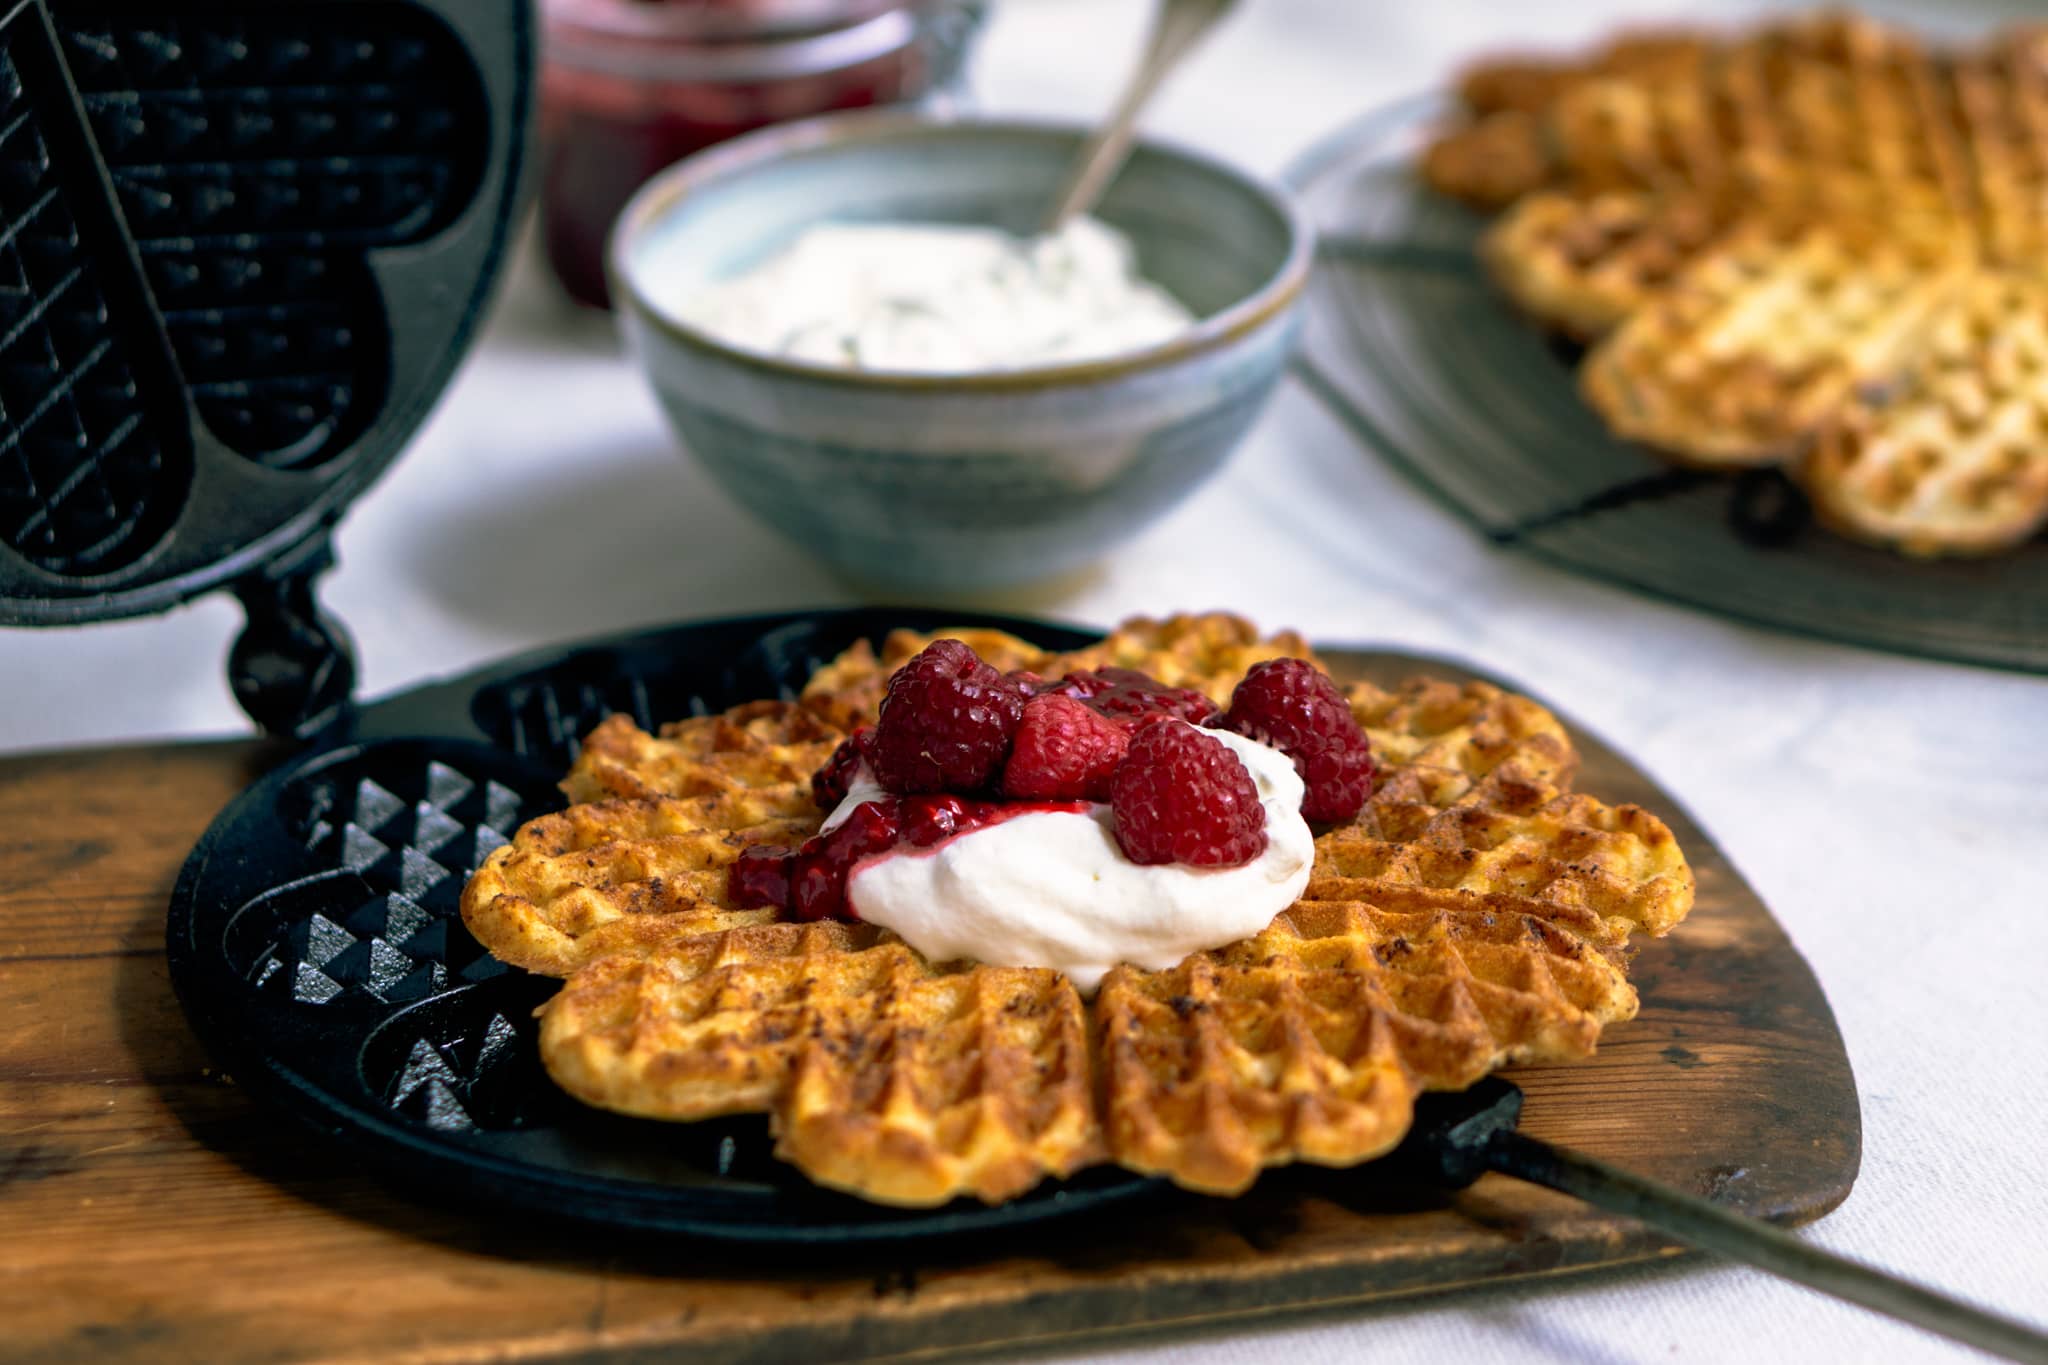
Now you can enjoy using your Griswold waffle iron in a new way, whether it’s for making perfect waffles or as a conversation piece in your kitchen. Embrace the sleek and modern look of your waffle iron, and enjoy your culinary adventures!
Frequently Asked Questions about How To Remove Spiral Handles From Griswold Waffle Iron
Was this page helpful?
At Storables.com, we guarantee accurate and reliable information. Our content, validated by Expert Board Contributors, is crafted following stringent Editorial Policies. We're committed to providing you with well-researched, expert-backed insights for all your informational needs.


0 thoughts on “How To Remove Spiral Handles From Griswold Waffle Iron”