Articles
How To Build A Makeup Vanity
Modified: October 31, 2024
Learn the step-by-step process of creating your own vanity makeup articles in this comprehensive guide. From designing to installation, we've got you covered.
(Many of the links in this article redirect to a specific reviewed product. Your purchase of these products through affiliate links helps to generate commission for Storables.com, at no extra cost. Learn more)
Introduction
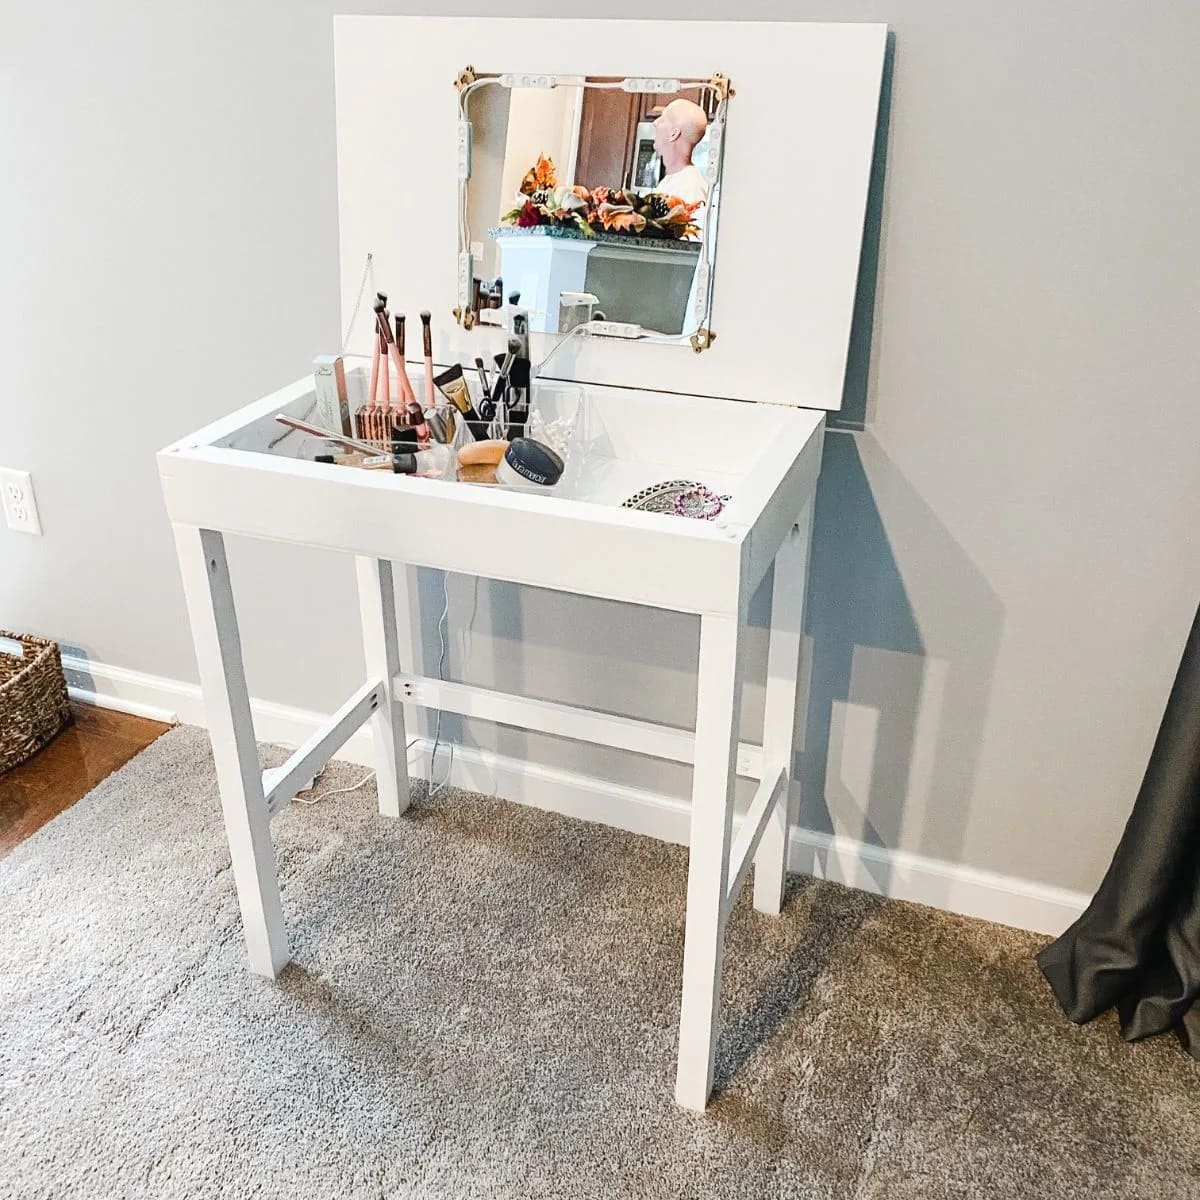
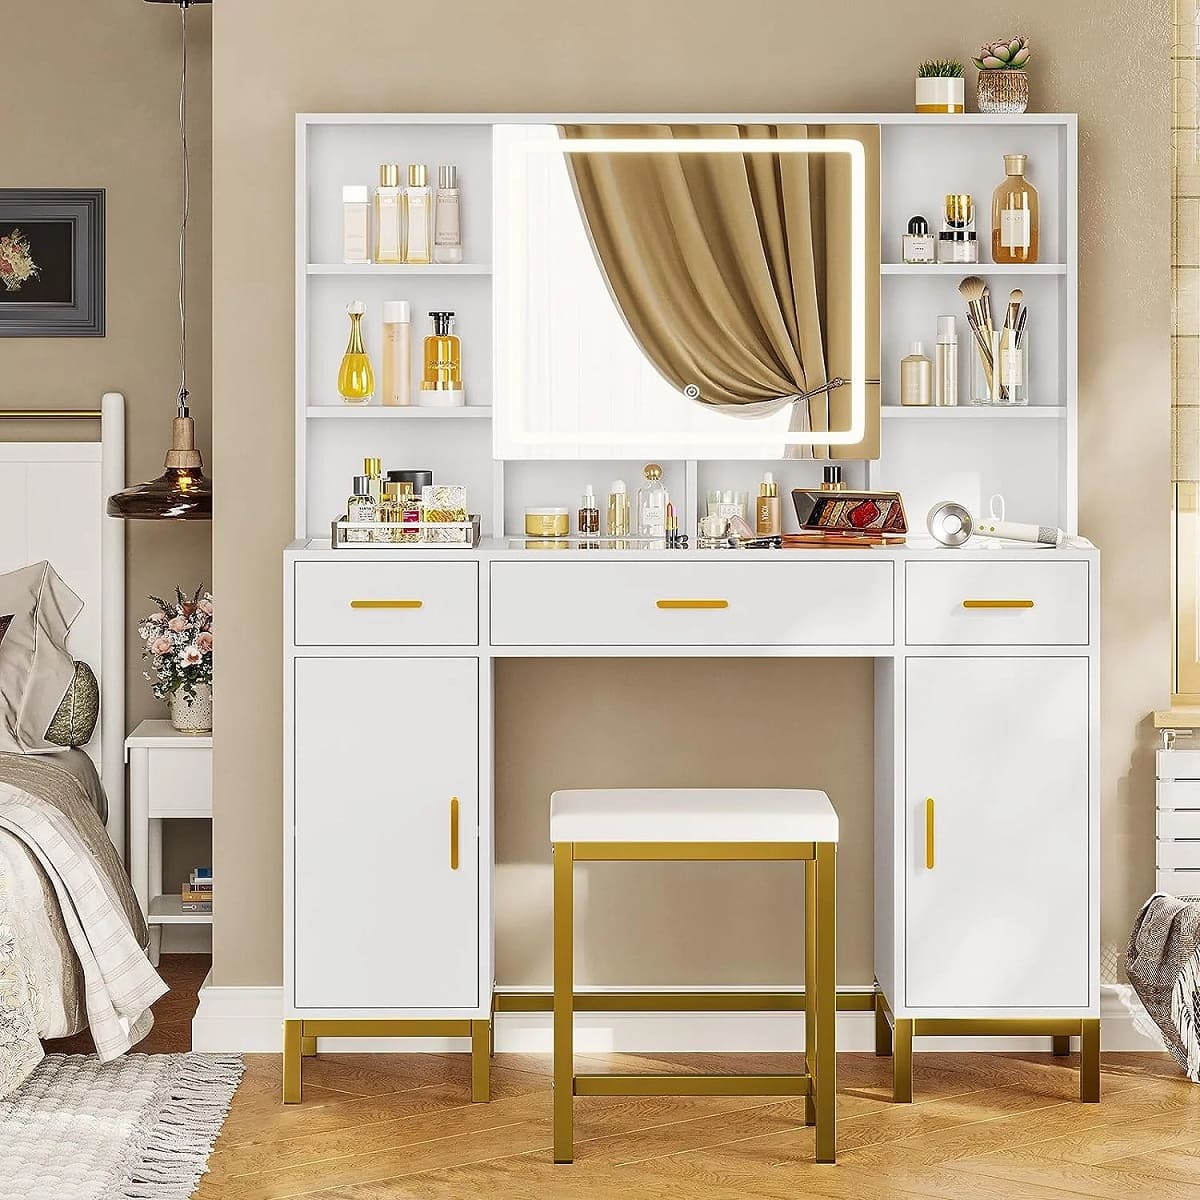
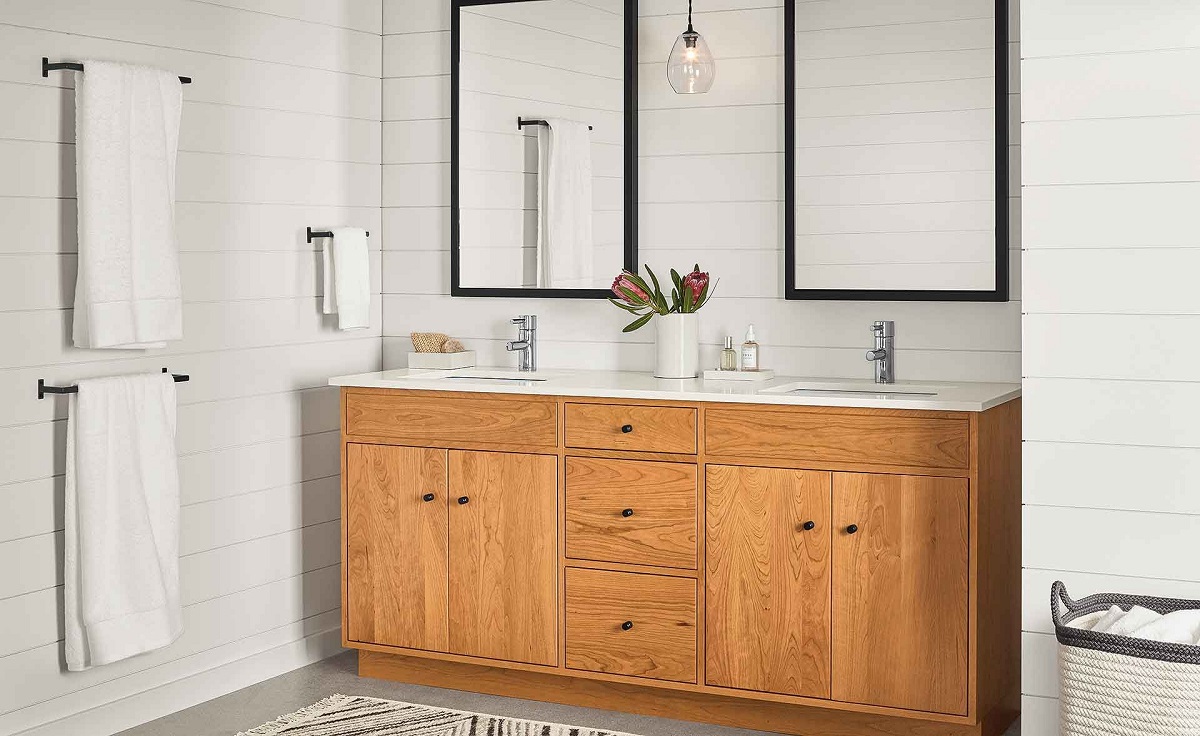
Having a vanity makeup station is a dream come true for many beauty enthusiasts. It’s not only a place to apply makeup and get ready for the day, but also a personal oasis where you can unleash your creativity and indulge in self-care. While there are plenty of ready-made vanity options available on the market, building your own vanity allows you to customize the design and tailor it to your specific needs and preferences.
In this article, we will guide you through the process of building your own vanity makeup station. Whether you’re a seasoned DIYer or a beginner, this step-by-step guide will provide you with all the information you need to create a functional and stylish vanity that suits your space and style.
Before we dive into the details, it’s important to note that building a vanity requires some basic woodworking skills and tools. However, don’t let that intimidate you! With a little patience and determination, you can successfully complete this project and have a beautiful vanity to enjoy for years to come.
Now, let’s get started on this exciting DIY journey and bring your dream vanity makeup station to life!
Key Takeaways:
- Create a personalized vanity makeup station by gathering materials, measuring and planning, and adding finishing touches. Infuse your creativity and style to build a functional and visually appealing space for beauty routines.
- Building a vanity makeup station allows you to unleash your creativity, pamper yourself, and express your individuality. Enjoy the process of creating a personalized sanctuary where beauty meets creativity.
Read more: How To Organize A Makeup Vanity
Step 1: Gathering Materials
The first step in building your own vanity makeup station is to gather all the necessary materials. By having everything you need on hand, you can streamline the construction process and avoid delays.
Here’s a list of essential materials you’ll need:
- Wood: Choose a high-quality and sturdy wood that fits your aesthetic preference. Consider the dimensions required for the frame, legs, and shelves.
- Screws and Nails: Select appropriate sizes for securing the wood pieces together.
- Power Drill: A power drill with drill bits is crucial for making holes and attaching the various components.
- Saw: Depending on the design, you may need a table saw or circular saw for cutting the wood to the desired measurements.
- Sanding Tools: Sandpaper or an electric sander will help smooth out rough edges and prepare the wood for painting or staining.
- Wood Glue: Use wood glue to reinforce the joints and ensure a sturdy construction.
- Paint or Stain: Choose a paint or stain color that matches your personal style and the overall aesthetic of your space.
- Brushes and Rollers: Use brushes and paint rollers for applying paint or stain to the wood surfaces.
- Drawer Slides: If you plan to incorporate drawers into your vanity, you’ll need drawer slides for smooth operation.
- Drawer Handles: Select drawer handles that complement the overall design and provide ease of use.
- Mirror: Choose a mirror that fits the dimensions of your vanity. Consider if you want a tabletop mirror or if you prefer a wall-mounted option.
- Lighting: If adequate lighting is not available in your space, consider adding vanity lights or lighted mirrors for proper illumination while applying makeup.
- Other Accessories: Depending on your preferences, you may want to include additional accessories such as a jewelry organizer, beauty storage containers, or a stool or chair for seating.
Make sure to measure your space and take note of any specific dimensions or requirements before purchasing materials. This will help ensure a precise fit and prevent any issues during the assembly process.
Once you have gathered all the necessary materials, you’re ready to move on to the next step: measuring and planning.
Step 2: Measuring and Planning
Before you start cutting and assembling the wood, it’s important to carefully measure your space and plan out the design of your vanity makeup station. Taking accurate measurements will ensure that the final product fits perfectly in your room and meets your functional needs.
Here are some key considerations for measuring and planning:
- Space Allocation: Determine where you want to place your vanity and measure the available space. Consider factors such as the height, width, and depth of the area to determine the appropriate size for your vanity. Ensure there is enough space to comfortably move around and access drawers or storage compartments.
- Height and Ergonomics: Decide on the ideal height for your vanity. Consider your own height and ensure that the vanity is at a comfortable level for applying makeup and getting ready. Standard vanity heights are around 30 to 32 inches, but you can adjust it to your preference. If you plan to use a chair or stool, factor in its height as well.
- Layout and Features: Determine the layout of your vanity. Consider the number and size of drawers, the placement of shelves, and any other features you may want to incorporate. This will help you decide on the dimensions of the different components and ensure proper functionality.
- Mirror Placement: If you’re adding a mirror to your vanity, decide whether you want it mounted on the wall behind the vanity or placed on top of the table. Measure the dimensions of the mirror to ensure it fits within the planned space.
- Power Outlet Accessibility: If you need access to power outlets for styling tools or lighting, make sure to plan accordingly. Consider the location of the nearest outlets and design the vanity in a way that allows for easy access without the cords being in the way.
Once you have taken accurate measurements and have a clear understanding of the layout and design of your vanity, you can move on to the next step: cutting and assembling the frame.
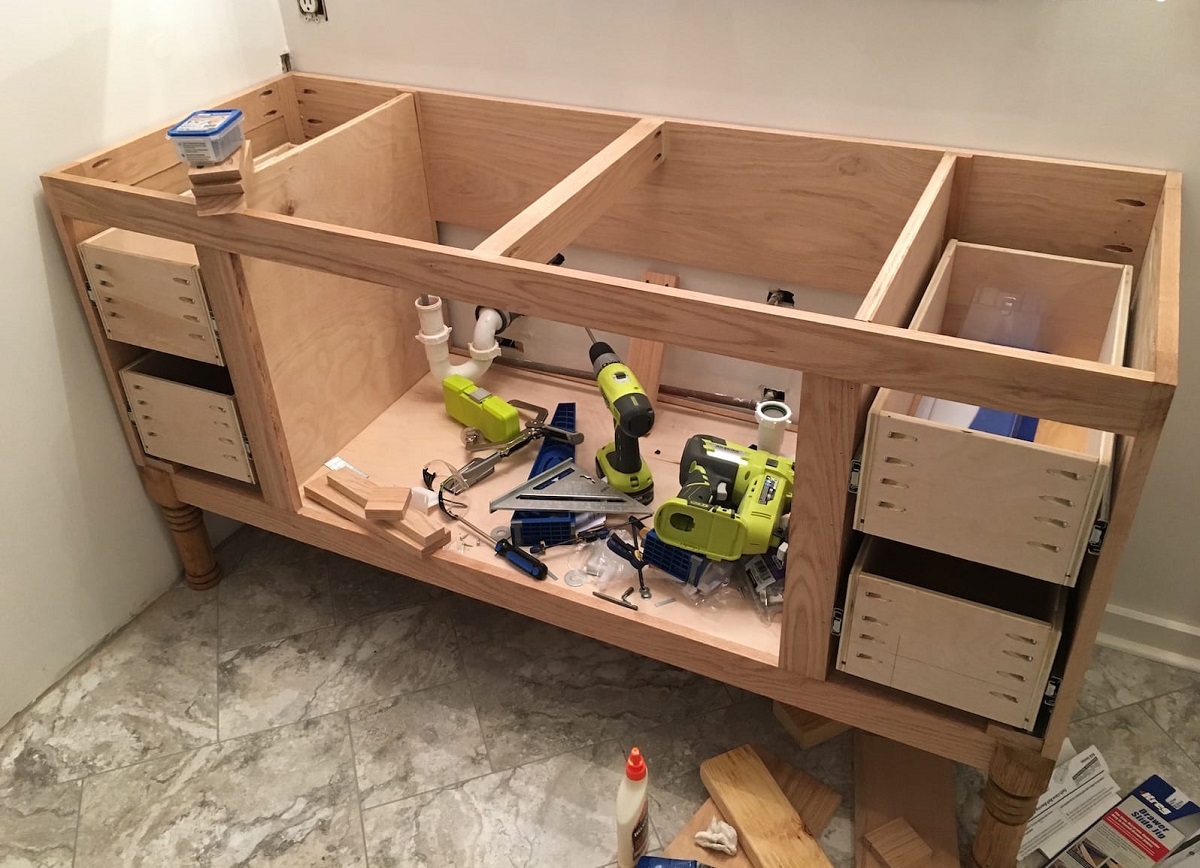
Step 3: Cutting and Assembling the Frame
With your measurements and design plan in hand, it’s time to start cutting and assembling the frame of your vanity makeup station. The frame serves as the foundation and support for the entire structure, so it’s crucial to take your time and ensure accurate cuts and proper assembly.
Follow these steps to cut and assemble the frame:
- Prepare your workspace: Set up a clean and well-lit area where you can work comfortably. Ensure you have all your tools and materials within reach.
- Measure and mark the wood: Use your measurements and design plan to mark the dimensions on the wood. Double-check your measurements to avoid any mistakes.
- Cut the wood: Carefully cut the wood pieces according to the marked dimensions using a saw. Take your time and use appropriate safety precautions while operating the saw.
- Assemble the frame: Begin by attaching the side panels to the back panel using screws or nails. Make sure the edges are flush and the joints are secure. Repeat the process for the front panel, ensuring it aligns with the side panels.
- Reinforce with wood glue: Apply wood glue to the joints of the frame for added strength and stability. Spread a thin layer of glue on the mating surfaces, then clamp the pieces together until the glue dries. Wipe off any excess glue with a damp cloth.
- Check for squareness: Use a square tool to ensure the frame is perfectly square. Adjust if necessary by tapping the corners with a mallet or gently nudging the panels.
- Attach support braces: Depending on the size and design of your vanity, you may need to add support braces. Measure and cut the braces to fit between the side panels and attach them securely with screws or nails.
Once the frame is assembled and secured, take a moment to admire your progress. The solid frame will provide the stability needed for the rest of the components to be attached. In the next step, we will focus on attaching the legs and additional support for your vanity.
Step 4: Attaching the Legs and Support
With the frame of your vanity makeup station complete, it’s time to move on to attaching the legs and additional support. This step is crucial to ensure the stability and durability of your vanity.
Follow these steps to attach the legs and support:
- Choose the leg style: Decide on the style of legs you want for your vanity. You can opt for pre-made legs from a hardware store or create your own using wood. Consider the height and design of the legs to complement the overall aesthetic of your vanity.
- Measure and mark the leg placement: Determine where you want the legs to be positioned on the vanity. Measure and mark the corresponding spots on the bottom of the frame.
- Attach the legs: Using screws or dowels, securely attach the legs to the marked spots. Make sure the legs are level and flush with the floor. Double-check the stability of each leg before moving on to the next one.
- Add additional support: Depending on the size and weight of your vanity, you may need to add additional support to ensure its stability. This can be in the form of cross braces or support beams. Measure, cut, and attach these support pieces to the frame using screws or nails.
- Test stability: Once the legs and additional support are attached, carefully test the stability of the vanity by applying some pressure and checking for any wobbling or weakness. If any issues are detected, make the necessary adjustments to ensure a sturdy base.
After completing this step, you will have a solid foundation with well-attached legs and support for your vanity. The next step will focus on adding drawers and shelves to provide convenient storage for all your makeup and beauty essentials.
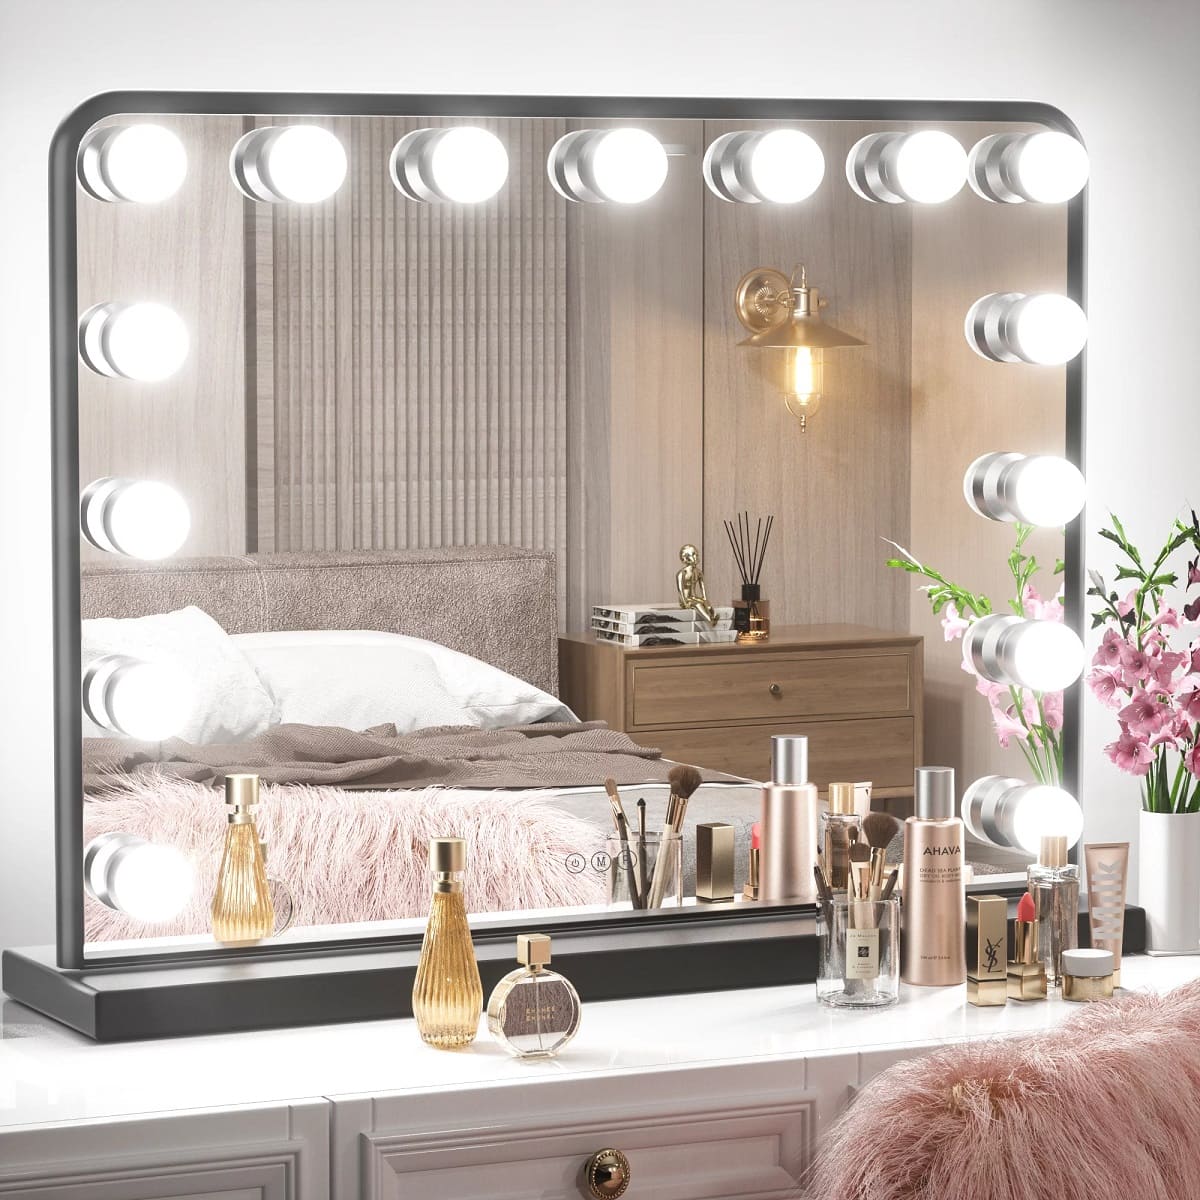
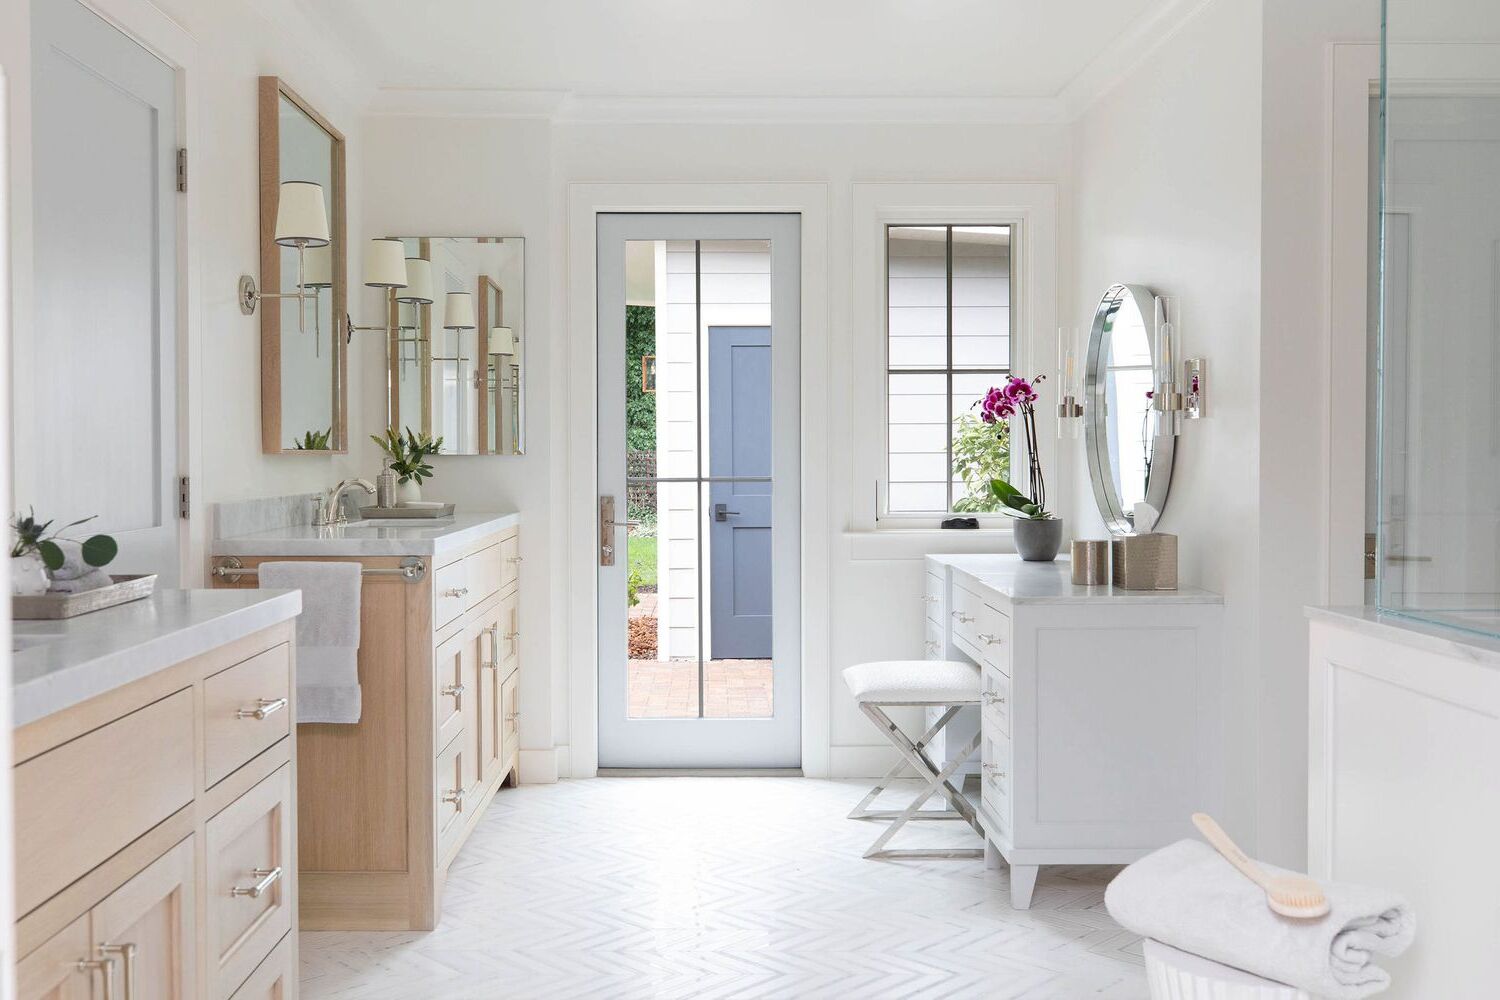
When building a vanity makeup, consider the lighting. Natural light is best for applying makeup, so position your vanity near a window if possible. If not, invest in good quality, natural-looking LED lights to ensure accurate makeup application.
Read more: How Tall Should A Makeup Vanity Be
Step 5: Adding Drawers and Shelves
Adding drawers and shelves to your vanity makeup station will not only enhance its functionality but also provide you with organized storage for your beauty essentials. This step allows you to customize the interior of your vanity to suit your specific needs and preferences.
Follow these steps to add drawers and shelves:
- Plan the drawer and shelf layout: Consider the items you want to store and organize in your vanity. Determine the number of drawers and shelves you need and their dimensions. Measure the height and width of each space to ensure a proper fit.
- Create drawer boxes: Measure and cut pieces of wood for the drawer boxes. Assemble the boxes using screws or nails, ensuring they are sturdy and square. Attach drawer slides to the sides of the box according to the manufacturer’s instructions.
- Install drawer slides: Measure and mark the placement of the drawer slides inside the vanity frame. Attach the slides securely using screws or nails. Test the smoothness of the sliding motion before proceeding.
- Add drawer fronts: Cut pieces of wood for the drawer fronts and attach them to the drawer boxes using screws, ensuring they are aligned and level. Consider adding drawer pulls or handles for easy access.
- Install shelves: Measure and mark the desired height and position of the shelves inside the vanity frame. Cut shelf boards to the appropriate dimensions and attach them securely using screws or brackets. Make sure the shelves are level and provide ample space for your items.
- Adjust and fine-tune: Test the drawers and shelves to ensure smooth operation and proper fit. Adjust as needed to eliminate any sticking or misalignment issues.
Once you’ve completed this step, you will have functional drawers and shelves to organize your makeup and beauty products. The next step will focus on creating a vanity top that will serve as your workspace.
Step 6: Creating a Vanity Top
The vanity top is the centerpiece of your makeup station, providing a spacious and functional workspace. This step will guide you through creating a vanity top that is both durable and aesthetically pleasing.
Follow these steps to create a vanity top:
- Choose the material: Decide on the material you want to use for your vanity top. Options include solid wood, plywood, laminate, or even stone or marble for a more luxurious look.
- Measure and cut the material: Measure the dimensions of your vanity frame to determine the size of the vanity top. Remember to account for any overhang you desire. Use a saw or appropriate cutting tool to cut the material to size.
- Sand and smooth the edges: Use sandpaper or an electric sander to smooth out the edges of the vanity top. This will ensure a clean and polished appearance and prevent any splintering or roughness.
- Attach the vanity top: Apply a thin layer of adhesive or use screws to attach the vanity top to the frame. Make sure it is level and securely fastened to avoid any wobbling or instability.
- Seal or finish the surface: Depending on the material you have chosen, you may need to seal or finish the surface of the vanity top. This will protect it from moisture or damage and give it a polished look. Apply a suitable sealant or finish according to the manufacturer’s instructions.
Once you’ve completed this step, your vanity makeup station will have a beautiful and functional vanity top. In the next step, we will focus on the finishing touches to enhance the overall appearance and functionality of your vanity.
Step 7: Finishing Touches
With the main structure of your vanity makeup station complete, it’s time to add the finishing touches that will elevate its appearance and functionality. These final details will help personalize your vanity and make it a truly unique and inviting space.
Follow these steps to add the finishing touches:
- Paint or stain: Apply a coat of paint or stain to the wood components of your vanity. Choose a color or finish that complements your style and the overall aesthetic of the room. Use brushes or rollers to ensure smooth and even coverage, allowing each coat to dry before applying the next.
- Attach hardware: Install any drawer handles or pulls that you have selected. Measure and mark the appropriate spots, then secure the hardware using screws or bolts. Make sure they are aligned and provide easy access to the drawers.
- Add a mirror: Install the mirror in the desired location, whether it’s mounted on the wall behind the vanity or attached to the tabletop. Ensure it is securely fastened and level. You can also add decorative elements around the mirror, such as lighting fixtures or a frame.
- Include lighting: If your vanity area lacks adequate lighting, consider adding vanity lights or lighted mirrors. These will enhance visibility and create a flattering illumination for applying makeup. Consult a qualified electrician if needed to ensure proper installation.
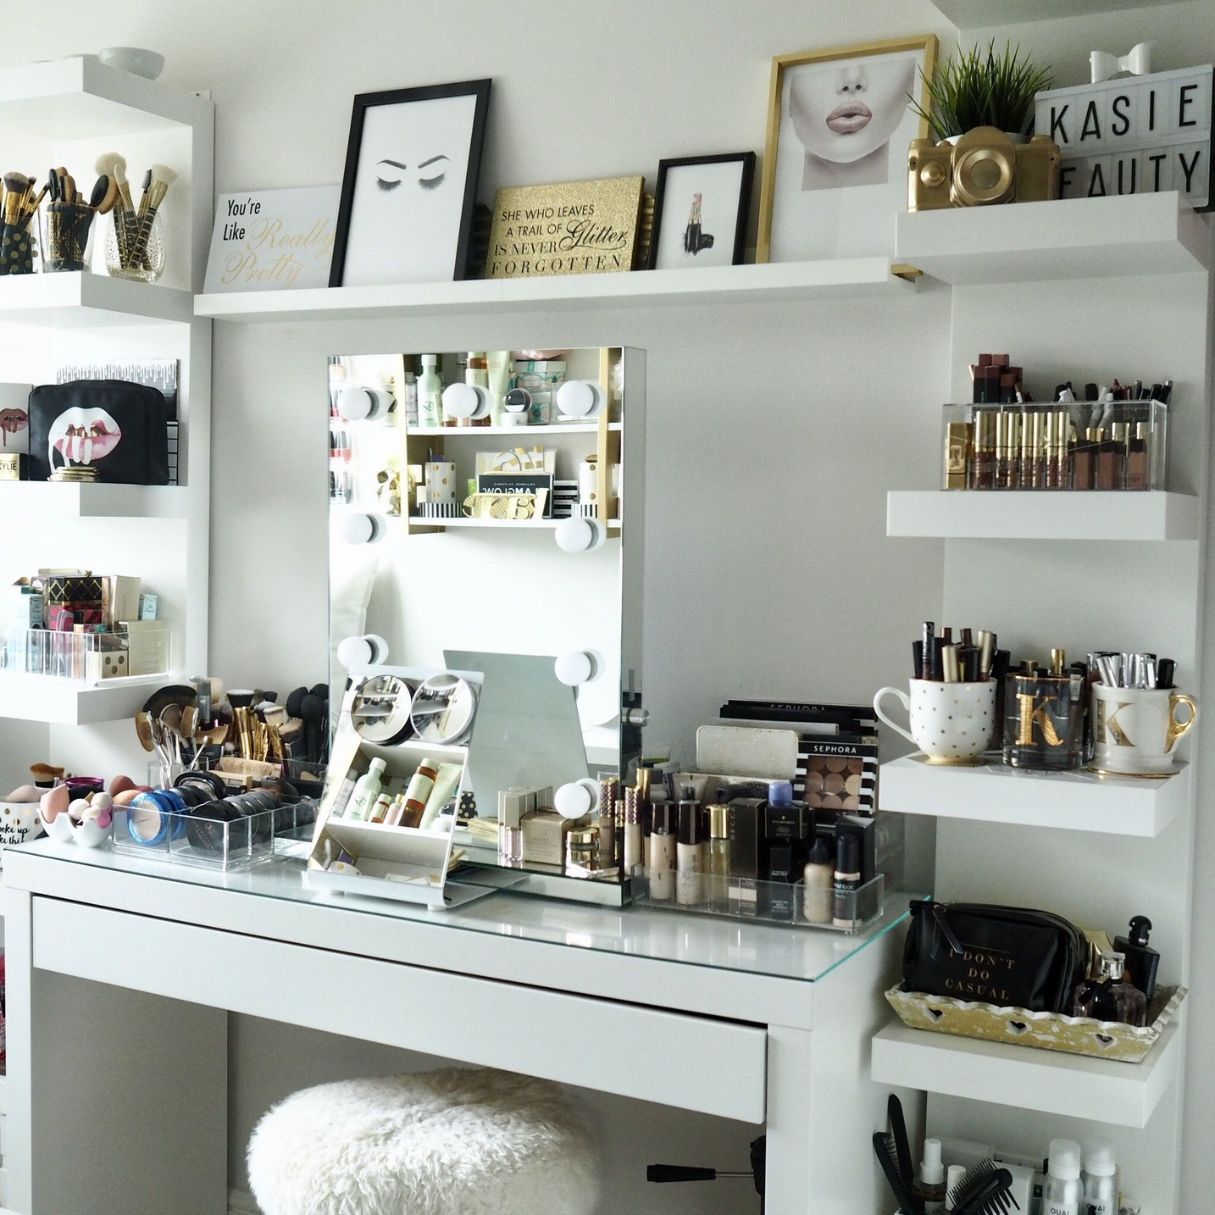
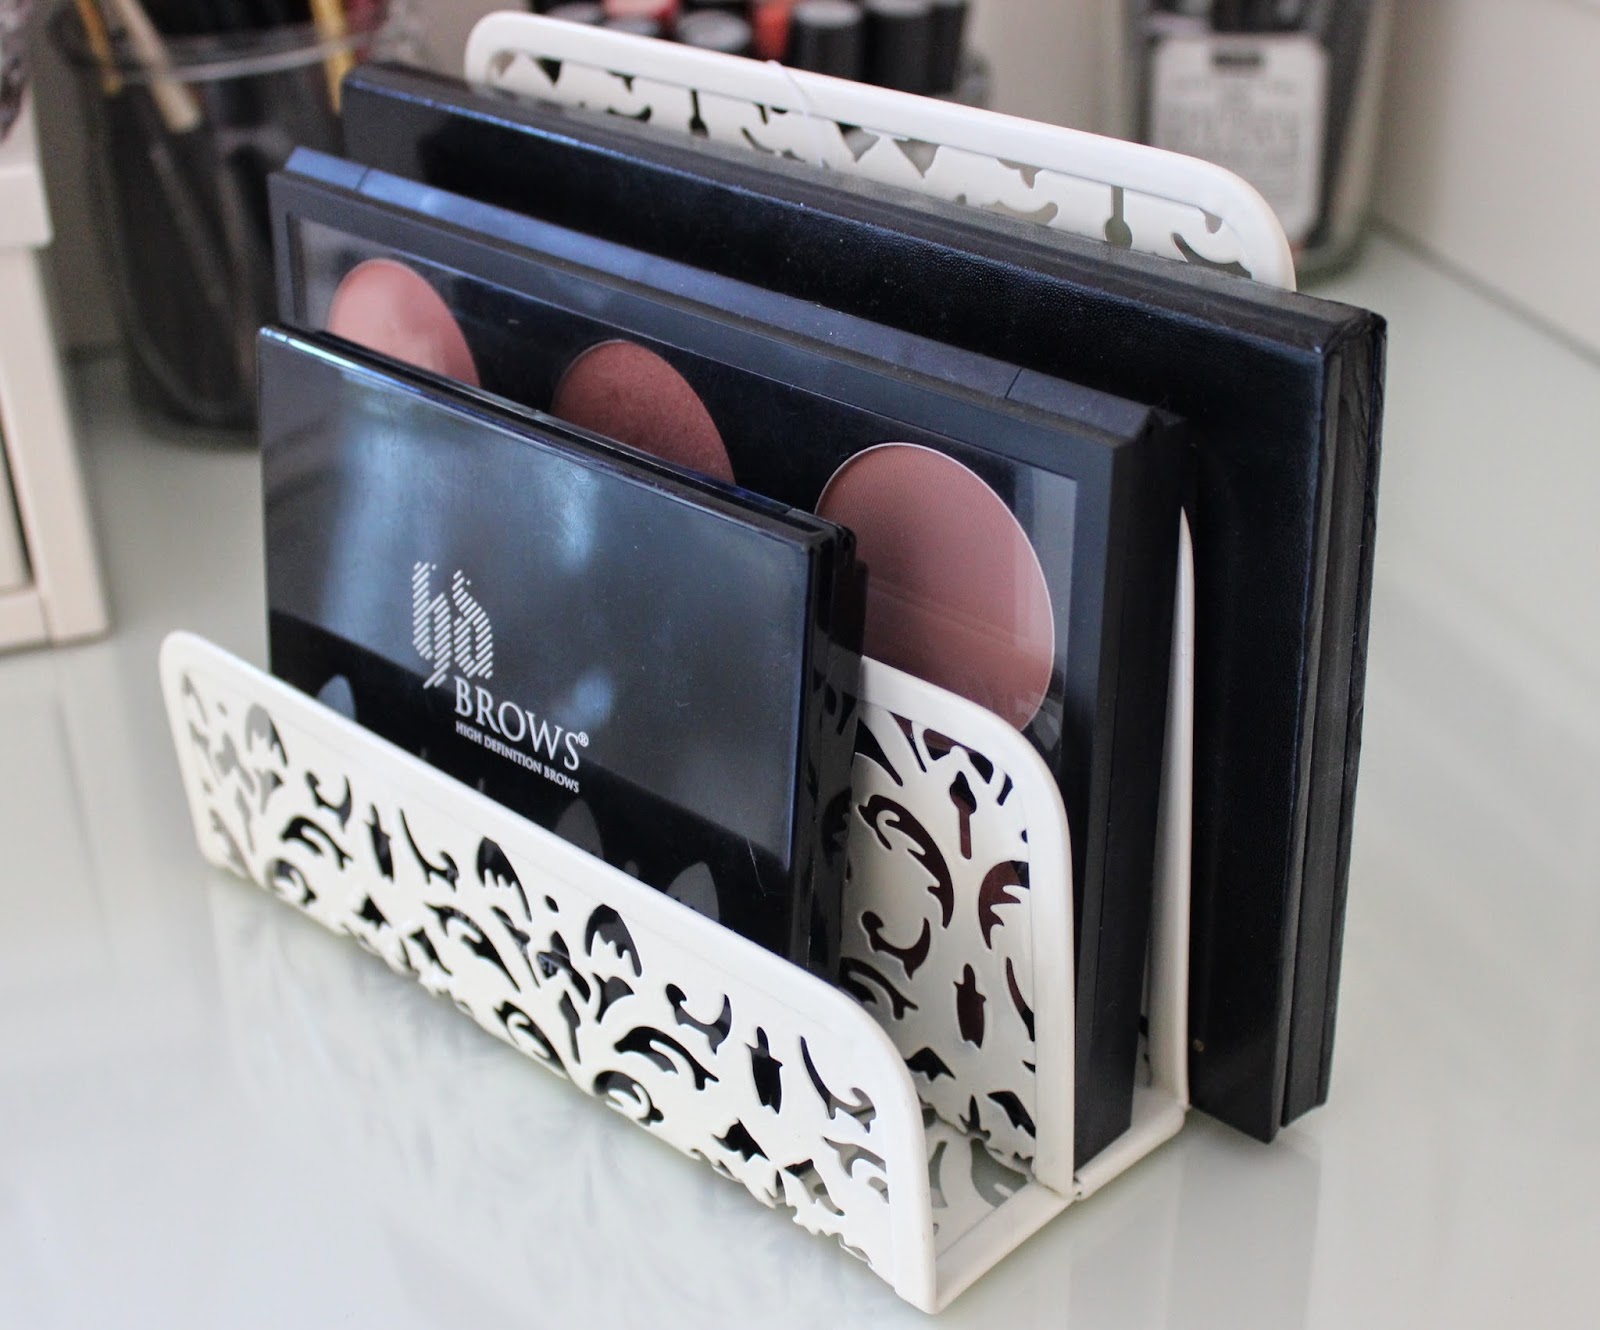
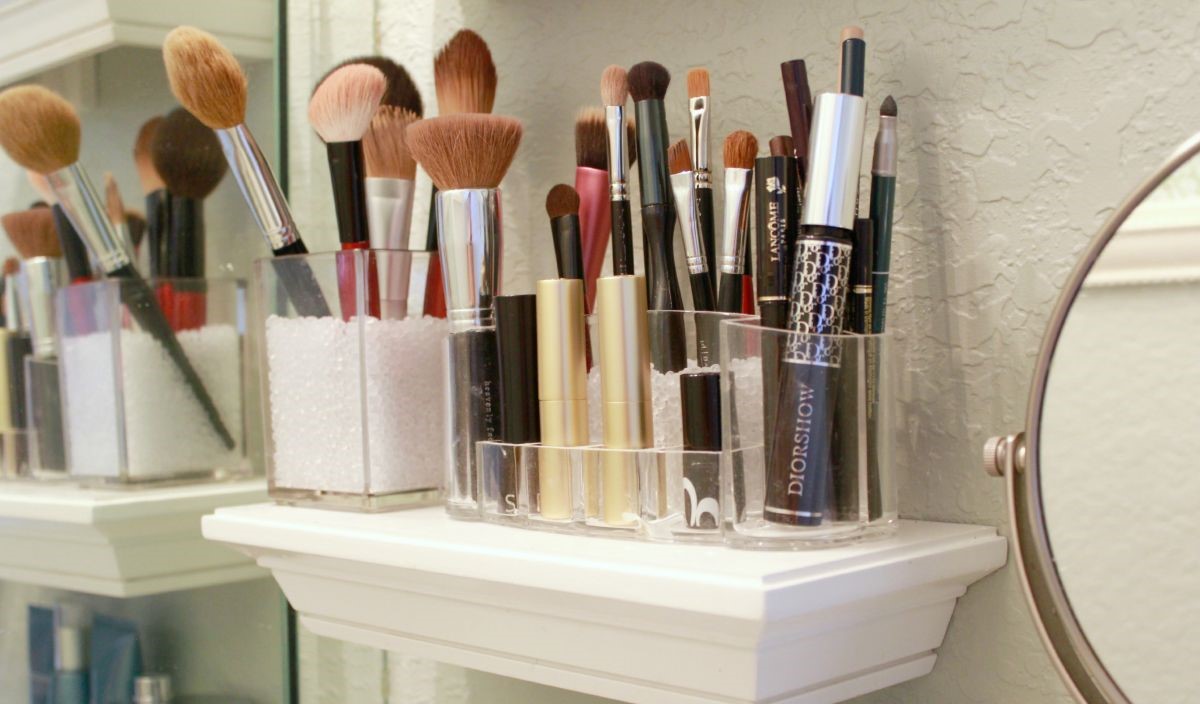
- Organize and accessorize: Arrange your makeup, beauty products, and accessories on the shelves and in the drawers. Utilize storage containers, dividers, or organizers to keep everything neat and accessible. Consider adding a jewelry organizer or a small tray for frequently used items.
- Seating: If you plan to use a stool or chair with your vanity, select one that complements the style and height of your vanity. Make sure it is comfortable and allows you to sit at a suitable height for easy makeup application.
Congratulations! You have successfully completed all the steps to build your own vanity makeup station. Take a moment to admire your craftsmanship and creativity. Your vanity is now ready to be enjoyed as a functional and stylish space where you can indulge in your beauty routine and express your personal flair.
Remember to maintain and clean your vanity regularly to preserve its beauty and functionality. Enjoy the process of getting ready in your personalized makeup station and embrace the confidence and creativity it brings to your daily routine.
Conclusion
Building your own vanity makeup station is a rewarding and exciting DIY project that allows you to create a personalized space for all your beauty needs. By following the step-by-step guide outlined in this article, you have learned how to gather materials, measure and plan, cut and assemble the frame, attach legs and support, add drawers and shelves, create a vanity top, and apply the finishing touches. Throughout the process, you have infused your creativity and personal style to create a vanity that is both functional and visually appealing.
Having a vanity makeup station provides you with a dedicated space where you can pamper yourself, unleash your creativity, and transform into your most confident self. From applying makeup to styling your hair, this vanity will be your go-to place for all things beauty-related.
Remember to personalize your vanity with decorative elements, organize your beauty products, and create a comfortable and inviting atmosphere. Lighting and seating are also important considerations to ensure that you have proper illumination and a comfortable spot to get ready.
As you enjoy your newly built vanity, make sure to maintain and clean it regularly to preserve its beauty and functionality. Embrace the joy and confidence that come with having your own vanity makeup station, and let it inspire you to express your individuality and beauty in new and exciting ways every day.
Now, go ahead and enjoy your personalized sanctuary where beauty meets creativity!
Frequently Asked Questions about How To Build A Makeup Vanity
Was this page helpful?
At Storables.com, we guarantee accurate and reliable information. Our content, validated by Expert Board Contributors, is crafted following stringent Editorial Policies. We're committed to providing you with well-researched, expert-backed insights for all your informational needs.


0 thoughts on “How To Build A Makeup Vanity”