Articles
How To Build Vanity Table
Modified: October 31, 2024
Discover helpful articles on how to build your own vanity table. Get step-by-step instructions and design inspiration for your DIY project.
(Many of the links in this article redirect to a specific reviewed product. Your purchase of these products through affiliate links helps to generate commission for Storables.com, at no extra cost. Learn more)
Introduction
Building a vanity table can be an exciting and rewarding DIY project. Whether you are looking for a stylish and functional addition to your bedroom or a dedicated space to pamper yourself, creating your own vanity table allows you to customize it to your personal taste and needs. Not only will you have a beautiful piece of furniture, but you will also have the satisfaction of knowing that you built it with your own hands.
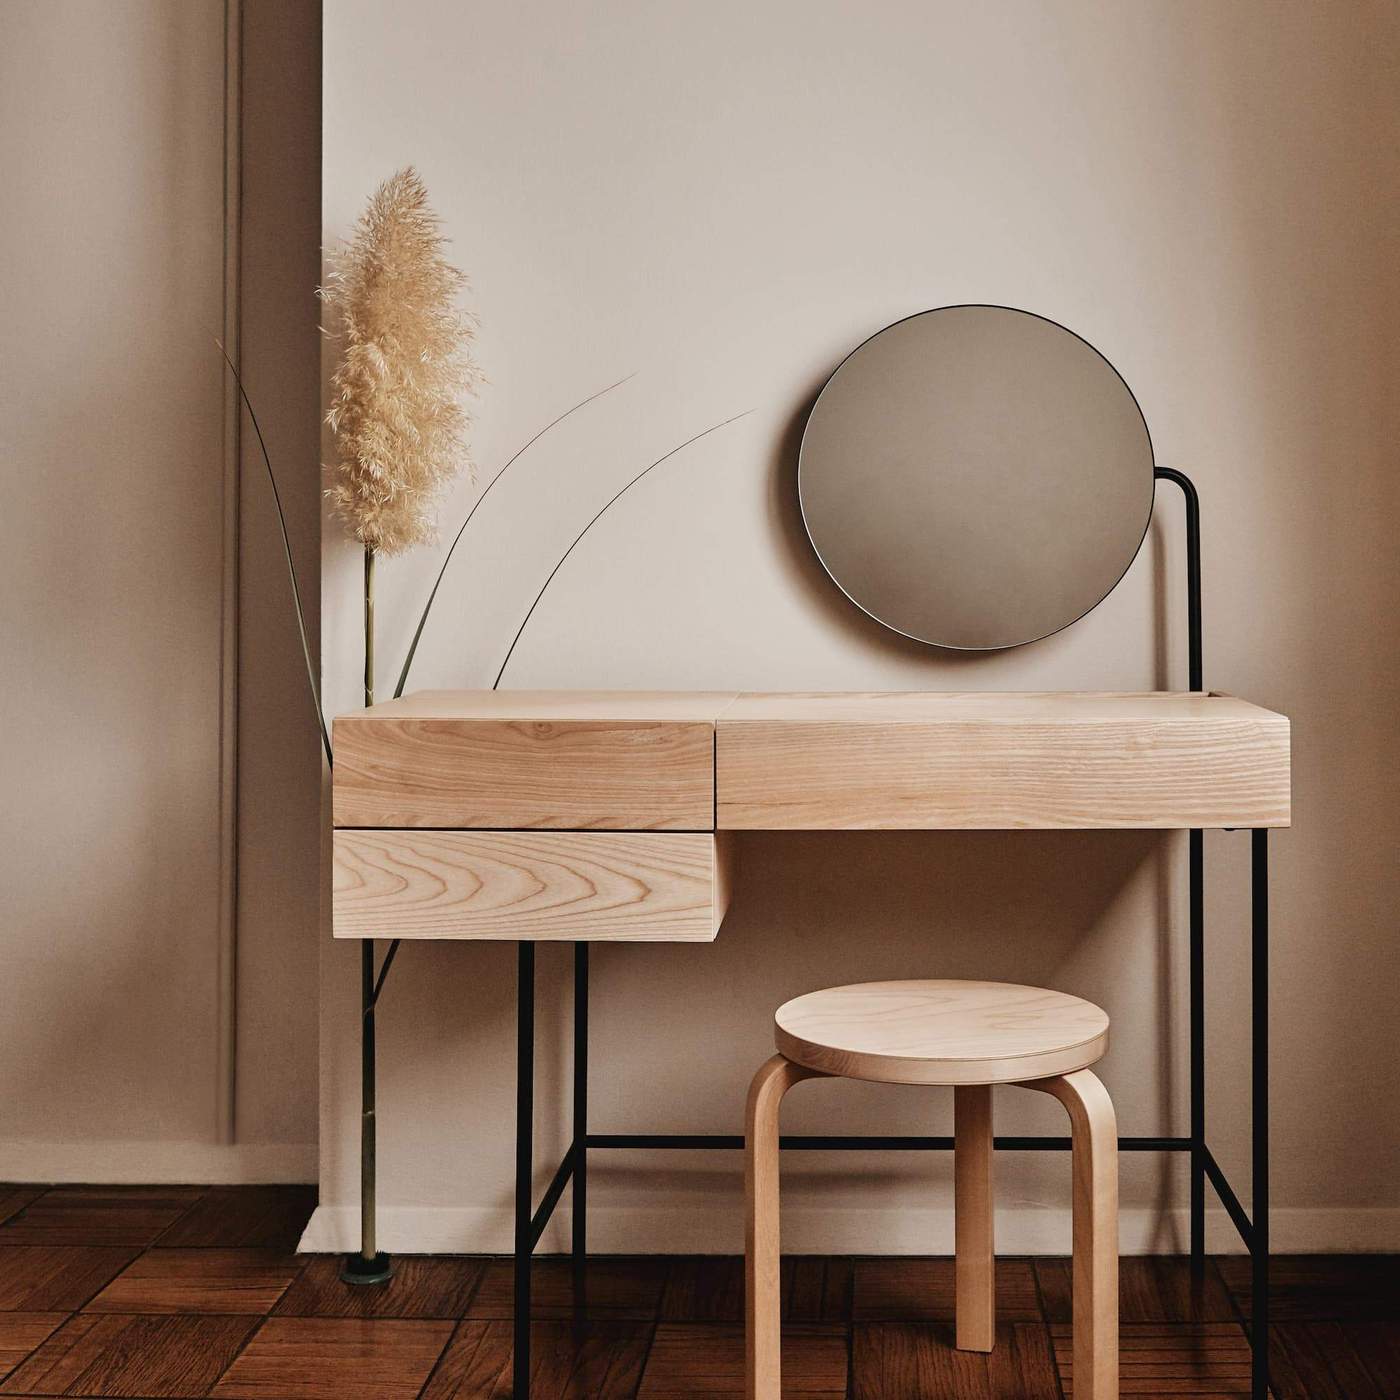
A vanity table serves as a dedicated space for getting ready and applying makeup. It typically consists of a table or desk-like surface with drawers or shelves for storage, a mirror, and adequate lighting. By having a vanity table, you can keep your beauty essentials organized and easily accessible, creating a makeup station that reflects your personal style.
In this article, we will guide you through the process of building a vanity table step-by-step. We will cover everything from gathering the necessary materials and tools to choosing the design, measurements, and installation. By following these instructions, you will be well-equipped to create a stunning vanity table that fits perfectly into your space and meets your specific requirements.
Before you begin, it’s important to note that building a vanity table requires a basic understanding of woodworking and the use of tools. If you are unfamiliar with these skills, it might be beneficial to seek assistance from a more experienced individual or take some time to learn the basics. Additionally, make sure to work in a well-ventilated area and wear appropriate safety gear, such as goggles and gloves.
Now, let’s dive into the step-by-step process of building your very own vanity table. Get ready to channel your inner DIY enthusiast and create a functional and stylish vanity table that will make you feel like a beauty queen every time you use it.
Key Takeaways:
- Building a vanity table is a rewarding DIY project that allows for personalization and creativity. From gathering materials to organizing and decorating, the process results in a functional and stylish space for beauty routines.
- Safety, precision, and attention to detail are crucial when building a vanity table. By following step-by-step instructions and adding personal touches, the end result reflects individual style and enhances daily self-care routines.
Read more: How To Build A Makeup Vanity
Step 1: Gather Materials and Tools
Before you can start building your vanity table, it is essential to gather all the necessary materials and tools. Having everything ready beforehand will ensure a smooth and efficient construction process. Here are the materials and tools you will need:
Materials:
- Wood boards or plywood for the tabletop, legs, and frame
- Screws or nails for assembly
- Drawer slides (if adding drawers)
- Vanity top (such as marble or glass)
- Decorative hardware (such as drawer knobs or handles)
- Sandpaper
- Wood filler
- Primer and paint
- Wood glue (optional)
Tools:
- Measuring tape
- Pencil
- Saw (such as a circular saw or miter saw)
- Drill or screwdriver
- Hammer
- Sander or sanding block
- Paintbrush or roller
- Level
When choosing the wood for your vanity table, consider the durability and aesthetic appeal. Hardwoods like oak or maple are excellent choices for their strength and natural beauty. If you prefer a more budget-friendly option, plywood can also work well.
Measure the available space in your room to determine the dimensions of your vanity table. Consider the height, width, and depth that will best suit your needs and fit in the designated area.
Once you have gathered all the necessary materials and tools, you are ready to move on to the next step: choosing the design and measurements for your vanity table. Remember, careful planning and precise measurements are key to a successful project that meets your expectations.
Step 2: Choose the Design and Measurements
Choosing the design and measurements for your vanity table is an exciting step that allows you to unleash your creativity and personal style. Consider the overall aesthetic of your space and select a design that complements your existing decor. Here are some design considerations to keep in mind:
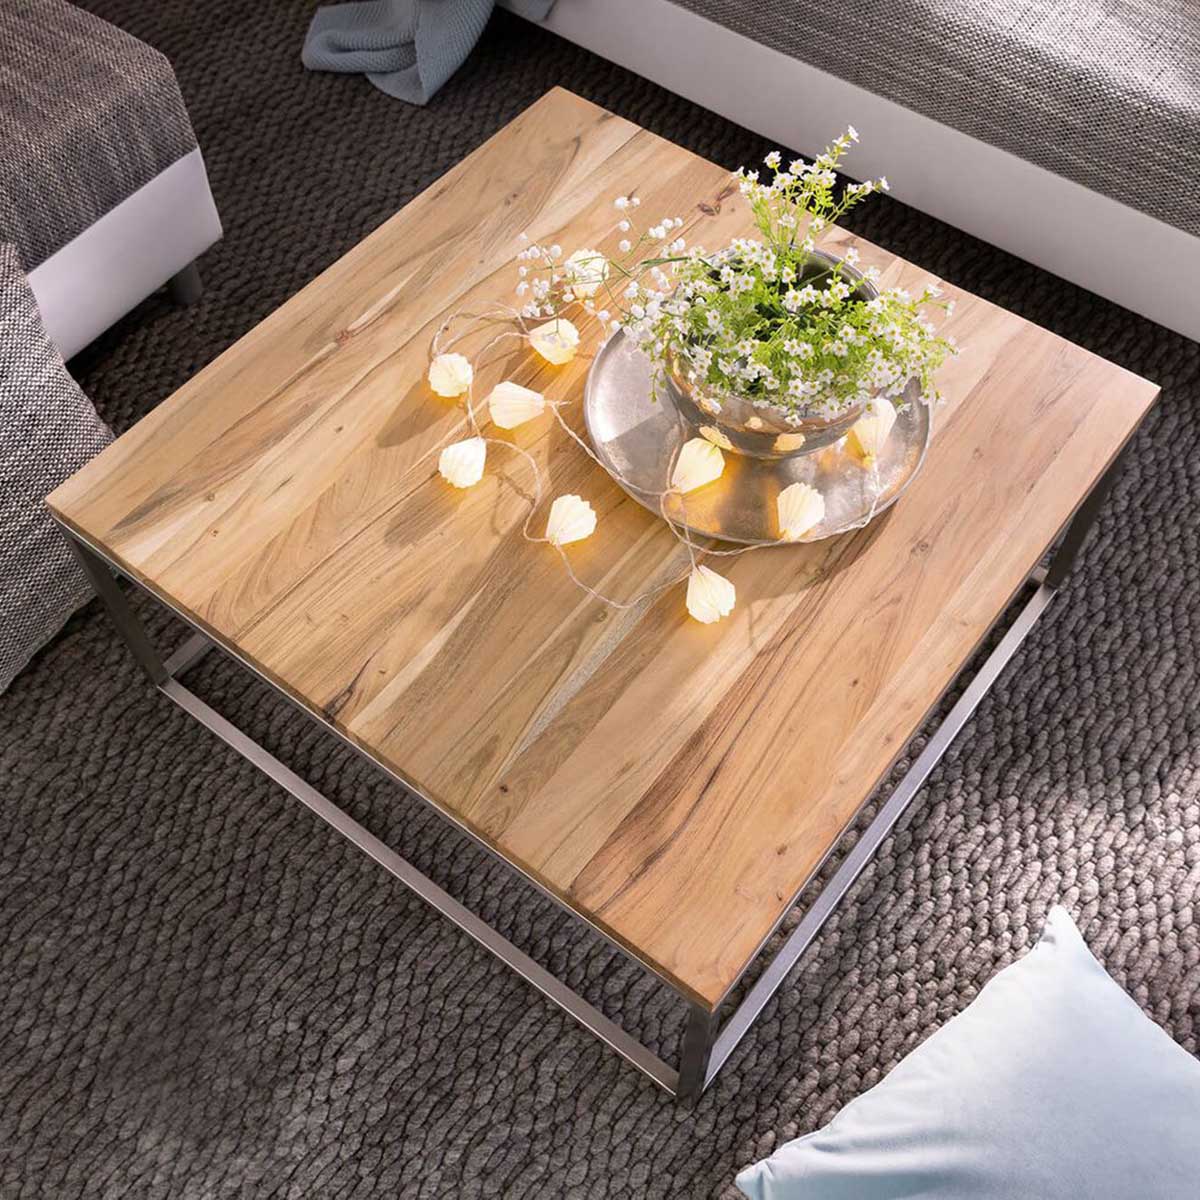
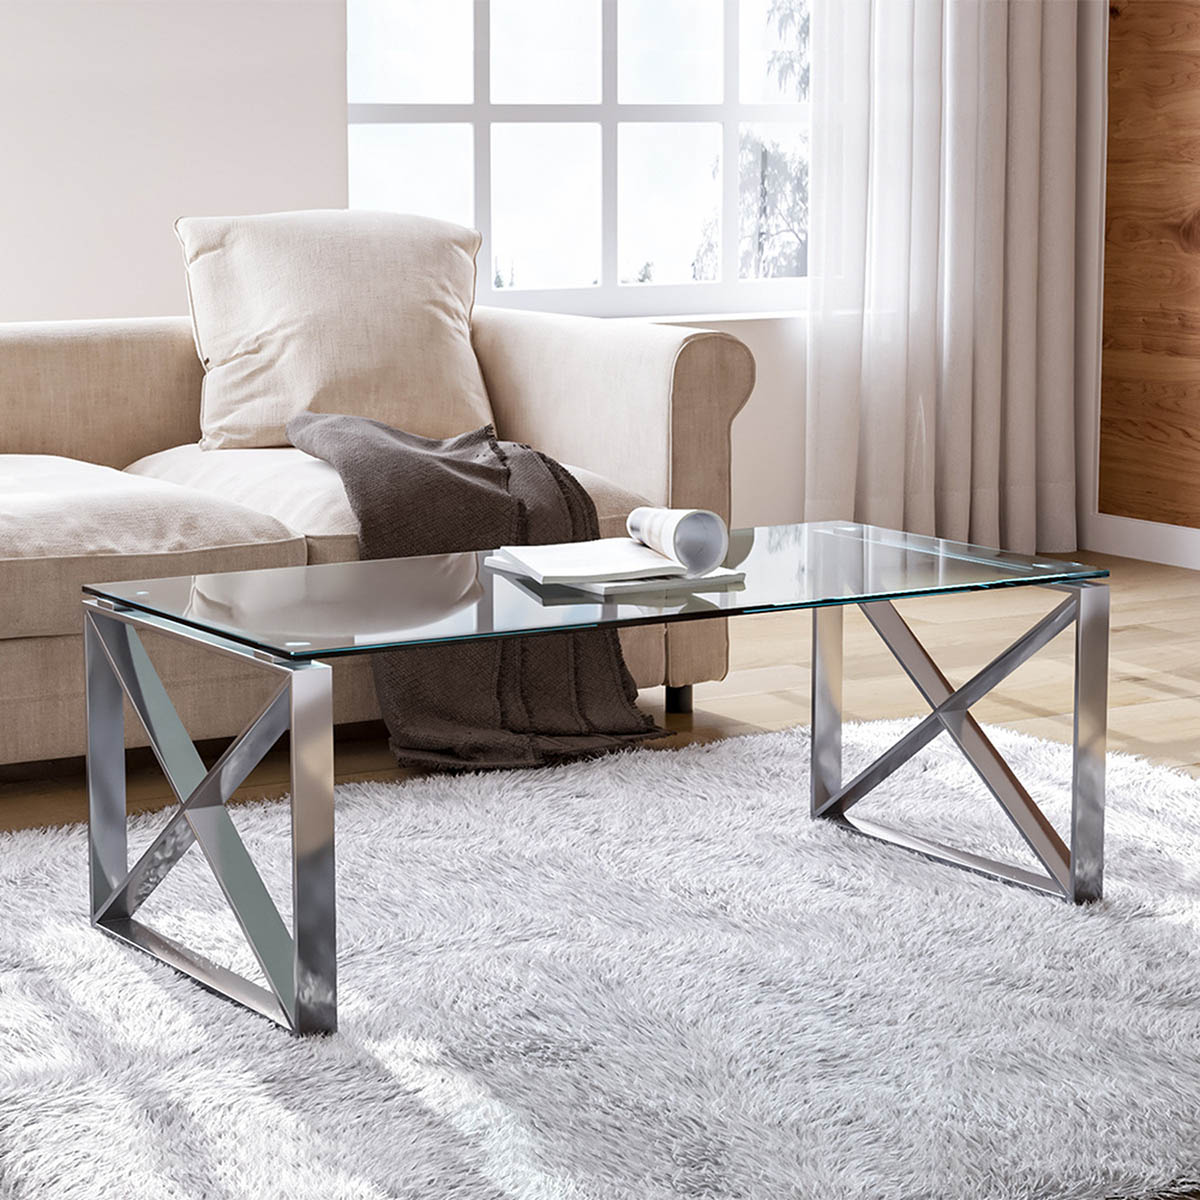
1. Tabletop Size and Shape: Decide on the size and shape of the tabletop based on your available space and desired functionality. A rectangular or square tabletop is a classic choice, while a round or oval shape can add a touch of elegance.
2. Style: Determine the style of your vanity table, whether it’s modern, rustic, vintage, or traditional. Consider the materials, finishes, and decorative elements that will best achieve your desired look.
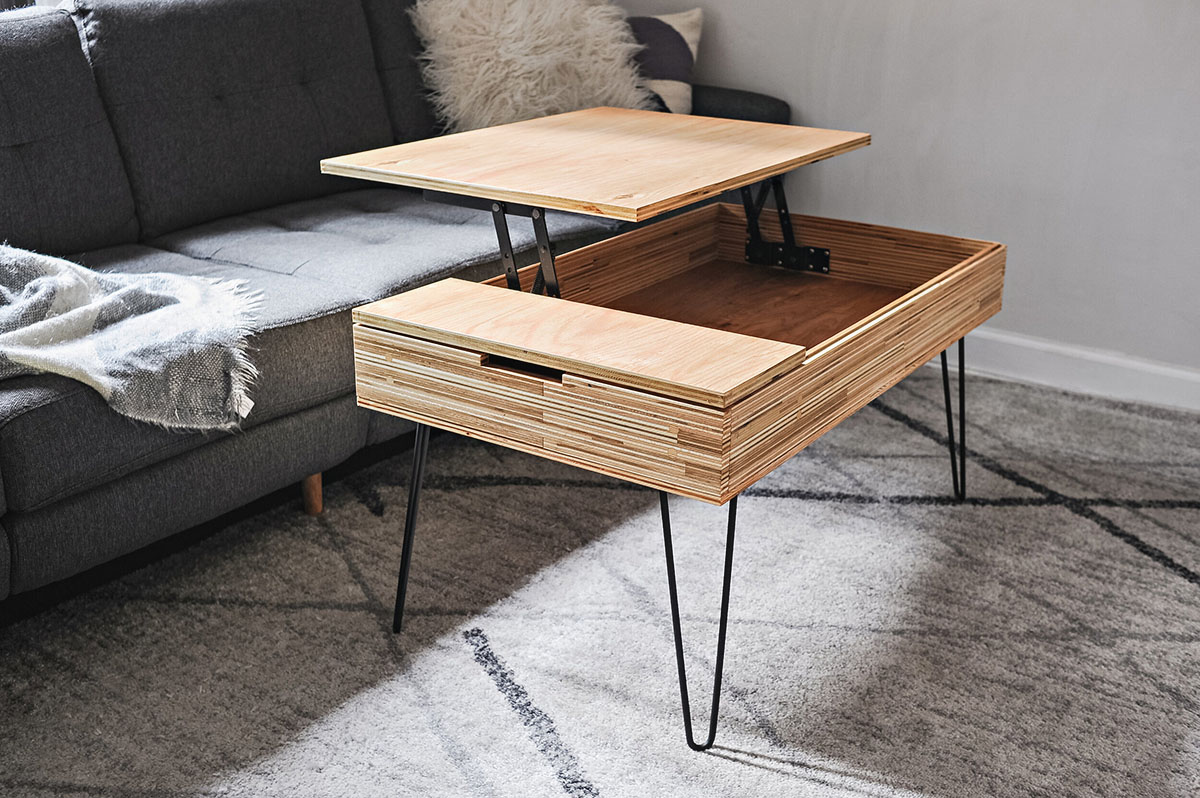
3. Storage: Consider whether you want drawers, shelves, or a combination of both for storage. Drawers are ideal for organizing makeup, brushes, and accessories, while shelves can hold larger items or display decorative pieces.
4. Mirror Placement: Think about whether you want the mirror attached to the tabletop or mounted on the wall behind the table. Each placement option offers a different aesthetic and functionality, so choose one that suits your needs.
Once you have a clear vision of the design, it’s time to take accurate measurements. Measure the height, width, and depth of the tabletop as well as any additional storage components. Ensure that the measurements align with your available space and the proportions of your vanity table design.
Consider ergonomic factors while determining the height of your vanity table. It should be comfortable for you to sit and use the table without straining your back or neck. A typical vanity table height ranges from 28 to 30 inches, but you can adjust it to best suit your preferences.
Create a detailed sketch or use design software to visualize your vanity table. This will help you see how all the elements come together and make any necessary adjustments before proceeding to the next steps.
By carefully considering the design and taking precise measurements, you can ensure that your vanity table is not only functional but also aesthetically pleasing. Now that your design plan is finalized, it’s time to move on to the next step: preparing the materials for construction.
Step 3: Prepare the Materials
With the design and measurements of your vanity table finalized, it’s time to prepare the materials for construction. Proper preparation ensures that the materials are ready for assembly and helps create a seamless and durable end product. Here is a step-by-step guide on preparing the materials for your vanity table:
1. Acquire the Wood: Purchase the necessary wood boards or plywood according to your design and measurements. Ensure that the wood is of high quality, free from knots or defects, and cut to the desired dimensions. If needed, have the wood cut at a hardware store or use a saw to cut it yourself.
2. Smooth the Edges: Use sandpaper or a sanding block to smooth any rough edges or splinters on the wood. This step ensures that the vanity table is safe to use and prevents any snagging or discomfort when working with the table.
3. Drill Pilot Holes: For the areas where you will be attaching screws or nails, pre-drill pilot holes. This step prevents the wood from splitting and makes assembly easier. Use an appropriate-sized drill bit for the screws or nails you will be using.
4. Apply Wood Filler: If there are any gaps, holes, or imperfections on the wood surface, fill them using wood filler. Smooth out the filler with a putty knife and let it dry according to the manufacturer’s instructions. Sand the filled areas until they are even with the surrounding wood surface.
5. Prime the Wood (Optional): If you plan to paint or stain your vanity table, it is recommended to apply a layer of primer to the wood. Primer helps create an even base and enhances the adhesion of the paint or stain. Follow the instructions on the primer can for the application and drying time.
6. Gather Additional Materials: Aside from the wood, gather the necessary hardware such as screws, nails, drawer slides, and decorative knobs or handles. Ensure that you have all the required materials on hand before moving on to the assembly phase.
By properly preparing the materials, you set the stage for a successful construction process. Taking the time to smooth the edges, drill pilot holes, and apply wood filler ensures that the wood is ready for assembly and provides a sturdy foundation for your vanity table. With the materials prepared, you are now ready to proceed to the next step: assembling the frame of the vanity table.
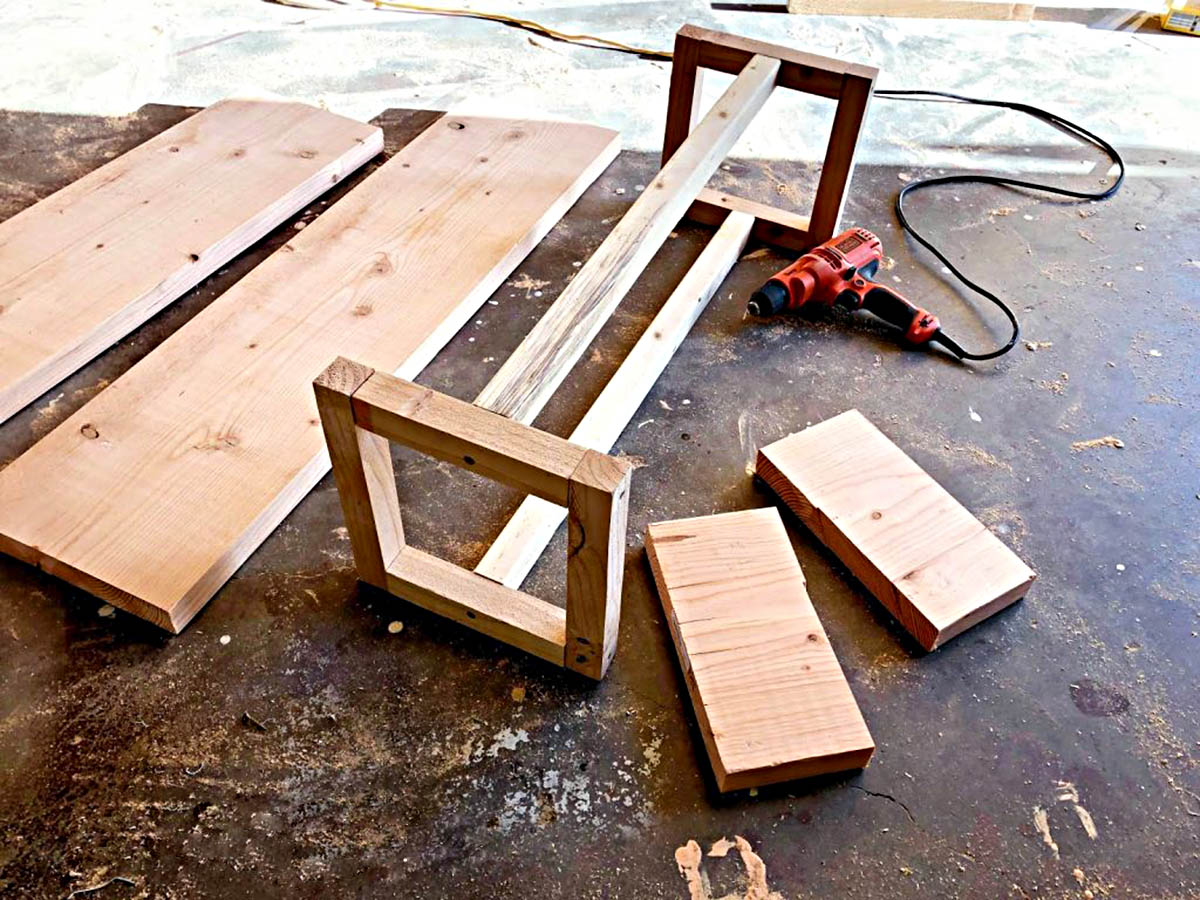
Step 4: Assemble the Frame
Assembling the frame of your vanity table is an important step that forms the foundation of the entire structure. The frame provides stability and support for the tabletop, drawers, and other components. Follow these steps to assemble the frame of your vanity table:
1. Lay out the Wood Pieces: Begin by laying out the wood pieces for the frame according to your design and measurements. Arrange them in the shape of the vanity table, ensuring that each piece is placed correctly and aligned properly.
2. Attach the Legs: Start by attaching the legs to the tabletop. Position the legs at each corner and use screws or nails to secure them in place. Make sure the legs are flush with the edges of the tabletop and level.
3. Add the Side Rails: Attach the side rails of the frame, connecting the legs on each side of the table. Use screws or nails to secure the side rails to the legs. Double-check for alignment and ensure that the rails are attached securely.
4. Install the Backboard: If desired, add a backboard to the vanity table. This can be a panel of wood that provides additional support and aesthetic appeal. Attach the backboard to the backside of the frame using screws or nails.
5. Reinforce the Frame: To strengthen the frame, consider adding additional support pieces. These can be placed diagonally between the legs or as cross supports underneath the tabletop. Use screws or nails to secure them in place.
6. Check for Stability: Once the frame is assembled, check for stability and make any necessary adjustments. Ensure that the frame is level and doesn’t wobble or sway. Reinforce any weak spots if needed.
It’s important to carefully follow the assembly instructions and use the appropriate screws or nails for each connection. Avoid over-tightening screws or nails, as this can weaken the wood or cause it to split. If desired, you can also reinforce the frame with wood glue for added durability and stability.
By properly assembling the frame of your vanity table, you create a solid structure that will support the weight of the tabletop, drawers, and other components. With the frame complete, it’s time to move on to the next step: adding the legs and supports to further enhance the stability and functionality of your vanity table.
Read more: How To Build A Bathroom Vanity With Drawers
Step 5: Add the Legs and Supports
Adding legs and supports to your vanity table not only enhances its stability, but it also contributes to the overall aesthetic appeal. The legs provide elevation and support, while the additional supports help distribute the weight evenly. Follow these steps to add legs and supports to your vanity table:
1. Determine Leg Placement: Decide where you want to position the legs on your vanity table. Typically, legs are placed at each corner, but depending on your design, you may want to add additional legs for extra support in the middle.
2. Attach the Legs: With the leg locations determined, use screws or nails to attach the legs to the frame. Ensure that the legs are securely fastened and aligned properly to maintain a level surface. Use a level to double-check the alignment.
3. Add Support Beams: For added stability, consider adding support beams between the legs or in the center of the vanity table. These support beams can be installed horizontally or diagonally, depending on your design preference. Attach them securely using screws or nails.
4. Test Stability: After attaching the legs and support beams, test the stability of your vanity table. Apply pressure from different angles to ensure it remains sturdy and balanced. Make any necessary adjustments or reinforce weak areas if needed.
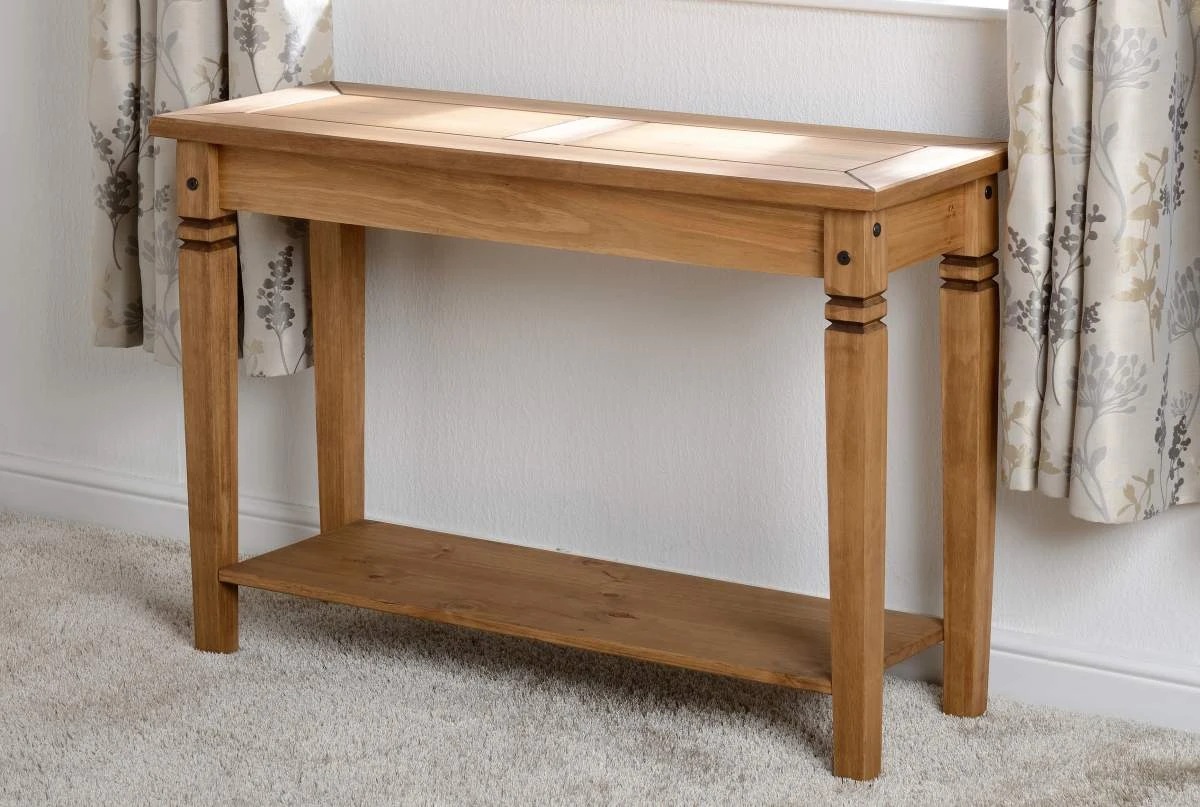
When selecting legs for your vanity table, consider the style and height that best complements your overall design. There are various options to choose from, such as decorative turned legs, sleek metal legs, or minimalist wooden legs. Ensure that the legs are of appropriate height and provide ample support for the weight of the tabletop and any additional components.
Adding supports, such as support beams, is particularly important if your vanity table is large or has a heavy tabletop. These supports help distribute the weight evenly and prevent sagging or instability over time.
Remember to carefully follow the instructions for attaching the legs and supports, using the recommended screws or nails for each connection. Take your time to ensure that everything is securely fastened and aligned correctly.
By adding legs and supports to your vanity table, you not only enhance its stability but also contribute to its overall visual appeal. With this step complete, you are now ready to move on to the next step: installing the vanity top and creating a functional and stylish platform to work on.
When building a vanity table, consider using a large mirror to create a focal point, and incorporate plenty of storage for makeup and accessories.
Step 6: Install the Vanity Top
Installing the vanity top is a crucial step in completing your vanity table. The vanity top serves as the working surface and adds a touch of elegance to the overall design. Follow these steps to properly install the vanity top:
1. Prepare the Vanity Base: Ensure that the vanity base is clean and free from any dust or debris. Use a damp cloth to wipe down the surface and remove any dirt or residue.
2. Position the Vanity Top: Carefully place the vanity top onto the base, aligning it with the edges of the frame. Take your time to center the vanity top and ensure that it is level.
3. Attach the Vanity Top: Depending on the type of vanity top you have, there are different methods of attachment. If using a marble or stone top, apply a thin layer of silicone adhesive around the edges of the vanity base. Gently press the vanity top onto the base, allowing the adhesive to bond. Use clamps or heavy objects to hold the top in place until the adhesive dries. If using a glass or wooden top, you can use screws or brackets for secure attachment. Pre-drill pilot holes and fasten the top to the base using the appropriate hardware.
4. Check for stability: Once the vanity top is attached, check for stability and adjust if necessary. Ensure that the top is securely and evenly fastened to the base, with no wobbling or unevenness.
5. Clean and Seal (if applicable): If you have a marble or stone top, clean it with a mild cleanser and water, making sure to remove any adhesive residue. Apply a stone sealer according to the manufacturer’s instructions to protect the surface from stains and spills. For glass or wooden tops, clean with a suitable cleaner or polish to maintain their appearance.
Properly installing the vanity top not only provides a functional and aesthetically pleasing surface but also ensures the longevity of your vanity table. Take your time during this step to ensure that the vanity top is aligned correctly and securely attached to the base.
Keep in mind that each type of vanity top may require different attachment methods or precautions. Refer to the manufacturer’s instructions or consult with a professional if you are unsure of the proper installation process.
After installing the vanity top, your vanity table is starting to take shape. The next step will involve adding drawers or shelves for storage, providing you with a convenient and organized space to store your beauty essentials.
Step 7: Attach Drawers or Shelves
Attaching drawers or shelves to your vanity table adds functionality and storage space, allowing you to keep your beauty essentials organized and easily accessible. Follow these steps to attach drawers or shelves to your vanity table:
1. Measure and Mark: Determine the desired placement of the drawers or shelves on your vanity table. Use a measuring tape to ensure accurate alignment and spacing. Mark the positions with a pencil or masking tape.
2. Install Drawer Slides (if applicable): If adding drawers to your vanity table, install drawer slides for smooth and easy opening and closing. Follow the manufacturer’s instructions for installing the slides. Typically, you will attach one slide to the inside of the vanity table frame and the other to the side of the drawer. Ensure that the slides are properly aligned and securely attached.
3. Attach Drawers or Shelves: Place the drawers or shelves onto the slides or supports, positioning them in the marked areas. For drawers, gently slide them onto the installed drawer slides. Ensure that they fit snugly and operate smoothly. For shelves, secure them to the supports using screws or nails, ensuring they are level and sturdy.
4. Test and Adjust: Test the drawers or shelves to ensure they function properly. Slide the drawers in and out to check for smooth movement and proper alignment. Adjust the positioning or make any necessary modifications to ensure everything is in order.
5. Consider Dividers or Organizers (optional): To further maximize storage and organization, you may choose to add dividers or organizers inside the drawers or on the shelves. This will help separate and categorize your beauty products, making them easily accessible.
By attaching drawers or shelves to your vanity table, you create a practical and organized space for your beauty essentials. The storage options you choose will depend on your personal preferences and needs. Whether you opt for drawers to keep items hidden or open shelves for quick access, ensure that they are securely attached and properly aligned.
Take your time during this step to ensure that the drawers or shelves are correctly positioned and operated smoothly. This will contribute to the overall functionality and attractiveness of your vanity table.
With the drawers or shelves in place, you are one step closer to completing your vanity table. The next step will involve sanding, painting, and finishing the surface to achieve the desired appearance and protect the wood.
Step 8: Sand, Paint, and Finish
Sanding, painting, and finishing are crucial steps in the construction of your vanity table. These tasks not only enhance the aesthetic appeal but also protect the surface from wear and tear. Follow these steps to achieve a smooth, finished look:
1. Sand the Surface: Begin by sanding the entire surface of the vanity table, including the frame, legs, and drawers or shelves if applicable. Use sandpaper or a sander to remove any rough spots, imperfections, or splinters. Start with a coarse grit sandpaper and gradually move to a finer grit for a smooth finish.
2. Remove Sanding Dust: After sanding, wipe down the vanity table with a clean, damp cloth to remove any residual dust. This step ensures a clean surface for painting and finishing.
3. Apply Primer (if desired): If you plan to paint the vanity table, applying a primer is highly recommended. Primer creates a smooth, even base for the paint and helps improve its adhesion. Apply the primer according to the manufacturer’s instructions and let it dry fully before proceeding.
4. Paint the Vanity Table: Choose a paint color that matches your desired aesthetic and complements the overall style of your room. Apply the paint in thin, even coats using a paintbrush or roller, following the direction of the wood grain. Allow each coat to dry completely before applying subsequent coats. For added durability, consider using a satin or semi-gloss finish paint.
5. Apply a Protective Finish: Once the paint is dry, apply a protective finish to seal the surface and enhance durability. Choose a finish suitable for the type of paint used, such as a polyurethane or varnish. Apply the finish according to the manufacturer’s instructions, allowing proper drying time between coats.
6. Sand and Repeat (optional): For an ultra-smooth finish, you may choose to lightly sand the painted and finished surface between coats of protective finish. This step helps to remove any imperfections, such as brush marks, and create a flawlessly smooth surface.
Remember to work in a well-ventilated area and follow safety precautions, such as wearing a dust mask and protective eyewear, when sanding and painting. Take your time during the painting and finishing process to ensure precise application and a professional-looking result.
Once the paint and protective finish have dried completely, your vanity table will not only be visually appealing but also durable and resistant to everyday use. The next step will involve adding a mirror and lighting to complete the functionality and aesthetics of your vanity table.
Read more: How To Build Your Own Bathroom Vanity
Step 9: Add Mirror and Lighting
Adding a mirror and lighting to your vanity table is essential for creating a functional and well-lit space to apply makeup and get ready. Follow these steps to incorporate the mirror and lighting elements:
1. Choose the Mirror: Select a mirror that fits the style and dimensions of your vanity table. Consider factors such as size, shape, and frame design. You can opt for a standalone mirror, a wall-mounted mirror, or even a mirror with built-in lights.
2. Position the Mirror: Determine the ideal placement for the mirror on your vanity table. Most commonly, the mirror is centered and positioned slightly above the tabletop. Use a measuring tape and level to ensure accurate placement.
3. Secure the Mirror: Depending on the type of mirror you have chosen, you can secure it to the vanity table or mount it on the wall behind the table. Follow the manufacturer’s instructions for proper installation. Use screws, brackets, or adhesive to securely attach the mirror to the desired location.
4. Add Lighting: Adequate lighting plays a significant role in achieving optimal visibility while applying makeup. There are several options for lighting your vanity table. You can consider:
– Overhead Lighting: Install ceiling lights or recessed lighting above the vanity table to provide overall illumination. This type of lighting helps evenly light up the entire space.
– Vanity Lights: Install vanity lights on either side or above the mirror to provide focused and directional lighting. Choose fixtures that provide ample brightness and flattering light color for accurate makeup application.
– Task Lighting: If you have specific areas on your vanity table dedicated to certain tasks, such as a magnifying mirror for precise eyebrow grooming, consider adding task lighting like adjustable desk lamps or spotlights to those areas.
5. Electrical Considerations: If you opt for hardwired lighting, consult with a professional electrician to ensure proper installation. If using plug-in lighting fixtures, make sure you have access to nearby electrical outlets or use extension cords safely.
Ensure that the lighting design complements the style and functionality of your vanity table. It’s important to have a balance between ambient lighting for overall illumination and task lighting for specific makeup application needs.
By adding a mirror and lighting to your vanity table, you create a well-lit and practical space that makes getting ready a breeze. Remember to test the lighting before finalizing the installation to ensure proper positioning and functionality.
With the mirror and lighting in place, your vanity table is almost complete. The final step will involve organizing and decorating the table to personalize and add the finishing touches to your vanity setup.
Step 10: Organize and Decorate
The final step in building your vanity table is to organize and decorate it to reflect your personal style and create an inviting and functional space. Here are some tips to help you organize and decorate your vanity table:
1. Arrange Essential Items: Start by arranging your essential beauty items on the table in an organized and accessible manner. Consider using organizers, trays, or dividers to keep items neatly separated. This includes makeup products, brushes, skincare essentials, and any other items you reach for daily.
2. Utilize Drawer Space: If your vanity table has drawers, take advantage of the extra storage. Sort and organize your items in the drawers, using dividers or containers to keep them in order. Consider dedicating drawers to specific categories, such as one for makeup and another for skincare.
3. Incorporate Decorative Elements: Add decorative elements to enhance the visual appeal of your vanity table. This can include small plants, candles, picture frames, or decorative storage boxes. Choose items that match your overall aesthetic and bring joy to your space.
4. Personalize with a Vanity Mirror Stand: Consider adding a vanity mirror stand, which can hold smaller mirrors, brushes, or even your phone for easy access. This not only adds functionality but also adds a touch of elegance to your vanity table.
5. Keep it Clean and Clutter-Free: Regularly clean and declutter your vanity table to maintain a tidy and inviting space. Wipe down the surface with a gentle cleaner, and put away any items that are not in use.
6. Personal Touches: Add personal touches that reflect your personality and style. Display your favorite perfume bottles, a collection of trinkets, or sentimental items that bring joy and inspiration.
7. Experiment with Lighting: Adjust the brightness and angle of your vanity table lighting to create the perfect ambiance. Soft lighting can provide a relaxing atmosphere for your beauty routine, while brighter lighting ensures visibility for detailed makeup application.
Remember that organization should be tailored to your specific needs and preferences. Take the time to arrange your items in a way that is convenient and functional for you.
By organizing and decorating your vanity table, you transform it into a personalized beauty corner that not only meets your practical needs but also brings joy and enhances your daily self-care routine.
Congratulations! You have successfully built your own vanity table. Now, enjoy the space you have created and let it be a reflection of your unique style and personality.
Conclusion
Building your own vanity table is a rewarding and fulfilling DIY project that allows you to create a personalized space for your beauty routine. Throughout the process, you’ve gathered materials, designed and measured the table, prepared the materials, assembled the frame, added legs and supports, installed the vanity top, attached drawers or shelves, sanded, painted and finished the surface, added a mirror and lighting, and finally organized and decorated the table.
By following these step-by-step instructions, you’ve created a functional and stylish vanity table tailored to your needs and preferences. This DIY project not only saves you money compared to purchasing a pre-made vanity table but also gives you the opportunity to showcase your creativity and craftsmanship.
Remember, safety should always be a priority when working with tools and materials. Take the necessary precautions, wear protective gear, and work in a well-ventilated area.
Your newly built vanity table is now a space where you can pamper yourself, get ready for the day, and indulge in your beauty routine. It reflects your personal style and provides efficient storage for your beauty essentials.
Make the most of your vanity table by keeping it organized, decluttered, and adding personal touches that bring joy and inspiration. Experiment with lighting to create the perfect ambiance for your beauty routine.
Whether you’re applying makeup, styling your hair, or simply taking a moment for self-care, your vanity table has become a haven for self-expression and beauty rituals.
Now, go ahead and enjoy the fruits of your labor, and embrace the confidence and serenity that your custom-built vanity table brings to your daily routine.
Frequently Asked Questions about How To Build Vanity Table
Was this page helpful?
At Storables.com, we guarantee accurate and reliable information. Our content, validated by Expert Board Contributors, is crafted following stringent Editorial Policies. We're committed to providing you with well-researched, expert-backed insights for all your informational needs.


0 thoughts on “How To Build Vanity Table”