Articles
How To Organize A Makeup Vanity
Modified: January 8, 2024
Discover helpful articles on how to effectively organize your makeup vanity for a clutter-free and functional beauty space.
(Many of the links in this article redirect to a specific reviewed product. Your purchase of these products through affiliate links helps to generate commission for Storables.com, at no extra cost. Learn more)
Introduction
Welcome to the world of makeup! Whether you’re a seasoned beauty enthusiast or just starting your makeup journey, having a well-organized vanity is essential to streamline your routine and make getting ready a breeze. A cluttered and disorganized makeup area can hinder creativity, waste time searching for products, and make it difficult to keep track of what you have. By following a few simple steps, you can transform your makeup vanity into an organized and visually appealing space.
In this article, we will guide you through the process of organizing your makeup vanity. We will cover everything from clearing and cleaning your vanity area to sorting and categorizing your makeup collection. Along the way, we’ll provide tips for choosing storage solutions, arranging your products, and adding personal touches and decor. So, let’s dive in and create a makeup vanity that is both functional and stylish!
Key Takeaways:
- Clearing, cleaning, and decluttering your makeup vanity is the first step to creating an organized and efficient space. Assess your collection, categorize products, and choose storage solutions that fit your needs and style.
- Arranging your makeup products thoughtfully and adding personal touches and decor can transform your vanity into a sanctuary that reflects your unique style and brings joy to your beauty routine.
Read more: How To Build A Makeup Vanity
Step 1: Clearing and Cleaning Your Vanity Area
The first step to organize your makeup vanity is to clear out any clutter and give the space a thorough cleaning. Remove all items from your vanity, including makeup products, brushes, and any other accessories. This will allow you to start with a clean slate and assess your collection more effectively.
Once everything is removed, take the time to clean the surface of your vanity. Use a gentle cleanser and a soft cloth to remove any dust, dirt, or product residue. Pay special attention to any drawers or compartments, as these can accumulate debris over time.
As you clean your vanity area, also consider decluttering any unnecessary items. Dispose of expired or old makeup products, as well as any items that you no longer use or need. This will help create a more streamlined and organized space and prevent you from holding onto items that are past their prime.
Once your vanity area is clean and decluttered, you can move on to the next step of organizing your makeup collection.
Step 2: Assessing Your Makeup Collection
Now that your vanity area is clean and ready, it’s time to assess your makeup collection. Take a close look at each product and evaluate its condition, usability, and relevance to your current makeup routine. This step is crucial in determining what to keep, donate, or discard.
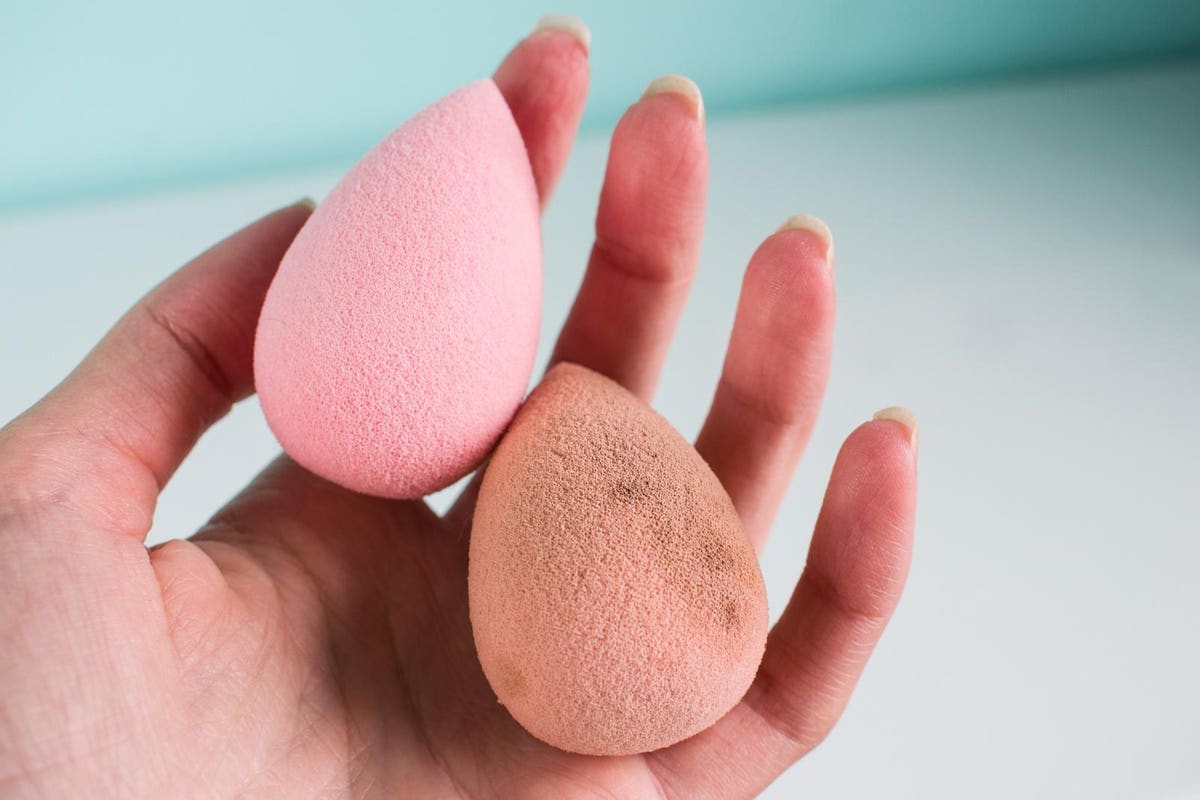
Start by checking the expiration dates on your makeup products. Most cosmetics have a symbol that indicates how long they can be safely used after opening. Discard any items that are expired or show signs of deterioration, such as changes in texture, color, or smell. Keeping expired products can be unhygienic and may lead to skin irritations or infections.
Next, consider the usability of each makeup item. Ask yourself if you have used a particular product in the past six months or if you can see yourself reaching for it in the future. Be honest with yourself and let go of items that you rarely or never use. This will help declutter your collection and make space for the products you truly love and enjoy using.
Additionally, evaluate the relevance of each product to your current makeup routine. Perhaps you’ve changed your preferences, skin type, or lifestyle, and certain products no longer suit your needs. This is an opportunity to curate a collection that aligns with your personal style and goals.
As you assess your makeup collection, consider donating gently used products that are still in good condition. There are organizations and charities that accept makeup donations, provided that the items are unexpired and properly sanitized. This allows you to give back to the community while ensuring that your unwanted makeup finds a new home.
By taking the time to assess your collection, you can eliminate clutter, free up space, and create a curated selection of products that you truly enjoy. Once you have determined what to keep, it’s time to move on to the next step: sorting and categorizing your makeup products.
Step 3: Sorting and Categorizing Makeup Products
With a clean and decluttered vanity area and a curated collection of makeup products, it’s time to move on to the next step: sorting and categorizing your makeup items. This will help you easily locate and access the products you need while keeping your vanity organized and visually appealing.
Begin by grouping similar items together. Start with broad categories such as foundation, concealer, blush, eyeshadow, lipstick, etc. This will give you a general overview of your collection and make it easier to identify any duplicates or gaps in your makeup stash.
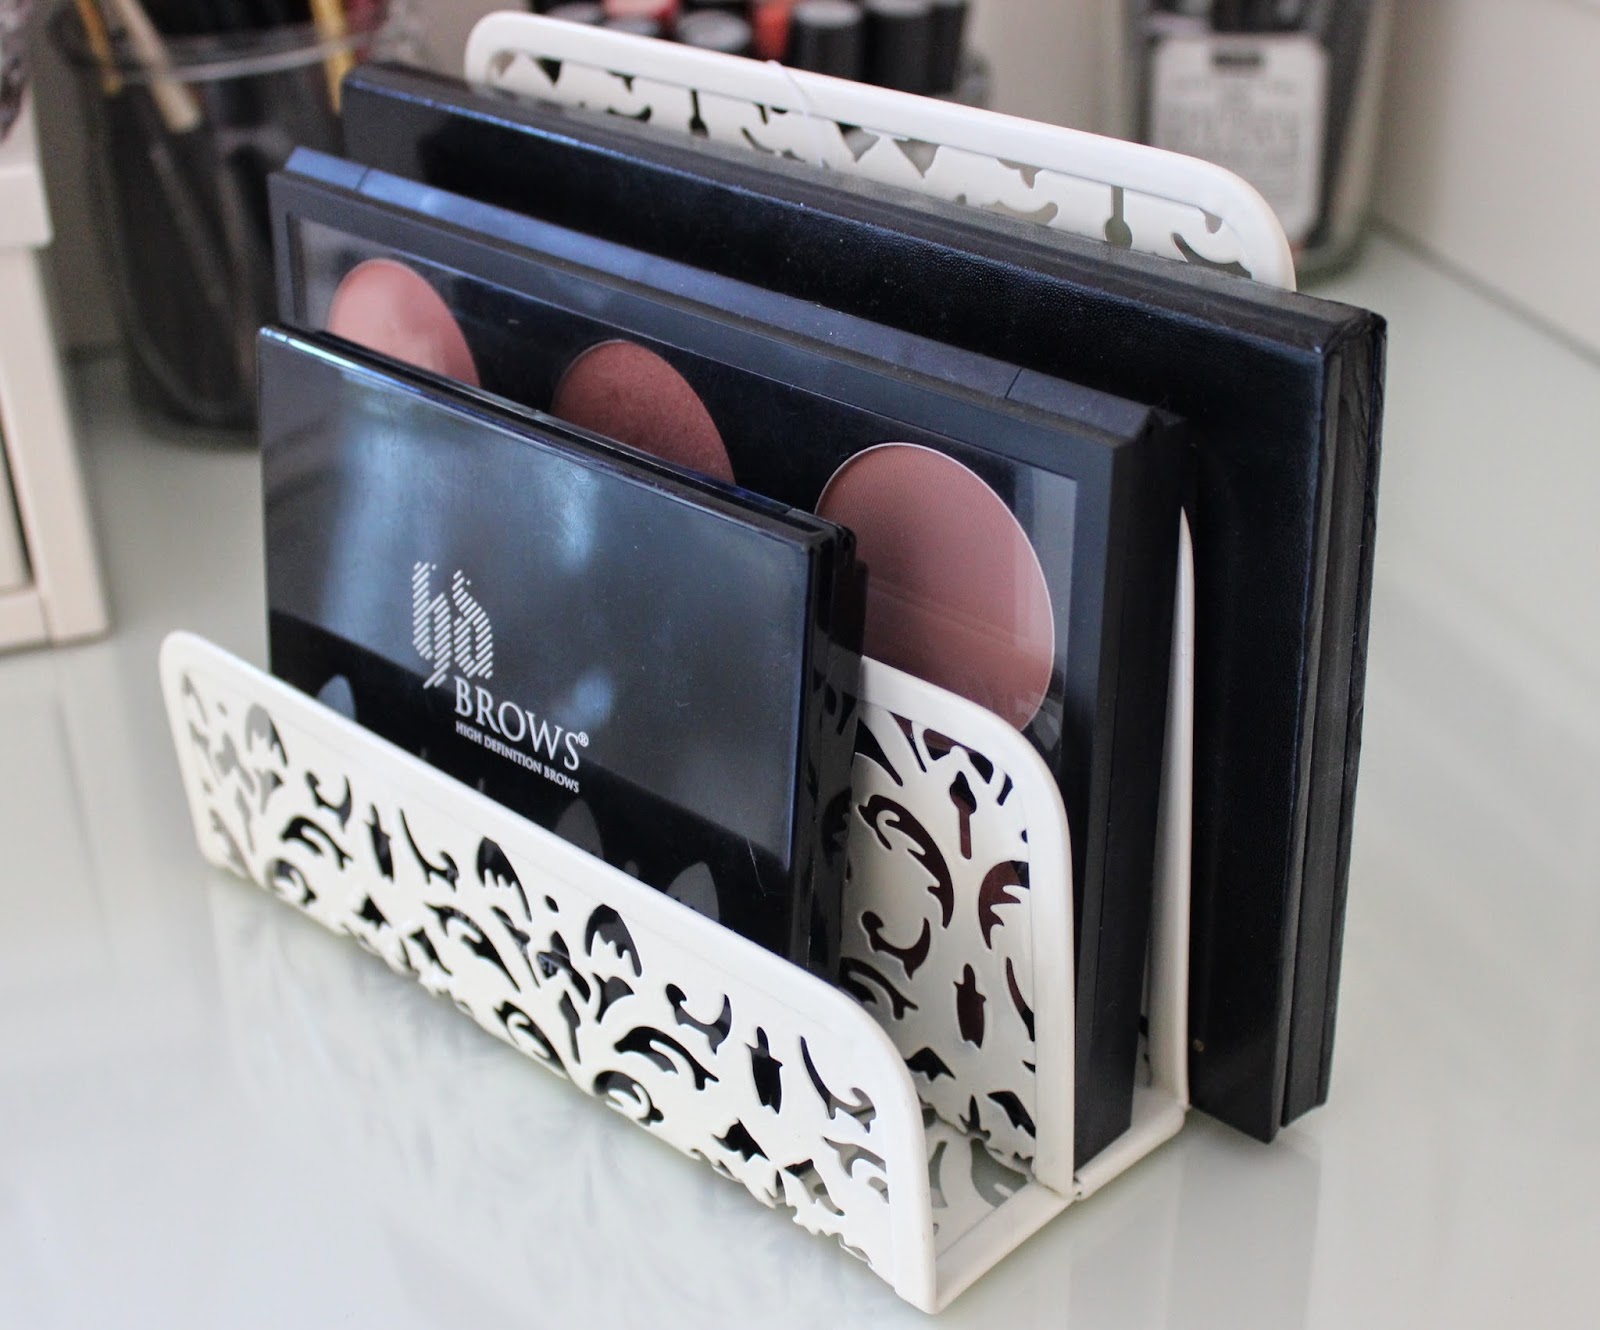
Within each category, further subdivide the products based on factors such as color, finish, or formula. For example, separate your eyeshadows into different palettes or singles, and group them by color or theme. This will make it easier to find specific shades when creating different eye looks.
In addition to categorizing makeup products by type and subcategory, consider organizing them based on how frequently you use them. Keep everyday essentials such as foundation, mascara, and lip balm within easy reach, while products you use less often can be stored in a designated drawer or container.
When deciding on the sorting and categorizing system, consider your own preferences and routines. If you’re someone who enjoys a specific makeup look or tends to gravitate towards certain colors, organize your products accordingly. This will make it effortless to create your signature look without wasting time searching for specific items.
Labeling can be a helpful tool to further enhance the organization of your makeup collection. Use small adhesive labels or a label maker to identify the contents of drawers, dividers, or storage containers. This will prevent mix-ups and make it easier to find what you need, especially if you have a large collection.
Remember, the goal of sorting and categorizing is to make your makeup collection more manageable and accessible. By creating a system that works for you, you’ll be able to find and use your favorite products effortlessly, saving time and enjoying your makeup routine even more.
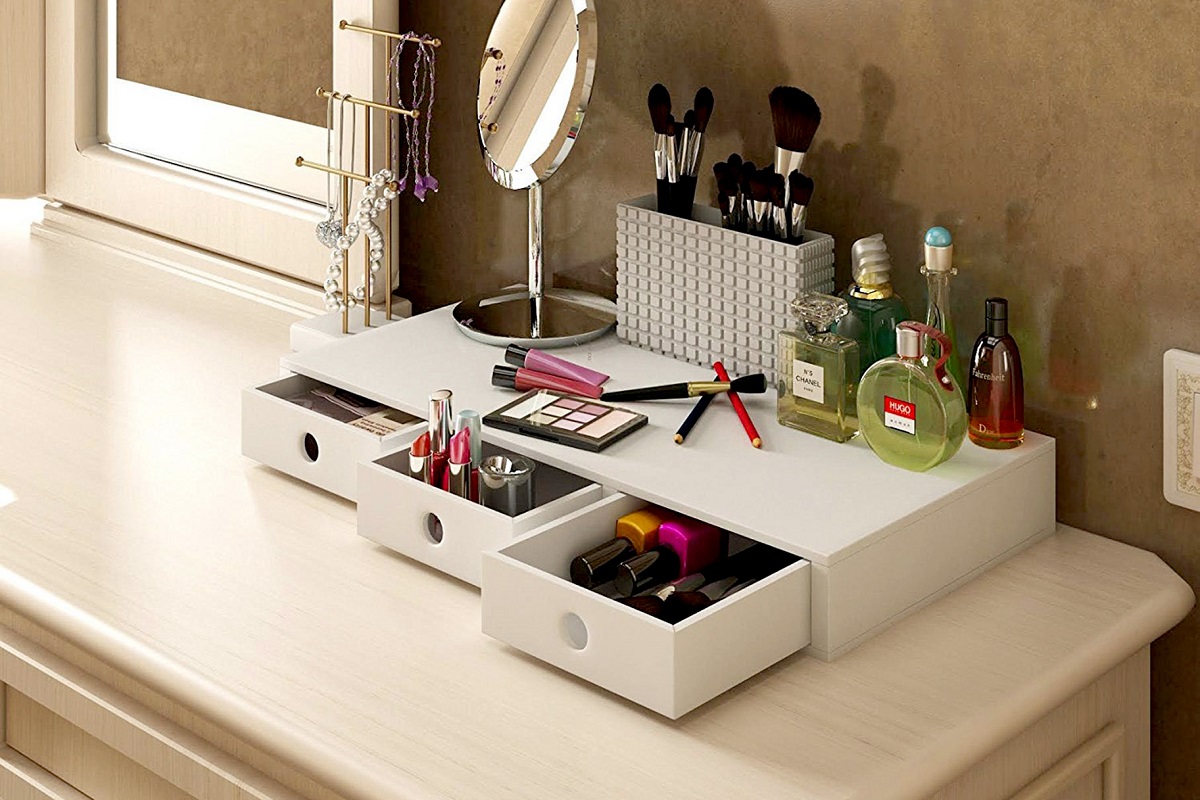
Use drawer dividers or acrylic organizers to separate and categorize your makeup products. This will help keep everything neat and easily accessible on your vanity.
Step 4: Choosing Storage Solutions
Now that your makeup products are sorted and categorized, it’s time to choose the right storage solutions to keep everything organized and within reach. The type of storage you choose will depend on the size of your collection, the available space on your vanity, and your personal preferences.
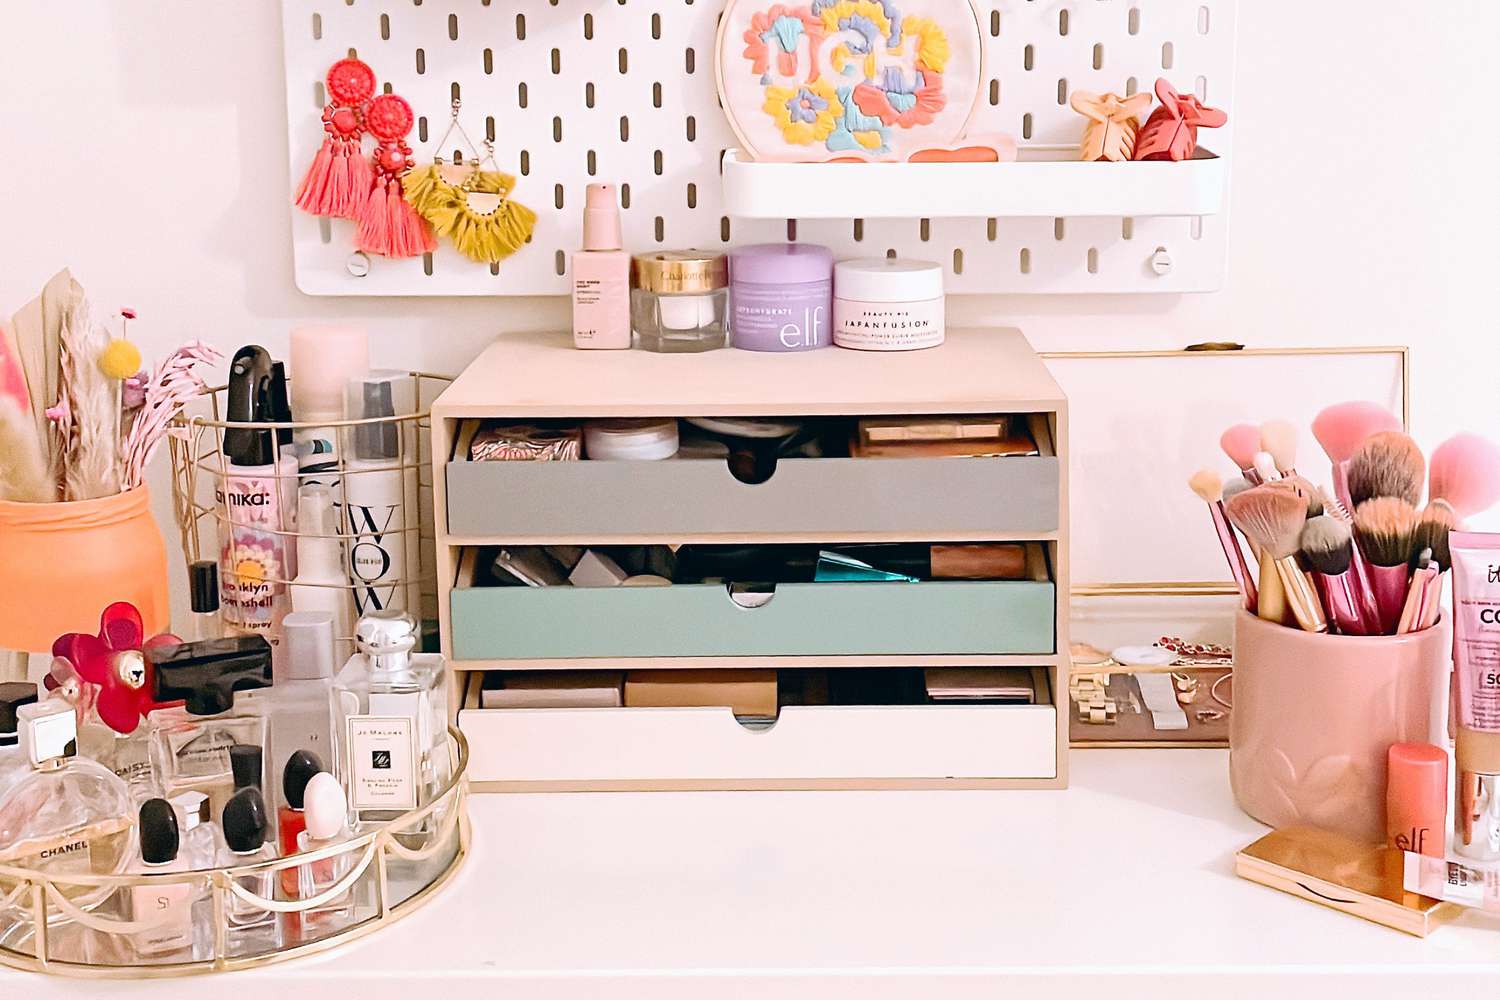
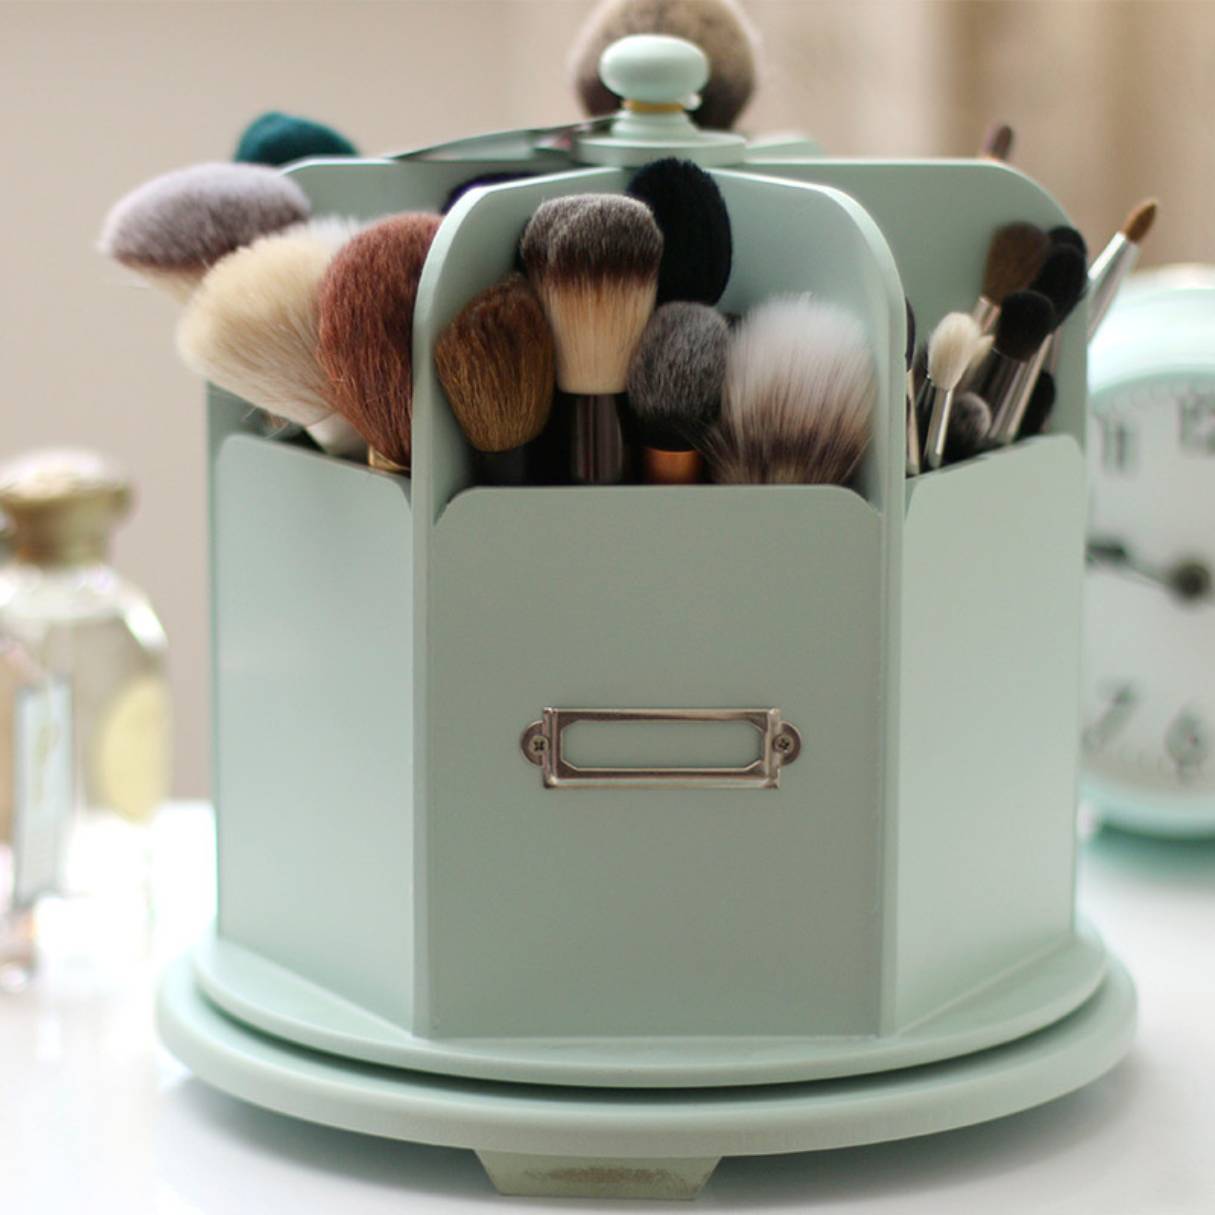
One popular storage solution is a makeup organizer. These come in various shapes and sizes, ranging from acrylic trays and drawers to rotating carousel organizers and wall-mounted shelves. Consider the dimensions of your vanity and the number of compartments or sections you need to accommodate your products.
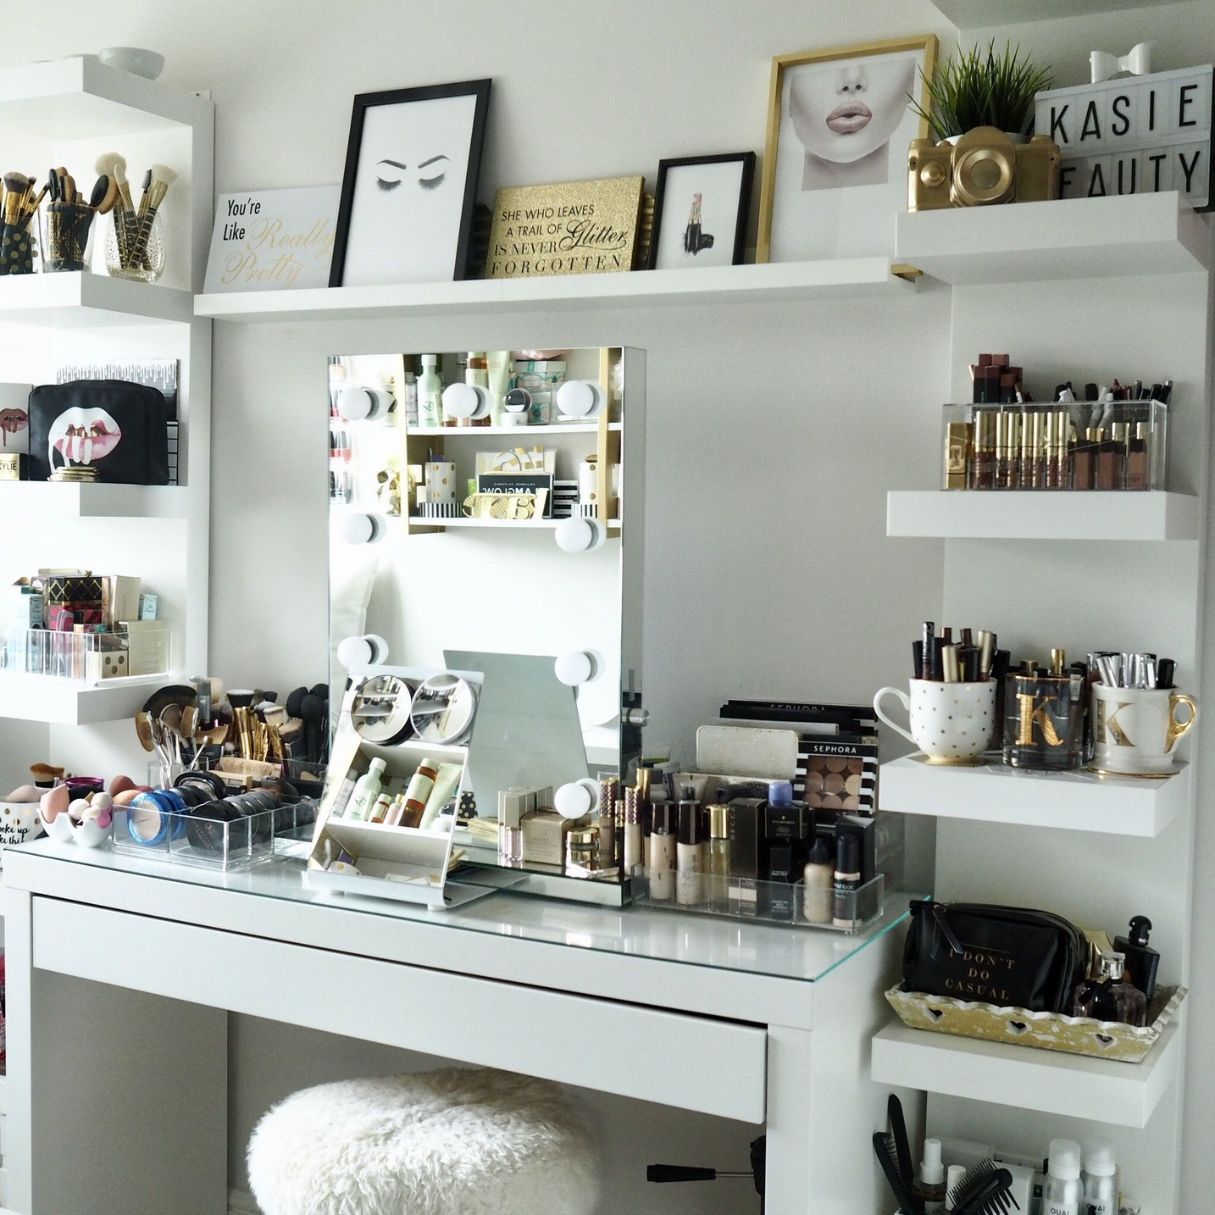
If you have limited space, consider utilizing vertical storage options. Wall-mounted shelves or floating shelves can provide additional storage without taking up valuable counter space. Utilize the height of your vanity area by adding hooks or magnetic strips to hold brushes or small metal tins.
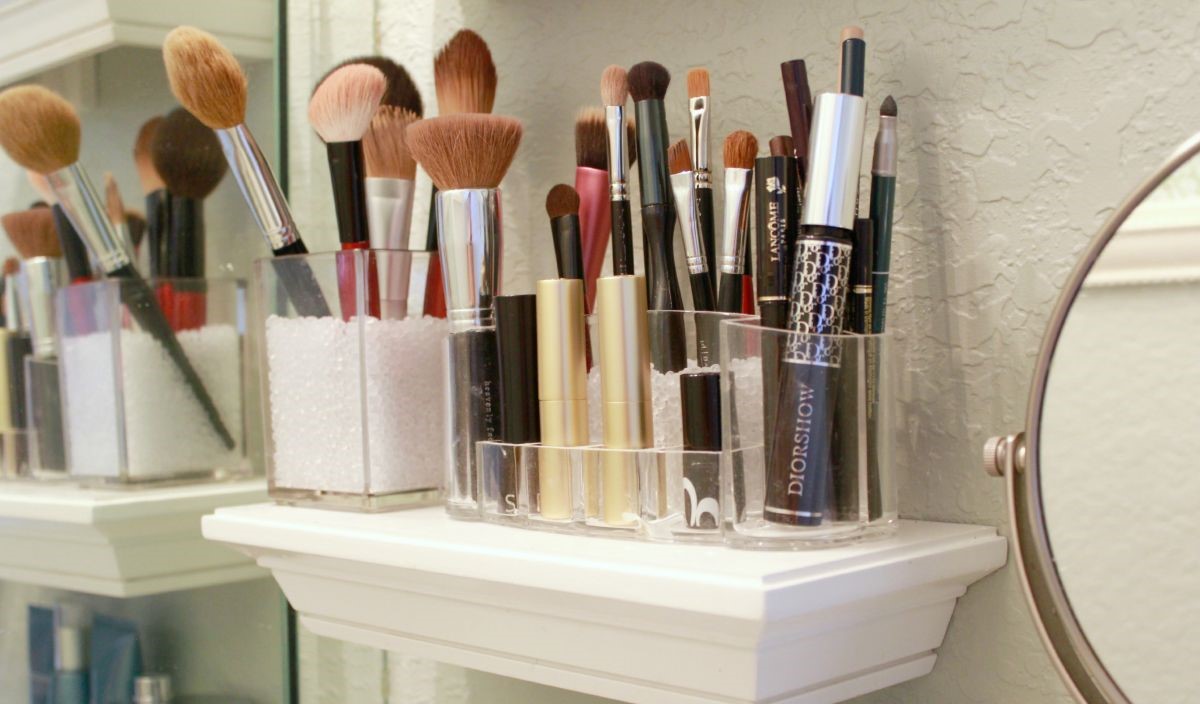
Other creative storage solutions include using empty candle jars, mugs, or decorative bowls to hold brushes, lipsticks, or pencils. Repurposing items you already have can add a personal touch to your vanity and make it more unique.
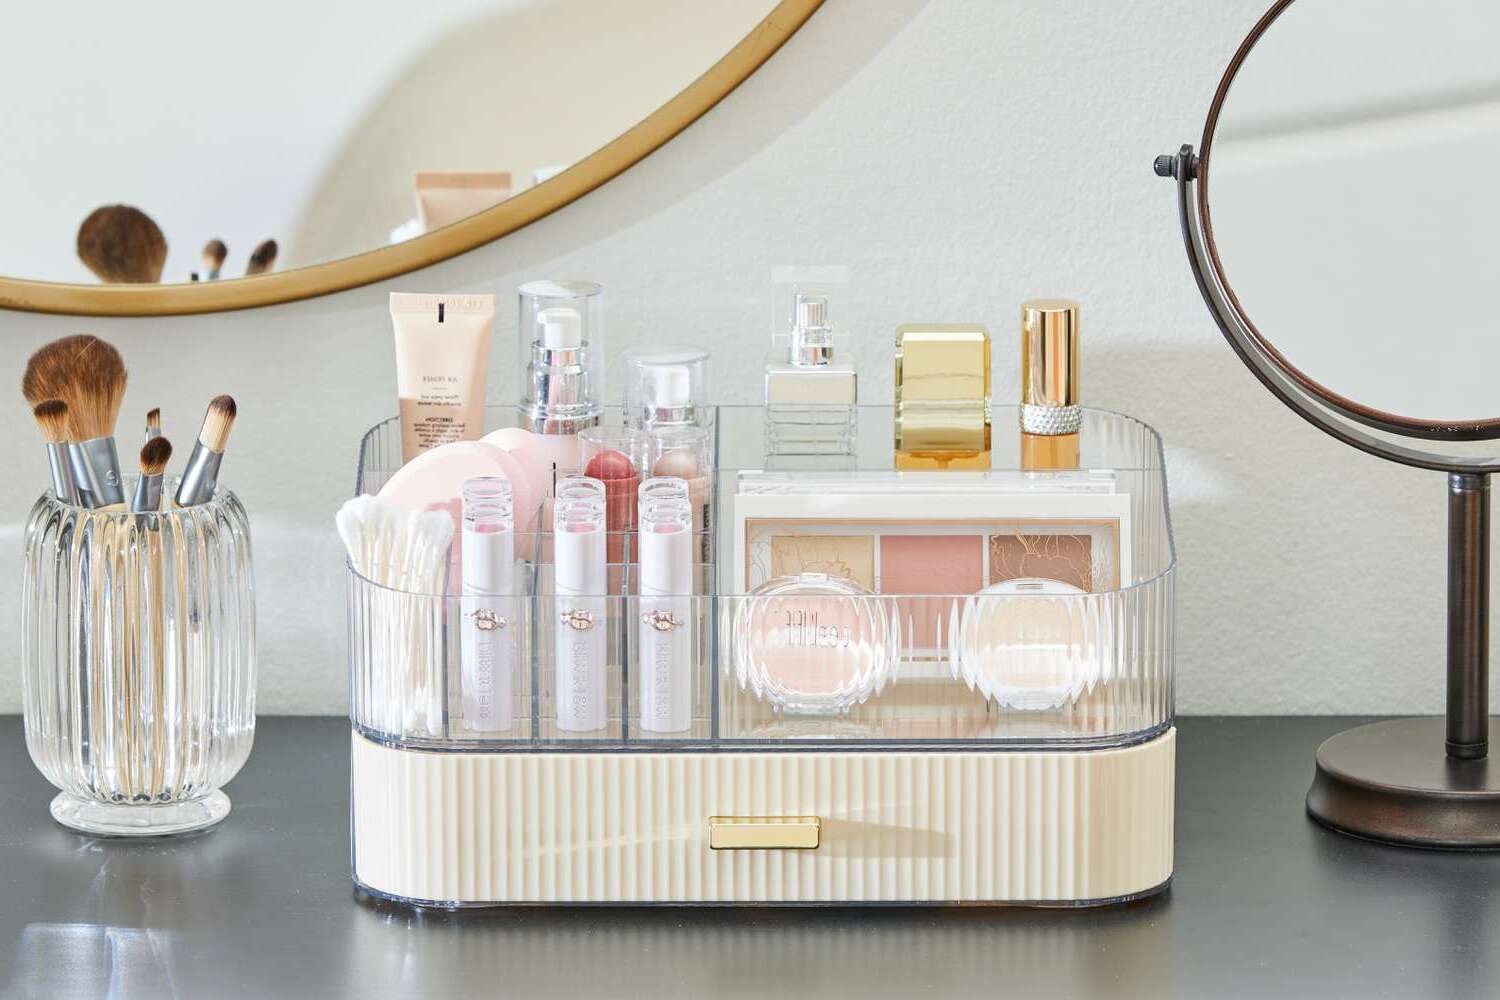
When choosing your storage solutions, consider the visibility and accessibility of your makeup products. Clear containers or drawers with transparent lids allow you to easily see your collection and find what you need without rummaging through multiple containers.
Remember to keep in mind the hygiene of your makeup products. Avoid storing open containers or brushes in dusty or humid areas. If the storage solution you choose doesn’t provide adequate protection from environmental factors, consider keeping your products in a separate drawer or cabinet to maintain their freshness and quality.
Ultimately, the storage solutions you choose should cater to your specific needs and preferences. By finding the right balance between functionality and aesthetics, you’ll create a vanity area that is both efficient and visually appealing.
Read more: How Tall Should A Makeup Vanity Be
Step 5: Arranging Makeup Products
Now that you have chosen the storage solutions for your makeup collection, it’s time to arrange your products in a way that is both practical and visually pleasing. The goal is to create a layout that allows for easy access to each item while showcasing your collection in an aesthetically pleasing manner.
Begin by arranging your products according to the categories and subcategories you established during the sorting process. Place similar items together, such as foundations with foundations, lipsticks with lipsticks, and so on. This will make it easier to locate specific products when you’re getting ready.
Consider grouping items by color or shade within each category. Organizing eyeshadows or lipsticks from light to dark or arranging them in a gradient can add an appealing visual element to your vanity. It also makes it easier to find complementary shades when creating makeup looks.
Another aspect to consider when arranging your makeup products is their shape and size. Place taller or bulkier items towards the back of your vanity or in deeper storage compartments to avoid blocking the view of smaller items. This provides a visually balanced and organized look.
Take advantage of dividers, trays, or containers within your storage solutions to keep smaller items, such as brushes or eyeliners, organized and separated. This prevents them from getting lost or mixed up with other products. Utilize drawer organizers or small compartments within your storage solutions for efficient organization.
As you arrange your makeup products, consider the layout of your vanity area. Place items you use on a daily basis, such as skincare essentials or frequently used brushes, within easy reach on the top surface of your vanity. Reserve less frequently used items or backups in drawers or deeper compartments.
Lastly, take a step back and assess the overall look of your arranged makeup products. Make any necessary adjustments or tweaks to ensure a visually pleasing and harmonious display. Remember, your vanity is not just a storage space but also a reflection of your personal style and creativity.
By taking the time to arrange your makeup products thoughtfully, you’ll create a functional and visually appealing vanity area that inspires you every time you sit down to do your makeup.
Step 6: Adding Personal Touches and Decor
Now that you’ve organized and arranged your makeup products, it’s time to add personal touches and decor to make your vanity area uniquely yours. By incorporating decorative elements, you can transform your makeup space into a reflection of your individual style and create an inviting and inspiring atmosphere.
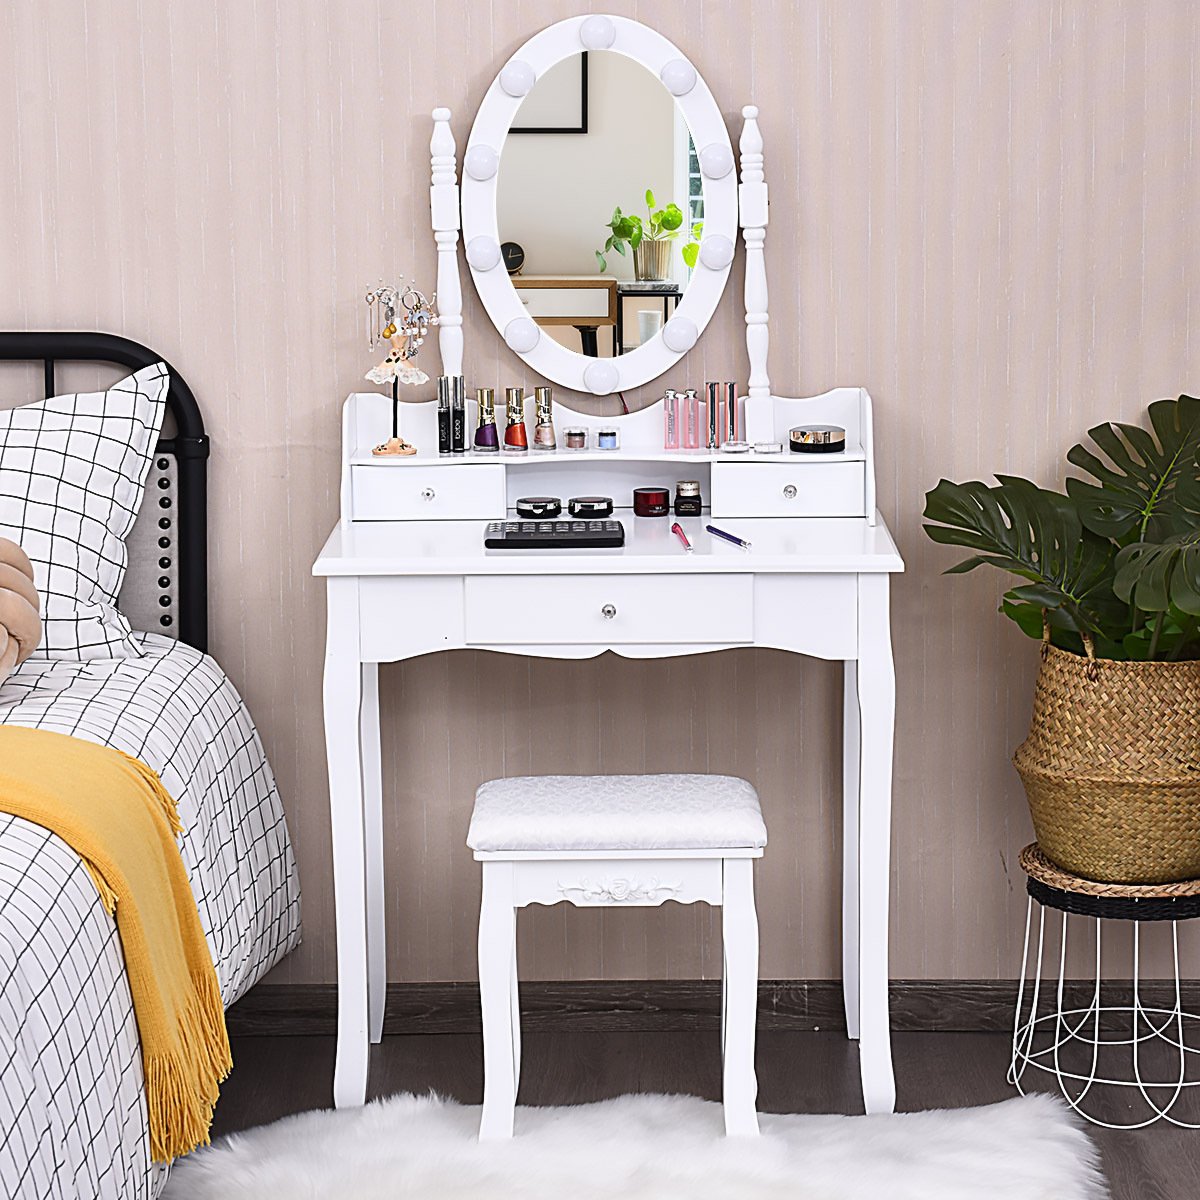
Start by selecting a theme or color scheme that resonates with you. This could be anything from a minimalist aesthetic to a glamorous Hollywood-inspired setup. Choose decorative pieces that complement your theme and bring a sense of unity to your vanity area.
Consider adding a small mirror or decorative tray to display your favorite or most-used products. This not only adds a touch of elegance but also makes these items easily accessible and serves as a focal point for your vanity.
Another option is to incorporate plants or flowers to bring freshness and life to your makeup space. Opt for low-maintenance plants that thrive in indoor environments, such as succulents or small potted herbs. Not only will they add a natural element, but they can also help purify the air in your vanity area.
Utilize decorative containers or jars to store cotton pads, Q-tips, or other beauty essentials. Opt for options that match your preferred aesthetic, such as glass or ceramic containers, to elevate the overall look of your vanity area.
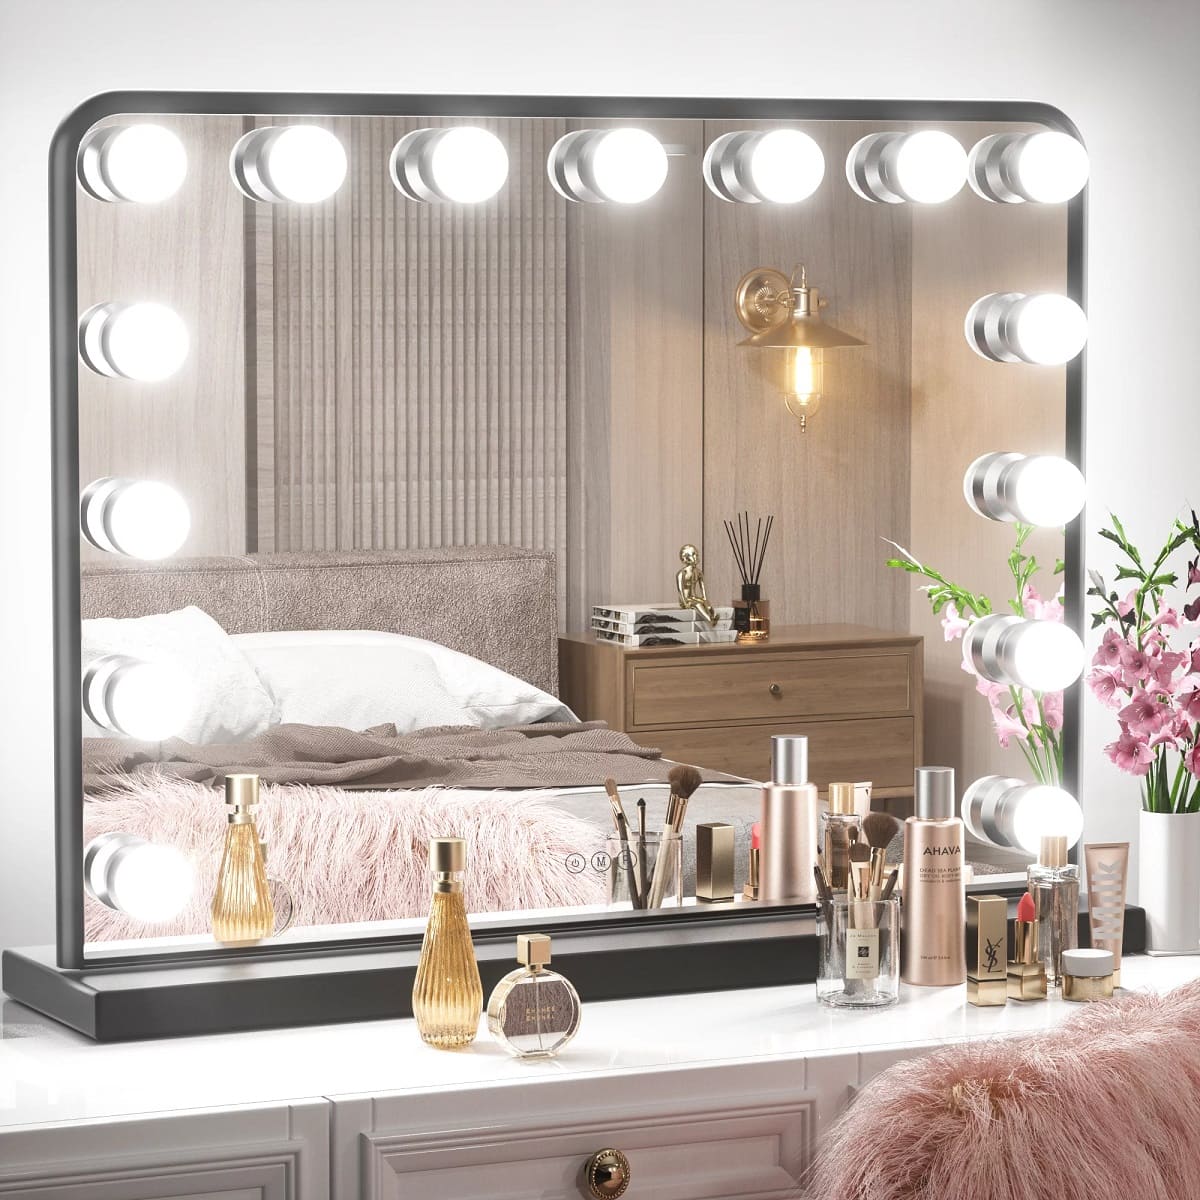
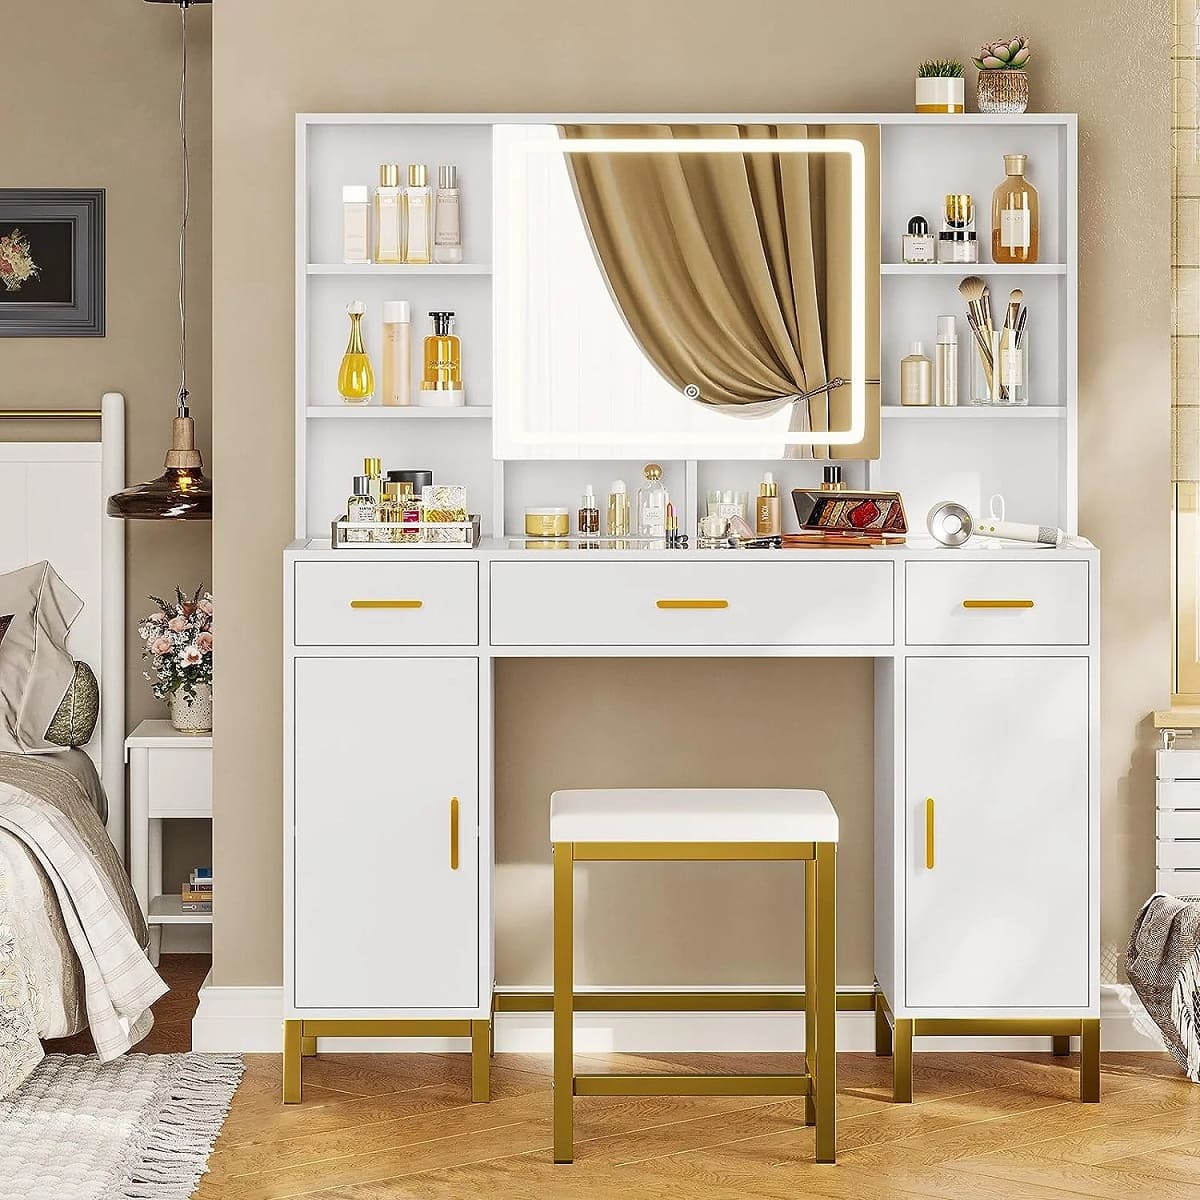
Don’t forget about lighting! Adequate lighting is crucial for flawless makeup application. Consider installing a lighted vanity mirror or adding LED strip lights around your mirror to ensure optimal lighting conditions. This will not only enhance your makeup routine but also add a touch of glamour to your vanity area.
Lastly, infuse your own personality into your makeup space by including sentimental or decorative items that hold meaning to you. This could be a framed photo, a small piece of artwork, or a trinket that brings you joy. These personal touches make your vanity area feel more inviting and provide an extra boost of inspiration when getting ready.
Remember, the goal is to create a space that not only functions efficiently but also brings you joy and reflects your unique style. By adding personal touches and decor, you’ll transform your makeup vanity into a sanctuary where you can indulge in your love for beauty and self-expression.
Conclusion
Organizing your makeup vanity is a rewarding process that can bring efficiency, inspiration, and a sense of pride to your beauty routine. By following the steps outlined in this article, you can transform your vanity area into a well-organized and visually appealing space that reflects your personal style.
Start by clearing and cleaning your vanity area, ensuring a fresh and clutter-free starting point. Assess your makeup collection, keeping only the products that are in good condition, relevant to your current routine, and bring you joy. Sort and categorize your makeup products, grouping them together based on type, color, or frequency of use.
Choose storage solutions that fit your collection and available space, making sure to prioritize visibility, accessibility, and hygiene. Arrange your makeup products in a way that makes them easy to find and use, considering their shape, size, and layout of your vanity area. Finally, add personal touches and decor to make the space uniquely yours and bring joy and inspiration to your beauty routine.
Remember, organizing your makeup vanity is an ongoing process. Regularly assess and declutter your collection, adjust the arrangements as needed, and update your decor to reflect your evolving style. With a well-organized vanity, you’ll be able to streamline your beauty routine, save time, and enjoy the process of creating stunning looks every day.
Now, go ahead and transform your makeup vanity into a space that is not only functional but also a reflection of your unique personality and style!
Frequently Asked Questions about How To Organize A Makeup Vanity
Was this page helpful?
At Storables.com, we guarantee accurate and reliable information. Our content, validated by Expert Board Contributors, is crafted following stringent Editorial Policies. We're committed to providing you with well-researched, expert-backed insights for all your informational needs.

0 thoughts on “How To Organize A Makeup Vanity”