Furniture
How To Make A Makeup Vanity Out Of A Dresser
Modified: February 25, 2024
Learn how to repurpose your dresser into a stunning makeup vanity. Transform your furniture and create a stylish and functional beauty space.
(Many of the links in this article redirect to a specific reviewed product. Your purchase of these products through affiliate links helps to generate commission for Storables.com, at no extra cost. Learn more)
Introduction
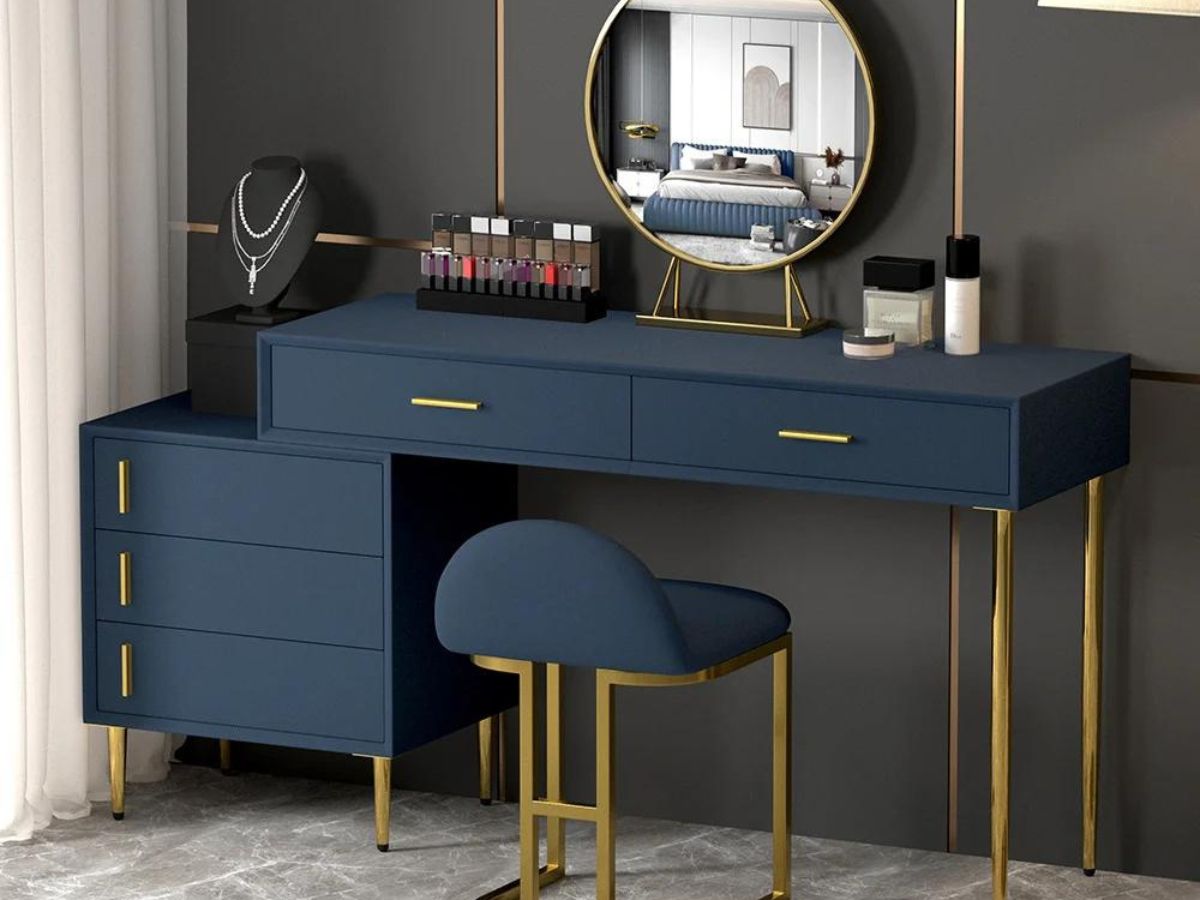
Creating a makeup vanity out of a dresser is a great way to combine style and functionality in your bedroom or dressing area. Not only does it provide a dedicated space for all your beauty needs, but it also adds a touch of glamour to your room decor. Whether you’re a makeup enthusiast or just someone who wants a designated space to get ready, a DIY makeup vanity can be a fun and rewarding project.
With a few simple steps, you can transform an ordinary dresser into a stunning makeup vanity that reflects your personal style and meets your specific requirements. Whether you prefer a minimalistic and modern design or a vintage-inspired and ornate look, the possibilities are endless when it comes to customizing your vanity.
In this article, we will guide you through the process of creating a makeup vanity out of a dresser, covering everything from gathering the necessary materials to organizing and decorating the finished vanity. So, let’s dive in and discover how to bring a touch of luxury to your beauty routine!
Key Takeaways:
- Transform an ordinary dresser into a personalized makeup vanity by gathering materials, preparing the dresser, and adding decorative touches for a glamorous and organized beauty space.
- Enjoy the convenience and luxury of a DIY makeup vanity, complete with a vanity mirror, lighting, and organized storage, creating a dedicated area for beauty rituals and self-care.
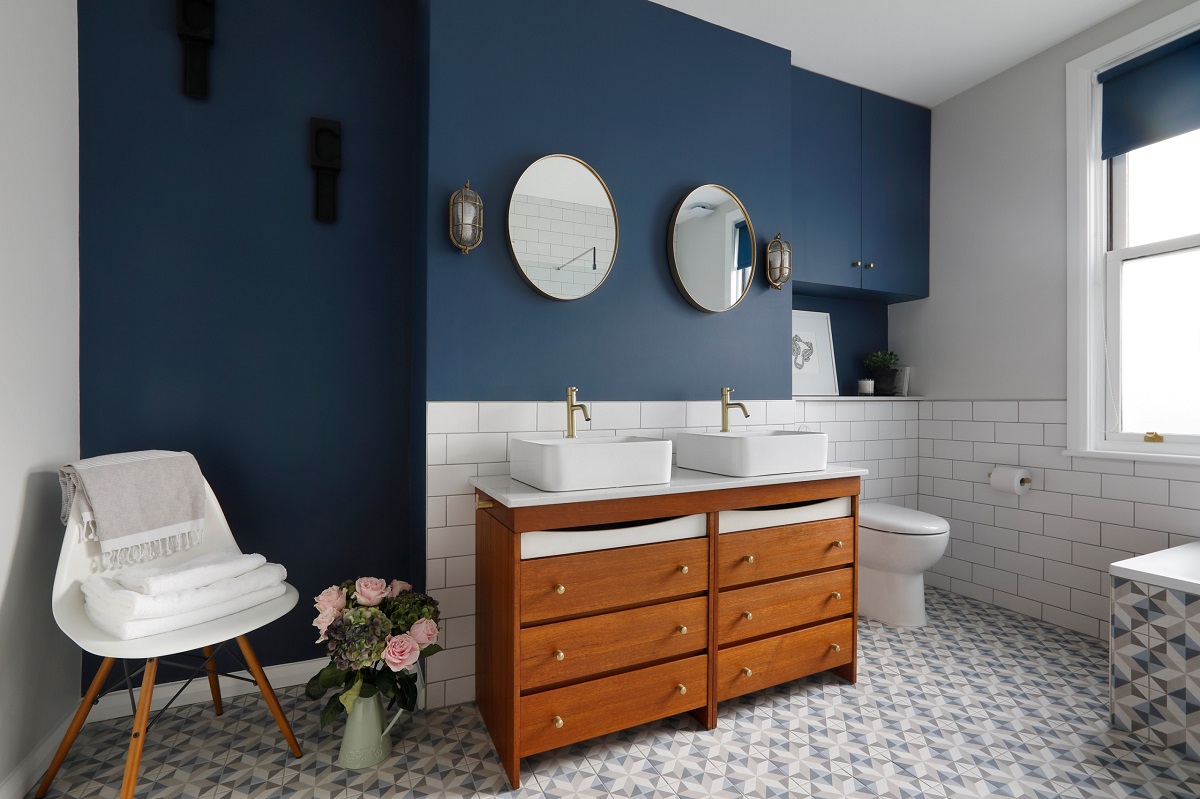
Read more: How To Make A Dresser Into A Bathroom Vanity
Step 1: Gather Materials
Before you begin transforming your dresser into a makeup vanity, it’s essential to gather all the necessary materials. Having everything you need in advance will save you time and ensure a smooth and efficient process. Here are the key items you’ll need:
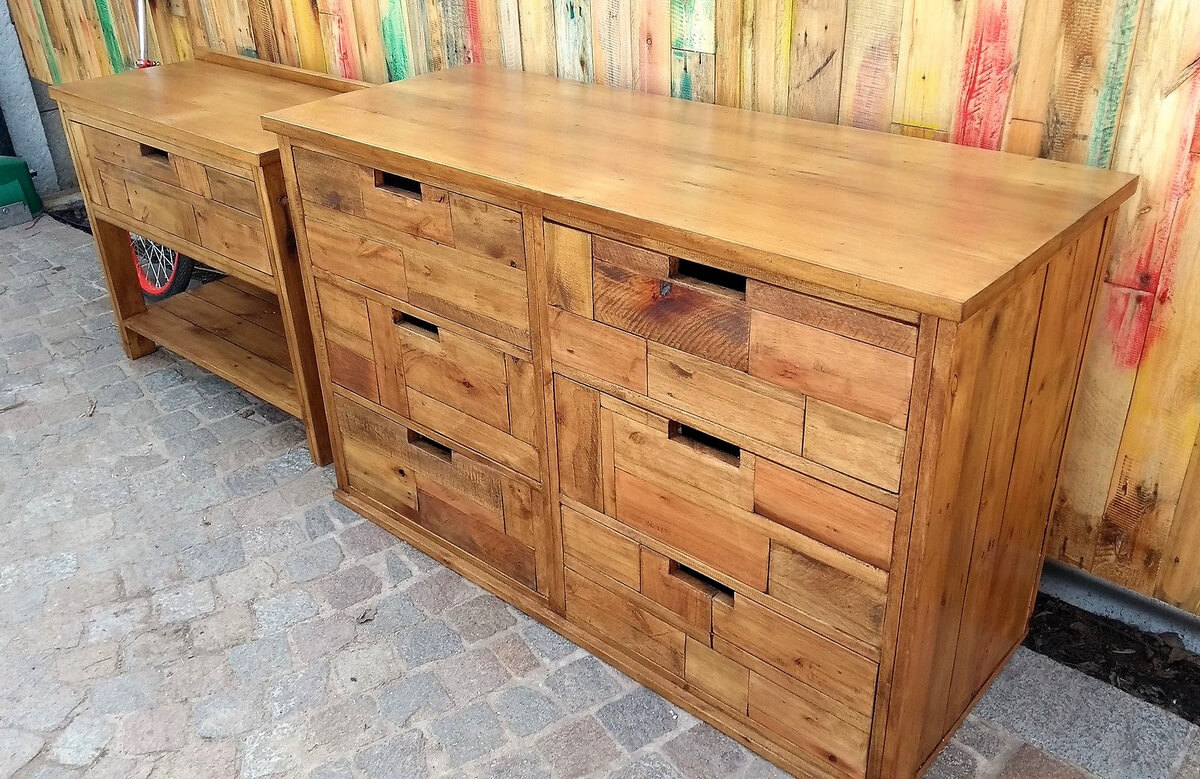
- Dresser: Choose a suitable dresser that fits your space and aesthetic preference. Look for a dresser with ample storage space and a spacious top surface.
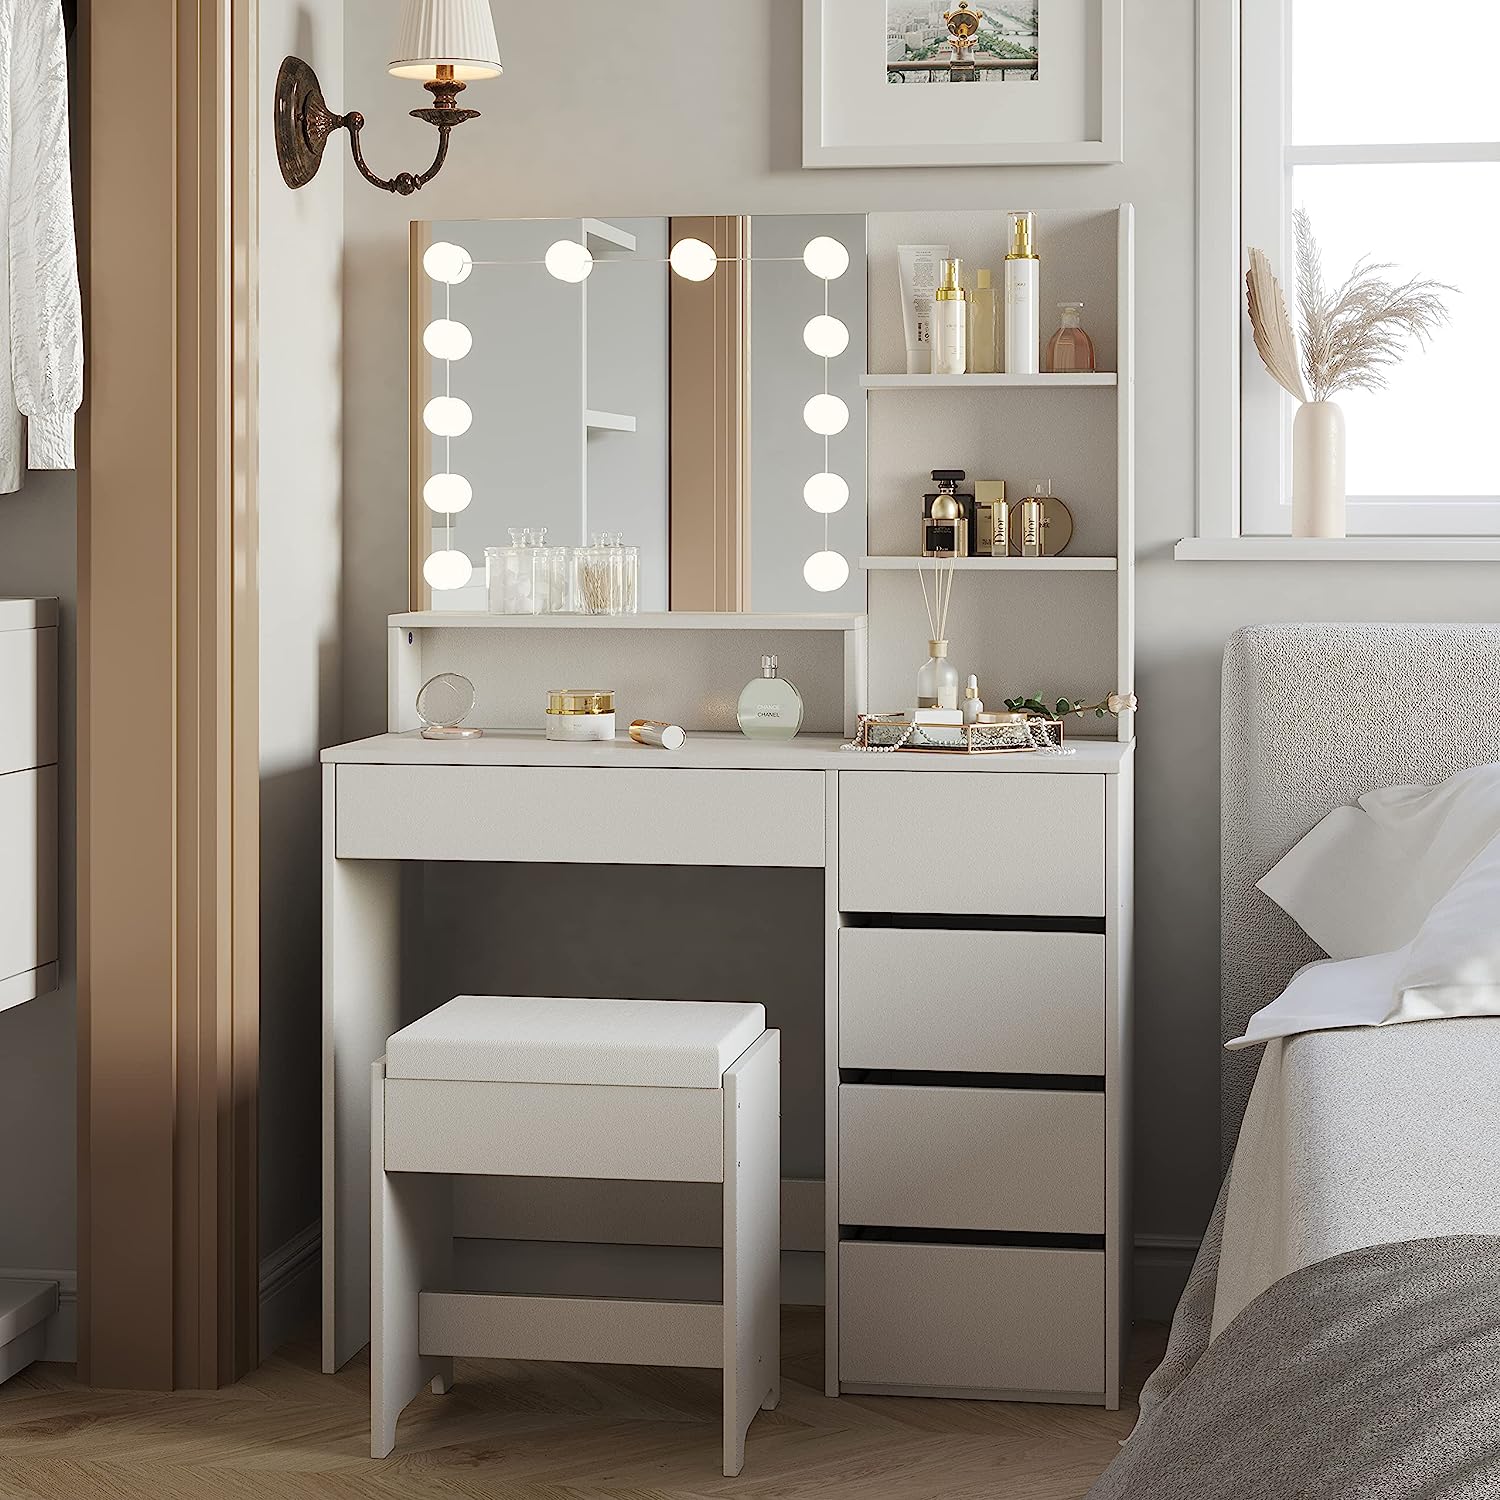
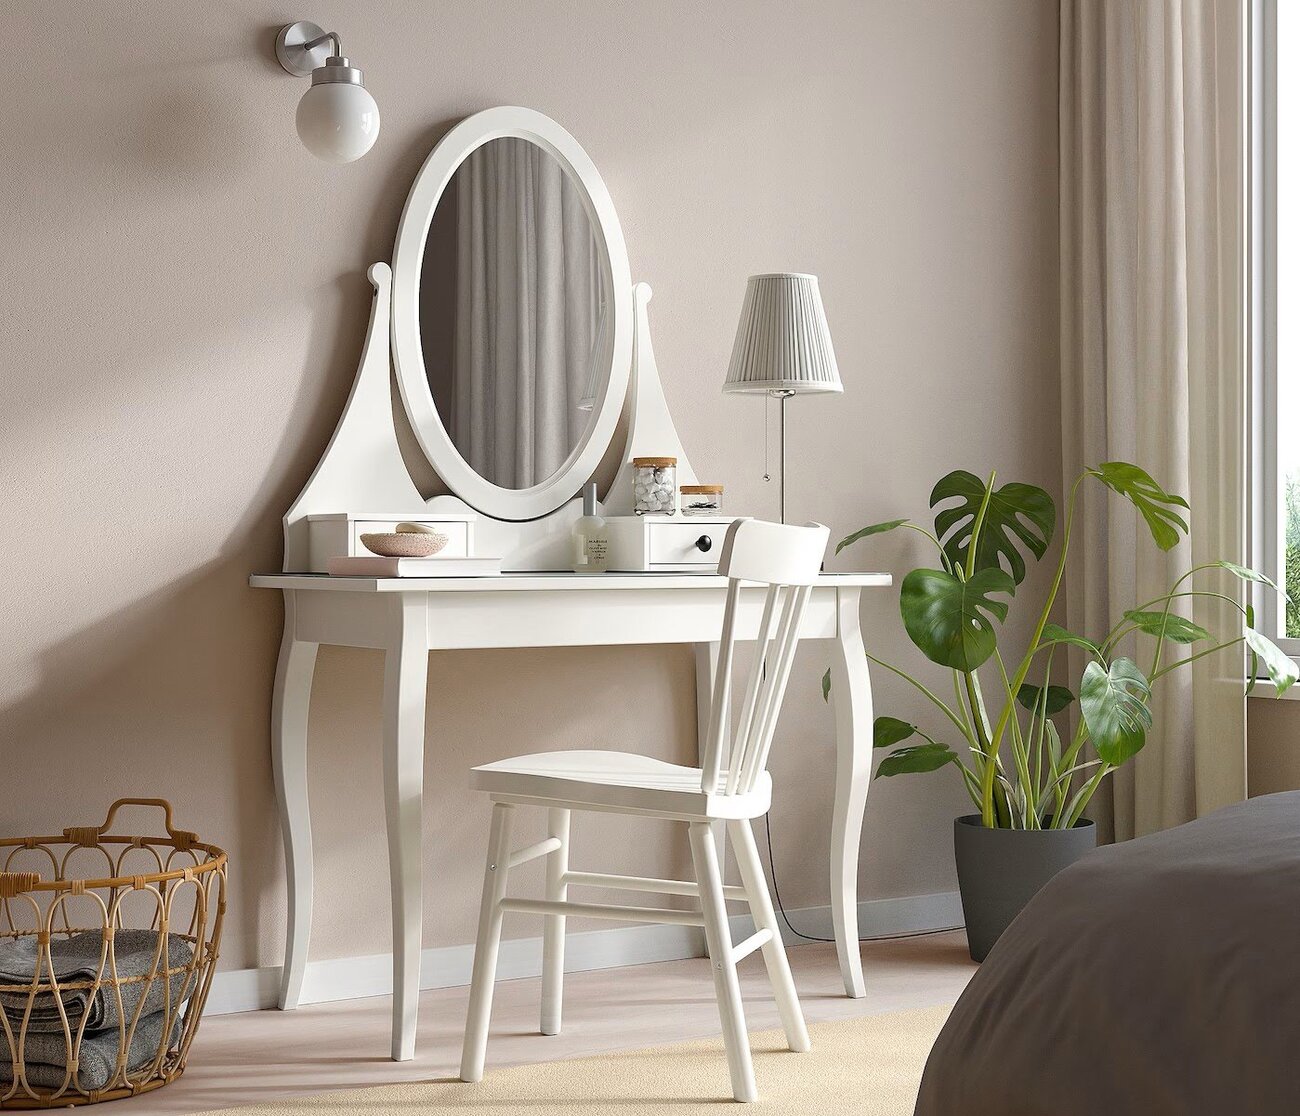
- Vanity Mirror: Select a mirror that suits your style and offers sufficient visibility for your makeup application. You can choose between a tabletop mirror or a wall-mounted one.
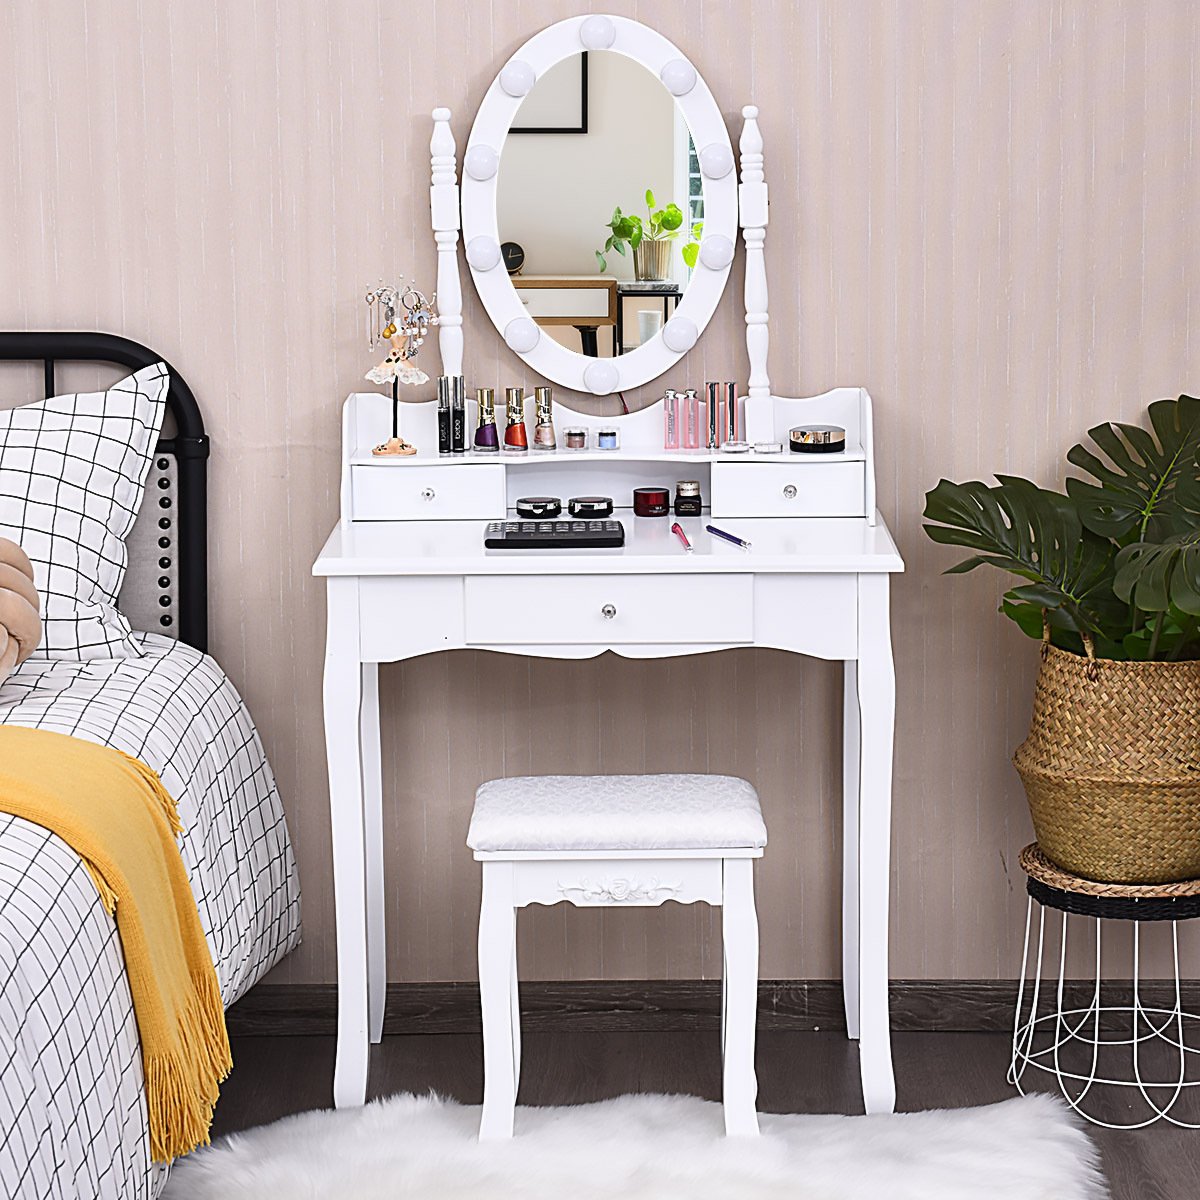
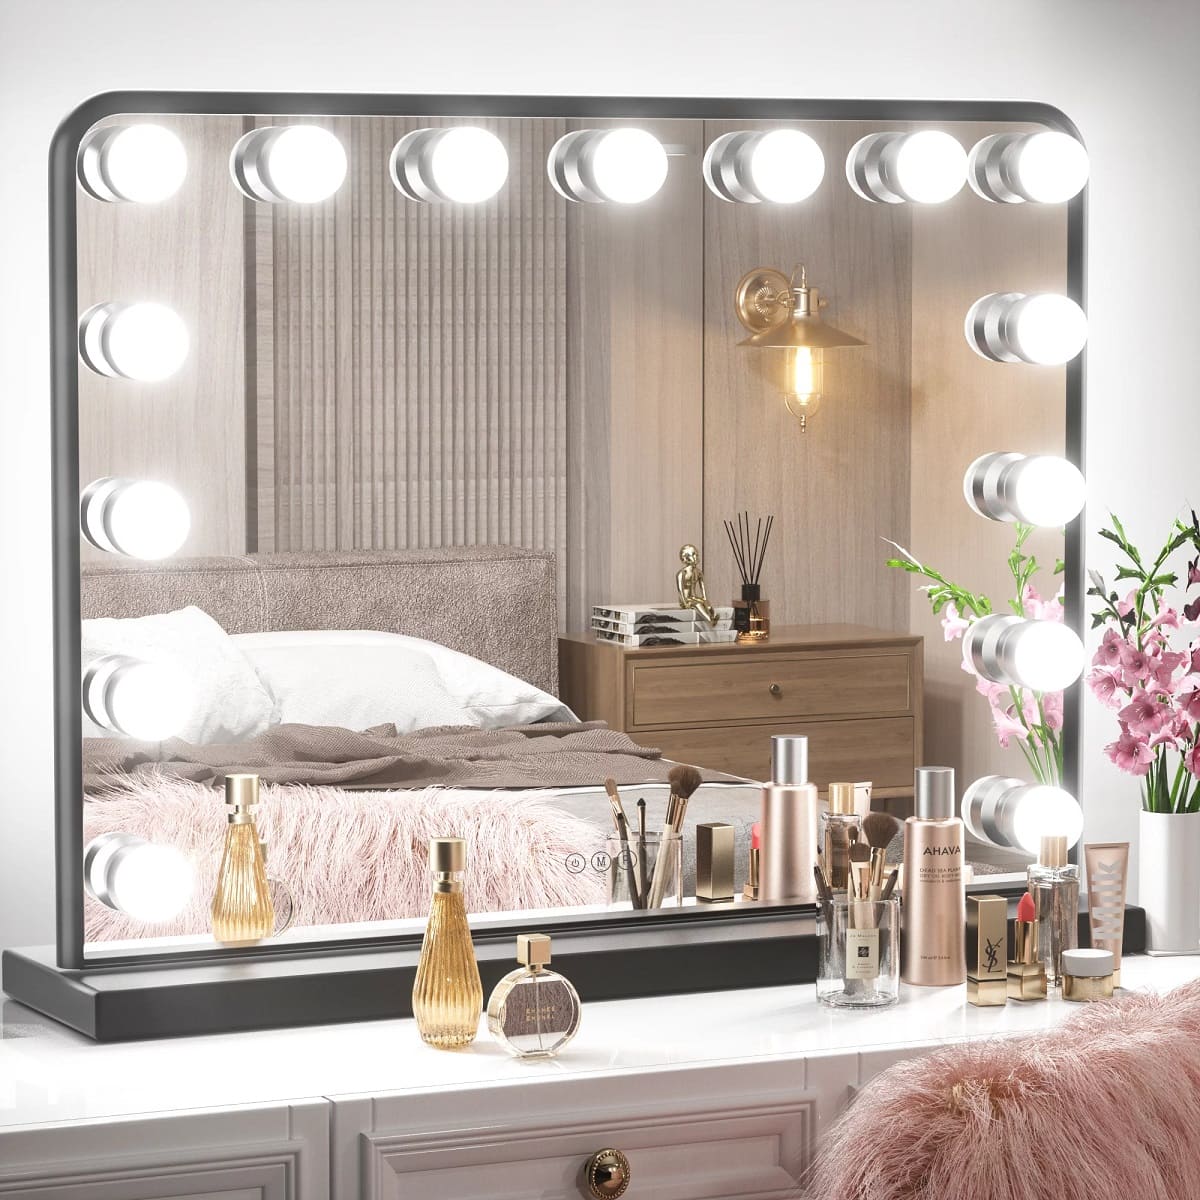
- Lighting: Good lighting is crucial for achieving flawless makeup looks. Consider installing vanity lights or LED light strips around the mirror for optimal illumination.
- Tools: Gather essential tools such as a screwdriver, drill, measuring tape, sandpaper, paintbrushes, and any other tools necessary for the specific modifications you plan to make.
- Paint: If you want to change the color or finish of the dresser, select the appropriate paint or stain. Opt for a paint specifically designed for furniture to ensure durability.
- Drawer organizers: To keep your makeup and beauty products organized, invest in drawer organizers or dividers. These will help maximize storage space and keep everything in its place.
- Decorative accessories: Choose decorative accessories that elevate the look of your vanity, such as a tray to hold your everyday essentials, a small vase for flowers, or decorative jars for cotton pads and q-tips.
Once you have gathered all the materials, you can move on to the next step of preparing the dresser for its transformation into a makeup vanity. Remember to measure your space carefully to ensure the dresser fits correctly and allows enough room for the mirror and lighting installation.
Step 2: Prepare the Dresser
Before you can begin the process of turning your dresser into a makeup vanity, it’s important to prepare the dresser for the modifications. Follow these steps to ensure a smooth transformation:
- Clear the dresser: Empty out all the drawers and remove any items or belongings from the dresser. This will make it easier to work on and prevent any damage to your belongings during the transformation process.
- Remove hardware: Take off any existing hardware such as knobs or handles from the drawers. This will allow for a clean and even surface when you’re ready to paint or refinish the dresser.
- Clean the dresser: Give the dresser a thorough cleaning using a gentle cleaner or a mixture of mild soap and water. Wipe down all surfaces, including the interior of the drawers, to remove any dirt, dust, or residue.
- Repair any damage: Inspect the dresser for any signs of damage, such as loose joints or chips in the wood. If you come across any issues, take the time to repair them before moving forward. This may involve tightening screws, gluing loose parts, or filling in any holes or cracks with wood filler.
- Sand the dresser: Use sandpaper or a sanding block to smooth out the surface of the dresser. This step is crucial if you plan to paint or refinish the dresser. Sanding will help remove any rough patches or imperfections, creating a clean and even surface for the next steps.
By preparing the dresser properly, you are ensuring that the final product will be sturdy, aesthetically pleasing, and easy to work with. Once you have completed these preparation steps, you can move on to the next phase of transforming your dresser into a stunning makeup vanity.
Step 3: Remove Drawers and Hardware
Now that you have prepared the dresser, it’s time to remove the drawers and hardware. This step will allow you to modify the dresser more easily and create the space necessary for your makeup vanity setup. Follow these simple instructions:
- Empty the drawers: Take out all the items from the dresser drawers and set them aside.
- Remove the drawers: Find the release mechanism on each drawer slide, usually located on the sides or underneath the drawer. Press or release the mechanism to disconnect the drawer from the slide. Once all the drawers are disconnected, carefully lift them out of the dresser.
- Set aside the hardware: Keep the drawer knobs, handles, or any other hardware you removed in a safe place. You may choose to reuse them or replace them with new ones later on.
By removing the drawers, you create an open space that can accommodate your vanity mirror, lighting, and other accessories. This step also makes it easier to paint or refinish the dresser’s exterior without worrying about painting the insides of the drawers.
If you wish to modify the dresser further, such as removing additional sections or shelves, this is also the time to do so. However, be mindful of the structural integrity of the dresser and seek assistance or professional advice if needed.
Once the drawers and hardware are safely set aside, you can move on to the next steps of measuring and cutting holes for the vanity mirror and lighting.
Step 4: Measure and Cut Holes for Vanity Mirror and Lighting
Now that you have removed the drawers and hardware, it’s time to measure and cut holes for your vanity mirror and lighting fixtures. This step will ensure a seamless integration of these essential components into your makeup vanity. Follow these instructions to complete this step:
- Measure the mirror: Place your vanity mirror on top of the dresser in the desired position. Use a measuring tape to determine the dimensions of the mirror and mark the area where it will be placed.
- Mark the center: Find the center point of the marked area for the mirror and make a small pencil mark. This will help you align the mirror perfectly on the dresser.
- Measure and mark for lighting: If you plan to install vanity lights or LED light strips, measure the width of the mirror and mark the positions where you want the lights to be placed. Ensure that the markings are symmetrical and evenly spaced.
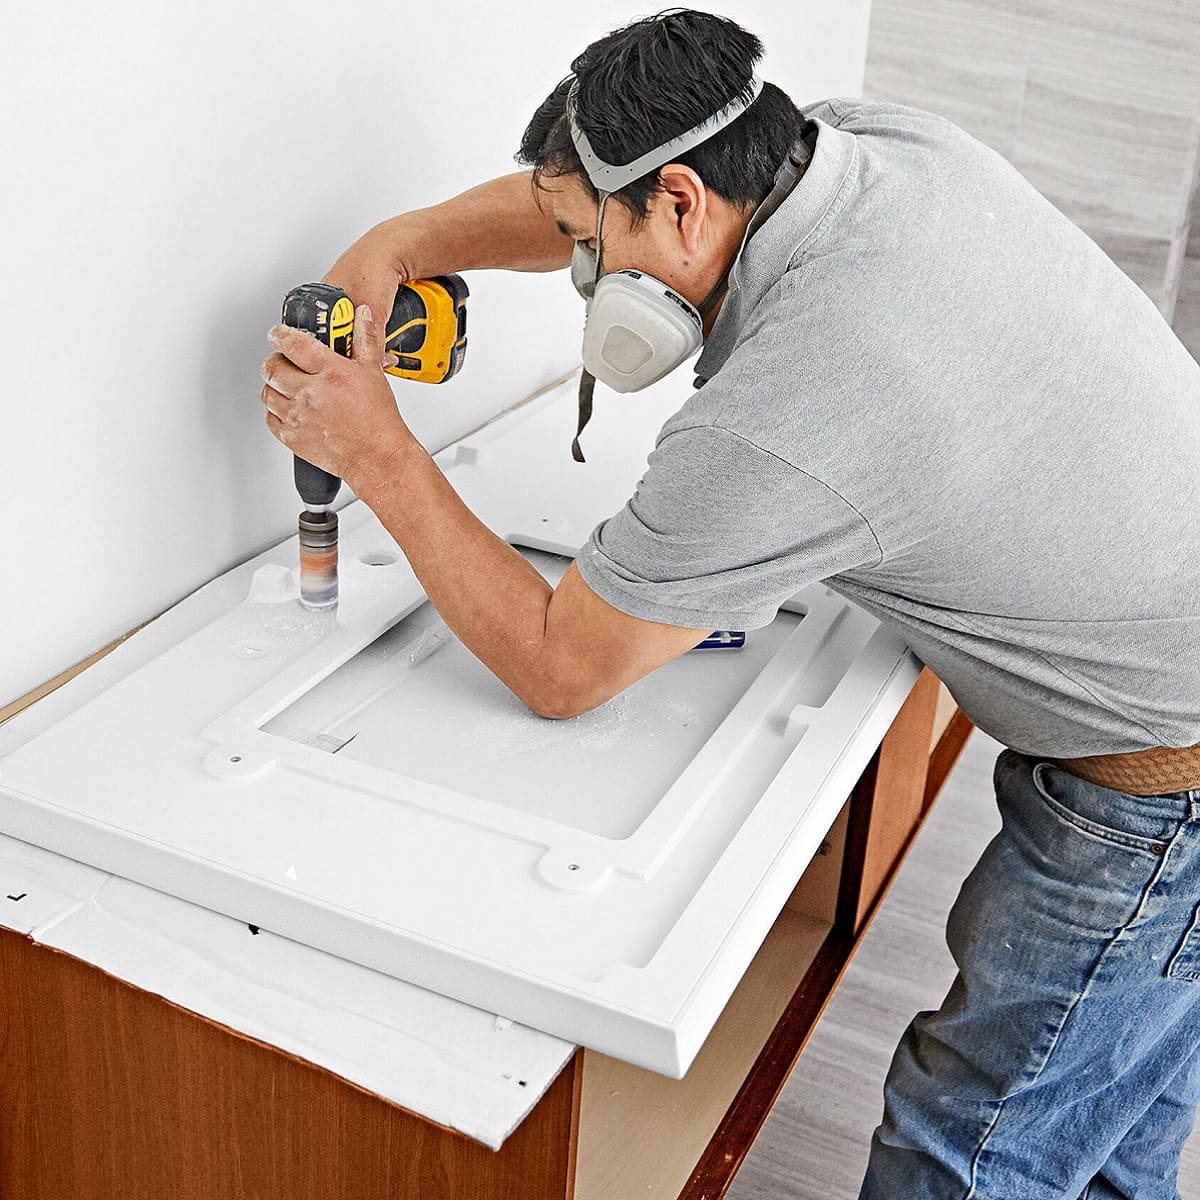
- Cut the holes: Using a drill and an appropriate size hole saw or jigsaw, carefully cut out the marked holes for the mirror and lighting. Start with a smaller hole and gradually increase the size to fit the dimensions needed. Take your time and exert gentle pressure to avoid damaging or splintering the dresser.
Once you have successfully cut the holes, test the fit of the mirror and the lighting fixtures. They should fit snugly into the holes without any wobbling or instability.
Please note that if you are not comfortable or confident in cutting the holes yourself, it is recommended to seek assistance from a professional or someone experienced in woodworking.
By measuring and cutting the appropriate holes, you are ensuring that the mirror and lights seamlessly integrate with the dresser, giving your makeup vanity a polished and customized look.
With the holes cut, you’re ready to move on to step 5, which involves sanding and painting the dresser to transform its appearance.
Read more: How To Decorate A Makeup Vanity
Step 5: Sand and Paint the Dresser
Now that you have prepared the dresser and cut the necessary holes, it’s time to give it a fresh new look by sanding and painting it. Sanding will create a smooth surface for the paint to adhere to, while painting will allow you to customize the dresser to match your desired aesthetic. Follow these steps to complete this transformation:
- Sand the dresser: Use sandpaper or a sanding block to gently sand the entire surface of the dresser, including the areas where you plan to paint. Sanding removes any rough patches, imperfections, or previous finishes, allowing for a clean and even surface. Wipe away the resulting dust with a clean cloth or brush.
- Prime the dresser (optional): If you’re painting the dresser with a lighter color or if it has a glossy or dark finish, it’s recommended to apply a coat of primer. Primer helps the paint adhere better and provides a consistent base color. Allow the primer to dry according to the manufacturer’s instructions.
- Paint the dresser: Using a paintbrush or a small roller, carefully apply the chosen paint color to the dresser. Start with thin, even coats, allowing each coat to dry before applying the next. This will help prevent drips, smudges, or uneven color. Depending on the type of paint and desired finish, you may need multiple coats. Allow the final coat to dry completely.
- Seal the paint (optional): To protect the painted dresser and ensure its longevity, consider applying a clear sealant or furniture wax. This step adds an extra layer of protection against scratches and stains.
While painting, don’t forget to paint the edges of the cut holes for the mirror and lighting to create a seamless and cohesive look. Take your time during this step to achieve a professional and polished finish.
Once the paint has dried and any additional sealant has been applied, you can move on to the exciting part of attaching the vanity mirror and lighting in the next step.
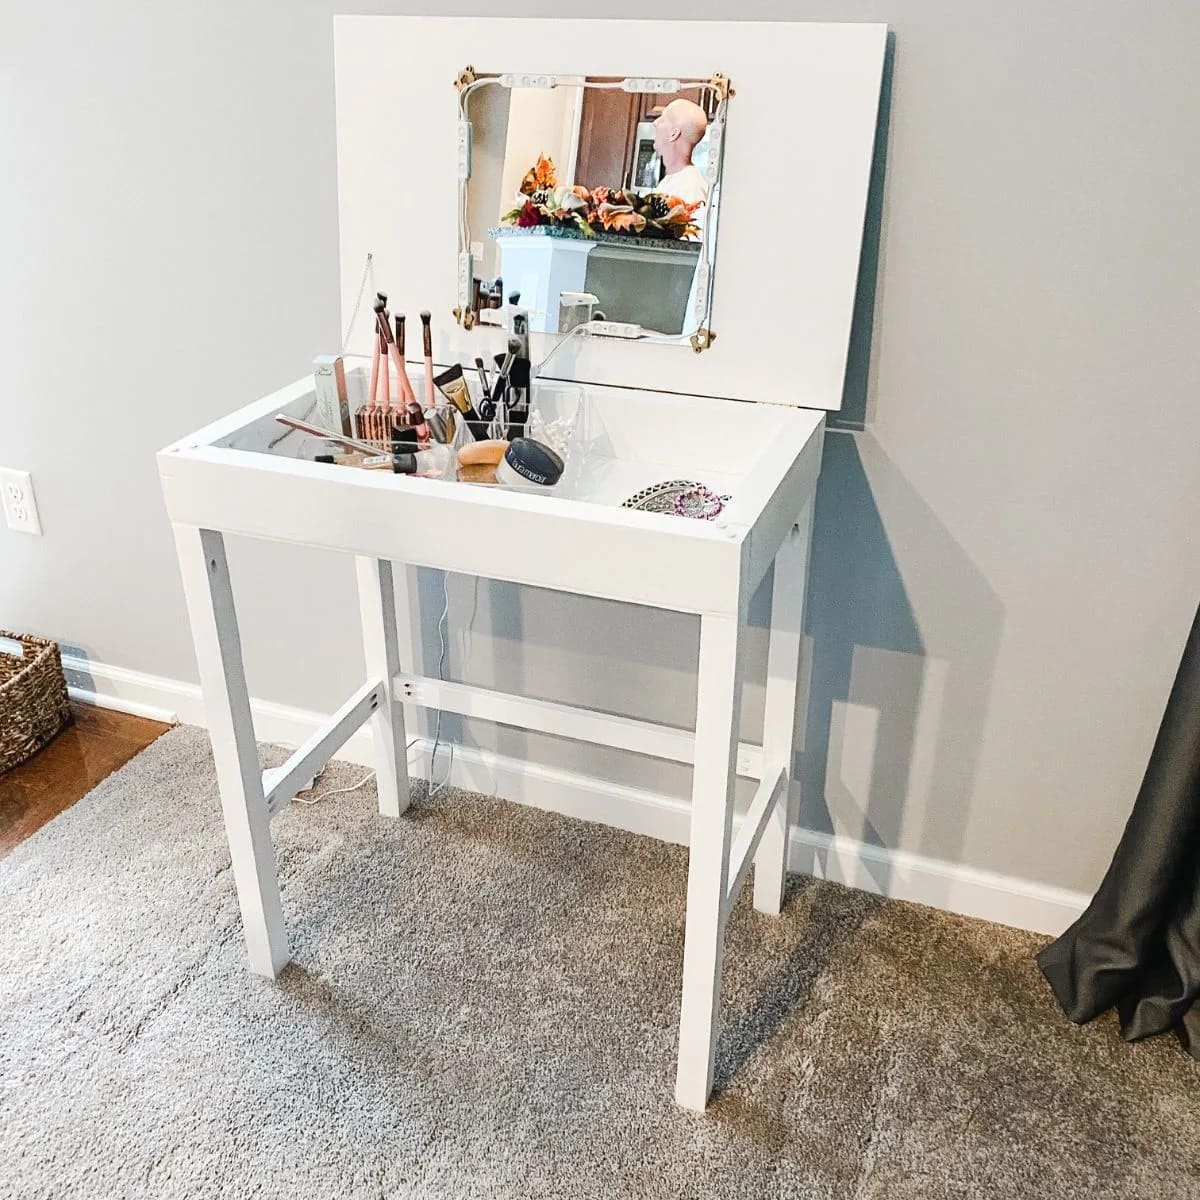
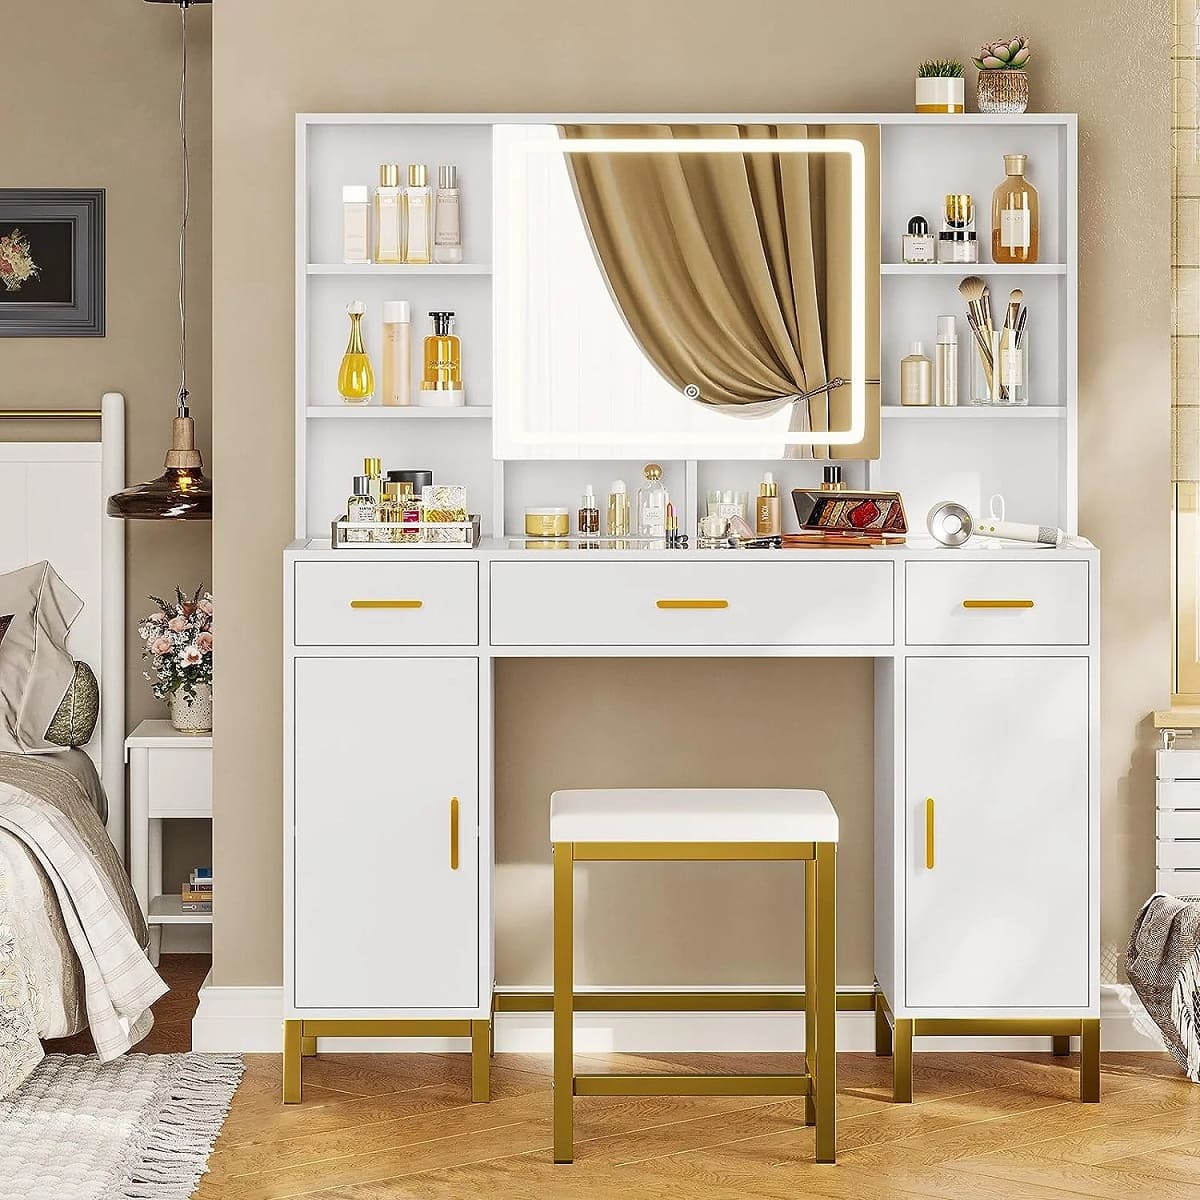
When repurposing a dresser into a makeup vanity, consider adding a large mirror, organizing trays, and lighting to create a functional and stylish space.
Step 6: Attach Vanity Mirror and Lighting
With the dresser freshly painted and ready, it’s time to attach the vanity mirror and lighting fixtures to complete the transformation into a functional makeup vanity. Follow these steps to ensure a secure and aesthetically pleasing installation:
- Position the mirror: Place the vanity mirror onto the dresser, aligning it with the previously marked center point. Ensure that the mirror is centered and level by using a level or measuring tape.
- Secure the mirror: Depending on the type of mirror you have, you may need to use mirror adhesive or brackets to secure it to the dresser. Follow the manufacturer’s instructions to attach the mirror securely. If you’re mounting a wall-mounted mirror, consult a professional to ensure proper installation.
- Install the lighting: Position your vanity lights or LED light strips around the mirror according to your previous markings. Attach them securely using the provided mounting brackets or adhesive. Pay attention to the wiring and ensure proper electrical safety by consulting an electrician if needed.
- Connect the lighting: If the lighting fixtures require electrical connections, carefully follow the manufacturer’s instructions to connect the wiring. If you’re unsure about electrical work, it’s best to consult a professional to ensure proper and safe installation.
- Test the lighting: Before fully assembling your makeup vanity, test the lighting to ensure everything is functioning correctly. Make any necessary adjustments or repairs before proceeding.
Attaching the vanity mirror and lighting fixtures will not only enhance the functionality of your makeup vanity but also add an elegant touch to the overall aesthetic. Take your time during this step to ensure a secure and visually pleasing installation.
With the mirror and lighting in place, you can now move on to step 7, which involves installing a vanity stool or chair to complete your makeup oasis.
Step 7: Install Vanity Stool or Chair
Now that your vanity mirror and lighting are in place, it’s time to focus on the seating arrangement. Installing a comfortable and stylish vanity stool or chair will provide you with a cozy spot to sit while applying your makeup or getting ready for the day. Follow these steps to successfully install your vanity seating:
- Select the right seating: Choose a vanity stool or chair that suits your style and complements the overall aesthetic of your makeup vanity. Consider factors such as comfort, height, and materials.
- Measure the height: Measure the distance from the floor to the top surface of your makeup vanity. This measurement will help you choose a stool or chair of the appropriate height.
- Place the seating: Position the vanity stool or chair in front of the vanity mirror, aligned with the center of the mirror and centered on the vanity itself.
- Secure the seating: Depending on the design of the vanity seating, it may require assembly or attachment to the floor. Follow the manufacturer’s instructions carefully to secure the seating firmly in place.
The addition of a vanity stool or chair not only adds functionality to your makeup vanity but also enhances the overall aesthetic and comfort of the space. Take your time to select the perfect seating option that reflects your personal style and ensures a comfortable experience.
With your seating installed, your makeup vanity is almost complete. The next step, step 8, involves organizing and decorating your vanity to make it both functional and aesthetically pleasing.
Step 8: Organize and Decorate the Vanity
Now that your makeup vanity is almost complete, it’s time to organize and decorate it to create a functional and visually appealing space. Follow these steps to make the most of your vanity:
- Organize your makeup: Use drawer organizers or dividers to keep your makeup and beauty products neatly arranged. Group similar items together and consider organizing them by category or frequency of use. This will make it easier to find what you need quickly.
- Add storage solutions: If your vanity has limited drawer space, consider adding additional storage solutions such as clear acrylic organizers, decorative trays, or small baskets. These can help maximize your storage potential and keep everything within easy reach.
- Display your favorite products: Showcase your favorite makeup items or beauty tools by placing them on the vanity surface. Decorative jars or trays can make the display even more visually appealing.
- Personalize with decorative touches: Add personal touches that reflect your style and personality. This could include small plants, framed photos, scented candles, or other decorative accessories that bring joy and enhance the overall ambiance of your vanity space.
- Keep it clutter-free: Avoid overcrowding your vanity with unnecessary items. Keep only the essentials within reach to maintain a clean and clutter-free surface. Regularly declutter and clean your vanity to ensure it stays organized.
Organizing and decorating your makeup vanity not only makes it more visually appealing but also contributes to a smooth and enjoyable makeup routine. You’ll be able to locate your products easily and create a space that inspires creativity and self-care.
With your makeup vanity looking stunning and organized, you’re almost done. The final step, Step 9, involves some finishing touches and maintenance tips to keep your vanity looking its best.
Read more: How To Organize A Makeup Vanity
Step 9: Final Touches and Maintenance Tips
Congratulations on almost completing your makeup vanity transformation! The final step involves adding some finishing touches and learning how to maintain the beauty and functionality of your vanity. Follow these steps for the final touches and maintenance tips:
- Add a personal touch: Incorporate personal elements such as a small inspirational quote, a decorative trinket, or a small mirror for close-up makeup application.
- Keep it clean: Regularly clean the surface of your vanity using a soft cloth or gentle cleaner. Avoid using harsh chemicals or abrasive materials that may damage the finish. This will help maintain the beauty of the painted or finished surface.
- Protect the surface: To prevent scratches or stains, use coasters or protective mats when placing hot or wet items on the vanity. Consider using clear adhesive pads under objects for added surface protection.
- Check and tighten: Periodically check the vanity mirror, lighting fixtures, and seating for any loose screws or instability. Tighten them as needed to ensure they remain secure and safe to use.
- Rotate and replenish products: Rotate and rearrange your makeup products every few months to prevent them from expiring and to ensure you’re using everything. Regularly check for expired or damaged items and replace them accordingly.
- Create a routine: Establish a daily skincare and makeup routine that allows you to fully utilize and enjoy your vanity. This will help you streamline your beauty rituals and make the most of your dedicated space.
By adding those final touches and following these maintenance tips, you can ensure that your makeup vanity remains a beautiful and functional space. Take pride in your creation and enjoy the convenience and luxury of having a personalized makeup area!
Now that your makeup vanity is complete, sit back, relax, and indulge in the pleasure of having a dedicated space for all your beauty needs. Whether you use it for your daily makeup routine, skincare rituals, or getting ready for special occasions, your DIY makeup vanity is sure to bring enjoyment and a touch of glamour to your life.
Happy vanity styling!
Conclusion
Congratulations on completing the transformation of your dresser into a beautiful and functional makeup vanity! You have taken an ordinary piece of furniture and turned it into a personalized space that reflects your style and meets your beauty needs. By following the steps outlined in this article, you have created a glamorous and organized area where you can indulge in your makeup and beauty routines.
Throughout the process, you gathered the necessary materials, prepared the dresser, removed drawers and hardware, measured and cut holes for the vanity mirror and lighting, sanded and painted the dresser, attached the mirror and lighting, installed a vanity stool or chair, organized and decorated the vanity, and added final touches while learning important maintenance tips.
Not only does your newly created makeup vanity provide a dedicated space for your beauty routine, but it also adds a touch of elegance and sophistication to your bedroom or dressing area. It’s a place where you can express your creativity, enhance your self-care rituals, and feel confident in your appearance.
Remember to keep your vanity clean and well-maintained, organizing and rotating your products to prevent clutter and expired items. This will ensure that your makeup vanity remains a functional and beautiful space for years to come.
Enjoy the benefits of having your own personalized makeup vanity, and indulge in the pleasure of getting ready in a space that is tailored to your needs and preferences. Whether you’re doing a simple everyday makeup look or preparing for a special event, your DIY makeup vanity will be there to support you in looking and feeling your best.
So, embrace the glamour, creativity, and convenience of your newly transformed makeup vanity, and let it become a cherished part of your daily beauty routine!
Frequently Asked Questions about How To Make A Makeup Vanity Out Of A Dresser
Was this page helpful?
At Storables.com, we guarantee accurate and reliable information. Our content, validated by Expert Board Contributors, is crafted following stringent Editorial Policies. We're committed to providing you with well-researched, expert-backed insights for all your informational needs.


0 thoughts on “How To Make A Makeup Vanity Out Of A Dresser”