Articles
How To Attach A Vanity Top
Modified: August 26, 2024
Learn how to properly attach a vanity top with step-by-step instructions and expert advice. Read our informative articles for all your vanity installation needs.
(Many of the links in this article redirect to a specific reviewed product. Your purchase of these products through affiliate links helps to generate commission for Storables.com, at no extra cost. Learn more)
Introduction
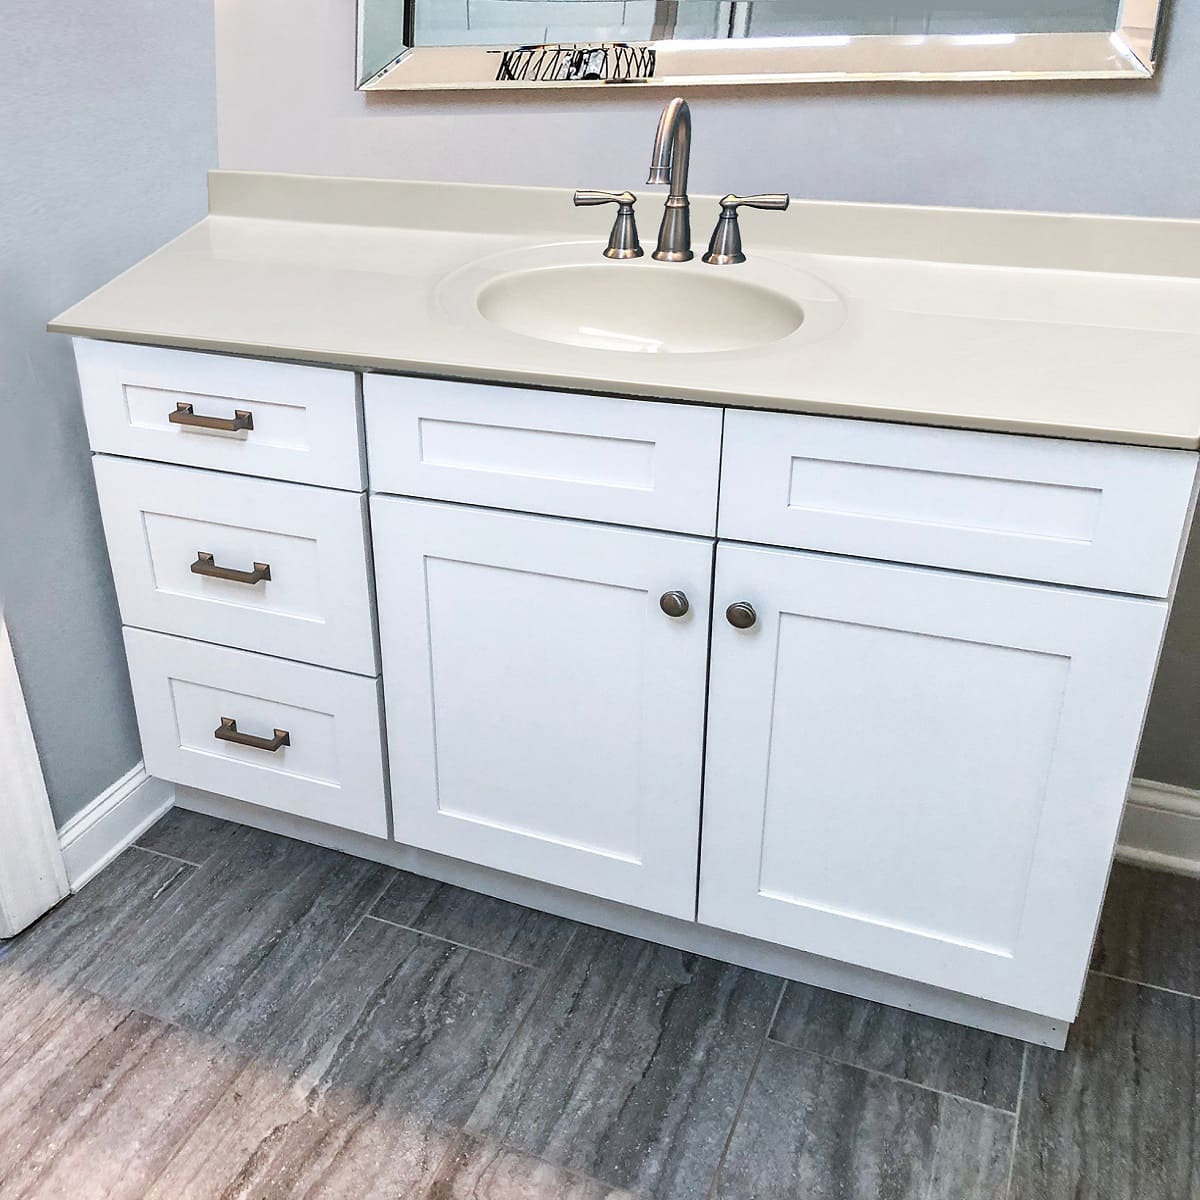
Attaching a vanity top is an essential step in completing the installation of a bathroom vanity. The vanity top not only provides a functional surface for daily use but also adds aesthetic appeal to the overall design of the bathroom. While the process may seem daunting, it can be achieved with the right tools and careful execution.
In this article, we will guide you through the step-by-step process of attaching a vanity top. We will cover the necessary tools and materials, preparation of the vanity cabinet, application of adhesive, placement and securing of the vanity top, checking for alignment and levelness, connecting plumbing fixtures (if applicable), and optional sealing with caulk or sealant.
By following these instructions, you will be able to install a vanity top that is solid and securely attached, ensuring a functional and visually appealing bathroom vanity.
Key Takeaways:
- Proper preparation, adhesive application, and secure placement are crucial for attaching a vanity top. Attention to detail and following manufacturer’s instructions ensure a stable and visually pleasing installation.
- Connecting plumbing fixtures and optional sealing with caulk or sealant add functionality and protection to the vanity top. Following safety precautions and seeking professional assistance for complex tasks is recommended.
Read more: How To Attach Sink To Vanity
Step 1: Gather the Required Tools and Materials
Before you begin attaching the vanity top, gather all the necessary tools and materials to ensure a smooth installation process. Here is a list of what you will need:
- Measuring tape
- Pencil
- Level
- Power drill
- Screwdriver
- Adhesive (appropriate for your vanity top material)
- Clamps
- Plumber’s putty or silicone sealant (if connecting plumbing fixtures)
- Caulk or sealant (for optional sealing)
- Protective gloves
- Clean cloth
Having these tools and materials ready will save you time and make the installation process more efficient. Additionally, it is always a good idea to read the manufacturer’s instructions for any specific tools or materials that may be required for your vanity top.
Once you have gathered all the necessary tools and materials, you can proceed to the next step of preparing the vanity cabinet.
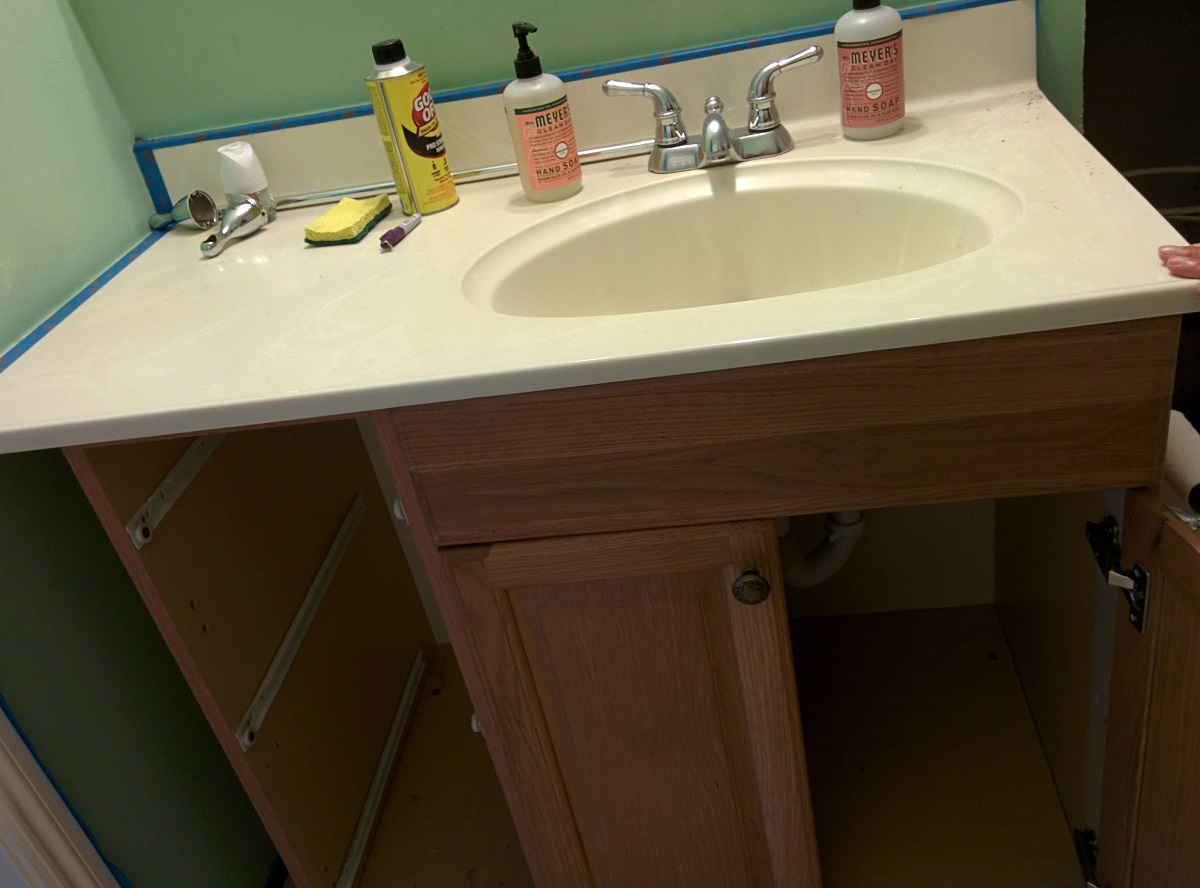
Step 2: Prepare the Vanity Cabinet
Before attaching the vanity top, it is important to prepare the vanity cabinet to ensure a secure and stable foundation. Follow these steps to prepare the vanity cabinet:
- Clear the area: Remove any items or debris from the vanity cabinet to create a clean workspace. This will make it easier to maneuver the vanity top into place.
- Measure and mark: Use a measuring tape to determine the correct position for the vanity top on the cabinet. Mark these measurements on the cabinet using a pencil. This will serve as a guide when placing the vanity top.
- Check for levelness: Use a level to ensure that the vanity cabinet is level both horizontally and vertically. Adjust the legs or shim the cabinet as needed to achieve a level surface. A level cabinet will provide a stable base for the vanity top.
- Clean the surface: Thoroughly clean the top of the vanity cabinet, removing any dust, dirt, or debris. This will ensure proper adhesion of the adhesive and prevent any imperfections in the final installation.
By preparing the vanity cabinet, you are setting the stage for a successful installation of the vanity top. Taking the time to clear the area, measure and mark, check for levelness, and clean the surface will ensure that the vanity top sits securely on the cabinet and remains stable over time.
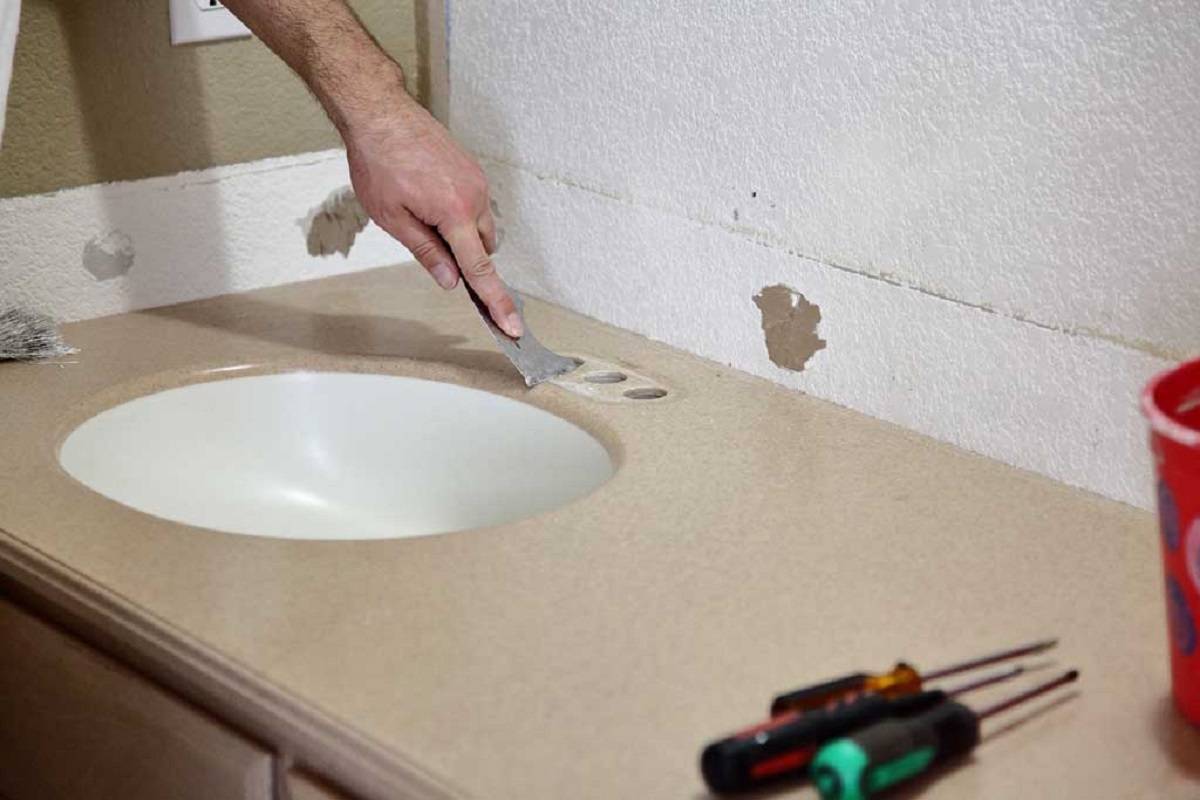
Step 3: Apply Adhesive to the Vanity Cabinet
Once you have prepared the vanity cabinet, it’s time to apply adhesive to create a strong bond between the vanity top and the cabinet. Here’s how to do it:
- Select the appropriate adhesive: Ensure that you choose an adhesive that is suitable for the material of your vanity top. Different materials may require different types of adhesive, so refer to the manufacturer’s recommendations for the best adhesive to use.
- Apply the adhesive: Following the manufacturer’s instructions, apply the adhesive to the top of the vanity cabinet. Use a trowel or putty knife to spread an even layer of adhesive on the surface. Be sure to cover the entire area where the vanity top will be placed.
- Smooth the adhesive: After applying the adhesive, use the trowel or putty knife to smooth it out, ensuring that it is evenly distributed and free of any ridges or clumps. This will help to create a flat and secure surface for the vanity top to rest on.
It is important to follow the manufacturer’s instructions regarding the drying time for the adhesive. Allow sufficient time for the adhesive to dry and become tacky before moving on to the next step.
By applying the appropriate adhesive and ensuring a smooth and even distribution, you are setting the foundation for a secure attachment between the vanity top and the cabinet.
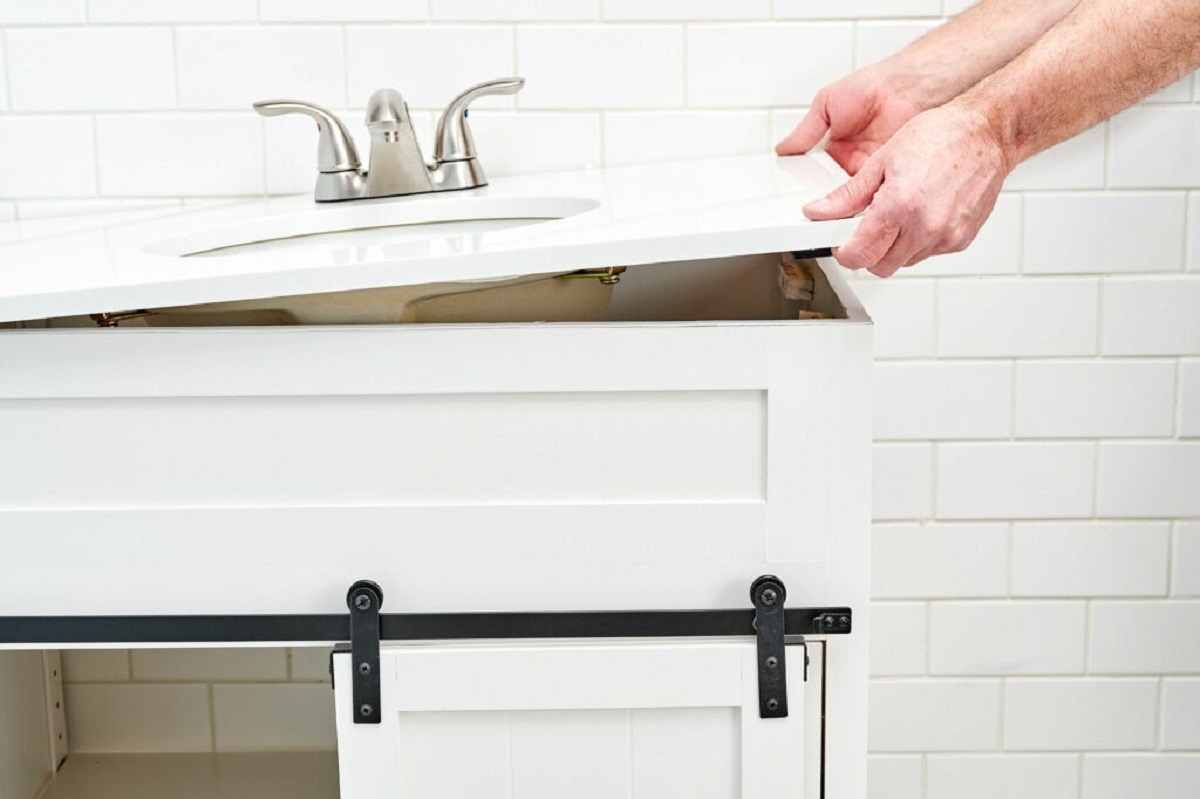
Step 4: Position the Vanity Top
With the adhesive applied to the vanity cabinet, it’s time to carefully position the vanity top in its designated spot. Follow these steps to ensure proper placement:
- Lift the vanity top: With the help of a partner, carefully lift the vanity top and align it with the marks you made on the vanity cabinet during the preparation stage. Take your time to ensure that it is centered and positioned correctly.
- Lower the vanity top: Slowly lower the vanity top onto the adhesive, making sure it sits evenly and securely on the cabinet. Press down gently to allow the top to adhere to the adhesive.
- Align the vanity top: Check the alignment of the vanity top, ensuring that it is straight and properly aligned with the cabinet. Make any necessary adjustments before moving on to the next step.
It’s essential to handle the vanity top with care during this step and to avoid any sudden movements or drops that could damage the top or disrupt the adhesive bond. Working with a partner can help to ensure a smoother and more secure placement.
Positioning the vanity top accurately is crucial for a professional-looking installation. Take your time during this step to achieve the desired alignment and ensure a visually pleasing outcome.
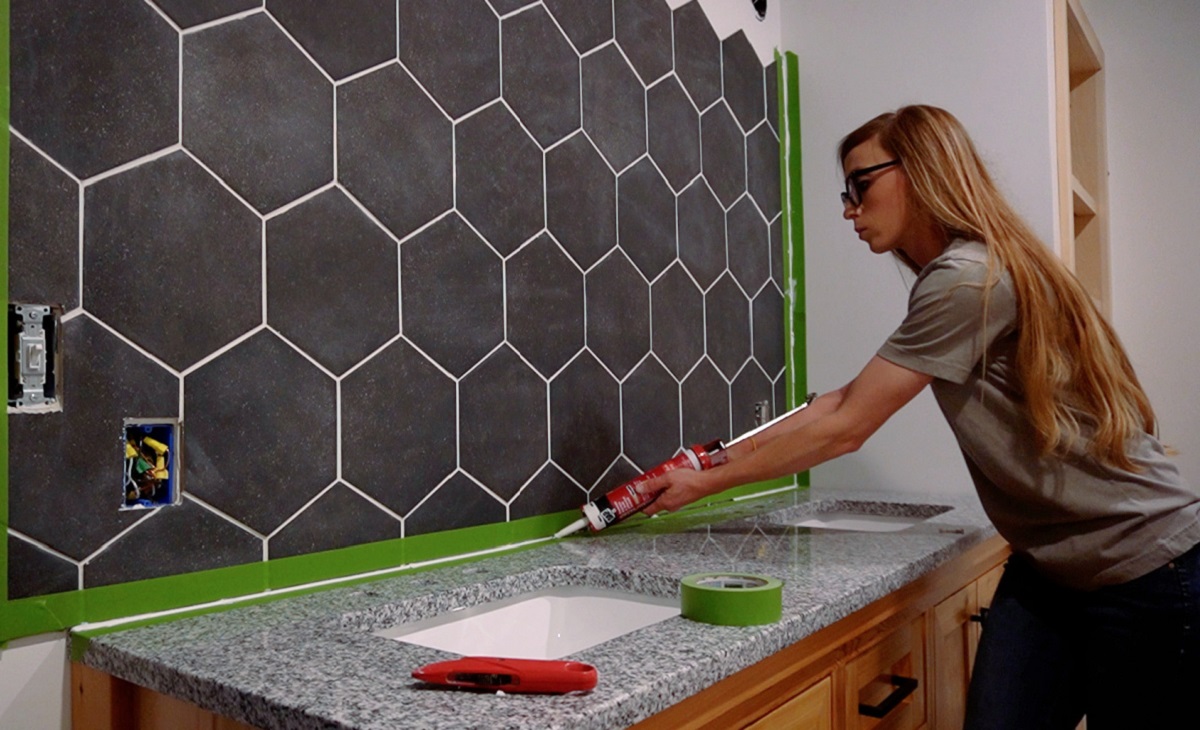
When attaching a vanity top, be sure to use a clear silicone adhesive to secure it to the base. Apply the adhesive in a continuous bead along the top edges of the base before carefully placing the vanity top on top.
Read more: How To Attach Backsplash To Vanity
Step 5: Secure the Vanity Top in Place
Now that the vanity top is positioned correctly, it’s time to secure it in place to ensure stability and longevity. Follow these steps to secure the vanity top:
- Use clamps: Place clamps on the edges of the vanity top to hold it securely in place. Make sure the clamps are evenly spaced and tightened enough to keep the top from shifting.
- Insert screws or brackets: Depending on the design of your vanity top and cabinet, you may need to insert screws or brackets to further secure the top. Follow the manufacturer’s instructions for proper placement and use the appropriate tools to attach them.
- Tighten screws or brackets: Carefully tighten the screws or brackets just enough to secure the vanity top, being careful not to overtighten and crack the material. Check the stability of the top to ensure that it doesn’t move or wobble when pressure is applied.
Securing the vanity top is crucial to prevent any accidental displacement or damage. The clamps and screws or brackets provide stability and ensure that the vanity top remains in place, even with regular use.
Remember to always follow the manufacturer’s instructions regarding the use of clamps, screws, or brackets specific to your vanity top. This will help to ensure a secure and reliable installation.
Step 6: Check for Alignment and Levelness
After securing the vanity top, it’s essential to check for proper alignment and levelness. This step is crucial to ensure a visually appealing and functional vanity. Here’s what you need to do:
- Check the alignment: Stand back and visually inspect the vanity top to ensure it is aligned with the surrounding walls and other fixtures in the bathroom. Make any necessary adjustments to ensure a symmetrical and balanced appearance.
- Use a level: Place a level on top of the vanity surface to check for levelness. Check both horizontally and vertically to ensure that the vanity top is evenly aligned. If needed, adjust the leveling feet or shim the cabinet to achieve a level surface.
Having a properly aligned and level vanity top not only enhances the overall aesthetics of the bathroom but also ensures that water can effectively drain into the sink and that any items placed on the vanity top will remain stable.
Take your time during this step to make necessary adjustments and achieve an optimal alignment and levelness. It’s better to invest the time now rather than dealing with issues later on.
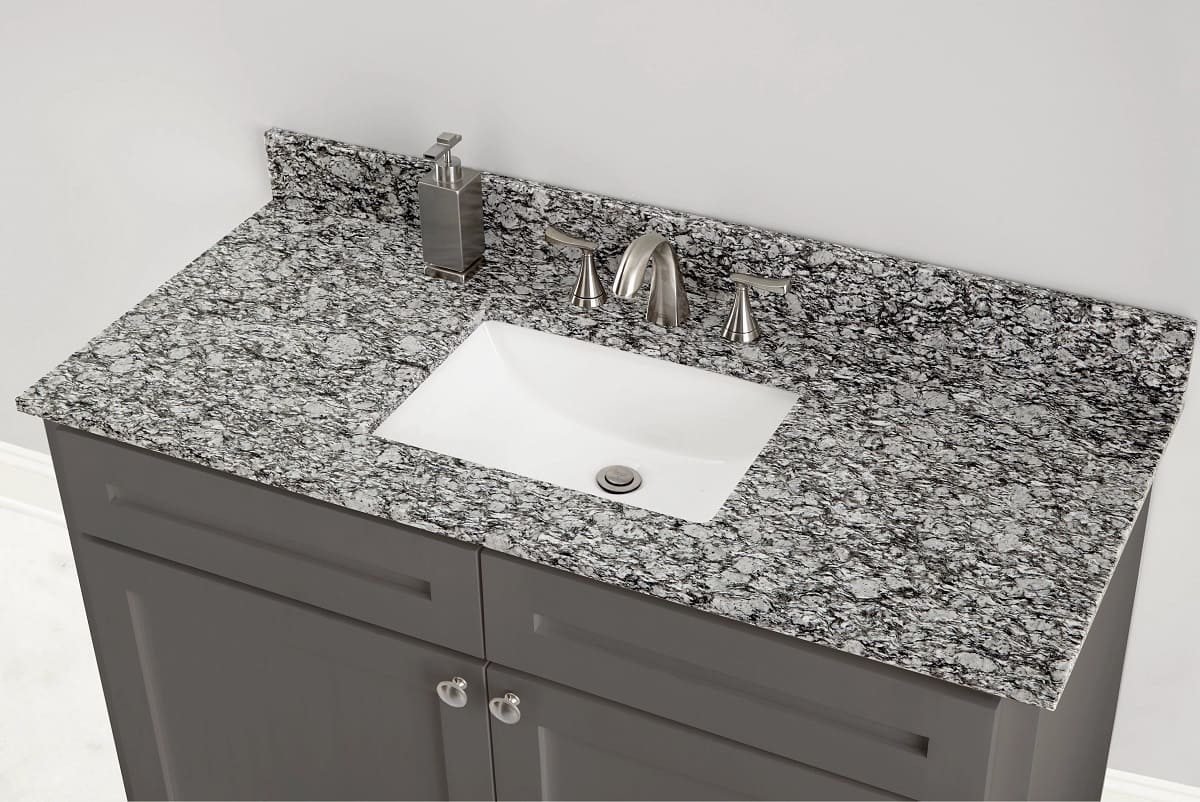
Step 7: Connect Plumbing Fixtures (if applicable)
If your vanity top includes plumbing fixtures such as faucets, sinks, or drain pipes, it’s important to connect them properly to ensure functionality and prevent any leaks. Follow these steps to connect the plumbing fixtures:
- Position the fixtures: Carefully place the sink, faucet, and drain pipes into the designated holes or openings on the vanity top. Ensure that they are positioned correctly and aligned with the plumbing connections underneath.
- Connect the water supply lines: Use the appropriate fittings and connectors to connect the water supply lines to the faucet. Ensure that the connections are tight but not overtightened to avoid damage. Check the manufacturer’s instructions for any specific guidelines or recommendations.
- Attach the drain pipes: Connect the drain pipes to the sink or basin drain outlets using the appropriate fittings. Use plumber’s putty or silicone sealant to create a watertight seal. Ensure that the connections are secure and leak-free.
When connecting plumbing fixtures, it’s important to follow local plumbing codes and regulations. If you are unsure about any aspect of the installation, it’s best to consult a professional plumber.
Once the fixtures are properly connected, turn on the water supply and check for any leaks or drips. Make any necessary adjustments or repairs to ensure that the plumbing fixtures are functioning correctly.
Remember to always take safety precautions when working with plumbing fixtures, such as turning off the water supply before making any connections and using protective gloves when handling pipes or fittings.
Step 8: Apply Caulk or Sealant (optional)
Applying caulk or sealant is an optional step that can provide additional protection and aesthetic appeal to your vanity top installation. If desired, follow these steps to apply caulk or sealant:
- Clean the area: Ensure that the top surface of the vanity and the surrounding edges are clean and free of any dust, debris, or adhesive residue. Use a clean cloth to wipe the area and make sure it is dry before proceeding.
- Select the appropriate caulk or sealant: Choose a caulk or sealant that is specifically designed for use on bathroom fixtures and is compatible with the material of your vanity top. There are different types of caulk available, such as silicone or acrylic, so choose the one that suits your needs.
- Cut the tip of the caulk tube: Using a utility knife or caulk gun, cut the tip of the caulk tube at a 45-degree angle. The size of the hole should be slightly smaller than the width of the desired caulk line.
- Apply the caulk or sealant: Starting from one end of the vanity top, slowly and evenly squeeze the caulk or sealant along the edge, applying a thin and continuous line. Move along the entire edge, ensuring full coverage. Smooth the caulk line using a caulk tool or your finger, removing any excess caulk.
Let the caulk or sealant dry and cure fully according to the manufacturer’s instructions before exposing it to water or heavy use. This will ensure that it forms a proper seal and provides the desired level of protection.
Applying caulk or sealant can help to prevent water damage, mold, and mildew growth, as well as provide a finished appearance to the vanity installation. However, if you are unsure about applying caulk or sealant, it’s recommended to seek professional assistance to ensure a proper and effective application.
Read more: How To Seal Vanity Top
Conclusion
Attaching a vanity top is a crucial step in completing the installation of a bathroom vanity. By following the step-by-step guide provided in this article, you can successfully attach a vanity top and achieve a functional and visually appealing bathroom fixture.
Remember to gather all the necessary tools and materials before starting the installation process. Prepare the vanity cabinet by clearing the area, measuring and marking, checking for levelness, and cleaning the surface. Apply the appropriate adhesive to create a strong bond between the vanity top and the cabinet.
Position the vanity top carefully, ensuring proper alignment and levelness. Secure the top in place using clamps and screws or brackets. Check for alignment and levelness to achieve a professional and balanced look.
If your vanity top includes plumbing fixtures, connect them properly according to the manufacturer’s instructions. And if desired, apply caulk or sealant to provide extra protection and a finished appearance.
Ultimately, the successful attachment of a vanity top will contribute to the overall functionality and aesthetics of your bathroom. Take your time, follow the instructions diligently, and seek professional assistance when needed, especially for complex plumbing connections.
By investing effort into attaching a vanity top correctly, you can enjoy a durable, functional, and visually appealing vanity for years to come.
Frequently Asked Questions about How To Attach A Vanity Top
Was this page helpful?
At Storables.com, we guarantee accurate and reliable information. Our content, validated by Expert Board Contributors, is crafted following stringent Editorial Policies. We're committed to providing you with well-researched, expert-backed insights for all your informational needs.

0 thoughts on “How To Attach A Vanity Top”