Articles
How To Build Stove Top Coil
Modified: December 7, 2023
Learn how to build a stove top coil with our informative articles. Get expert tips and step-by-step instructions to create your own unique coil design.
(Many of the links in this article redirect to a specific reviewed product. Your purchase of these products through affiliate links helps to generate commission for Storables.com, at no extra cost. Learn more)
Introduction
Building a stove top coil is a great DIY project that can improve your cooking experience. Whether you want to replace a worn-out coil or simply customize your stove top, creating your own coil allows you to have control over the size and quality of the heating element.
In this article, we will guide you through the step-by-step process of building a stove top coil. We will cover the materials needed, provide detailed instructions, and offer tips and tricks to ensure a successful coil build. By the end of this article, you will have the knowledge and skills to create a functional and efficient coil for your stove top.
Before we dive into the process, it’s important to note that safety should always be a top priority when working with electricity. Make sure to disconnect and turn off the power supply to your stove top before attempting to build or install a new coil. Additionally, if you are unsure about any step or lack the necessary electrical knowledge, it is best to consult a professional.
Now that we have covered the safety precautions, let’s move on to the materials you will need for this project.
Key Takeaways:
- Building your own stove top coil allows for customization and improved cooking performance. Prioritize safety and enjoy the rewarding DIY process of creating a functional and efficient coil for your stove top.
- From gathering materials to testing and adjusting, the step-by-step process outlined in this article empowers you to build, install, and enjoy the benefits of a customized stove top coil. Prioritize safety, seek professional guidance when needed, and savor the fruits of your DIY project.
Read more: How To Clean Coil Stove Burners
Materials Needed
Before you begin building your stove top coil, gather the following materials:
- Wire: You will need a suitable wire for the coil. It is recommended to use a high-resistance wire that can withstand high temperatures. Nichrome wire is a popular choice for stove top coils due to its excellent heat resistance.
- Wire cutter: A wire cutter will be necessary for cutting the wire to the desired length.
- Pliers: Pliers will be needed for bending and shaping the wire during the coiling process.
- Screwdriver: You may need a screwdriver to remove the old coil and secure the new coil on the stove top.
- Electrical tape: Electrical tape will be used to secure the ends of the wire and provide insulation.
Ensure that you have all of these materials ready before you proceed to the next step. Having everything on hand will make the process smoother and more efficient.
Now that you have gathered the necessary materials, let’s move on to the step-by-step instructions for building your stove top coil.
Step 1: Gather the Wire
The first step in building your stove top coil is to gather the appropriate wire for the project. As mentioned earlier, it is recommended to use high-resistance wire, such as nichrome wire, for optimal performance and durability.
When choosing the wire, consider the size of your stove top and the desired size of the coil. The wire should be long enough to cover the entire heating area of the stove top, but not so long that it becomes excessively bulky or difficult to handle.
Measure the dimensions of your stove top to determine the length of wire you will need. Add a few extra inches to account for any bends or twists that may be necessary during the coiling process.
Once you have determined the appropriate length of wire, use a wire cutter to cut it to size. Be cautious when handling the wire, as it can be sharp when cut.
Now that you have your wire prepared, we can move on to the next step: determining the size of the coil.
Step 2: Determine the Coil Size
After gathering the wire, the next step in building your stove top coil is to determine the size of the coil. The size of the coil will depend on the dimensions of your stove top and your specific cooking needs.
Start by measuring the diameter of your stove top heating element. This will give you an idea of the base size for your coil. Consider how many coils you want to have on your stove top, keeping in mind that each coil should have enough space for effective heat distribution.
If you are replacing an existing coil, you can match the size of the new coil to the old one. However, if you want to change the coil size for better performance or aesthetic reasons, take this opportunity to experiment and find the ideal size for your needs.
Remember to consider safety regulations and guidelines regarding the spacing and size of stove top coils. Check with the manufacturer of your stove or consult a professional if you have any doubts or concerns.
Once you have determined the desired size of the coil, you can proceed to the next step: preparing the wire for coiling.
Step 3: Prepare the Wire
Now that you have determined the size of the coil, it’s time to prepare the wire for coiling. This step will ensure that the wire is in the optimal condition for creating the stove top coil.
Start by straightening the wire. Use your hands or pliers to carefully straighten out any bends or kinks in the wire. This will make it easier to work with during the coiling process.
Next, inspect the wire for any sharp ends or rough edges. If you find any, use a file or sandpaper to smooth them out. This will prevent any potential injuries during the coil building process and ensure a clean, polished final product.
Once you have straightened and smoothed out the wire, you can proceed to the next step: starting the coiling process.
Remember to handle the wire with care during the preparation stage to avoid any accidents or injuries. If you are unsure about how to safely prepare the wire, seek assistance from a professional or an experienced DIYer.
With the wire prepared, we are now ready to move on to the exciting part of building the coil itself. In the next step, we will start coiling the wire to create the stove top coil.
Read also: 12 Superior Electric Coil Cooktop For 2025
Step 4: Start Coiling
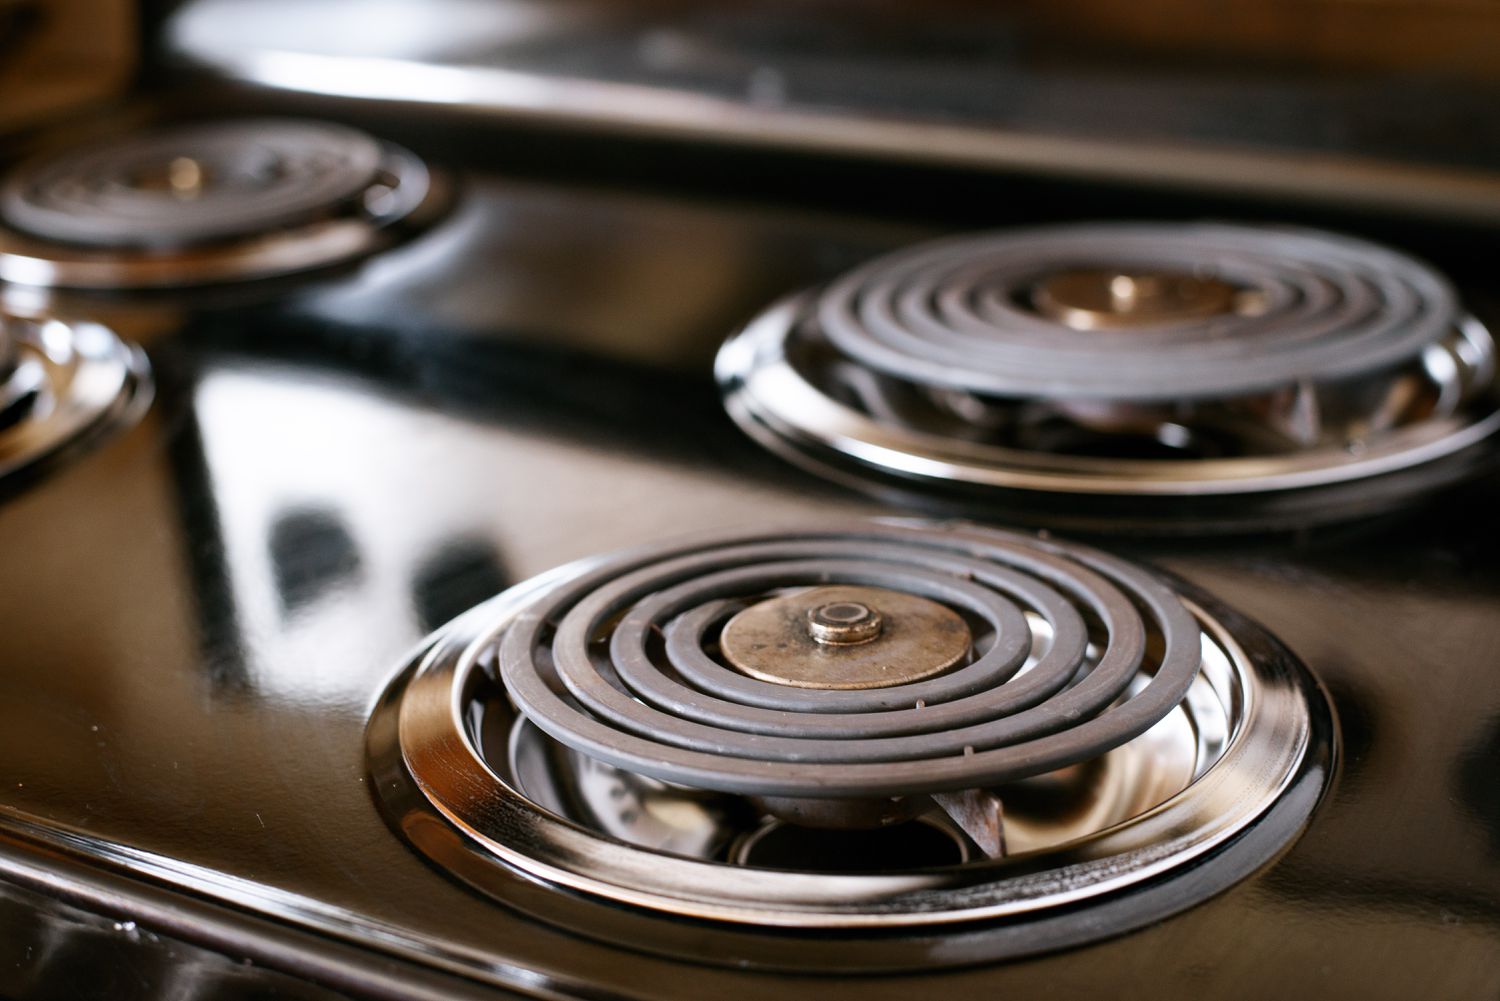
With the wire prepared and ready to go, it’s time to start coiling and shaping it into the stove top coil. This step requires precision and patience, as it determines the final shape and functionality of the coil.
Begin by holding one end of the wire firmly. Use your other hand and a pair of pliers to grip the wire a few inches from the end. Start bending the wire in a tight, circular motion to form the first loop of the coil. Continue this motion, gradually building up the coil by adding more loops.
Make sure to keep the loops uniform in size and evenly spaced. This will ensure that the heat is distributed evenly across the coil when it is installed on the stove top.
If you want a tighter coil, apply more pressure and bend the wire more closely together. For a looser coil, apply less pressure and leave more space between the loops.
As you progress, periodically check the size of the coil against the dimensions of your stove top. Adjust the diameter if needed to ensure a proper fit.
Continue coiling the wire until you have reached the desired length for your stove top coil. Remember to leave some excess wire at the other end for securing and connecting the coil.
Once you have completed the coiling process, you can move on to the next step: securing the ends of the coil.
Coiling the wire requires precision and attention to detail. Take your time and ensure that each loop is properly formed to create an efficient and functional coil.
When building a stove top coil, make sure to use high-quality wire and wrap it tightly around a small rod to achieve a compact and even coil. Be sure to check for hot spots and adjust as needed before use.
Step 5: Secure the Ends
After successfully coiling the wire, it’s time to secure the ends to ensure that the coil remains intact and safe to use. Properly securing the ends will prevent the coil from unraveling or coming apart during installation or use.
Start by bending the excess wire at the ends of the coil to form a hook-like shape. This will help secure the ends together and prevent any movement or separation.
Once the ends are bent, use electrical tape to wrap around the hooks and hold them firmly in place. Begin by wrapping the tape tightly around one end of the coil, covering the hook and a few inches of the wire. Continue wrapping until the end is completely secured.
Repeat the same process on the other end of the coil, ensuring that it is tightly wrapped and secure.
Inspect the ends of the coil to make sure that they are well-secured and there are no loose or exposed wires. If needed, add additional layers of electrical tape for reinforcement.
Securing the ends of the coil is crucial for its stability and longevity. Take your time to wrap the electrical tape properly and ensure a tight and secure hold.
Once the ends are secure, we can move on to the next step: trimming the excess wire.
Trimming any excess wire will give the coil a cleaner and more polished appearance while ensuring that it fits properly on the stove top.
Step 6: Trim the Excess WireWith the ends of the coil securely fastened, it’s time to trim any excess wire to give the coil a clean and professional look. Trimming the excess wire will also ensure that the coil fits properly on the stove top without any obstructions or uneven edges.
Start by carefully measuring the length of the coil, taking into account the hooks on each end. Use wire cutters to trim the excess wire, making clean and precise cuts. Avoid cutting too close to the coil itself to prevent any damage.
After trimming the excess wire, check the coil for any sharp or jagged edges. If you notice any, use a file or sandpaper to smooth them out and create a seamless finish.
Take your time during the trimming process to ensure that the coil is properly shaped and has a neat appearance. Double-check the dimensions of the coil and make any necessary adjustments before moving on to the next step.
Once you have trimmed the excess wire and smoothed out any rough edges, we can proceed to the next step: installing the coil on the stove top.
Trimming the excess wire is an important step to achieve a polished and professional-looking coil. Don’t rush through this step, as it can make a significant difference in the final result.
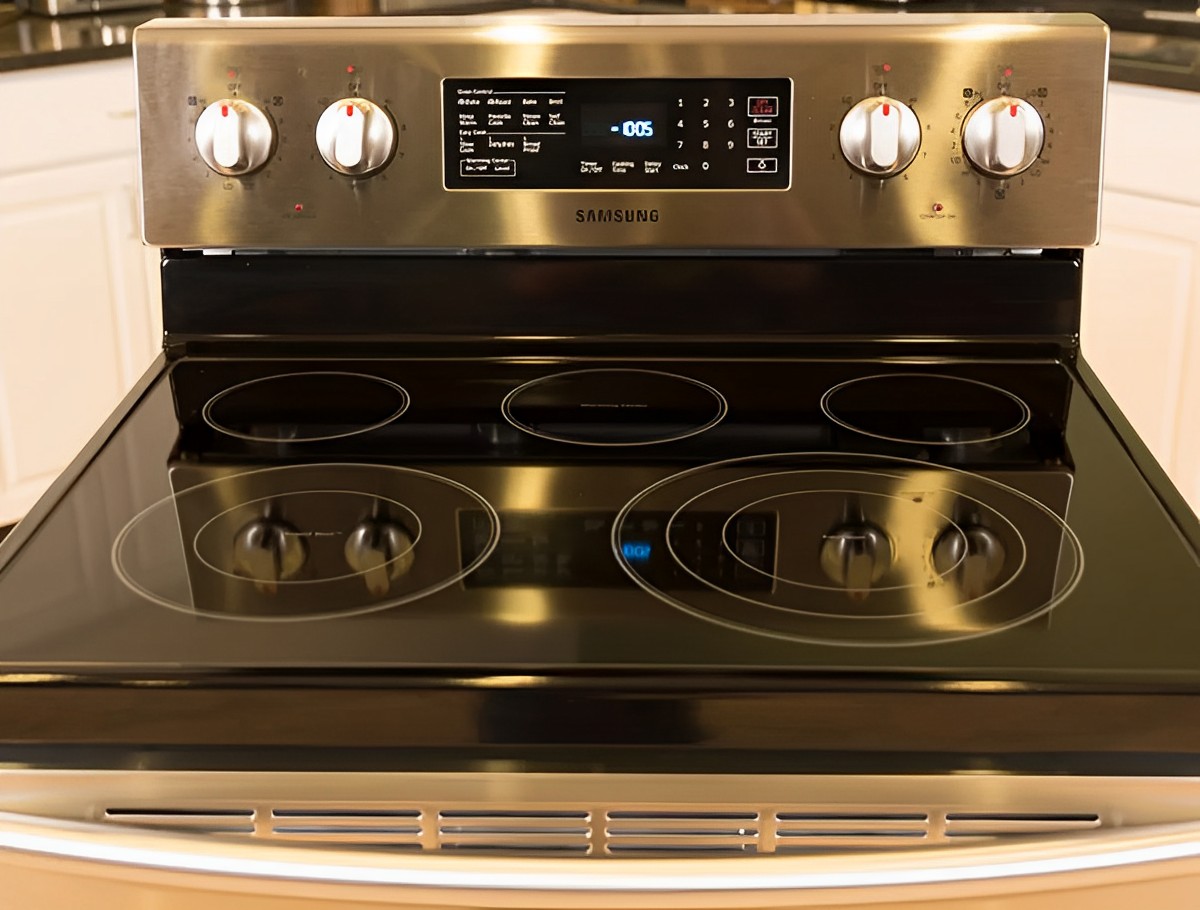
Step 7: Install the Coil on the Stove Top
Now that the coil is built and trimmed, it’s time to install it on your stove top. Proper installation is essential for the coil to function effectively and safely. Follow these steps to ensure a successful installation.
Before you begin, make sure that the power supply to the stove top is turned off and disconnected. Safety should always be a top priority when working with electrical components.
Start by carefully removing the old coil, if applicable. Depending on your stove top model, this may involve unscrewing or releasing clips to detach the coil from the heating element.
Once the old coil is removed, align the newly built coil with the heating element on your stove top. Ensure that it sits securely and evenly on the surface.
Depending on the specific design of your stove top, there may be hooks or clamps to hold the coil in place. Follow the manufacturer’s instructions or refer to the stove’s user manual to properly secure the coil.
Make sure that the connections at the ends of the coil are properly aligned with the corresponding electrical terminals on the stove top. The coil should fit snugly and be securely connected without any loose or exposed wires.
Once the coil is securely installed, you can proceed to the next step: testing and adjusting as needed.
Take your time during the installation process to ensure that the coil is properly aligned and connected. Consulting the user manual or seeking professional assistance can be helpful if you encounter any difficulties.
Read more: How To Make A Stove Top Distiller
Step 8: Test and Adjust as Needed
With the coil installed on the stove top, it’s time to test its functionality and make any necessary adjustments. Testing the coil will ensure that it heats up properly and works efficiently.
Turn on the power supply to the stove top and select the appropriate heat setting for the coil. Keep a safe distance and monitor the coil closely as it heats up.
Observe the coil to ensure that it heats up evenly and quickly. Check for any unusual sounds or smells that could indicate a problem with the coil or its installation.
If you notice any issues, such as uneven heating or a lack of heat, you may need to make adjustments. Turn off the power supply and carefully inspect the coil and its connections.
Check that all electrical connections are secure and that the coil is properly aligned on the stove top. Look for any signs of damage or loose wires. If any issues are found, address them accordingly by repositioning or securing the coil as needed.
Once any adjustments have been made, retest the coil to ensure that it is functioning correctly. Repeat the process until you are satisfied with the performance of the stove top coil.
Remember to always exercise caution when working with electricity and heating elements. If you encounter any difficulties or concerns during the testing and adjustment process, consult a professional to avoid any potential hazards.
Congratulations! You have successfully built and installed your stove top coil. Enjoy your newly customized cooking experience and the improved performance of your stove top.
Conclusion
Building your own stove top coil is a rewarding DIY project that allows you to customize your cooking experience. By following the step-by-step process outlined in this article, you have learned how to create a functional and efficient coil for your stove top.
Throughout the process, we discussed the materials needed, including high-resistance wire, wire cutters, pliers, a screwdriver, and electrical tape. We emphasized the importance of safety and suggested consulting a professional for any uncertainties or lack of electrical knowledge.
We covered each step in detail, from gathering the wire to determining the coil size, preparing the wire, and coiling it to create the desired shape. We highlighted the significance of securing the ends and trimming any excess wire for a polished final product.
Installing the coil on the stove top was an essential part of the process, and we emphasized the importance of proper alignment, secure connections, and following manufacturer instructions or user manuals.
We concluded with testing and adjusting the coil to ensure its functionality and addressed the need for caution when working with electricity and heating elements. Seeking professional guidance is always recommended if any difficulties or concerns arise.
Now that you have successfully completed the coil-building process, you can enjoy the benefits of a customized stove top that meets your cooking needs. Whether you are replacing a worn-out coil or simply adding a personal touch to your kitchen, building your own stove top coil is a rewarding endeavor.
Remember to always prioritize safety, consult experts when needed, and enjoy the fruits of your DIY project. Happy cooking!
Frequently Asked Questions about How To Build Stove Top Coil
Was this page helpful?
At Storables.com, we guarantee accurate and reliable information. Our content, validated by Expert Board Contributors, is crafted following stringent Editorial Policies. We're committed to providing you with well-researched, expert-backed insights for all your informational needs.


0 thoughts on “How To Build Stove Top Coil”