Home>Construction & Tools>Building Materials>How To Cap Off A Brick Chimney
Building Materials
How To Cap Off A Brick Chimney
Modified: February 24, 2024
Learn how to cap off a brick chimney with the right building materials. Discover step-by-step guidance for a successful chimney closure.
(Many of the links in this article redirect to a specific reviewed product. Your purchase of these products through affiliate links helps to generate commission for Storables.com, at no extra cost. Learn more)
Introduction
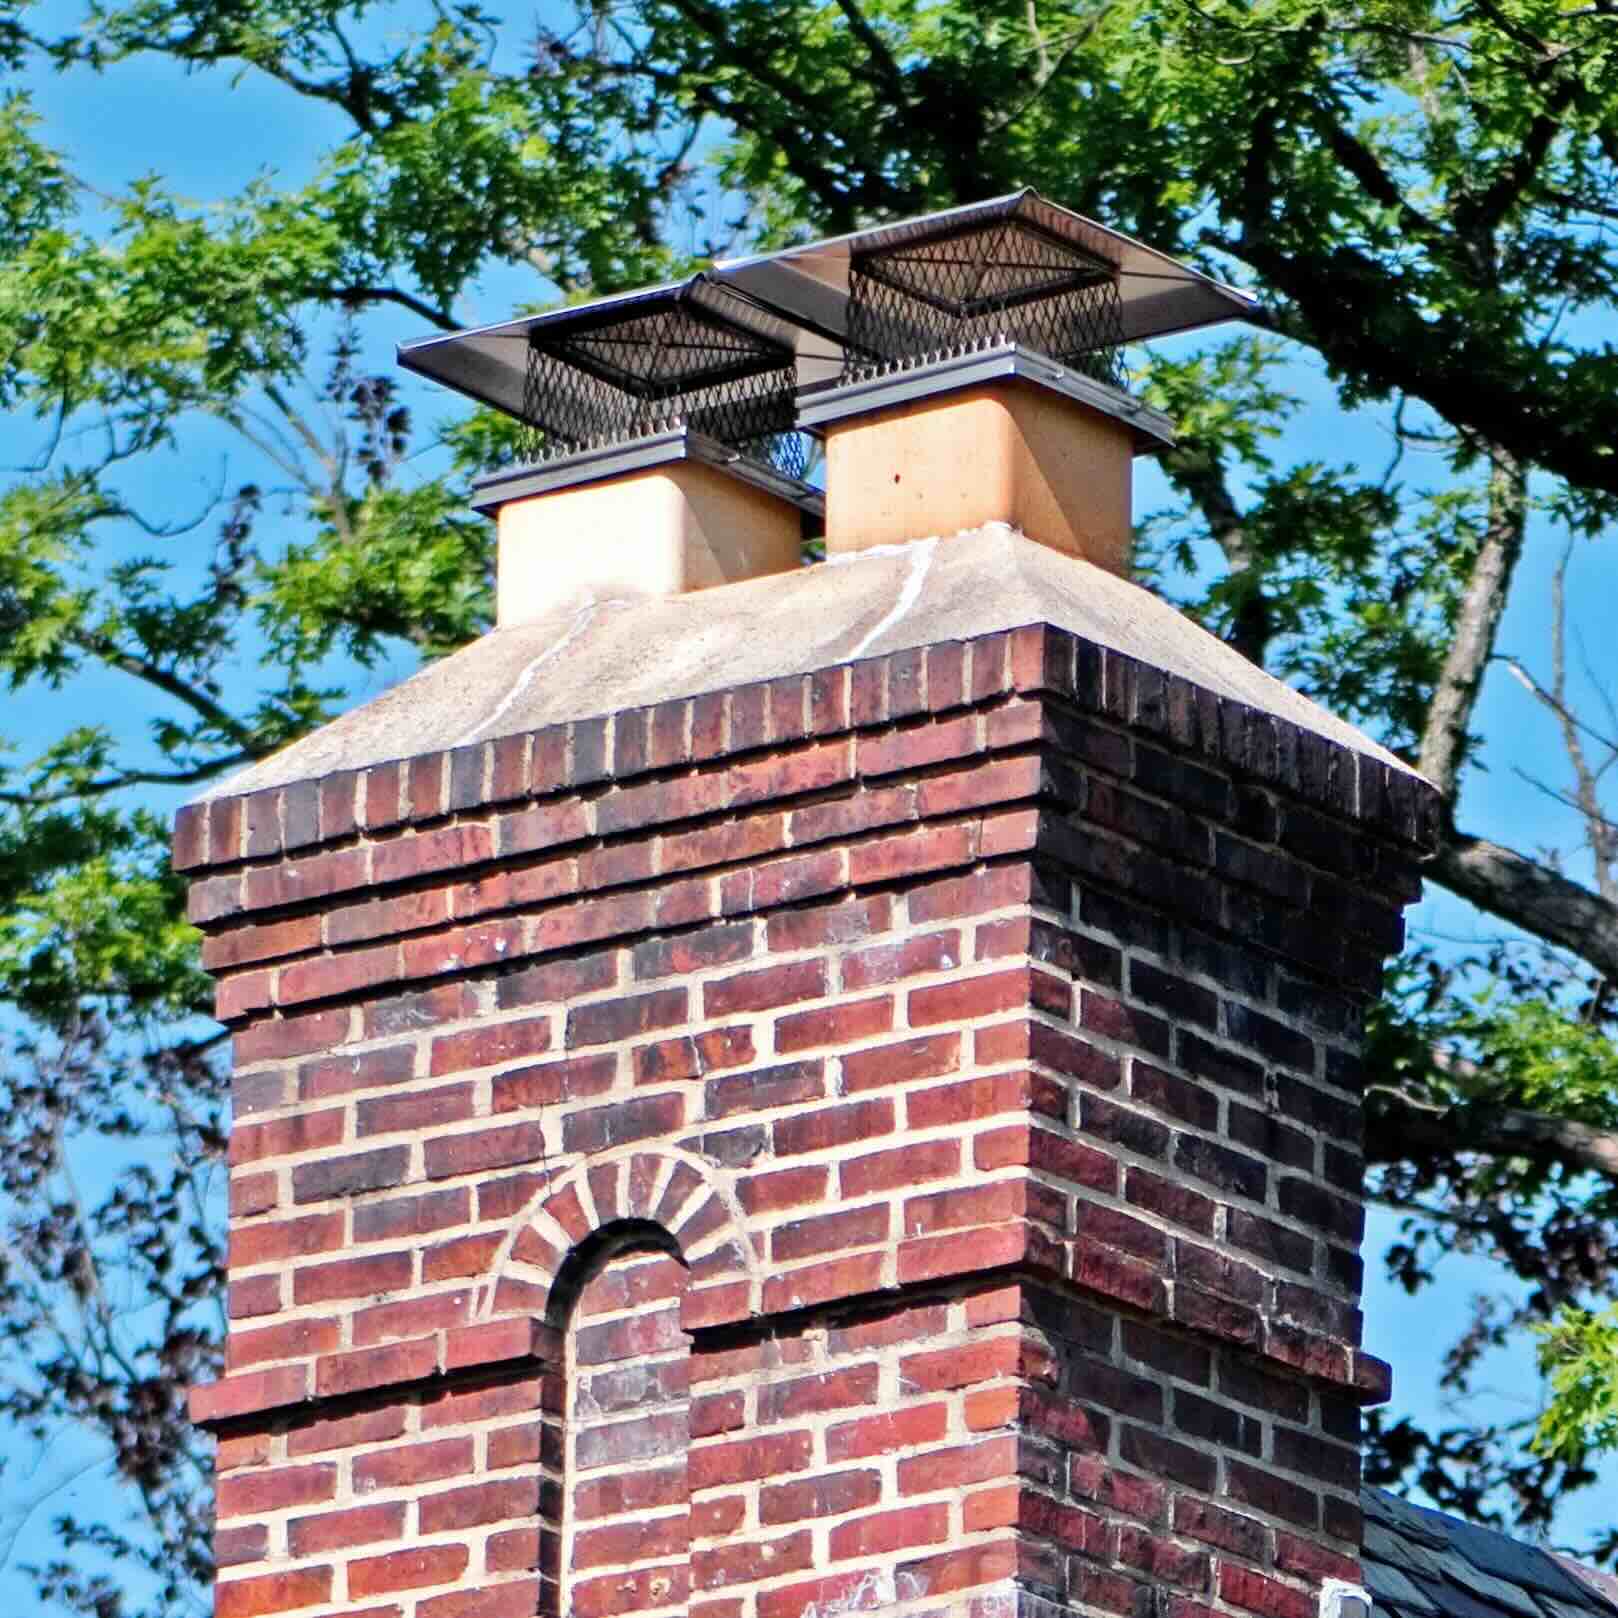
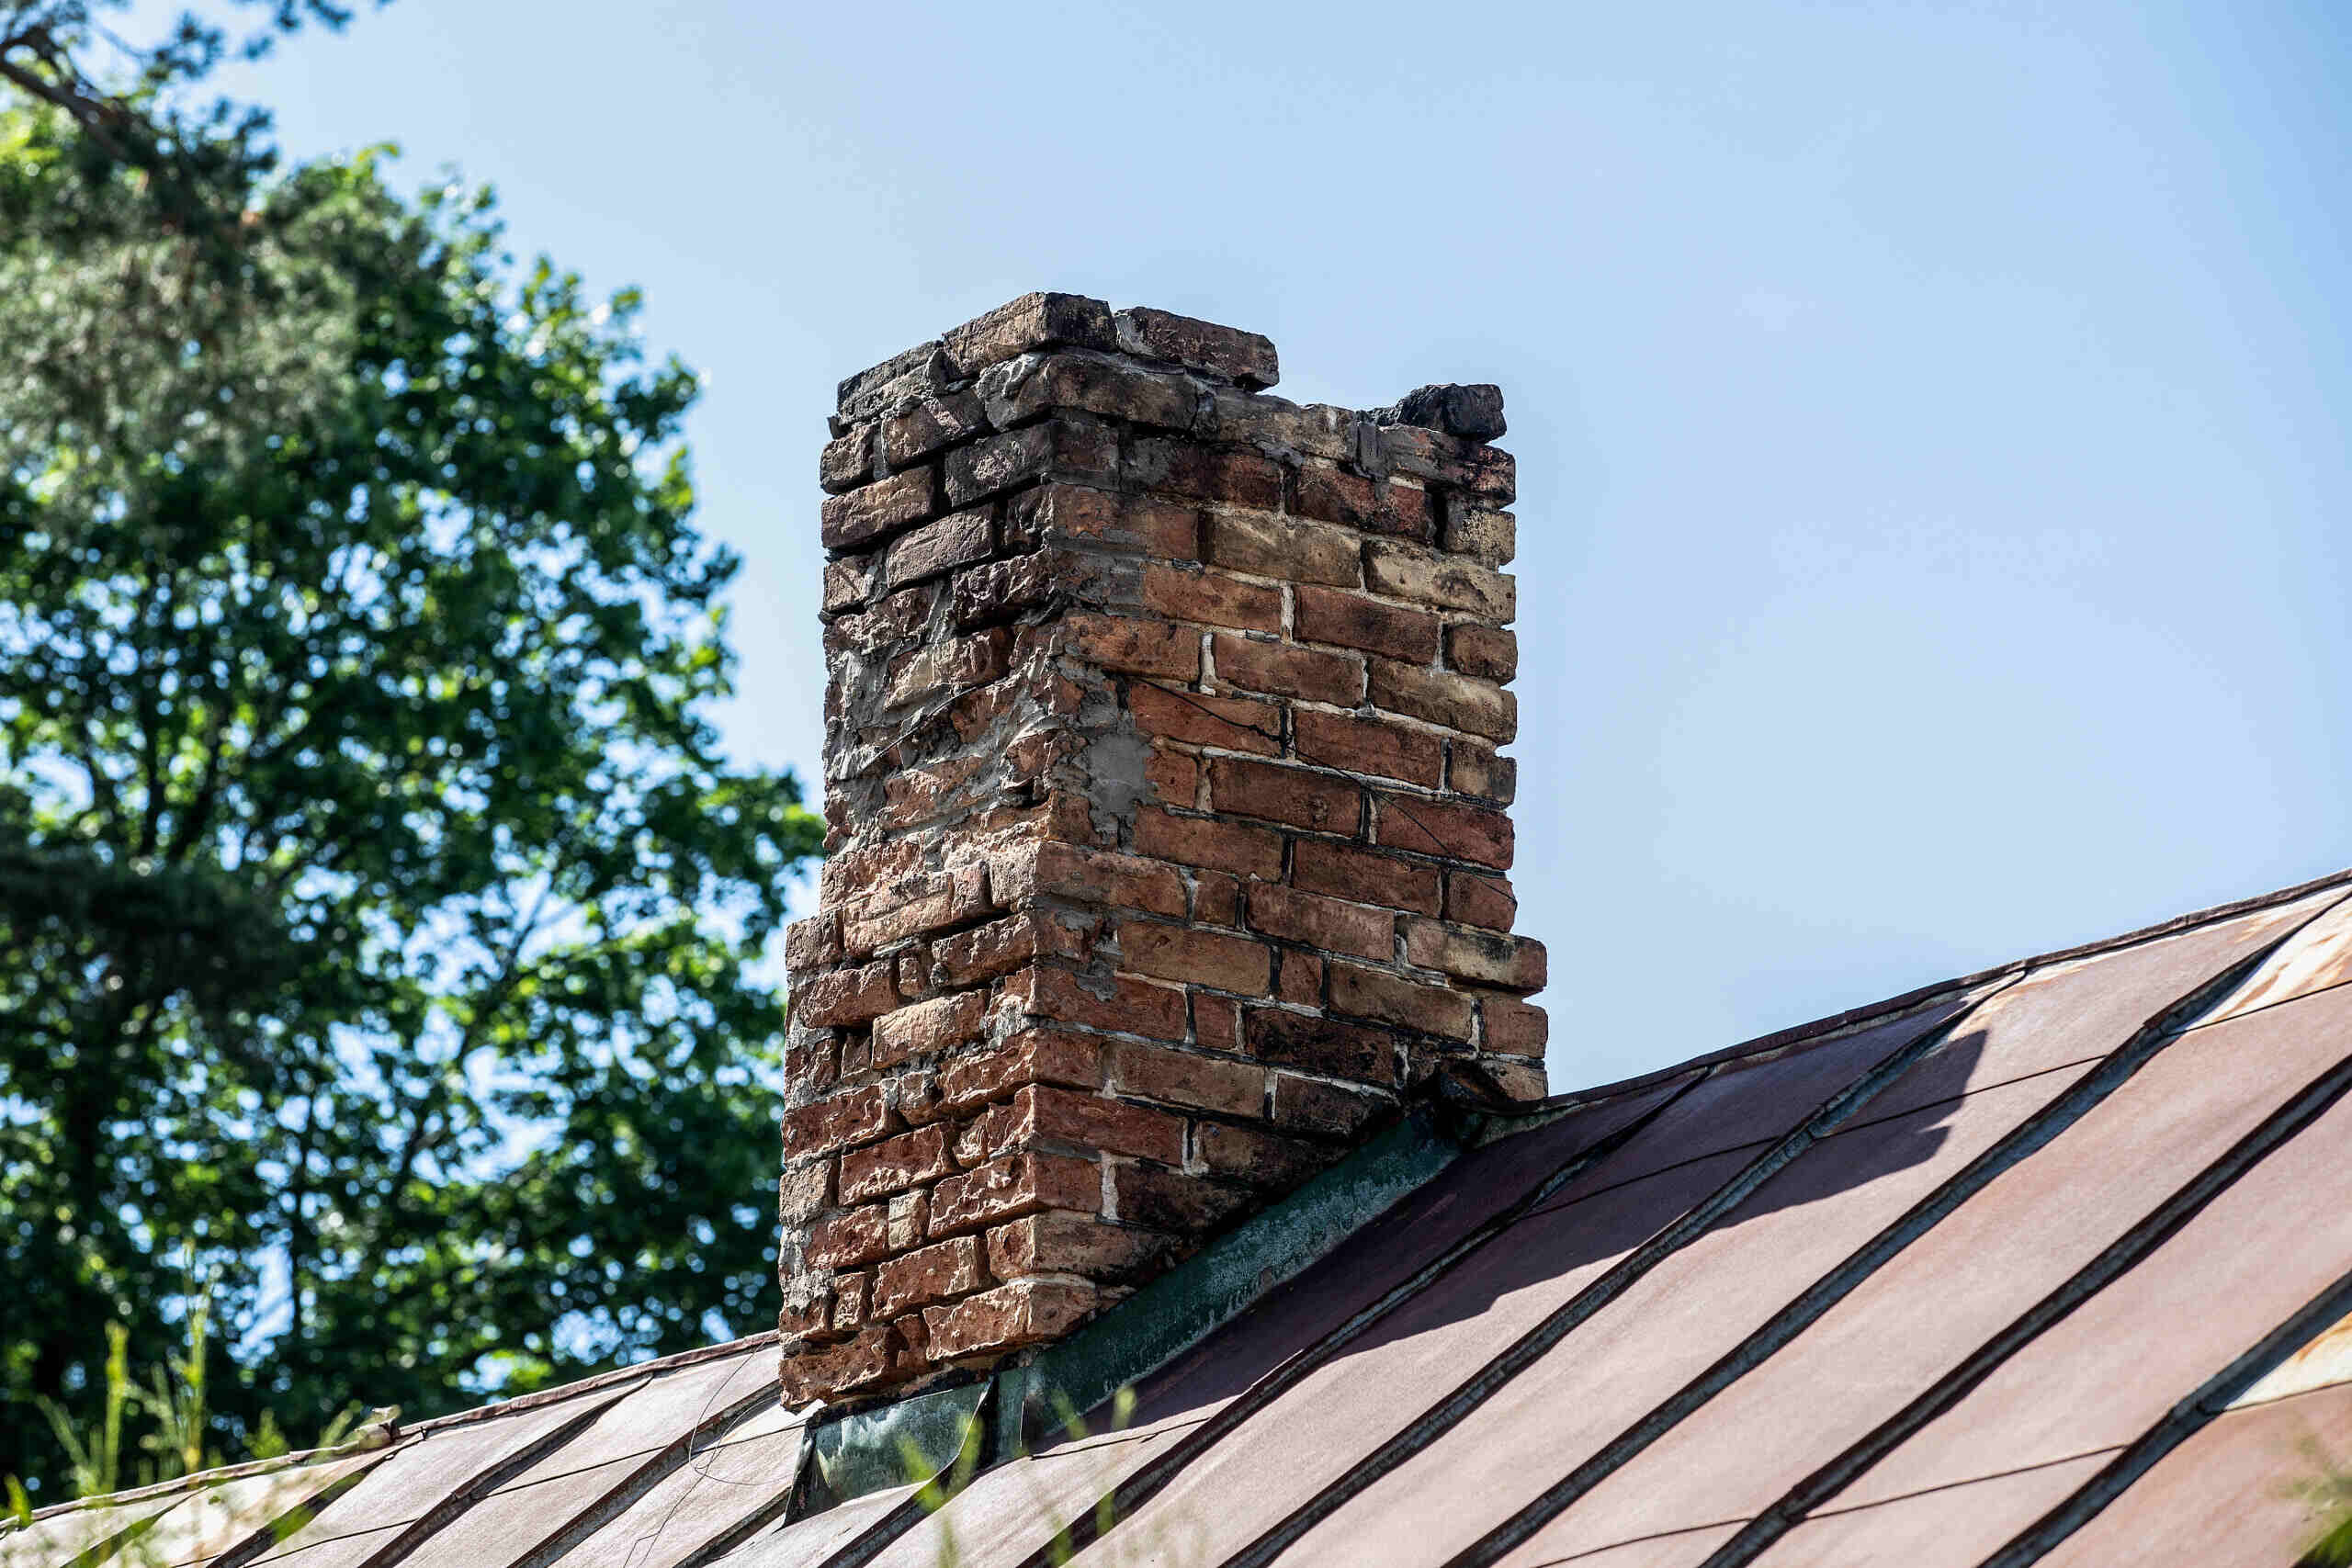
When it comes to maintaining a brick chimney, capping it off is a crucial task that not only enhances its appearance but also protects it from the elements. A well-installed chimney cap prevents water from seeping into the masonry, which can cause deterioration and costly damage over time. Additionally, it helps to keep out animals and debris, ensuring that your chimney functions efficiently and remains in good condition.
Before diving into the process of capping off a brick chimney, it's important to understand the significance of this maintenance task. By following the steps outlined in this guide, you can effectively safeguard your chimney and prolong its lifespan. Whether you're a seasoned DIY enthusiast or a homeowner looking to tackle this project for the first time, this comprehensive walkthrough will equip you with the knowledge and confidence to cap off your brick chimney successfully.
Now, let's delve into the essential safety precautions to keep in mind before embarking on this project.
Key Takeaways:
- Safeguard your brick chimney by capping it off with a high-quality chimney cap to protect it from water damage, animal intrusion, and debris, ensuring its longevity and structural stability.
- Prioritize safety, gather essential materials and tools, and follow step-by-step instructions to successfully measure, cut, secure, and finish capping off your brick chimney, enhancing its functionality and visual appeal.
Read more: How To Cap Off Chimney
Safety Precautions
Before initiating any work on your brick chimney, prioritizing safety is paramount. Here are some crucial safety precautions to adhere to:
- Use Protective Gear: Ensure that you wear appropriate protective gear, including safety goggles, gloves, and a dust mask, to shield yourself from potential hazards such as flying debris and dust particles.
- Mind the Weather: It's advisable to schedule this project on a clear day with calm weather conditions. Working in windy or rainy conditions can pose risks and hinder the proper application of materials.
- Sturdy Ladder: When working at heights, always utilize a stable and appropriately sized ladder. Inspect the ladder for any defects before use and position it on level ground.
- Secure Working Area: Clear the work area of any obstacles and ensure that it is well-lit. Keep pets and children away from the vicinity to prevent accidents.
- Follow Manufacturer Guidelines: If you are using pre-fabricated chimney caps or specific mortar products, carefully read and adhere to the manufacturer's instructions and recommendations.
Prior to commencing the project, it is advisable to conduct a thorough inspection of the chimney structure to identify any existing damage or instability. If you notice significant issues such as cracks, loose bricks, or structural concerns, it is best to consult a professional before proceeding with the cap installation.
By prioritizing safety and taking necessary precautions, you can ensure a secure and successful chimney capping process. Now that safety measures are in place, let's explore the essential materials and tools required for this project.
Materials and Tools Needed
Before embarking on the task of capping off your brick chimney, it’s essential to gather the necessary materials and tools to ensure a smooth and efficient installation process. Here’s a comprehensive list of what you’ll need:
Materials:
- Chimney cap: Select a high-quality, durable chimney cap that matches the dimensions of your chimney. Choose a material that is resistant to rust and corrosion, such as stainless steel or copper, to ensure longevity.
- Mortar mix: Opt for a mortar mix specifically designed for masonry applications. Ensure that the mortar is suitable for outdoor use and capable of withstanding varying weather conditions.
- Waterproof sealant: Invest in a premium waterproof sealant to protect the mortar and enhance the cap's resistance to moisture penetration.
- Clean water: Have a water source nearby for mixing the mortar and cleaning off any excess mortar during the installation process.
Tools:
- Tape measure: A reliable tape measure is essential for accurately determining the dimensions of the chimney and the chimney cap.
- Masonry trowel: Choose a sturdy masonry trowel for applying the mortar to the chimney and securing the chimney cap in place.
- Protective gear: As mentioned in the safety precautions, ensure that you have safety goggles, gloves, and a dust mask to protect yourself during the installation process.
- Ladder: Select a stable ladder that provides safe access to the chimney's top. Verify that the ladder is in good condition and positioned securely.
- Brush: A stiff-bristled brush will be useful for cleaning the chimney surface and removing any debris before applying the mortar.
- Level: Use a level to ensure that the chimney cap is positioned evenly and horizontally for a professional finish.
- Bucket: Have a bucket on hand for mixing the mortar to the appropriate consistency.
By ensuring that you have all the necessary materials and tools readily available, you can streamline the installation process and achieve optimal results. With these essentials in place, you’re ready to proceed with measuring and cutting the chimney cap.
Read more: How To Install A Chimney Cap
Step 1: Measure and Cut the Cap
Before diving into the installation process, it’s crucial to accurately measure the dimensions of your chimney to ensure a precise fit for the chimney cap. Here’s a step-by-step guide to measuring and cutting the cap:
- Measure the Chimney: Utilize a reliable tape measure to determine the length and width of the chimney’s top surface. Take precise measurements to ensure that the chimney cap will fit securely without any overhang.
- Transfer Measurements to the Cap: Once you have obtained the accurate dimensions, transfer these measurements to the chimney cap. Use a pencil or marker to mark the cutting lines on the cap, ensuring that it aligns with the chimney’s size.
- Cut the Cap: Employ appropriate cutting tools, such as tin snips or a metal cutting saw, to carefully trim the chimney cap along the marked lines. Exercise caution and wear protective gloves during this process to prevent injuries.
- Smooth Edges: After cutting the cap to size, use a metal file or sandpaper to smooth out any rough edges or sharp corners. This step is essential for achieving a professional finish and ensuring that the cap fits seamlessly onto the chimney.
By meticulously measuring and cutting the chimney cap to fit the dimensions of your chimney, you’ll lay the groundwork for a successful installation. With the cap prepared, the next step involves applying mortar to secure it in place.
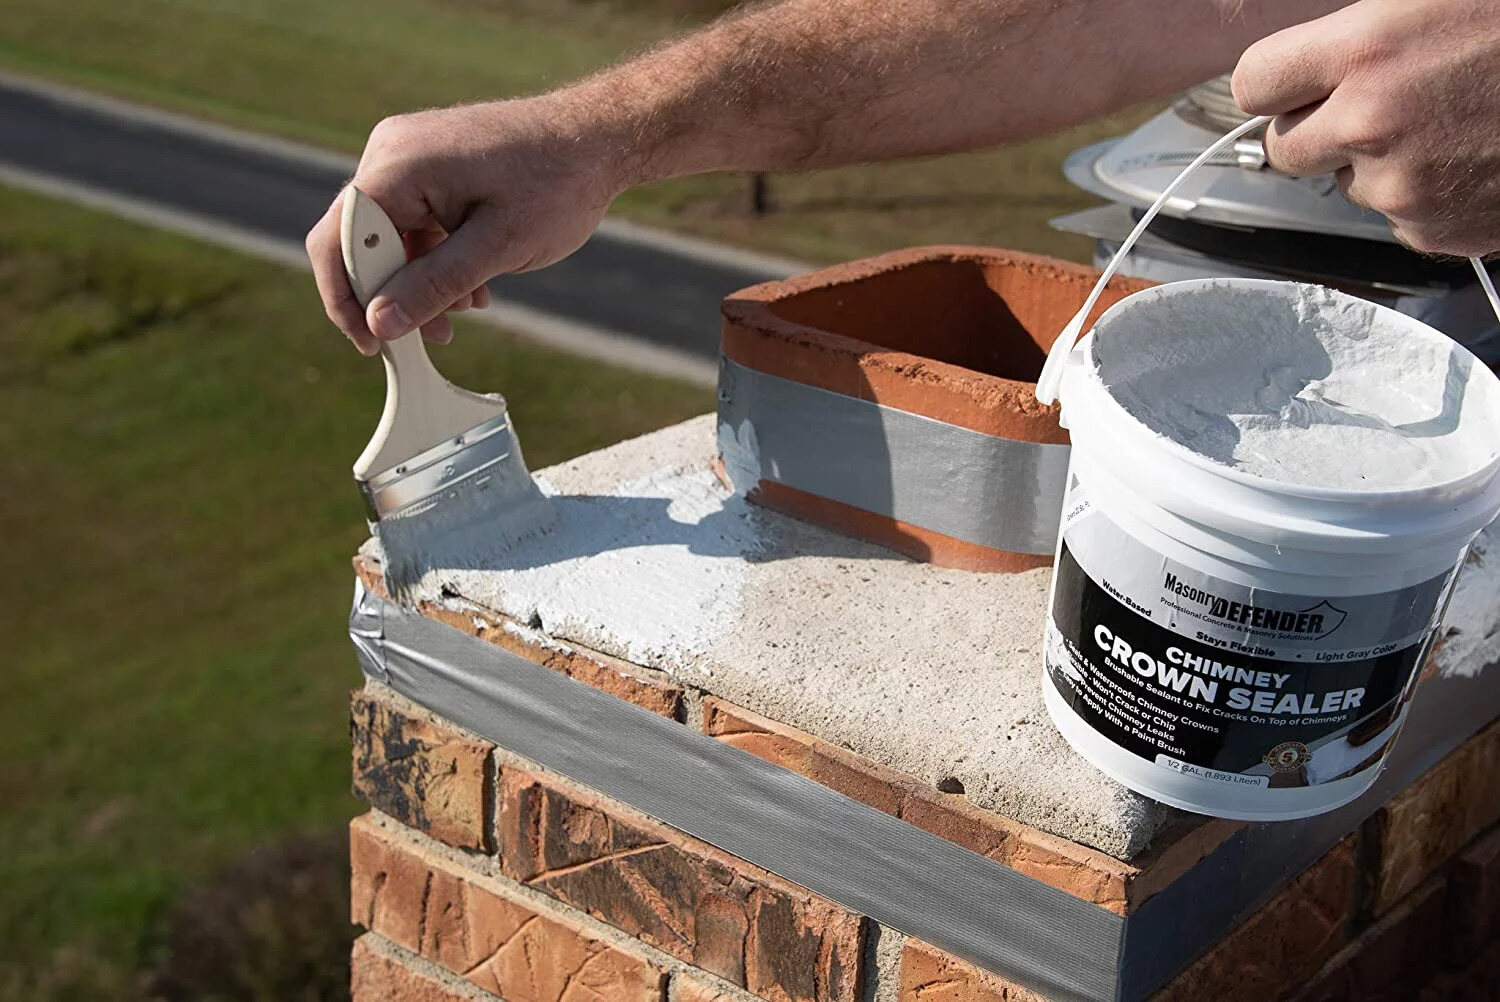
Step 2: Apply Mortar
Once the chimney cap is accurately cut to size, the next crucial step is to apply mortar to the chimney’s top surface to create a secure base for the cap. Here’s a detailed guide on how to effectively apply mortar:
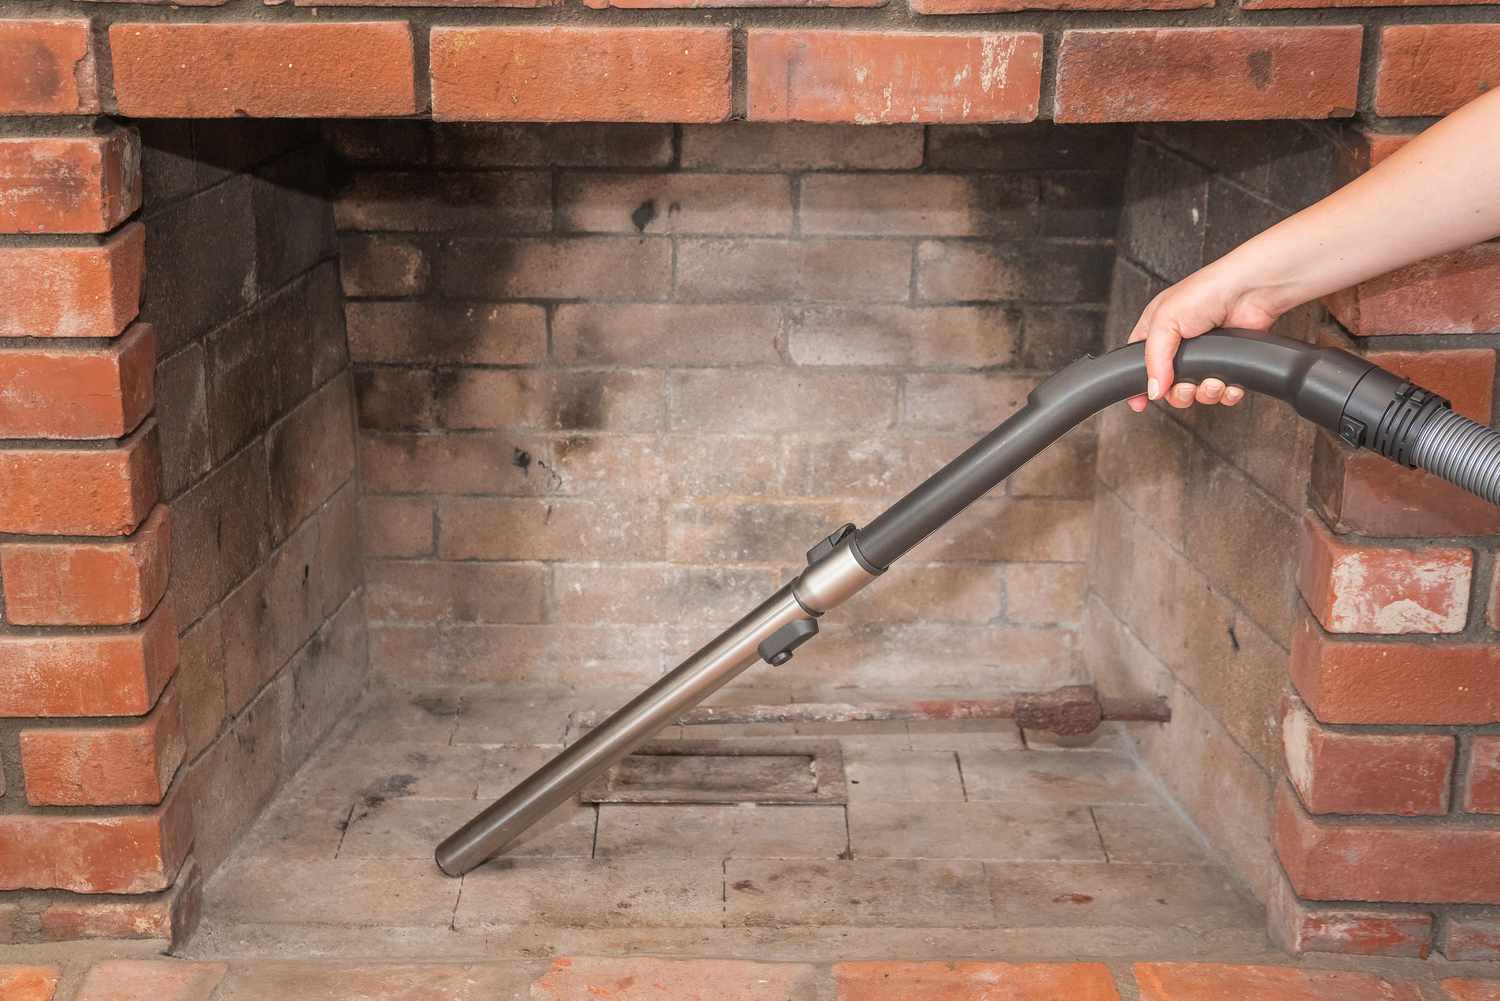
- Clean the Chimney Surface: Use a stiff-bristled brush to thoroughly clean the top surface of the chimney, removing any debris, dust, or loose particles. A clean surface is essential for optimal adhesion of the mortar.
- Mix the Mortar: Follow the manufacturer’s instructions to prepare the mortar mix to the appropriate consistency. Add clean water to the mortar mix in a bucket and use a trowel to achieve a smooth, workable mortar.
- Apply a Layer of Mortar: With a masonry trowel, carefully spread a layer of mortar onto the cleaned chimney surface. Ensure that the mortar is evenly distributed and covers the entire top surface, creating a solid foundation for the chimney cap.
- Check for Consistency: Use a level to verify that the applied mortar is even and level across the chimney’s top. This step is crucial for ensuring a stable and balanced base for the chimney cap.
By diligently applying mortar to the chimney surface, you’ll establish a robust foundation for securing the cap in place. The next step involves carefully placing the chimney cap onto the mortar bed.
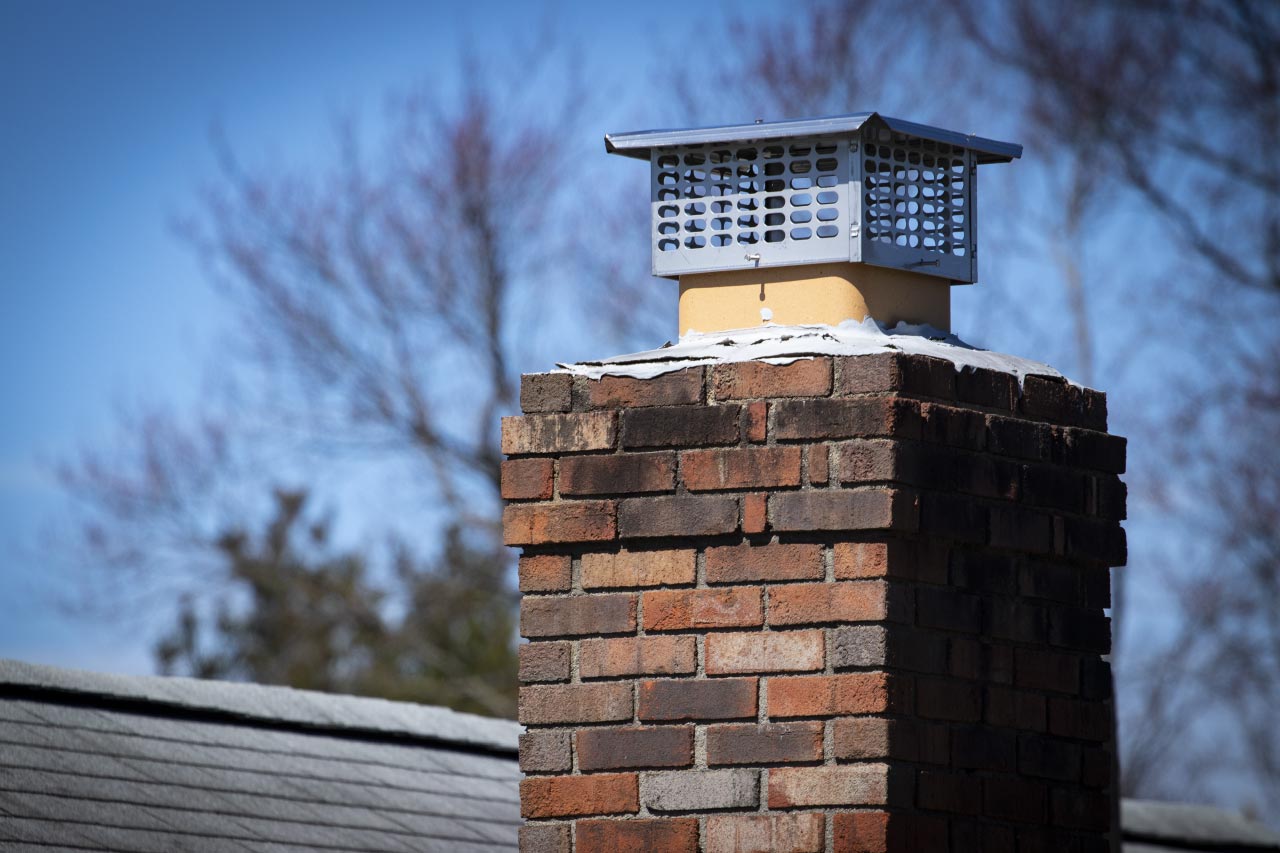
Step 3: Place the Cap
With the mortar applied and the chimney cap prepared, it’s time to carefully position the cap onto the chimney’s top surface. Follow these steps to ensure a precise and secure placement:
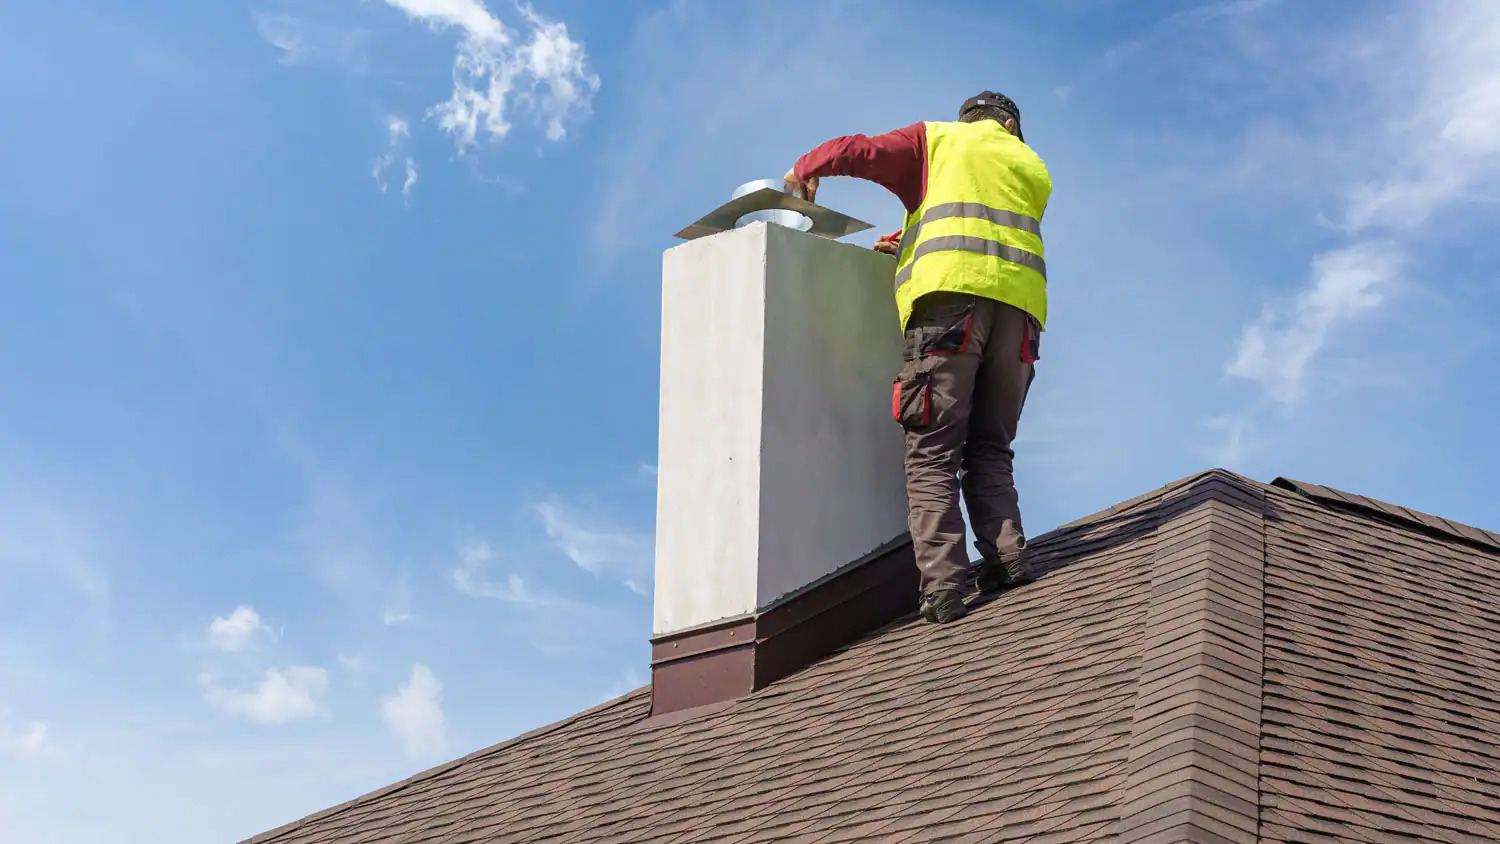
- Lift the Chimney Cap: With caution, lift the chimney cap and position it directly onto the mortar bed. Enlist the help of a partner if the cap is heavy or if additional assistance is required for a safe and steady placement.
- Align the Cap: Ensure that the chimney cap aligns perfectly with the edges of the chimney, resting securely on the mortar bed. Take the time to make any necessary adjustments to achieve a seamless fit.
- Verify Level Placement: Use a level to confirm that the chimney cap is positioned evenly and horizontally. This step is crucial for both the structural integrity and the aesthetic appeal of the installation.
- Double-Check Alignment: Verify that the chimney cap is centered and aligned with the chimney’s top surface, making any final adjustments as needed to achieve a balanced and professional finish.
By methodically placing the chimney cap onto the mortar bed and ensuring precise alignment, you’ll set the stage for the final steps of securing the cap in place and adding the finishing touches to complete the installation.
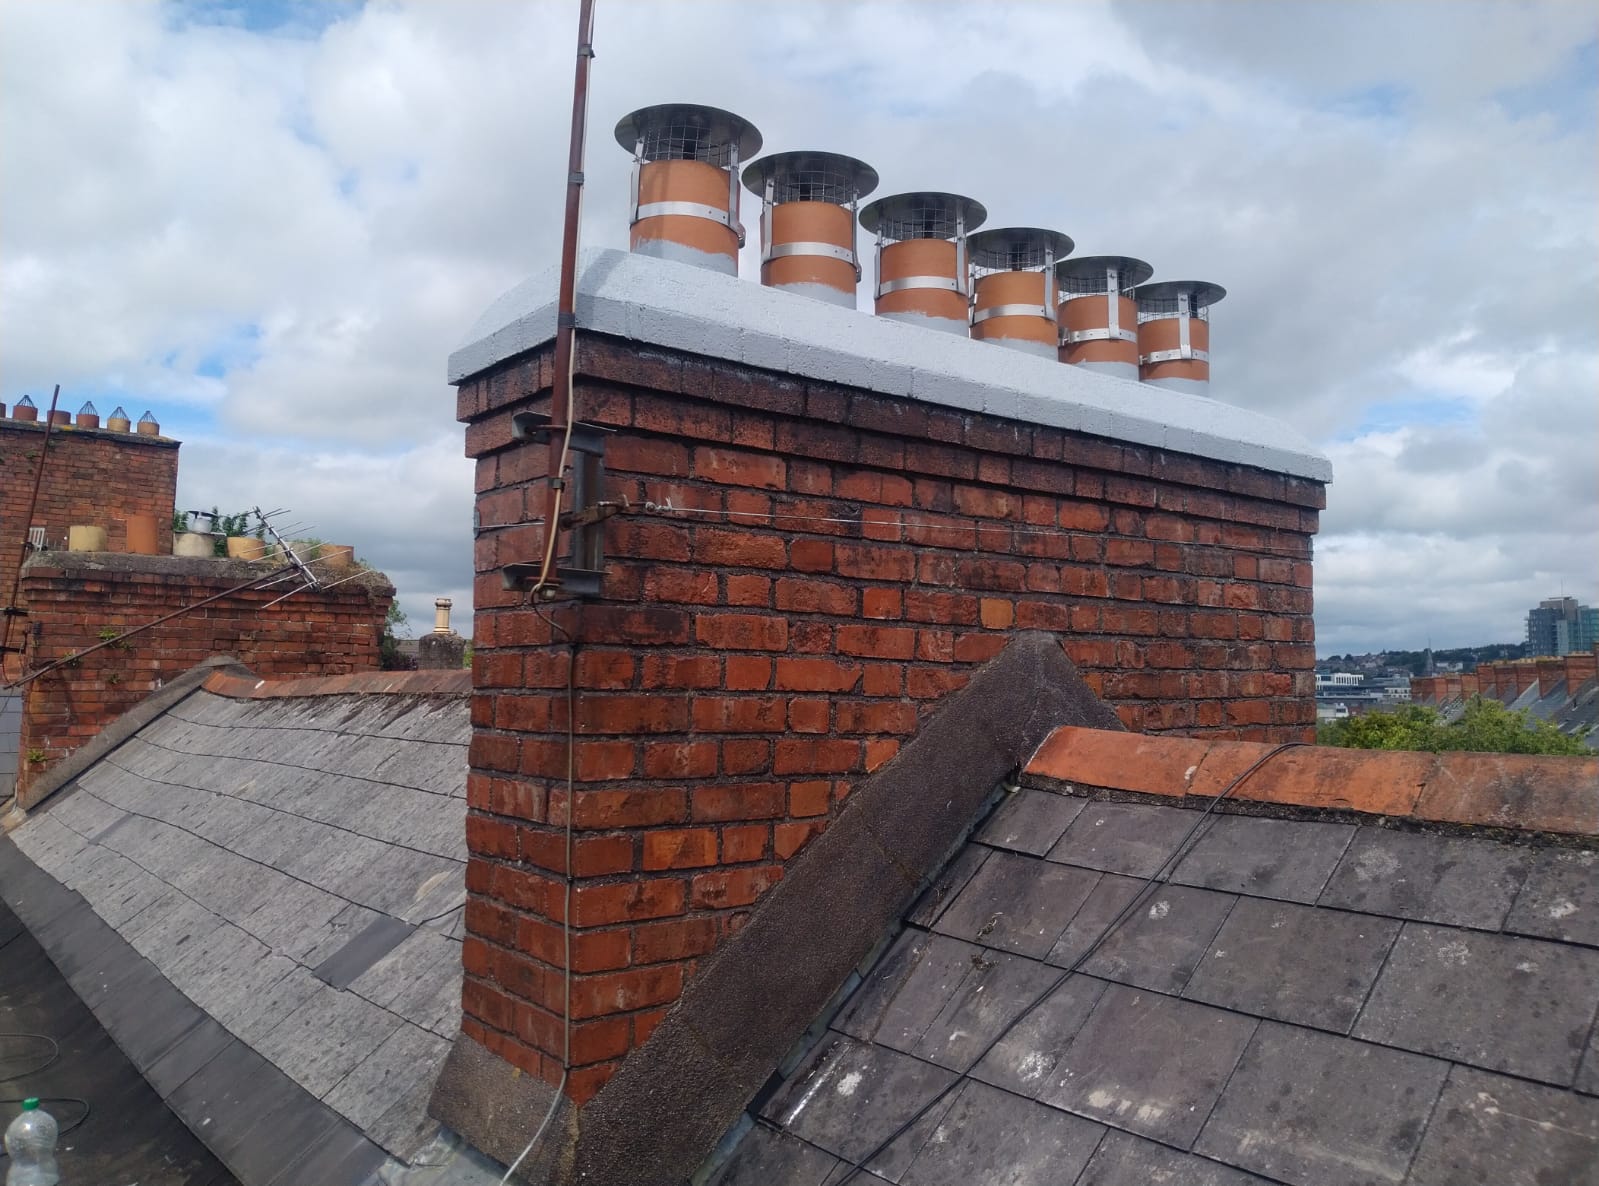
Consider using a chimney cap to cover the top of the chimney. This will prevent water, debris, and animals from entering, and also help improve the overall safety and efficiency of the chimney.
Step 4: Secure the Cap
Once the chimney cap is accurately positioned on the mortar bed, the next crucial step is to secure it in place to ensure stability and longevity. Follow these essential guidelines to effectively secure the chimney cap:
- Apply Additional Mortar: Using a masonry trowel, carefully apply additional mortar around the edges of the chimney cap where it meets the chimney’s top surface. This step helps create a strong bond and enhances the cap’s resistance to shifting or dislodgment.
- Smooth Mortar Joints: Use the trowel to smooth out the applied mortar, ensuring that it seamlessly integrates with the cap and the chimney surface. This process not only reinforces the attachment but also contributes to a polished and professional appearance.
- Inspect for Stability: After applying the mortar, inspect the chimney cap to ensure that it is securely and firmly in place. Gently press down on the cap to verify that it is well-bonded to the mortar bed and the chimney’s top surface.
- Allow for Proper Setting: Provide adequate time for the mortar to set and cure as per the manufacturer’s recommendations. Avoid any disturbances or external pressures on the chimney cap during this crucial setting period.
By meticulously securing the chimney cap in place with mortar and allowing for proper setting, you’ll establish a durable and reliable installation that effectively protects your chimney. With the cap securely in position, the final step involves adding the finishing touches to complete the capping process.
Read more: How To Measure A Chimney Cap
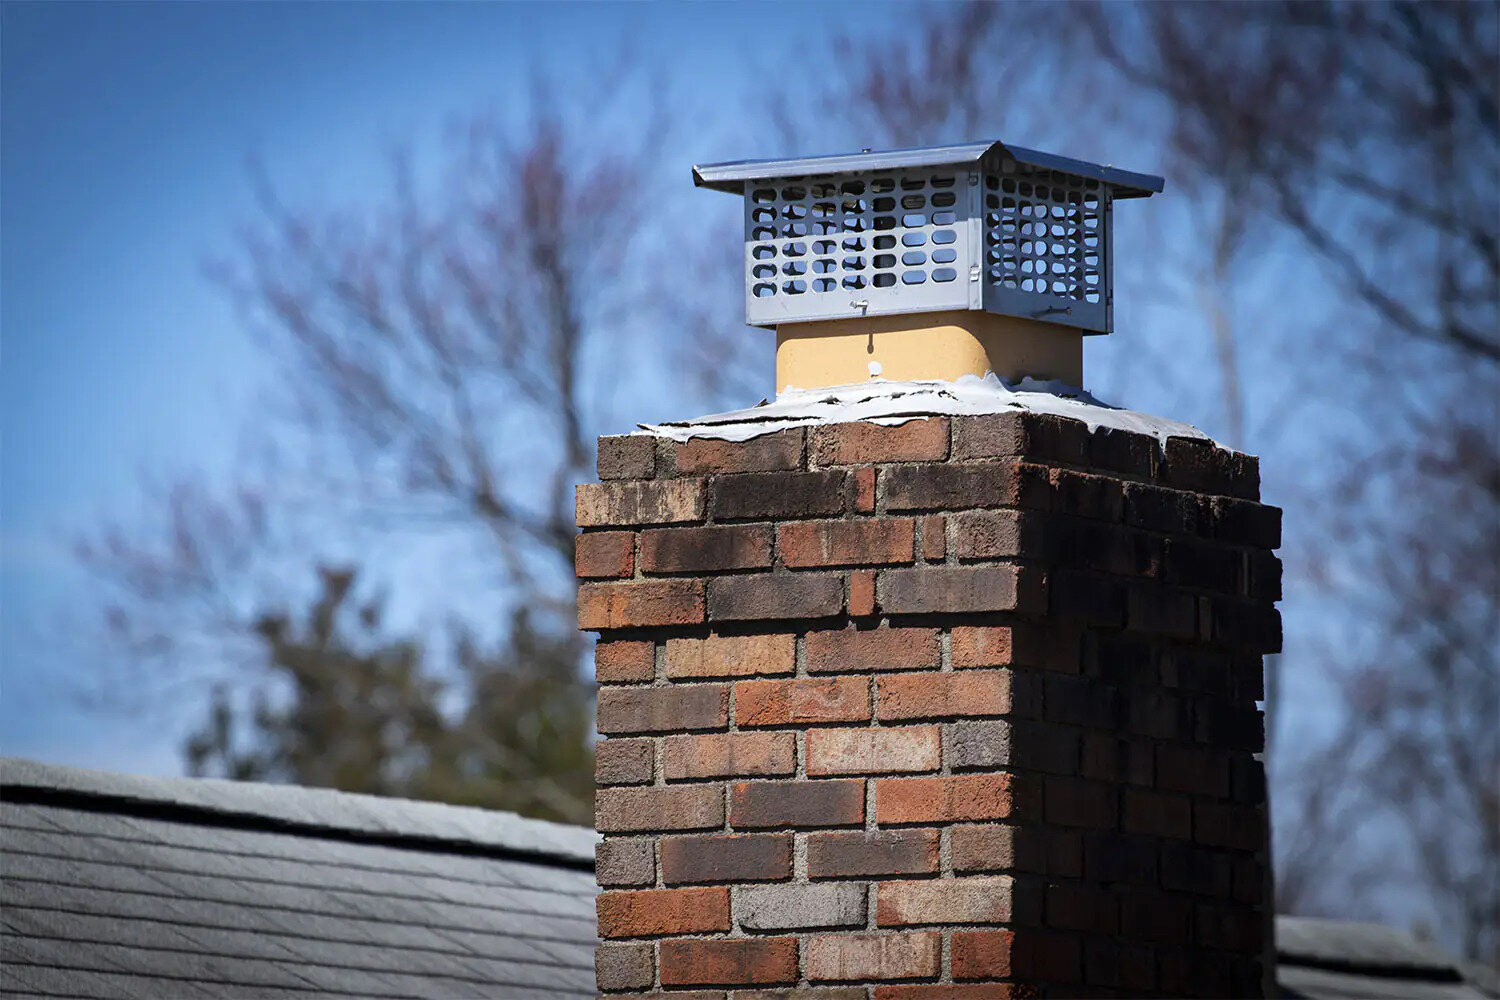
Step 5: Finishing Touches
As the installation nears completion, attending to the finishing touches is essential to ensure a polished and professional outcome. Follow these important steps to add the final touches to the chimney capping process:
- Remove Excess Mortar: Carefully inspect the edges of the chimney cap for any excess mortar that may have squeezed out during the securing process. Use a trowel or a damp cloth to gently remove any visible mortar, ensuring a clean and tidy appearance.
- Apply Waterproof Sealant: To enhance the cap’s resistance to moisture and weathering, apply a high-quality waterproof sealant along the mortar joints and the edges of the chimney cap. This additional layer of protection safeguards the installation from water penetration and prolongs its durability.
- Inspect the Installation: Conduct a thorough visual inspection of the completed installation, verifying that the chimney cap is securely in place, the mortar joints are smooth and well-sealed, and the overall appearance is aesthetically pleasing.
- Clean the Work Area: Remove any debris, tools, or equipment from the work area, leaving the surroundings clean and organized. Properly dispose of any waste materials and ensure that the area is safe and accessible.
By tending to these finishing touches, you’ll elevate the overall quality and resilience of the chimney capping installation, ensuring that it not only functions effectively but also enhances the visual appeal of your home’s exterior. With the completion of these steps, your brick chimney is now successfully capped off, fortified against the elements, and ready to serve its purpose for years to come.
As we conclude this comprehensive guide, it’s important to acknowledge the significance of regular chimney maintenance and the role of a well-installed chimney cap in preserving the integrity of your chimney. By following the outlined steps and exercising care and precision throughout the installation process, you’ve taken a proactive step in safeguarding your chimney and enhancing the overall functionality and aesthetics of your home.
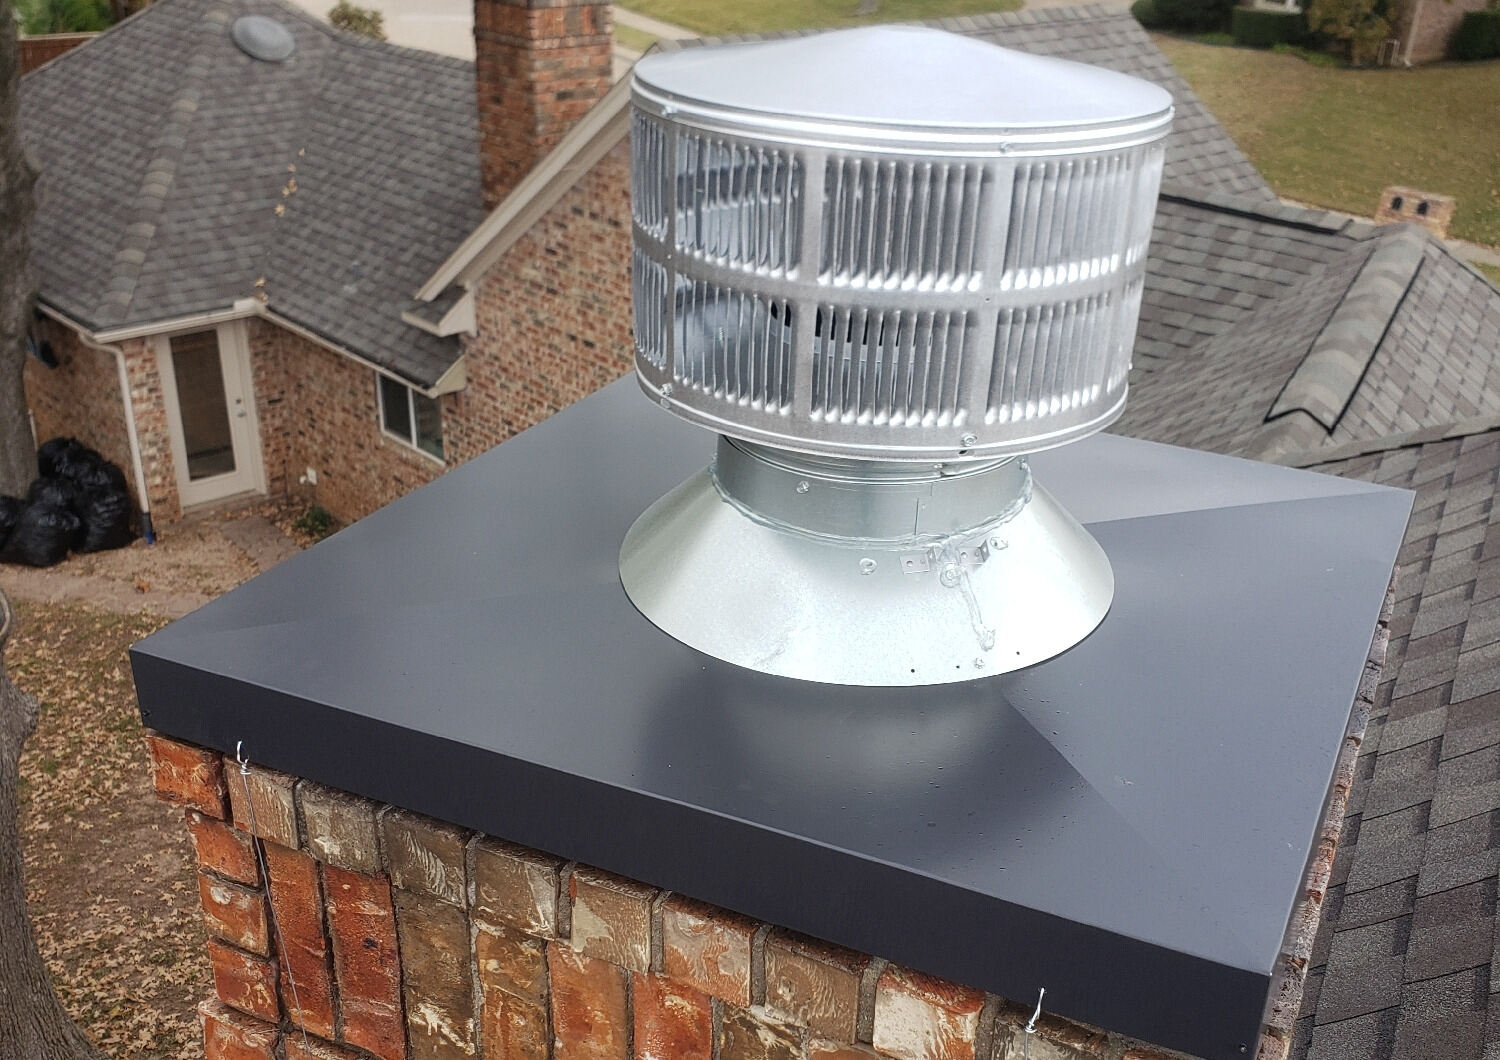
Conclusion
Capping off a brick chimney is a significant aspect of home maintenance that offers both practical and aesthetic benefits. By following the detailed steps outlined in this guide, you have acquired the knowledge and skills necessary to successfully complete this essential task. From adhering to safety precautions and gathering the required materials and tools to meticulously measuring, cutting, and securing the chimney cap, you’ve demonstrated a proactive approach to preserving the integrity of your chimney and enhancing your home’s exterior.
It’s important to recognize that a well-installed chimney cap not only protects the chimney from water damage, animal intrusion, and debris but also contributes to the overall structural stability and longevity of the chimney. By investing time and effort into this maintenance endeavor, you’ve taken a proactive step in safeguarding an integral component of your home’s infrastructure.
As you admire the completed installation, take pride in the care and attention to detail that went into capping off your brick chimney. The finished result not only serves a practical function but also adds to the visual appeal of your home’s exterior, reflecting your commitment to maintaining a well-kept and resilient property.
Remember that periodic inspections and maintenance are crucial to ensure the ongoing effectiveness of the chimney cap. By staying attentive to the condition of the cap and addressing any signs of wear or damage promptly, you can prolong its lifespan and uphold the protection it provides to your chimney.
With the successful completion of this project, you’ve not only fortified your chimney against the elements but also gained valuable experience in home maintenance. Whether you’re a seasoned DIY enthusiast or someone venturing into home improvement projects for the first time, the skills and knowledge acquired through this endeavor will serve you well in future undertakings.
By embracing the responsibility of maintaining your home’s essential components, you contribute to the overall well-being and longevity of your property. Your proactive approach to chimney maintenance exemplifies your dedication to creating a safe, secure, and visually appealing living environment for yourself and your family.
Frequently Asked Questions about How To Cap Off A Brick Chimney
Was this page helpful?
At Storables.com, we guarantee accurate and reliable information. Our content, validated by Expert Board Contributors, is crafted following stringent Editorial Policies. We're committed to providing you with well-researched, expert-backed insights for all your informational needs.


0 thoughts on “How To Cap Off A Brick Chimney”