Articles
How To Cap Off Chimney
Modified: February 24, 2024
Discover helpful articles on how to cap off a chimney and protect your home. Learn step-by-step instructions and useful tips from our expert contributors.
(Many of the links in this article redirect to a specific reviewed product. Your purchase of these products through affiliate links helps to generate commission for Storables.com, at no extra cost. Learn more)
Introduction
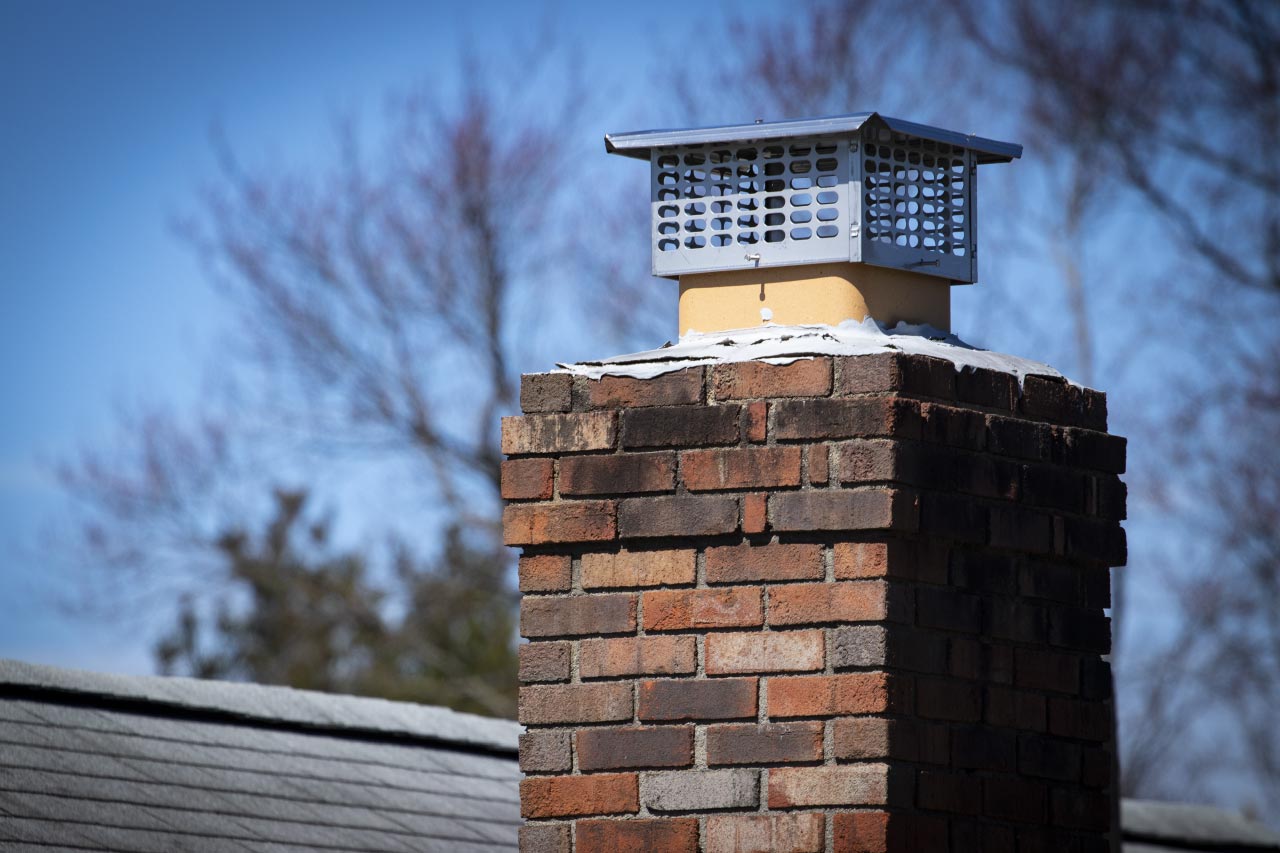
Welcome to this guide on capping off a chimney. Whether you’re renovating your home or simply looking to improve the functionality and safety of your chimney, capping it off is a crucial step. A chimney cap serves as a protective cover that prevents debris, animals, and weather elements from entering your chimney. It also helps to improve the efficiency of your fireplace by reducing drafts.
In this article, we will walk you through the step-by-step process of capping off a chimney. We’ll discuss the materials you’ll need, safety considerations, and the actual steps involved in completing the task. By the end of this guide, you’ll have the knowledge and confidence to cap off your chimney effectively.
Please note that capping off a chimney can be a potentially hazardous task. If you’re not comfortable working at heights or handling tools, it’s always a good idea to consult a professional chimney sweep or contractor for assistance. Safety should be your top priority throughout the entire process.
Now, let’s dive in and learn how to cap off a chimney properly.
Key Takeaways:
- Safeguard your chimney and improve fireplace efficiency by capping it off with the right materials, safety gear, and precise measurements. Prioritize regular maintenance for long-term benefits.
- Prioritize safety, thorough cleaning, and precise installation to effectively cap off your chimney. Enjoy improved fireplace efficiency and long-term protection with regular maintenance.
Read more: How To Install A Chimney Cap
Materials Needed
Before you begin capping off your chimney, it’s important to gather all the necessary materials. Having everything ready beforehand will make the process smoother and more efficient. Here are the materials you’ll need:
- Chimney cap: This is the main component that will cover the top of your chimney. It should be made of durable and weather-resistant material, such as stainless steel or copper. The size of the chimney cap should correspond to the dimensions of your chimney.
- Safety equipment: Working on a roof can be dangerous, so it’s essential to have the right safety gear. This includes a sturdy ladder, safety harness, hard hat, work gloves, and non-slip footwear.
- Measuring tape: You’ll use a measuring tape to accurately measure the size of your chimney, ensuring that the cap fits correctly.
- Power drill: A power drill with appropriate drill bits will be needed to attach the cap securely to the chimney.
- Screws or bolts: Depending on the design of your chimney cap, you’ll need either screws or bolts to fasten it in place. Make sure to choose materials that are resistant to rust and corrosion.
- Sealant: To ensure a watertight seal, you’ll need a high-quality chimney sealant. Look for sealants specifically designed for chimney applications.
- Cleaning brushes: Before installing the chimney cap, it’s recommended to clean the chimney thoroughly. Chimney cleaning brushes of appropriate size will allow you to remove any debris or soot buildup.
- Protective coverings: To protect the surrounding area from any falling debris or tools, consider using drop cloths or plastic sheeting.
By gathering these materials upfront, you’ll have everything you need for a successful chimney capping project. Remember to prioritize safety and follow the instructions carefully throughout the process.
Step 1: Assessing the Chimney
Before you can proceed with capping off your chimney, it’s essential to assess its current condition and determine the appropriate cap size. Here’s how to do it:
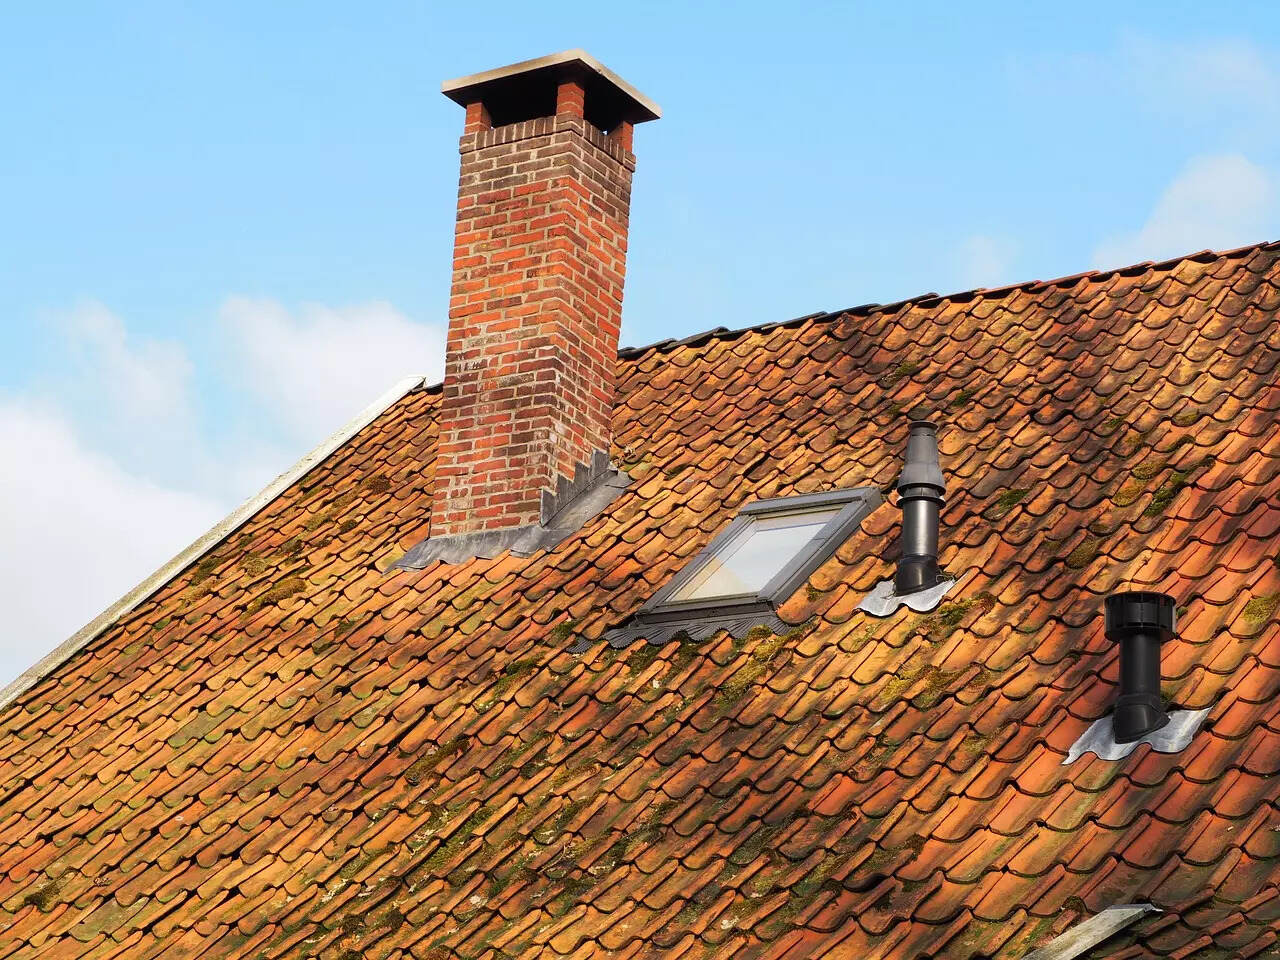
- Inspect the chimney: Carefully examine the chimney to identify any existing damage or structural issues. Look for cracks, loose bricks, or signs of water leakage. If you notice any significant problems, it’s best to address them before proceeding with the capping process.
- Measure the chimney dimensions: Use a measuring tape to accurately measure the width and length of the top of your chimney. This will help you choose the right size of chimney cap. Take note of these measurements, as they will guide you in selecting an appropriately sized cap.
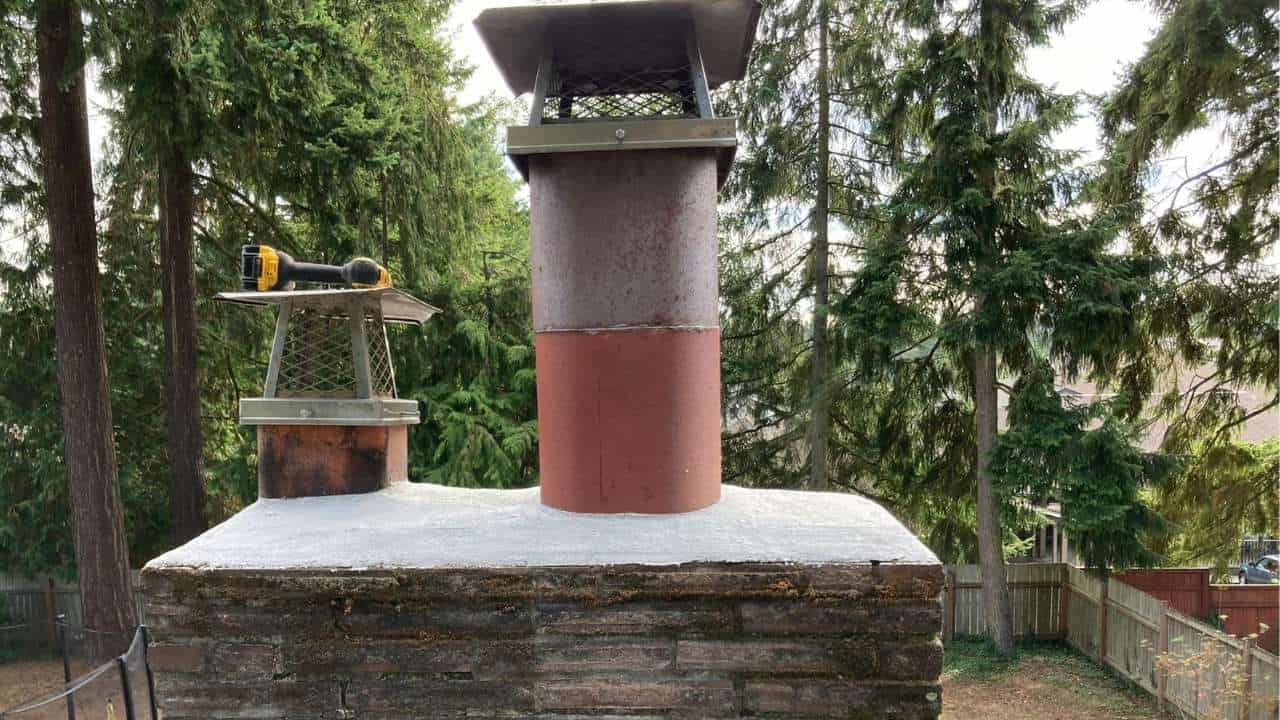
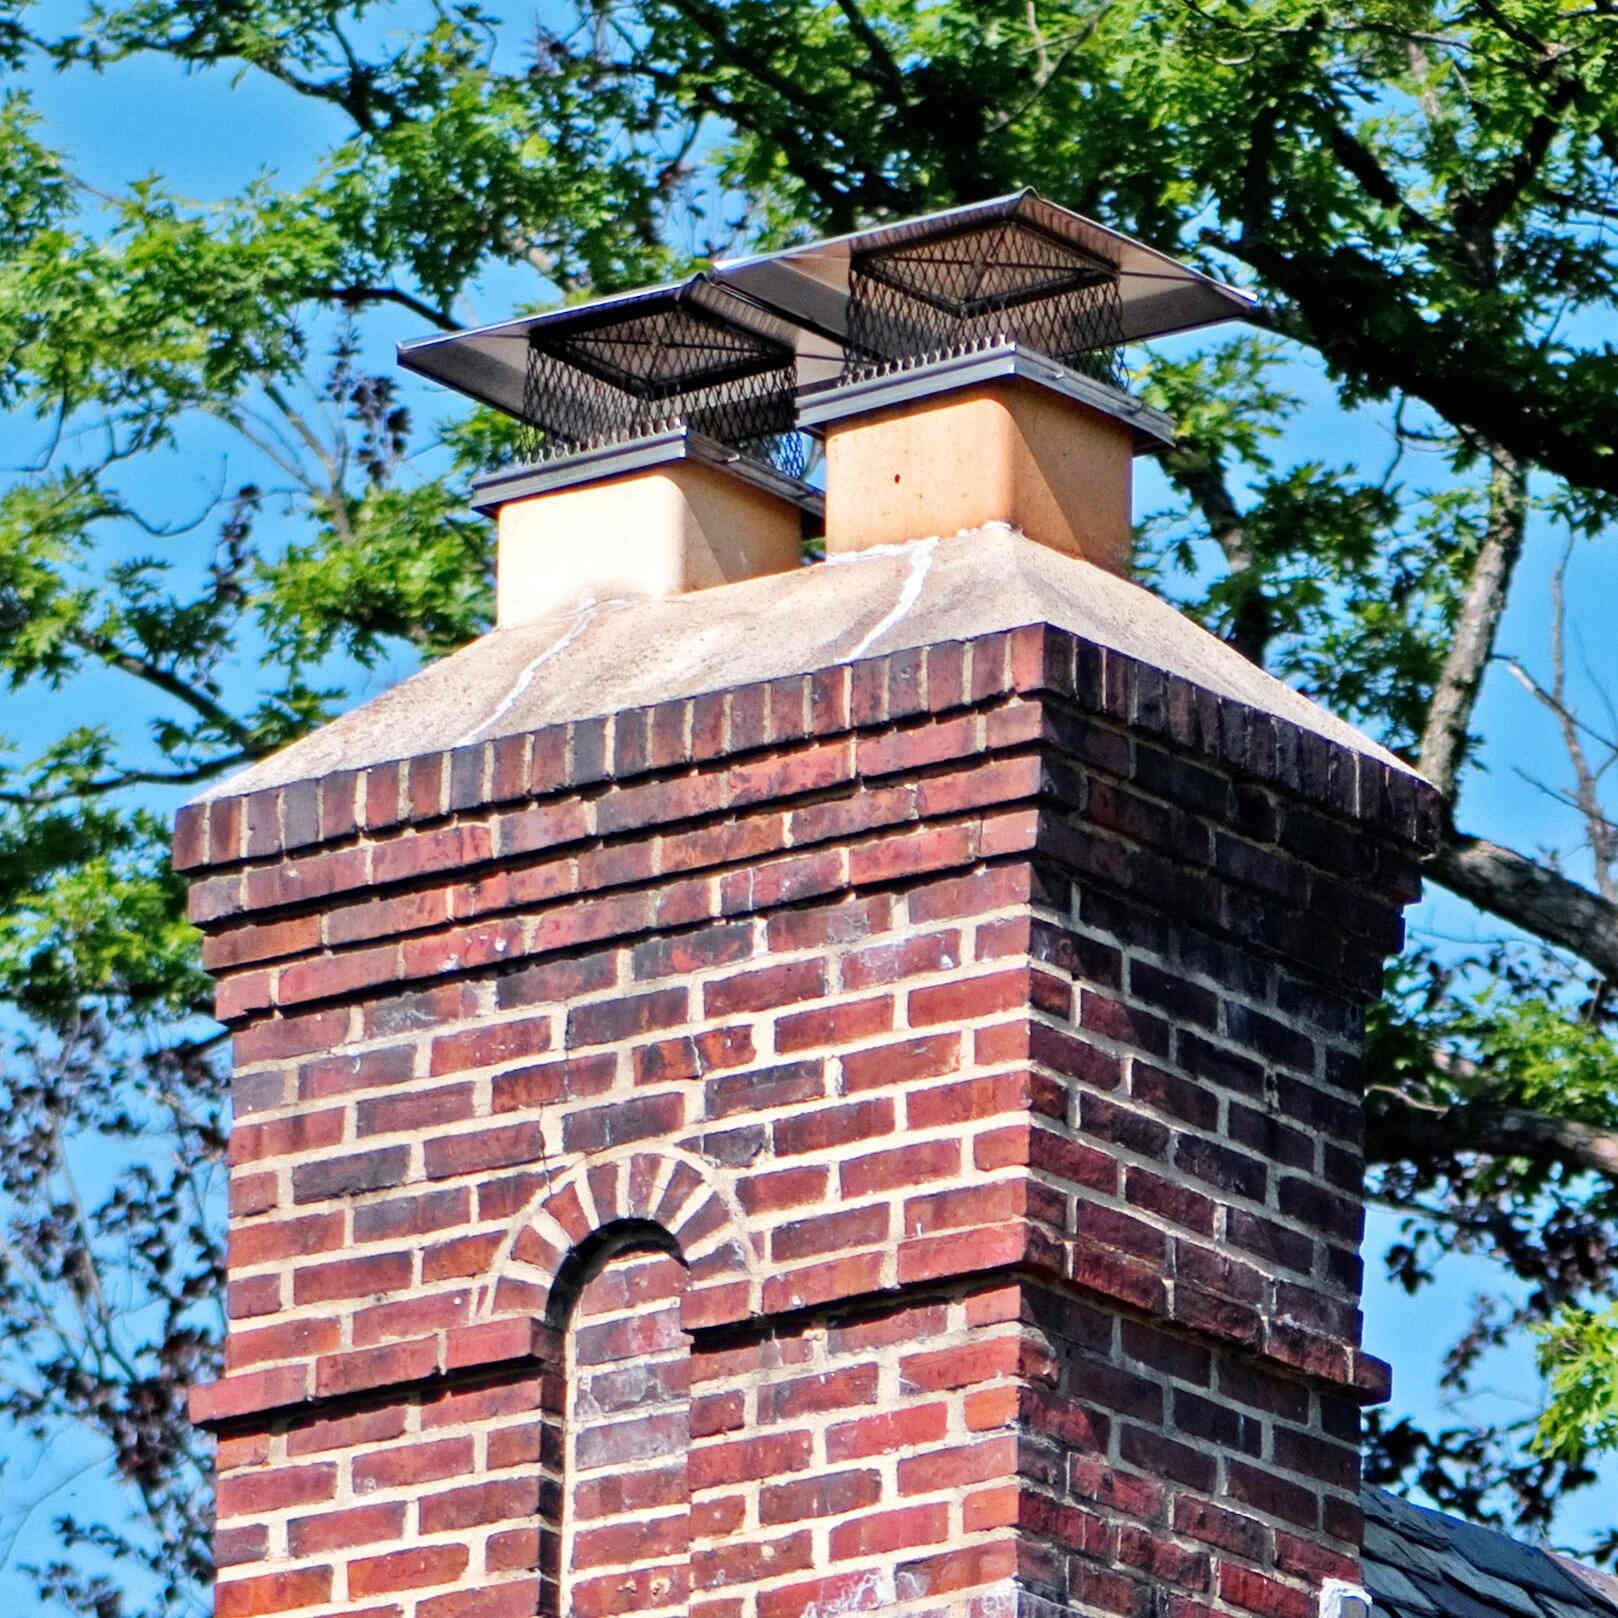
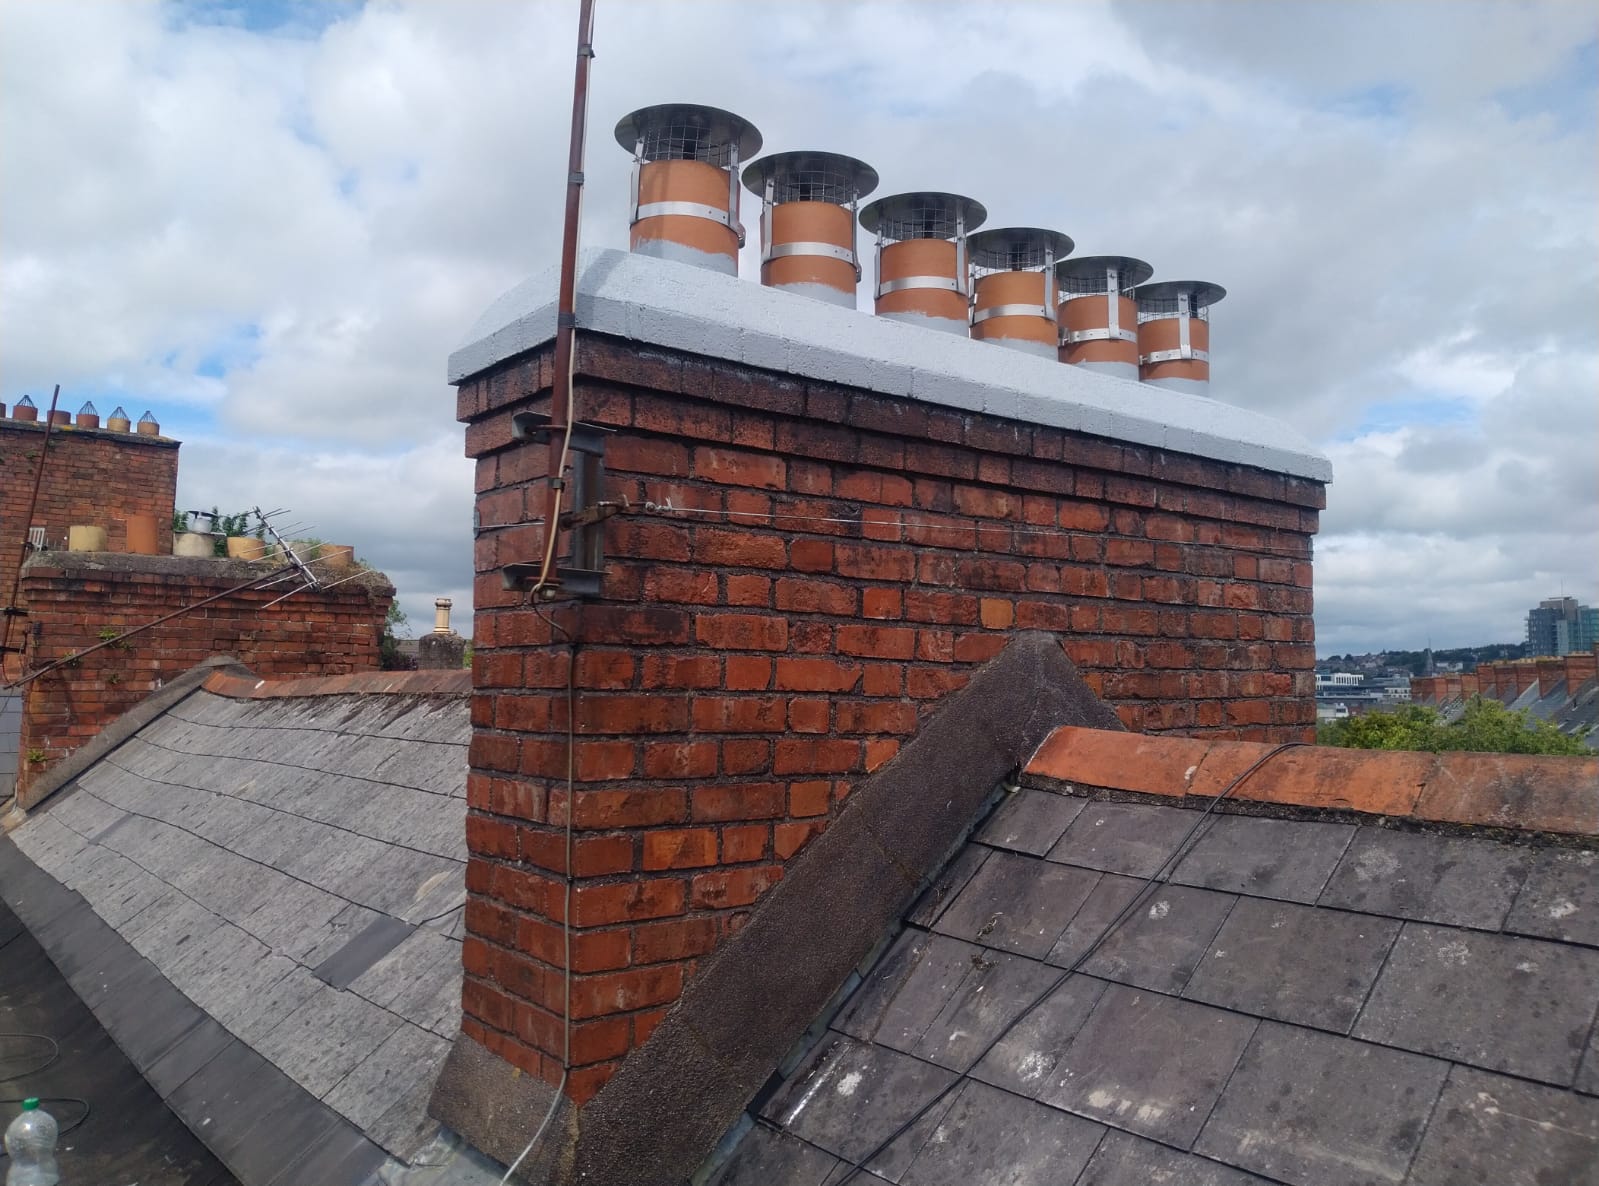
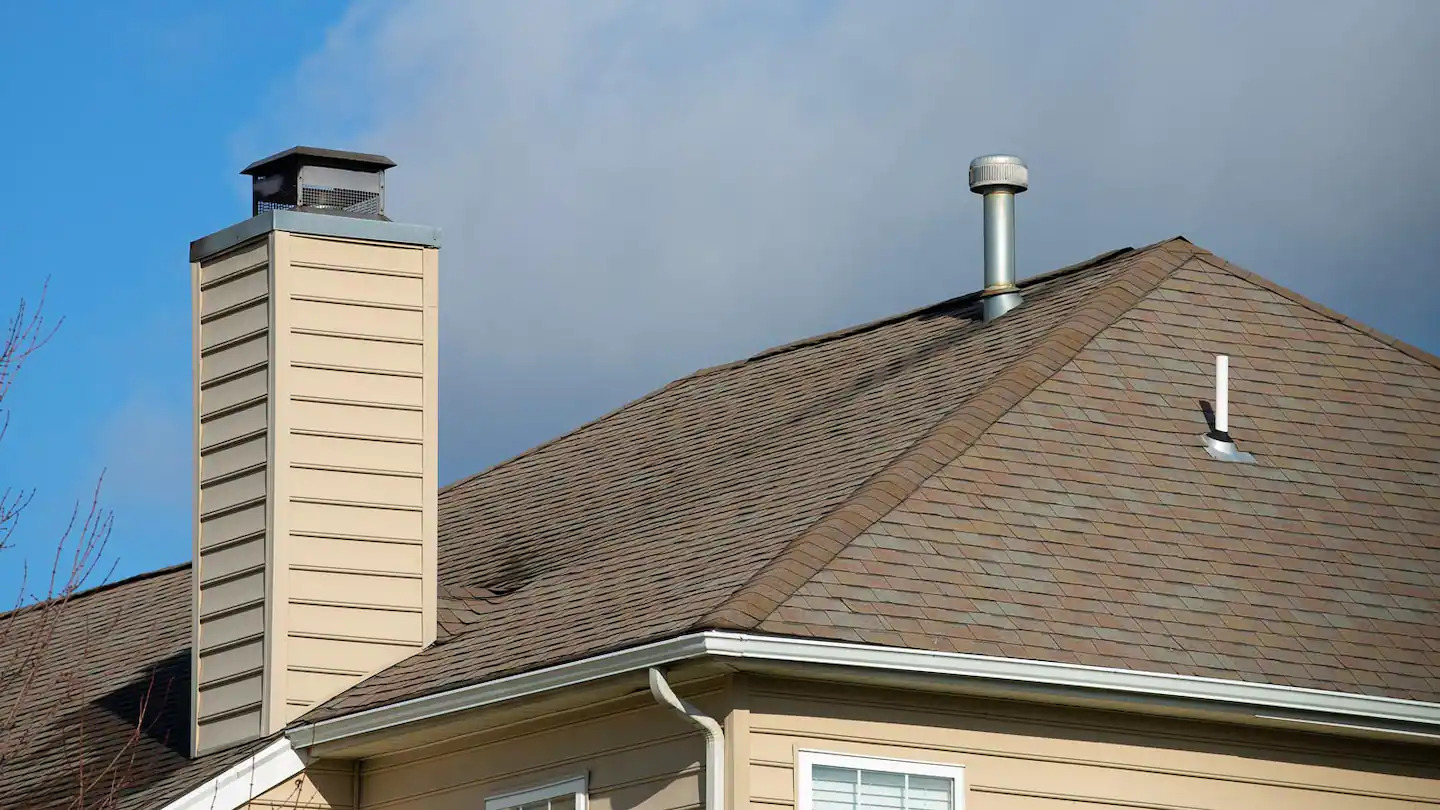
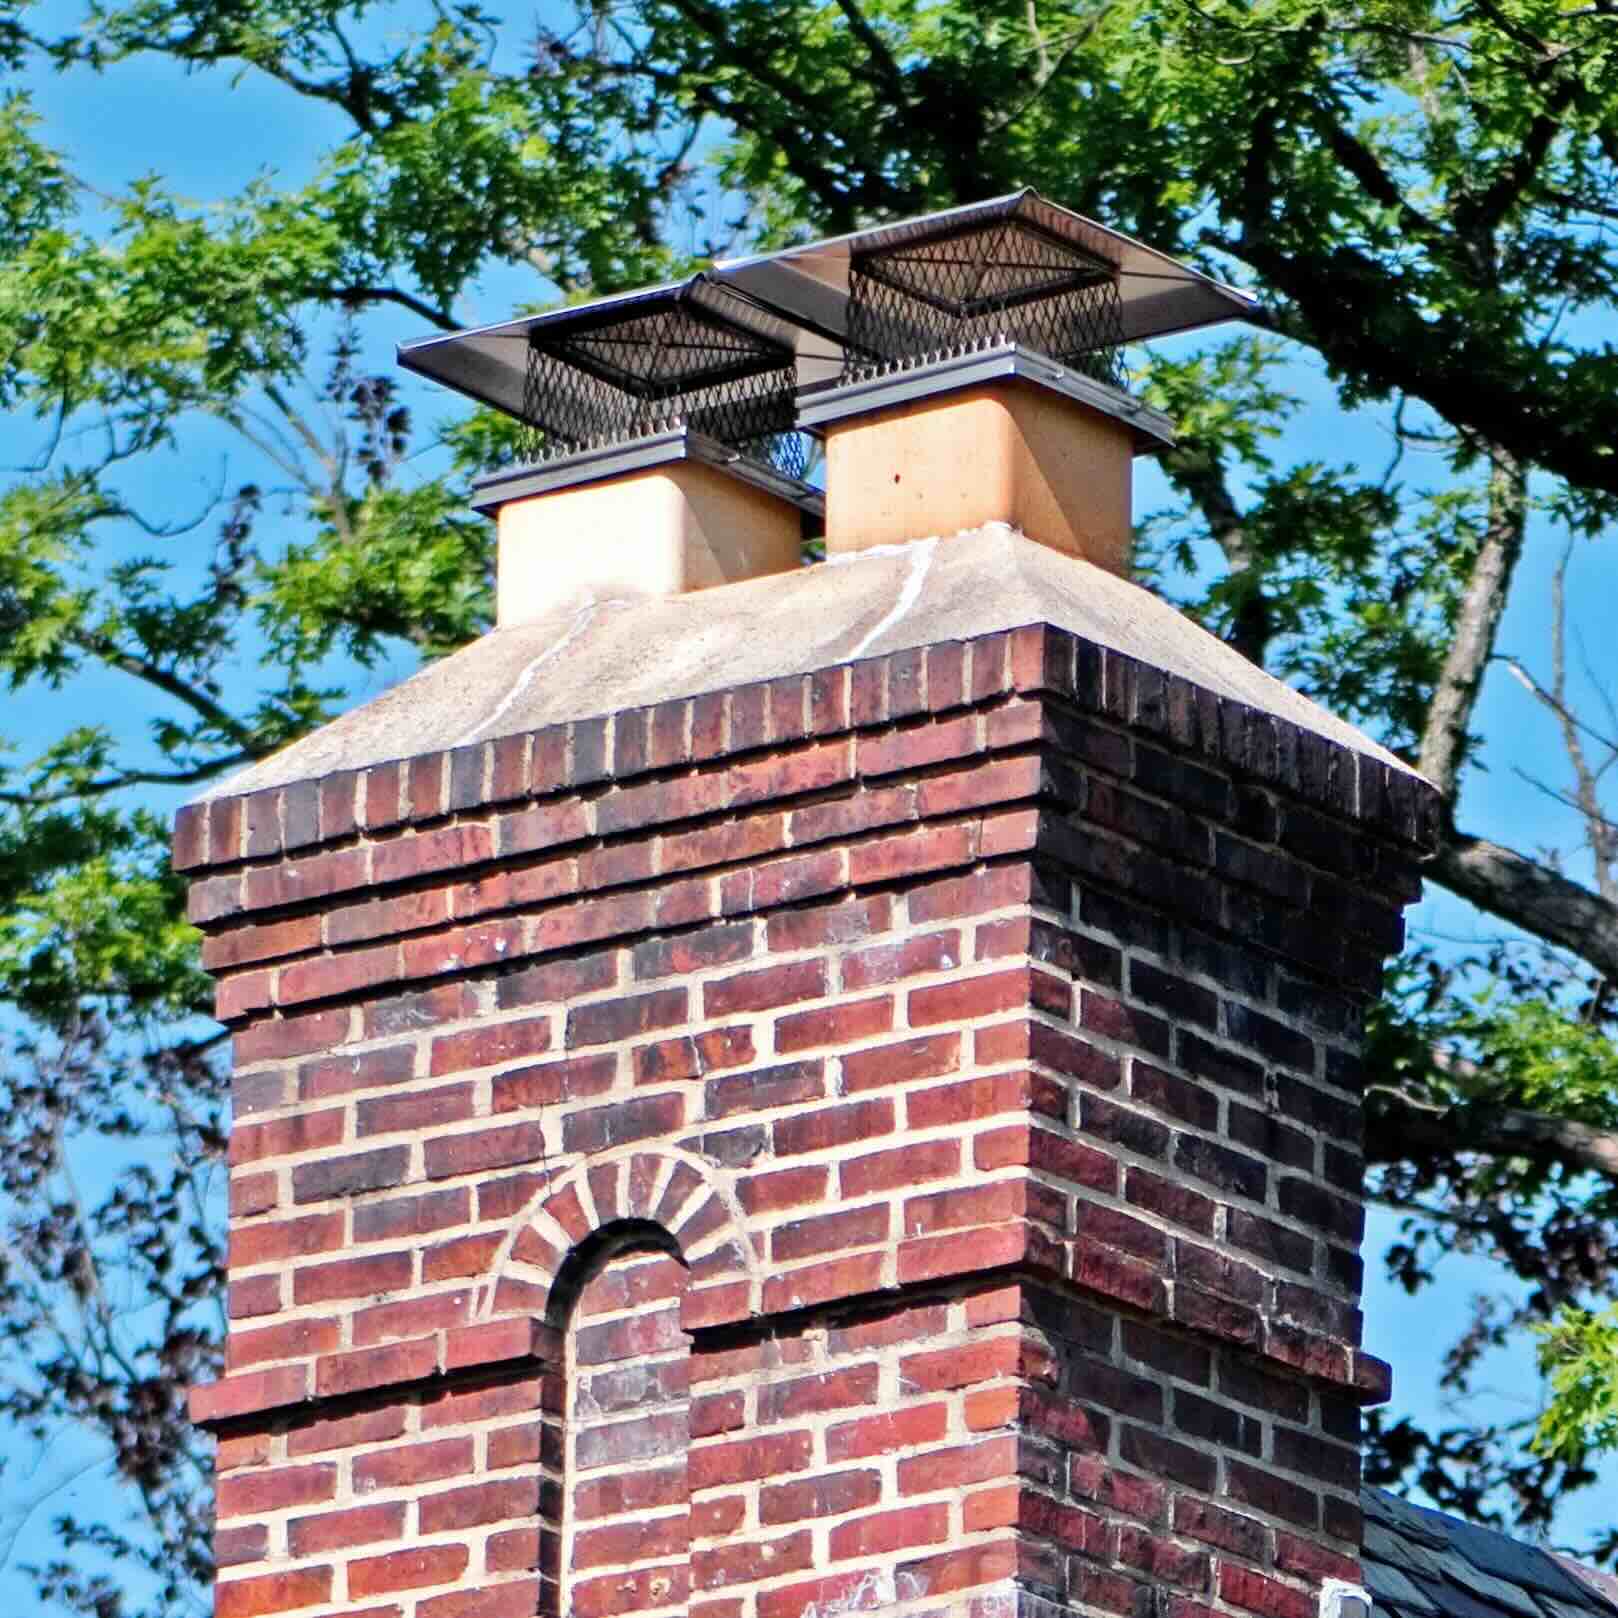
- Consider the type of chimney: Chimneys can have different designs and configurations. Determine whether you have a single-flue chimney (one pipe), a multi-flue chimney (multiple pipes), or a decorative chimney. This information will influence the type of cap you choose.
- Check local building codes: It’s important to consult your local building codes and regulations regarding chimney caps. Some areas may have specific requirements or restrictions on the type and installation of chimney caps. Make sure to comply with these regulations to ensure your chimney is capped off correctly.
- Consider weather conditions: If you live in an area with high winds, heavy snowfall, or frequent rain, you’ll need to choose a chimney cap that can withstand these weather elements. Look for caps that have a sturdy construction and include features to prevent rain from entering the chimney.
Assessing your chimney thoroughly will help you make informed decisions when selecting the right chimney cap and ensure that the installation process goes smoothly. Take your time during this step to accurately measure and evaluate the chimney’s condition before moving on to the next steps.
Step 2: Gathering Safety Equipment
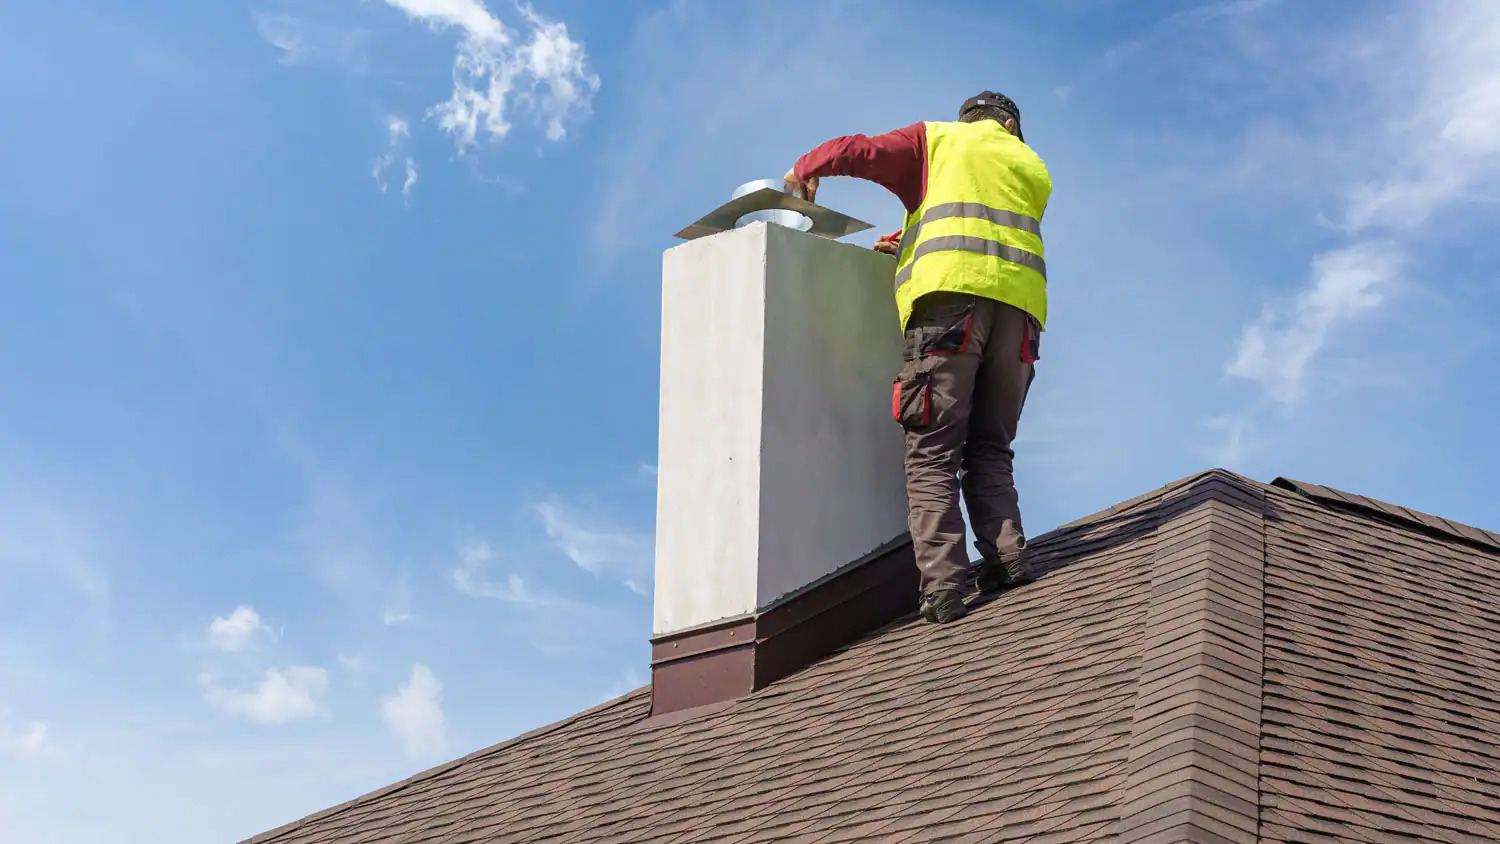
Prioritizing safety is vital when working on any project, especially when it involves working at heights like capping off a chimney. Here’s what you need to do to ensure that you have the necessary safety equipment:
- Ladder: Choose a sturdy ladder that is appropriate for the height of your chimney. Ensure that it is placed on a flat and stable surface. Make sure the ladder is in good condition and can support your weight.
- Safety harness: When working on a roof, it’s advisable to use a safety harness to prevent falls. A safety harness will keep you securely attached to the roof and provide added protection in case of any slips or accidents.
- Hard hat: Wear a hard hat to protect your head from any falling debris or tools. It is an important safety precaution, especially when working on a roof where there is a risk of objects slipping or being knocked over.
- Work gloves: Use sturdy work gloves to protect your hands from sharp edges, rough surfaces, or potential debris. They will provide you with a better grip while handling tools and materials.
- Non-slip footwear: Wear footwear with good traction to prevent slipping or accidents while working on the roof. Opt for shoes or boots with slip-resistant soles to improve your stability.
- Eye protection: It is crucial to protect your eyes from any dust, debris, or particles that may be generated during the chimney capping process. Wear safety glasses or goggles to shield your eyes from potential hazards.
By ensuring that you have all the necessary safety equipment, you’ll minimize the risk of accidents or injuries during the chimney capping process. Remember to wear the appropriate safety gear at all times and be cautious when working at heights.
Step 3: Cleaning the Chimney
Before you install the chimney cap, it’s important to clean the chimney thoroughly. This will help remove any debris, soot, or blockages that may have accumulated over time. Here’s how you can clean the chimney:
- Prepare the area: Place drop cloths or plastic sheeting around the base of the chimney to protect the surrounding area from falling debris or soot.
- Wear protective gear: Put on gloves, safety glasses, a dust mask, and old clothing to protect yourself from the dirt and soot.
- Remove the chimney cap: If your chimney has an existing cap, carefully remove it to access the interior of the chimney.
- Use a chimney brush: Attach the appropriate-sized chimney brush to a flexible rod or extension pole. Start by inserting the brush into the chimney and vigorously scrub the interior walls. This will help dislodge any soot or debris stuck to the chimney.
- Brush downwards: Move the brush downwards while scrubbing to ensure that any dislodged debris falls towards the bottom of the chimney.
- Repeat the process: Depending on the extent of buildup, you may need to repeat the brushing process multiple times to thoroughly clean the chimney.
- Inspect the chimney: After cleaning, use a flashlight to inspect the chimney and ensure that it is clear of any remaining debris. Look for any signs of damage or blockages that may require professional attention.
- Clean the chimney cap: If you’re reusing the chimney cap, take the opportunity to clean it before reinstalling. Use a brush or cloth to remove any dirt, rust, or debris.
By cleaning the chimney before installing the cap, you’ll improve its efficiency and reduce the risk of blockages or chimney fires. Regular chimney maintenance is essential to ensure the safe and proper functioning of your fireplace.
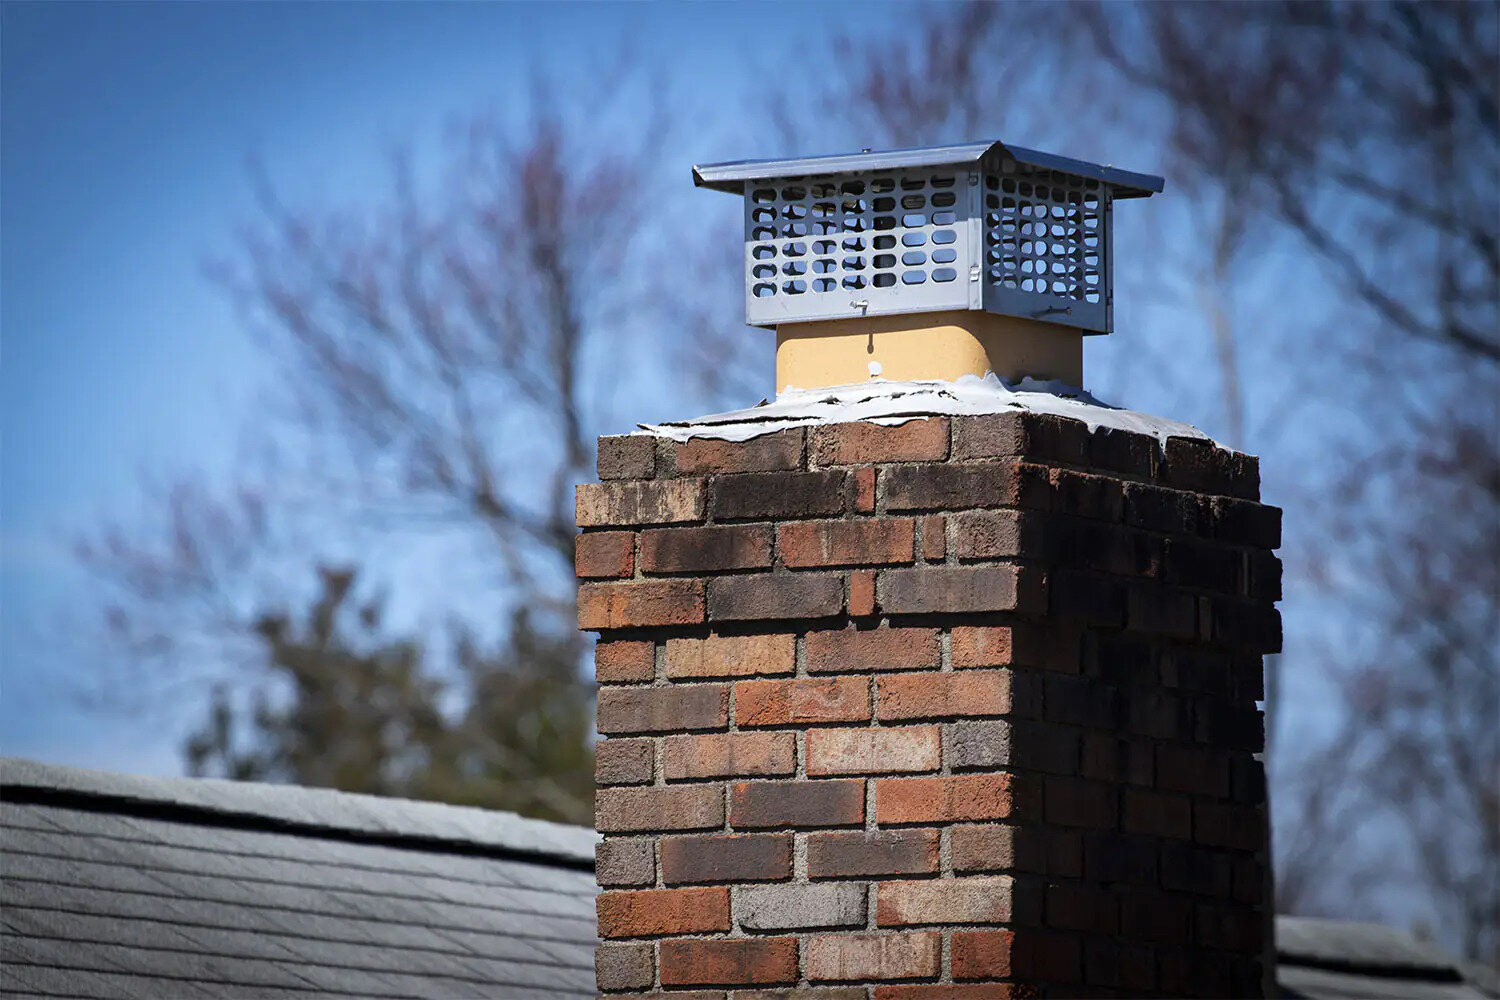
Make sure to use a chimney cap to prevent debris, animals, and water from entering the chimney. Measure the chimney opening accurately to ensure the cap fits properly.
Read more: How To Measure A Chimney Cap
Step 4: Measuring and Cutting the Chimney Cap
Once the chimney is clean, it’s time to measure and cut the chimney cap to ensure a proper fit. Following these steps will help you achieve accurate measurements and a precise cut:
- Measure the chimney: Use a measuring tape to measure the width and length of the top of the chimney. Take accurate measurements to determine the dimensions of the chimney cap you’ll need.
- Transfer the measurements: Transfer the measurements onto the chimney cap material. If you’re using stainless steel or copper, you can use a marker or pencil to mark the dimensions directly on the material.
- Double-check the measurements: Before cutting the chimney cap, double-check the measurements to ensure accuracy. Make any necessary adjustments before proceeding.
- Secure the chimney cap: Use clamps or a vise to secure the chimney cap material, ensuring it doesn’t move while you’re cutting. This will help you achieve clean and precise cuts.
- Cut the chimney cap: Use a suitable cutting tool, such as metal snips or a saw, to cut along the marked lines. Take your time and follow the guidelines carefully to achieve a clean and accurate cut.
- Smooth the edges: After cutting, use a file or sandpaper to smooth any rough edges or sharp corners on the chimney cap. This will prevent any potential injuries during installation or future maintenance.
- Test the fit: Place the cut chimney cap on top of the chimney and make sure it fits properly. It should cover the entire opening and rest securely on the chimney structure.
Accurate measurements and a precise cut are crucial for a properly fitting chimney cap. Taking the time to measure carefully and make clean cuts will ensure the cap functions effectively and enhances the safety of your chimney.
Step 5: Attaching the Chimney Cap
With the chimney cap measured and cut to size, it’s time to attach it securely to the chimney. Follow these steps to ensure a proper installation:
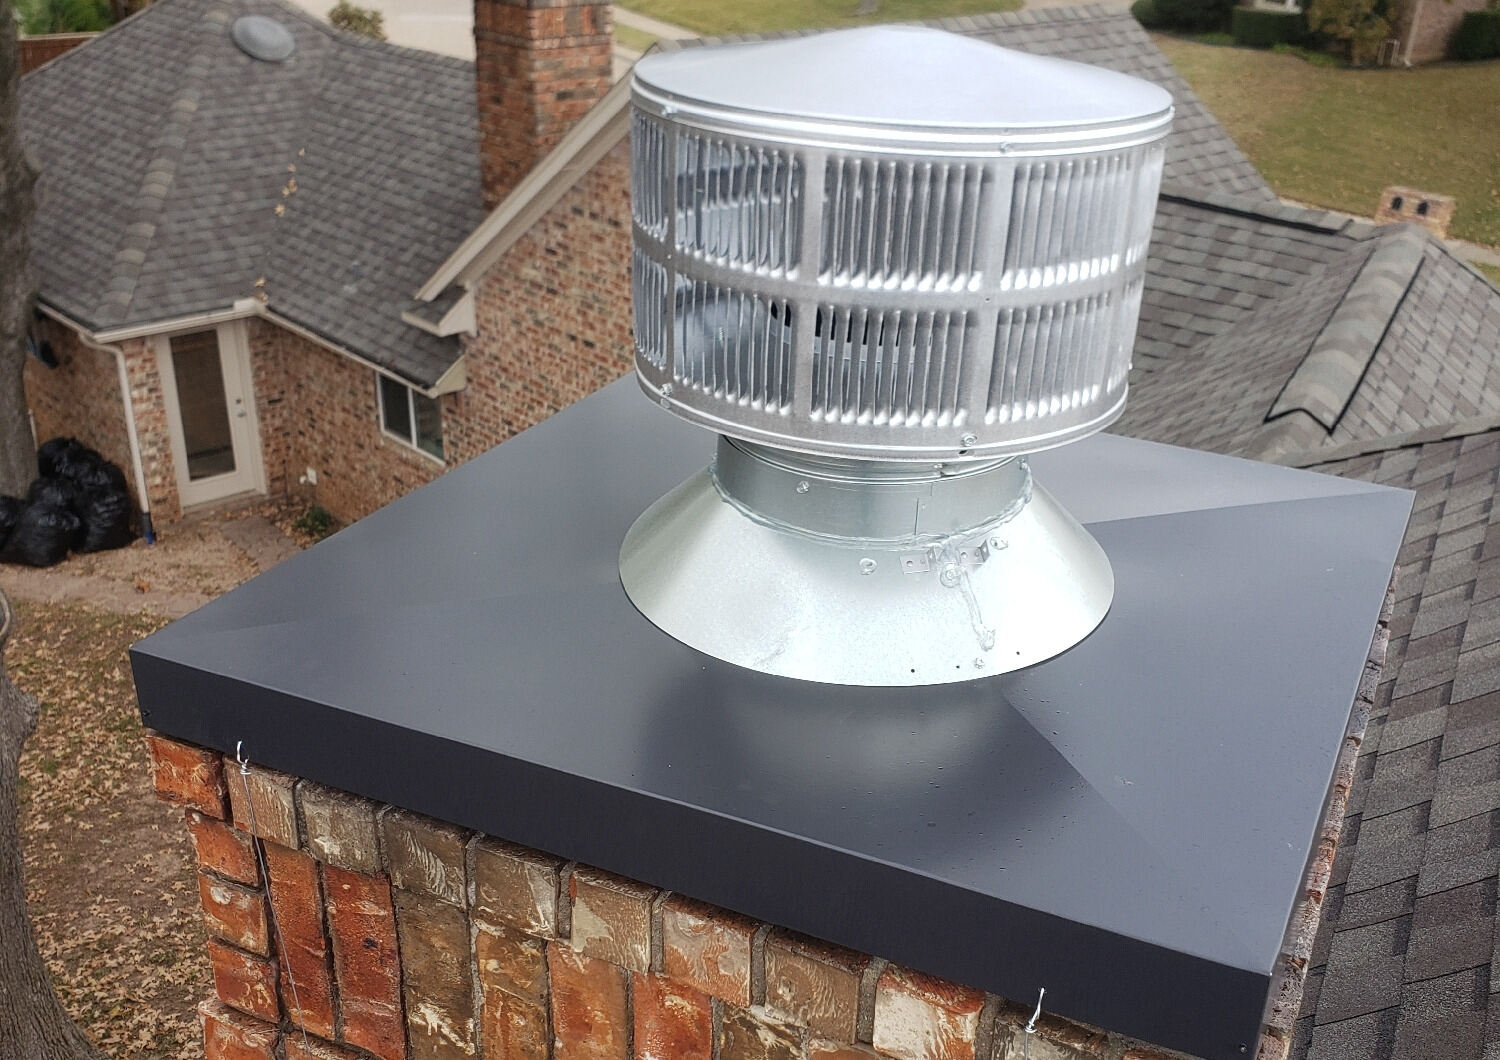
- Position the chimney cap: Place the chimney cap on top of the chimney, aligning it with the opening. Make sure it is centered and positioned correctly.
- Mark the screw or bolt holes: Using a marker or pencil, mark the locations where the screws or bolts will be inserted to secure the cap. These holes should be evenly spaced around the perimeter of the chimney cap.
- Pre-drill the holes: Use a power drill with an appropriate drill bit to pre-drill the holes marked on the chimney cap. This will make it easier to insert the screws or bolts and minimize the risk of the cap material cracking or splitting.
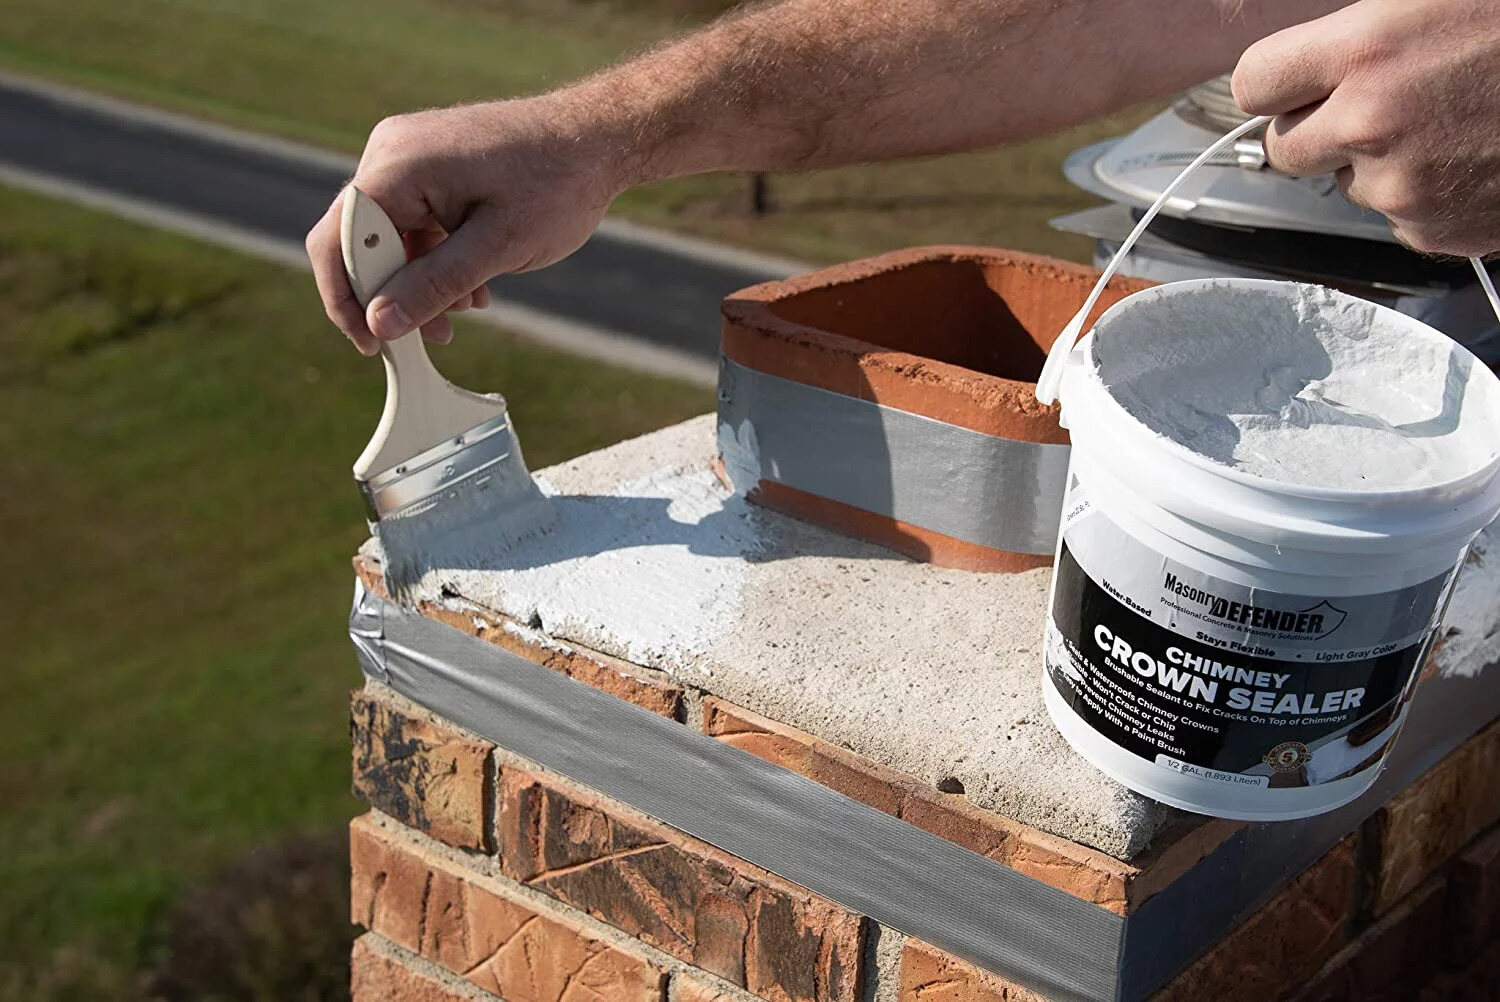
- Apply chimney sealant: Before attaching the chimney cap, apply a generous amount of chimney sealant to the bottom edges of the cap. This will create a watertight seal and prevent any moisture from entering the chimney.
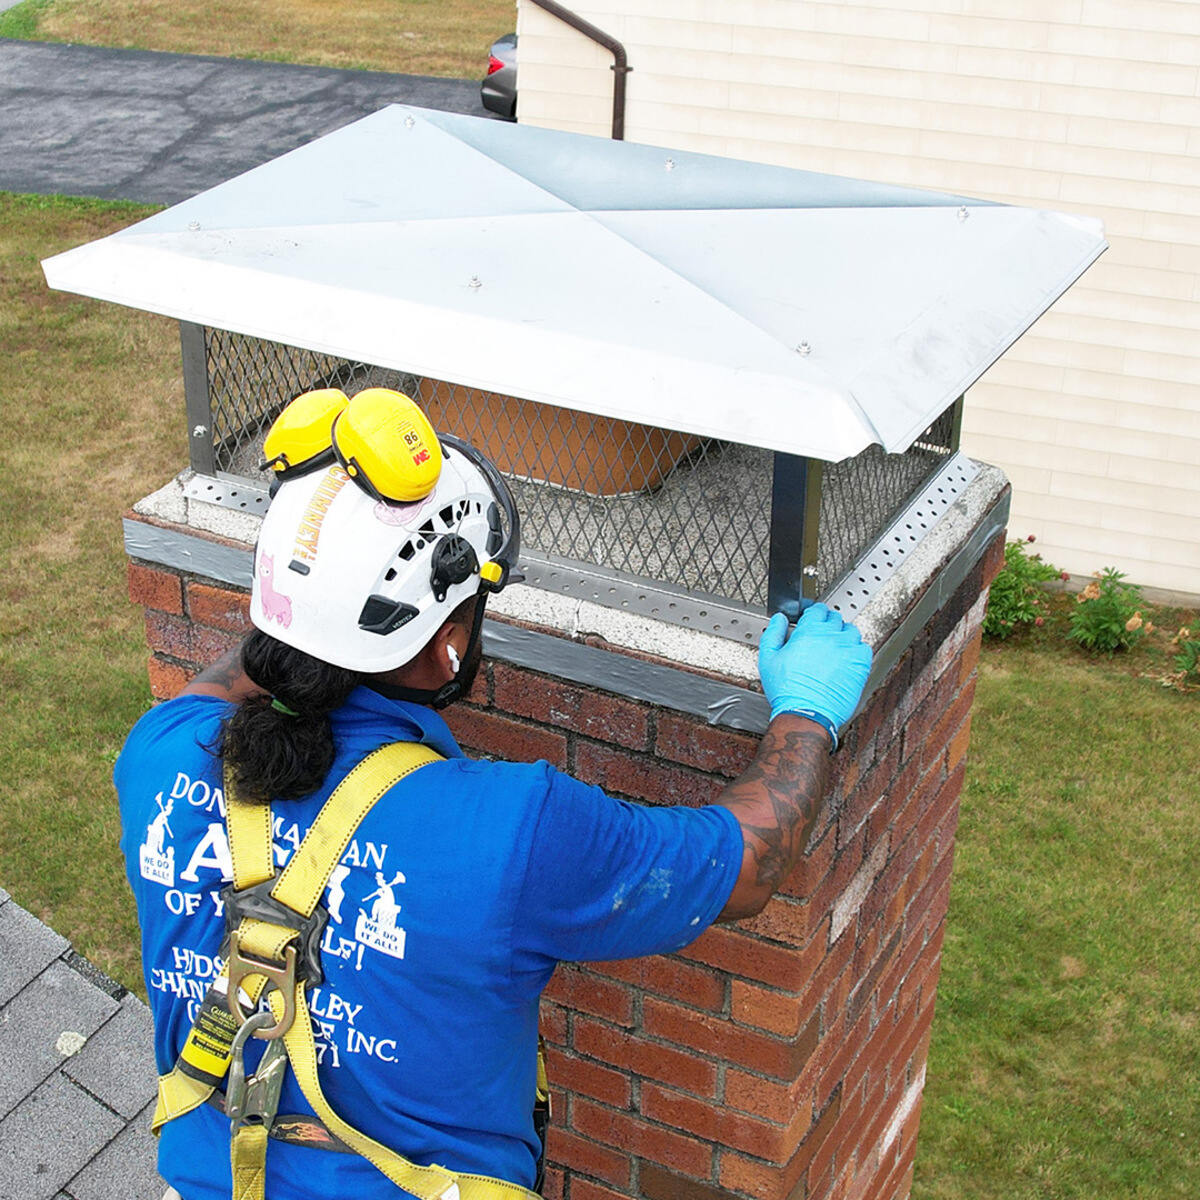
- Attach the chimney cap: Position the chimney cap back onto the chimney and line up the pre-drilled holes with the corresponding holes on the chimney structure. Insert screws or bolts and tighten them securely, ensuring the cap is firmly attached.
- Tighten the fasteners: Use a wrench or screwdriver to tighten the screws or bolts, making sure they are snug but not over-tightened. Be careful not to strip the threads of the fasteners.
- Check for stability: Once the chimney cap is attached, check for stability and ensure it is securely in place. Gently shake the cap to check if there is any movement or wobbling. If needed, tighten the fasteners further to ensure a stable fit.
Properly attaching the chimney cap is crucial for its effectiveness and longevity. By following these steps and ensuring a secure installation, you can enjoy the benefits of a well-protected and efficiently functioning chimney.
Step 6: Securing the Cap and Final Checks
Once the chimney cap is attached, there are a few additional steps to take to ensure its stability and verify the successful completion of the capping process. Follow these final checks and procedures:
- Tighten the fasteners: Double-check that all the screws or bolts securing the chimney cap are tightened properly. This will prevent any loosening over time and ensure the cap remains securely in place.
- Inspect the seal: Examine the seal between the chimney cap and the chimney structure. Check for any gaps or areas where the sealant may have not fully filled. If necessary, apply additional chimney sealant to create a complete and watertight seal.
- Clean the surrounding area: Remove any drop cloths or plastic sheeting used to protect the surrounding area during the installation process. Clear away any debris or tools that were used, leaving the area clean and tidy.
- Verify proper ventilation: Before lighting a fire in your fireplace, ensure that the chimney cap allows for proper ventilation. Check that smoke can escape freely and that there are no signs of backdraft or air pressure issues.
- Schedule regular maintenance: Remember that chimney caps, like other components of your home, require regular maintenance. Plan for regular inspections and cleaning to keep your chimney cap in optimum condition and address any potential issues before they become major problems.
- Consider additional features: Depending on your specific needs and local conditions, you may want to consider additional features for your chimney cap. Options such as bird screens, spark arrestors, or chimney rain covers can provide extra protection and functionality.
By securing the chimney cap properly and conducting final checks, you can ensure its stability and effectiveness. Regular maintenance and care will help extend the lifespan of your chimney cap and maintain the optimal functioning of your chimney system.
Conclusion
Capping off your chimney is a valuable step in improving its functionality, safety, and efficiency. By following the step-by-step process outlined in this guide, you can successfully cap off your chimney and enjoy the benefits it provides.
We began by emphasizing the importance of assessing your chimney’s condition and taking accurate measurements. This ensures that you choose the right chimney cap size and type for your specific chimney. Safety should always be a priority, so gathering the necessary safety equipment is vital before starting the project.
Cleaning the chimney thoroughly is an essential step to remove any debris or blockages that may hinder its performance. With a clean chimney, you can proceed to measure, cut, and attach the chimney cap with precision. Securing the cap firmly and applying sealant further ensures its effectiveness and protects against water intrusion.
Before completing the process, perform final checks to verify the stability of the chimney cap and any necessary adjustments. Maintaining the chimney cap and scheduling regular inspections will help prolong its lifespan and ensure its continued functionality.
Ultimately, capping off your chimney not only enhances its performance but also contributes to the overall safety and efficiency of your home. It prevents unwanted debris, animals, and weather elements from entering the chimney, while also reducing drafts and improving the ventilation of your fireplace.
If you are unsure about any aspect of capping off your chimney or if you encounter any significant issues, it’s always recommended to consult a professional chimney sweep or contractor for further assistance. They can provide expert guidance and ensure that the capping process is completed safely and effectively.
Remember, with the right tools, knowledge, and attention to detail, capping off your chimney can be a rewarding and valuable home improvement project. Enjoy the benefits of a well-protected and efficiently functioning chimney for years to come.
Frequently Asked Questions about How To Cap Off Chimney
Was this page helpful?
At Storables.com, we guarantee accurate and reliable information. Our content, validated by Expert Board Contributors, is crafted following stringent Editorial Policies. We're committed to providing you with well-researched, expert-backed insights for all your informational needs.

0 thoughts on “How To Cap Off Chimney”