
Articles
How To Change Shower Faucet Handles
Modified: August 30, 2024
Learn how to change shower faucet handles with these informative articles. Upgrade your bathroom and enhance your shower experience today!
(Many of the links in this article redirect to a specific reviewed product. Your purchase of these products through affiliate links helps to generate commission for Storables.com, at no extra cost. Learn more)
Introduction
Changing the shower faucet handles can be a simple and cost-effective way to update the look and functionality of your bathroom. Whether you’re tired of the old worn-out handles or want to match them with a new decor theme, replacing the faucet handles is a DIY project that you can easily tackle. In this article, we will take you through a step-by-step guide on how to change shower faucet handles, so you can enjoy a fresh new look in no time.
Before we begin, it’s important to note that this guide is designed for general shower faucet handles and may not be applicable to all types and models. It’s always a good idea to consult the manufacturer’s instructions or seek professional assistance for specific cases. Additionally, ensure that you have the necessary tools and materials ready to complete the task smoothly.
Now, without further ado, let’s dive into the steps required to change your shower faucet handles and give your bathroom a stylish upgrade.
Key Takeaways:
- Easily update your bathroom’s look and functionality by changing shower faucet handles. Follow our step-by-step guide for a cost-effective DIY project that enhances your shower experience.
- Ensure a successful installation by gathering the right tools, turning off the water supply, carefully removing old handles, choosing and installing new ones, and testing their functionality. Enjoy a stylish and functional bathroom upgrade!
Read more: How To Change Bathtub Faucet Handle
Step 1: Gather the necessary tools and materials
Before you start the process of changing your shower faucet handles, it’s important to gather all the necessary tools and materials. This will ensure that you have everything you need to complete the task efficiently. Here are the items you will need:
- Adjustable wrench or pliers
- Screwdriver (flathead or Phillips, depending on your faucet)
- New shower faucet handles
- Plumber’s tape
- Rag or towel
Having these tools and materials on hand will make the process much smoother and prevent any unnecessary delays or trips to the hardware store.
Once you have gathered all the necessary items, you are ready to move on to the next step: turning off the water supply.
Step 2: Turn off the water supply
Before you begin working on changing your shower faucet handles, it’s crucial to turn off the water supply to prevent any leaks or water damage. Here’s how you can do it:
- Locate the water shut-off valves that control the water supply to your shower.
- Turn off the hot and cold water supply valves by rotating them clockwise until they are fully closed.
- Once the water supply is turned off, relieve any remaining water pressure by turning on the shower and letting the water run until it stops completely.
It’s important to ensure that the water supply is completely shut off before proceeding with the next steps. This will prevent any potential leaks or accidents while you work on changing the faucet handles.
Now that the water supply is turned off, it’s time to move on to removing the old faucet handles in the next step.
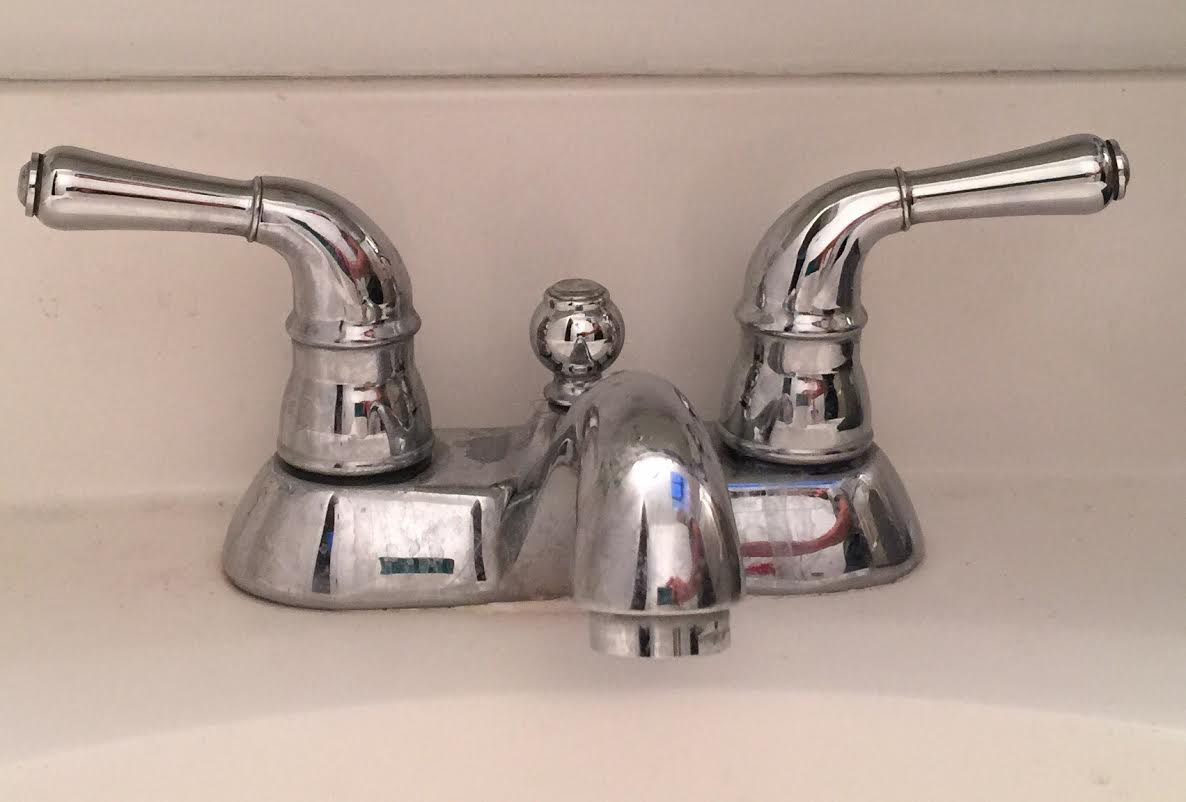
Step 3: Remove the old faucet handles
Now that you have turned off the water supply, it’s time to remove the old faucet handles. Follow the steps below:
- Inspect the faucet handles to determine the type of attachment they have. They may be secured with screws, a cap, or a decorative cover.
- If there are screws visible, use a screwdriver (flathead or Phillips, depending on your faucet) to remove them. Set the screws aside as you will need them later.
- If there are caps or decorative covers, gently pry them off using a screwdriver or your fingers. Be careful not to damage the surrounding area.
- Once the screws or caps are removed, carefully pull the old faucet handles straight out from the wall. Some resistance may be experienced, but gentle wiggling or rocking motion should help loosen the handles.
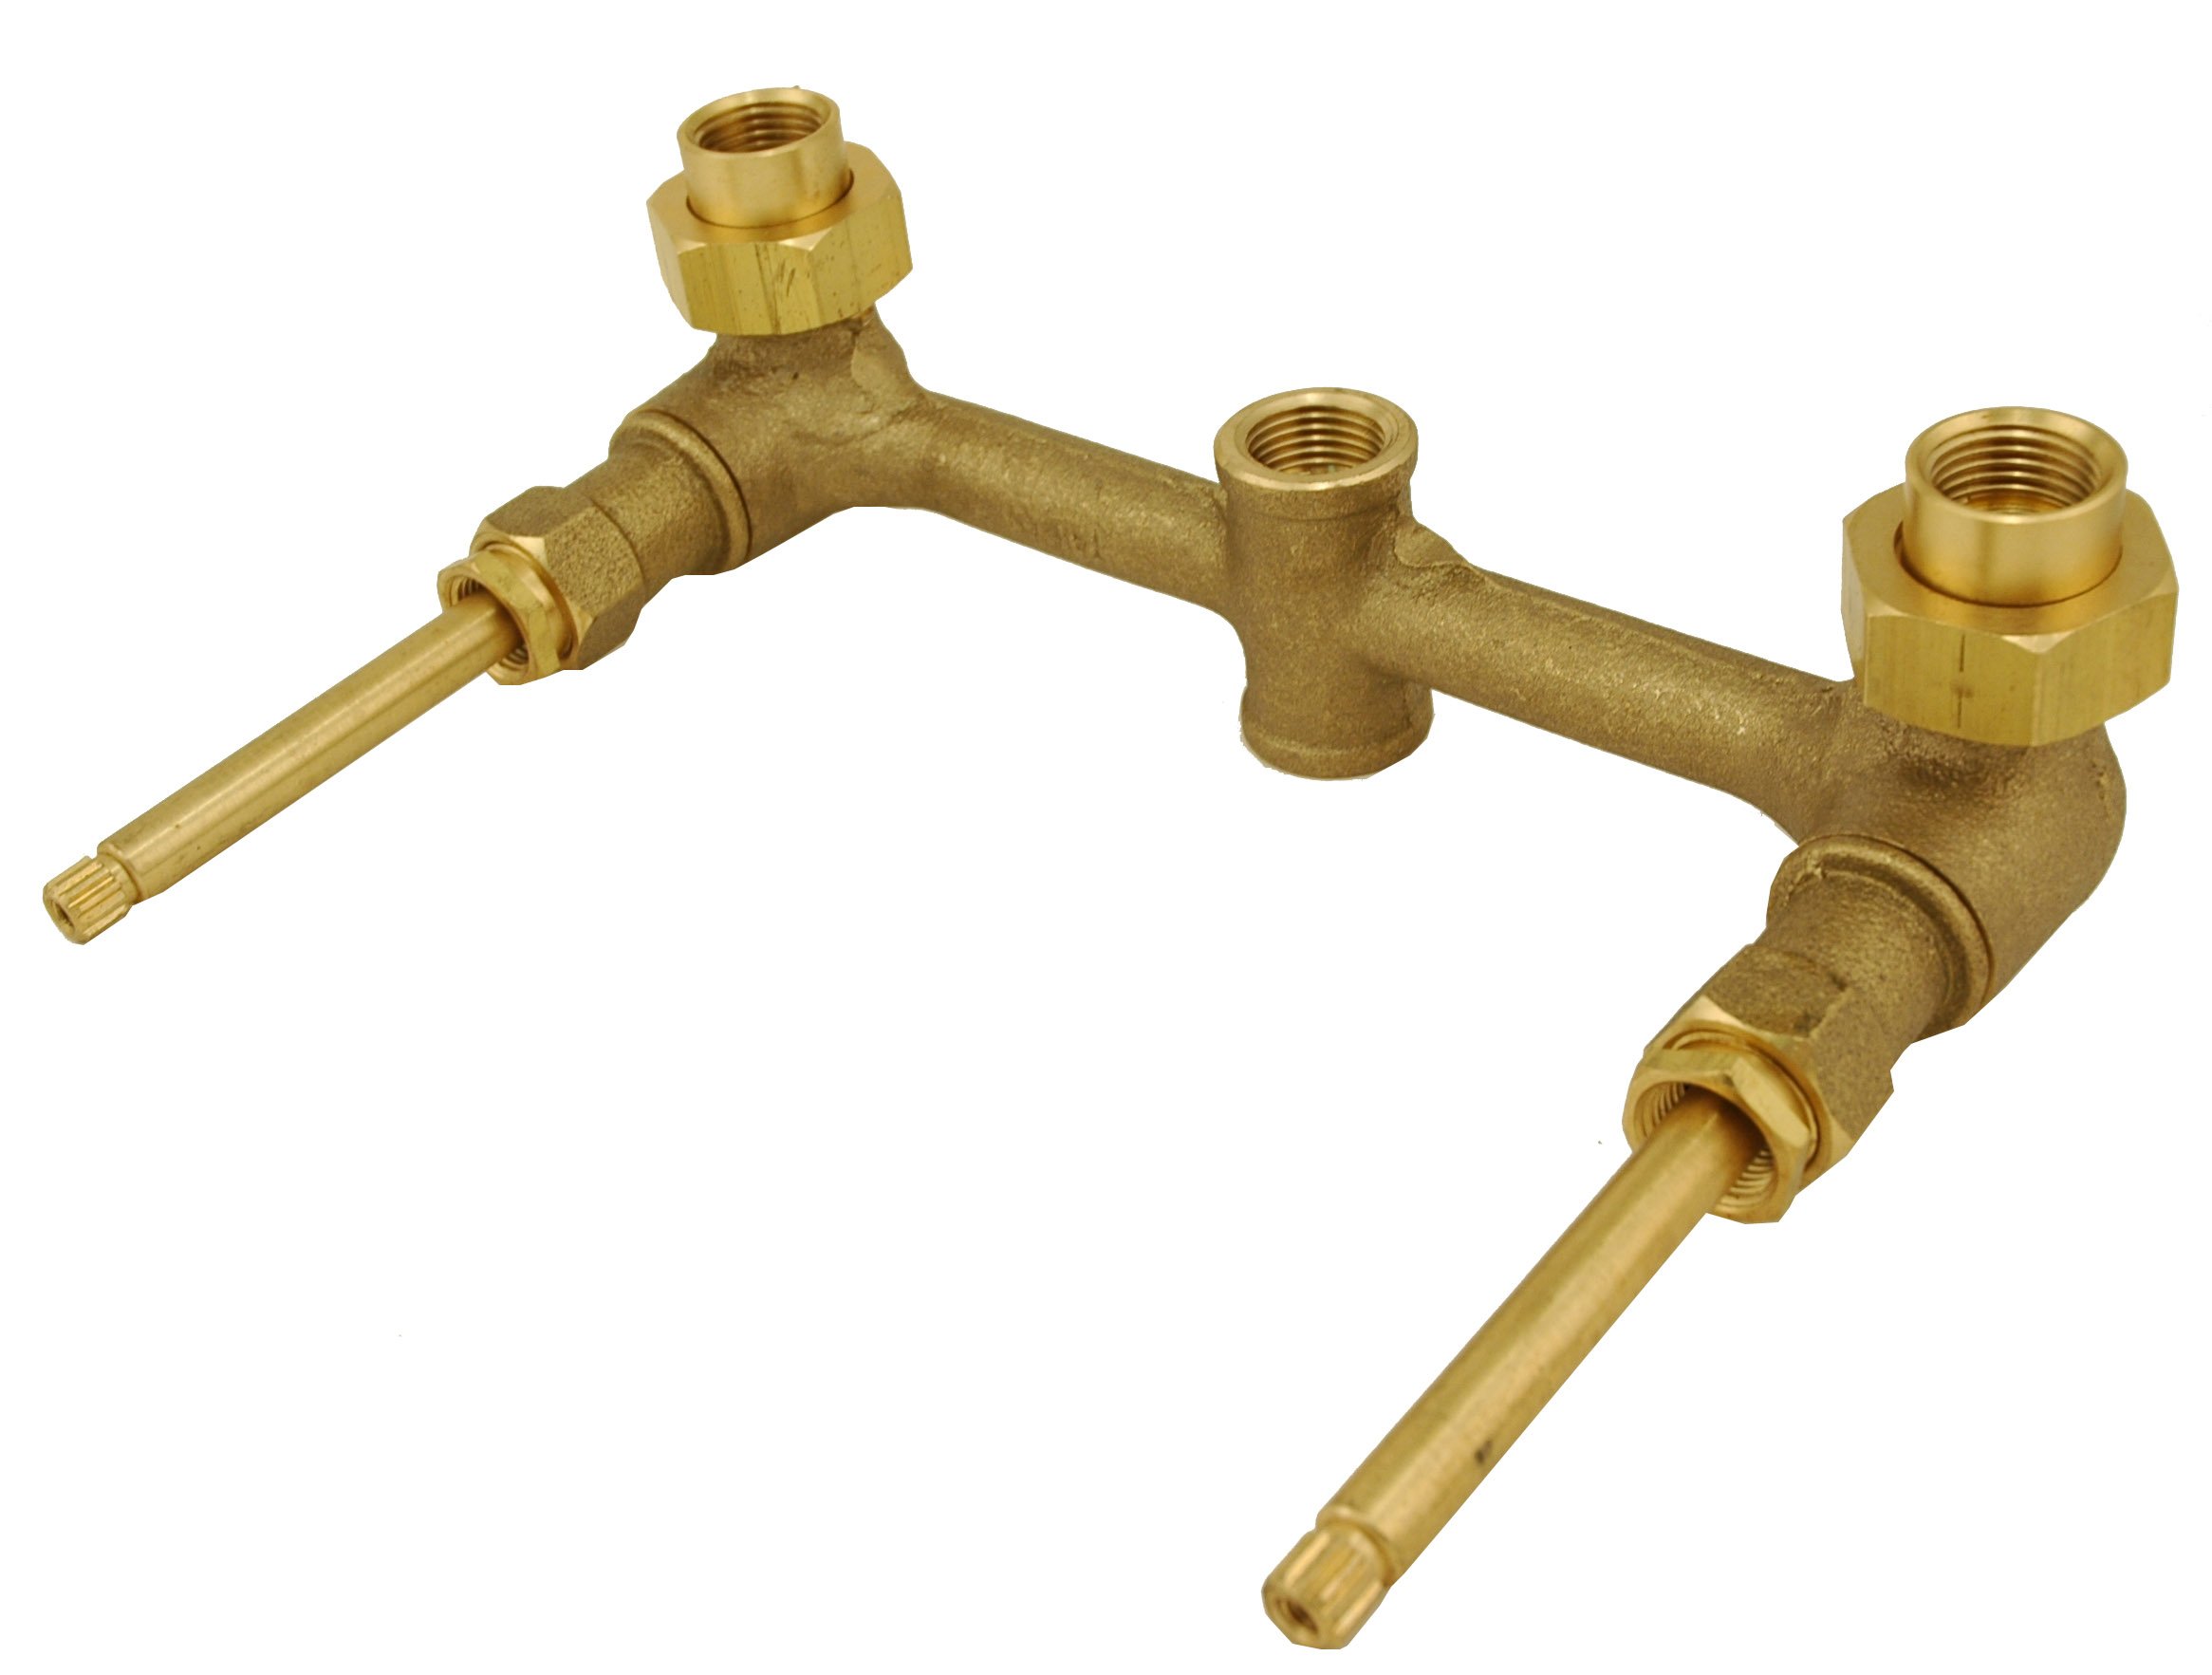
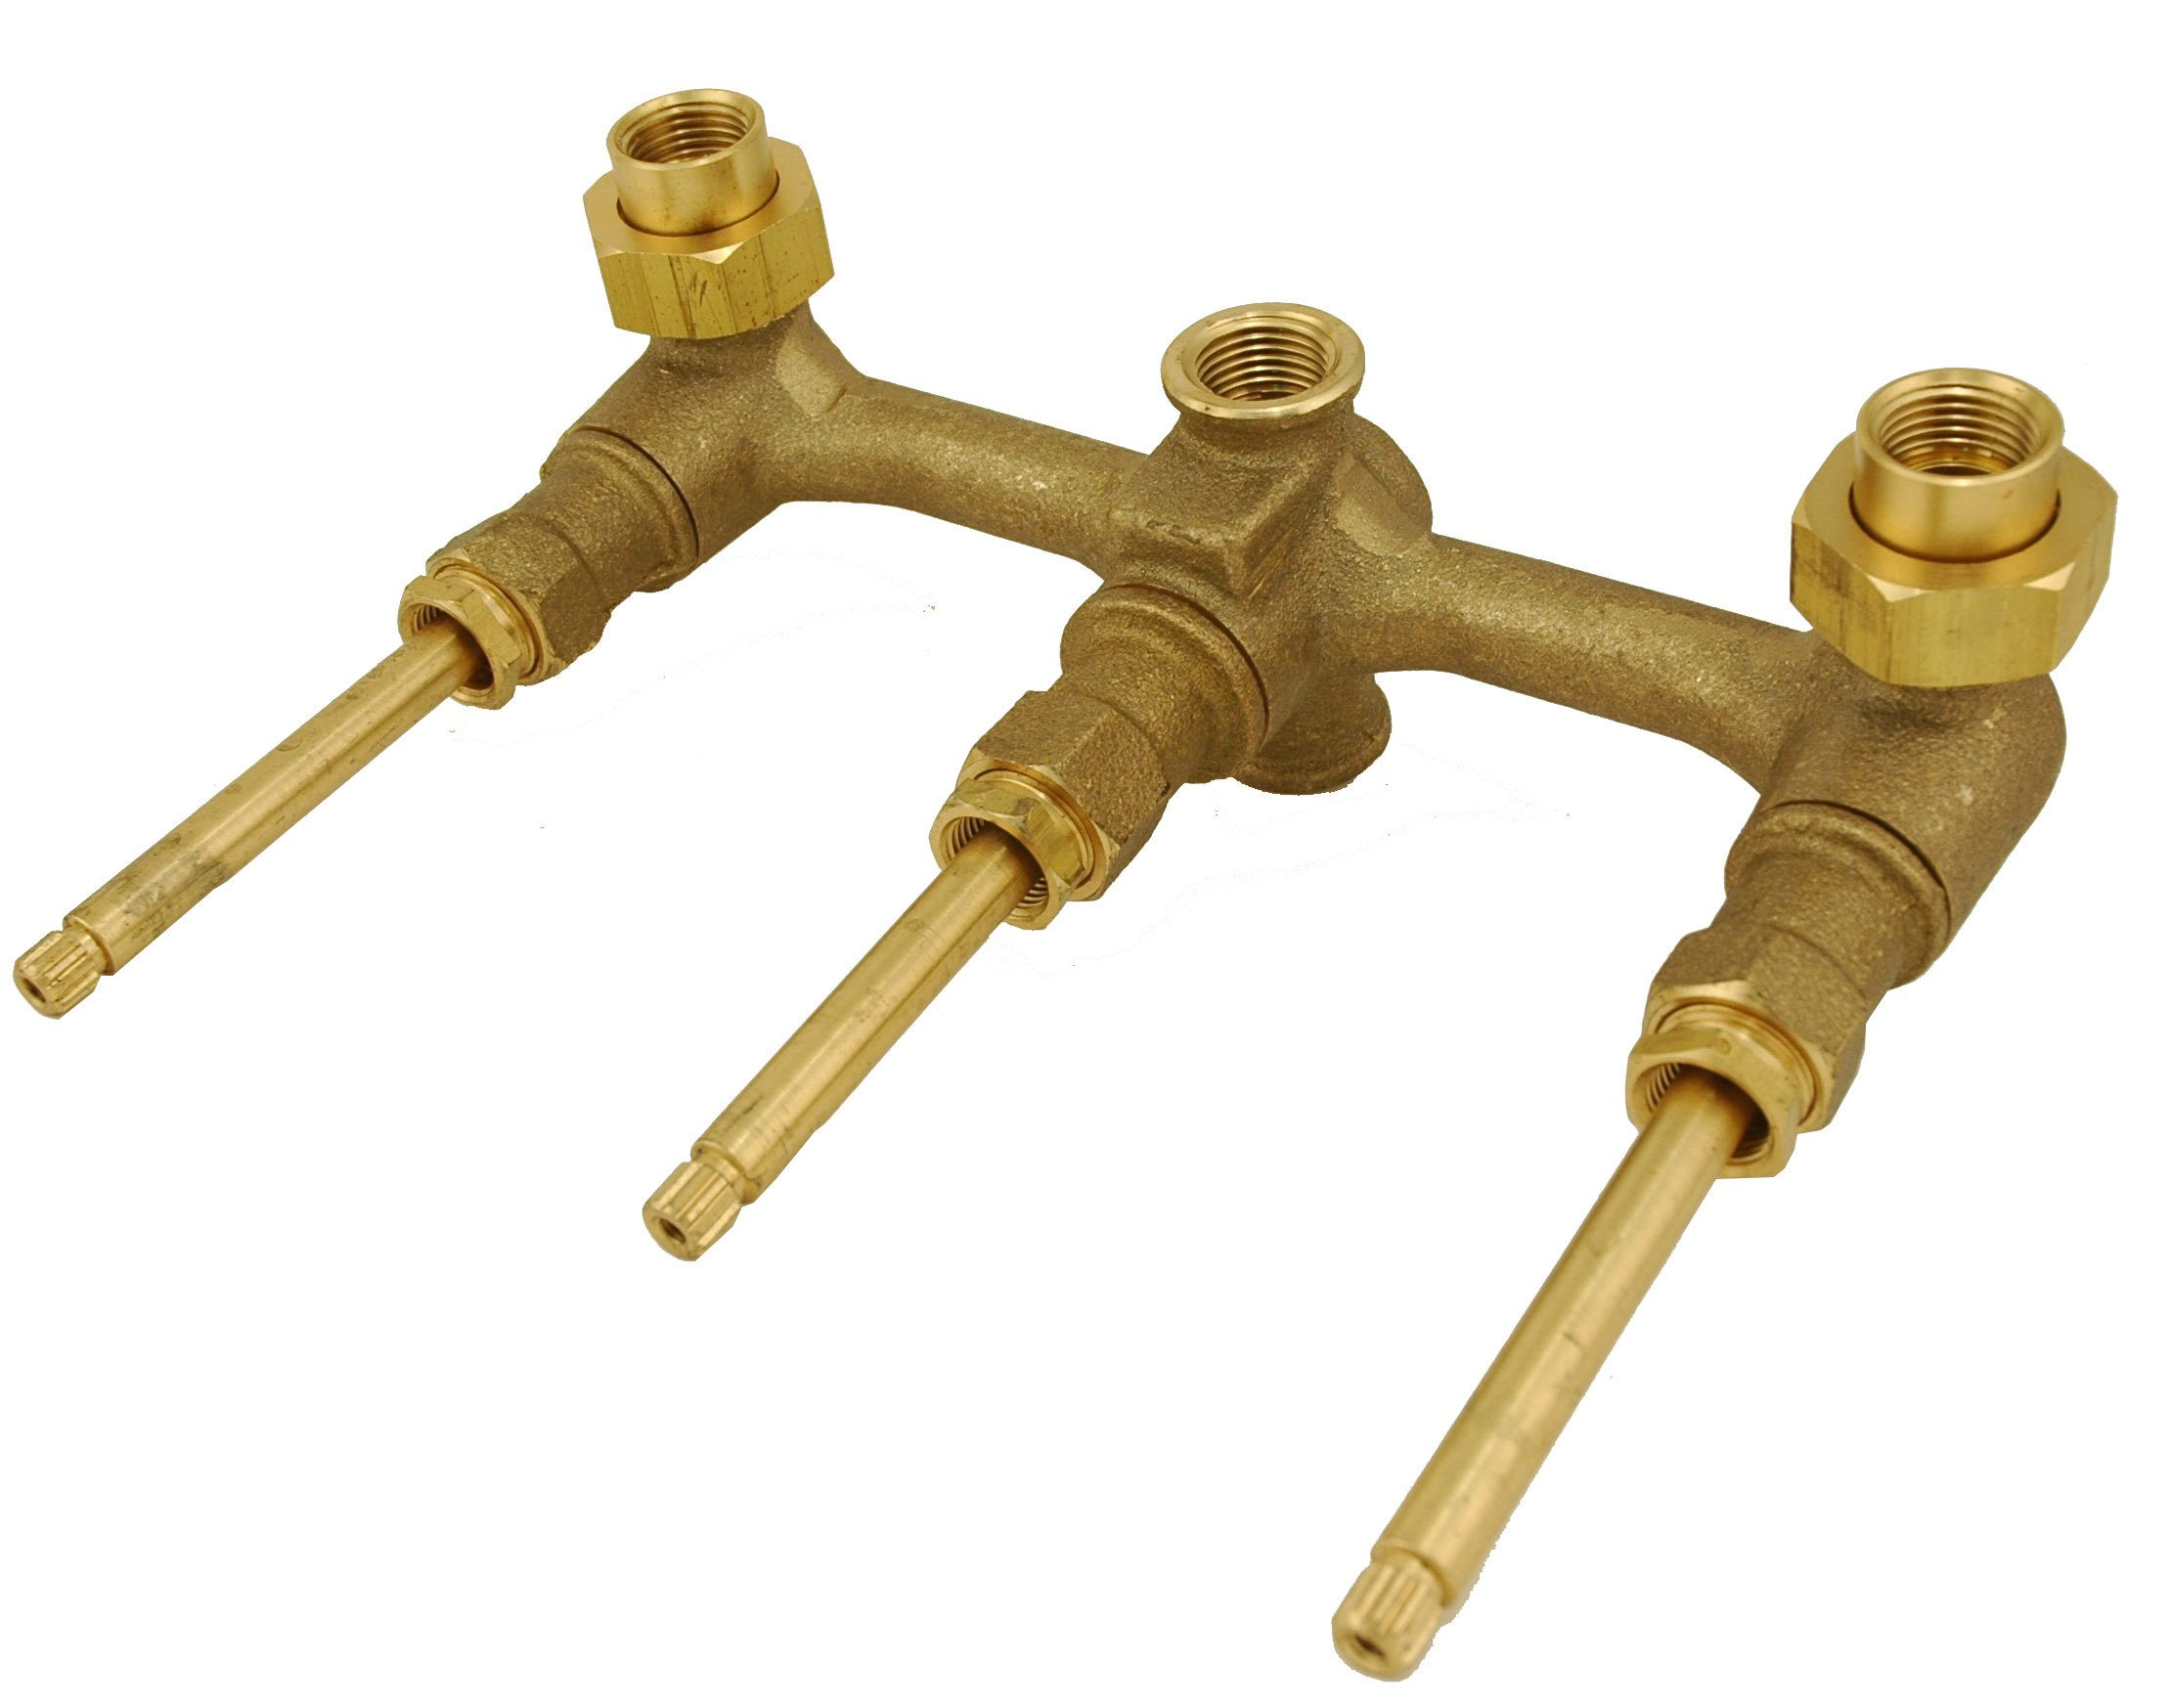
- After removing the handles, inspect the valve stems to ensure they are in good condition. If any corrosion or damage is present, it may be necessary to replace the valve stems as well.
Removing the old faucet handles requires patience and caution to avoid causing any damage to the surrounding fixtures or plumbing. Take your time and be gentle during this step.
With the old faucet handles successfully removed, let’s move on to the next step: choosing and installing the new faucet handles.
When changing shower faucet handles, make sure to turn off the water supply before starting. Use a screwdriver to remove the handle, then use an adjustable wrench to loosen and remove the old faucet handle. Be sure to clean the area before installing the new handle.
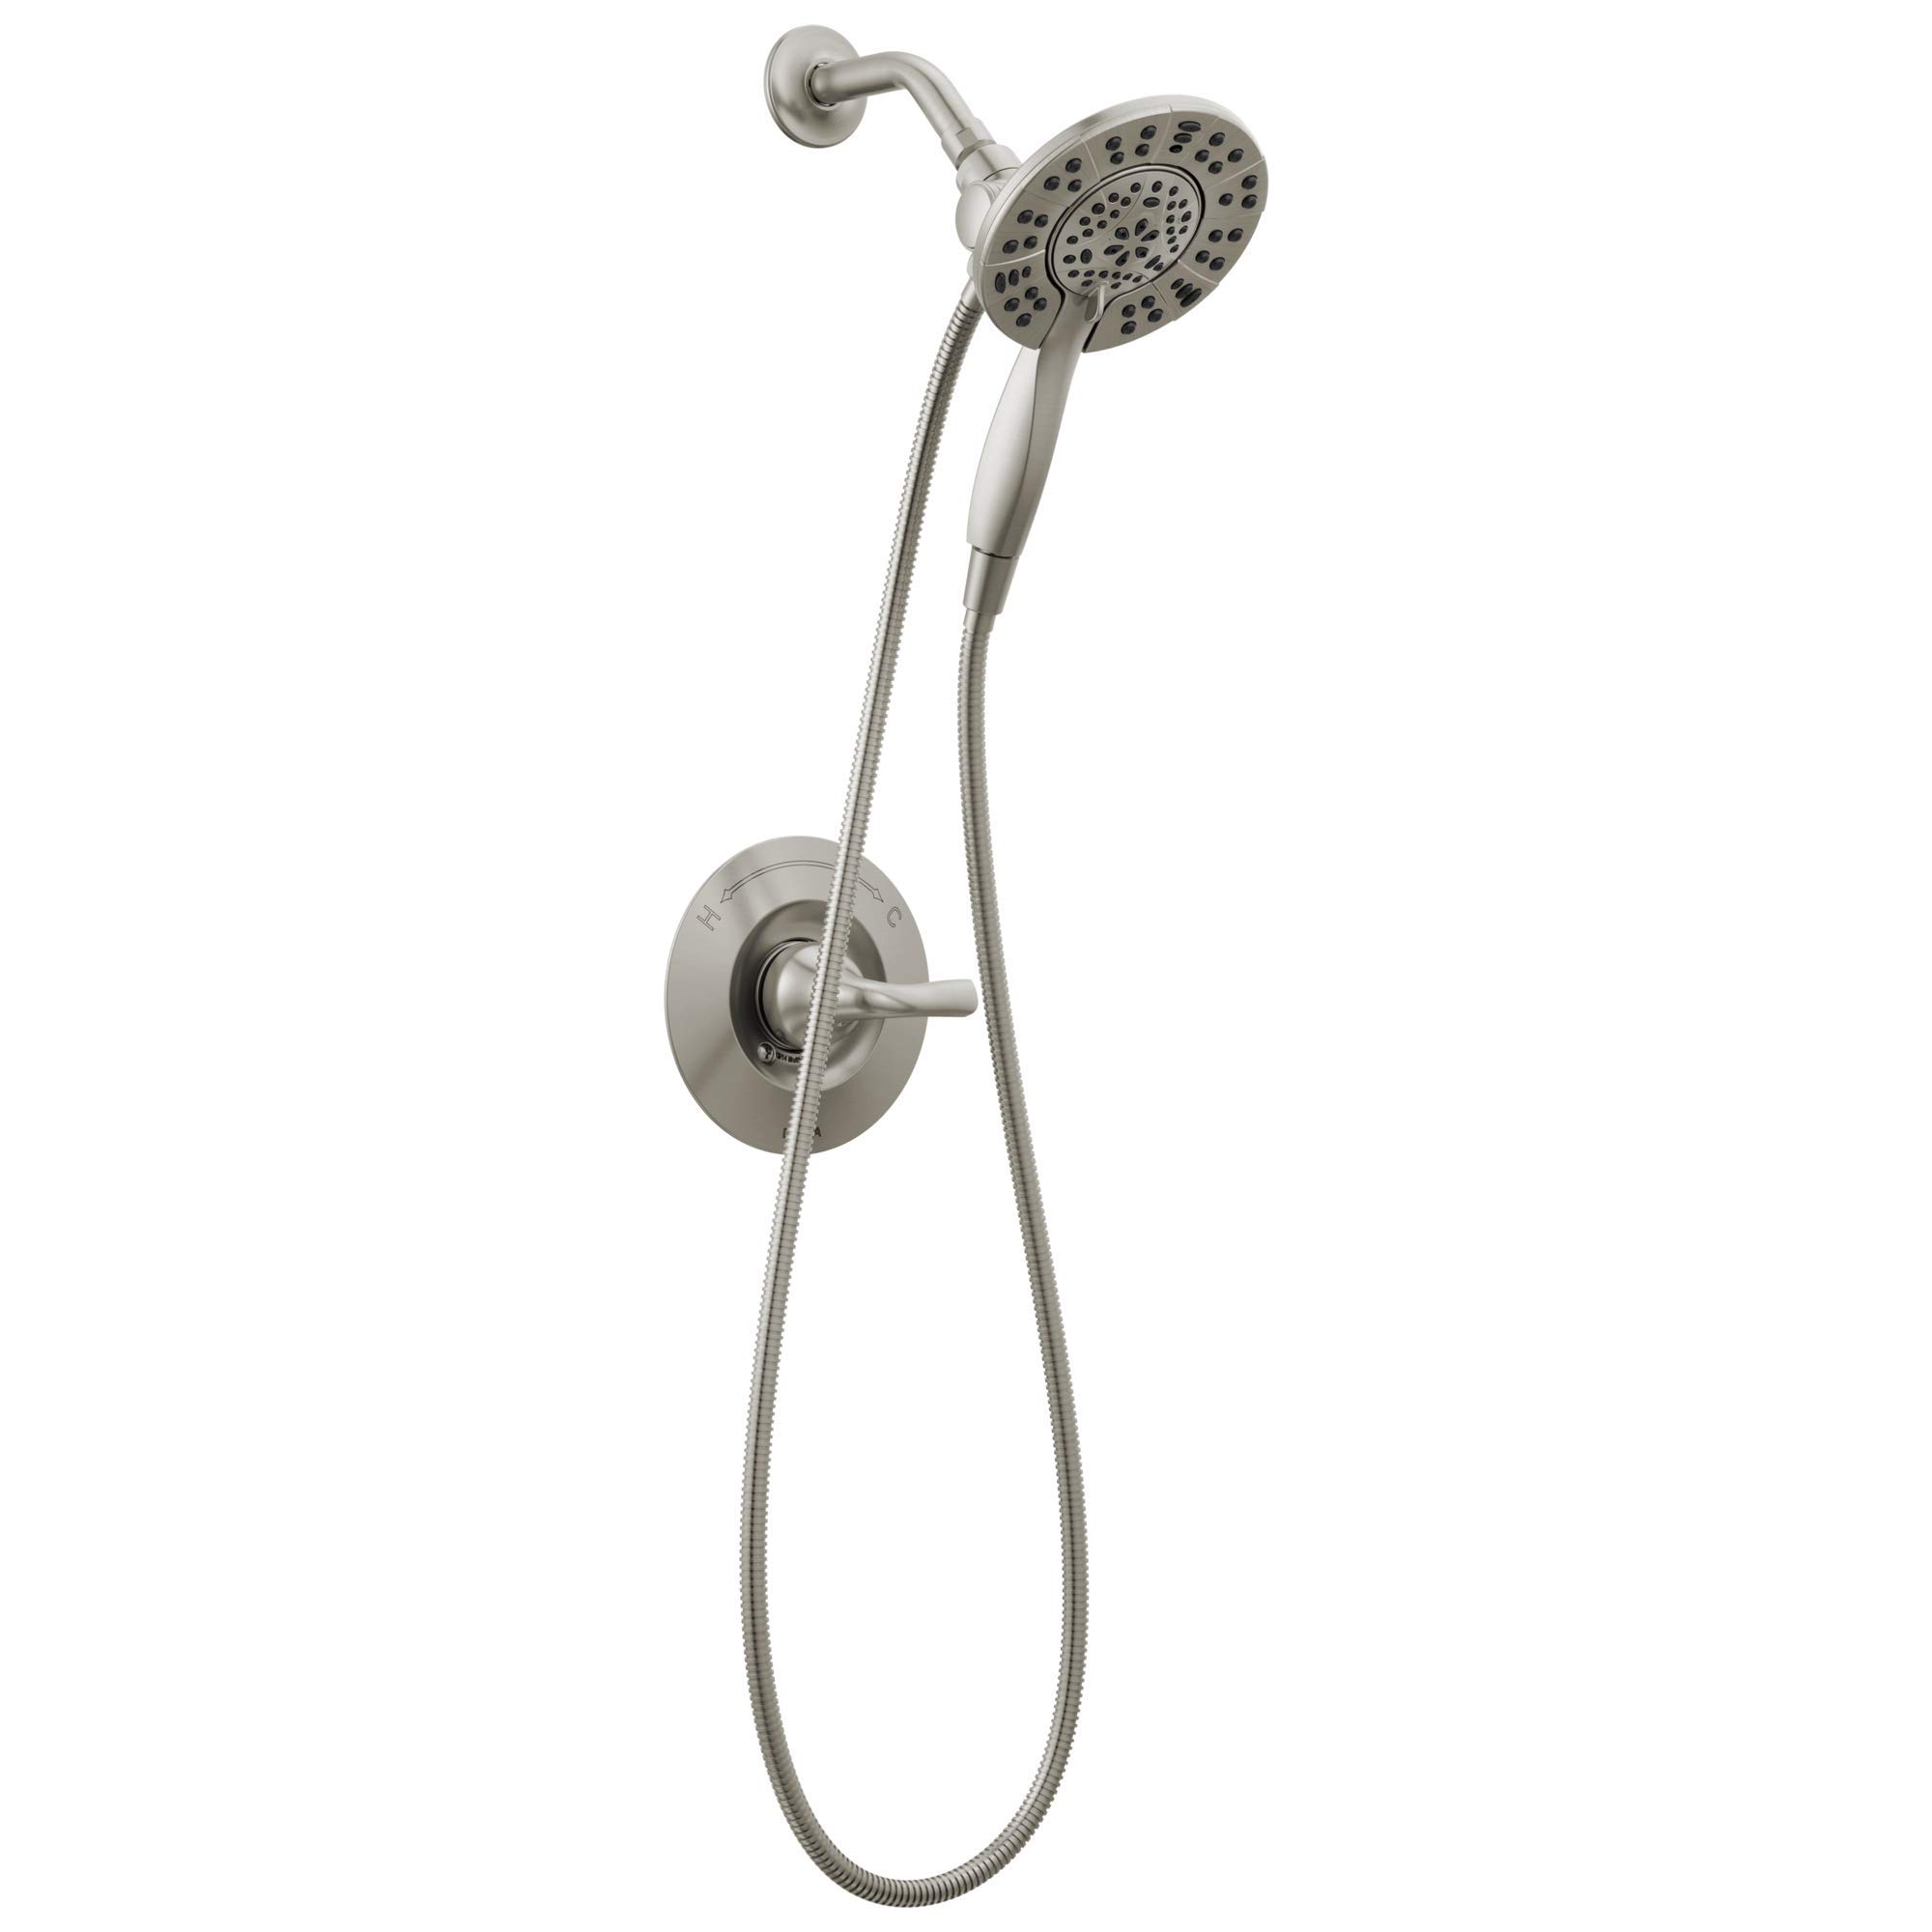
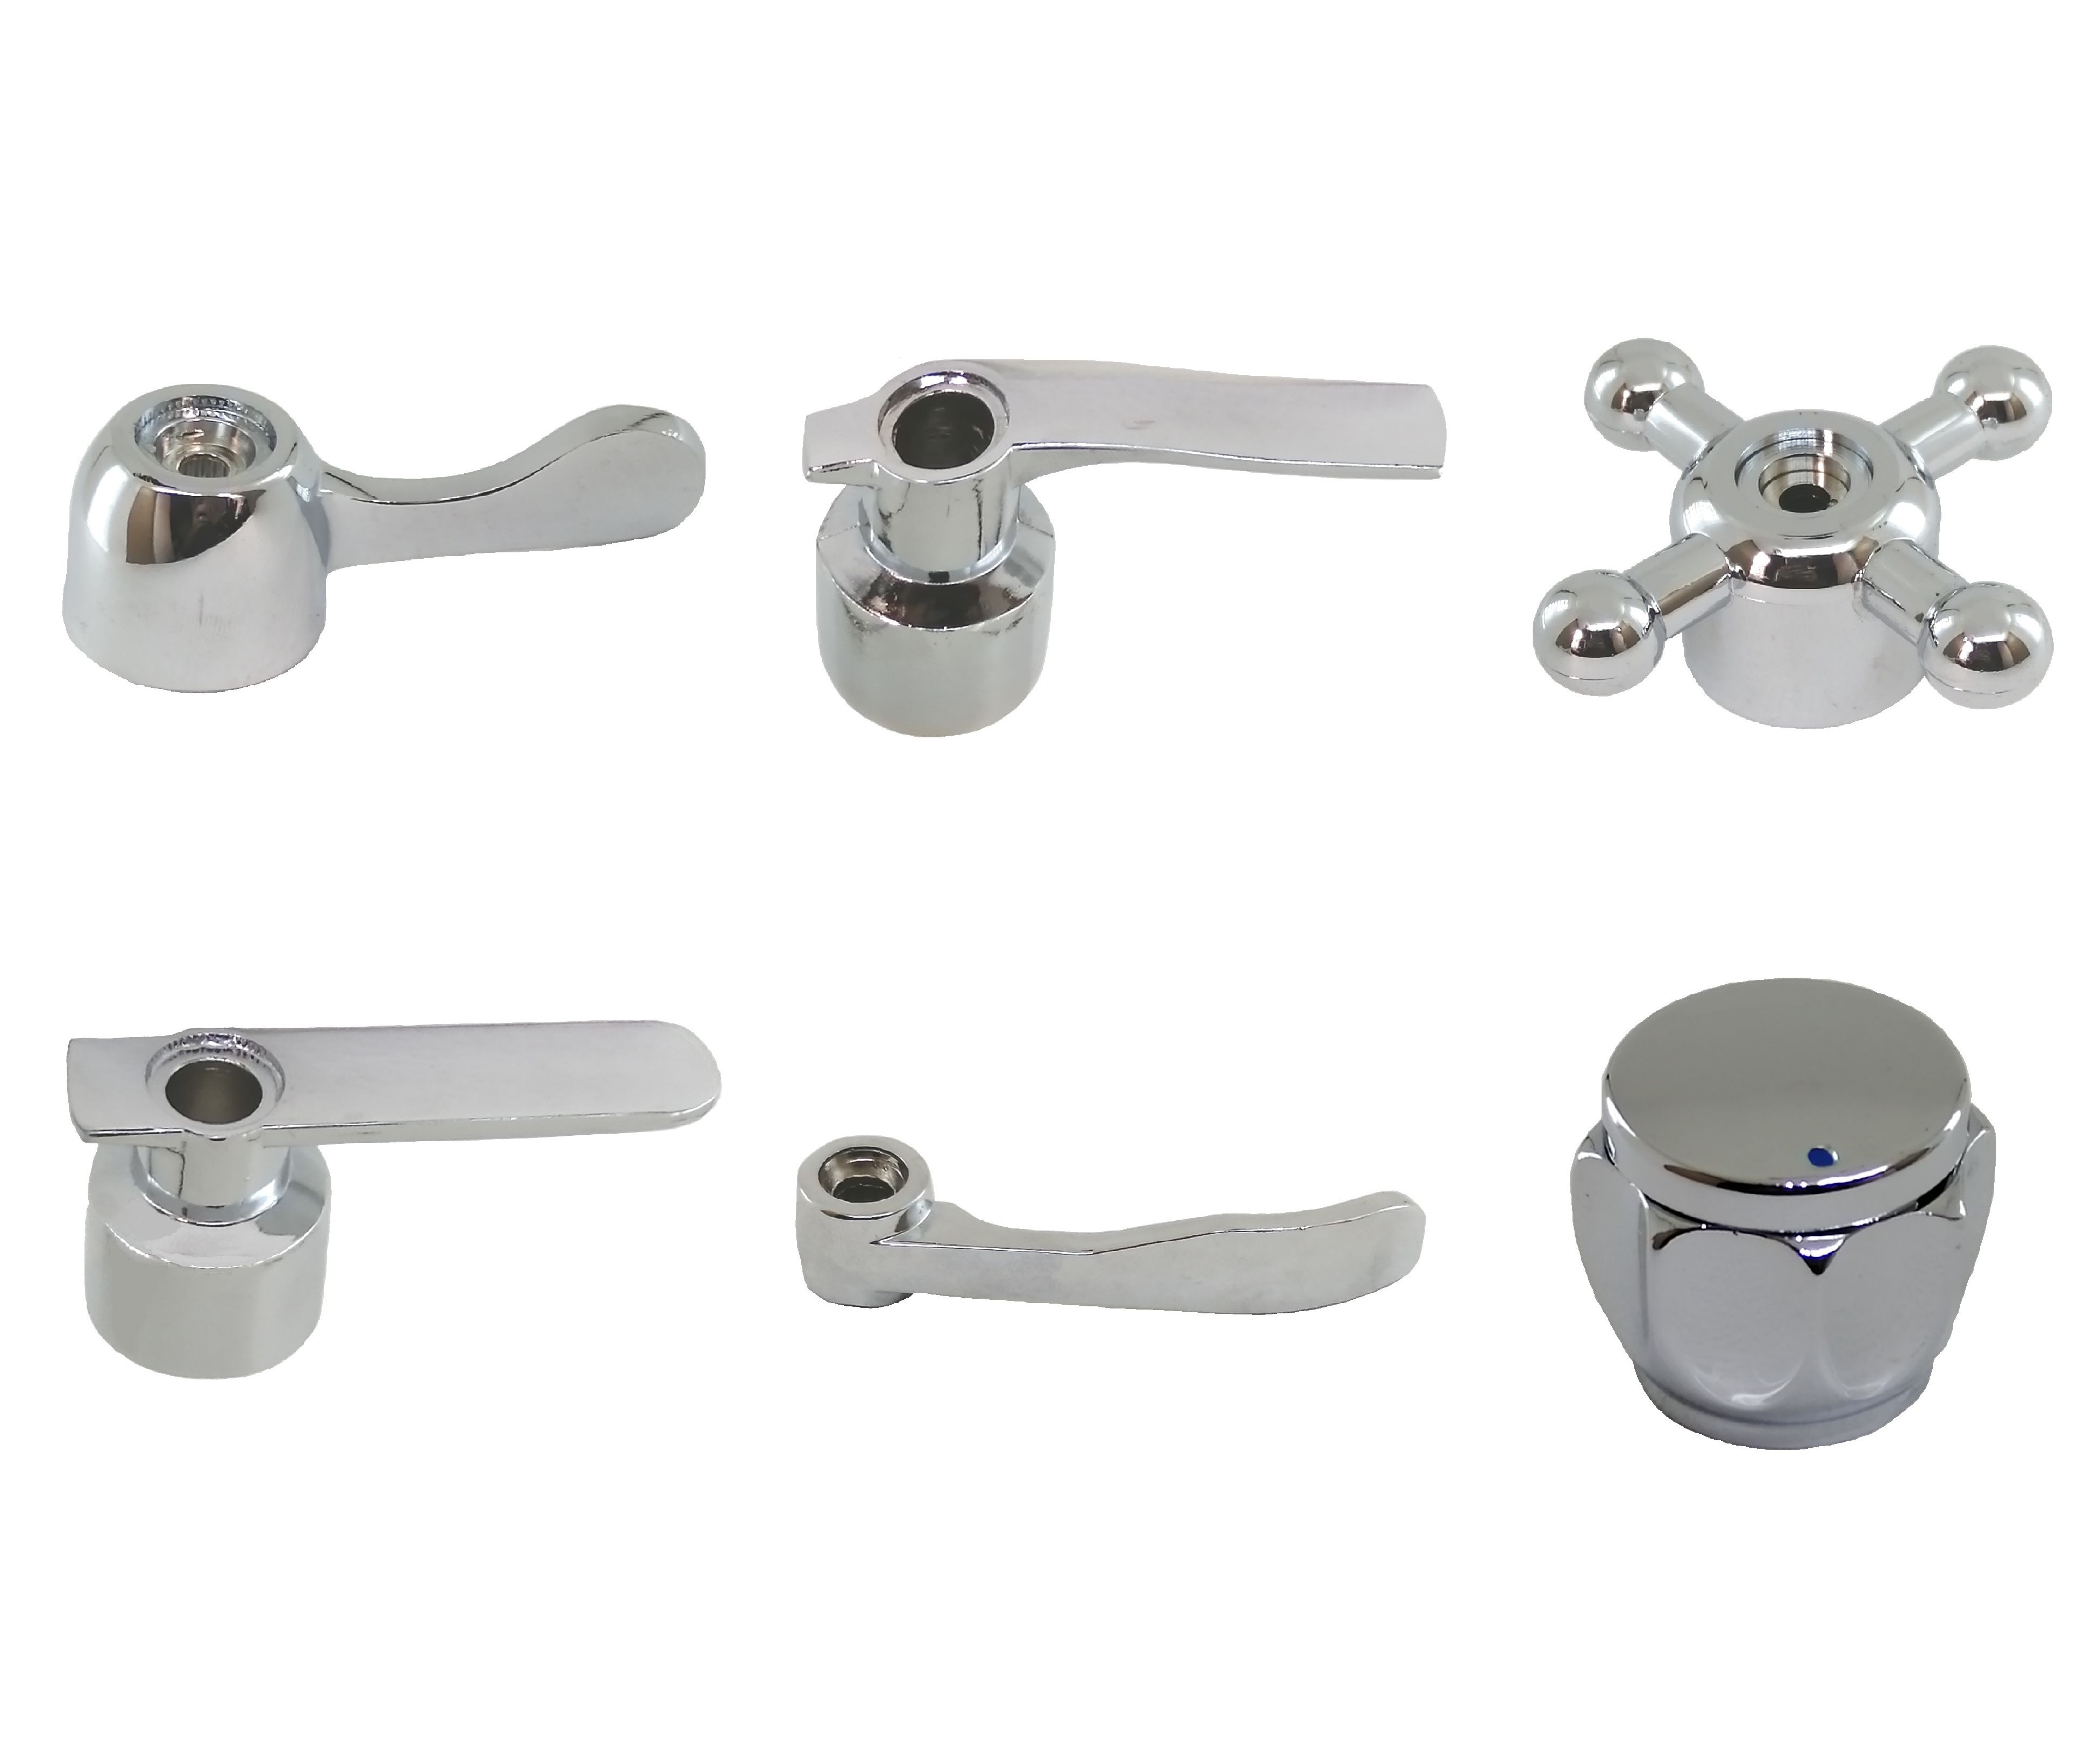
Step 4: Choose and install new faucet handles
With the old faucet handles removed, it’s time to choose and install the new ones. Follow these steps:
- Take note of the type of faucet handles you need, whether they are single-handle or double-handle, and whether they require specific measurements or compatibility with your existing plumbing.
- Visit your local hardware store or search online to find the appropriate replacement handles. Consider factors such as style, material, and functionality to find the handles that best suit your preferences and needs.
- Once you have the new faucet handles, carefully read the manufacturer’s instructions to ensure proper installation. Pay attention to any specific steps or precautions mentioned.
- Apply a layer of plumber’s tape to the threads of the valve stems. This will help create a water-tight seal and prevent any leaks.
- Align the new faucet handles with the valve stems and gently push them into place. Make sure they are securely seated and aligned properly.
- If your new faucet handles come with screws, insert the screws and tighten them using a screwdriver. Be careful not to over-tighten as it can damage the handles or the valve stems.
- Test the movement of the new handles to ensure they operate smoothly and without any resistance. If necessary, make any adjustments or tighten the screws further.
Choosing and installing new faucet handles can breathe new life into your bathroom decor and enhance the functionality of your shower. Take your time during this step to ensure a proper and secure installation.
Now that the new faucet handles are in place, let’s move on to the final step: turning on the water supply and testing the newly installed handles.
Read also: 11 Best Shower Faucet Handle for 2025
Step 5: Turn on the water supply and test the new handles
With the new faucet handles installed, it’s time to turn on the water supply and test their functionality. Here’s what you need to do:
- Carefully turn on the water supply by rotating the hot and cold water supply valves counterclockwise. Ensure that they are fully open.
- Check for any leaks around the faucet handles and valve stems. If you notice any leaks, tighten the screws or valve stems as needed to create a proper seal.
- To test the new handles, turn them on and off to verify smooth operation. Check if the water temperature adjusts properly and if the water flow is consistent.
- Make any necessary adjustments or tighten any loose components if you notice any issues. This will help ensure that the handles are working correctly.
- Give your shower a thorough test by using it for a few minutes. This will allow you to check if the handles are comfortable to use and if there are any other issues that need to be addressed.
Testing the new handles is an essential final step to ensure their proper functioning and to identify and resolve any potential problems or leaks. By following these steps, you can confidently enjoy your newly installed faucet handles.
Congratulations! You have successfully changed your shower faucet handles. Now you can admire the refreshed look of your bathroom and appreciate the improved functionality of your shower.
Remember, if you encounter any difficulties during the process or feel unsure about any step, it’s always a good idea to seek professional assistance to ensure a successful installation.
Conclusion
Changing the shower faucet handles is a straightforward and rewarding DIY project that can significantly enhance the appearance and functionality of your bathroom. By following the step-by-step guide outlined in this article, you can successfully replace your old faucet handles with new ones and give your shower a fresh new look.
Throughout the process, it’s important to gather the necessary tools and materials, turn off the water supply, remove the old faucet handles carefully, choose and install the new ones correctly, and finally, test the functionality of the new handles after turning on the water supply.
Remember to take your time, read the manufacturer’s instructions, and exercise caution while working on the plumbing fixtures. If you encounter any difficulties or feel uncomfortable with any step, it’s best to consult a professional plumber for assistance and guidance.
Changing the shower faucet handles not only improves the aesthetic appeal of your bathroom but also enhances your overall showering experience. So go ahead, embark on this DIY project, and enjoy the satisfaction of a stylish and functional upgrade in your bathroom!
Ready to take your home improvement skills further? After mastering the change of shower faucet handles, why not delve deeper into other essential upgrades? If you're considering a full bathroom makeover, understanding the duration of bathroom renovation is crucial. For those eager to spruce up the kitchen, getting familiar with faucet installation techniques is equally beneficial. Tackle these projects confidently and transform your living space effectively!
Frequently Asked Questions about How To Change Shower Faucet Handles
Was this page helpful?
At Storables.com, we guarantee accurate and reliable information. Our content, validated by Expert Board Contributors, is crafted following stringent Editorial Policies. We're committed to providing you with well-researched, expert-backed insights for all your informational needs.


0 thoughts on “How To Change Shower Faucet Handles”