Home>Articles>How To Tighten A Loose Moen Single Handle Kitchen Faucet
Articles
How To Tighten A Loose Moen Single Handle Kitchen Faucet
Modified: October 28, 2024
Learn the step-by-step process of tightening a loose Moen single handle kitchen faucet handle with our informative articles.
(Many of the links in this article redirect to a specific reviewed product. Your purchase of these products through affiliate links helps to generate commission for Storables.com, at no extra cost. Learn more)
Introduction
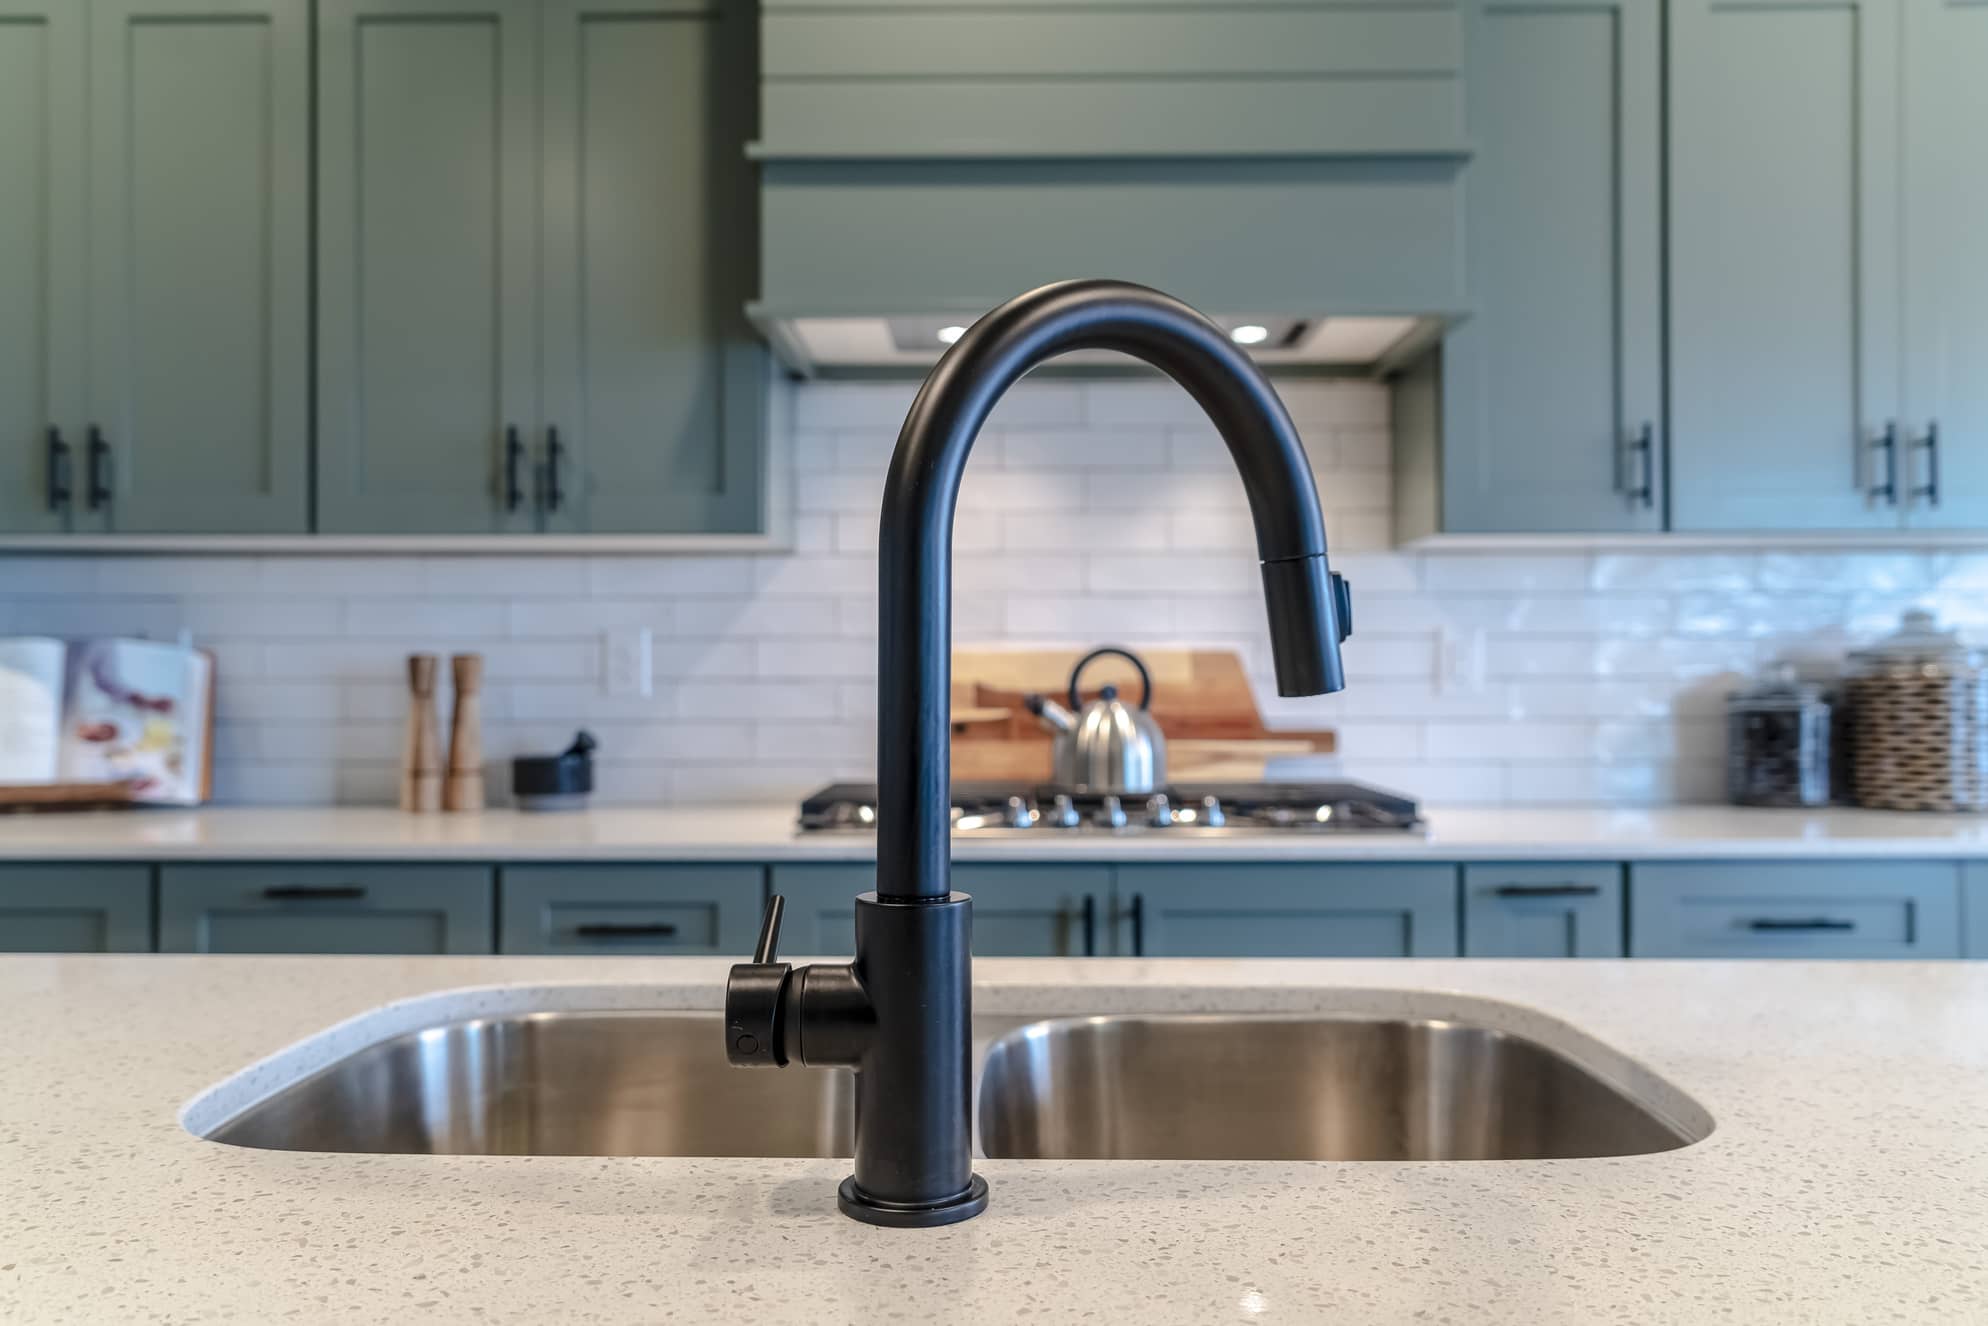
Having a loose faucet handle in your kitchen can be quite frustrating. Not only does it affect the functionality of the faucet, but it can also be a cause for water leaks. Fortunately, tightening a loose Moen single handle kitchen faucet handle is a relatively simple task that you can tackle on your own without the need for professional help.
In this guide, we will walk you through the step-by-step process of tightening a loose Moen single handle kitchen faucet handle. But before we dive into the specifics, let’s take a moment to gather the tools and materials you will need for this project.
Key Takeaways:
- Easily tighten a loose Moen single handle kitchen faucet handle with just a few simple steps and basic tools, ensuring smooth operation and preventing water leaks.
- Regular maintenance and periodic checks can help prevent loose faucet handles, ensuring optimal working condition and avoiding inconvenience or water wastage.
Read more: How To Tighten Loose Faucet Handle
Tools and Materials Needed
Before you begin tightening your loose Moen single handle kitchen faucet handle, make sure you have the following tools and materials ready:
- Adjustable wrench
- Phillips-head screwdriver
- All-purpose grease (optional)
Having these tools and materials at hand will ensure a smooth and hassle-free experience while fixing your loose faucet handle. Once you have everything ready, you can proceed to the next step.
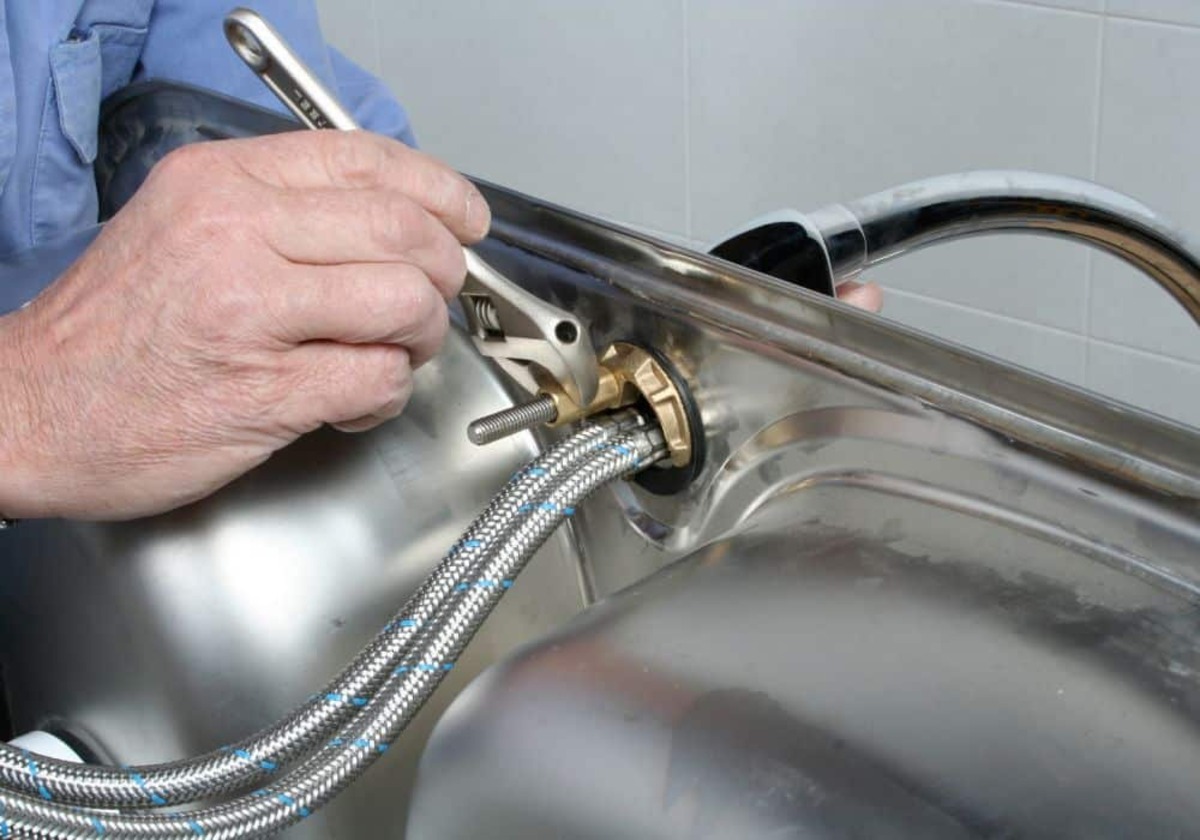
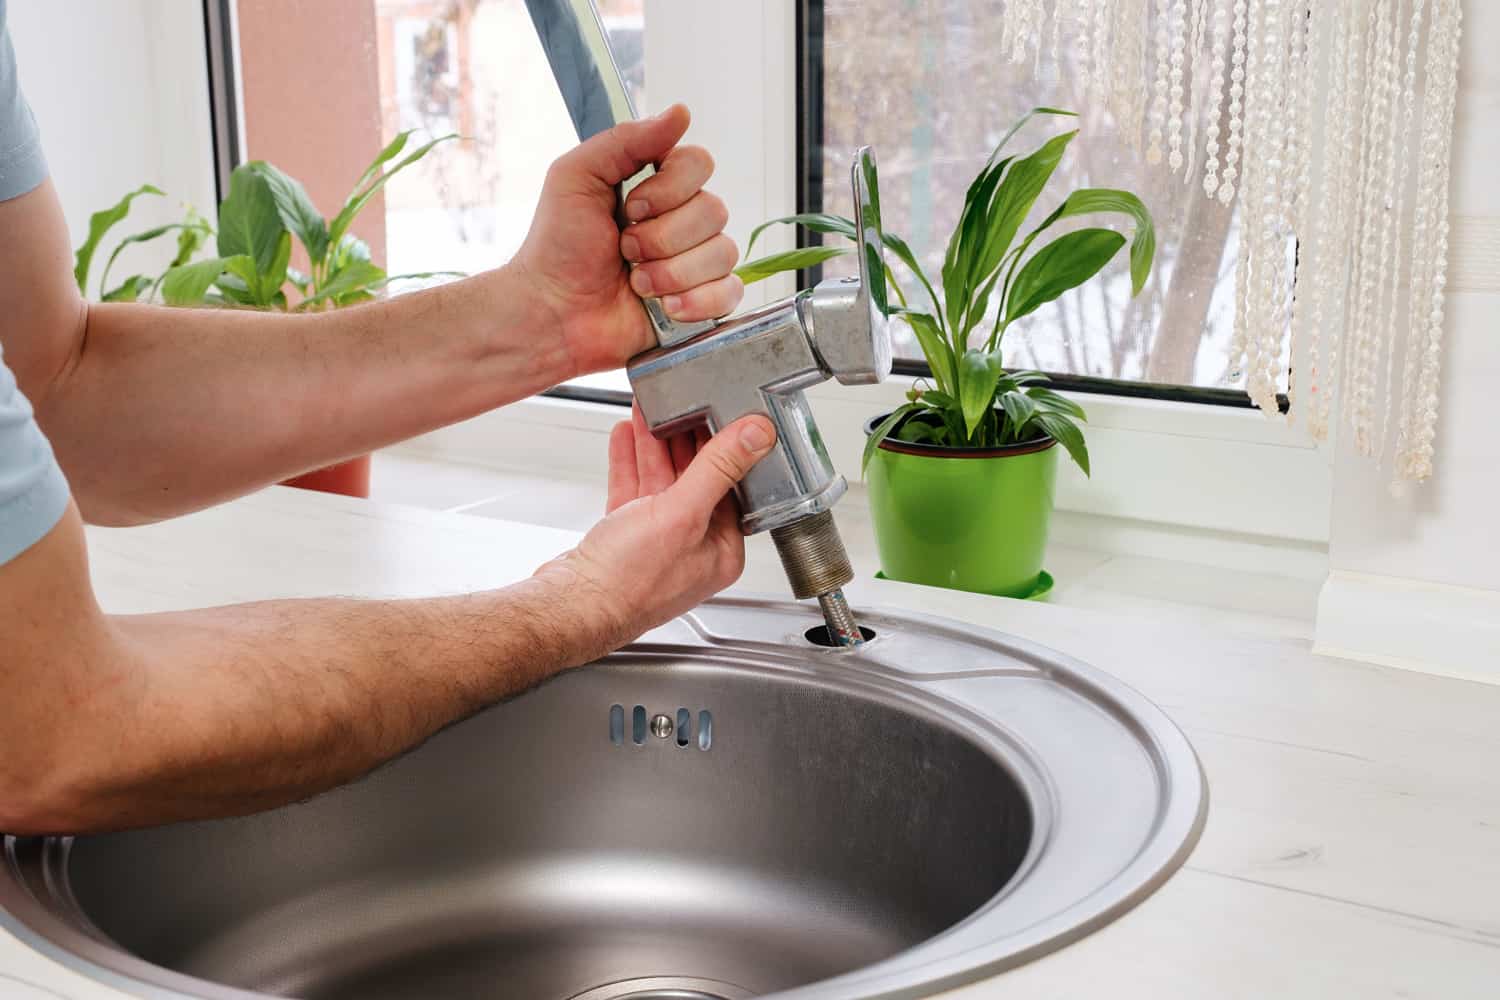
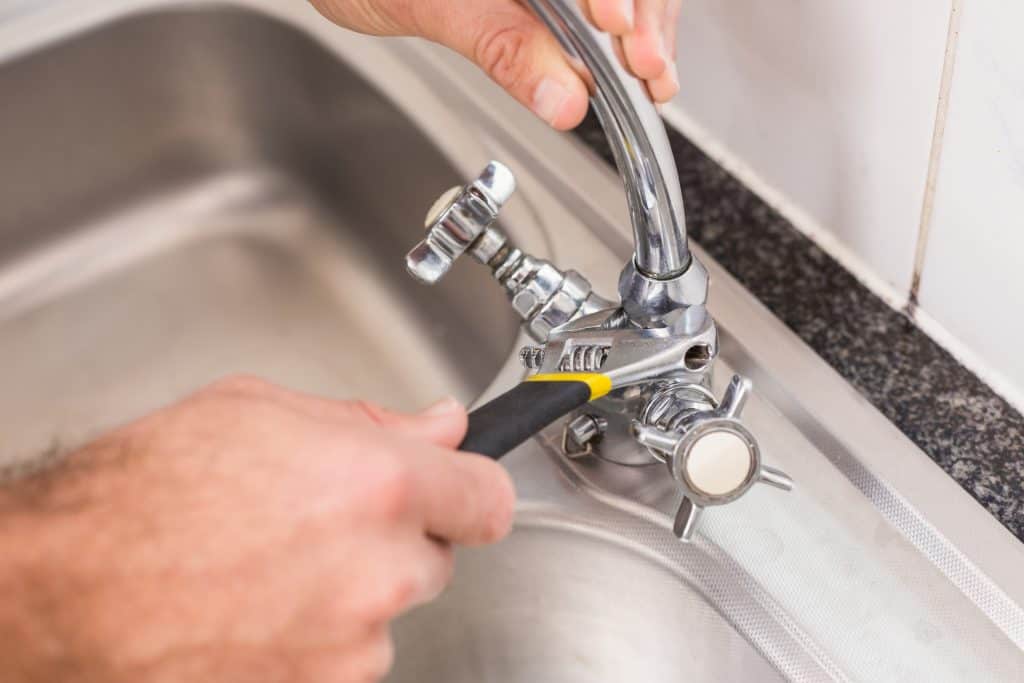
Step 1: Turning off the Water Supply
Before you begin working on your loose Moen single handle kitchen faucet handle, it is important to turn off the water supply to avoid any potential leaks or water damage. Follow these steps to turn off the water supply:
- Locate the water shut-off valves beneath your sink. There should be two valves, one for hot water and one for cold water.
- Turn the handles of both valves clockwise to shut off the water flow. This will prevent water from flowing through the faucet while you work on it.
- To ensure that the water supply is completely shut off, turn on the faucet and wait until the water stops running. This will release any remaining pressure in the pipes.
Once you have successfully turned off the water supply, you can proceed to the next step of tightening your loose Moen single handle kitchen faucet handle.
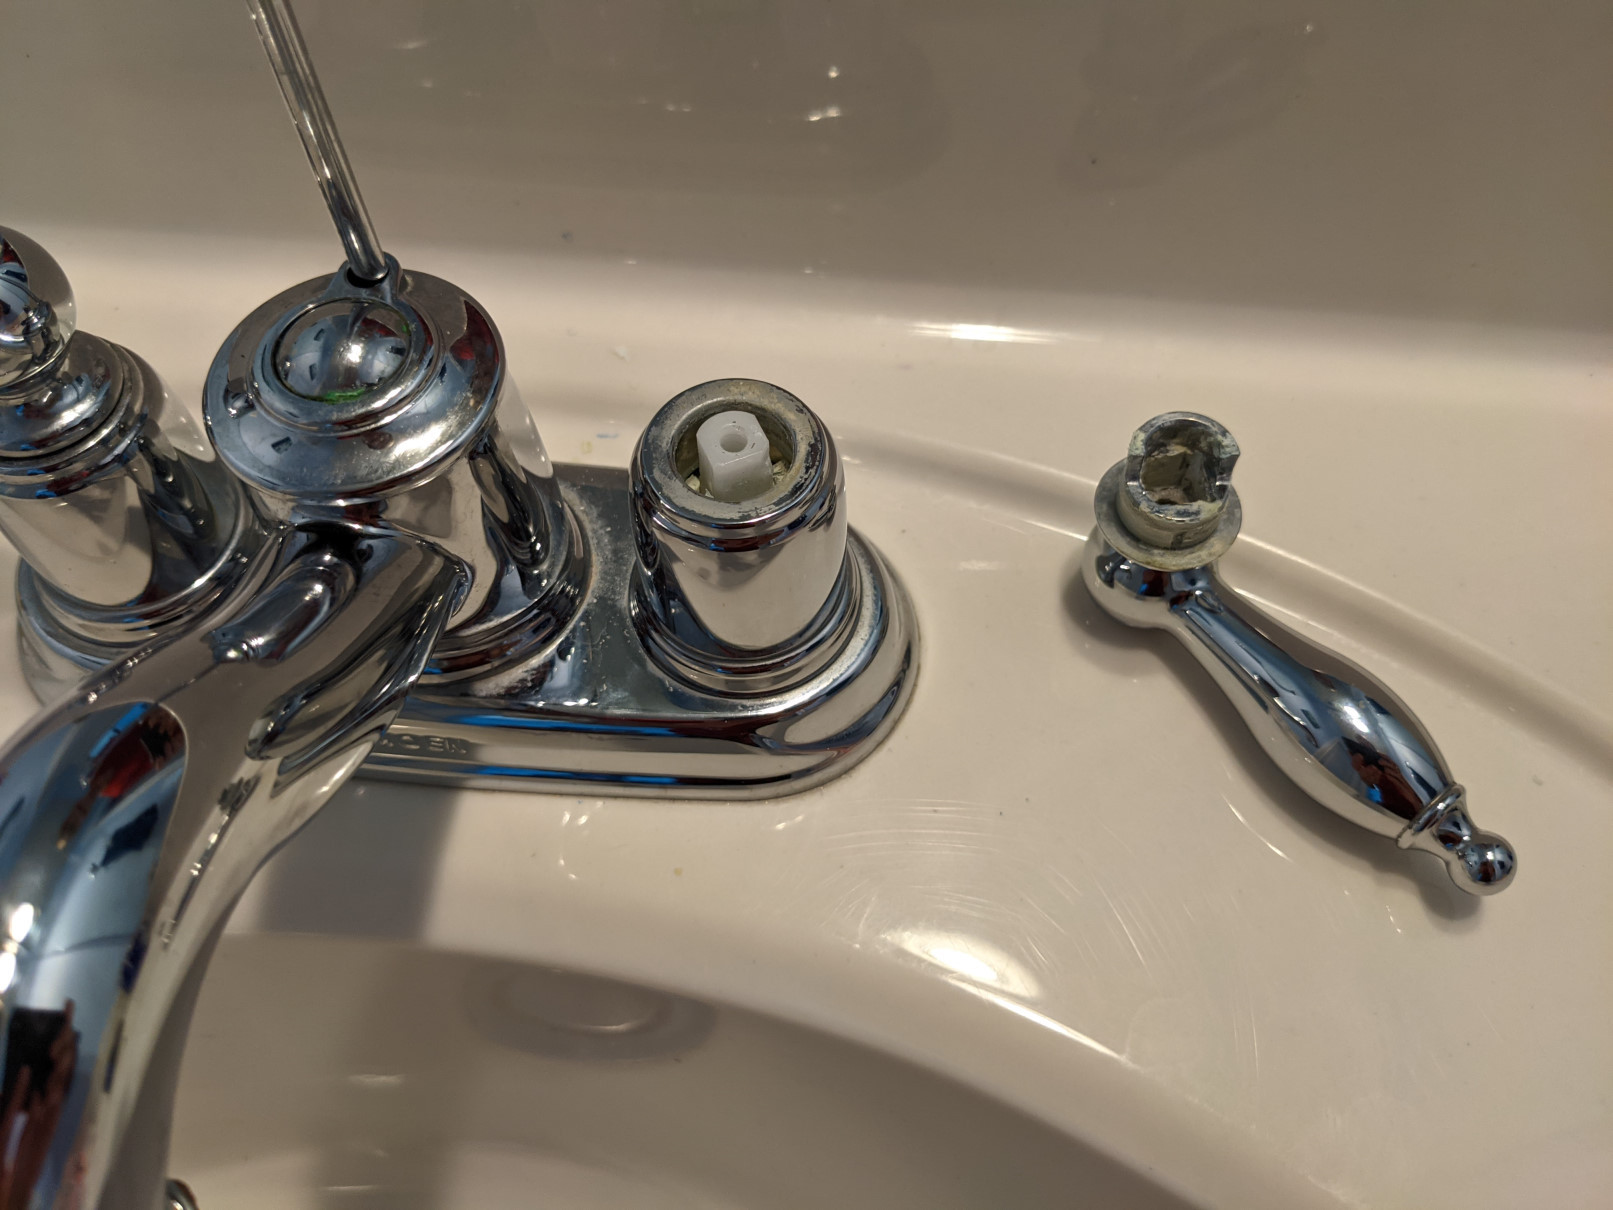
Step 2: Removing the Screw Cover
Now that you have turned off the water supply, it’s time to remove the screw cover to access the handle screw. Follow these steps to remove the screw cover:
- Locate the screw cover on the Moen single handle kitchen faucet handle. This is usually a small plastic cap or button located on the top or side of the handle.
- Use your fingertips or a small flathead screwdriver to gently pry off the screw cover. Be careful not to damage the cover in the process.
- Once the screw cover is removed, you will see the handle screw underneath. This screw holds the handle in place and needs to be tightened to fix the loose handle.
With the screw cover removed, you are now ready to move on to the next step of tightening your loose Moen single handle kitchen faucet handle.
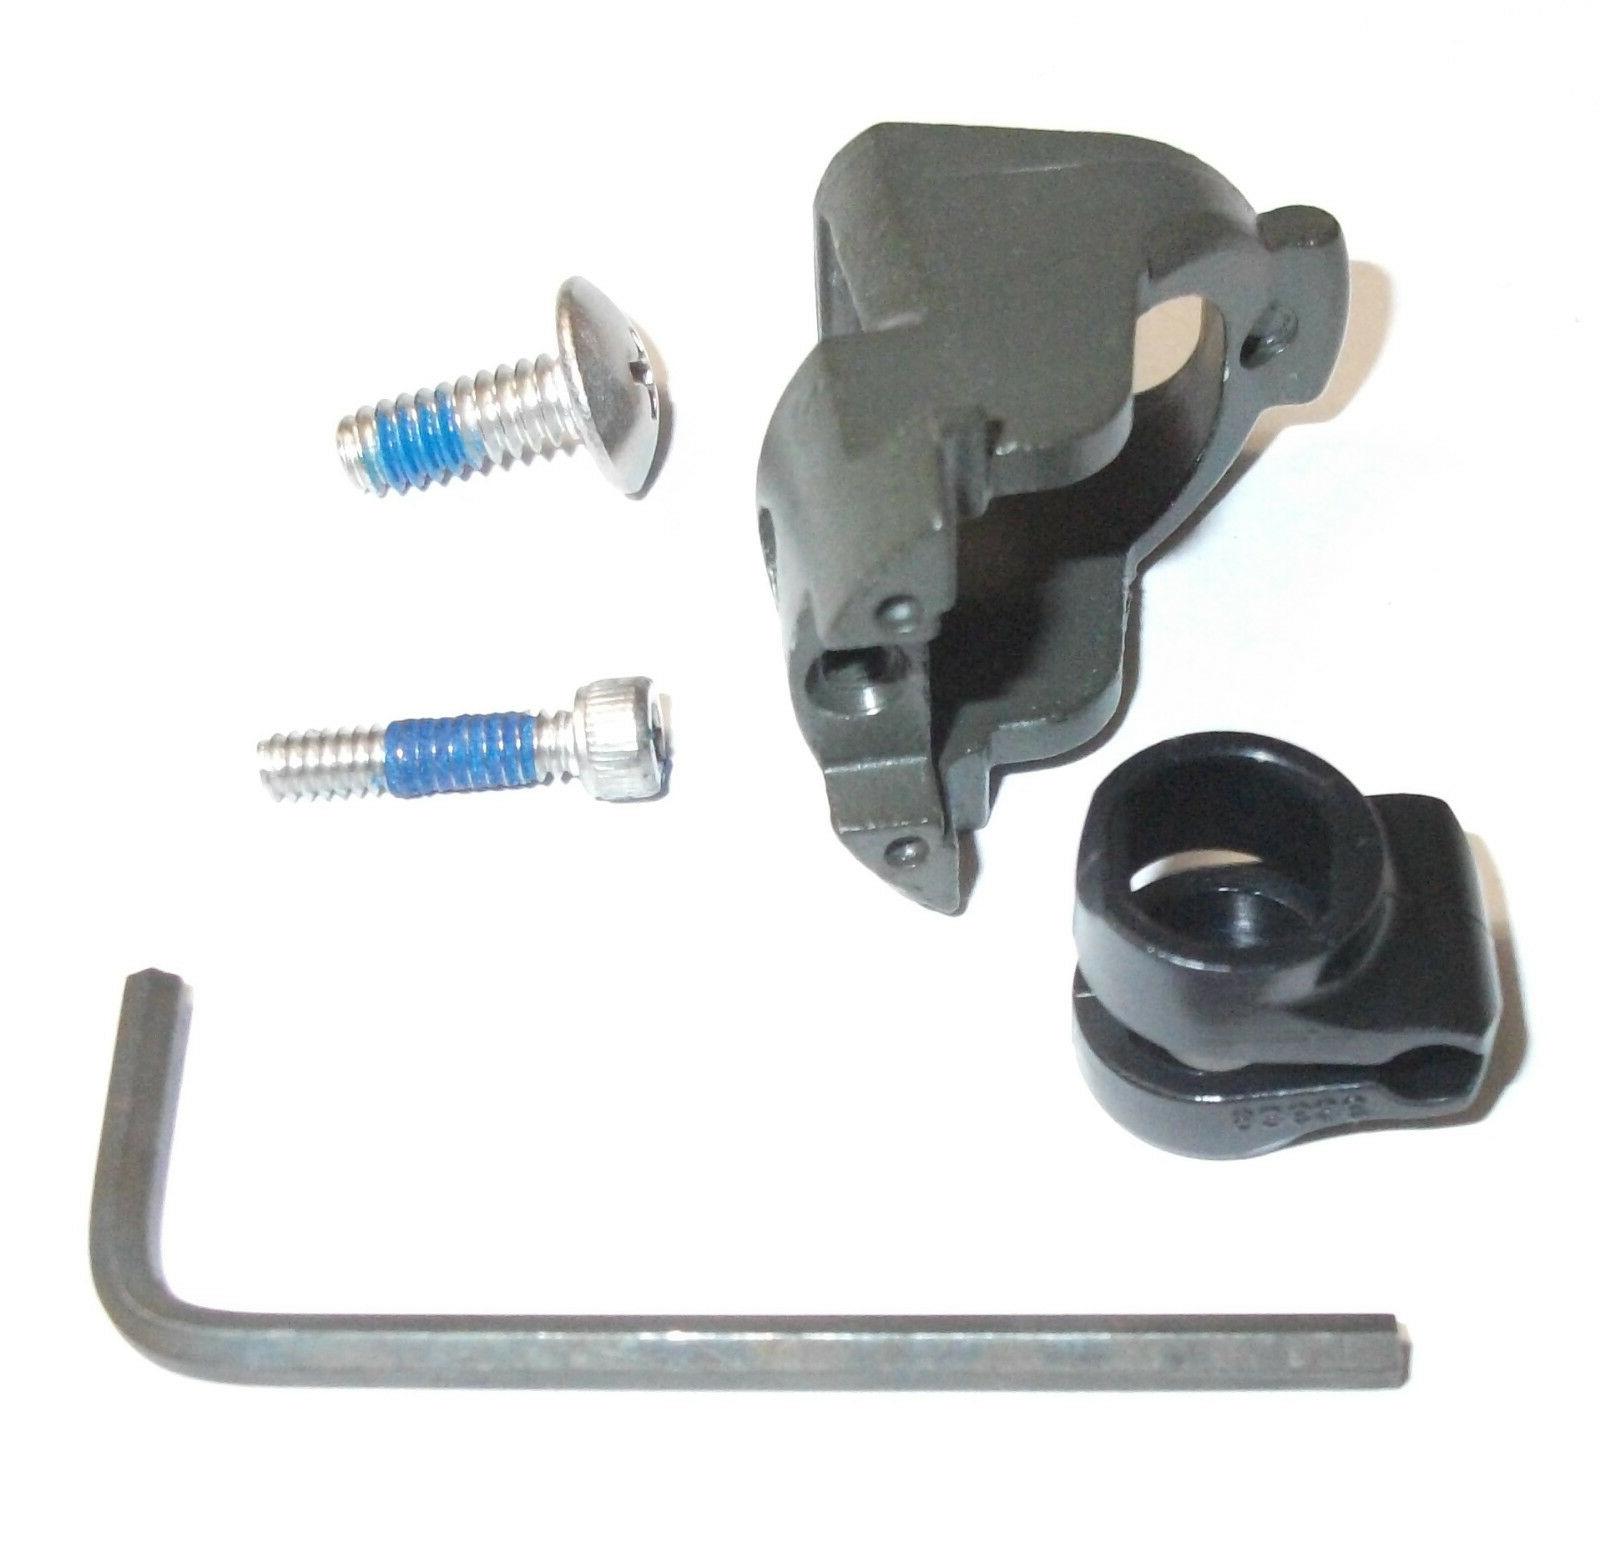
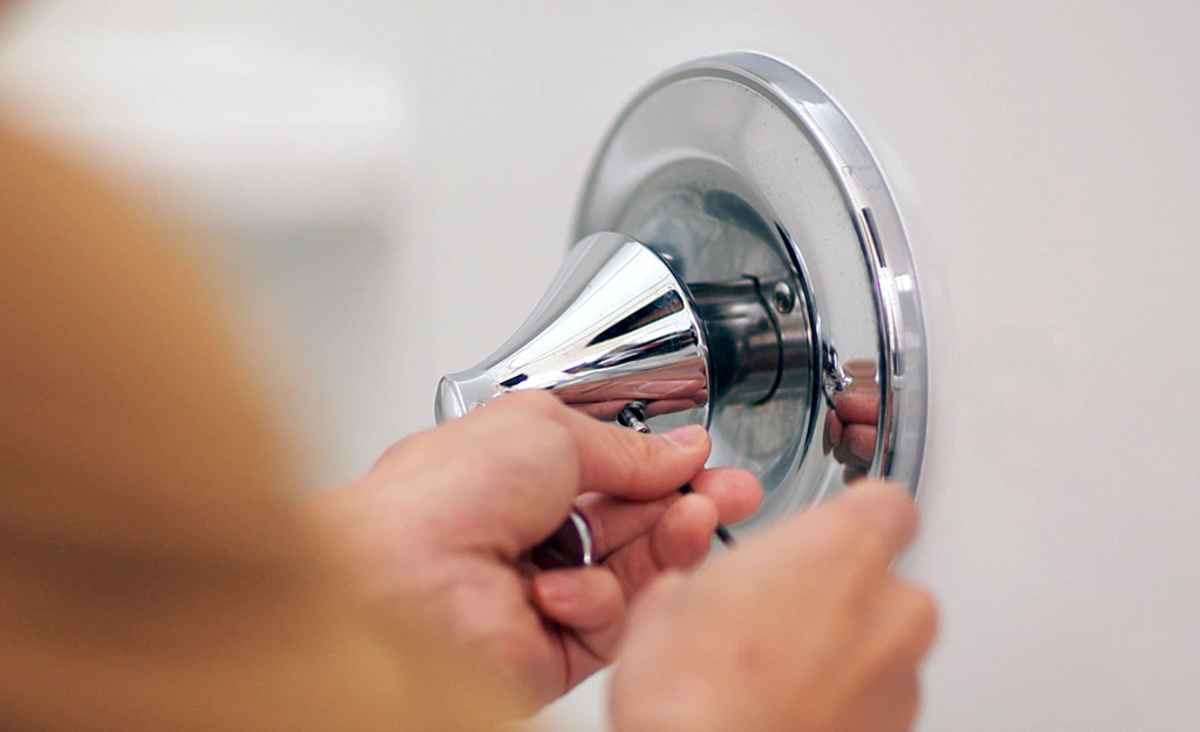
Use an Allen wrench to tighten the set screw located under the handle. Turn the wrench clockwise to secure the handle back in place.
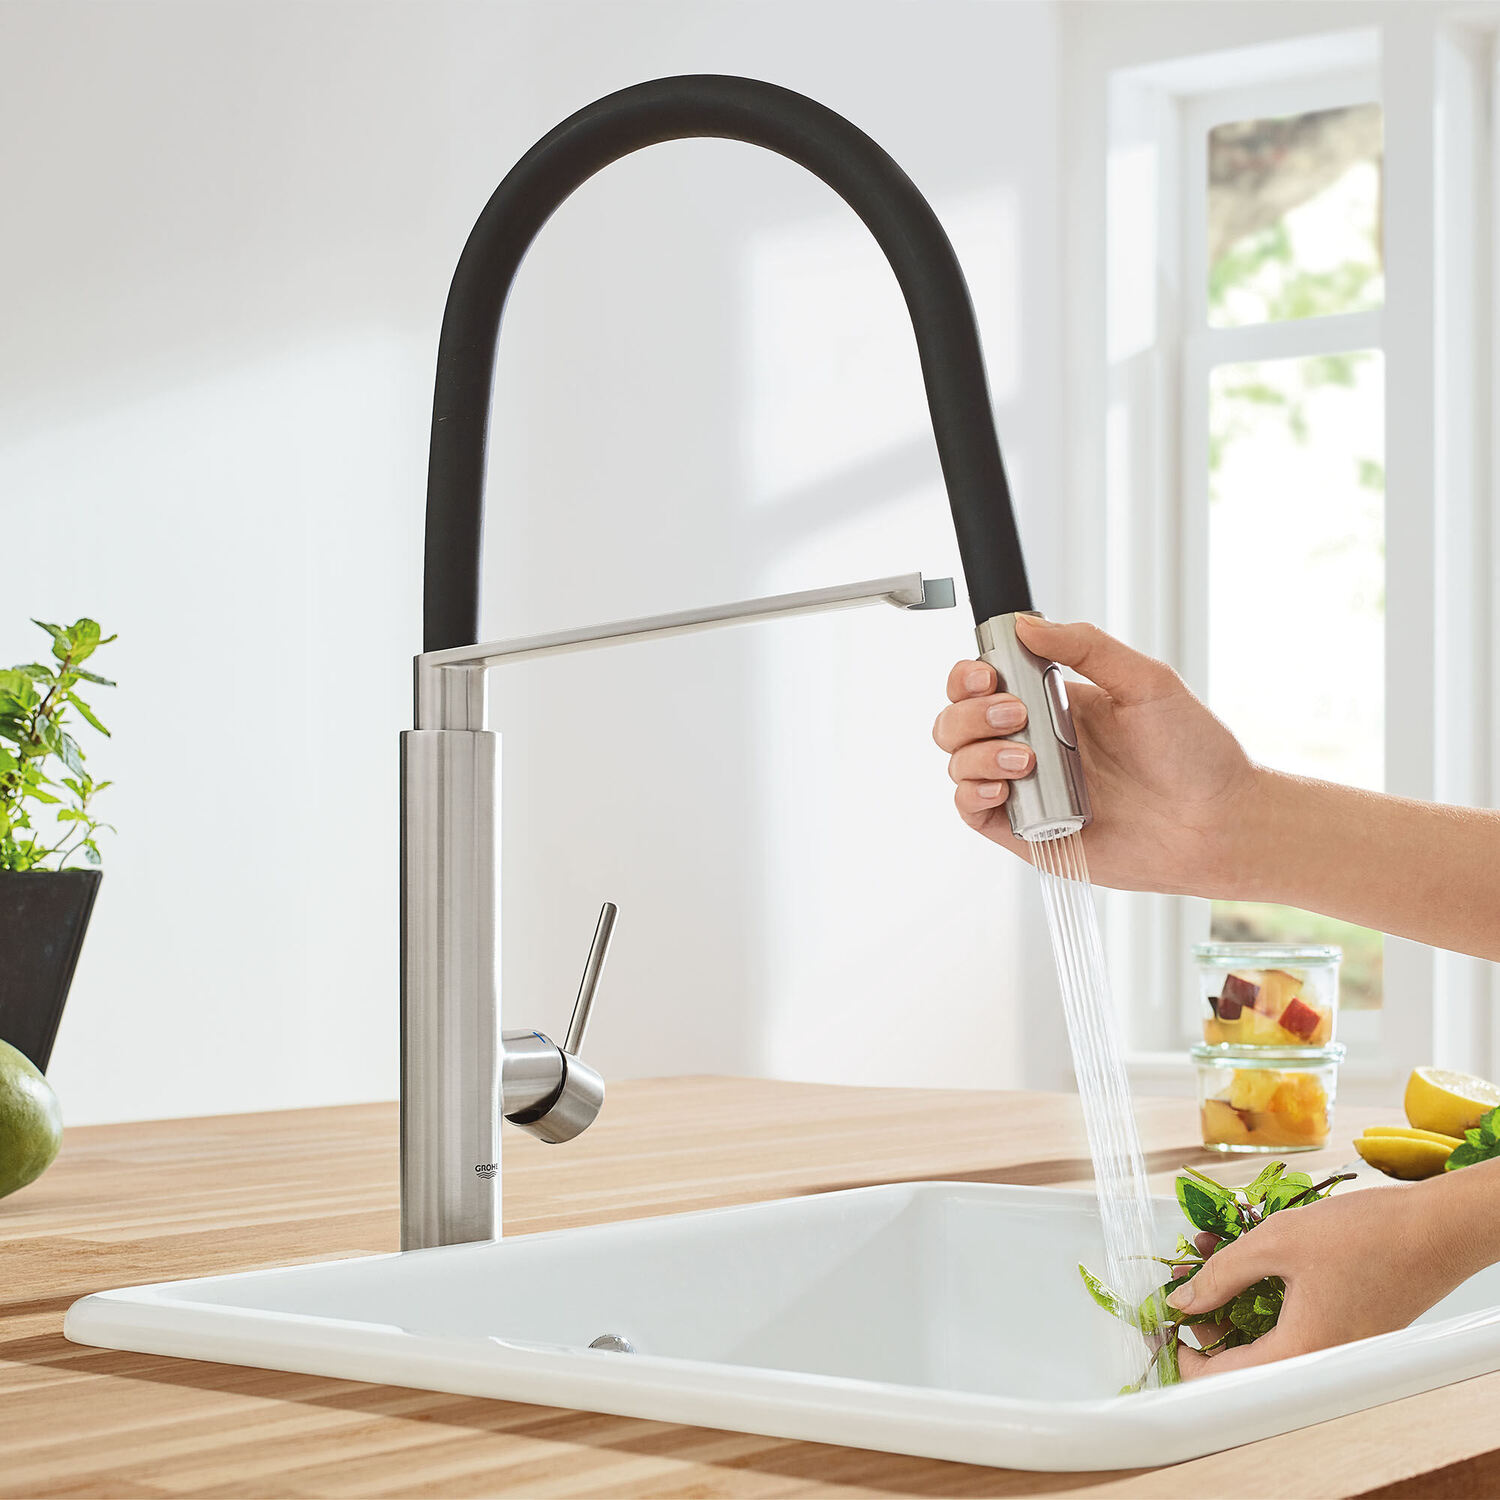
Step 3: Tightening the Handle Screw
Now that you have accessed the handle screw, it’s time to tighten it to fix the loose Moen single handle kitchen faucet handle. Follow these steps to tighten the handle screw:
- Using a Phillips-head screwdriver, insert the screwdriver into the screw slot.
- Start turning the screwdriver clockwise to tighten the handle screw. Apply gentle pressure and make sure not to overtighten as it can damage the screw or handle.
- Continue tightening the screw until the handle feels secure and does not wobble or move when you try to shake it.
- If necessary, you can apply a small amount of all-purpose grease to the handle screw to ensure smooth movement and prevent future loosening.
Once you have tightened the handle screw, you can move on to the next step of reassembling the faucet handle.
Read more: How To Tighten Moen Bathroom Faucet Handle
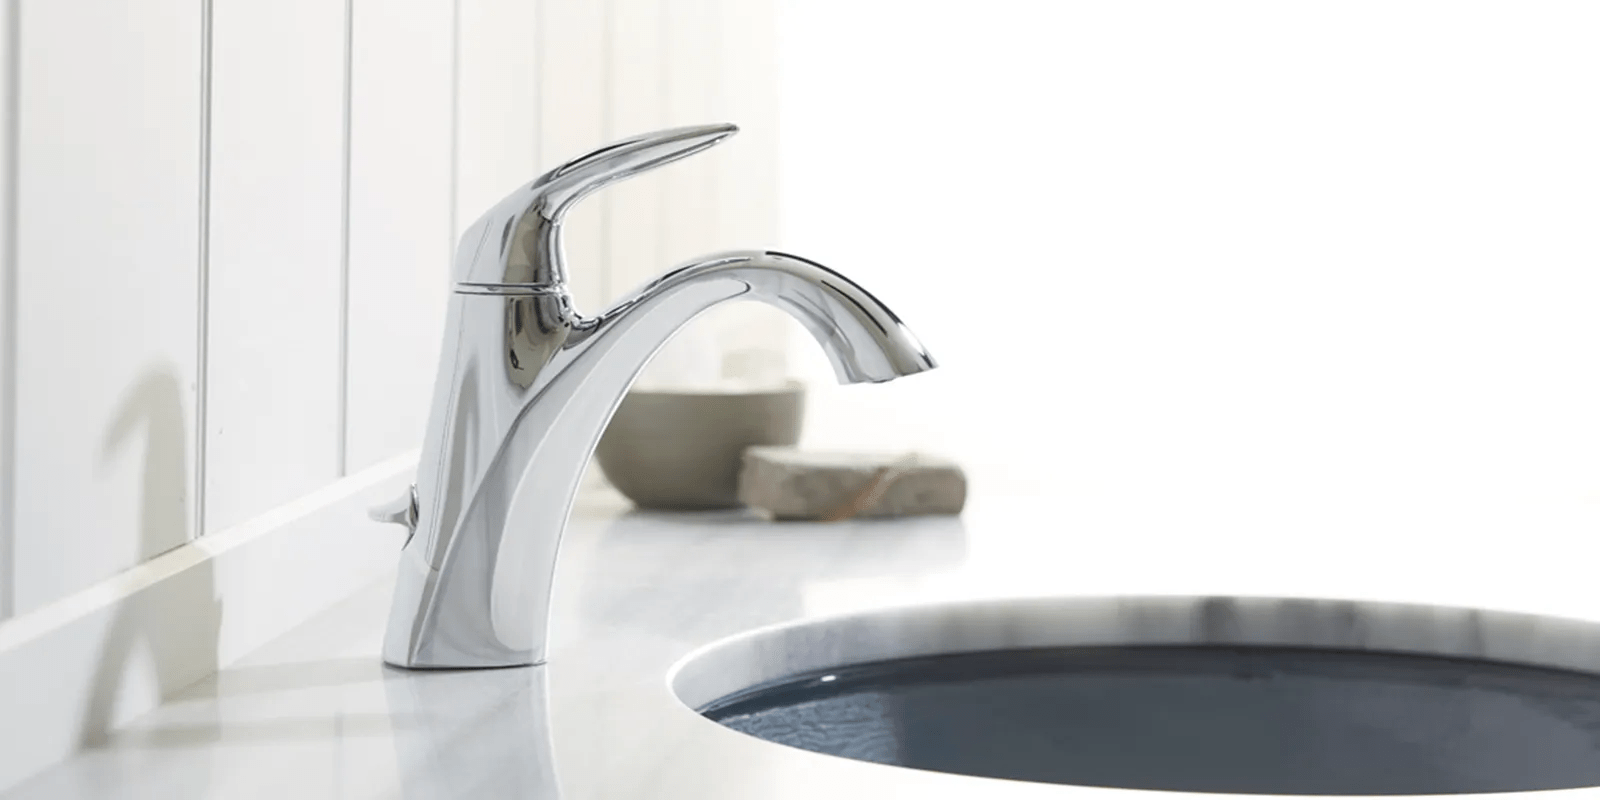
Step 4: Reassembling the Faucet Handle
After tightening the handle screw, it’s time to reassemble the Moen single handle kitchen faucet handle. Follow these steps to properly reassemble the faucet handle:
- Position the handle over the end of the faucet stem, aligning it with the groove or slot.
- Gently press down on the handle to secure it in place.
- If your faucet handle has a decorative cap or button, carefully snap it back into place over the handle screw.
With the faucet handle reassembled, you are almost done fixing the loose handle. There is just one more step to ensure everything is working correctly.
Step 5: Turning on the Water Supply
Now that you have successfully tightened the handle screw and reassembled the Moen single handle kitchen faucet handle, it’s time to turn on the water supply. Follow these steps to ensure a smooth and leak-free operation:
- Locate the water shut-off valves beneath your sink that you turned off in the first step.
- Turn the handles of both valves counterclockwise to gradually restore the water flow. Be gentle and avoid sudden movements to prevent any splashing.
- Once you have fully opened the water supply valves, check the faucet handle for any leaks or drips.
- If you notice any leaks, turn off the water supply again and double-check the tightness of the handle screw. Repeat the tightening process if necessary.
- If there are no leaks, congratulations! You have successfully tightened your loose Moen single handle kitchen faucet handle.
With the water supply turned on and no leaks detected, you can now enjoy using your kitchen faucet without any wobbling or looseness in the handle.
Conclusion
Tightening a loose Moen single handle kitchen faucet handle is a straightforward task that can be done with just a few simple steps. By following the instructions outlined in this guide, you can fix the wobbling or looseness in your faucet handle and ensure smooth operation.
Remember to gather the necessary tools and materials, turn off the water supply, remove the screw cover, tighten the handle screw, and reassemble the faucet handle. Finally, turn on the water supply and check for any leaks.
If you encounter any difficulties during the process or if your faucet handle continues to be loose even after tightening the screw, it may be a sign of a more complex issue. In this case, it is recommended to consult a professional plumber for further assistance.
Regular maintenance and periodic checks can help prevent loose faucet handles in the future. It’s always a good idea to ensure that all screws and connections in your kitchen faucet are secure to avoid any inconvenience or water wastage.
Now that you know how to tighten a loose Moen single handle kitchen faucet handle, you can confidently tackle this task and keep your kitchen faucet in optimal working condition.
Feeling handy around your home faucets? If you've got the hang of tightening that Moen kitchen faucet handle, consider delving into other common faucet fixes. Our detailed guide on the best options for faucet repair kits is perfect for anyone eager to tackle more DIY projects. Maybe you're dealing with drips elsewhere? Check out our comprehensive instructions on fixing leaky faucets, covering everything from bathtubs to kitchen mixers. For Moen enthusiasts, our specific guide on remedying leaky Moen faucets will ensure your fixtures are in top shape without a hitch.
Frequently Asked Questions about How To Tighten A Loose Moen Single Handle Kitchen Faucet
Was this page helpful?
At Storables.com, we guarantee accurate and reliable information. Our content, validated by Expert Board Contributors, is crafted following stringent Editorial Policies. We're committed to providing you with well-researched, expert-backed insights for all your informational needs.


0 thoughts on “How To Tighten A Loose Moen Single Handle Kitchen Faucet”