Home>Articles>How To Fix A Leaky Single Handle Bathtub Faucet
Articles
How To Fix A Leaky Single Handle Bathtub Faucet
Modified: October 19, 2024
Looking for articles on how to fix a leaky single handle bathtub faucet? Check out our step-by-step guide to troubleshoot and repair the issue.
(Many of the links in this article redirect to a specific reviewed product. Your purchase of these products through affiliate links helps to generate commission for Storables.com, at no extra cost. Learn more)
Introduction
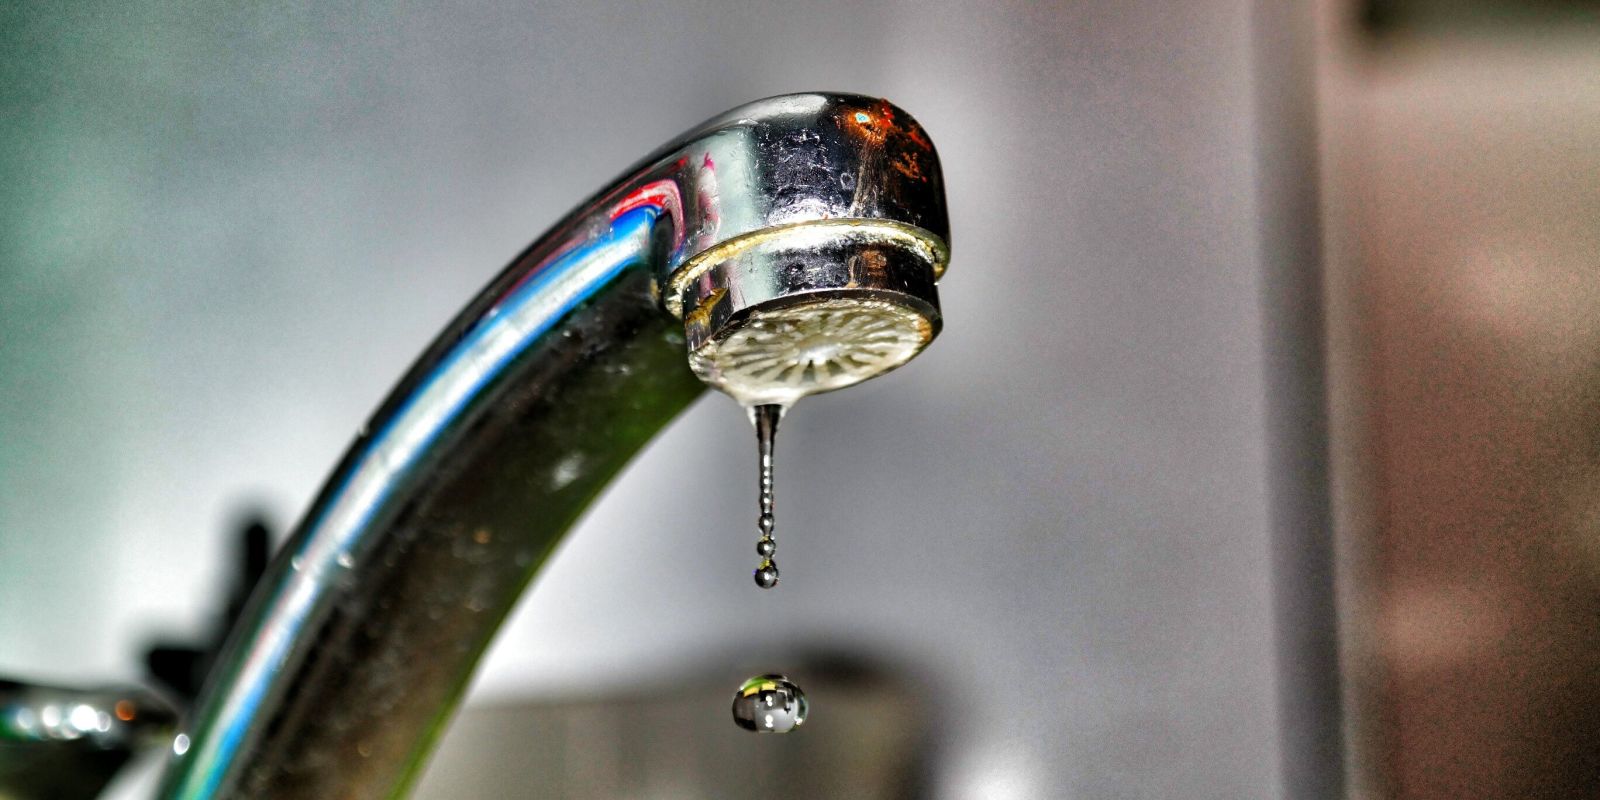
A leaky single handle bathtub faucet can be a frustrating and inconvenient problem to deal with. Not only does it waste water, but the constant dripping sound can also be quite annoying. Fortunately, fixing a leaky faucet is a relatively simple DIY project that you can tackle with the right tools and a little bit of know-how.
In this article, we will guide you through the step-by-step process of fixing a leaky single handle bathtub faucet. Whether you’re an experienced DIY enthusiast or a beginner, these instructions will help you successfully resolve the issue and restore your faucet to its optimal functionality.
Before we begin, it’s important to note that the specific steps and methods may vary depending on the make and model of your bathtub faucet. It’s always a good idea to consult the manufacturer’s instructions or seek professional assistance if needed.
Now, let’s gather our tools and materials and get ready to fix that pesky leak!
Key Takeaways:
- Say goodbye to a leaky bathtub faucet by gathering tools, identifying the source of the leak, and replacing faulty parts. Enjoy a hassle-free bathing experience with these DIY skills!
- With the right tools and know-how, you can fix a leaky single handle bathtub faucet, saving water and eliminating annoying dripping sounds. Take control of your home maintenance and enjoy a well-functioning faucet!
Read more: How To Fix A Leaky Single Handle Faucet
Step 1: Gather necessary tools and materials
Before you start working on fixing your leaky single handle bathtub faucet, it’s important to gather all the necessary tools and materials. Having everything ready beforehand will save you time and prevent any unnecessary interruptions during the repair process.
Here’s a list of tools and materials you’ll need:
- Adjustable wrench
- Screwdriver set
- Replacement parts (such as O-rings, washers, or cartridges)
- Teflon tape
- Plumber’s grease
- Clean cloth or rag
The adjustable wrench is essential for loosening and tightening various parts of the faucet. A screwdriver set will help you remove any screws or fasteners holding the faucet handle in place.
It’s important to have the right replacement parts on hand. The specific parts you need will depend on the type and brand of your bathtub faucet. Common replacement parts include O-rings, washers, or cartridges. You can purchase these from your local hardware store or online.
Teflon tape is used to create a watertight seal around threaded connections. Plumber’s grease can be applied to lubricate moving parts and ensure smooth operation.
A clean cloth or rag will come in handy for wiping any excess water or debris as you work. It’s always a good idea to have a towel or bucket nearby to catch any water that may leak during the repair process.
Once you have all the necessary tools and materials, you’re ready to move on to the next step: turning off the water supply.
Step 2: Turn off the water supply
Before you begin working on your leaky single handle bathtub faucet, it’s crucial to turn off the water supply. By doing so, you’ll prevent any potential water damage and make it easier to work on the faucet.
Locating the shut-off valve for your bathtub can vary depending on the plumbing setup in your home. In most cases, you’ll find the shut-off valves either underneath the sink or behind an access panel in the wall. If you have a separate shut-off valve specifically for the bathtub, that’s even better.
Once you’ve located the shut-off valve, turn it clockwise to shut off the water supply. It’s a good idea to test the faucet to make sure the water is fully shut off before proceeding. If any water continues to flow, you may need to shut off the main water supply for your entire home.
After you’ve successfully turned off the water supply, turn on the faucet handle to relieve any residual pressure and drain any remaining water from the lines. This step will help minimize the amount of water that may leak as you work on the faucet.
Now that the water supply is turned off, we can move on to the next step: removing the faucet handle.
Step 3: Remove the faucet handle
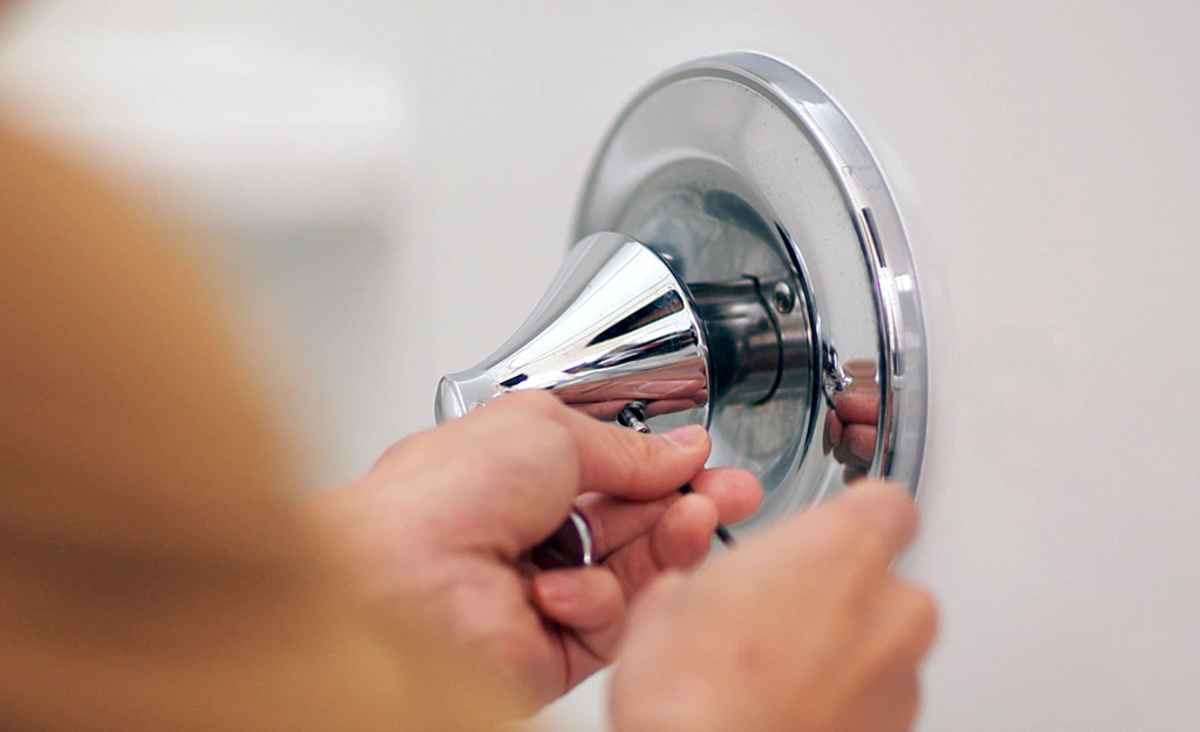
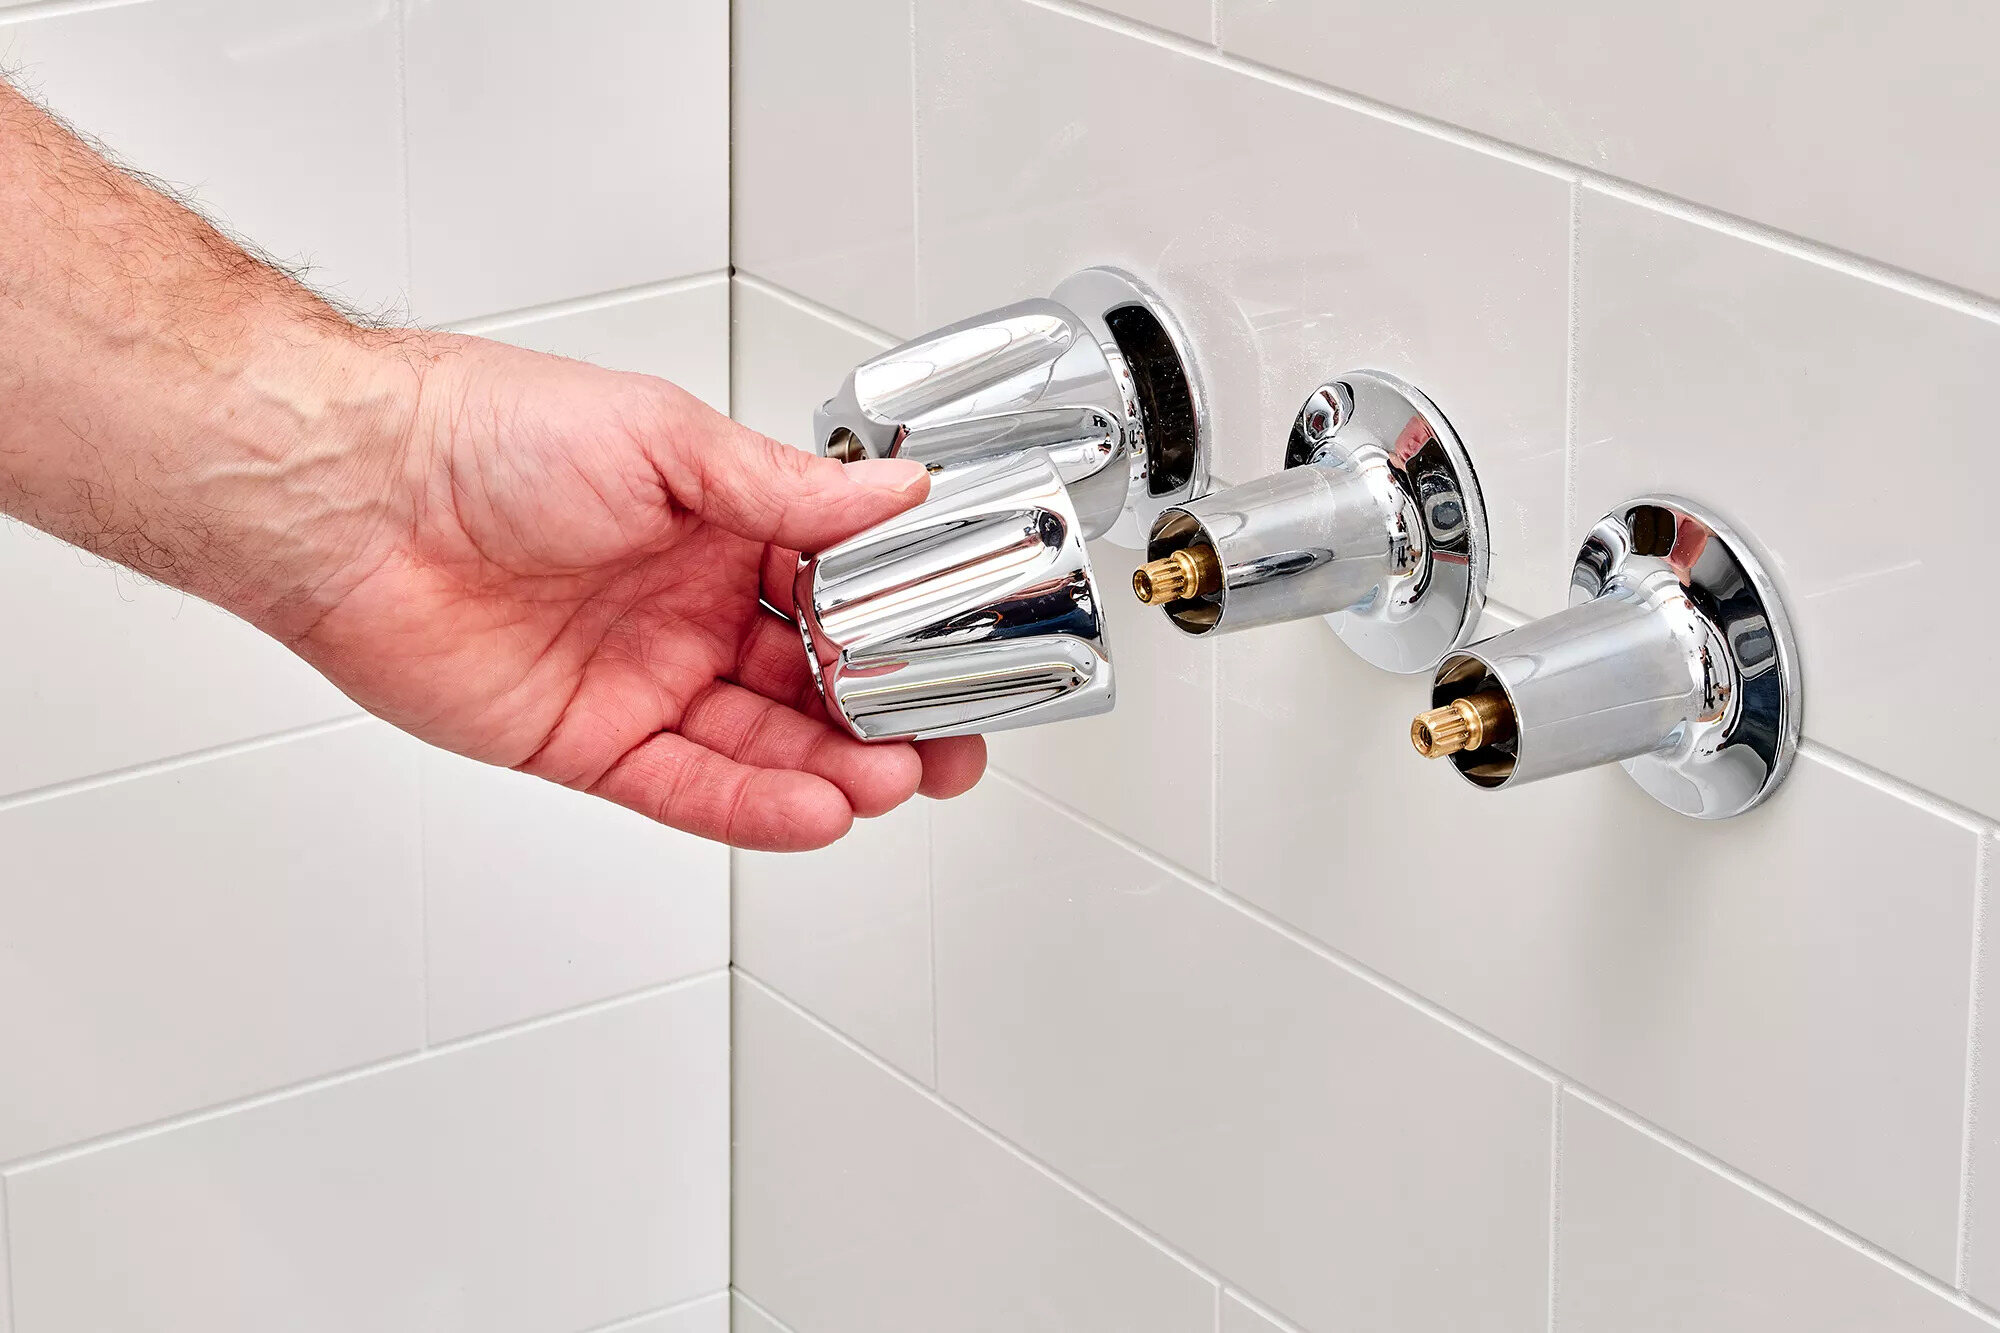
Now that the water supply is turned off, it’s time to remove the faucet handle. The handle is typically held in place by a screw or fastener, which needs to be loosened or removed to take off the handle.
Here’s how to remove the faucet handle:
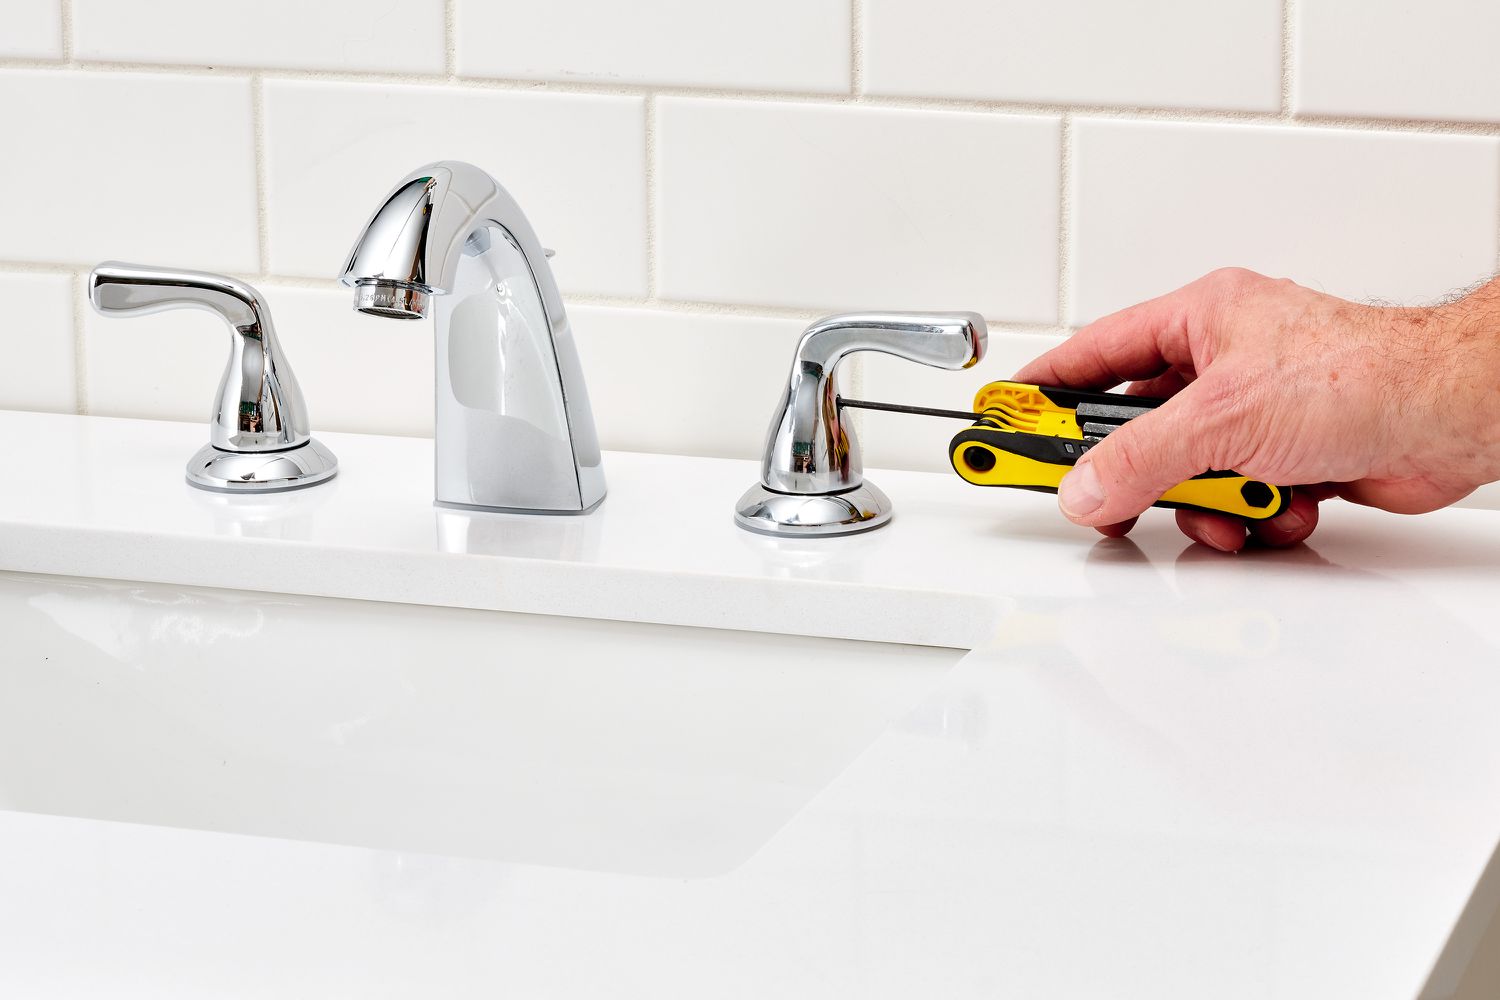
- Inspect the handle for any visible screws or fasteners. Depending on the design of your faucet, the screw or fastener could be located on the top, behind a decorative cap, or underneath a cover plate.
- Once you’ve located the screw or fastener, use an appropriate screwdriver or wrench to loosen or remove it. Make sure to keep the screw or fastener in a safe place, as you’ll need it for reassembly later.
- Once the screw or fastener is removed, carefully lift and wiggle the handle to detach it from the faucet body. If the handle is stuck, you can gently tap it with a rubber mallet or use a handle puller tool to assist with removal.
After successfully removing the faucet handle, set it aside in a safe place. Take a moment to inspect the handle for any signs of wear or damage. If the handle is not in good condition, you may consider replacing it along with the other faulty parts.
With the faucet handle out of the way, we can move on to the next step: identifying and fixing the leak.
Step 4: Identify and fix the leak
Now that you have removed the faucet handle, it’s time to identify and fix the source of the leak in your single handle bathtub faucet. There are several common causes of leaks, and we will discuss each one and the corresponding solutions.
Here are the possible sources of the leak and how to fix them:
- Worn-out O-rings: O-rings are rubber gaskets that create a watertight seal between moving parts of the faucet. If the O-rings are worn or damaged, they can cause leaks. To fix this issue, carefully remove the O-rings using a flathead screwdriver and replace them with new ones of the same size.
- Faulty cartridge or valve: Cartridges and valves control the flow of water and can develop leaks over time. If you suspect a faulty cartridge or valve, remove them using the appropriate tools and replace them with a new one that matches the brand and model of your faucet.
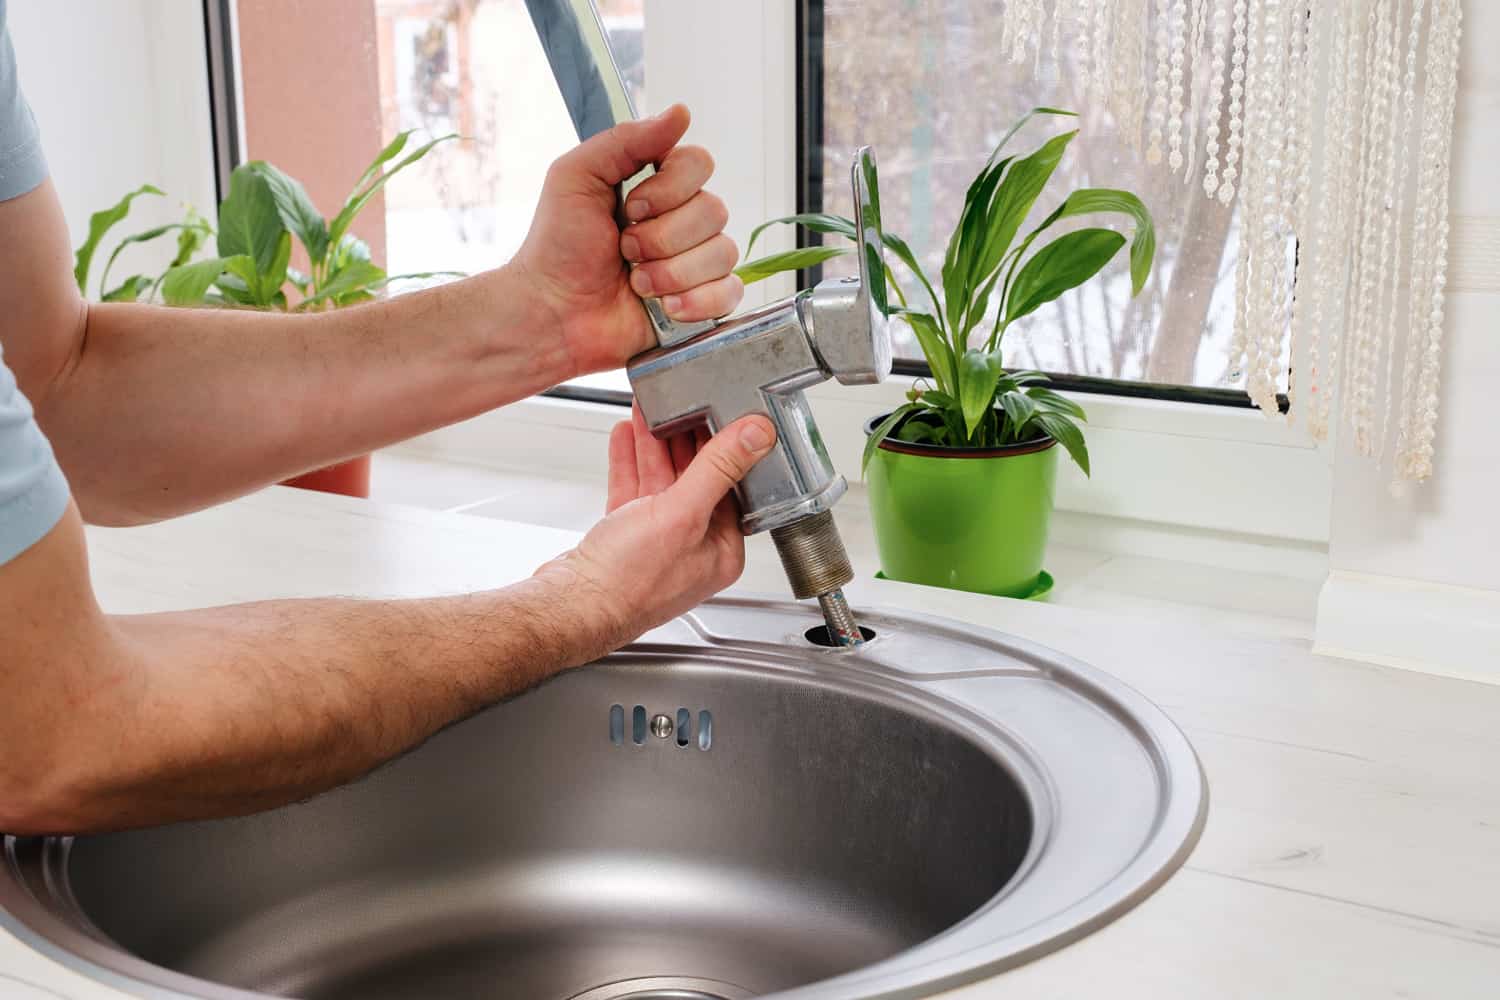
- Loose connections: Sometimes, leaks can occur due to loose connections between pipes and fittings. Inspect the connections and tighten them using an adjustable wrench. Apply a small amount of plumber’s tape to the threaded areas before tightening to ensure a secure and watertight seal.
- Cracked or damaged faucet body: In rare cases, leaks may be caused by cracks or damage to the faucet body itself. If you notice any visible cracks or damage, you may need to replace the entire faucet.
As you identify the source of the leak, take a moment to clean any dirt or debris around the affected area using a clean cloth or rag. This will help ensure a proper and reliable repair.
If you’re unsure about the cause of the leak or need further assistance, it’s always a good idea to consult a professional plumber or refer to the manufacturer’s instructions for specific troubleshooting steps.
Once you have identified and fixed the source of the leak, we can move on to the next step: replacing faulty parts or the entire faucet.
If your single handle bathtub faucet is leaking, try replacing the O-ring or the cartridge to fix the issue. Make sure to turn off the water supply before starting the repair.
Read more: How To Fix Leaky Two Handle Shower Faucet
Step 5: Replace faulty parts or the entire faucet
After identifying the source of the leak in your single handle bathtub faucet, you may need to replace faulty parts or even consider replacing the entire faucet, depending on the severity of the issue. In this step, we will guide you through the process of replacing the necessary components.
If the leak is caused by worn-out O-rings or other small parts, you can easily replace them without replacing the entire faucet. Follow these steps:
- Refer to the manufacturer’s instructions or consult a plumbing expert to identify the specific parts you need to replace. It’s important to choose parts that are compatible with your faucet’s make and model.
- Remove the old and faulty parts carefully, using the appropriate tools as needed. Take note of the correct positioning and orientation of the parts for reassembly.
- Install the new parts, ensuring a snug fit and proper alignment. Apply a thin layer of plumber’s grease to lubricate the moving parts, if necessary.
- Tighten any fasteners or screws securely, but be careful not to overtighten, as it could cause damage.
- Test the faucet by slowly turning on the water supply. Check for any leaks or issues with the newly replaced parts.
If the leak is caused by a faulty cartridge or valve, you may need to replace the entire component. Here’s how:
- Identify the specific cartridge or valve that needs to be replaced. Again, refer to the manufacturer’s instructions or seek professional guidance if needed.
- Remove the old cartridge or valve by following the manufacturer’s instructions. This may involve disconnecting water lines or unscrewing specific components.
- Install the new cartridge or valve, making sure it fits securely into place. Use plumber’s grease on any necessary areas for smooth operation.
- Reconnect any water lines or components as instructed.
- Turn on the water supply and test the faucet for any leaks or issues with the newly replaced component.
If the leak persists after replacing the faulty parts, it may be necessary to replace the entire faucet. This is a more involved process and may require more advanced plumbing knowledge or professional assistance. Consider contacting a plumber to ensure a proper installation.
Remember, always refer to the manufacturer’s instructions and follow proper safety precautions when replacing parts or installing a new faucet.
Once you have successfully replaced the necessary parts or the entire faucet, we can move on to the next step: reassembling the faucet handle.
Step 6: Reassemble the faucet handle
Now that you have fixed the leak and replaced any faulty parts, it’s time to reassemble the faucet handle and restore it to its proper functioning. Reassembling the handle is a straightforward process that requires careful attention to detail.
Follow these steps to reassemble the faucet handle:
- Take a moment to clean any dirt or debris from the handle and the surrounding areas using a clean cloth or rag. This will ensure a smooth and seamless reassembly.
- Position the faucet handle over the valve stem, aligning it with the opening.
- Retrieve the screw or fastener that you removed earlier and insert it into the designated hole or slot.
- Using an appropriate screwdriver or wrench, tighten the screw or fastener securely. Be careful not to overtighten as it could cause damage.
- Test the faucet handle by turning it on and off to ensure smooth operation and no leaks.
After reassembling the faucet handle, take a moment to inspect the handle and surrounding area for any signs of leaks or issues. If everything looks and functions properly, you can proceed to the final step: turning on the water supply.
It’s important to note that the specific steps for reassembling the faucet handle may vary depending on the make and model of your bathtub faucet. Refer to the manufacturer’s instructions if you encounter any difficulties or consult a professional plumber for guidance.
With the faucet handle successfully reassembled, we can move on to the last step: turning on the water supply.
Step 7: Turn on the water supply
Congratulations! You’re almost done fixing your leaky single handle bathtub faucet. The final step is to turn on the water supply and test your repair work.
Here’s how to turn on the water supply:
- Locate the shut-off valve that you previously turned off. It should be in the same position as before.
- Turn the shut-off valve counterclockwise to gradually open the water supply. Take care not to force it open too quickly to prevent any sudden water surges.
- Allow the water to flow into the faucet slowly. Check for any leaks around the handle, spout, or other areas you have recently worked on. If you notice any leaks, tighten the affected parts or consider seeking professional help if necessary.
- Test the faucet handle by turning the water on and off a few times. Ensure that it operates smoothly without any resistance or dripping.
- Inspect the surrounding area for any signs of water damage or additional leaks. Wipe away any excess water or moisture with a clean cloth or rag.
If everything looks good and operates properly, you have successfully fixed your leaky single handle bathtub faucet! Enjoy the satisfaction of a functioning faucet and the peace of mind that comes with knowing you’ve resolved the issue.
However, if you encounter any persistent leaks, dripping, or other issues, it’s important to troubleshoot and address the problem promptly. Consider reaching out to a professional plumber for further assistance in diagnosing and resolving the problem.
Remember to refer to the manufacturer’s instructions for specific guidelines related to your particular faucet model. Regular maintenance, such as cleaning and inspecting the faucet periodically, can help prevent future leaks and extend the lifespan of your faucet.
With the water supply turned on and your faucet in proper working condition, you can now enjoy a leak-free bathing experience in your bathtub. Well done!
Conclusion
Fixing a leaky single handle bathtub faucet doesn’t have to be a daunting task. With the right tools, materials, and a little bit of know-how, you can successfully resolve the issue and enjoy a leak-free faucet once again. By following the step-by-step process outlined in this article, you have learned how to gather the necessary tools and materials, turn off the water supply, remove the faucet handle, identify and fix the leak, replace faulty parts or the entire faucet, reassemble the faucet handle, and finally, turn on the water supply.
Remember to take necessary precautions, refer to the manufacturer’s instructions, and seek professional assistance if needed. Regular maintenance and periodic inspections are essential to ensure the longevity and proper functioning of your bathtub faucet.
A leak-free faucet not only saves water and reduces your utility bills, but it also eliminates the annoyance of constant dripping sounds. It enhances the functionality and aesthetics of your bathroom, providing a more enjoyable bathing experience. By confidently tackling this DIY project, you’ve demonstrated your ability to overcome plumbing challenges and take control of your home maintenance.
We hope this article has empowered you with the knowledge and confidence to fix a leaky single handle bathtub faucet. Remember, patience and attention to detail are key. And if you ever need further guidance or assistance, don’t hesitate to consult a professional plumber.
Now, go ahead and put your newfound skills to use. Enjoy the satisfaction of a well-functioning bathtub faucet, and revel in the peace and tranquility of your leak-free bathing experience!
Now that you've mastered fixing a leaky single handle bathtub faucet, why not explore other related topics? If you're considering an upgrade, our guide on top picks for single handle bathroom faucets in 2024 offers comprehensive insights. For broader challenges, our detailed instructions on repairing various leaky faucets will surely come in handy. And for those who love tackling projects themselves, don't miss our easy-to-follow tips on DIY home improvement. Each guide is packed with useful, practical advice to help you enhance your living space efficiently.
Frequently Asked Questions about How To Fix A Leaky Single Handle Bathtub Faucet
Was this page helpful?
At Storables.com, we guarantee accurate and reliable information. Our content, validated by Expert Board Contributors, is crafted following stringent Editorial Policies. We're committed to providing you with well-researched, expert-backed insights for all your informational needs.


0 thoughts on “How To Fix A Leaky Single Handle Bathtub Faucet”