Articles
How To Change Bathtub Faucet Handle
Modified: October 18, 2024
Learn how to change the bathtub faucet handle with step-by-step instructions and helpful articles. Upgrade your bathroom effortlessly.
(Many of the links in this article redirect to a specific reviewed product. Your purchase of these products through affiliate links helps to generate commission for Storables.com, at no extra cost. Learn more)
Introduction
Changing the bathtub faucet handle can be a simple yet effective way to update the look and functionality of your bathroom. Whether you’re experiencing a leaky handle or simply want to refresh the design, replacing the faucet handle is a task you can easily accomplish on your own with the right tools and materials.
In this article, we will guide you through the step-by-step process of changing the bathtub faucet handle. We will provide you with a list of necessary tools and materials, as well as detailed instructions to help you successfully complete the project.
By following these instructions, you can save money on hiring a plumber and have the satisfaction of completing a DIY project. So, let’s get started and give your bathtub a new and improved look!
Key Takeaways:
- Easily update your bathroom’s look and functionality by changing the bathtub faucet handle. Save money and enjoy the satisfaction of a DIY project with these simple steps.
- Prioritize safety, patience, and attention to detail when replacing the faucet handle. Enjoy a refreshed and functional bathroom with the right tools and precautions.
Read also: 13 Amazing Bathtub Faucet Handles for 2025
Tools and Materials Needed
Before you begin the process of changing your bathtub faucet handle, gather the following tools and materials:
- Adjustable wrench
- Phillips screwdriver
- Penetrating oil
- New faucet handle
- Plumber’s tape
- Towel or rag
Make sure you have all these items readily available before starting the project to avoid any interruptions.
Step 1: Shut off the Water Supply
The first step in changing your bathtub faucet handle is to shut off the water supply. This will prevent any water from flowing while you work on removing the old handle.
Locate the main water shut-off valve for your house. In most cases, this valve is located near the water meter or where the main water pipe enters your home. Turn the valve clockwise to shut off the water supply.
Once the water supply is shut off, turn on the bathtub faucet to release any remaining water in the pipes. This will help prevent any potential leaks or drips while you work on replacing the handle.
If you’re unsure about the location of the main water shut-off valve or need assistance, it’s recommended to consult a professional plumber to ensure the water supply is properly shut off.
For extra safety, place a towel or rag underneath the bathtub faucet to catch any residual water that may come out when you remove the old handle.
With the water supply turned off, you’re ready to move on to the next step of the process: removing the old faucet handle.
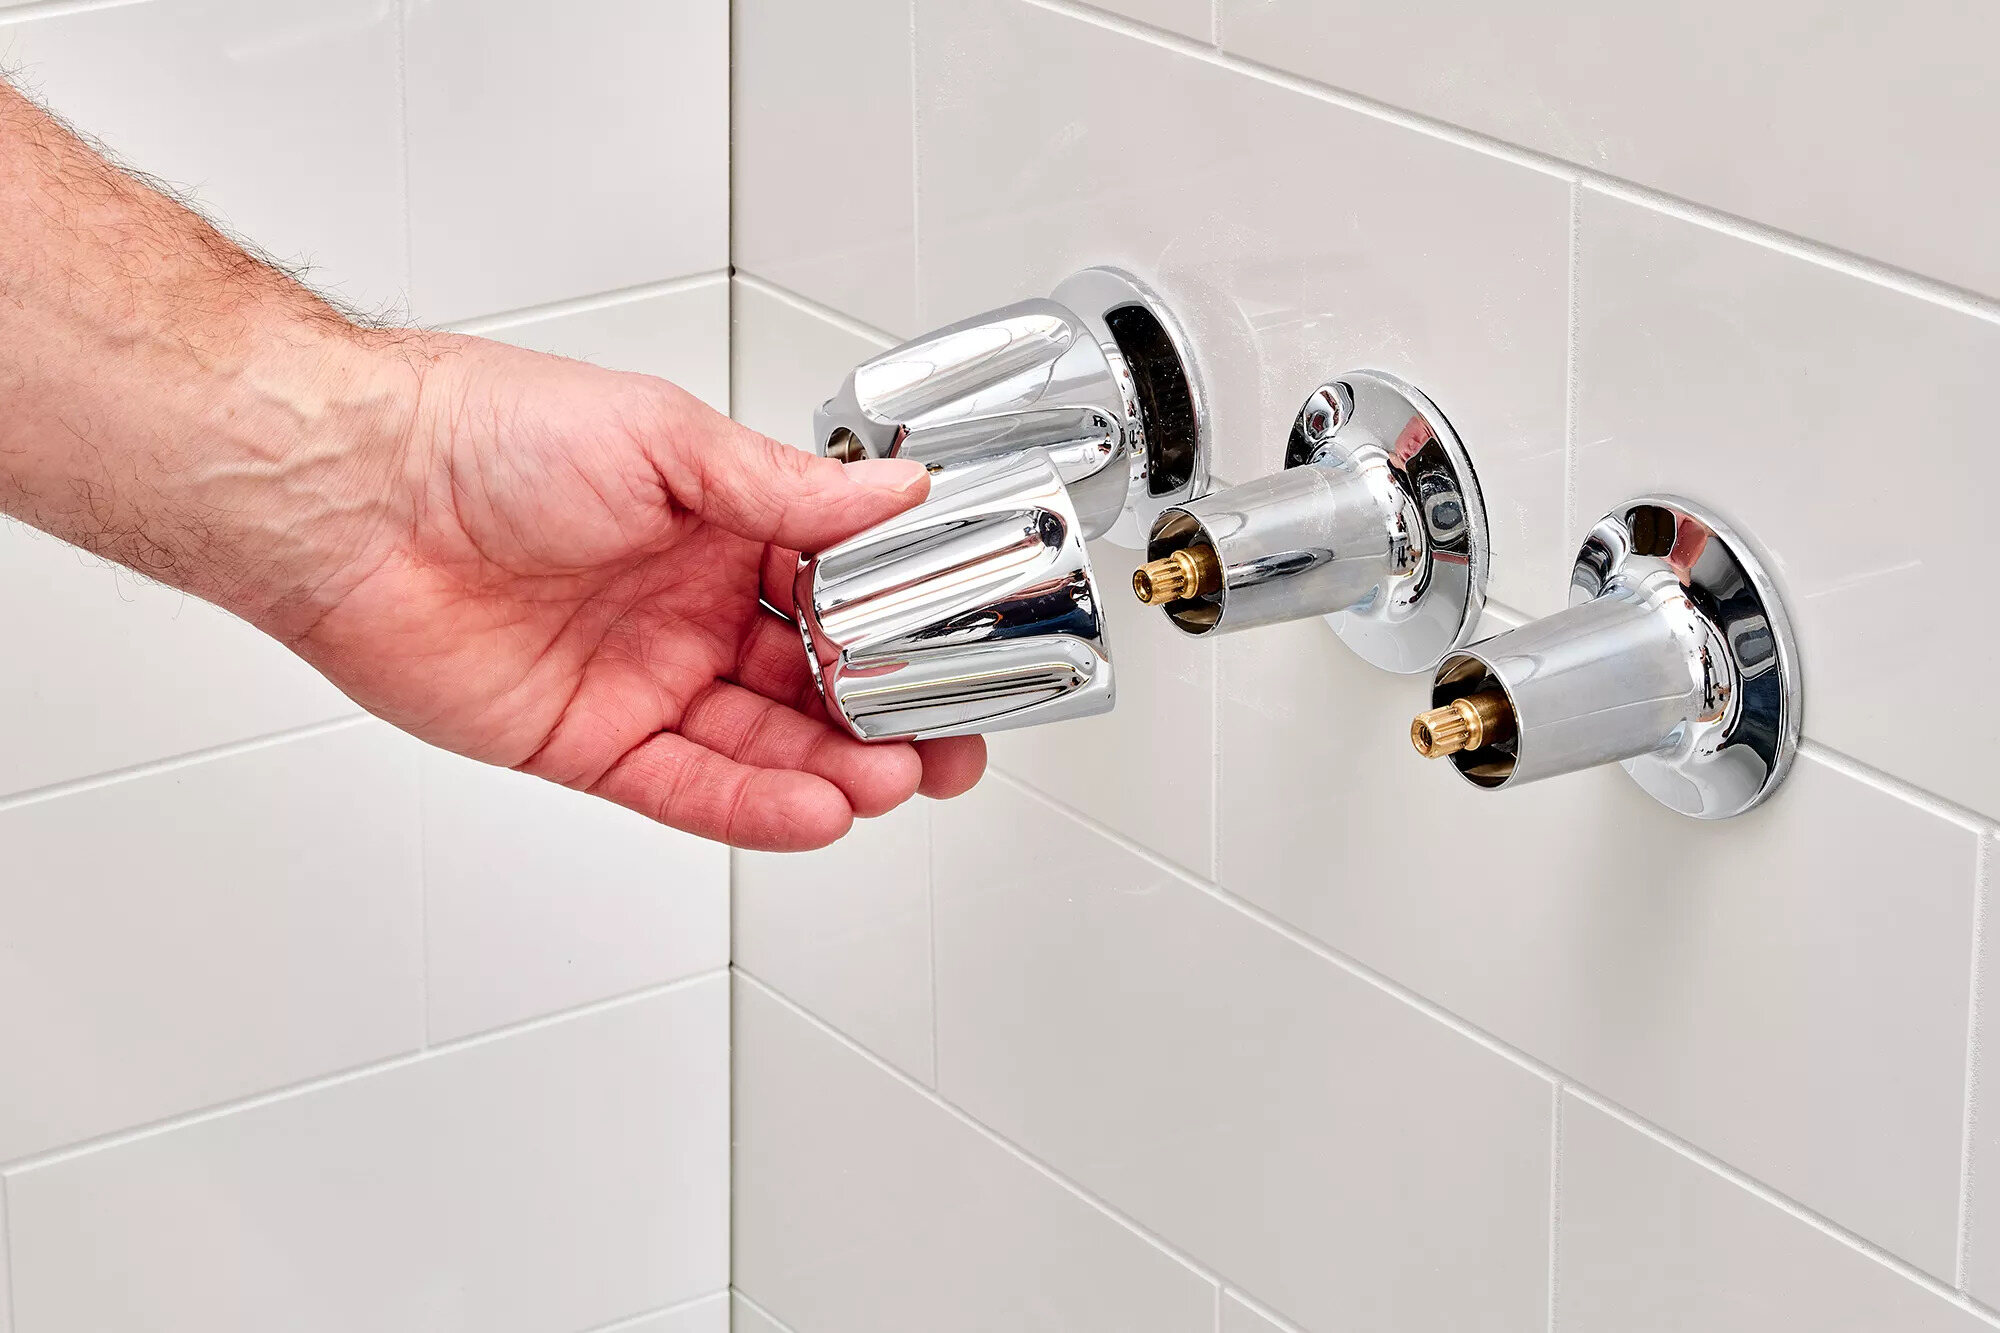
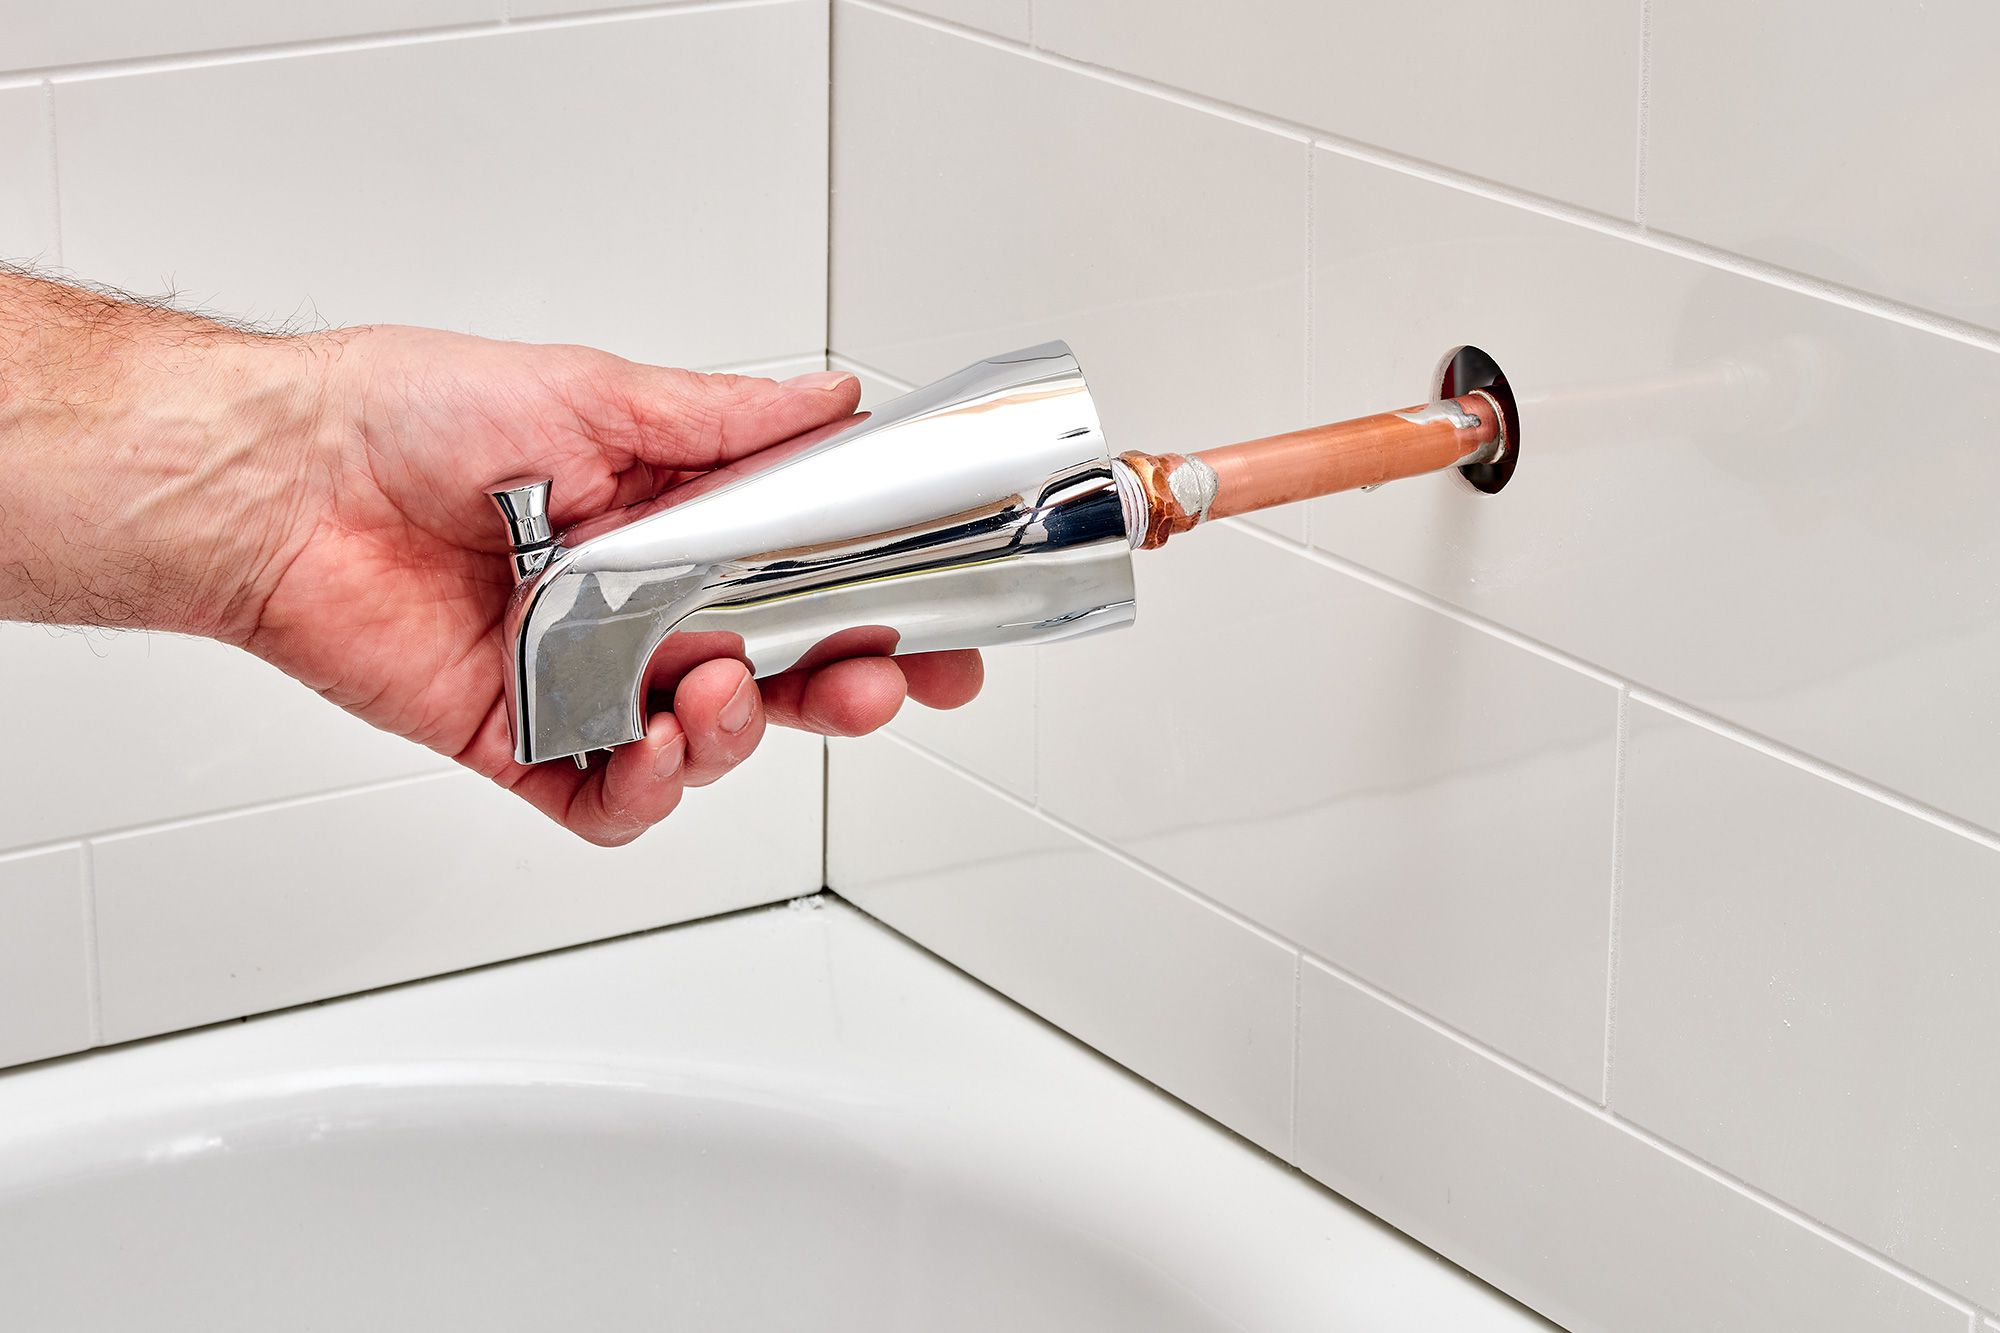
Step 2: Remove the Old Faucet Handle
To replace the bathtub faucet handle, you’ll need to remove the old one first. Follow these steps:
- Inspect the handle: Take a close look at your existing faucet handle. Look for any screws, decorative caps, or other attachments holding it in place. Some handles may have a setscrew located on the underside or the backside of the handle. If there is a decorative cap, use a flathead screwdriver to gently pry it off.
- Use penetrating oil: If the handle feels stuck or difficult to turn, apply some penetrating oil to loosen it. This will make the removal process easier. Allow the oil to sit for a few minutes to penetrate the handle and loosen any grime or debris.
- Remove the setscrew: If your handle has a setscrew, use a Phillips screwdriver or an Allen wrench (depending on the type of screw) to remove it. Turn it counterclockwise until it is loose enough to remove completely.
- Gently pull off the handle: Once the setscrew is removed, you should be able to pull the old faucet handle straight off. If it doesn’t come off easily, try wiggling it back and forth while applying gentle pressure. Be careful not to use excessive force as this could damage the handle or the faucet.
With the old faucet handle removed, you’re now ready to move on to the next step: purchasing a new faucet handle.
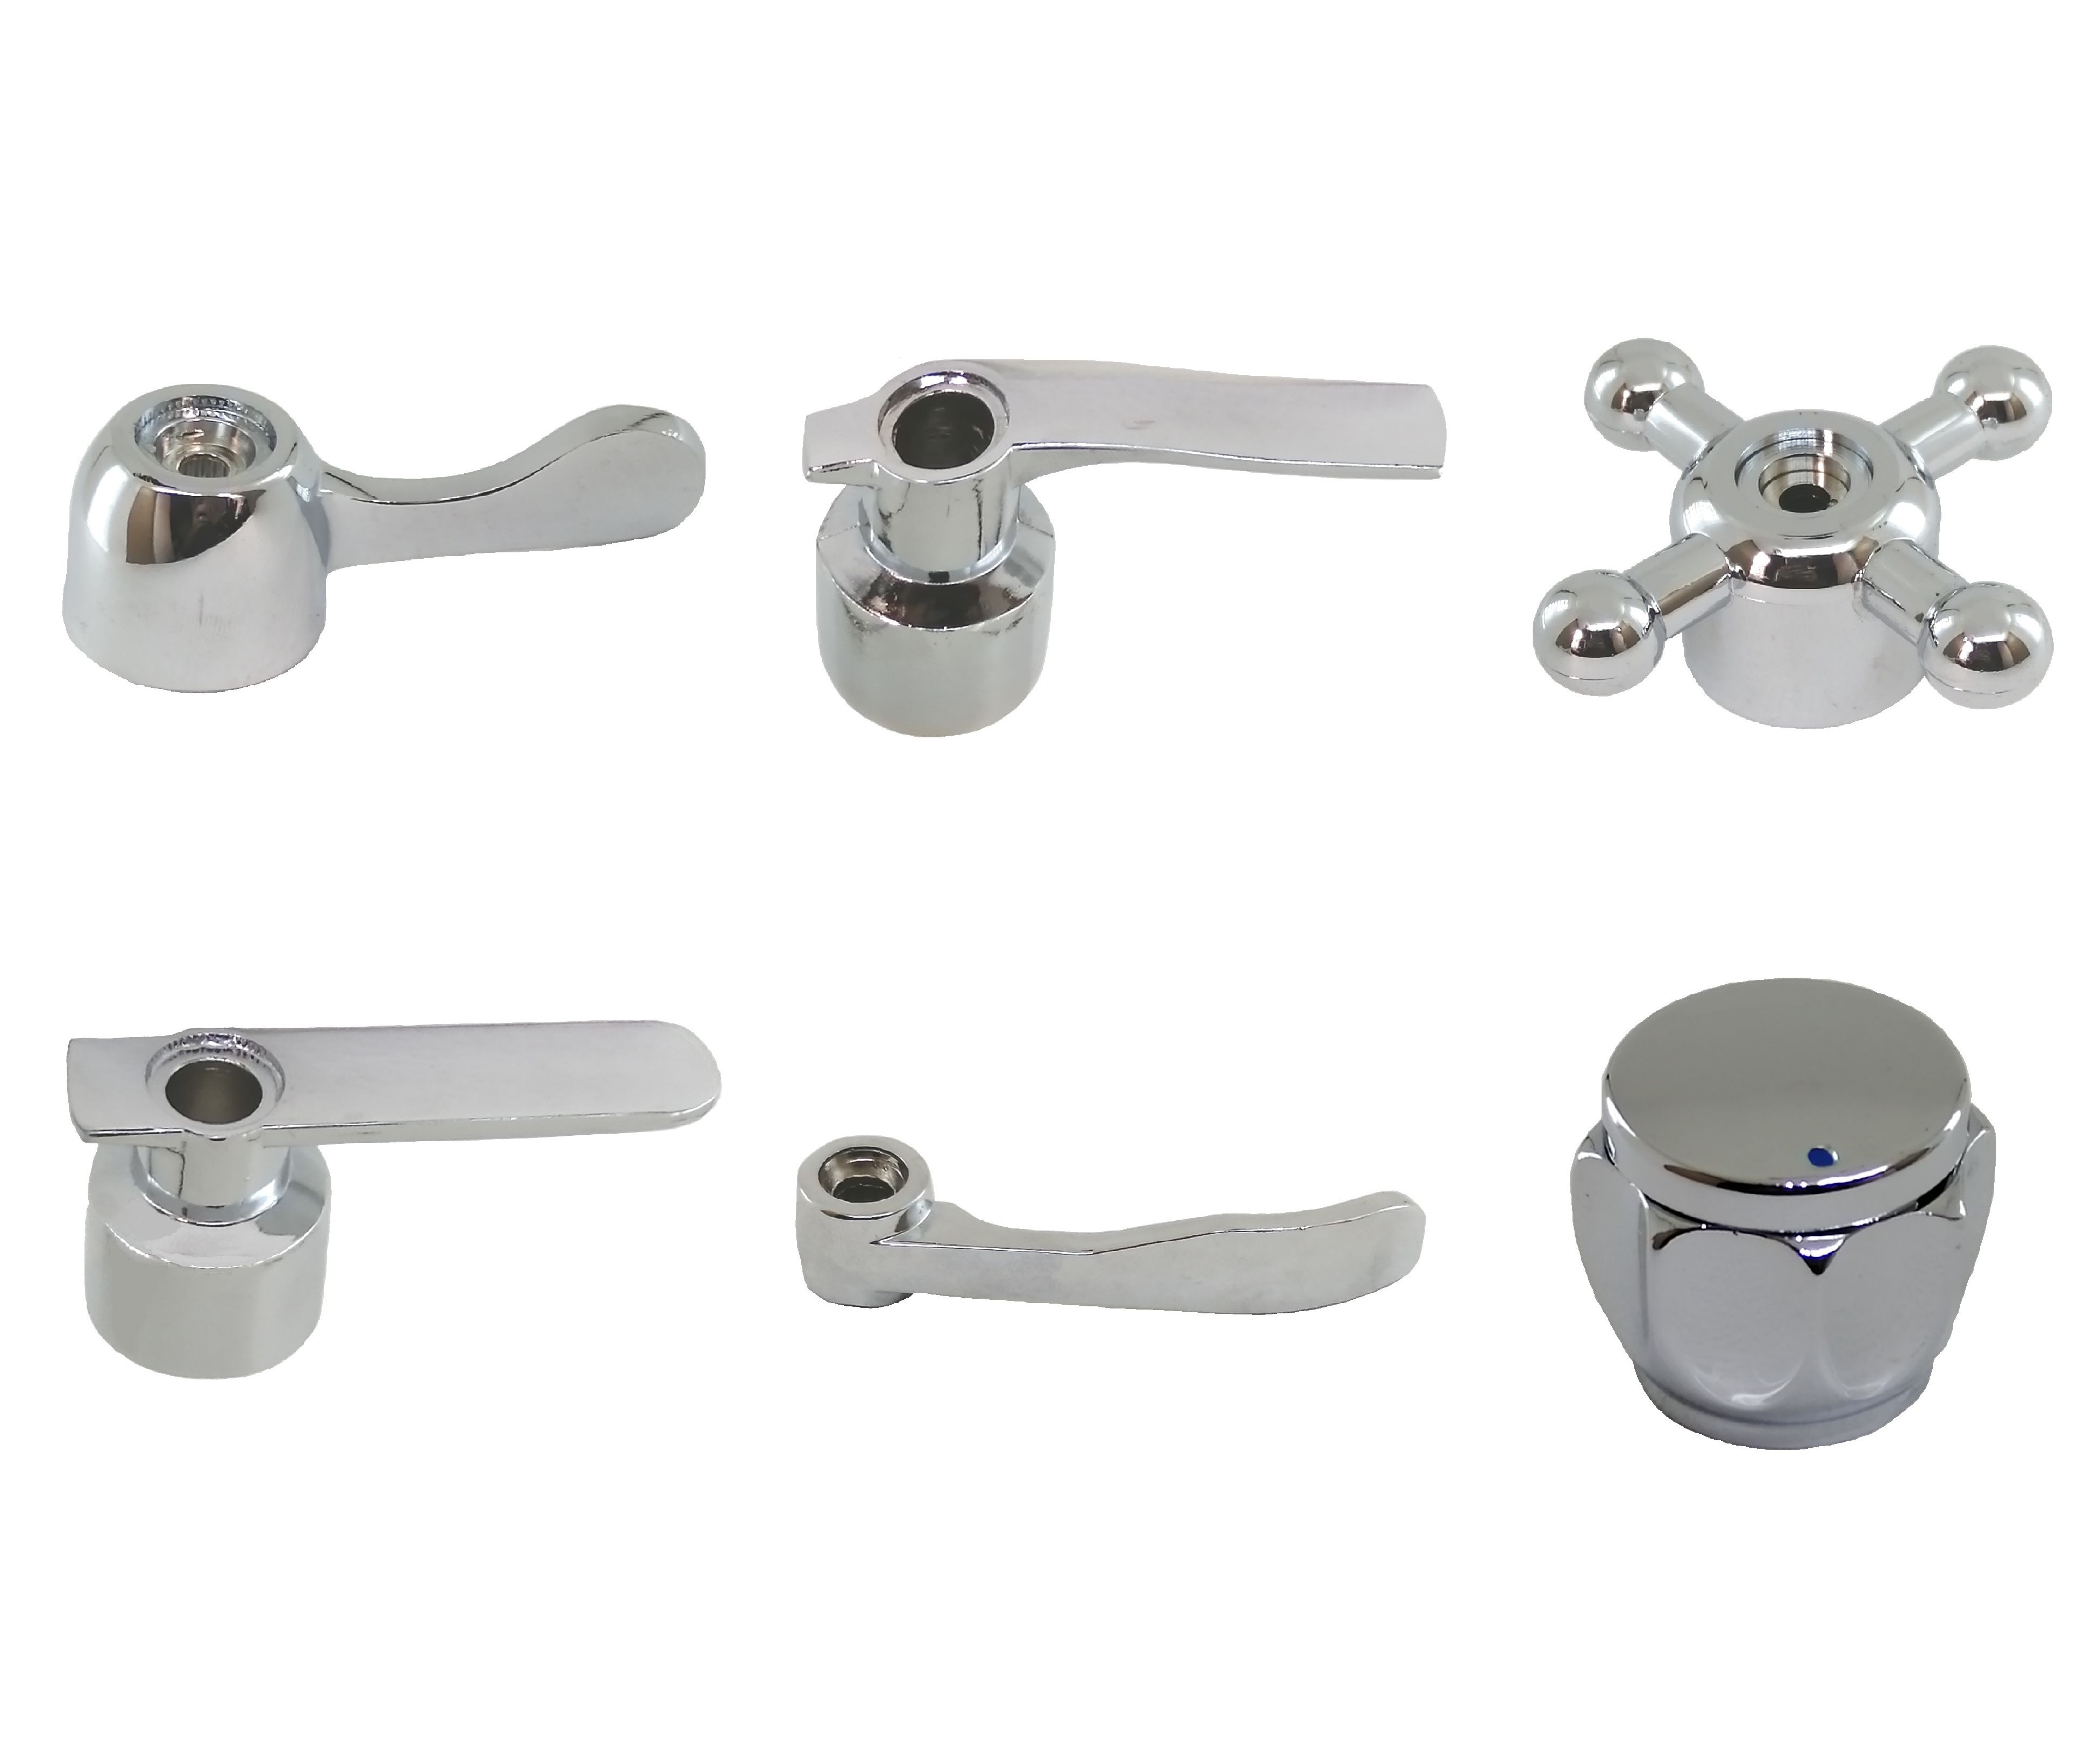
Step 3: Purchase a New Faucet Handle
Now that you have successfully removed the old faucet handle, it’s time to purchase a new one that suits your style and meets the requirements of your bathtub. Here’s what you need to do:
- Measure the stem: Before heading to the store or making a purchase online, you’ll need to measure the stem of your bathtub faucet. This will ensure that the new handle you choose fits correctly. Use a measuring tape or ruler to determine the diameter and length of the stem.
- Choose the style: Consider the aesthetic of your bathroom and select a faucet handle that complements the overall design. Whether you prefer a sleek and modern look or a more traditional style, there are numerous options available to suit your taste.
- Check compatibility: Verify the compatibility of the new faucet handle with your existing bathtub faucet. Look for any compatibility requirements or specifications provided by the manufacturer or consult a professional if you’re unsure.
- Purchase the new handle: Visit a home improvement store or browse online retailers to find the perfect replacement faucet handle. Compare prices, read customer reviews, and make your selection. Alternatively, you can consult a plumber or a specialist in the store to help you make an informed decision.
Once you have purchased the new faucet handle, you’re ready to move on to the next step: installing the new handle.
When changing a bathtub faucet handle, make sure to turn off the water supply before starting. Use a screwdriver to remove the handle and replace it with a new one, ensuring a tight fit.
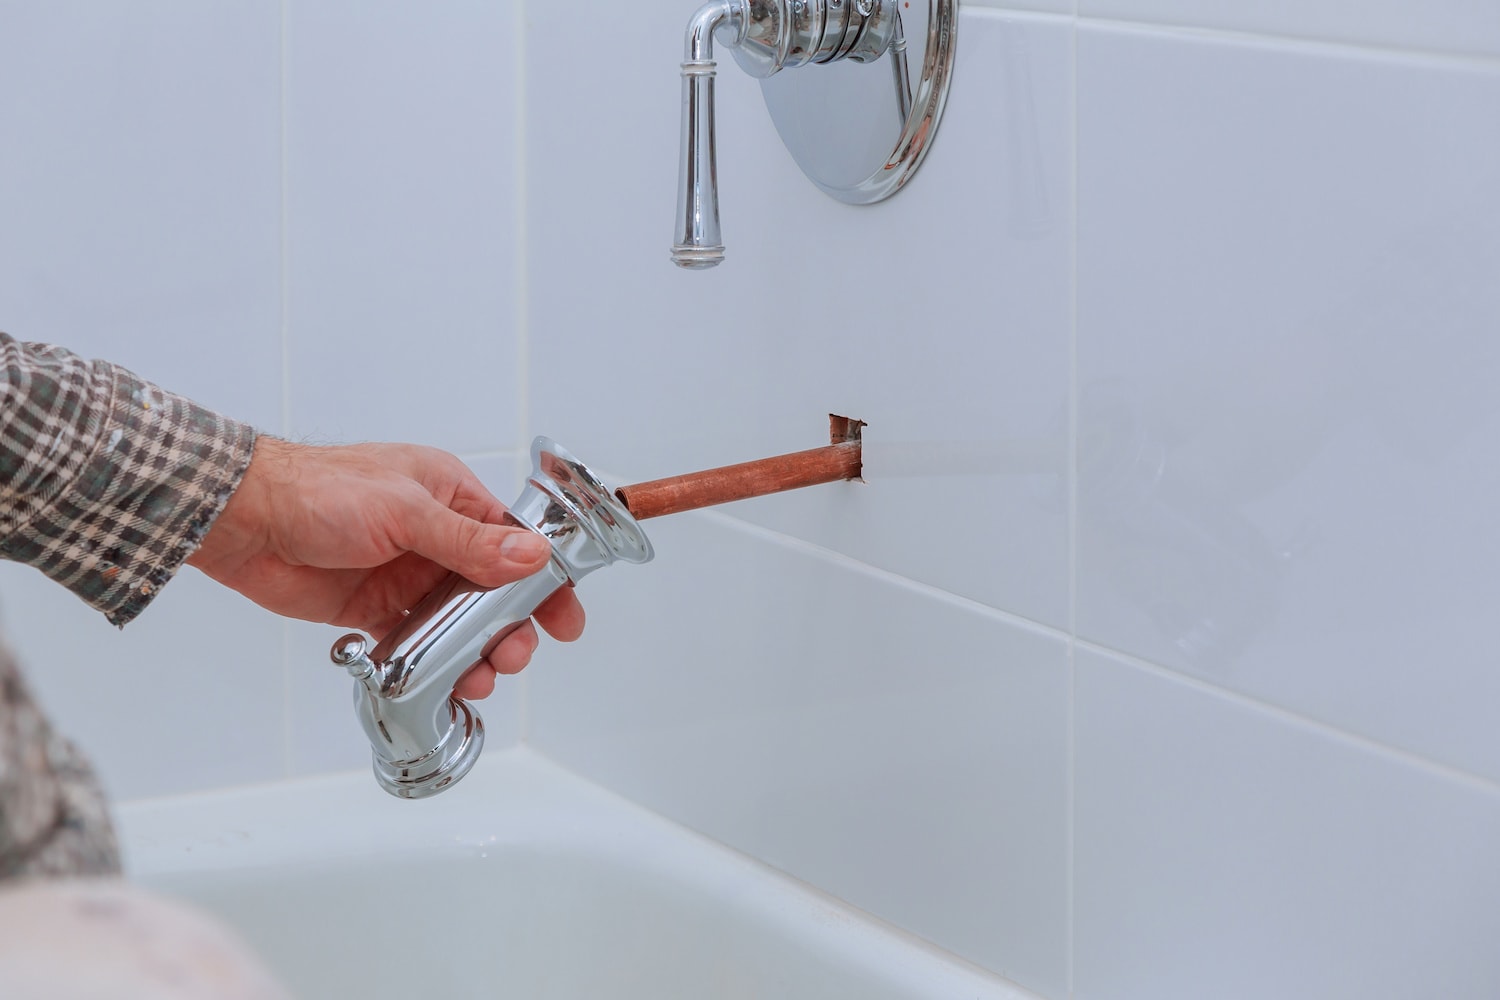
Step 4: Install the New Faucet Handle
With your new faucet handle in hand, it’s time to install it and give your bathtub a fresh look. Follow these steps to properly install the new handle:
- Apply plumber’s tape: To ensure a tight and leak-free seal, wrap a few layers of plumber’s tape clockwise around the stem of the faucet. This will help prevent any water from leaking out.
- Align the new handle: Place the new handle onto the stem and align it properly. Make sure it sits flush against the bathtub wall or the escutcheon plate, if present.
- Install screws or setscrews: Depending on the design of your new faucet handle, it may require screws or setscrews for proper installation. Follow the manufacturer’s instructions and use the appropriate tools to secure the handle in place.
- Tighten the screws: Use an adjustable wrench or a screwdriver to tighten the screws or setscrews. Ensure they are snug but be careful not to overtighten, as this could damage the handle or the faucet.
- Test the handle: Once the new handle is securely attached, turn on the water supply and test the functionality of the handle. Check for any leaks or drips and ensure the handle operates smoothly.
If everything looks and functions as expected, congratulations! You have successfully installed the new faucet handle. Now, it’s time for the final step: testing the new handle.
Step 5: Test the New Faucet Handle
After installing the new faucet handle, it’s important to test its functionality to ensure it operates properly. Follow these steps to test the new handle:
- Turn on the water supply: Re-open the main water shut-off valve to restore the water supply to your bathtub.
- Test hot and cold water: Turn the new faucet handle to both the hot and cold positions to see if the water flows smoothly and evenly. Pay attention to any unusual noises or vibrations.
- Check for leaks: Carefully inspect the area around the new faucet handle and the base of the stem for any signs of leaks or drips. If you notice any leaks, tighten the screws or setscrews a little more to create a tighter seal.
- Adjust the handle: If the handle feels loose or wobbly, use an adjustable wrench or a screwdriver to tighten the setscrews or screws. Make sure the handle is secure and does not move excessively.
- Test the handle’s function: Gently turn the new handle on and off multiple times to verify its smooth operation. It should engage and disengage easily without any resistance.
If everything checks out and the new faucet handle passes these tests, congratulations! You have successfully replaced the old handle with a new one.
Remember to clean up any residual water or debris from the installation process and enjoy your refreshed bathtub with its brand new faucet handle.
Tips and Precautions
As you embark on the journey of changing your bathtub faucet handle, keep the following tips and precautions in mind to ensure a successful and safe experience:
- Take your time: Changing a faucet handle may seem like a simple task, but it’s important to be patient and pay attention to detail throughout the process. Rushing can lead to mistakes or damage to the handle or faucet.
- Read the manufacturer’s instructions: If your new faucet handle comes with specific installation instructions, be sure to read and follow them carefully. This will help you avoid any unnecessary issues or complications.
- Use the right tools: Ensure you have the necessary tools, such as an adjustable wrench and screwdriver, to properly remove the old handle and install the new one. Using the correct tools will make the task easier and prevent damage to the handle or faucet.
- Protect surfaces: Place a towel or rag underneath the faucet to catch any water or debris that may fall during the removal or installation process. This will help protect your bathtub and surrounding surfaces from scratches or stains.
- Consider professional assistance: If you’re unsure about any step of the process or lack confidence in your DIY skills, it may be best to consult a professional plumber. They have the expertise and experience to handle the task efficiently and effectively.
- Check for leaks: After installing the new faucet handle, closely monitor the area for any signs of leaks or drips. If you notice any, tighten the screws or setscrews further or consult a professional to address the issue.
Remember, safety should always be a top priority. If you’re uncomfortable or encounter any unexpected challenges during the process, don’t hesitate to seek professional help.
By following these tips and exercising caution, you can successfully change your bathtub faucet handle and enjoy the benefits of a refreshed and functional bathroom.
Conclusion
Replacing your bathtub faucet handle can have a significant impact on the overall look and functionality of your bathroom. By following the step-by-step instructions outlined in this article, you can successfully change the handle and give your bathtub a fresh and updated appearance.
Remember to gather all the necessary tools and materials before starting the process, shut off the water supply to prevent any leaks or drips, and carefully remove the old handle. Purchase a new handle that matches your style and fits your bathtub correctly.
During the installation, make sure to use plumber’s tape to create a tight seal, align the new handle properly, and secure it with the appropriate screws or setscrews. Test the functionality of the new handle, check for leaks, and make any necessary adjustments to achieve optimal performance.
While DIY projects like changing a faucet handle can be rewarding, it’s important to prioritize safety and seek professional assistance if needed. Taking your time and following the manufacturer’s instructions will help ensure a smooth and successful installation process.
With a new faucet handle in place, you can enjoy a more functional and visually appealing bathtub. So, gather your tools, get ready to make your bathroom shine, and embark on this DIY journey to transform your bathtub with a brand new faucet handle.
Finished upgrading your bathtub faucet handle? Keep that momentum going! If you're curious about tackling a bigger project, our guide on how long bathroom renovations take offers invaluable insights to plan effectively. And for those looking to spruce up the kitchen, check out our recommendations on the best kitchen faucet head replacements for 2024. Both articles are packed with practical tips to make your home improvement projects a breeze.
Frequently Asked Questions about How To Change Bathtub Faucet Handle
Was this page helpful?
At Storables.com, we guarantee accurate and reliable information. Our content, validated by Expert Board Contributors, is crafted following stringent Editorial Policies. We're committed to providing you with well-researched, expert-backed insights for all your informational needs.


0 thoughts on “How To Change Bathtub Faucet Handle”