Articles
How Do You Replace A Kitchen Faucet
Modified: February 27, 2024
Looking to replace your kitchen faucet? Read our informative articles for step-by-step instructions and expert tips. Upgrade your kitchen today!
(Many of the links in this article redirect to a specific reviewed product. Your purchase of these products through affiliate links helps to generate commission for Storables.com, at no extra cost. Learn more)
Introduction
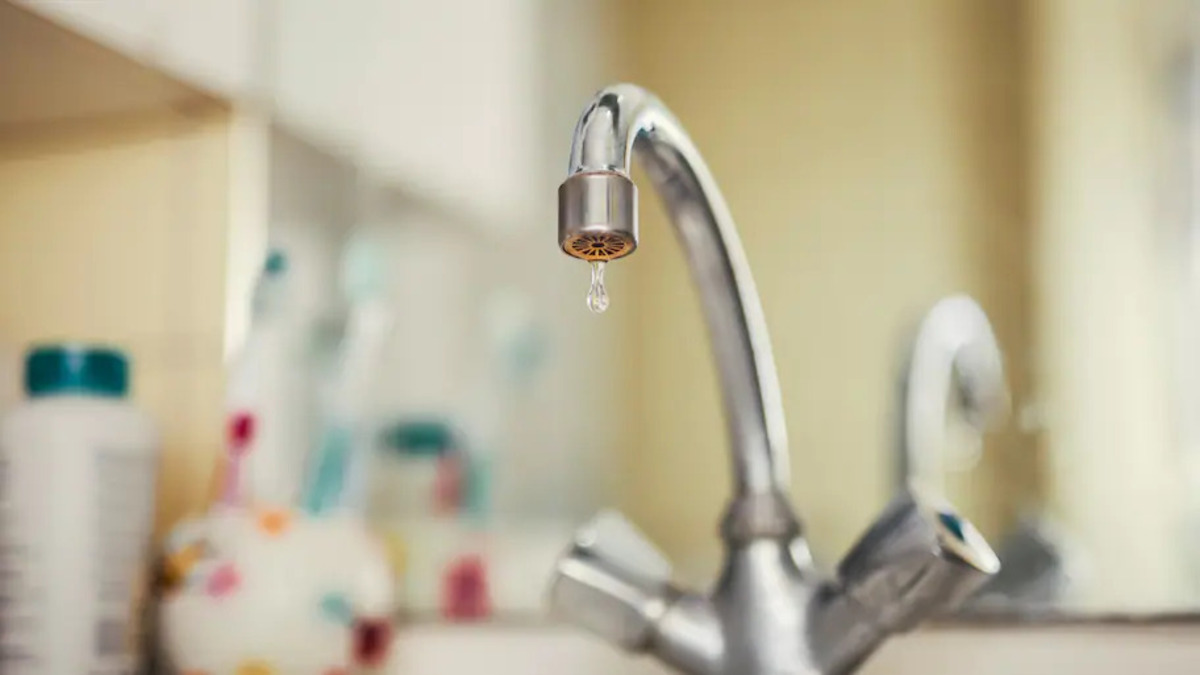
Replacing a kitchen faucet is a relatively straightforward task that can bring a fresh look and improved functionality to your kitchen. Whether you’re upgrading an outdated faucet or fixing a leaky one, this DIY project can save you money and add value to your home.
In this article, we will guide you through the step-by-step process of replacing a kitchen faucet. From gathering the necessary tools and materials to testing the new faucet, we’ll cover everything you need to know to tackle this project with confidence.
Before we dive into the specific steps, it’s important to note that safety should always be a priority when working with plumbing. Make sure to turn off the water supply before starting the installation process and take necessary precautions to prevent any accidents.
Now, let’s explore how you can replace your kitchen faucet and transform the look and functionality of your kitchen!
Key Takeaways:
- Replacing a kitchen faucet is a straightforward DIY project that can enhance your kitchen’s look and functionality. Prioritize safety, gather the right tools, and follow the step-by-step process for a successful installation.
- By carefully preparing and testing the new faucet, you can ensure proper functionality and avoid potential issues. Enjoy the satisfaction of a job well done and the benefits of an upgraded kitchen fixture.
Read more: How Do You Replace A Shower Faucet
Step 1: Gather necessary tools and materials
Before you begin replacing your kitchen faucet, it’s essential to gather all the necessary tools and materials. Having everything on hand will help streamline the installation process and prevent any delays. Here’s a list of items you’ll need:
- Adjustable wrench
- Plumber’s tape
- New kitchen faucet
- Screwdriver (if required)
- Bucket or towels (for water leakage)
- Clean cloth
An adjustable wrench is crucial for loosening and tightening nuts, bolts, and connections. Plumber’s tape, also known as Teflon tape, is used to create a watertight seal between threaded connections to prevent leaks. Make sure to choose a high-quality tape that is suitable for plumbing applications.
When selecting a new kitchen faucet, consider the style, finish, and features that best complement your kitchen décor and meet your needs. Look for a faucet that is compatible with your sink’s mounting holes and has a deck plate if required. It’s also a good idea to read reviews and choose a reputable brand with reliable customer support.
If the old faucet is held in place with screws, you may need a screwdriver to remove them. Additionally, keep a bucket or towels handy to catch any water that may leak during the removal and installation process. Finally, have a clean cloth nearby to wipe down the area around the sink and ensure a clean installation.
Once you have gathered all the necessary tools and materials, you’re ready to move on to the next step: shutting off the water supply.
Step 2: Shut off the water supply
Before you can safely remove your old kitchen faucet, it’s important to shut off the water supply to prevent any water leakage or damage. Here’s how you can do it:
- Locate the water shut-off valves: The shut-off valves are usually located under the sink. Look for two valves, one for hot water and one for cold water. These valves control the water flow to the faucet.
- Turn off the water supply: Using an adjustable wrench, turn the valves clockwise until they are fully closed. This will shut off the water supply to the faucet.
- Test the water supply: To ensure that the water supply is completely shut off, turn on the faucet and let any remaining water in the lines drain out. Once no more water is flowing, you can proceed to the next step.
Shutting off the water supply is a crucial step to prevent any accidental water flow during the faucet replacement process. By following these steps, you can minimize the risk of water damage and make the entire installation process smoother.
With the water supply shut off, you’re now ready to remove the old faucet in the next step.
Step 3: Remove the old faucet
Now that you have shut off the water supply, it’s time to remove the old kitchen faucet. Follow these steps to ensure a successful removal:
- Determine the type of faucet: Before you start removing the old faucet, it’s essential to identify the type of faucet you have. Common types include single-handle, double-handle, and pull-out or pull-down faucets. Knowing the type will help you understand the specific steps required for removal.
- Disconnect the water lines: Use an adjustable wrench to loosen the nuts connecting the water lines to the faucet. Carefully remove the nuts, and have a bucket or towels ready to catch any residual water that may flow out.
- Remove the mounting hardware: If your faucet has mounting hardware, such as screws or nuts, locate and remove them using the appropriate tools. Keep them aside as they may be needed for the installation of the new faucet.
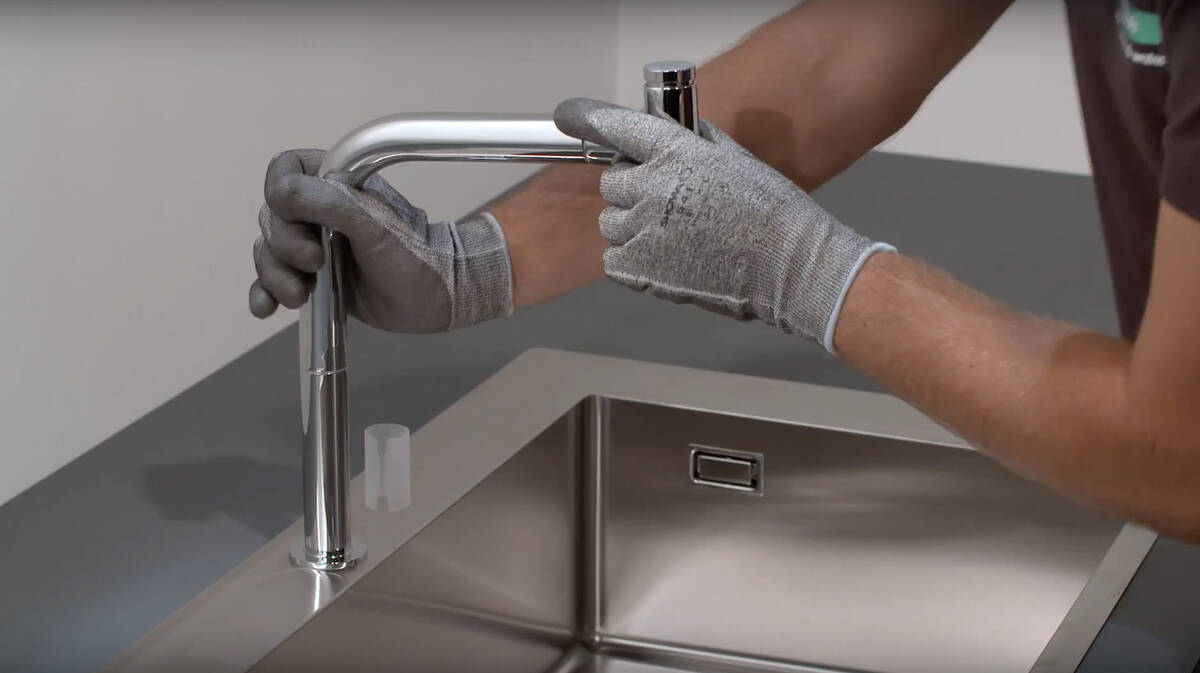
- Lift and remove the old faucet: With the water lines and mounting hardware disconnected, gently lift the old faucet out of the sink. Be cautious not to damage the surrounding area or the sink itself during the removal process.
Once you have successfully removed the old faucet, take a moment to clean the area around the sink and prepare for the installation of the new faucet. Use a clean cloth to wipe away any debris or residue that may have accumulated.
Removing the old faucet can be a bit tricky, especially if there are tight connections or hard-to-reach areas. If you encounter any difficulties or have any questions, it’s always a good idea to consult the manufacturer’s instructions or seek professional assistance.
Now that the old faucet has been removed, it’s time to move on to the next step: preparing the new faucet for installation.
Step 4: Prepare the new faucet for installation
Now that you have removed the old faucet, it’s time to prepare the new faucet for installation. Follow these steps to ensure a smooth and successful installation:
- Read the manufacturer’s instructions: Before you begin, carefully read the instructions provided by the manufacturer for your specific faucet model. This will give you a clear understanding of the installation requirements and any specific steps you need to take.
- Assemble the components: Gather all the components included with your new faucet and assemble them according to the manufacturer’s instructions. This may involve attaching handles, spouts, or other parts to the main faucet body.
- Apply plumber’s tape: To create a watertight seal, wrap plumber’s tape around the threaded connections of the faucet. This will help prevent any leaks when the faucet is installed.
- Check the mounting holes: Ensure that the mounting holes on your sink or countertop are clean and free from debris. If necessary, use a clean cloth or brush to remove any dirt or buildup.
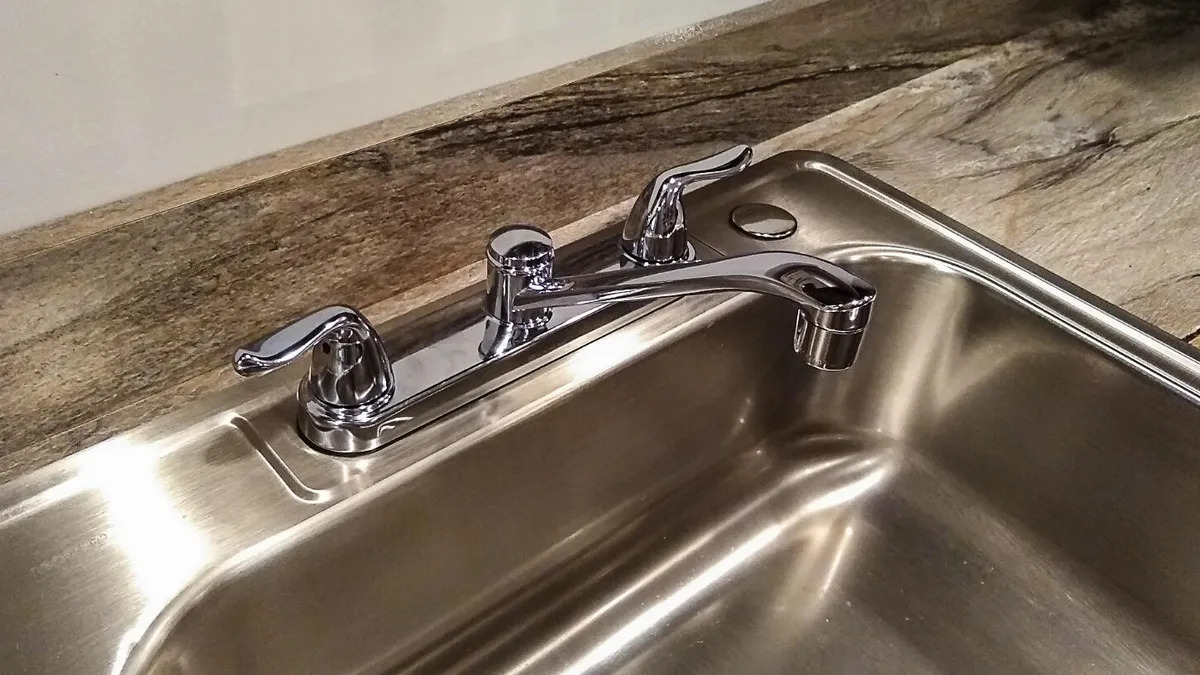
- Position the new faucet: Carefully place the new faucet into the mounting holes. Make sure it is aligned properly and level before proceeding.
- Secure the faucet: Depending on the type of faucet you have, use the mounting hardware provided or follow the manufacturer’s instructions to secure the faucet in place. This may involve tightening screws or nuts with the appropriate tools.
By preparing the new faucet properly, you ensure a secure and functional installation. Following the manufacturer’s instructions and taking your time to assemble and position the components correctly will help prevent any issues or difficulties during the installation process.
Now that the new faucet is ready, we can move on to the next step: installing the new faucet.
When replacing a kitchen faucet, be sure to turn off the water supply before starting. Have a bucket or towels handy to catch any excess water in the pipes when removing the old faucet.
Read more: How Much To Replace Bathroom Faucet
Step 5: Install the new faucet
With the new faucet prepared and the old one removed, it’s time to install the new faucet in your kitchen. Follow these steps to ensure a successful installation:
- Connect the water lines: Take the water supply lines that came with your new faucet and connect them to the corresponding hot and cold water supply valves under the sink. Use an adjustable wrench to tighten the nuts securely, but be careful not to overtighten and damage the connections.
- Attach any additional components: If your new faucet includes a sprayer or soap dispenser, now is the time to attach them. Follow the manufacturer’s instructions to ensure proper installation.
- Check for leaks: Once the water lines and additional components are securely attached, turn on the water supply valves slowly. Keep an eye out for any leaks or drips around the connections. If you notice any leaks, tighten the nuts slightly until the leaking stops.
- Test the faucet: Turn on the faucet and check both hot and cold water flows. Ensure that the water is flowing smoothly without any irregularities or strange noises. Adjust the handles or knobs as needed to control the water temperature and pressure.
- Inspect for proper alignment: Take a moment to inspect the faucet and ensure that it is properly aligned and level. Make any necessary adjustments to ensure it looks aesthetically pleasing and functions properly.
By following these steps, you can successfully install your new kitchen faucet. Taking the time to connect the water lines securely and checking for leaks will help prevent any water damage or future issues. Testing the faucet and inspecting the overall alignment will ensure a satisfying end result.
Now that the new faucet is installed, it’s important to reconnect the water supply in the next step.
Step 6: Reconnect the water supply
Now that the new kitchen faucet is installed, it’s time to reconnect the water supply to ensure proper functionality. Follow these steps to successfully reconnect the water supply:
- Turn off the faucet: Before reconnecting the water supply, make sure the faucet is turned off. This will prevent any water from flowing while you make the connection.
- Connect the water lines: Take the end of each water supply line and attach them to the corresponding hot and cold water supply valves under the sink. Use an adjustable wrench to tighten the nuts securely, but be careful not to overtighten and damage the connections.
- Turn on the water supply: Slowly turn the water supply valves counterclockwise to open them. This will allow water to flow to the faucet.
- Check for leaks: Once the water supply is turned on, check for any leaks or drips around the connections. Inspect the water lines carefully and ensure that they are tightly sealed. If you notice any leaks, tighten the nuts slightly until the leaking stops.
- Test the faucet: Turn on the faucet and let the water run for a few minutes to flush out any debris or air bubbles. Check for proper water flow, both hot and cold, and ensure there are no irregularities or leaks. Adjust the handles or knobs as needed to control the water temperature and pressure.
By following these steps, you can successfully reconnect the water supply to your newly installed kitchen faucet. Checking for leaks and testing the faucet will ensure that there are no issues with the water flow or any potential water damage.
Now that the water supply is reconnected and the faucet is functioning properly, it’s time to move on to the final step: testing the new faucet.
Step 7: Test the new faucet
After installing and reconnecting the water supply to your new kitchen faucet, it’s important to test it to ensure proper functionality. Follow these steps to effectively test your new faucet:
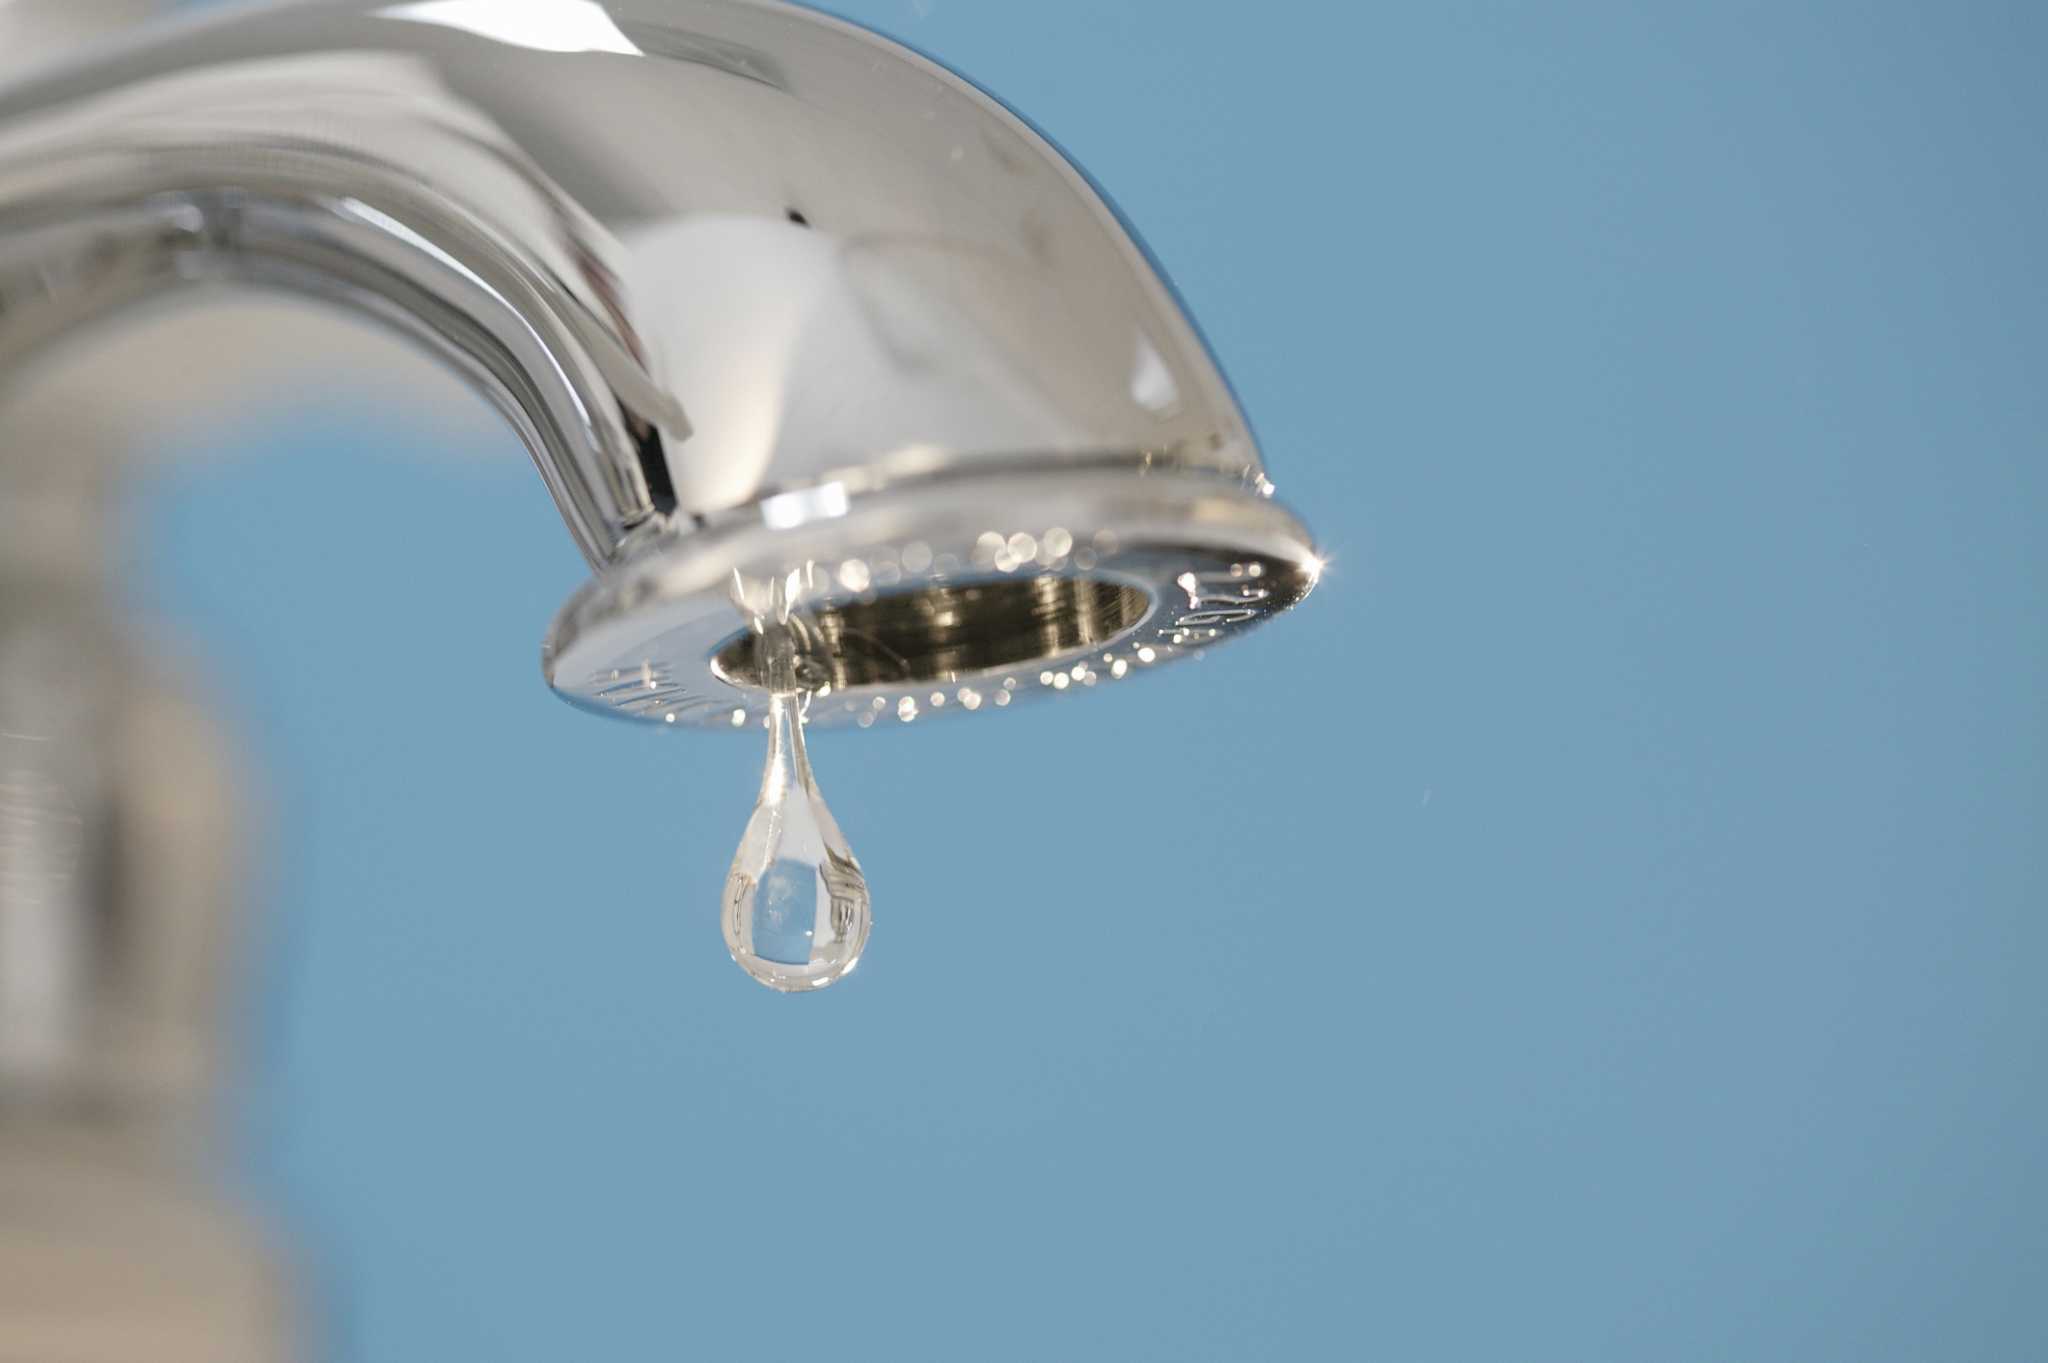
- Check for leaks: Before testing the water flow, carefully inspect all the connections and joints for any signs of leaks. Look under the sink and around the faucet for any water drips or pooling. If you spot any leaks, tighten the fittings as necessary or consult a professional if the issue persists.
- Run hot and cold water: Turn on the faucet and allow both hot and cold water to run for a few minutes. Check to make sure that both hot and cold water flows smoothly without any sputtering or irregularities. If you notice any issues, you may need to check the water line connections or adjust the faucet handles.
- Test the water pressure: Assess if the water pressure from the faucet meets your expectations. Too much or too little water pressure can be adjusted using the water supply valves under the sink or consulting a professional plumber if necessary.
- Verify temperature control: Test the faucet’s temperature control by adjusting the hot and cold water handles or knobs. Make sure you can achieve the desired water temperature easily and that the handles operate smoothly without any resistance or looseness.
- Inspect overall functionality: In addition to water flow and temperature control, test the functionality of any additional features like a pull-out sprayer or soap dispenser. Ensure they operate smoothly and without any issues.
By thoroughly testing your new kitchen faucet, you can confirm its proper functionality and identify any potential issues that may require further attention. Taking the time to perform these tests will give you confidence in your new faucet’s performance and longevity.
If you encounter any problems during testing or notice persistent leaks or irregularities, it’s recommended to consult the manufacturer’s instructions or seek professional assistance to address the issue.
With the new faucet successfully tested and functioning as desired, you have completed the process of replacing your kitchen faucet. Enjoy your upgraded kitchen and the improved functionality it brings!
Conclusion
Replacing a kitchen faucet is a rewarding DIY project that can enhance the overall look and functionality of your kitchen. By following the step-by-step process outlined in this article, you can successfully replace your kitchen faucet and enjoy the benefits of a fresh and upgraded fixture.
From gathering the necessary tools and materials to shutting off the water supply, removing the old faucet, preparing the new faucet for installation, and finally installing and testing the new faucet, each step plays a crucial role in ensuring a smooth and successful replacement process.
Remember to prioritize safety by turning off the water supply before starting the project and always double-check your work for leaks and proper functionality. Taking the time to read the manufacturer’s instructions and follow best practices will help you achieve a professional-looking installation.
Whether you’re replacing an outdated faucet or fixing a leaky one, this DIY project allows you to save money and add value to your home. Additionally, choosing a faucet that fits your style and meets your needs will enhance the overall aesthetic of your kitchen space.
Now that you have the knowledge and confidence to replace your kitchen faucet, it’s time to embark on this project and enjoy the satisfaction of a job well done. So, gather your tools and materials, shut off the water supply, and get ready to transform your kitchen with a brand new faucet!
Frequently Asked Questions about How Do You Replace A Kitchen Faucet
Was this page helpful?
At Storables.com, we guarantee accurate and reliable information. Our content, validated by Expert Board Contributors, is crafted following stringent Editorial Policies. We're committed to providing you with well-researched, expert-backed insights for all your informational needs.


0 thoughts on “How Do You Replace A Kitchen Faucet”