Articles
How To Change AC Compressor
Modified: October 18, 2024
Learn how to change your AC compressor with these helpful articles.
(Many of the links in this article redirect to a specific reviewed product. Your purchase of these products through affiliate links helps to generate commission for Storables.com, at no extra cost. Learn more)
Introduction
Welcome to this guide on how to change an AC compressor. The AC compressor plays a vital role in the cooling system of your air conditioner, as it is responsible for compressing and transferring refrigerant needed for cooling. Over time, AC compressors may fail or become inefficient, requiring replacement to restore the functionality of your air conditioning unit.
In this article, we will walk you through the step-by-step process of replacing an AC compressor. We will provide you with a comprehensive understanding of the function of the AC compressor, guide you in assessing the need for replacement, and help you gather the necessary tools and equipment. Additionally, we will provide detailed instructions on how to properly install the new compressor, ensuring that your air conditioner functions optimally.
Before we begin, it is important to note that changing an AC compressor requires some technical knowledge and tools. If you are not confident in your abilities, it is recommended to seek the assistance of a professional HVAC technician. However, if you are up for the challenge and want to save some money, let’s get started!
Key Takeaways:
- Properly assessing the need for AC compressor replacement and understanding its function are crucial steps in ensuring a successful and efficient replacement process, ultimately restoring optimal functionality to your air conditioning system.
- By following the step-by-step guide for changing an AC compressor, you can confidently and safely complete the replacement process. However, seeking professional assistance is advisable if uncertainty or discomfort arises during any stage of the process.
Read more: How Does A AC Compressor Work
Understanding the AC Compressor
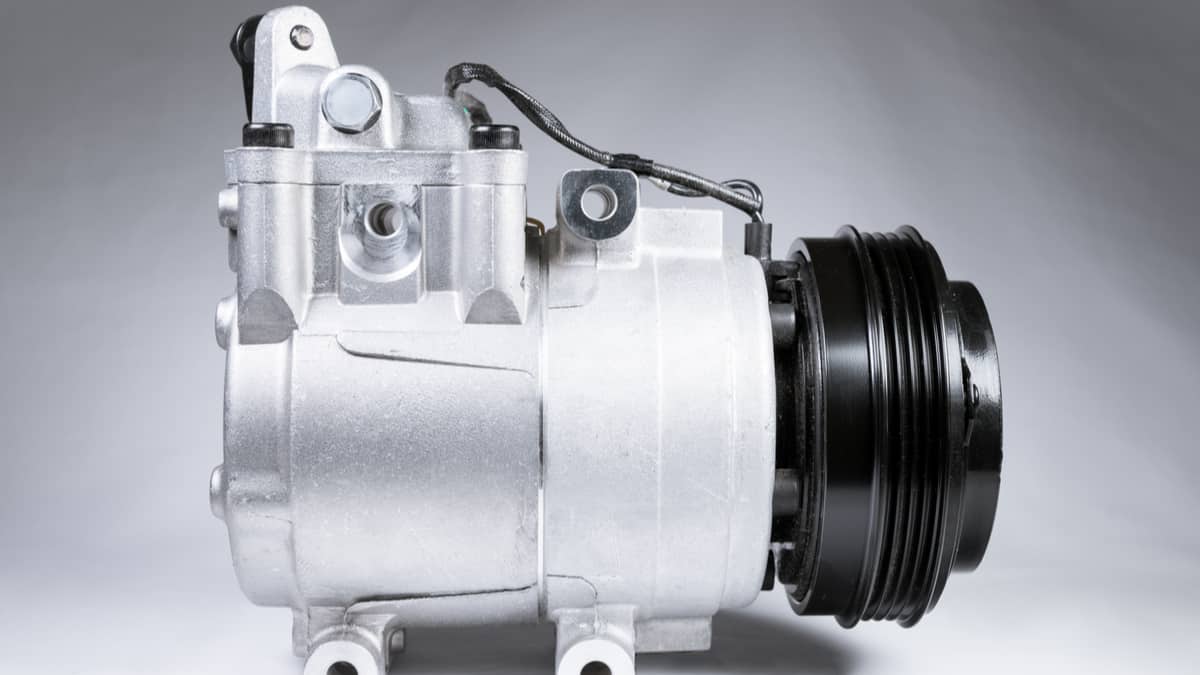
The AC compressor is a key component of the air conditioning system. Its primary function is to compress the refrigerant gas, which then flows through the system and undergoes a phase change from gas to liquid. This process allows the AC system to transfer heat from the inside of a room to the outside, resulting in cooled air.
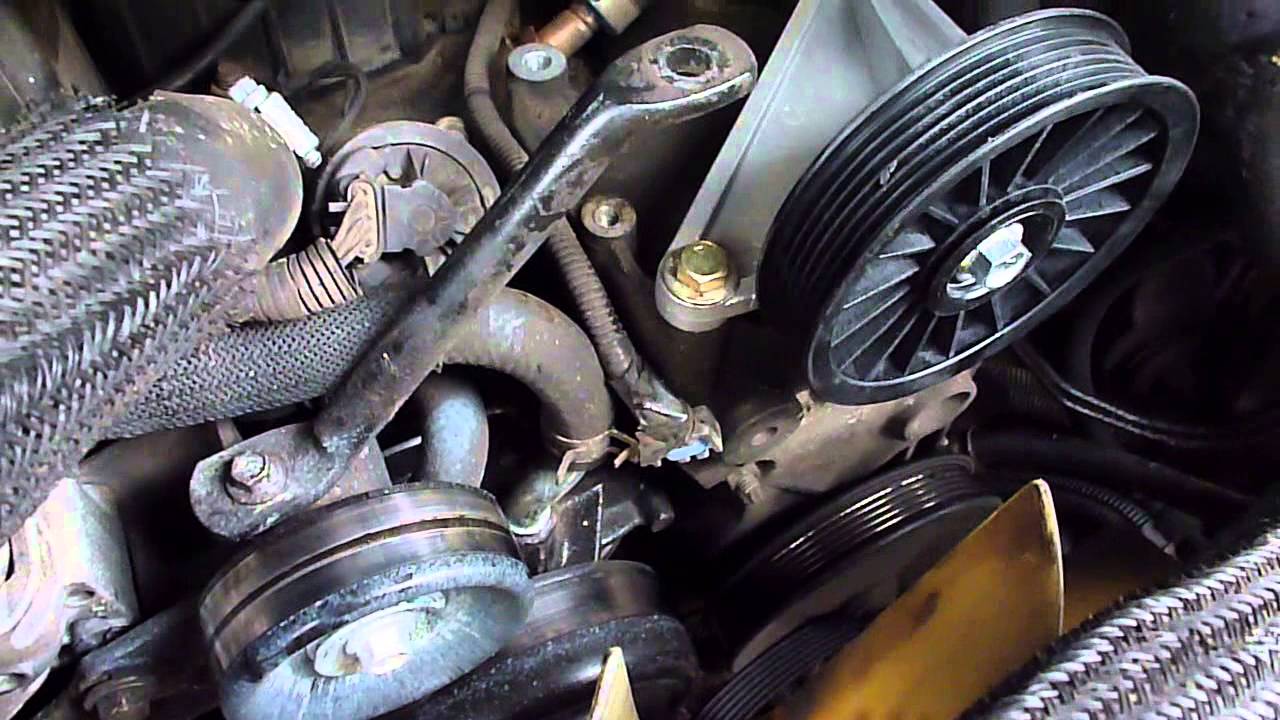
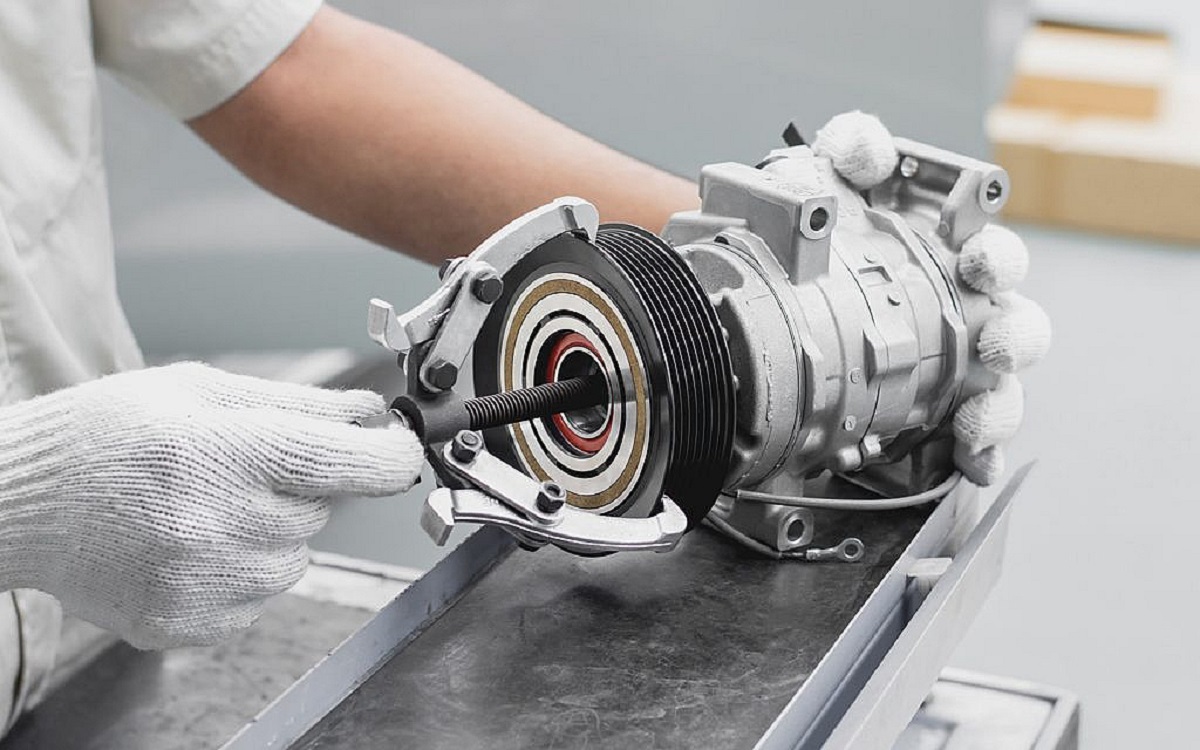
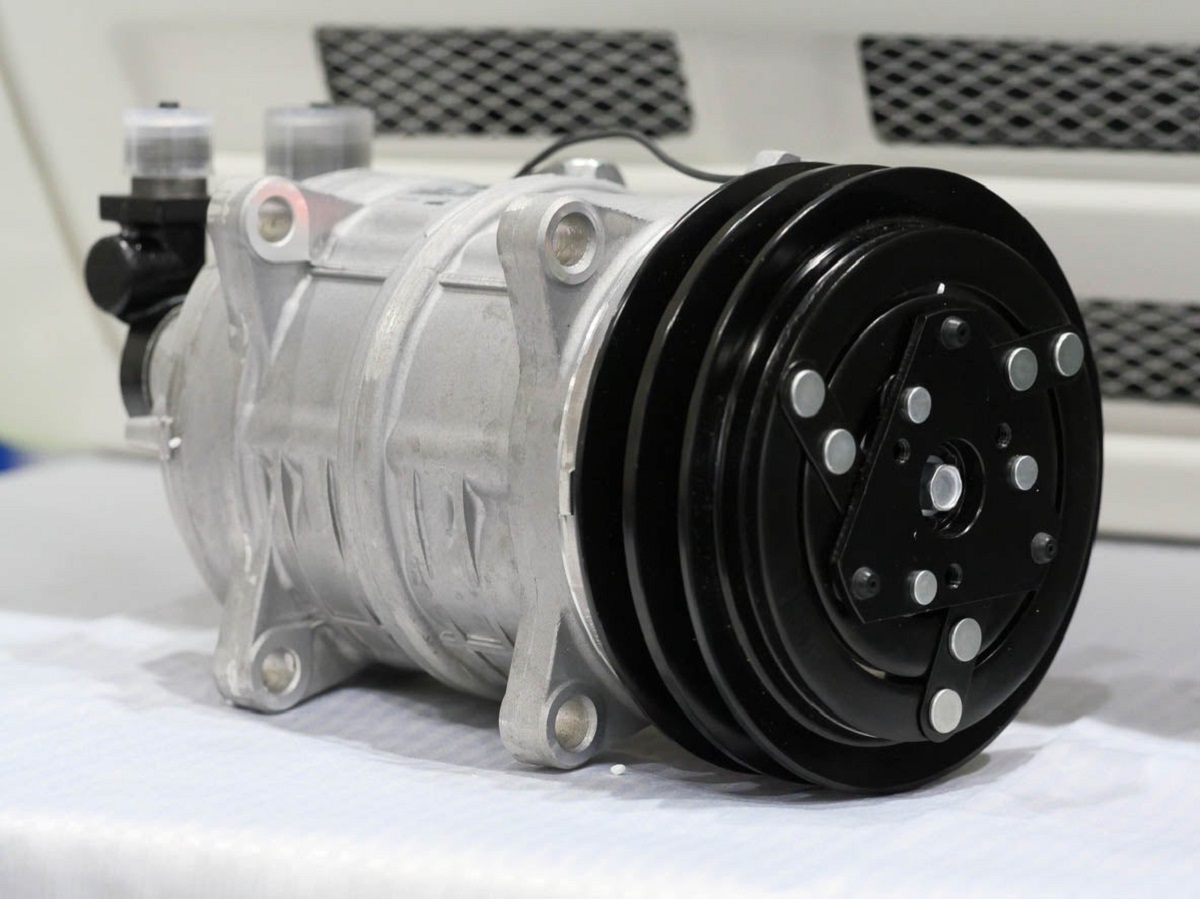
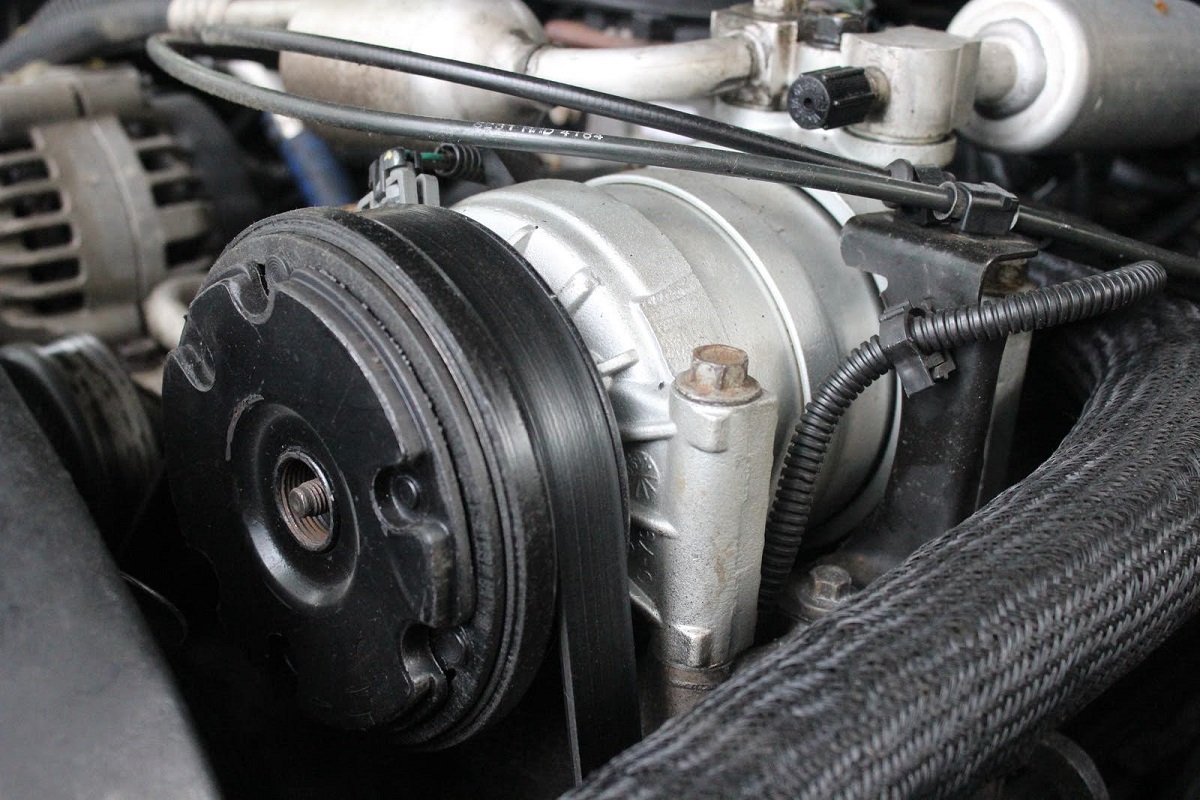
The compressor is typically located in the outdoor unit of the air conditioning system. It consists of several important parts, including the compressor clutch, compressor pulley, electromagnetic coil, and refrigerant lines. When the AC unit is turned on, the compressor clutch engages, allowing the compressor to begin compressing the refrigerant.
Inside the compressor, the refrigerant gas is compressed, which increases its pressure and temperature. This high-pressure gas then travels through the refrigerant lines to the condenser coil, where it releases heat and condenses into a high-pressure liquid.
The compressed and cooled liquid refrigerant then moves through the expansion valve, which reduces its pressure and temperature. From there, it enters the evaporator coil inside the indoor unit, where it absorbs heat from the surrounding air. The refrigerant then returns to the compressor as a low-pressure gas, completing the cycle.
Over time, AC compressors can experience wear and tear, leading to issues such as compressor failure, decreased cooling efficiency, or refrigerant leaks. When these problems occur, it may be necessary to replace the compressor to restore the proper functioning of the air conditioning system.
Understanding the operation of the AC compressor is essential when it comes to replacing it. By having a solid grasp of its function and components, you will be better equipped to perform the replacement process effectively and confidently. Let’s move on to the next section, where we will discuss how to assess the need for compressor replacement.
Assessing the Need for Compressor Replacement
Before diving into the process of changing an AC compressor, it is important to properly assess whether replacement is truly necessary. There are several indicators that can help you determine if your AC compressor needs to be replaced:
- Lack of Cooling: If your air conditioner is not producing cold air or is not cooling your space as effectively as before, it could be a sign that the compressor is malfunctioning.
- Strange Noises: Unusual noises coming from the outdoor unit, such as grinding, squealing, or rattling sounds, may indicate a problem with the compressor. These noises can be caused by internal components wearing out or becoming damaged.
- Refrigerant Leaks: If you notice refrigerant leaks around the outdoor unit or find that the refrigerant levels in the system are consistently low, it could be due to a compressor issue. Refrigerant leaks can cause decreased cooling efficiency and may necessitate compressor replacement.
- Frequent Cycling: If your air conditioner is constantly turning on and off rapidly, a faulty compressor may be the culprit. This constant cycling can strain the compressor and result in reduced performance.
- High Energy Consumption: If your energy bills have significantly increased without any change in usage patterns, it could be a sign that your AC compressor is not functioning efficiently. A worn-out or faulty compressor can consume more energy to achieve the desired cooling temperature.
When conducting the assessment, it is crucial to rule out other potential causes of AC problems. Issues with electrical connections, faulty thermostats, or clogged filters can also lead to cooling problems. Therefore, it is advisable to consult with a professional HVAC technician if you are unsure about the exact cause of the AC issues.
Once you have determined that your AC compressor needs to be replaced, the next step is to gather the necessary tools and equipment. We will cover this in the next section.
Gathering the Necessary Tools and Equipment
Before you can begin replacing the AC compressor, it is essential to gather all the necessary tools and equipment. Having everything on hand will help ensure a smooth and efficient replacement process. Here are the tools and equipment you will need:
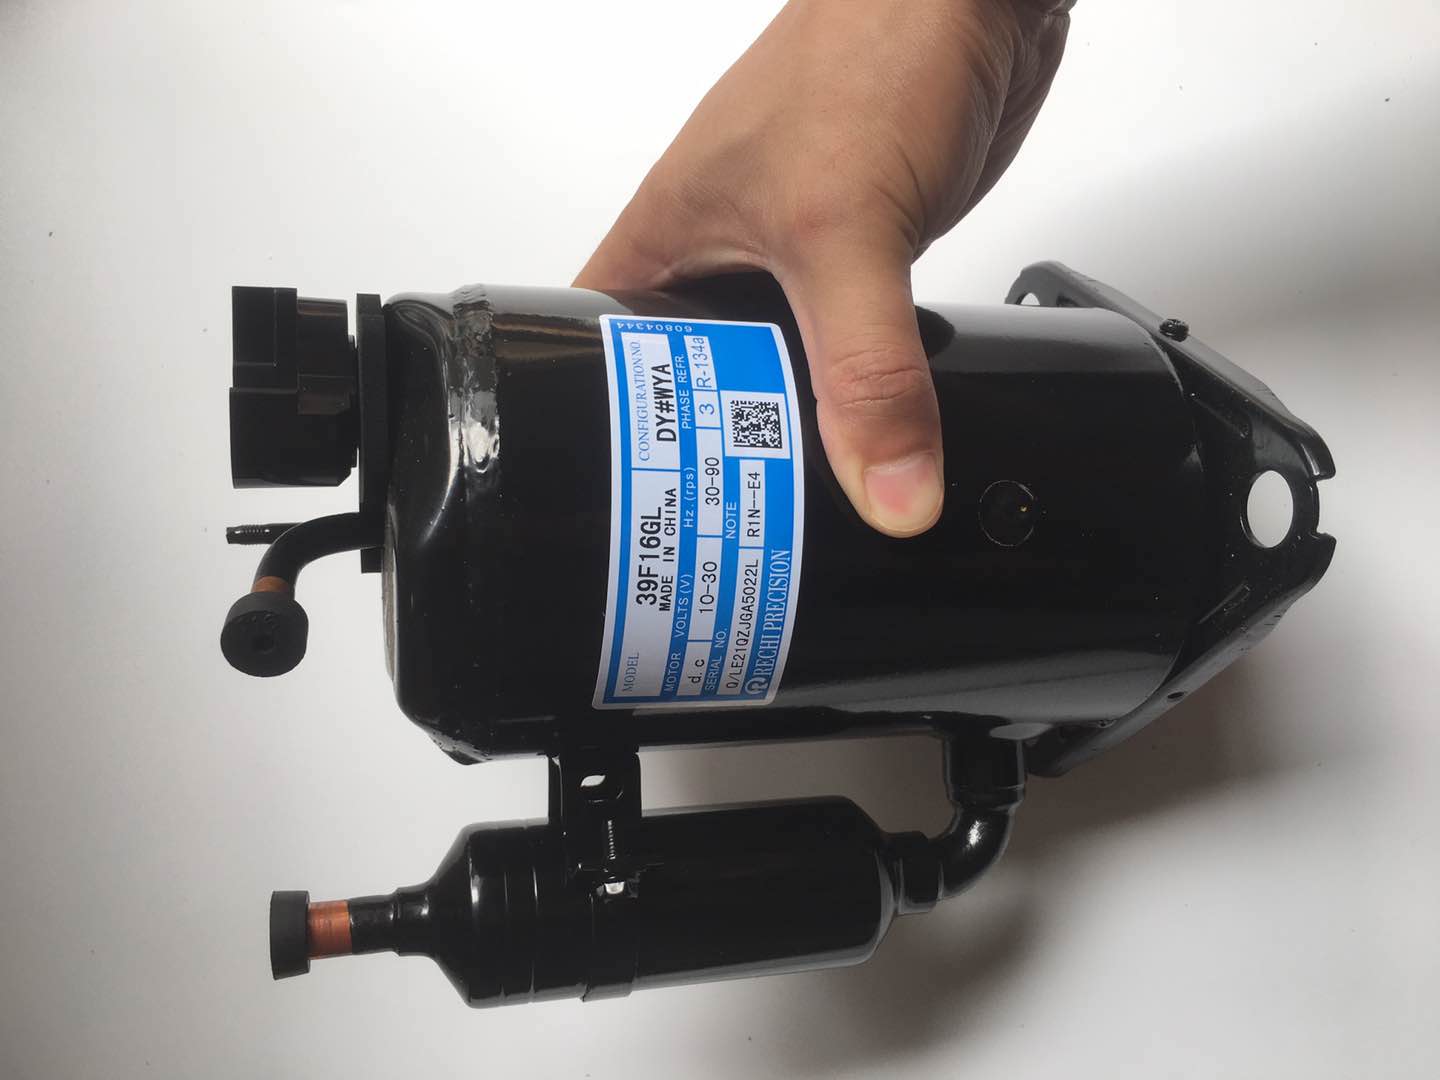
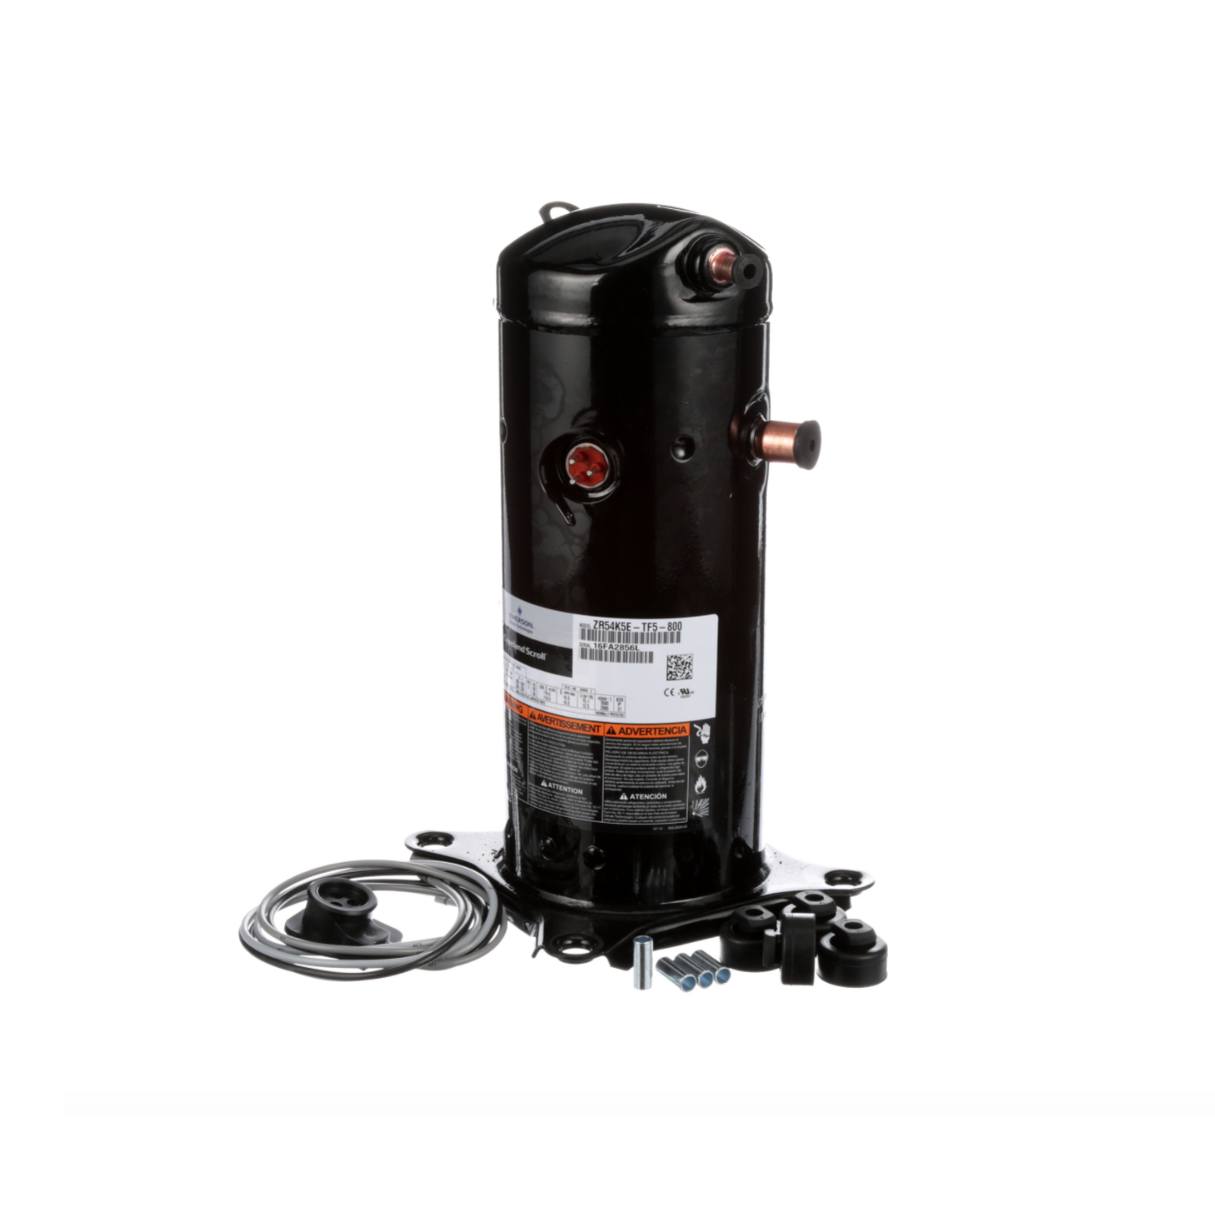
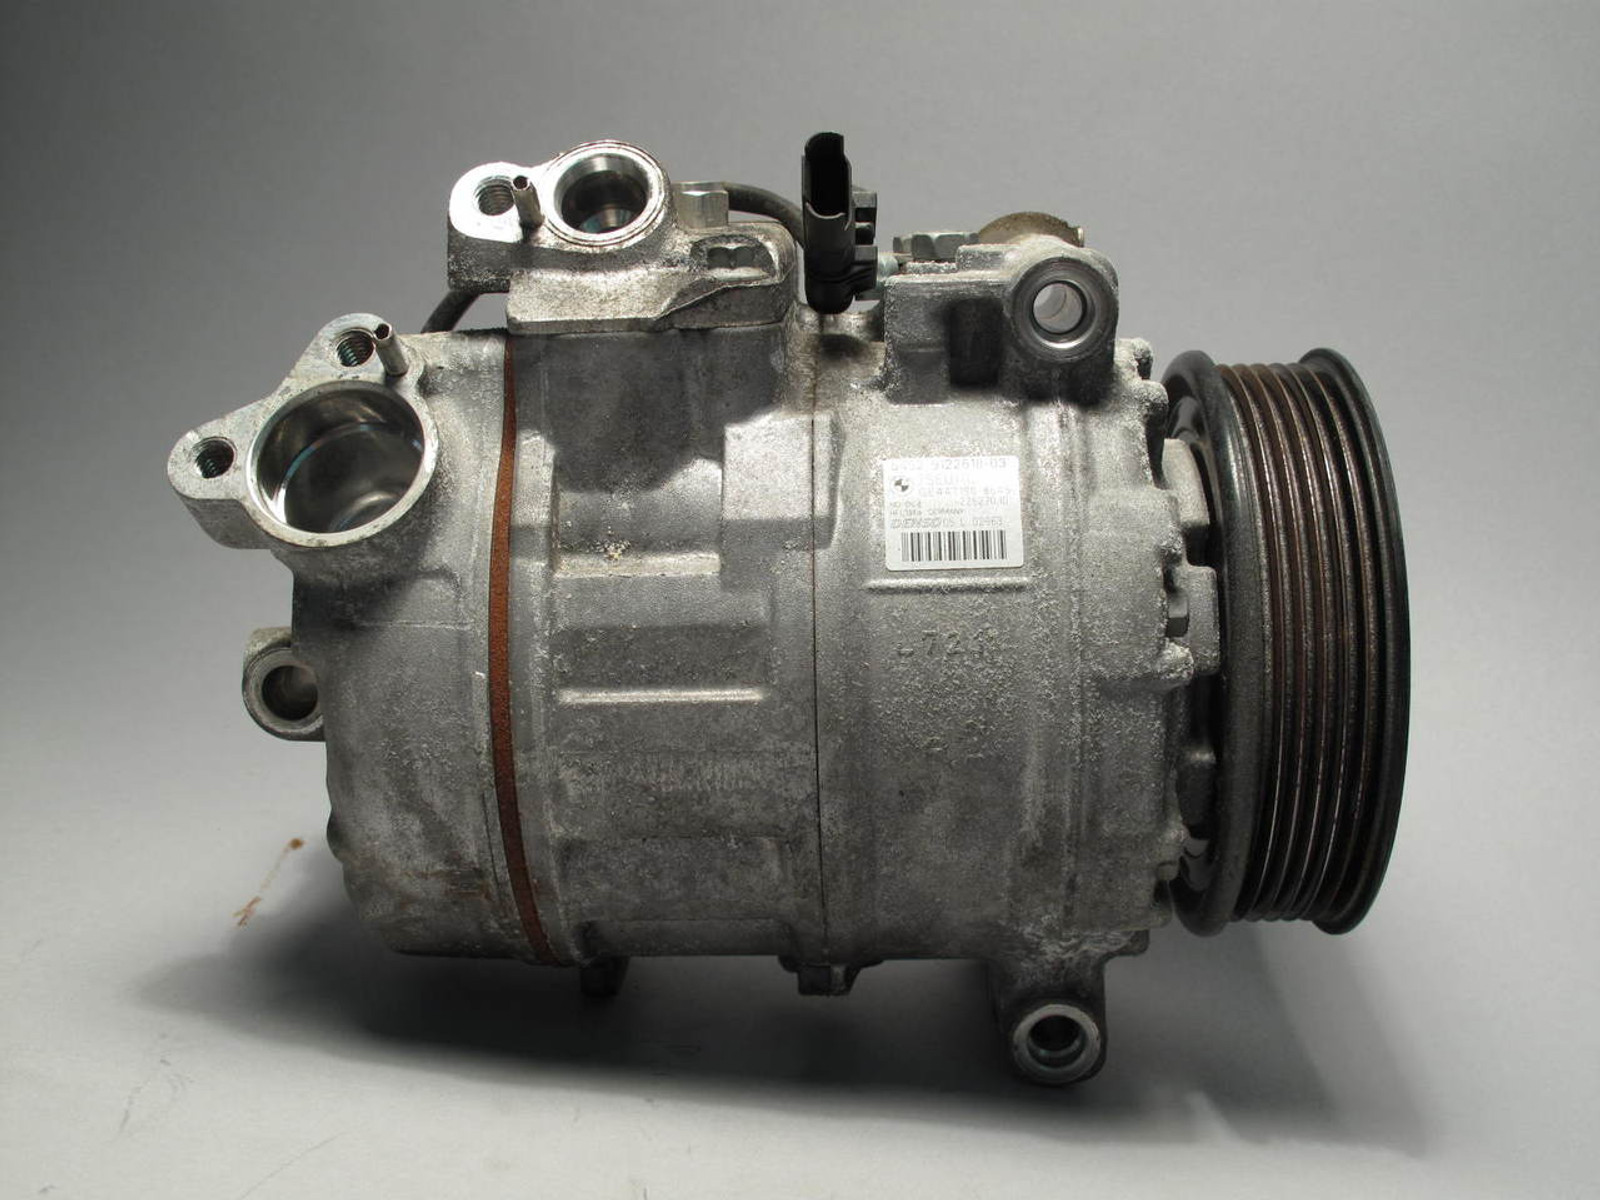
- Replacement Compressor: The first and most crucial item is the new AC compressor. Make sure to purchase a compatible compressor that matches the specifications of your air conditioning system.
- Refrigerant Recovery Machine: To safely remove and recover the refrigerant from the air conditioning system, you will need a refrigerant recovery machine. This equipment ensures that the refrigerant is properly captured and disposed of according to environmental regulations.
- Manifold Gauge Set: A manifold gauge set is used to measure the pressure and temperature of the refrigerant in the air conditioning system. This tool will help you diagnose any issues and ensure proper functioning after the replacement is complete.
- Hand Tools: You will need a set of basic hand tools, including wrenches, screwdrivers, pliers, and socket sets. These tools will be used to disassemble and reassemble various components of the air conditioning system.
- Torch or Heat Gun: A torch or heat gun is necessary to remove and replace fittings and connections. These tools apply heat to loosen stubborn bolts and facilitate easier disassembly.
- Vacuum Pump: Before installing the new AC compressor, you will need a vacuum pump to remove any moisture and air from the refrigerant lines. This step helps prevent future issues and ensures the proper functioning of the air conditioning system.
- Leak Detector: A leak detector is used to check for any refrigerant leaks in the system. It will help you identify potential leaks and ensure that the installation is leak-free before recharging the system with refrigerant.
- New O-rings and Seals: It is recommended to replace the O-rings and seals when changing the AC compressor. These components help maintain proper sealing and prevent refrigerant leaks.
- Safety Equipment: Lastly, make sure to have the necessary safety equipment, such as gloves, safety glasses, and a face mask, to protect yourself during the replacement process.
By gathering all the required tools and equipment upfront, you will save time and avoid interruptions during the replacement process. With everything ready, we can now proceed to prepare the work area, which we will cover in the next section.
Preparing the Work Area
Before you start working on replacing the AC compressor, it is important to properly prepare the work area. This will ensure a safe and efficient work environment. Here are the steps to follow when preparing the work area:
- Turn Off the Power: Begin by turning off the power supply to the air conditioning system. This can usually be done at the circuit breaker or the main power switch. Make sure to double-check that the power is indeed off before proceeding.
- Locate the Outdoor Unit: Identify the outdoor unit of your air conditioner. This is where the compressor is typically located. Clear any debris or obstacles around the unit to create enough space for the replacement process.
- Protective Covering: Use a protective covering, such as a tarp or plastic sheet, to cover the area around the outdoor unit. This will help protect against dirt, dust, and any potential damage to the surrounding surfaces during the replacement process.
- Secure Tools and Equipment: Organize and arrange all the tools and equipment you will be using for the replacement. Place them within reach and in an organized manner to ensure easy access throughout the process.
- Ensure Proper Ventilation: When working on the AC compressor, it is important to have good ventilation in the work area. Open doors, windows, or use fans to ensure a constant flow of fresh air during the replacement process.
- Wear Protective Gear: Put on the necessary protective gear, such as gloves, safety glasses, and a face mask, to protect yourself from any potential hazards during the replacement. Make sure the gear is in good condition and properly fitted.
By taking the time to prepare the work area beforehand, you will create a safe and organized environment for replacing the AC compressor. With the work area ready, we can now proceed to the next step of disconnecting the power supply. We will cover this in the following section.
Read more: What Is An AC Compressor
Disconnecting the Power Supply
Before you begin the process of changing the AC compressor, it is crucial to disconnect the power supply to ensure your safety. Here are the steps to follow when disconnecting the power supply:
- Locate the Circuit Breaker: Locate the circuit breaker panel in your home or the main power switch for your air conditioning system. This is usually located near the outdoor unit or in an electrical room.
- Identify the AC Compressor Breaker: Look for the breaker that corresponds to the AC compressor. It is usually labeled and may be identified as “AC,” “Condenser,” or similar.
- Switch Off the Breaker: Turn off the breaker by flipping the switch to the “off” position. Ensure that it is fully turned off to prevent any accidental power surges or electrical shocks during the compressor replacement process.
- Double-Check for Power: Once you have switched off the breaker, double-check for power to ensure that the electricity is completely disconnected. You can do this by turning on the air conditioner and verifying that it does not start up. If it does start, repeat the previous steps to ensure the power is fully off.
- Secure the Breaker Switch: To prevent anyone from unknowingly switching on the breaker while you are working, you may choose to secure the breaker switch with a lock or cautionary sign.
Disconnecting the power supply is a critical safety step before proceeding with any work on the AC compressor. It ensures that there is no power flowing through the system, minimizing the risk of electrical accidents or damage during the replacement process. With the power supply safely disconnected, we can now move on to the next step of removing the old AC compressor.
When changing the AC compressor, always make sure to properly evacuate the refrigerant from the system to prevent any leaks or damage. Use the appropriate tools and follow the manufacturer’s instructions for a safe and effective replacement.
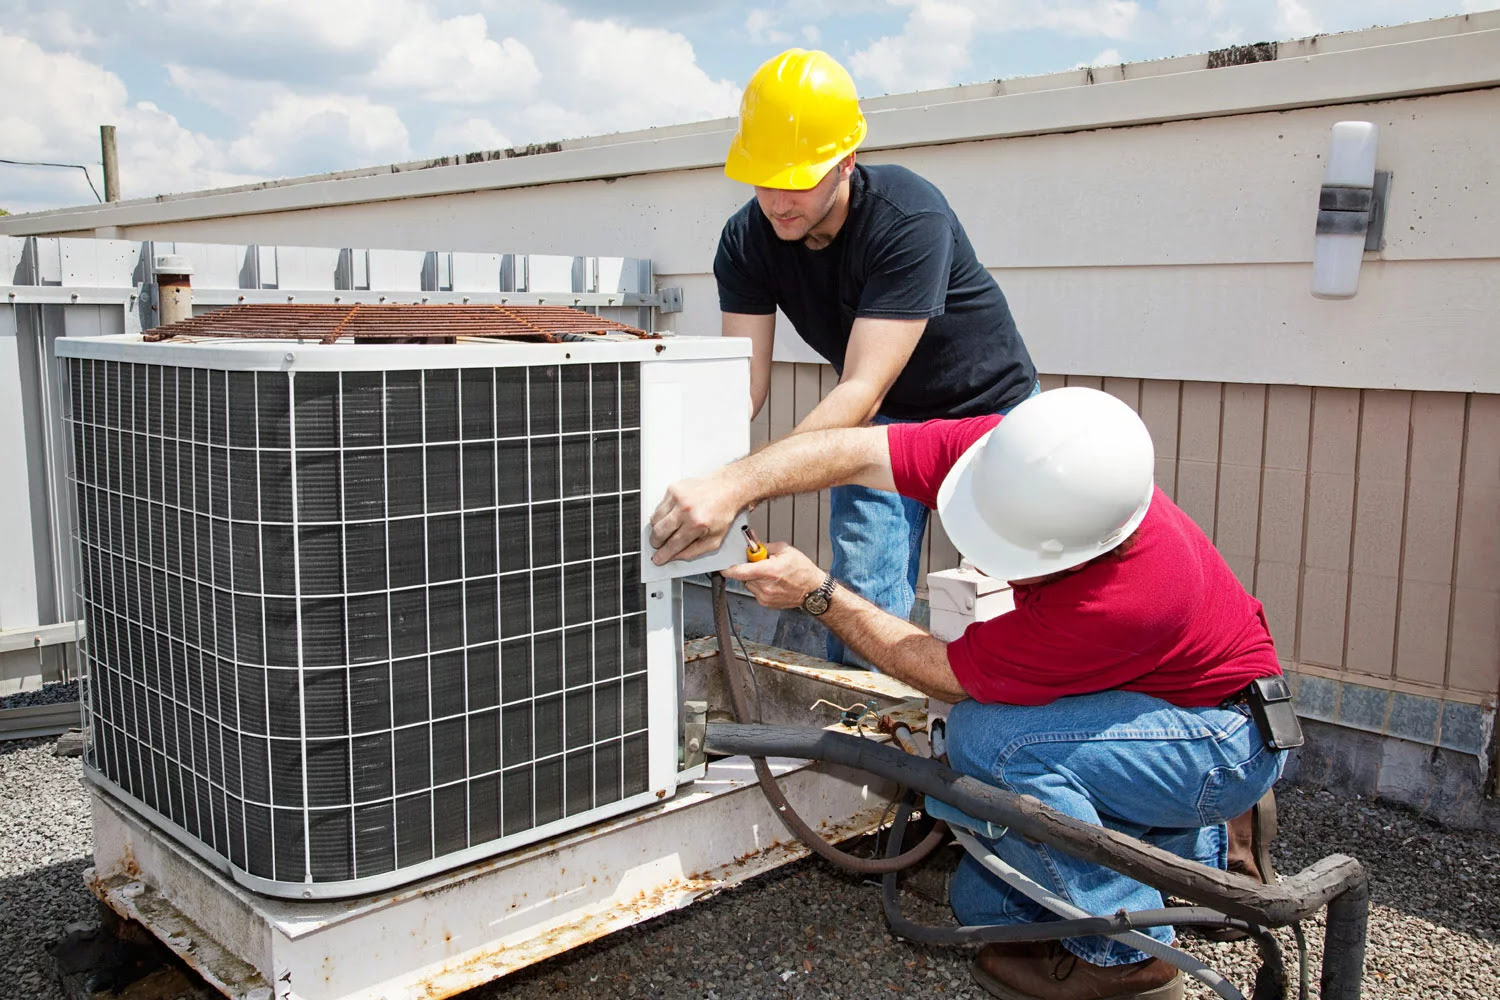
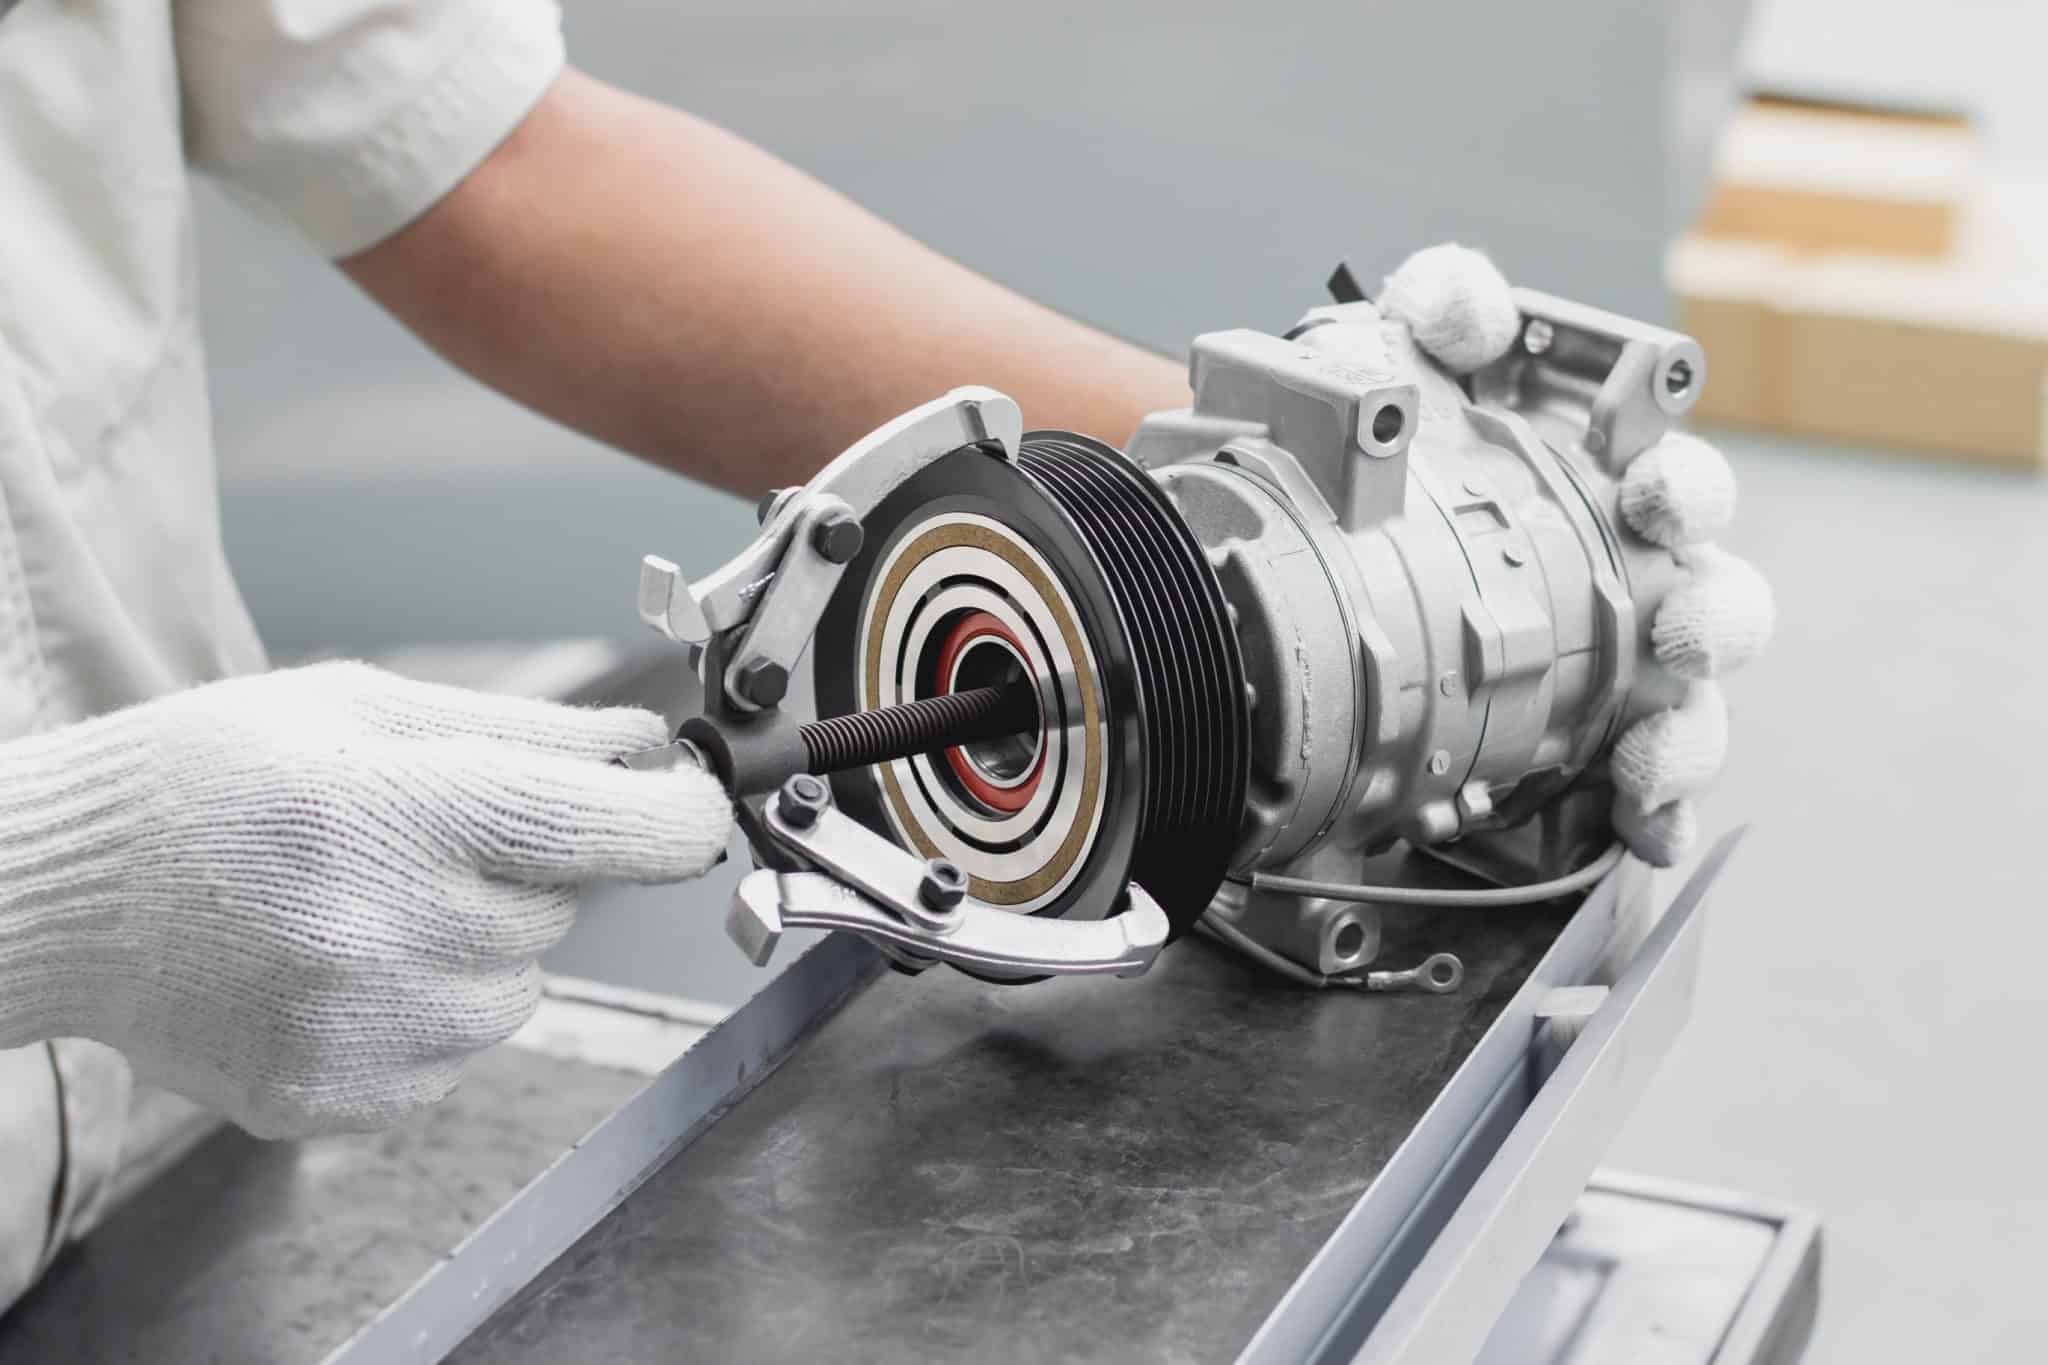
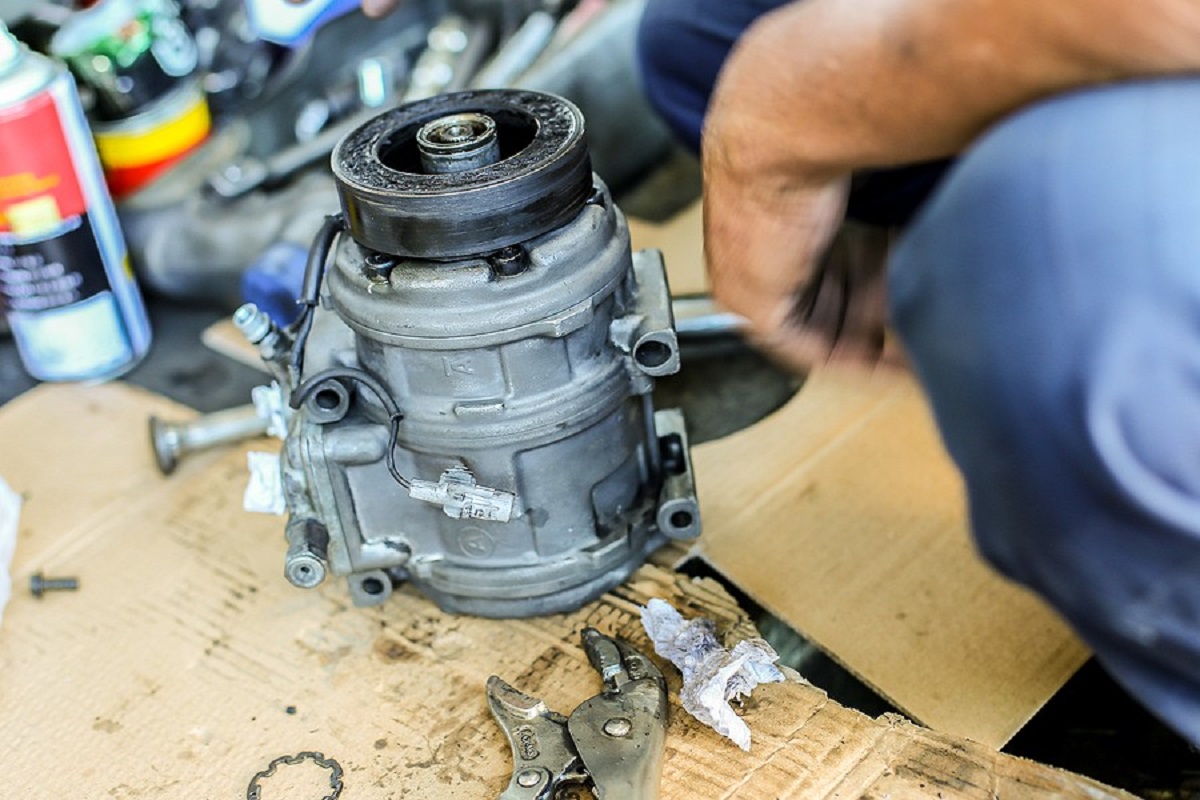
Removing the Old AC Compressor
Now that you have safely disconnected the power supply, let’s proceed with removing the old AC compressor. The following steps outline the process:
- Locate the AC Compressor: Identify the AC compressor within the outdoor unit of your air conditioning system. It is usually located near the condenser coil.
- Remove the Refrigerant: Use a refrigerant recovery machine to remove the refrigerant from the system. Follow the manufacturer’s instructions to safely and properly recover the refrigerant. Ensure that the machine is attached to the appropriate valves and fittings to capture the refrigerant.
- Disconnect the Electrical Connections: Locate the electrical connections to the old compressor, which are typically connected to the compressor clutch and electromagnetic coil. Carefully disconnect the electrical connectors, noting their positions for reinstallation later.
- Remove the Refrigerant Lines: Using the appropriate wrenches or socket sets, disconnect the refrigerant lines from the old compressor. Take note of any O-rings or seals that need to be replaced during the installation of the new compressor. Set aside the old compressor once the refrigerant lines are disconnected.
- Inspect for Damage: Take a moment to inspect the old compressor for any signs of damage or wear. Look for oil leaks, broken or damaged parts, or excessive corrosion. This inspection will help determine if the compressor failure was due to internal or external issues.
- Clean the Area: Before installing the new compressor, clean the area around the compressor housing and remove any debris or dirt. This will ensure a clean and optimal work environment for the installation.
Properly removing the old AC compressor is a crucial step in the replacement process. By following these steps carefully, you will prepare the system for the installation of the new compressor. In the next section, we will go over the process of installing the new AC compressor.
Installing the New AC Compressor
With the old AC compressor removed, it’s time to install the new compressor. Follow these steps to ensure a successful installation:
- Verify Compatibility: Double-check that the new AC compressor is compatible with your air conditioning system. Ensure that it matches the specifications and requirements of the system.
- Replace O-rings and Seals: If necessary, replace any O-rings or seals that were removed during the removal of the old compressor. This will help ensure proper sealing and prevent refrigerant leaks.
- Attach Refrigerant Lines: Carefully connect the refrigerant lines to the new AC compressor. Use the appropriate wrenches or socket sets to secure the connections, ensuring that they are tight but not over-tightened.
- Reconnect Electrical Connections: Reconnect the electrical connectors to the new compressor. Ensure that they are properly aligned and securely connected. Refer to any documentation or labels on the old compressor for guidance on the correct connections.
- Secure the Compressor: Properly secure the new compressor in place, following the manufacturer’s instructions. Use the appropriate mounting brackets or bolts to ensure a stable and secure installation.
- Inspect and Clean: Take a final moment to inspect the installation for any loose connections or potential issues. Clean the area around the new compressor, removing any debris or dirt that may have accumulated during the installation.
It is essential to follow these steps carefully to ensure a successful installation of the new AC compressor. Pay attention to details such as proper electrical connections, refrigerant line attachments, and secure mounting of the compressor. With the new compressor in place, we can now move on to the next step of reconnecting the power supply.
Reconnecting the Power Supply
After installing the new AC compressor, it’s time to reconnect the power supply to restore functionality to your air conditioning system. Follow these steps to safely reconnect the power supply:
- Double-Check Connections: Before turning on the power supply, double-check all the electrical connections to ensure they are properly aligned and securely connected. This includes the connections to the compressor clutch and the electromagnetic coil.
- Turn On the Breaker: Go to the circuit breaker panel or the main power switch for your air conditioning system. Locate the breaker that corresponds to the AC compressor, and switch it back on by flipping the switch to the “on” position.
- Check for Power: Once you have turned on the breaker, verify that power is restored to the air conditioning system. You can do this by turning on the air conditioner from the thermostat and checking that it starts up and operates normally.
- Observe and Listen: Pay close attention to the operation of your air conditioning system after reconnecting the power supply. Listen for any unusual sounds or observe any irregularities in cooling performance. If you notice any issues, it may be necessary to seek professional assistance.
- Monitor for Leaks: Keep a close eye on the area around the new AC compressor for any signs of refrigerant leaks. If you notice any leaks or suspect a leak, it is important to address it promptly by tightening connections or replacing seals if necessary.
Reconnecting the power supply is a critical step in the AC compressor replacement process. Take the time to double-check all electrical connections and ensure proper alignment before turning on the power. By following these steps, you should be able to safely restore power to your air conditioning system and evaluate its operation. In the next section, we will discuss testing and ensuring the proper functionality of the newly installed compressor.
Read more: How To Add AC Compressor Oil
Testing and Ensuring Proper Functionality
After reinstalling the AC compressor and reconnecting the power supply, it is crucial to test and ensure that the newly installed compressor is functioning properly. Follow these steps to test the system and verify its functionality:
- Turn on the Air Conditioner: From the thermostat, turn on your air conditioning system and set it to a cool temperature. Wait a few moments to allow the system to start up.
- Monitor Cooling Performance: Observe the cooling performance of the air conditioning system. The air blowing from the vents should be cool and the room should gradually reach the desired temperature.
- Listen for Unusual Noises: Pay attention to any unusual noises coming from the indoor or outdoor units of the air conditioner. Grinding, squealing, or rattling sounds could indicate a problem with the compressor or other components.
- Check for Proper Cycling: Observe the cycling of the air conditioner. It should turn on and off at appropriate intervals to maintain the desired temperature. Rapid or frequent cycling may indicate an issue with the compressor or other components.
- Monitor Energy Consumption: Keep track of any changes in energy consumption after replacing the compressor. If you notice a significant increase in energy usage without a corresponding improvement in cooling performance, it may indicate a problem with the new compressor.
- Inspect for Refrigerant Leaks: Regularly inspect the area around the compressor and refrigerant lines for any signs of refrigerant leaks. Look for oil stains, wet spots, or visible signs of refrigerant. If you detect a leak, it should be addressed promptly.
- Consider Professional Inspection: If you have any concerns about the functionality or performance of the newly installed compressor, it is advisable to seek the assistance of a professional HVAC technician. They can perform a thorough inspection and make any necessary adjustments or repairs.
Testing and ensuring the proper functionality of the newly installed AC compressor is essential for the optimal performance of your air conditioning system. By following these steps and taking note of any issues or abnormal behavior, you can address any potential problems and enjoy the benefits of a properly functioning AC system. Finally, let’s conclude this article with a summary of the key points.
Conclusion
Replacing the AC compressor is a task that requires careful consideration and technical knowledge. By understanding the function of the AC compressor and assessing the need for replacement, you can determine whether it is necessary to proceed with the replacement process. Gathering the necessary tools and equipment beforehand and preparing the work area will ensure a smooth and efficient process.
Before starting the replacement, it is important to disconnect the power supply to the air conditioning system for safety. With the power safely disconnected, you can remove the old AC compressor, inspecting it for any signs of damage. Clean the area and proceed to install the new compressor, making sure to properly connect the refrigerant lines and electrical connections.
After installing the new AC compressor, reconnect the power supply and monitor the system for proper functionality. Take note of any unusual noises, observe the cooling performance, and check for refrigerant leaks. If you encounter any issues, it may be necessary to seek professional assistance.
Remember, if you are uncertain or uncomfortable with any aspect of changing the AC compressor, it is always advisable to consult with a professional HVAC technician who can safely and effectively handle the replacement process.
By following the steps outlined in this guide, you can successfully change your AC compressor and restore the proper functioning of your air conditioning system. Enjoy the benefits of a cool and comfortable environment, knowing that your AC compressor is functioning optimally.
Thank you for reading, and we hope this guide has provided you with valuable insights and guidance!
Frequently Asked Questions about How To Change AC Compressor
Was this page helpful?
At Storables.com, we guarantee accurate and reliable information. Our content, validated by Expert Board Contributors, is crafted following stringent Editorial Policies. We're committed to providing you with well-researched, expert-backed insights for all your informational needs.


0 thoughts on “How To Change AC Compressor”