Articles
How To Test AC Compressor In Car
Modified: October 20, 2024
Learn how to test the AC compressor in your car with these informative articles. Discover tips and techniques for troubleshooting and diagnosing AC compressor issues.
(Many of the links in this article redirect to a specific reviewed product. Your purchase of these products through affiliate links helps to generate commission for Storables.com, at no extra cost. Learn more)
Introduction
Car air conditioning (AC) systems play a crucial role in keeping you cool and comfortable during hot summer days. The heart of the AC system is the compressor, which is responsible for pressurizing the refrigerant and circulating it throughout the system. Over time, the AC compressor may experience wear and tear, leading to reduced cooling performance or even complete failure. That’s why it’s important to regularly test the AC compressor in your car to ensure it’s functioning properly.
In this article, we’ll guide you through the process of testing the AC compressor in your car. We’ll cover the necessary tools and equipment you’ll need, as well as step-by-step instructions on how to perform the tests. By following these steps, you’ll be able to determine if your AC compressor is working correctly or if it requires any repairs or replacements.
Before we jump into the testing process, it’s important to note that working on car AC systems can be potentially dangerous, as they involve high-pressure refrigerant and electrical components. It’s always recommended to take the necessary safety precautions and, if you’re not confident in your abilities, consult a professional mechanic or AC technician.
Now, let’s gather our tools and equipment and get started with testing the AC compressor in your car.
Key Takeaways:
- Regularly testing your car’s AC compressor is crucial for maintaining optimal cooling performance and identifying potential issues that may require repairs or replacements.
- Prioritize safety, gather the necessary tools, and follow the step-by-step process to accurately assess the condition of your car’s AC compressor, ensuring a comfortable driving experience.
Read more: How To Know If Car AC Compressor Is Bad
Tools and Equipment Needed
Before you begin testing the AC compressor in your car, make sure you have the following tools and equipment ready:
- Protective gloves
- Safety goggles
- Workshop manual or repair guide for your specific car model
- Socket and ratchet set
- Wrench set
- Rubber mallet
- Refrigerant leak detection kit (optional)
- Multimeter with AC voltage and continuity settings
- A/C pressure gauge set
These tools are essential for safely and accurately testing the AC compressor. The protective gloves and safety goggles will shield you from any potential harm while working with the AC system. The workshop manual or repair guide will provide specific instructions and diagrams for accessing and testing the AC compressor in your car model.
The socket and ratchet set, as well as the wrench set, will be necessary for removing any components obstructing access to the AC compressor. The rubber mallet can come in handy for gently tapping and loosening stuck parts.
If you suspect a refrigerant leak, it’s a good idea to have a refrigerant leak detection kit on hand to help you identify any leaks. This will prevent any waste of time and effort testing a compressor that may be compromised due to a leak.
The multimeter with AC voltage and continuity settings will be used to test the electrical connections of the AC compressor. This will help you determine if there are any issues with the electrical circuitry.
Lastly, an A/C pressure gauge set is needed to measure the pressure of the refrigerant in the system. This will give you an indication of whether the compressor is functioning properly or if there are any pressure-related problems.
Once you have gathered all the necessary tools and equipment, you’re ready to proceed with testing the AC compressor in your car.
Step 1: Safety Precautions
Before starting any work on your car’s AC system, it’s crucial to prioritize safety. The following safety precautions should be taken to ensure your well-being:
- Ensure the car is parked on a level surface and turned off. Engage the parking brake and chock the wheels to prevent any accidental movement.
- Wear protective gloves and safety goggles to protect your hands and eyes from potential hazards.
- Allow the engine to cool down completely before working on the AC system to avoid the risk of burns from hot engine components.
- If you suspect that the AC system may contain refrigerant, never attempt to release or handle it yourself. Refrigerant contains harmful chemicals and should only be handled by certified professionals.
- Avoid wearing loose clothing or jewelry that could get caught in moving parts.
- Always follow the specific safety instructions provided in the workshop manual or repair guide for your car model.
- If you are unsure or uncomfortable performing any aspect of the testing process, it’s best to consult a professional mechanic or AC technician.
Remember, safety should be the top priority throughout the testing procedure. By following these safety precautions, you can minimize the risk of accidents or injuries and ensure a smooth testing process.
Once you have taken all the necessary safety measures, you can proceed to the next step: locating the AC compressor in your car.
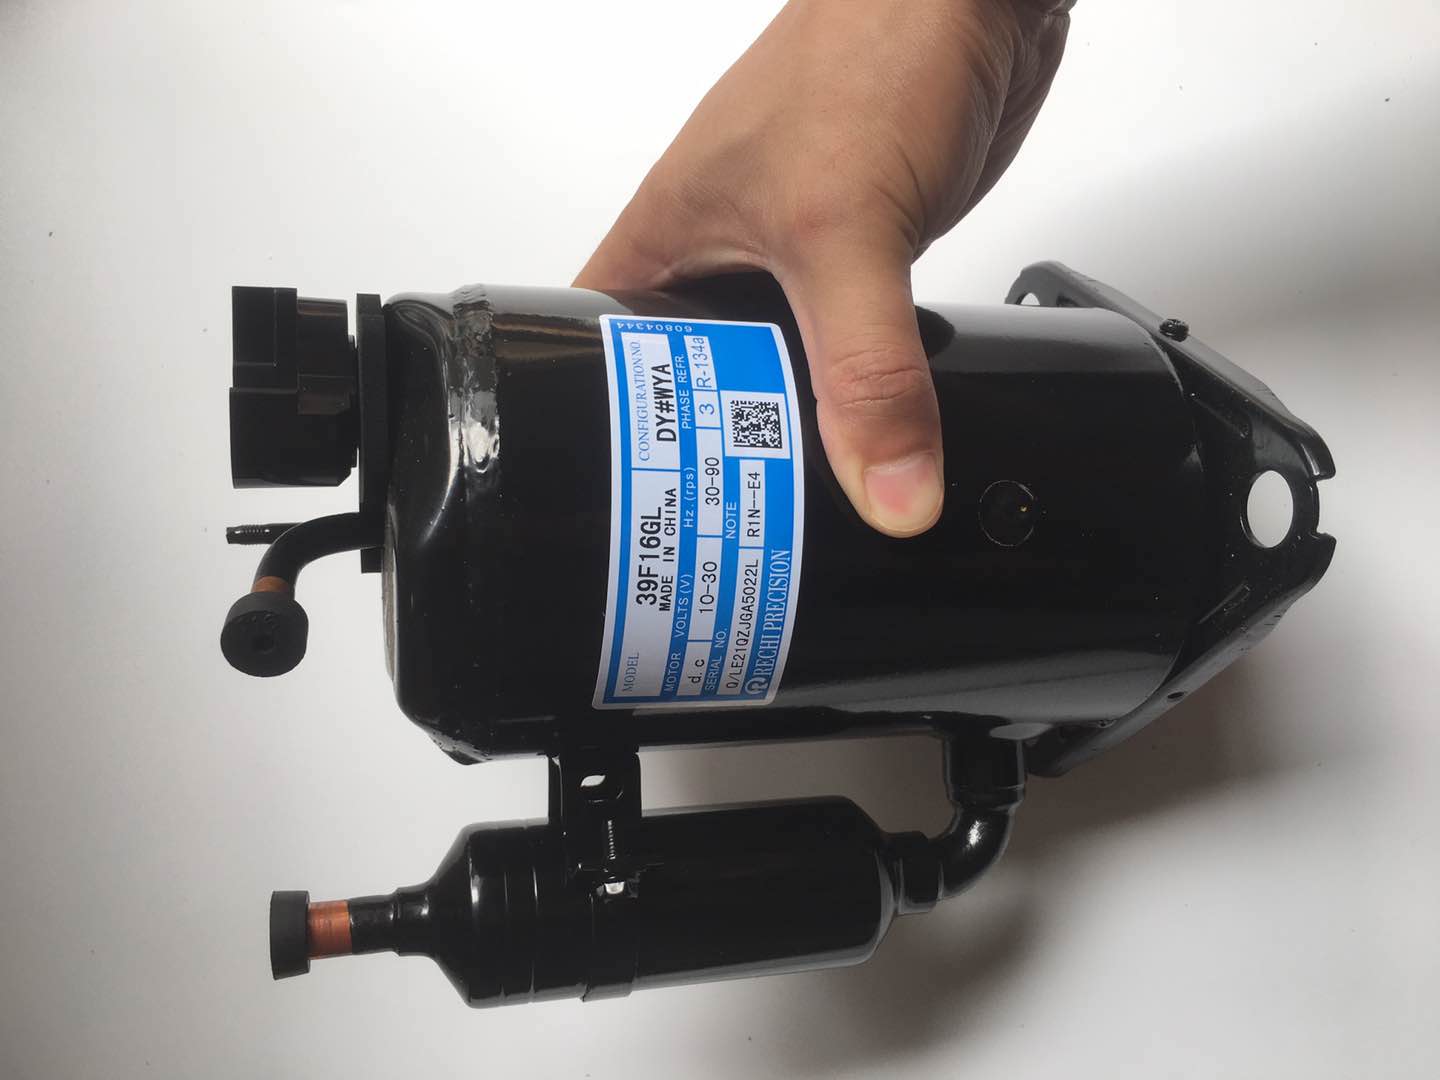
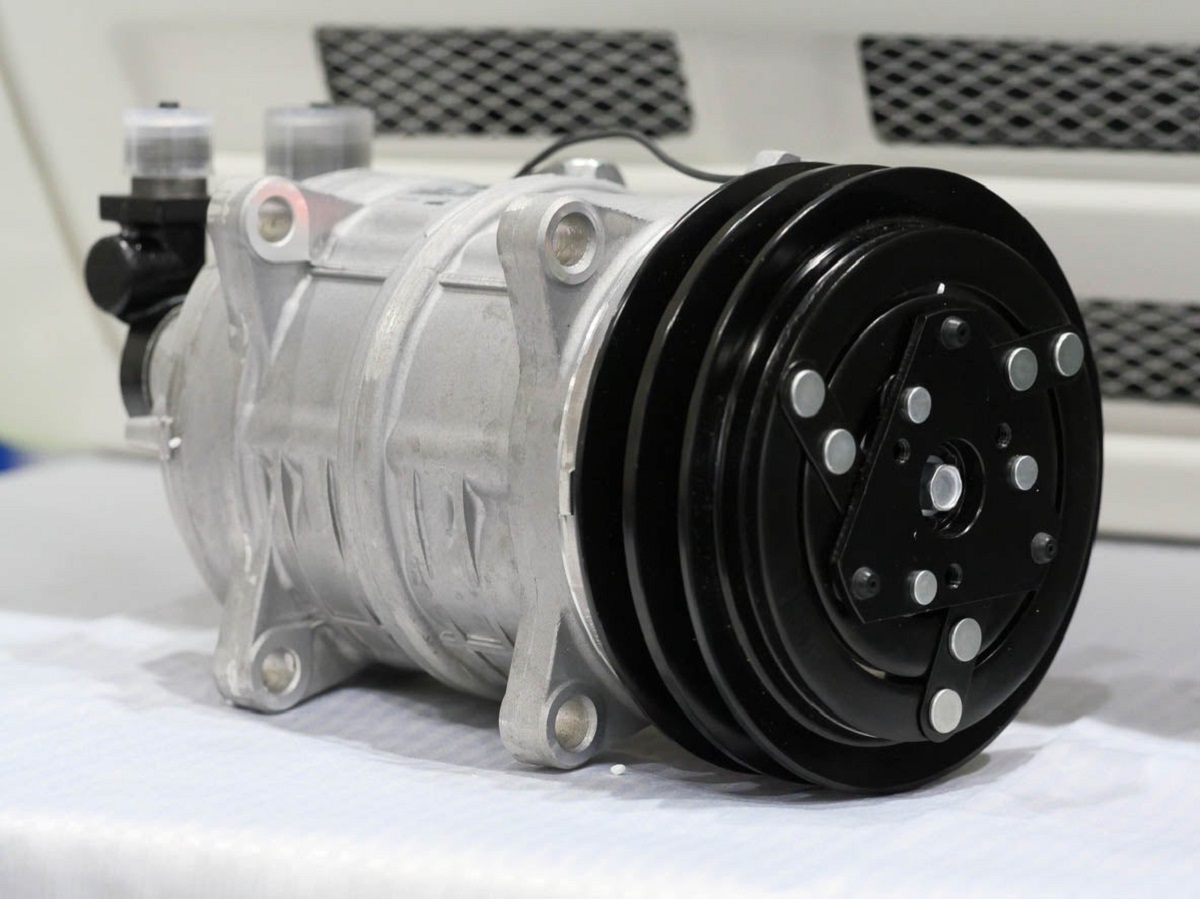
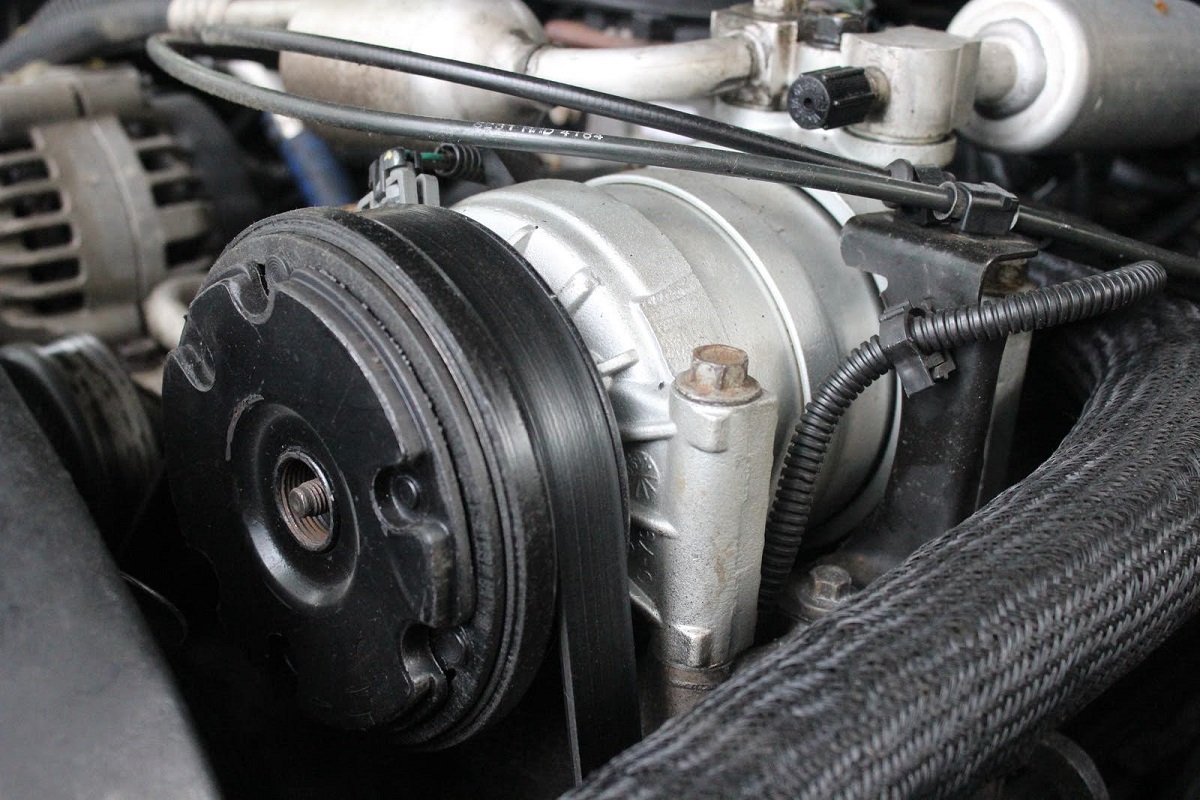
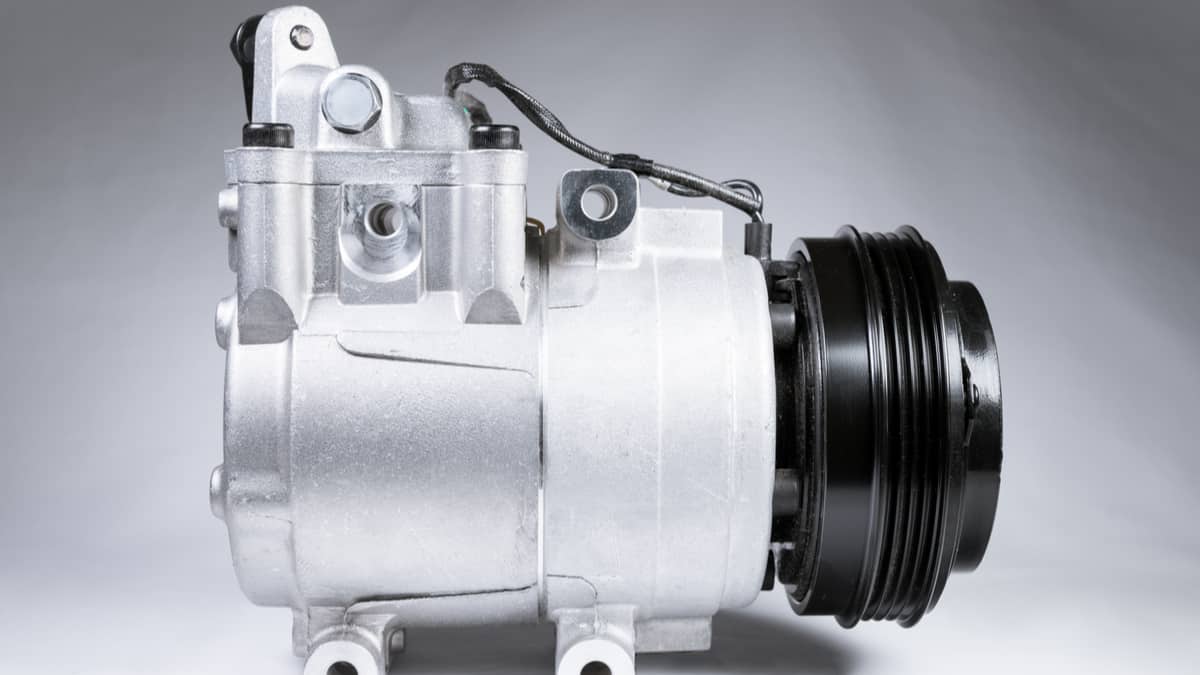
Step 2: Locating the AC Compressor
Before you can begin testing the AC compressor, you need to locate its position in your car. The AC compressor is typically located in the engine compartment, usually on the side of the engine where the serpentine belt is located. The exact location can vary depending on the make and model of your car.
Here are the general steps to locate the AC compressor:
- Open the hood of your car and secure it in place with the prop rod or hood latch.
- Inspect the engine compartment and look for a round or oblong-shaped component with metal lines connected to it. This is the AC compressor.
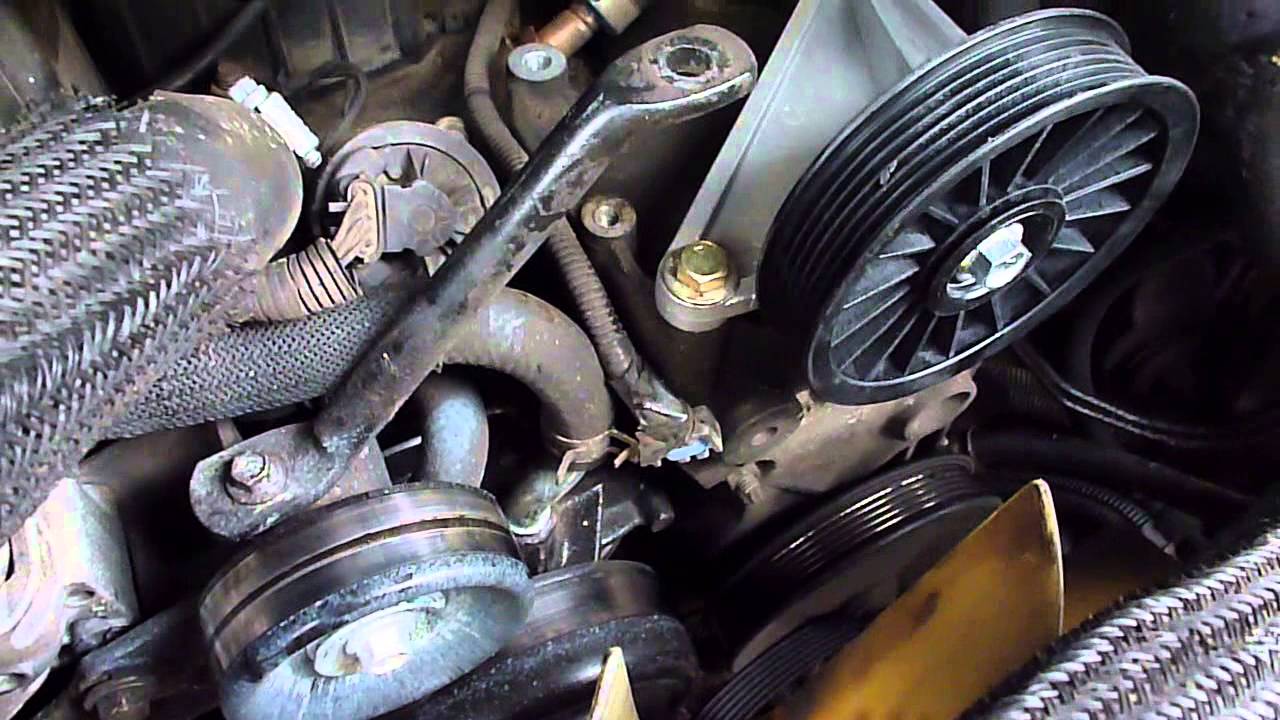
- The AC compressor is usually driven by a belt connected to the engine. Look for the serpentine belt that wraps around various pulleys, and trace it to locate the AC compressor.
- Refer to the workshop manual or repair guide for your car model if you are unable to locate the AC compressor based on visual inspection.
Once you have located the AC compressor, you can move on to the next step: inspecting the AC compressor for any visible signs of damage or wear.
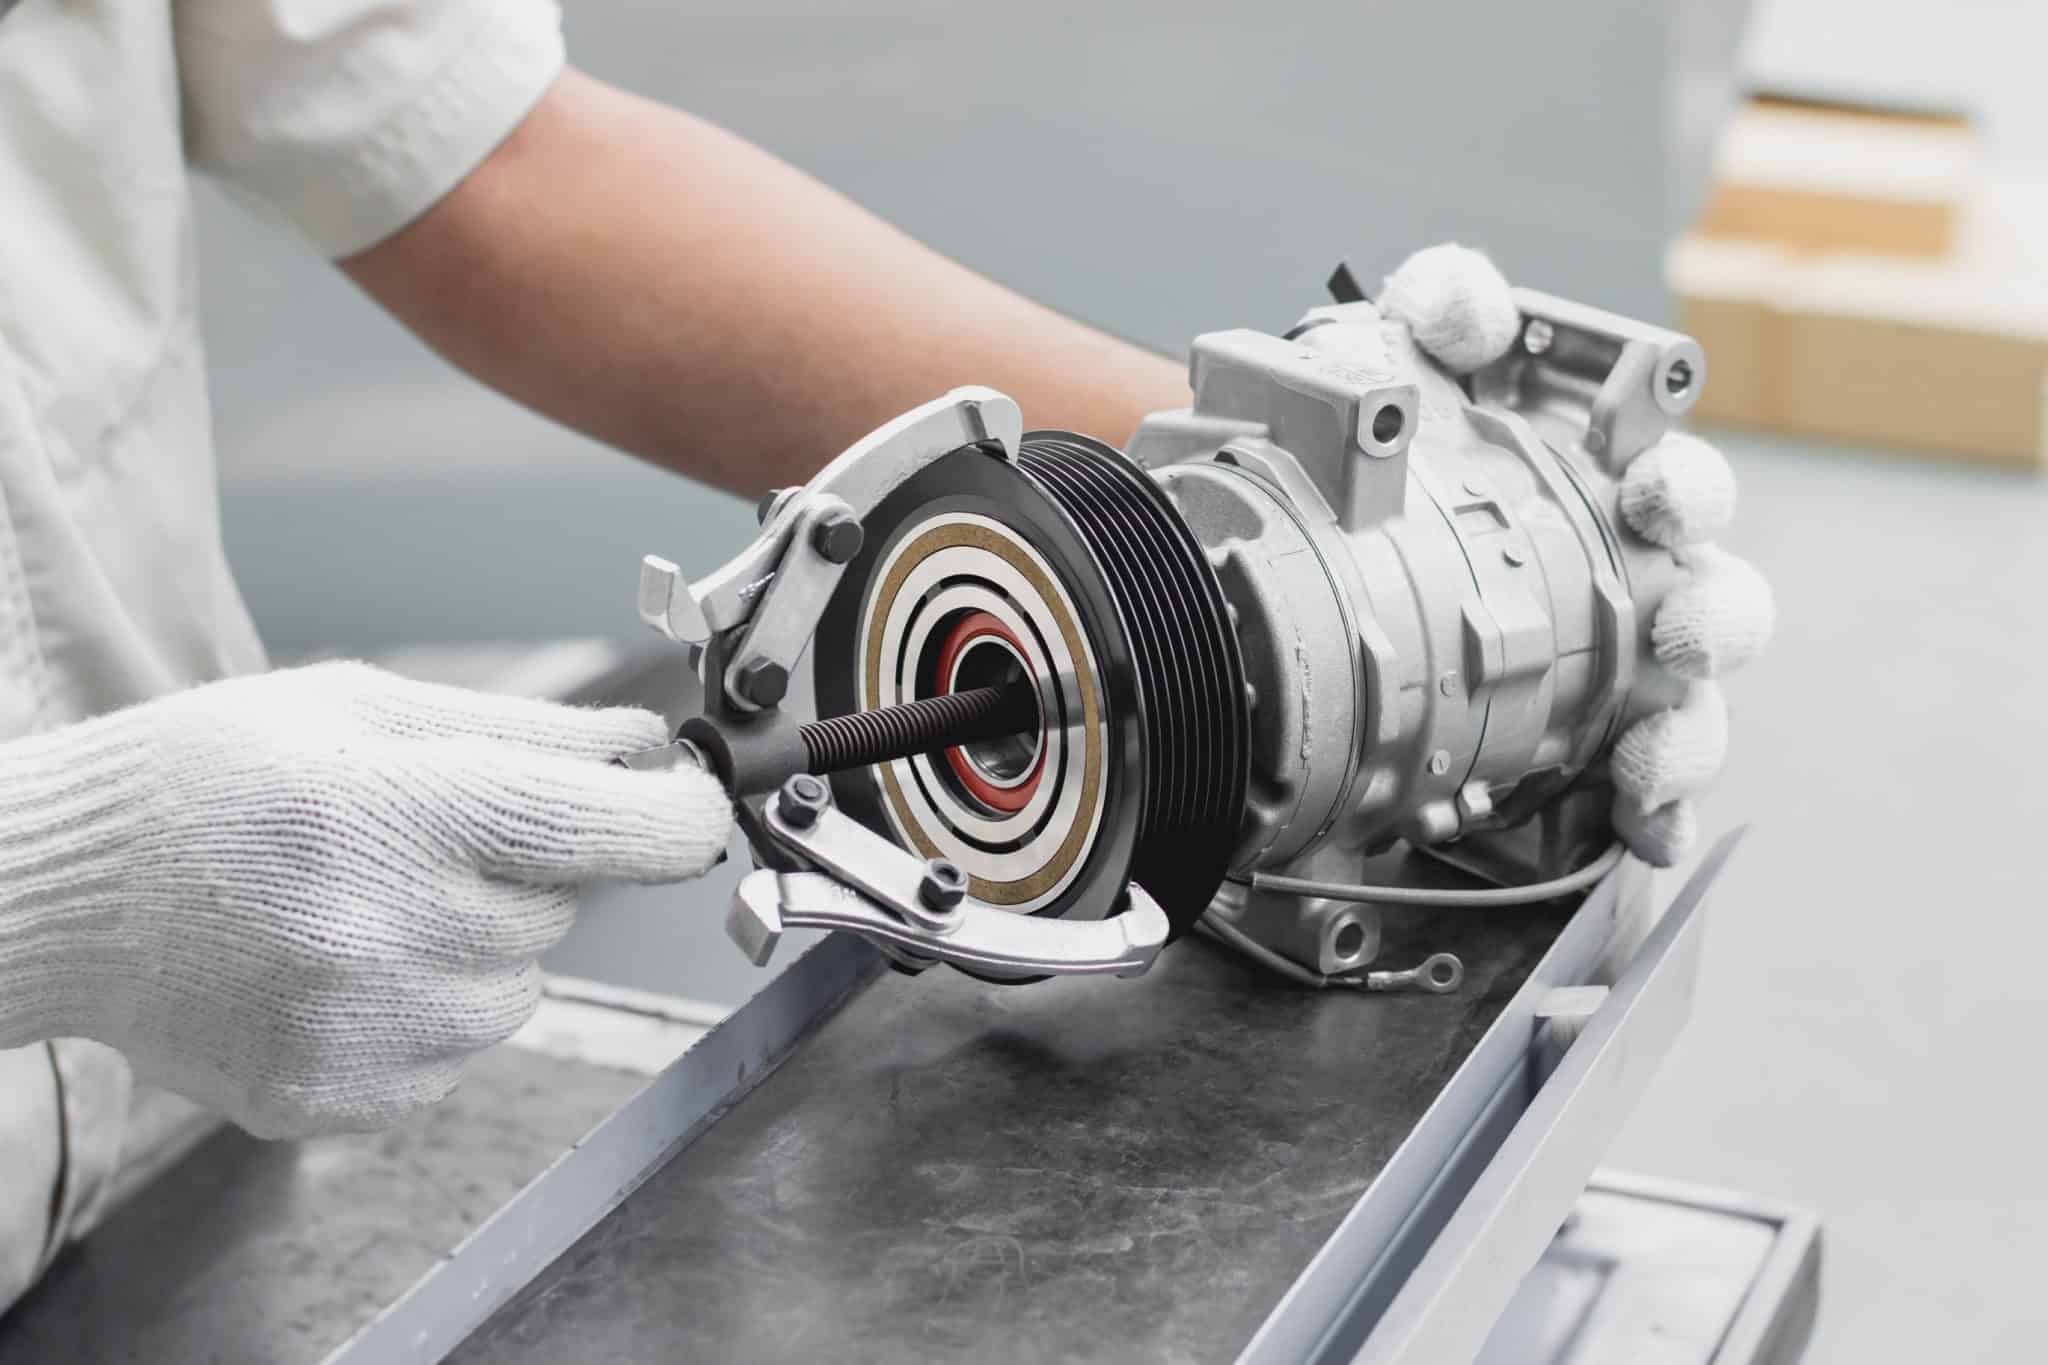
Step 3: Inspecting the AC Compressor
After locating the AC compressor in your car, the next step is to visually inspect it for any signs of damage or wear. This inspection will give you an initial idea of the compressor’s condition and help identify any obvious issues.
Follow these steps to inspect the AC compressor:
- Start by examining the compressor for any physical damage, such as cracks, dents, or leaks. Look closely at the compressor housing and fittings for any signs of wear or corrosion.
- Inspect the compressor pulley for any wobbling or misalignment. A properly functioning compressor should have a stable and aligned pulley.
- Check the electrical connectors and wiring harness connected to the compressor. Look for any signs of frayed wires or loose connections.
- Inspect the compressor clutch, if applicable, which is located at the front of the compressor. Ensure that the clutch engages and disengages smoothly when the AC is turned on and off.
- If you notice any visible damage or irregularities during the inspection, it may indicate a problem with the compressor. In such cases, further testing and diagnosis will be necessary.
It’s worth noting that not all issues with the AC compressor can be identified through a visual inspection. Some internal problems may not be visible, which is why additional testing is required.
Once you have completed the visual inspection, you can proceed to the next step: testing the electrical connections of the AC compressor.
Read more: How To ReplACe AC Compressor In Car
Step 4: Testing the Electrical Connections
Testing the electrical connections of the AC compressor is an essential step in diagnosing any electrical issues that may affect its functionality. Faulty connections can prevent the compressor from operating properly, leading to a lack of cooling performance in your car’s AC system.
- Start by disconnecting the negative terminal of the car battery to ensure your safety while working with the electrical components.
- Locate the electrical connectors that are connected to the AC compressor. They are usually located on the side or top of the compressor.
- Inspect the connectors for any signs of damage or corrosion. If you notice any issues, clean the connectors using electrical contact cleaner.
- Using a multimeter with AC voltage and continuity settings, set the meter to the appropriate settings for testing the electrical connections.
- Connect the multimeter probes to the electrical connectors, ensuring a secure connection.
- With the AC system turned on, observe the multimeter readings. You should see a voltage reading within the specified range for your car’s AC system.
- If the voltage reading is outside the specified range or if there is no voltage reading at all, it indicates a problem with the electrical connections. This could be due to a faulty relay, fuse, or wiring issue.
- If the voltage readings are normal and within the specified range, move on to testing the compressor pulley in the next step.
Testing the electrical connections will help identify any potential issues with the electrical circuitry supplying power to the AC compressor. If you encounter any abnormalities during this test, it may require further investigation and possible repairs.
Once you have completed testing the electrical connections, you can proceed to the next step: testing the compressor pulley.
When testing the AC compressor in your car, start by checking the compressor clutch for engagement when the AC is turned on. You can also use a multimeter to test for proper voltage at the compressor. If the clutch engages and there is proper voltage, the compressor may be faulty.
Step 5: Testing the Compressor Pulley
The compressor pulley is an integral part of the AC compressor that drives its operation. Testing the compressor pulley will help determine if it is functioning properly and if it can effectively transmit power to the compressor.
- Start by inspecting the pulley for any physical damage, such as cracks or excessive wear. Ensure that the pulley is properly aligned and rotates smoothly.
- Use a socket and ratchet or a wrench to turn the compressor pulley in a clockwise direction.
- As you turn the pulley, observe if it rotates freely without any resistance or noise.
- If the pulley is difficult to turn, wobbles, or produces unusual noises, it indicates a problem with the compressor pulley. This could be due to worn bearings or other mechanical issues.
- A properly functioning compressor pulley should rotate smoothly and without any noticeable issues.
- If you encounter any abnormalities during the pulley test, it may suggest the need for further inspection, repair, or replacement of the compressor pulley.
Testing the compressor pulley is essential to ensure that it can effectively transmit power to the AC compressor. Any irregularities in its operation can affect the overall performance and efficiency of your car’s AC system.
Once you have completed testing the compressor pulley, you can move on to the next step: checking for refrigerant leaks.
Step 6: Checking for Refrigerant Leaks
Refrigerant leaks can lead to a decrease in the cooling performance of your car’s AC system. It’s important to check for any refrigerant leaks before proceeding with further testing of the AC compressor.
- Put on your safety goggles and protective gloves before starting the leak detection process.
- Inspect the AC system components, including the AC compressor, refrigerant lines, fittings, and connections, for any signs of oil or residue. Oil stains or wet spots can indicate the presence of a refrigerant leak.
- Use a refrigerant leak detection kit, which typically includes a UV dye and a UV light, to detect any refrigerant leaks.
- Follow the instructions on the leak detection kit to apply the UV dye to the AC system. This may involve adding the dye to the refrigerant system or applying it directly to specific components.
- Next, turn on the AC system and let it run for a few minutes to allow the dye to circulate within the system.
- Using the UV light from the leak detection kit, carefully inspect the AC system components for any fluorescent green or yellowish stains. These stains indicate the presence of a refrigerant leak.
- If you detect any leaks, it’s important to address them before further testing the AC compressor. Refrigerant leaks can cause damage to the compressor and other components, as well as contribute to environmental pollution.
- If there are no visible refrigerant leaks, you can proceed to the next step: using a multimeter to test the AC compressor.
Checking for refrigerant leaks is crucial to ensure the AC system operates at its optimum level and prevents any potential damage. Addressing any refrigerant leaks promptly will help maintain the efficiency and performance of your car’s AC system.
Once you have completed checking for refrigerant leaks, you can move on to the next step: using a multimeter to test the AC compressor.
Step 7: Using a Multimeter to Test the Compressor
Using a multimeter is a crucial step in accurately testing the AC compressor’s electrical performance. It allows you to measure the voltage and continuity of the compressor, giving you valuable insights into its functionality.
- Ensure the AC system is turned off and the car’s engine is not running before proceeding with the multimeter test.
- Set your multimeter to the AC voltage setting. Refer to the user manual of your specific multimeter if you’re unsure how to change the settings.
- Connect the black probe of the multimeter to a reliable ground, such as a metal part of the car’s chassis.
- Connect the red probe of the multimeter to the wire or connector that supplies power to the AC compressor. This wire or connector is typically located near the compressor itself.
- Turn on the AC system and observe the multimeter readings. You should see a voltage reading within the specified range for your car’s AC system.
- If the voltage reading is outside the specified range or if there is no voltage reading at all, it indicates a potential issue with the electrical supply to the compressor.
- Next, switch the multimeter to the continuity or resistance setting.
- Connect one probe of the multimeter to the compressor case or any metal part of the compressor.
- Connect the other probe to the electrical connector or wire that goes to the compressor clutch.
- Check the multimeter reading for continuity or resistance. A low resistance or beep sound indicates good continuity, while a high resistance or no beep indicates a possible issue with the connection.
Using a multimeter allows you to accurately measure the electrical performance of the AC compressor. Any anomalies in voltage or continuity readings can indicate underlying issues that may require further inspection or repair.
Once you have completed the multimeter test, you can proceed to the next step: interpreting the multimeter readings to assess the AC compressor’s condition.
Step 8: Interpreting the Multimeter Readings
Interpreting the multimeter readings is a crucial step in assessing the condition of the AC compressor. Understanding the readings will help you determine if the compressor is functioning properly or if there are any issues that need further attention.
- For the voltage reading obtained in the previous step, compare it to the specified range provided by the manufacturer or specified for your car’s AC system. If the reading falls within the specified range, it indicates that the electrical supply to the compressor is normal.
- If the voltage reading is outside the specified range or if there is no voltage reading at all, it suggests an issue with the electrical supply to the compressor. This may be caused by a faulty relay, fuse, or wiring problem that needs to be addressed.
- For the continuity or resistance reading obtained in the previous step, check if the multimeter shows low resistance or produces a beep sound. This indicates good continuity and suggests that the electrical connection to the compressor is intact.
- If the multimeter shows high resistance or no beep sound, it indicates a potential issue with the electrical connection. This could be due to a loose or damaged wire, faulty connector, or problem with the compressor clutch.
- It’s important to note that while the multimeter readings provide valuable information, they are not the sole determining factor. Other tests and inspections may be necessary to fully diagnose the condition of the AC compressor.
By interpreting the multimeter readings, you can gain insights into the electrical performance of the AC compressor. This information will help you determine if the compressor is operating normally or if there are any specific areas of concern that require further investigation.
Once you have assessed the multimeter readings, you can move on to the next step: repeating the tests if necessary.
Step 9: Repeating the Test (if necessary)
Repeating the test is an important step if you encountered any abnormalities or uncertainties during the previous tests. It allows you to double-check your findings and ensure the accuracy of your assessment of the AC compressor.
- If you noticed any irregularities or if the multimeter readings were outside the specified range, it is recommended to repeat the tests to confirm the results.
- Ensure that all the necessary safety precautions are in place before proceeding with the tests.
- Carefully follow the steps outlined in the previous sections, including inspecting the AC compressor, testing the electrical connections, checking for refrigerant leaks, and using a multimeter to measure voltage and continuity.
- Compare the new test results to the previous ones to see if there are any discrepancies or if the issues persist.
- If the new test results align with your initial findings, it indicates a consistent problem that requires further inspection or repair.
- If the new test results differ from your initial findings, it may be necessary to consult a professional mechanic or AC technician for a more accurate assessment.
Repeating the tests if necessary helps ensure that your evaluation of the AC compressor is thorough and reliable. It enables you to identify any persistent issues or validate your initial findings, allowing for a more informed decision on the next course of action.
Once you have repeated the necessary tests, you can proceed with addressing any identified issues or concluding the testing procedure.
Conclusion
Testing the AC compressor in your car is an essential step in maintaining the efficiency and performance of your car’s air conditioning system. By following the steps outlined in this guide, you’ll be able to assess the condition of the AC compressor and identify any potential issues that may require further attention.
We started by emphasizing the importance of safety precautions and gathering the necessary tools and equipment before beginning the testing process. Safety should always be prioritized when working with any components of your car’s AC system.
We then walked through the step-by-step process, including locating the AC compressor, inspecting it for damage, testing the electrical connections, checking for refrigerant leaks, using a multimeter to assess voltage and continuity, and repeating the tests if necessary.
Throughout the testing process, it’s crucial to interpret the multimeter readings accurately and understand their implications on the functionality of the AC compressor. This will help you make informed decisions regarding further inspection, repair, or maintenance.
It’s worth noting that while this guide provides a comprehensive overview, each car model may have specific variations in the AC system, and it’s essential to consult your car’s workshop manual or repair guide for precise instructions and specifications.
If you encounter any difficulties, inconsistencies, or uncertainties during the testing process, it’s always best to seek the assistance of a professional mechanic or AC technician. They have the expertise and experience to diagnose and address any AC compressor issues effectively.
Regular testing and maintenance of your car’s AC compressor will ensure optimal cooling performance and extend the lifespan of the AC system. By taking the time to perform these tests, you can stay cool and comfortable on your journeys, even during the hottest summer days.
Remember, a well-functioning AC compressor is essential for a pleasant driving experience, so don’t overlook its maintenance and testing requirements.
Frequently Asked Questions about How To Test AC Compressor In Car
Was this page helpful?
At Storables.com, we guarantee accurate and reliable information. Our content, validated by Expert Board Contributors, is crafted following stringent Editorial Policies. We're committed to providing you with well-researched, expert-backed insights for all your informational needs.


0 thoughts on “How To Test AC Compressor In Car”