Articles
How To Change Faucet In Bathroom Sink
Modified: March 1, 2024
Learn step-by-step instructions on how to change the faucet in your bathroom sink with our helpful articles. Enhance the look and functionality of your bathroom easily.
(Many of the links in this article redirect to a specific reviewed product. Your purchase of these products through affiliate links helps to generate commission for Storables.com, at no extra cost. Learn more)
Introduction:
Changing the faucet in your bathroom sink can give your bathroom an instant upgrade and make your everyday tasks more convenient and enjoyable. Whether you’re looking to replace a worn-out or outdated faucet or simply want to refresh the look of your bathroom, this step-by-step guide will help you through the process. With the right tools and a little bit of patience, you can easily change the faucet in your bathroom sink and transform the space into a stylish and functional oasis.
Before we delve into the steps involved, it’s essential to gather the necessary tools and materials for the project. Here’s what you’ll need:
- Adjustable wrench
- Plumbers tape
- Bucket or towel to catch any water
- Screwdriver (flathead or Phillips, depending on your faucet)
- New faucet
- Plumbing putty or silicone caulk
Having these tools on hand will make the process smoother and ensure that you have everything you need to complete the task. Now, let’s get started with the step-by-step instructions for changing the faucet in your bathroom sink.
Key Takeaways:
- Upgrade your bathroom instantly by changing the faucet with the right tools and a step-by-step guide. Enjoy a stylish and functional oasis with a satisfying DIY project.
- Ensure a safe and mess-free environment by shutting off the water supply and testing the faucet for smooth functionality after installation. Transform your bathroom with a significant impact.
Read more: How To Change A Bathroom Sink Faucet
Tools and Materials Needed:
Before you begin the process of changing the faucet in your bathroom sink, make sure you have the following tools and materials readily available:
- Adjustable wrench: This tool will allow you to loosen and tighten the nuts and bolts that hold the faucet in place.
- Plumbers tape: Also known as Teflon tape, plumbers tape is used to create a watertight seal on the threaded connections of the faucet.
- Bucket or towel: Having a bucket or towel nearby will help catch any water that may spill while disconnecting the old faucet.
- Screwdriver: Depending on the type of faucet you have, you may need either a flathead or Phillips screwdriver to remove any screws or fasteners.
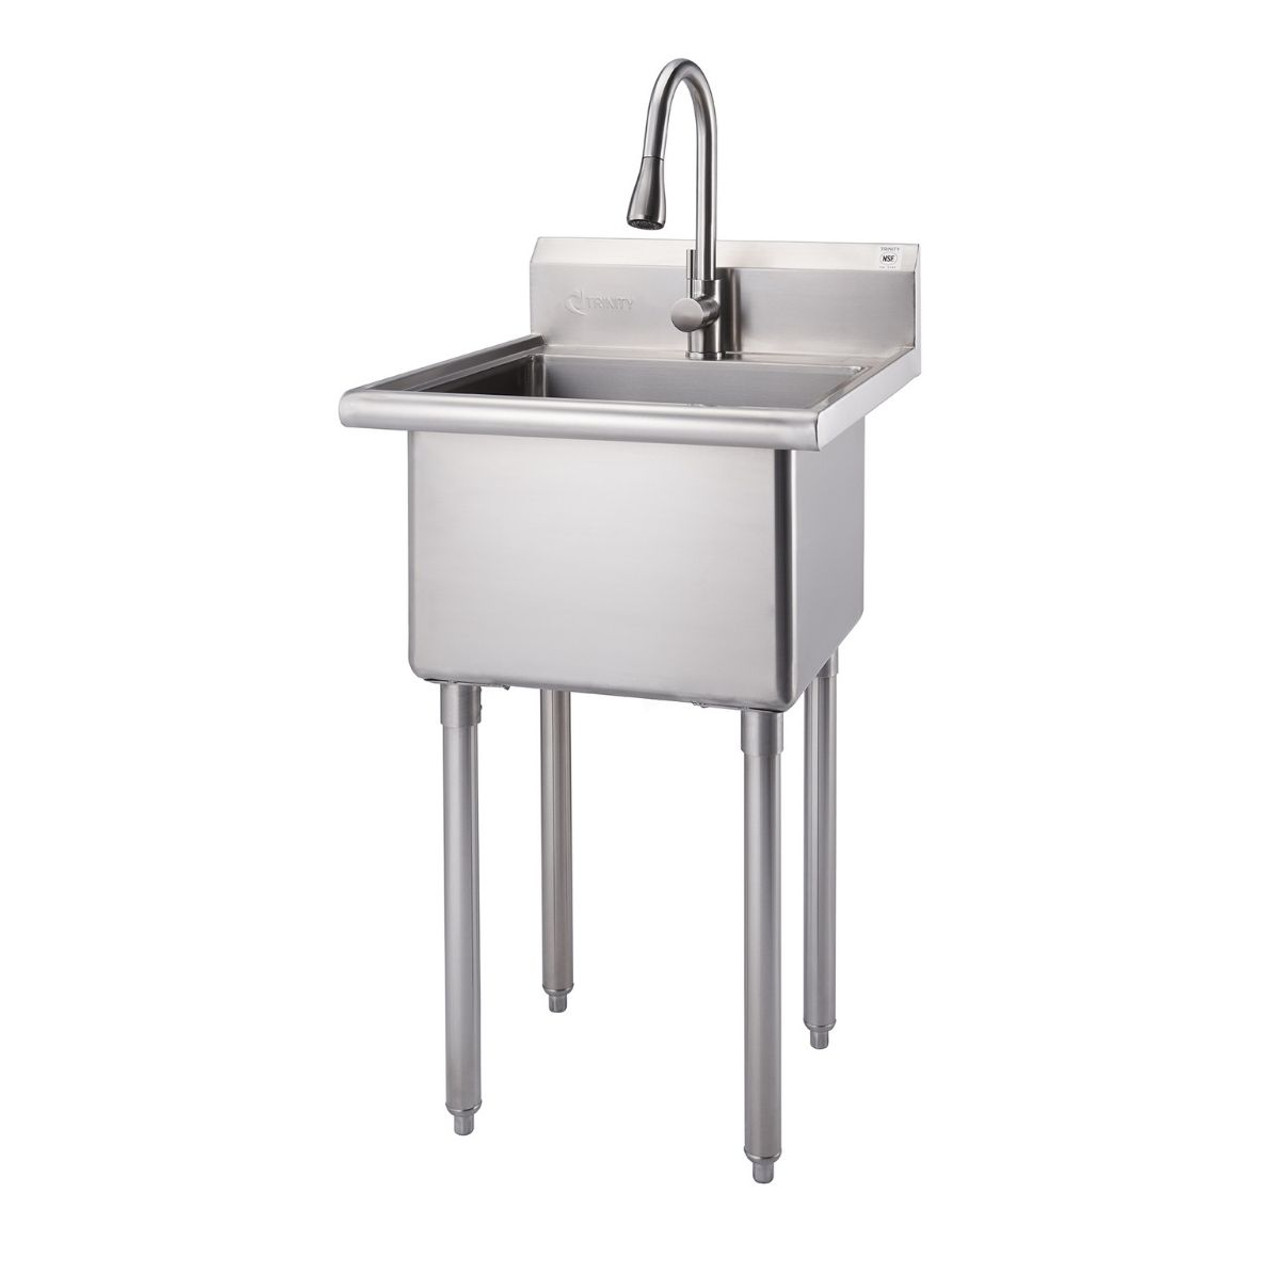
- New faucet: Choose a new faucet that suits your style and meets your functional needs. Be sure to measure the distance between the hot and cold water supply lines to ensure a proper fit.
- Plumbing putty or silicone caulk: This material is used to create a waterproof seal around the base of the faucet, preventing any water from leaking into the sink cabinet.
Having these tools and materials on hand will ensure that you are fully prepared to tackle the task of changing your bathroom sink faucet. Take the time to gather everything before you begin, and you’ll save yourself unnecessary trips to the hardware store.
Now that you have all the necessary tools and materials, let’s move on to the step-by-step process of changing the faucet in your bathroom sink.
Step 1: Shut off the Water Supply
Before you can start removing the old faucet and installing the new one, you need to shut off the water supply to your bathroom sink. This step is crucial to prevent any water leakage or flooding during the process.
Locate the shut-off valves under the sink. There should be separate valves for hot and cold water supply lines. Turn them clockwise to close the valves and cut off the water flow. If you don’t have individual shut-off valves, you may need to shut off the main water supply to your home.
To ensure that the water supply is completely turned off, turn on the faucet and let the remaining water in the lines drain out. This will help relieve any pressure and prevent any accidental water spray when you detach the supply lines.
Use a bucket or place a towel under the sink to catch any excess water that may still be in the lines. This will help keep your work area clean and dry.
By shutting off the water supply, you are ensuring a safe and mess-free environment for the rest of the faucet replacement process. Now that you have taken these necessary precautions, you can move on to the next step: removing the old faucet.
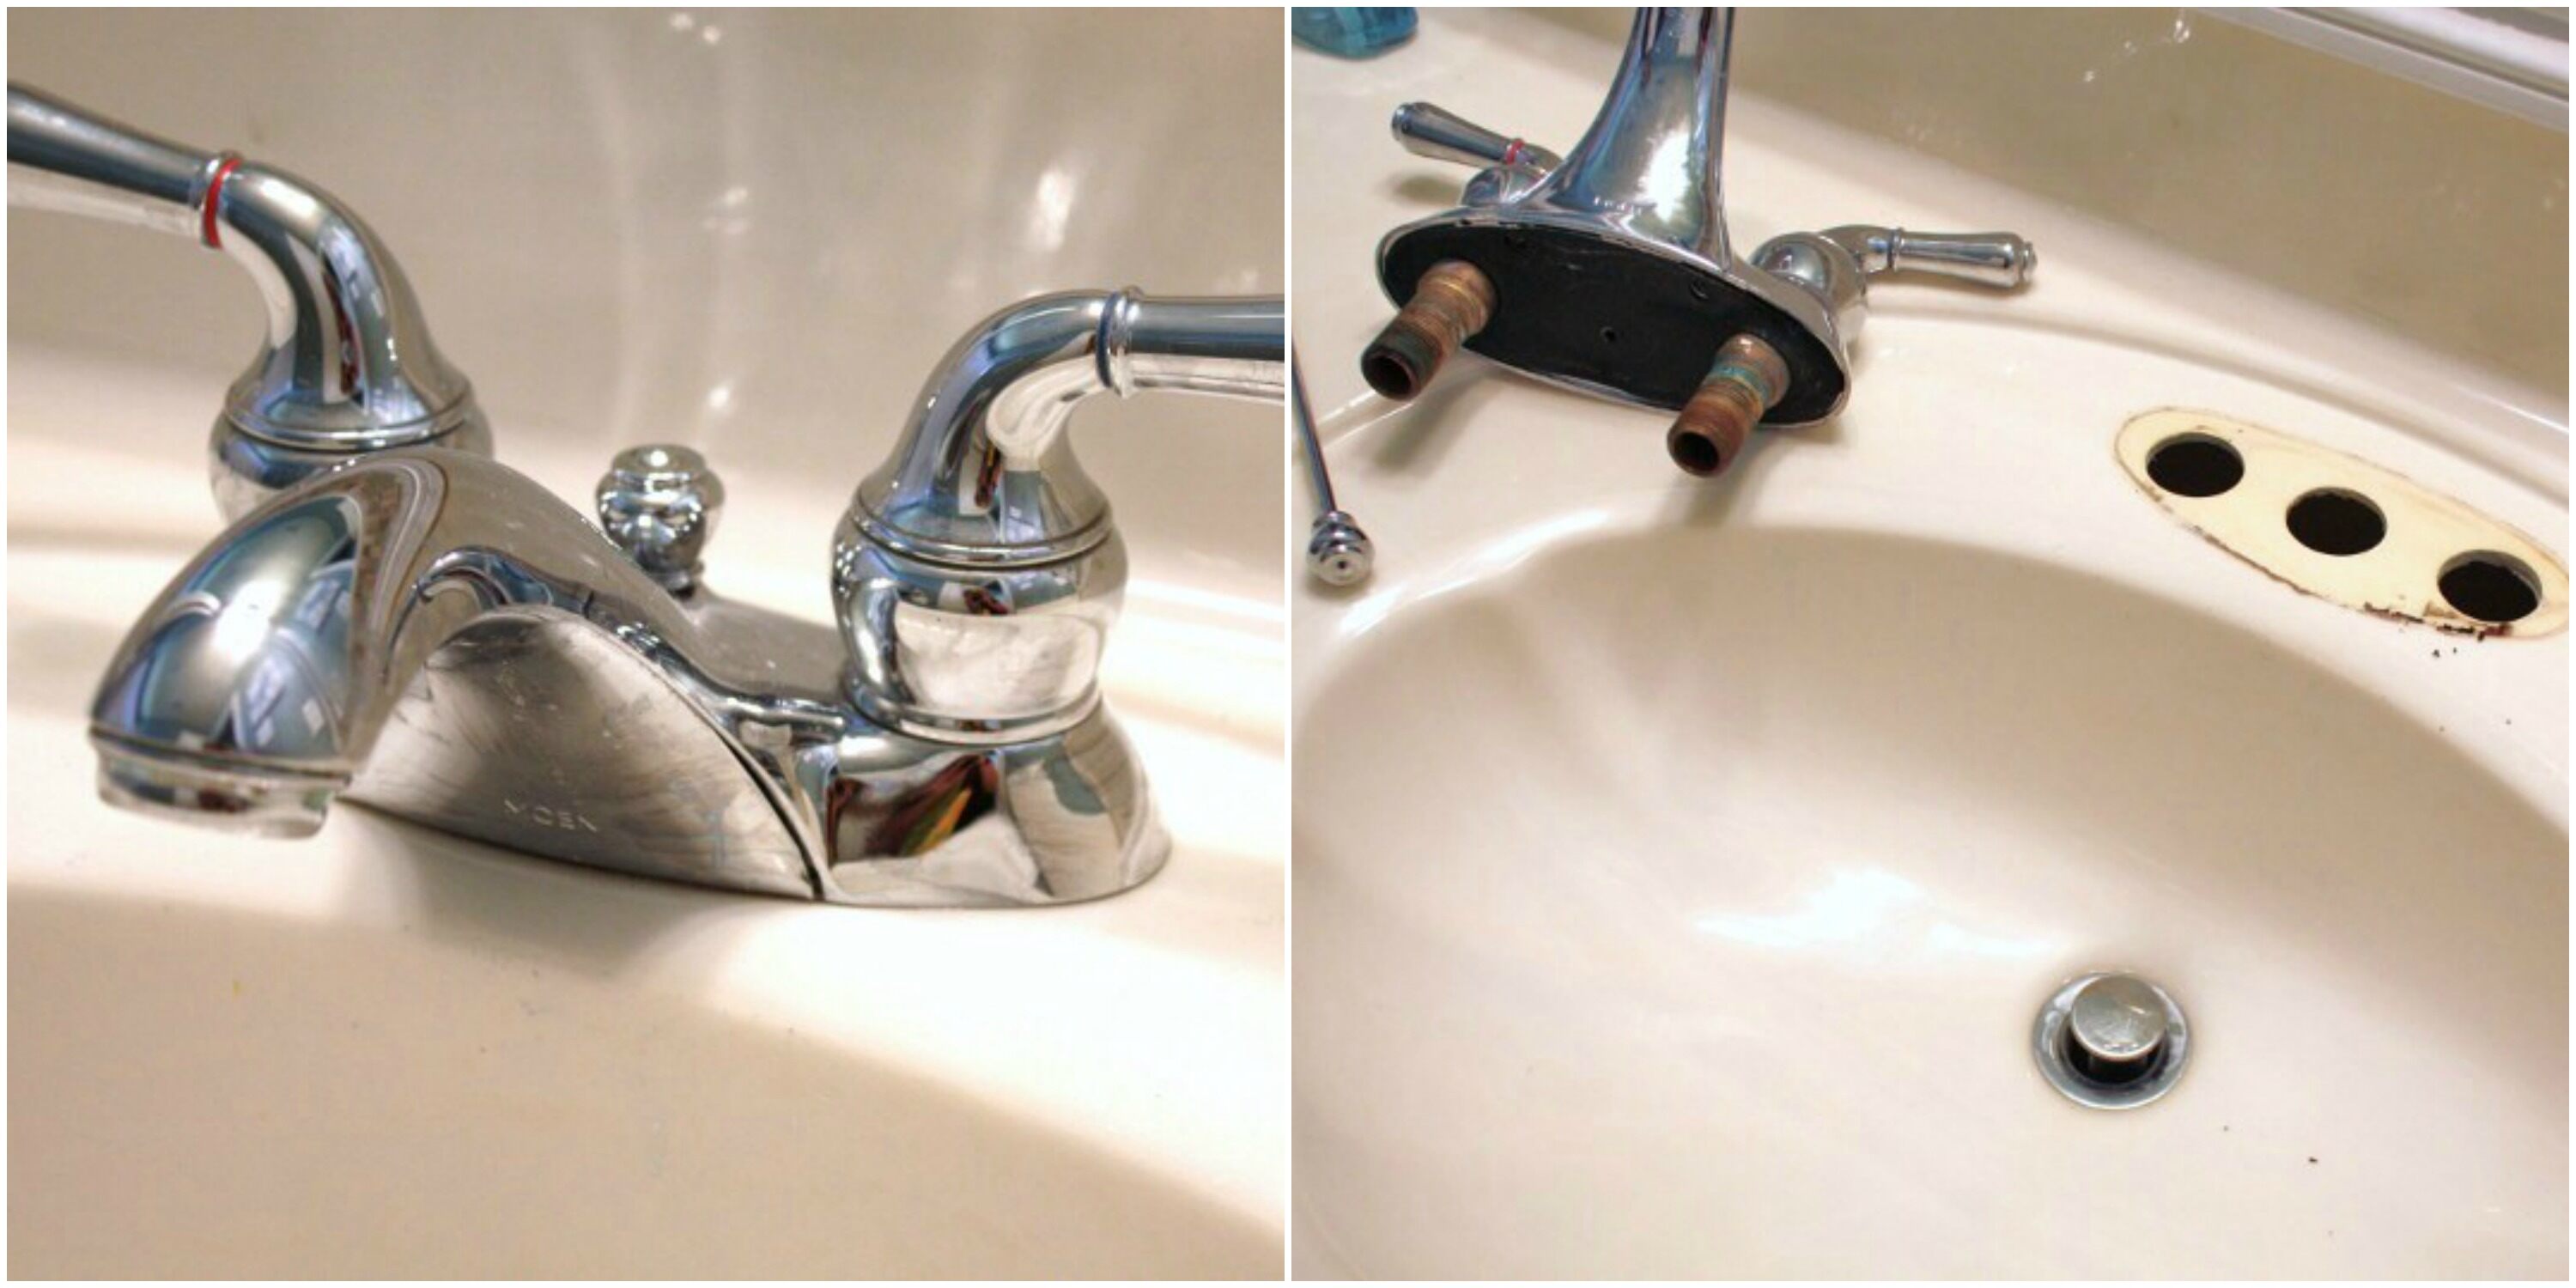
Step 2: Remove the Old Faucet
Now that you have shut off the water supply, it’s time to remove the old faucet from your bathroom sink. Follow these steps to ensure a smooth removal process:
- Disconnect the supply lines: Using an adjustable wrench, loosen the nuts that connect the hot and cold water supply lines to the faucet. Once they’re loose, you can easily unscrew them by hand. Be prepared for a little bit of water to come out as you disconnect the lines.
- Remove the drain stopper: If your sink has a drain stopper, you’ll need to remove it before proceeding. Underneath the sink, locate the pivot rod and the nut that holds it in place. Unscrew the nut and detach the pivot rod, allowing you to remove the drain stopper.
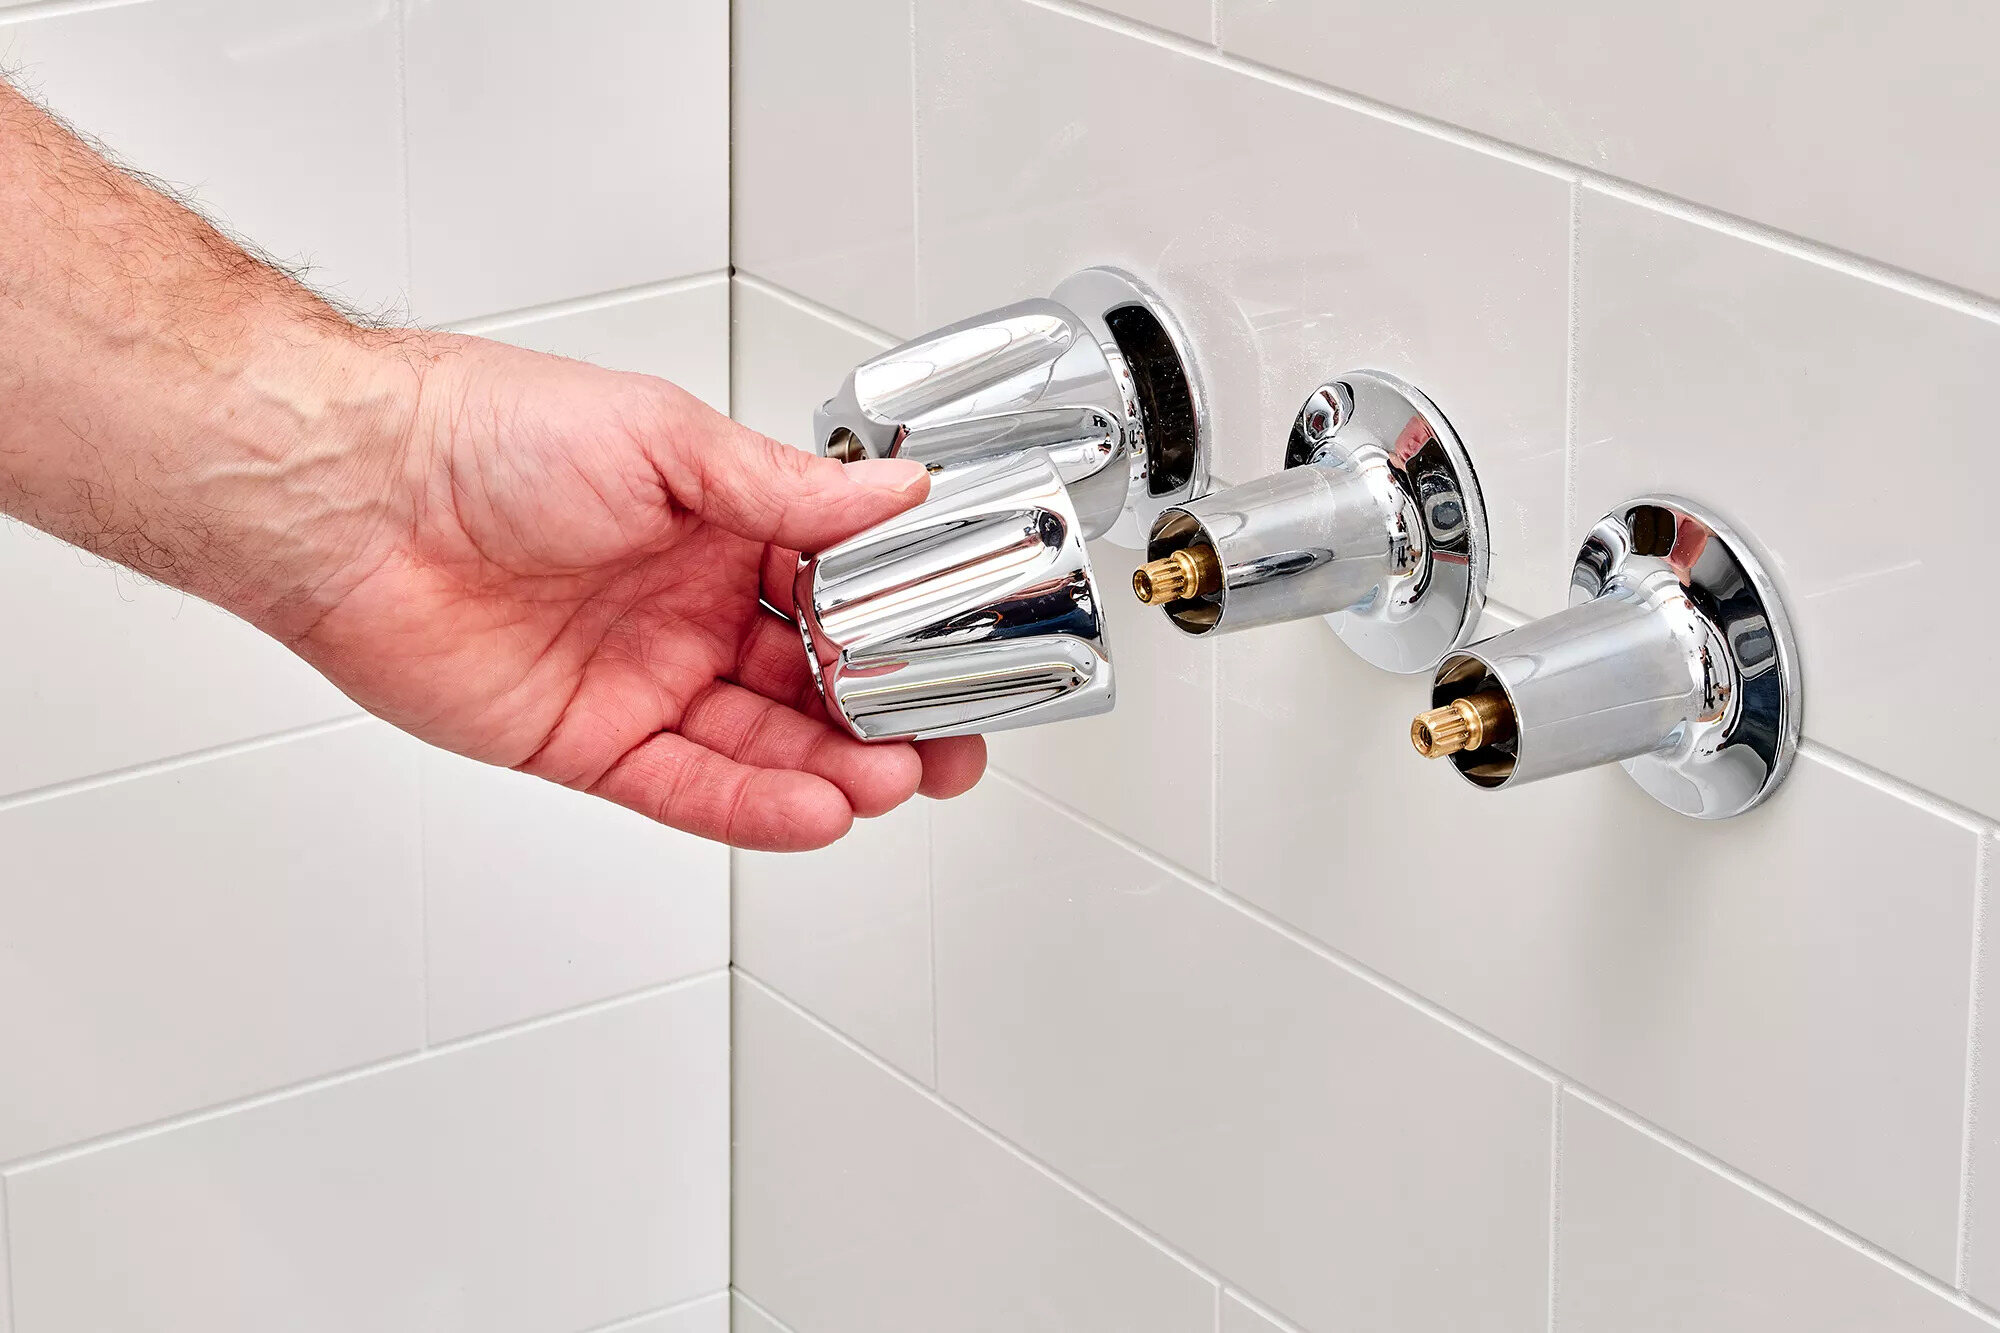
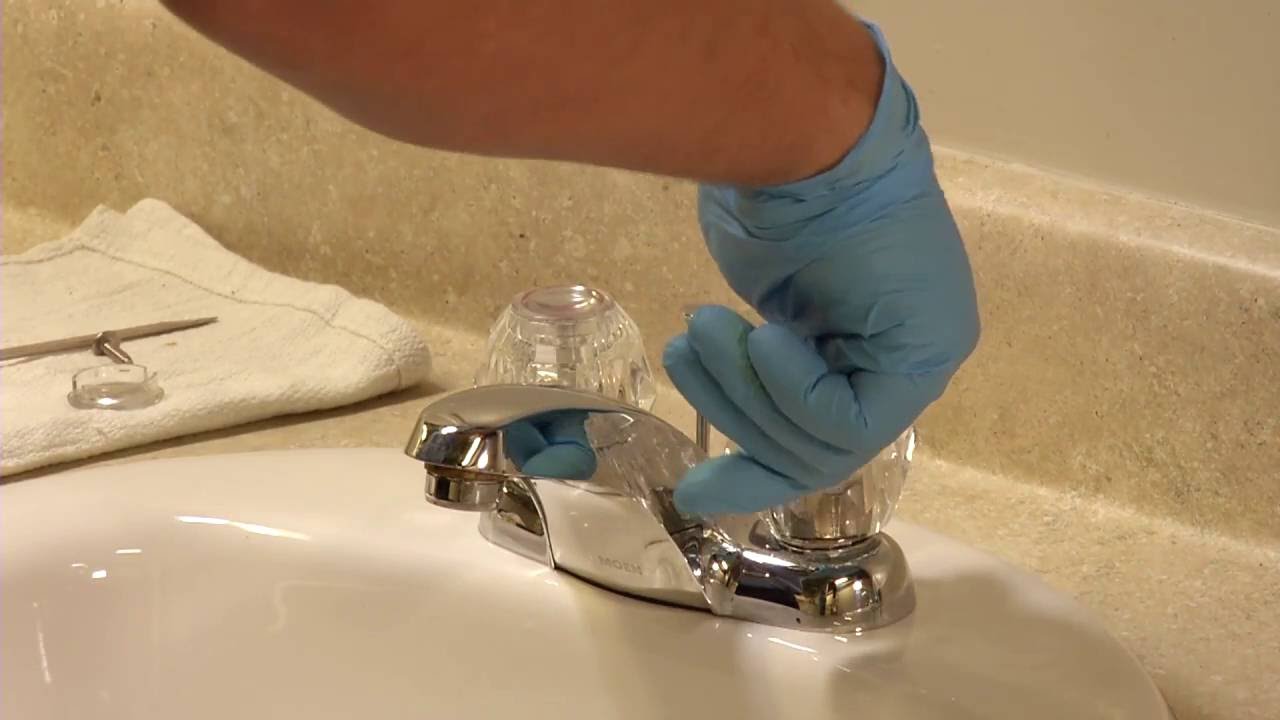
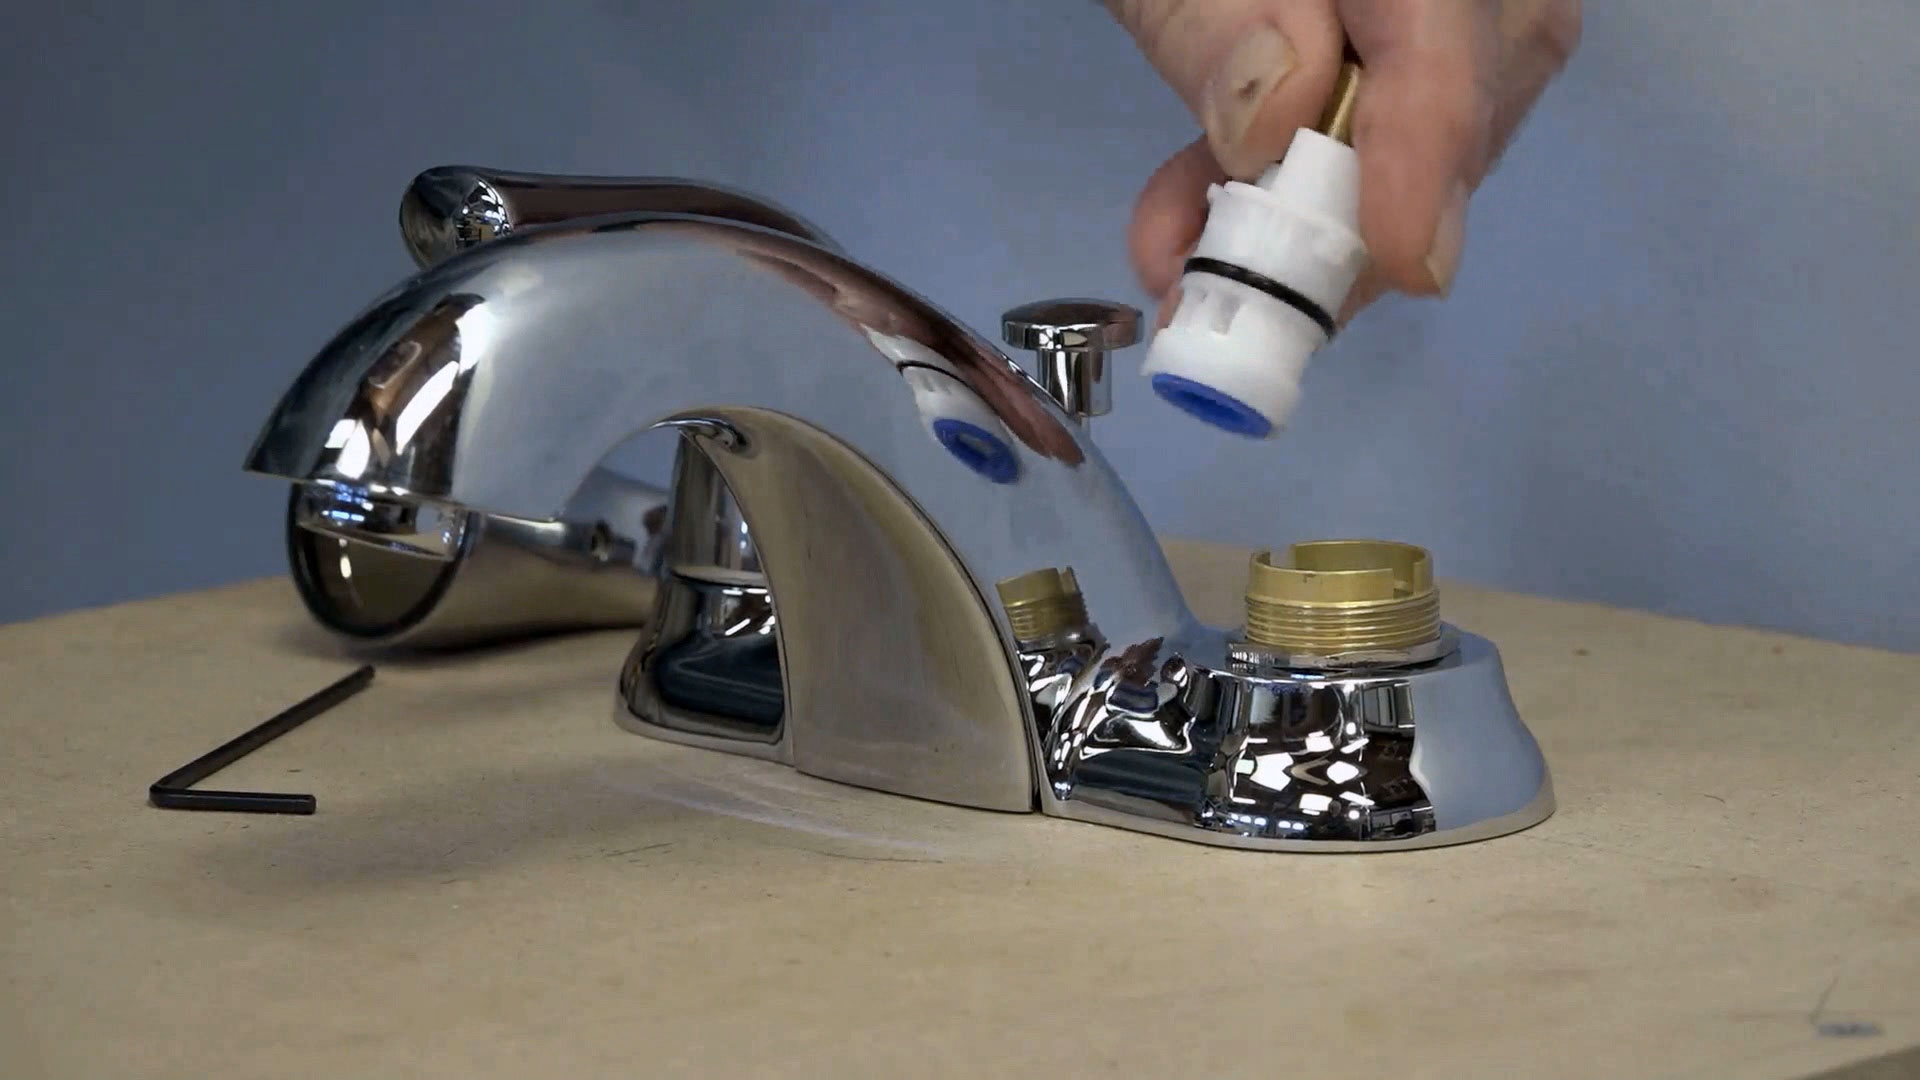
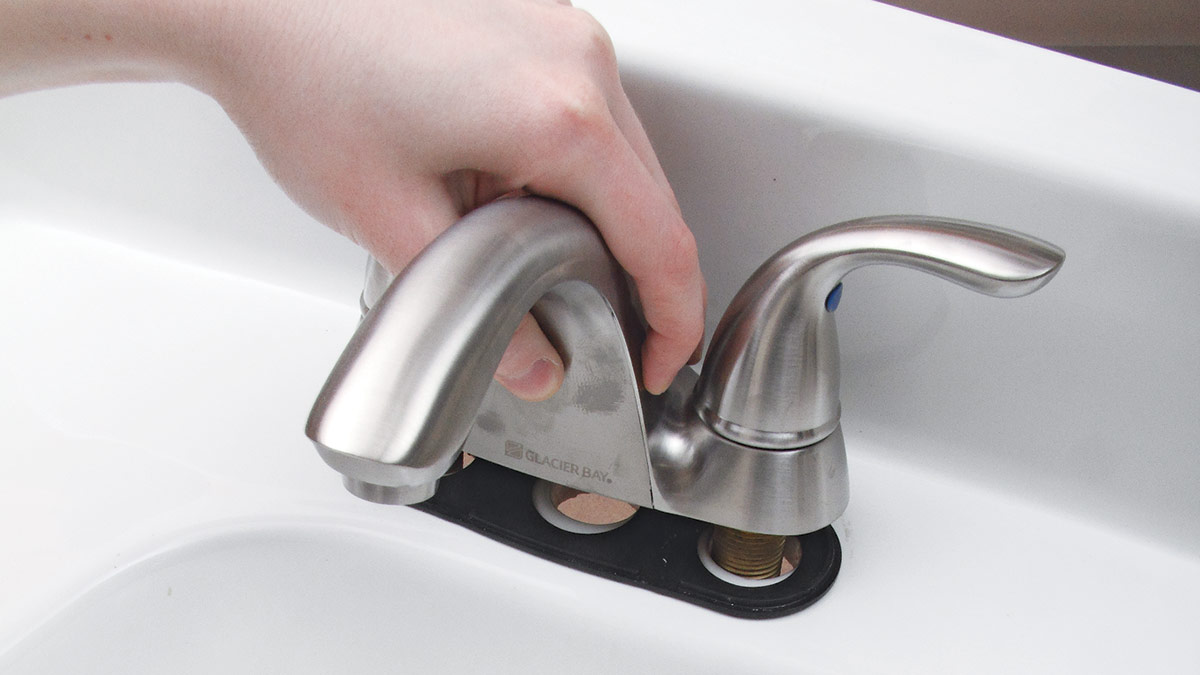
- Remove the mounting nuts: Look underneath the sink and locate the mounting nuts that secure the faucet to the sink. Use an adjustable wrench or pliers to loosen and remove these nuts. Some faucets may have a decorative cover or plate that needs to be unscrewed first before accessing the mounting nuts.
- Detach the faucet: With the mounting nuts removed, you should be able to lift the old faucet off the sink. Gently wiggle it if necessary to loosen any remaining sealant or adhesive. Be careful not to damage the sink surface during this process.
Once the old faucet is removed, it’s a good idea to clean the sink area and remove any residue or debris left behind. Use a mild cleanser and a soft cloth or sponge to wipe down the surface and ensure it’s ready for the installation of the new faucet.
With the old faucet successfully removed, you’re now ready to move on to the next step: cleaning the sink area.
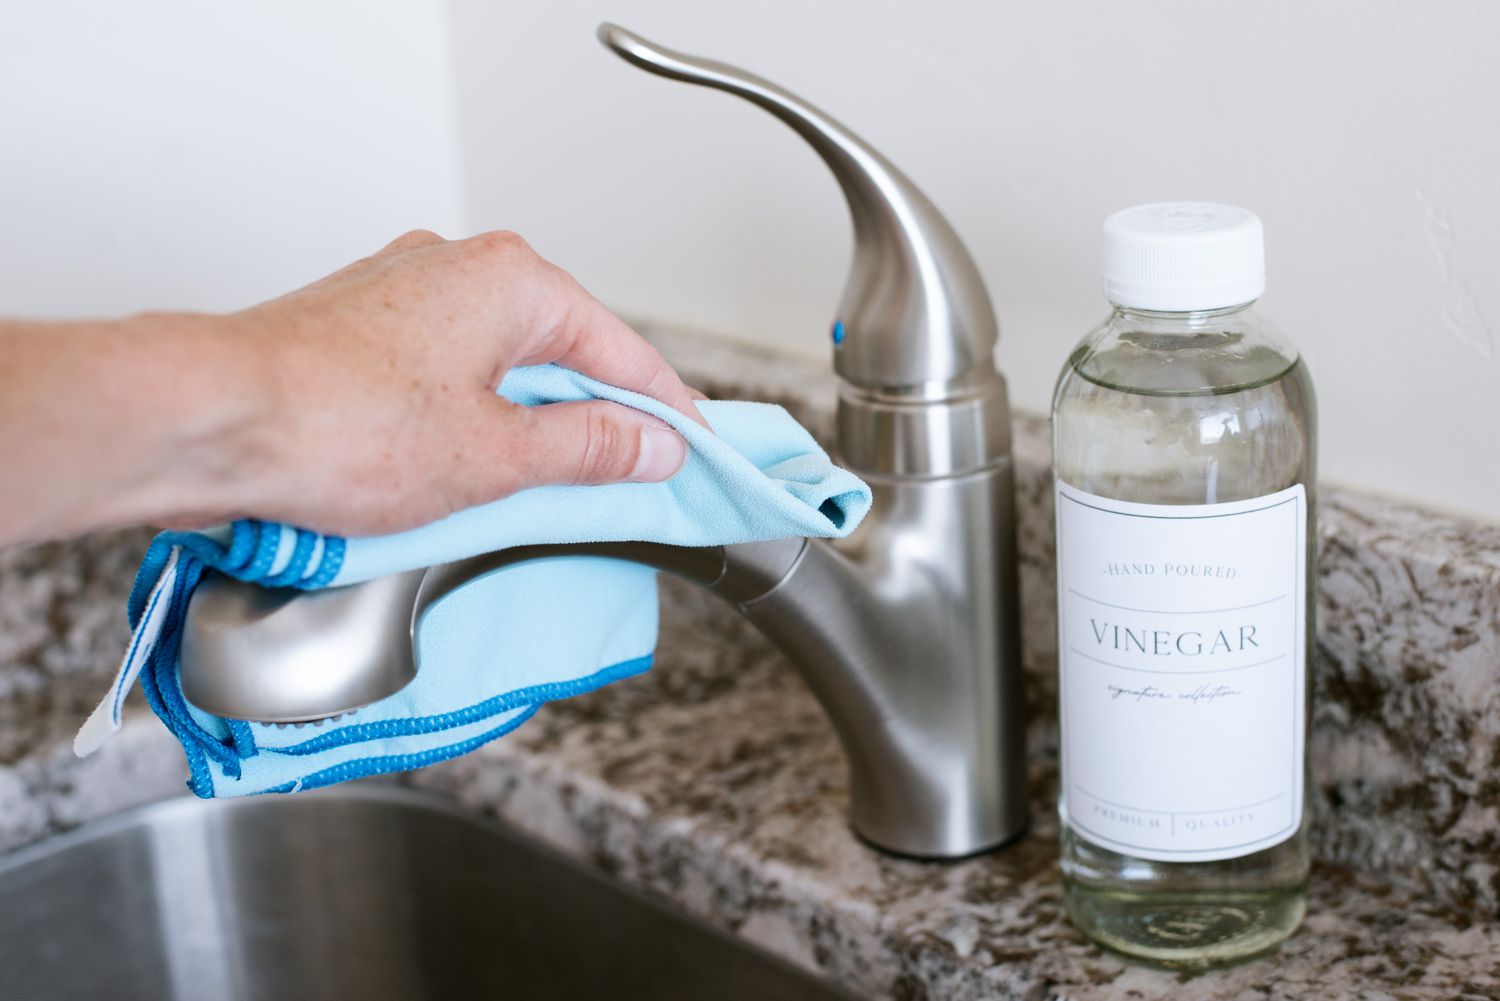
Step 3: Clean the Sink Area
After removing the old faucet, it’s essential to thoroughly clean the sink area before installing the new one. This will ensure a clean and smooth surface for the installation and help to maintain the longevity of your new faucet. Follow these steps to clean the sink area:
- Remove any remaining sealant or adhesive: Use a scraper or a putty knife to gently scrape off any old sealant or adhesive around the faucet holes and the base of the sink. Be careful not to scratch the surface of the sink.
- Clean the sink surface: Using a mild household cleanser and a soft cloth or sponge, thoroughly clean the sink surface. Pay attention to the area around the faucet holes, removing any dirt, grime, or mineral deposits. Rinse with water and dry the sink with a clean towel.
- Inspect the sink and fix any issues: Take this opportunity to inspect the sink for any damage or leaks. Check the condition of the sink’s gaskets or O-rings and replace them if necessary. Fix any leaks or repair any cracks or damage before proceeding with the installation of the new faucet.
- Apply plumbers tape or silicone caulk: Depending on the type of faucet you are installing, you may need to apply plumbers tape or silicone caulk to create a watertight seal. Follow the manufacturer’s instructions for the specific faucet you are installing.
By cleaning the sink area and ensuring that it is free from any debris or residue, you are creating an ideal surface for the new faucet to be installed. This step will not only improve the appearance of your sink but also help to prevent any leaks or issues down the line. Now, let’s move on to the next step: installing the new faucet.
Before starting the faucet replacement, make sure to turn off the water supply to the sink. This will prevent any water from leaking and make the process much easier.
Read more: How To Replace Sink Faucet
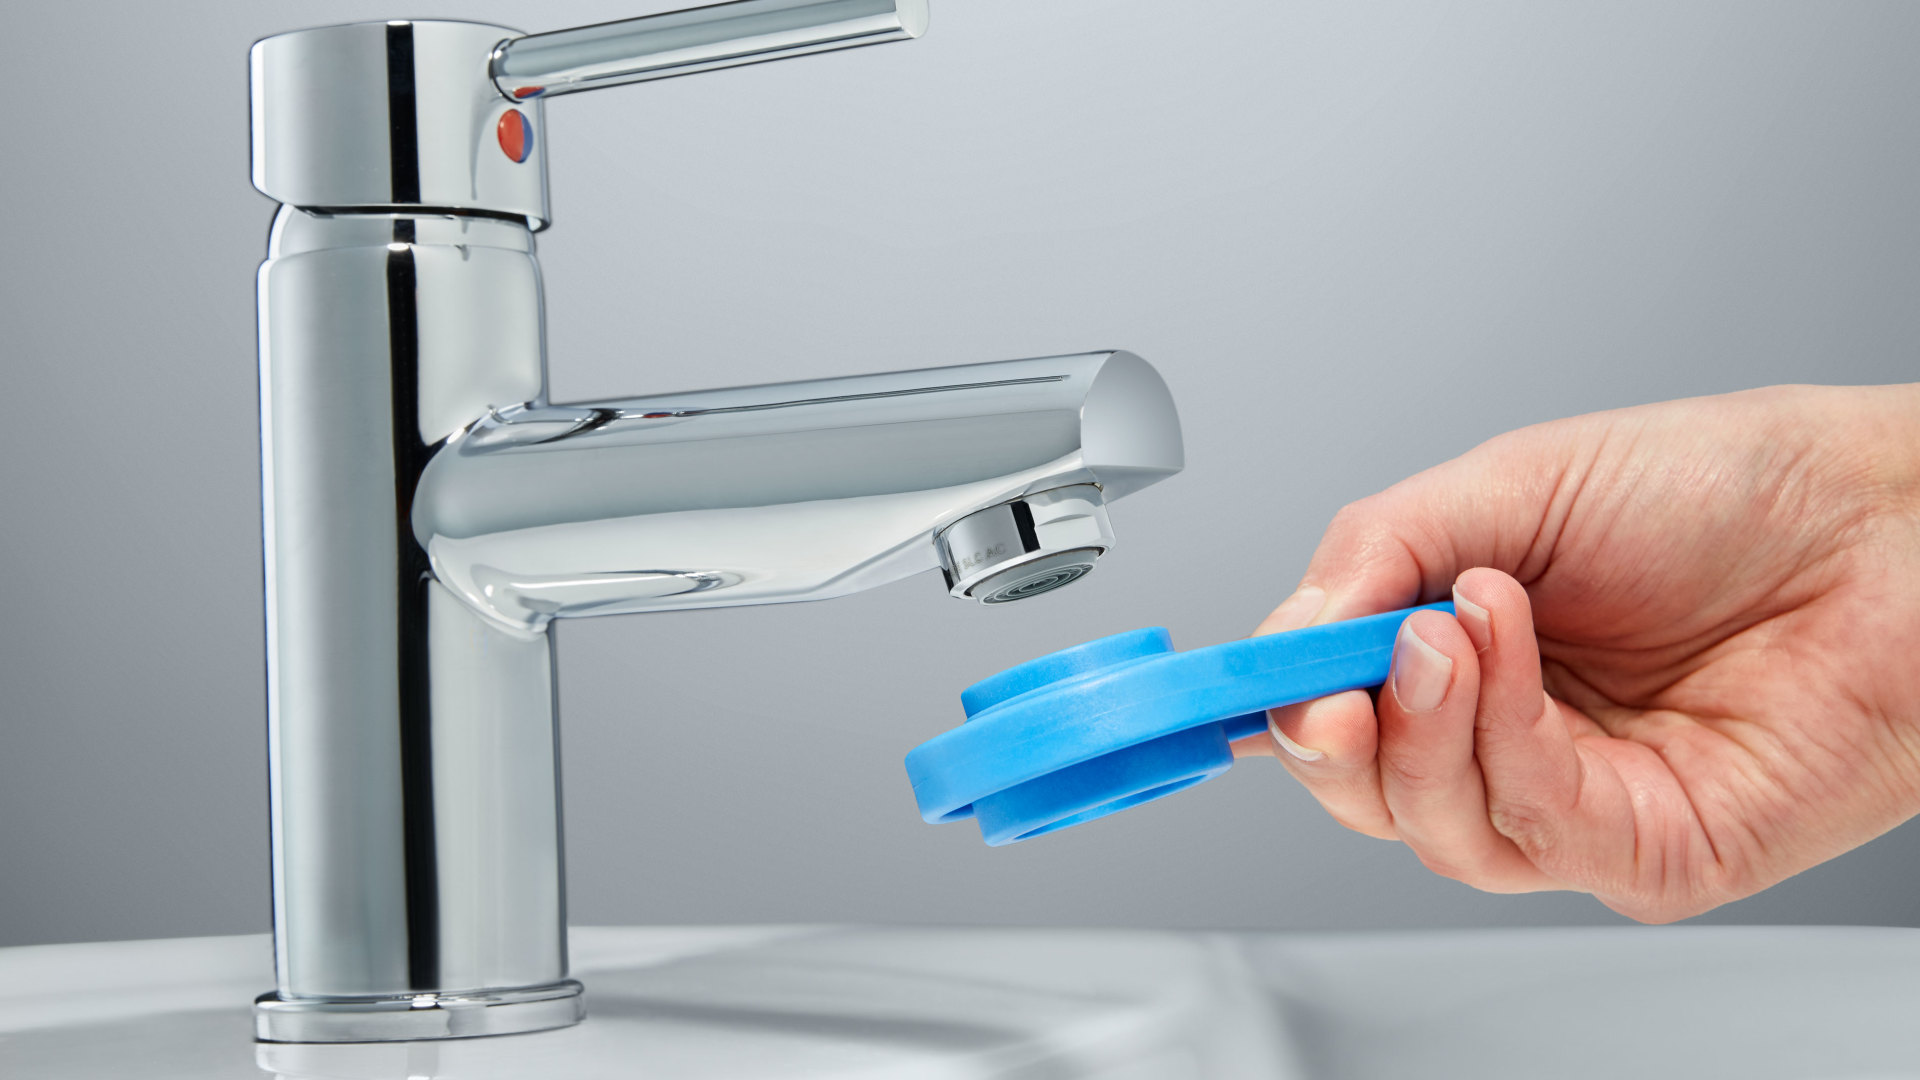
Step 4: Install the New Faucet
With the sink area cleaned and prepped, it’s time to install the new faucet in your bathroom sink. Follow these steps to ensure a successful installation:
- Read the manufacturer’s instructions: Before starting the installation process, carefully read the instructions provided by the manufacturer. Each faucet may have specific installation steps and requirements that you need to follow.
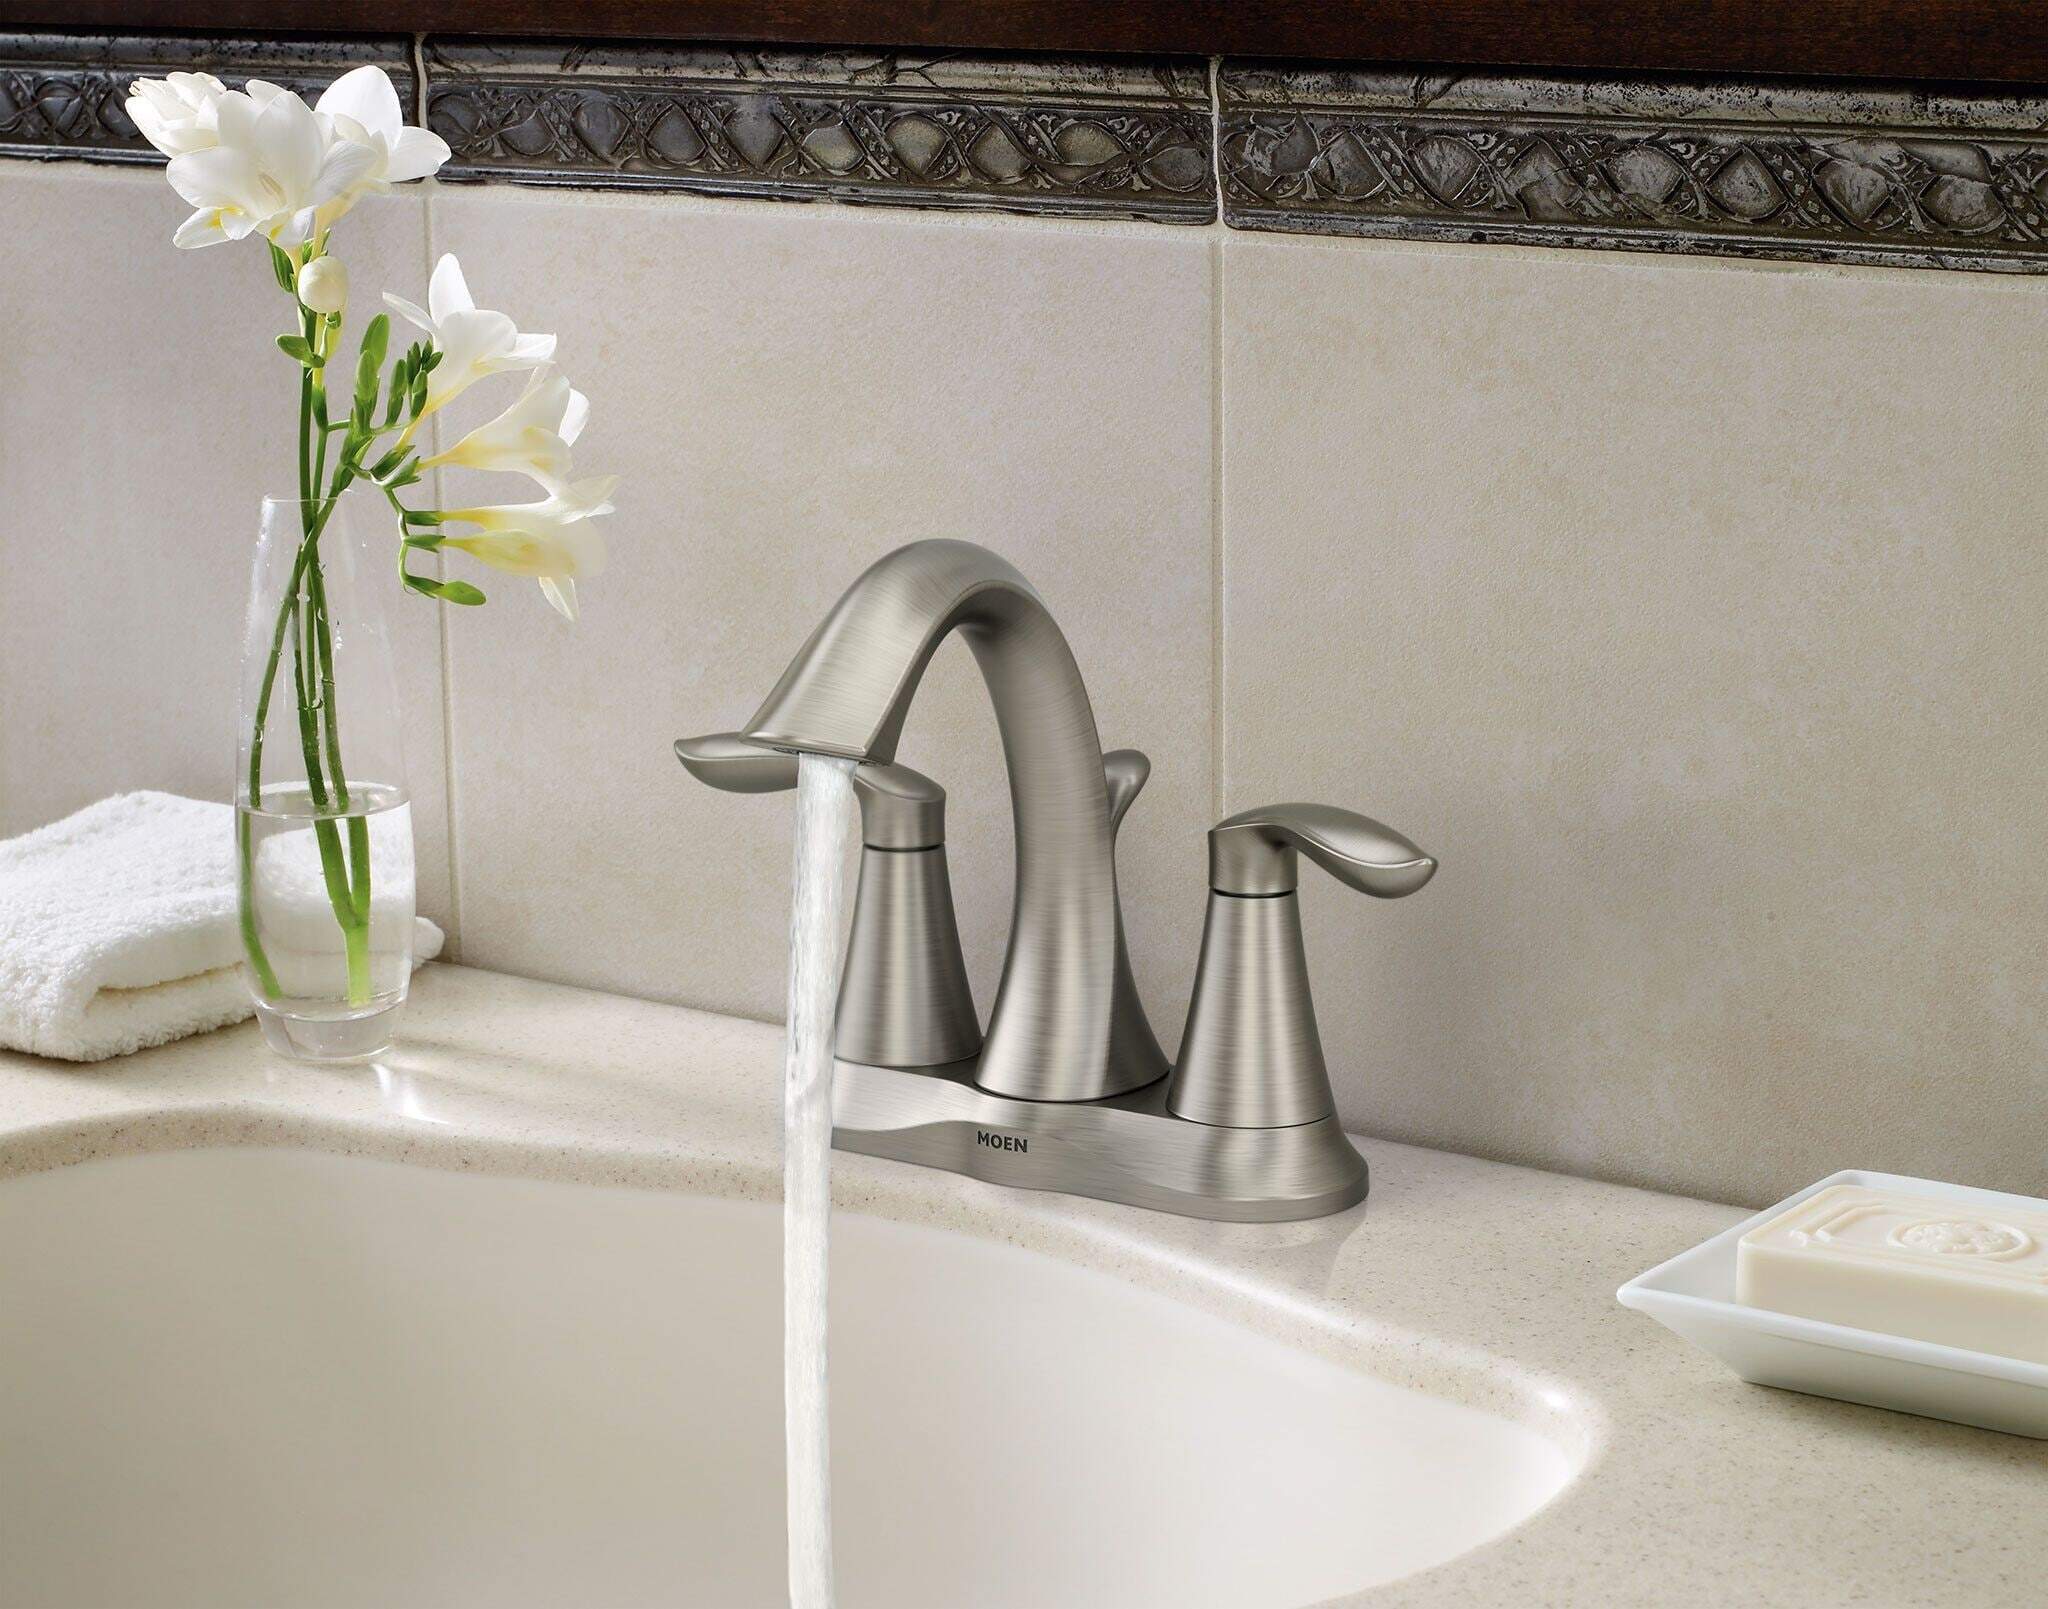
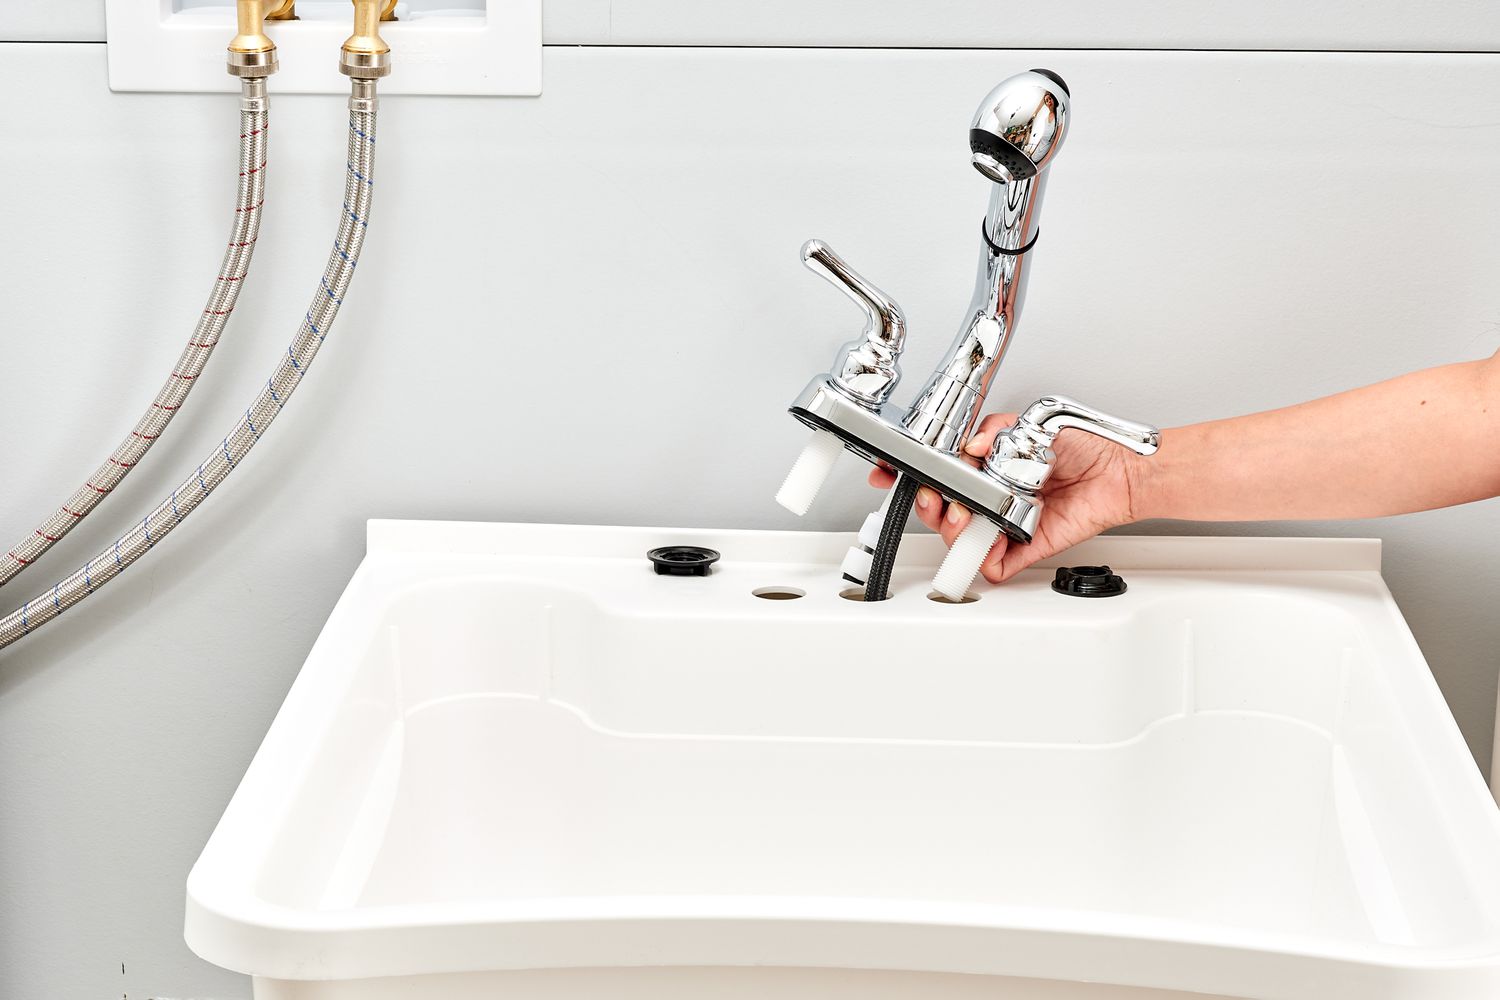
- Position the new faucet: Gently place the new faucet into the holes on the sink. Make sure the faucet is aligned properly and centered before proceeding.
- Secure the mounting nuts: Underneath the sink, use an adjustable wrench or pliers to tighten the mounting nuts. Ensure that the faucet is securely fastened to the sink but be careful not to overtighten, as it can damage the fixture or sink surface.
- Attach any additional components: If your new faucet has additional components such as a sprayer or soap dispenser, follow the manufacturer’s instructions to attach them securely.
- Check the alignment: Once the faucet is installed, take a step back and visually inspect its alignment. Make any necessary adjustments to ensure it is level and properly positioned.
Remember to refer to the manufacturer’s instructions throughout the installation process to ensure that you are following the correct steps specific to your new faucet.
Now that the new faucet is securely installed, it’s time to move on to the next step: connecting the water supply lines.
Step 5: Connect the Water Supply Lines
Now that the new faucet is securely installed, it’s time to connect the water supply lines. Follow these steps to ensure a proper and leak-free connection:
- Apply plumbers tape: Before connecting the supply lines, wrap a few layers of plumbers tape around the threaded ends of the faucet’s hot and cold water connections. This will create a watertight seal and prevent any leaks.
- Connect the supply lines: Attach the supply lines to the corresponding hot and cold water connections on the faucet. Hand-tighten the nuts, and then use an adjustable wrench to give them an additional quarter-turn to ensure a secure connection. Avoid over-tightening, as it can cause damage or leaks.
- Turn on the water supply: Once the supply lines are connected, turn on the water supply valves by turning them counterclockwise. Check for any leaks around the connections. If you notice any leaks, tighten the nuts slightly until the leak stops.
- Flush the water lines: To ensure any debris or sediment is cleared from the water lines, briefly turn on the faucet and let the water run for a few minutes. This will help maintain the functionality of your new faucet.
It is important to ensure that the supply lines are properly connected and tightened to prevent any leaks. Take your time during this step and double-check that everything is securely in place before moving on to the final step: testing the faucet.
Step 6: Test the Faucet
After completing the installation and connecting the water supply lines, it’s crucial to test the faucet to ensure that everything is functioning correctly. Follow these steps to test the faucet:
- Turn on the faucet: Gently turn on both the hot and cold water handles to let the water flow. Check if water is coming out smoothly from the spout without any leaks.
- Check for leaks: Carefully inspect all the connections, including the supply lines and the base of the faucet, for any signs of leaks. If you notice any leaks, immediately turn off the water supply and recheck the connections to ensure they are properly tightened.
- Test the hot and cold water: While the water is running, test the hot and cold water separately by adjusting the handles. Ensure that the water temperature changes accordingly and there is no excessive heat or coldness.
- Test any additional components: If your new faucet has additional components such as a sprayer or soap dispenser, test their functionality as well to make sure they are working as intended.
By testing the faucet, you can identify any issues or leaks early on and address them promptly. It is essential to make sure that the faucet operates smoothly and without any problems.
If you encounter any issues during the testing phase, consult the manufacturer’s instructions or contact a professional plumber for assistance. Once you are satisfied with the functionality of the faucet and there are no leaks, congratulations! You have successfully changed the faucet in your bathroom sink.
Conclusion:
Changing the faucet in your bathroom sink is a satisfying and relatively simple DIY project that can have a significant impact on the overall look and functionality of your bathroom. By following the steps outlined in this guide and having the right tools and materials on hand, you can successfully replace your old faucet with a new one.
Remember to shut off the water supply before beginning the process and to clean the sink area thoroughly before installing the new faucet. Take your time during the installation, ensuring that the faucet is securely fastened and the water supply lines are properly connected. Testing the faucet is crucial to identify any leaks or issues before using it regularly.
Whether you’re looking to update the style of your bathroom or simply replace a worn-out faucet, changing the faucet in your bathroom sink is a worthwhile endeavor. It can enhance the aesthetics of your space and make your everyday routine more enjoyable.
If you encounter any challenges or are unsure about any step in the process, don’t hesitate to seek help from a professional plumber. They can provide guidance and assist you in achieving the desired result with ease.
Now that you have the knowledge and guidance to change the faucet in your bathroom sink, it’s time to get started and transform your bathroom into a stylish and functional oasis that you’ll enjoy for years to come.
Frequently Asked Questions about How To Change Faucet In Bathroom Sink
Was this page helpful?
At Storables.com, we guarantee accurate and reliable information. Our content, validated by Expert Board Contributors, is crafted following stringent Editorial Policies. We're committed to providing you with well-researched, expert-backed insights for all your informational needs.


0 thoughts on “How To Change Faucet In Bathroom Sink”