Articles
How To Change A Bathroom Sink Faucet
Modified: February 22, 2024
Learn how to change a bathroom sink faucet with step-by-step instructions and helpful tips. Find articles for easy DIY plumbing projects and save money on professional services.
(Many of the links in this article redirect to a specific reviewed product. Your purchase of these products through affiliate links helps to generate commission for Storables.com, at no extra cost. Learn more)
Introduction
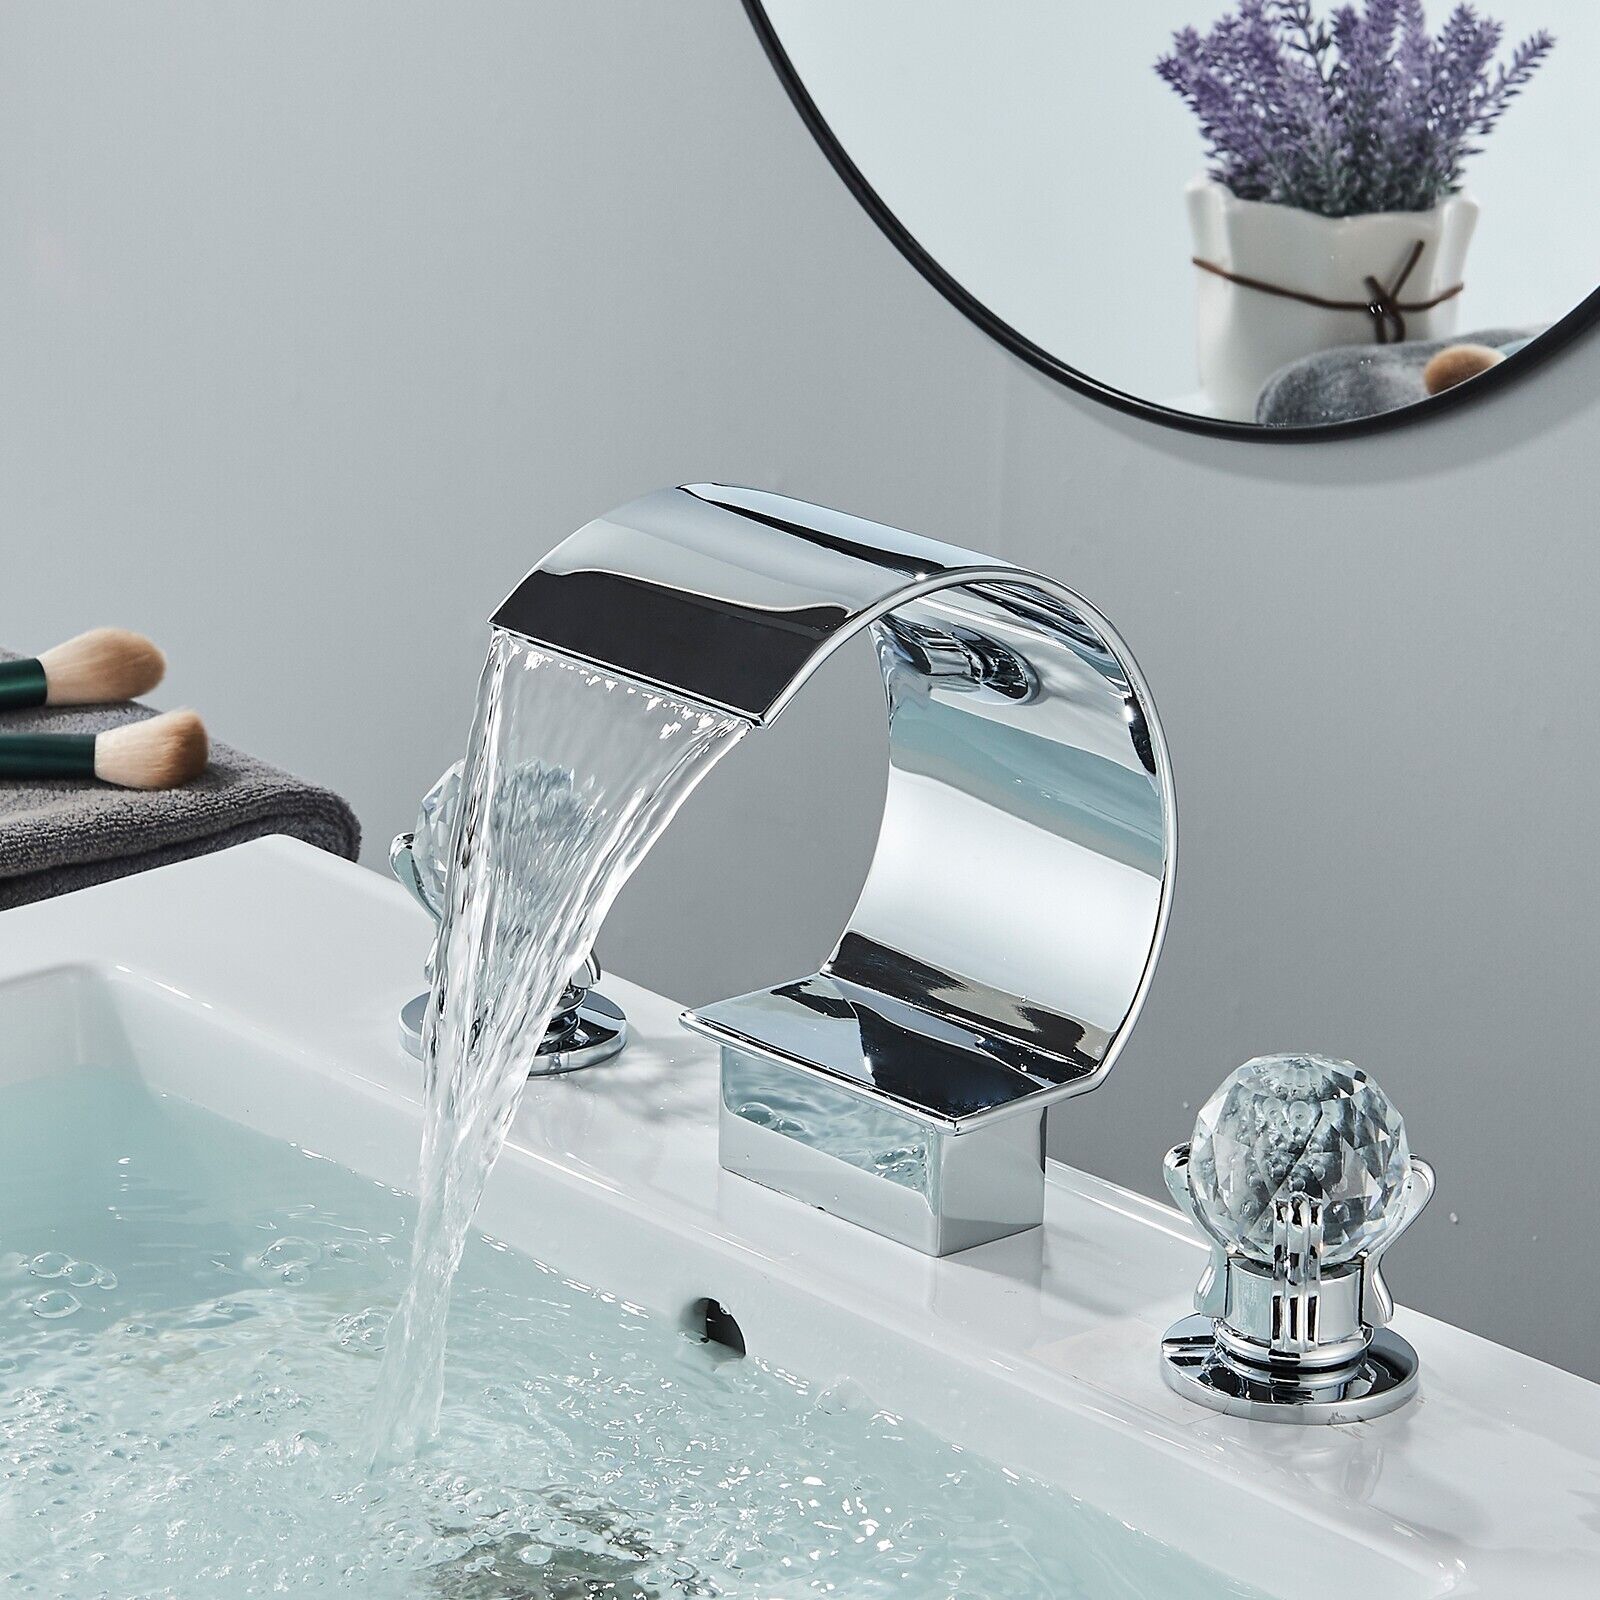
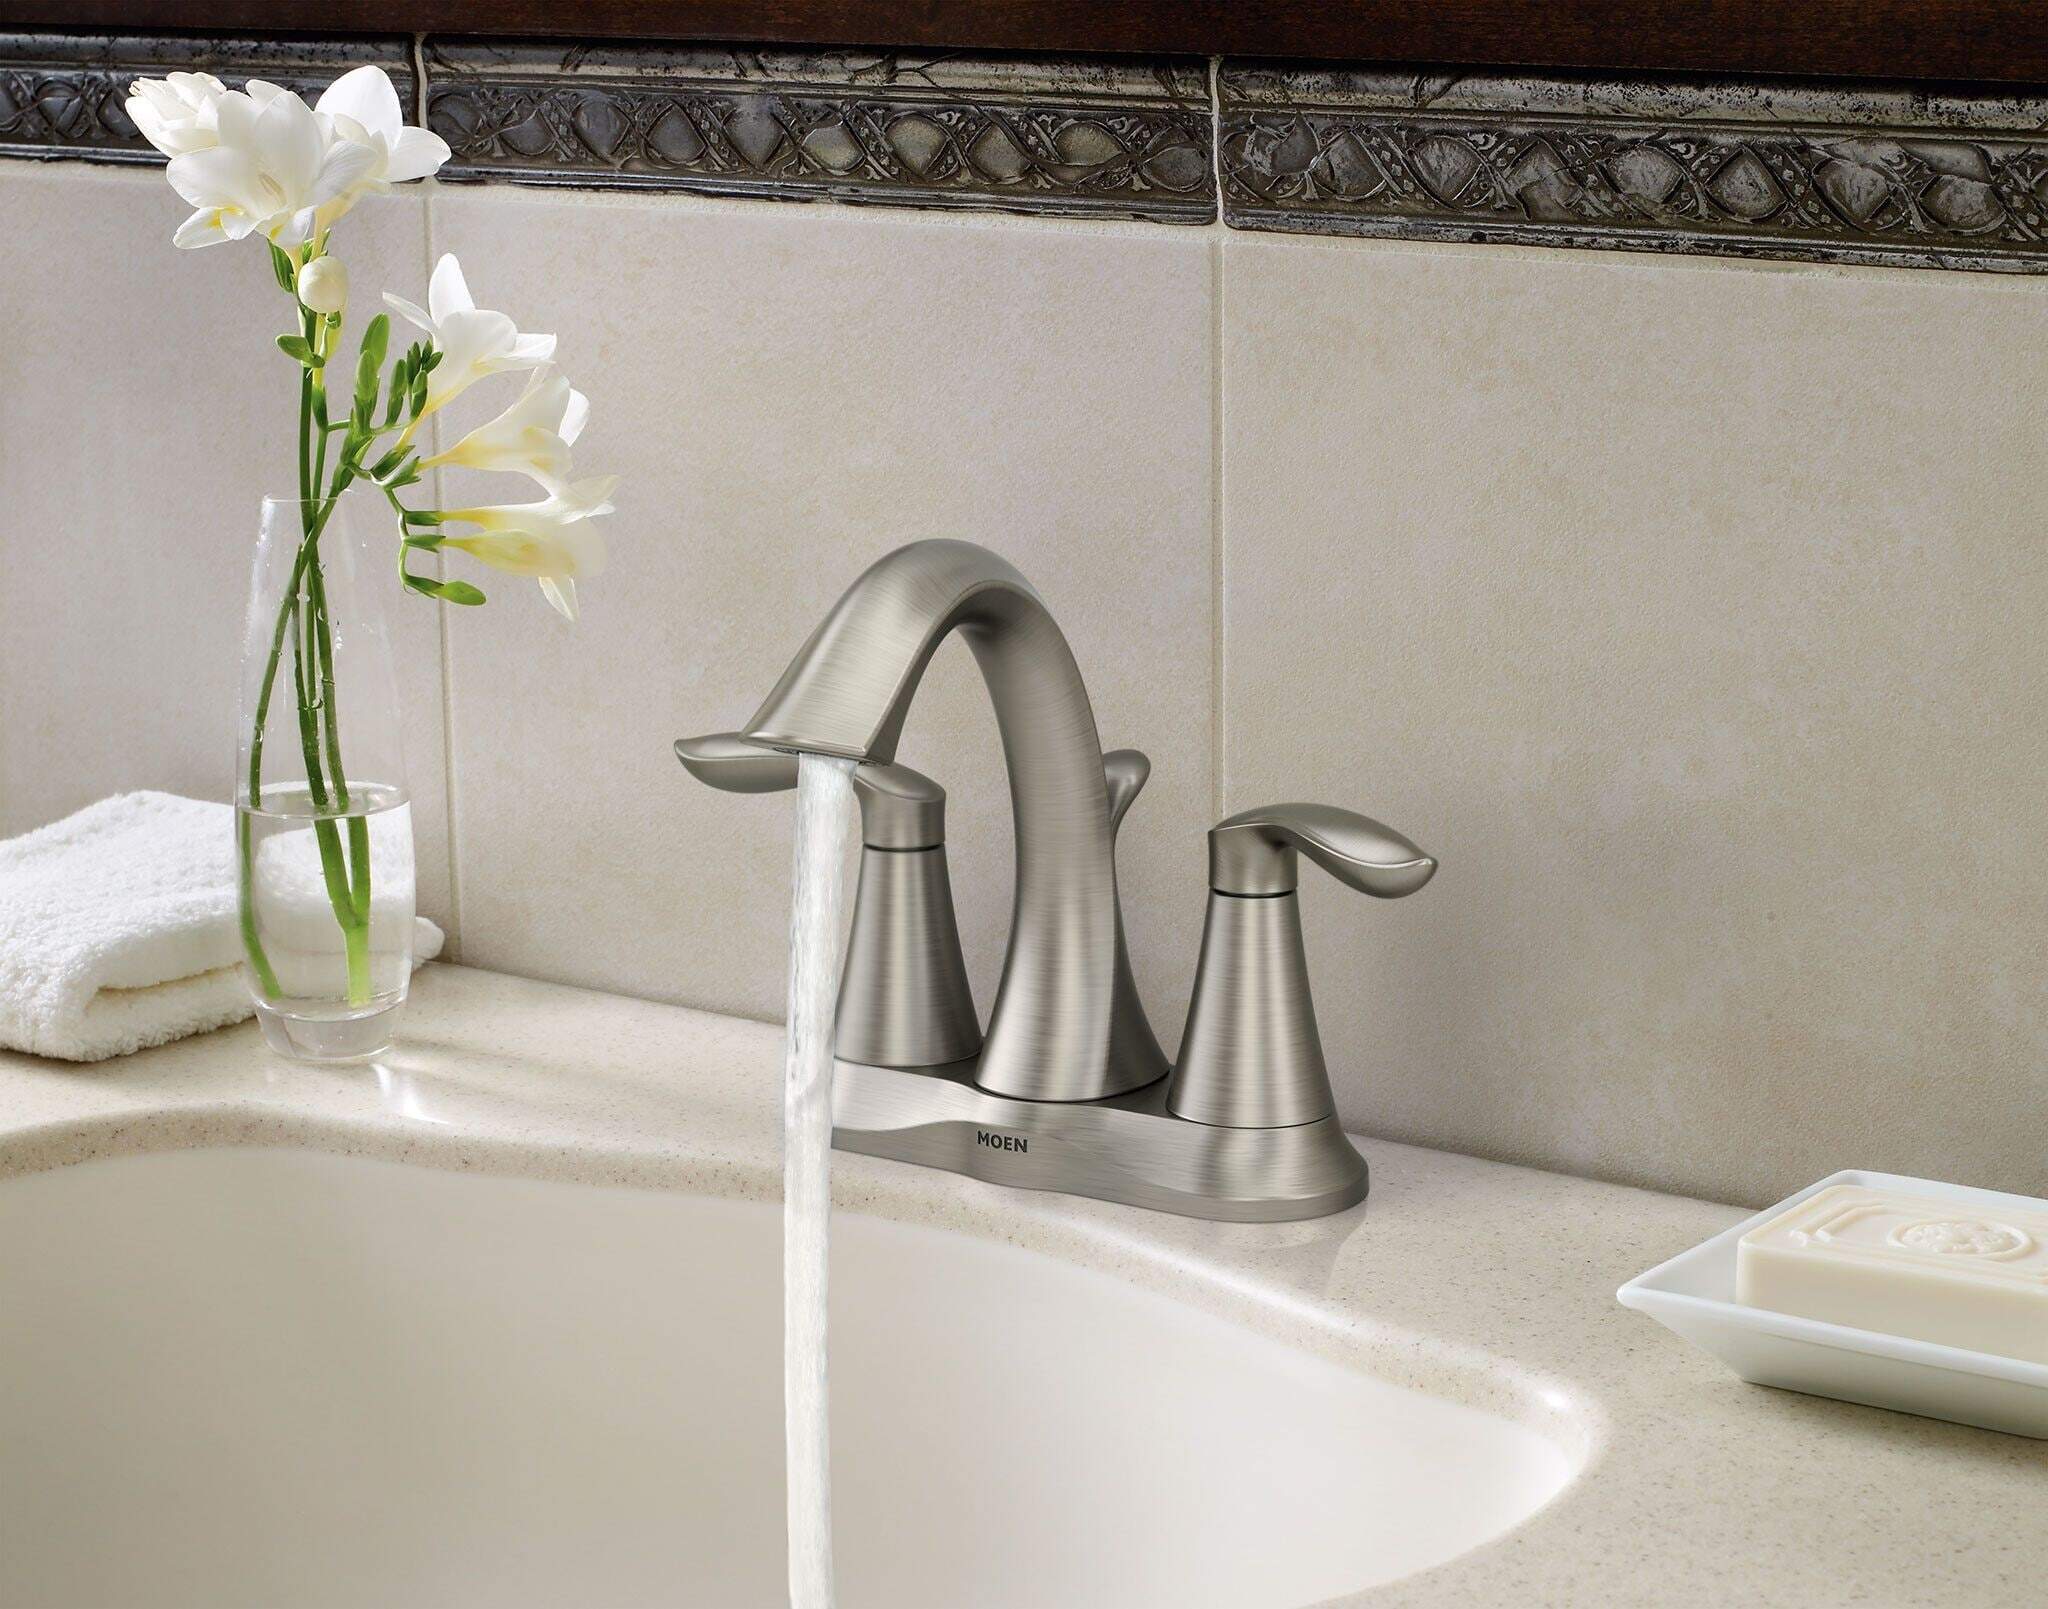
Welcome to our guide on how to change a bathroom sink faucet. Over time, faucets can wear out or become outdated, and replacing them can refresh the look of your bathroom. While it may seem like a daunting task, changing a bathroom sink faucet is a relatively simple DIY project that can be completed in just a few hours.
In this article, we will walk you through the step-by-step process of replacing a bathroom sink faucet. Whether you’re a seasoned DIY enthusiast or a beginner, our detailed instructions will help you tackle this project with confidence.
Before we get started, it’s important to note that the specific steps for changing a faucet may vary depending on the type of faucet you have and any unique features of your sink. It’s always a good idea to consult the manufacturer’s instructions that came with your faucet for any specific guidance or requirements.
Now let’s gather our tools and materials and dive into the process of changing a bathroom sink faucet.
Key Takeaways:
- Changing a bathroom sink faucet is a manageable DIY project that can refresh your bathroom’s look. Follow the step-by-step guide, gather tools, and enjoy the satisfaction of a successful installation.
- Proper preparation, installation, and testing are crucial for a smooth faucet replacement. Take your time, follow the instructions, and revel in the improved functionality and aesthetics of your updated bathroom fixture.
Read more: How To Change Faucet In Bathroom Sink
Step 1: Gather the necessary tools and materials
Before you begin the process of changing your bathroom sink faucet, it’s important to gather all the necessary tools and materials. By having everything you need on hand, you’ll be able to work efficiently and avoid any unnecessary delays. Here are the tools and materials you’ll need for this project:
- Adjustable wrench
- Basin wrench
- Plumber’s tape
- Screwdriver
- New faucet and accompanying parts
- Bucket or towel
Having these tools and materials ready will ensure that you have everything you need to complete the faucet replacement process without interruptions.
Once you have gathered all the necessary tools and materials, it’s time to move on to the next step, which involves turning off the water supply.
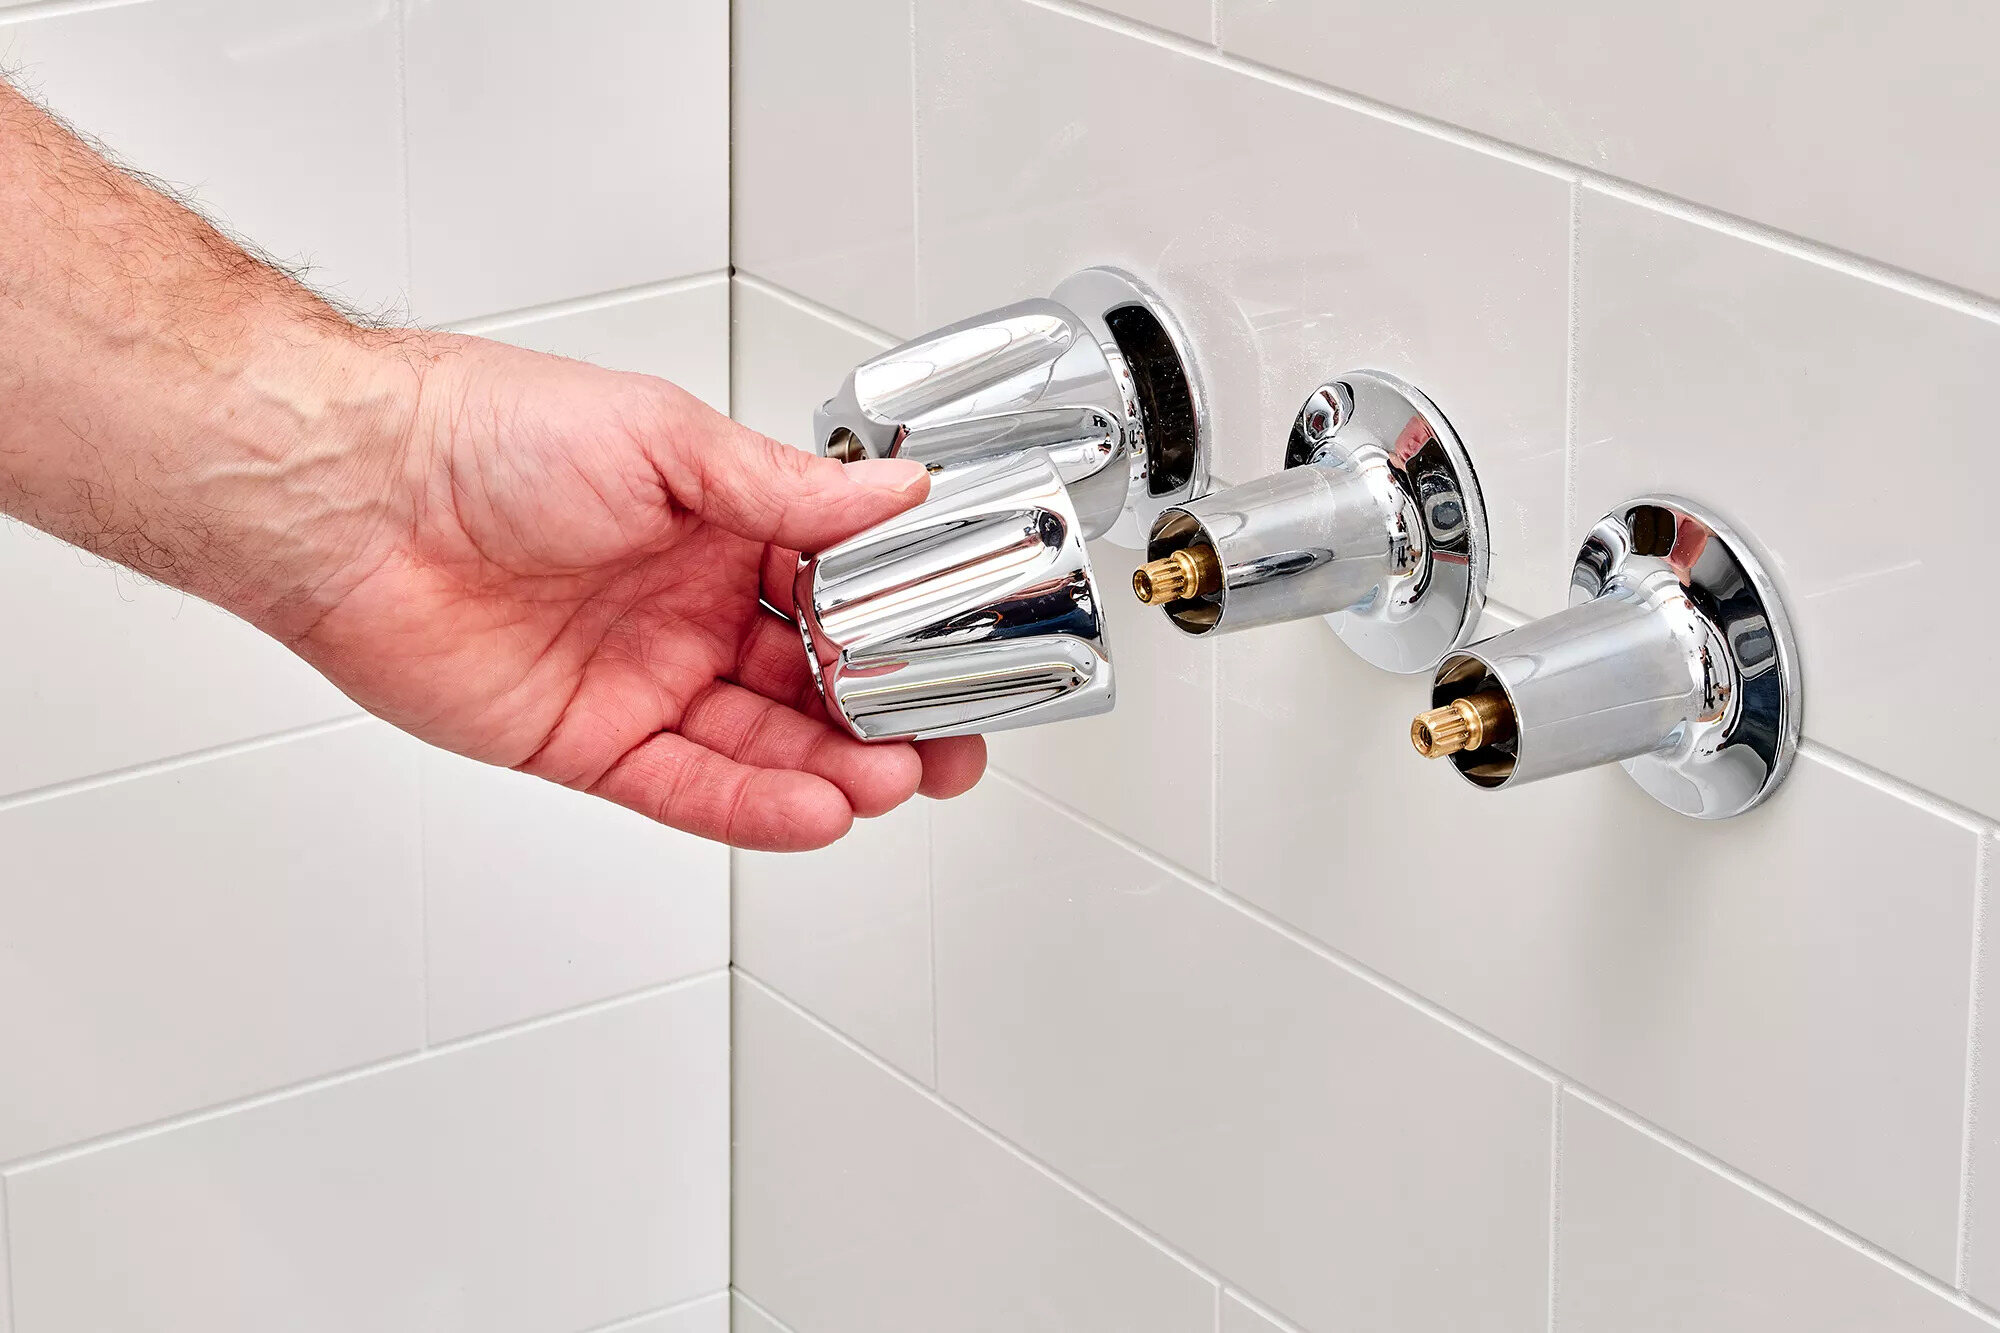
Step 2: Turn off the water supply
Before you can remove the old faucet and install a new one, you need to turn off the water supply to the bathroom sink. This step is crucial to prevent any water leakage or accidents during the replacement process.
To turn off the water supply, locate the shut-off valves underneath the sink. In most cases, there will be separate valves for hot and cold water. Turn both valves clockwise until they are fully closed. This will stop the flow of water to the faucet.
If you cannot find individual shut-off valves for the sink, you may need to turn off the main water supply to your home. This is typically located near the water meter or where the main waterline enters your property. If you’re unsure about the location of the main water shut-off valve, it’s a good idea to consult a professional plumber for assistance.
After you have successfully turned off the water supply, test the faucet to ensure that there is no water running. This step is important to avoid any surprises when you start disassembling the old faucet.
Now that the water supply is turned off, you’re ready to move on to the next step: removing the old faucet from the sink.
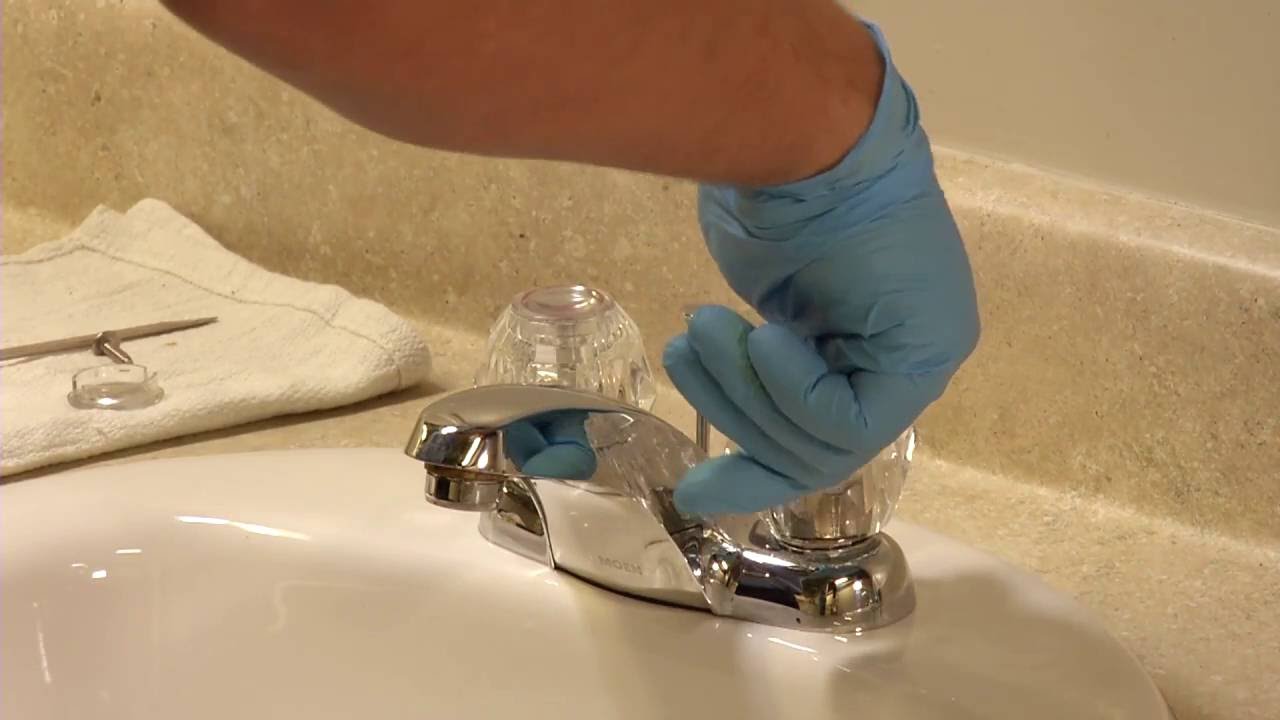
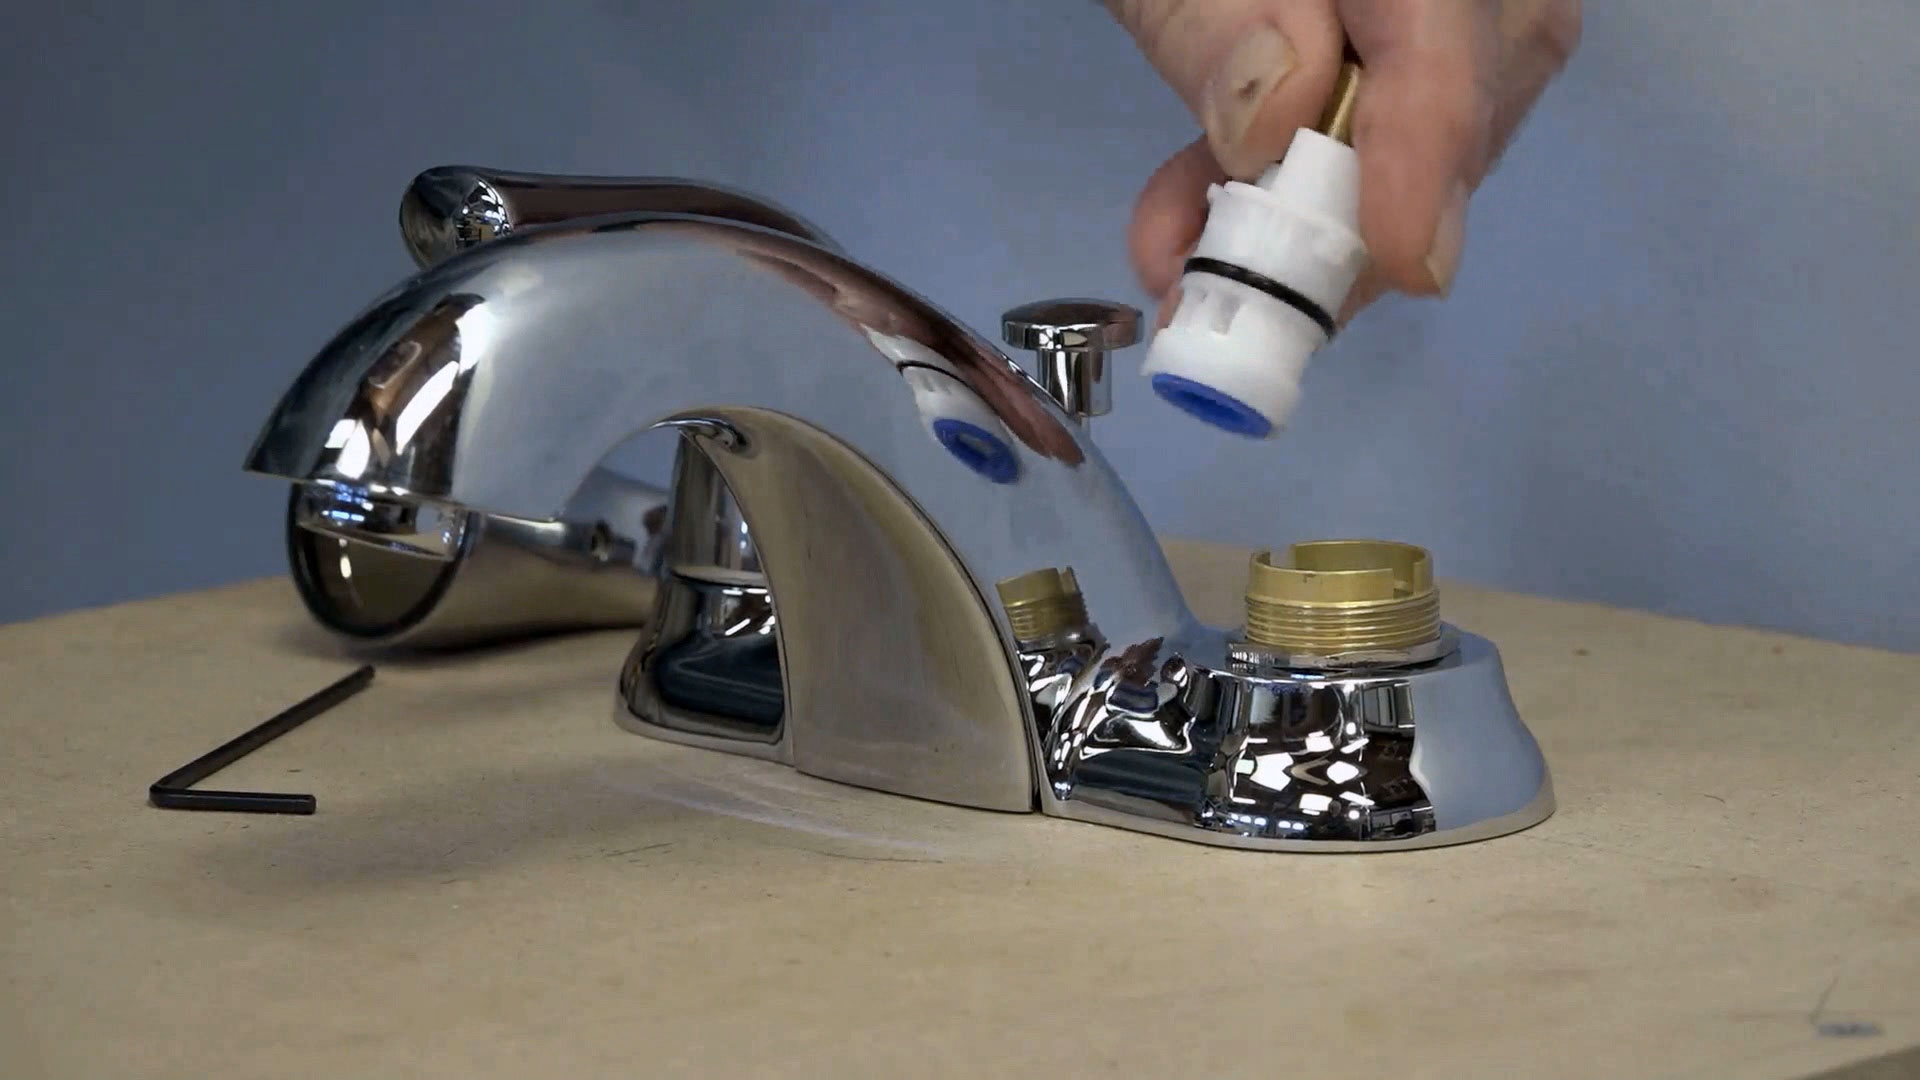
Step 3: Remove the old faucet
With the water supply turned off, it’s time to remove the old faucet from the bathroom sink. Follow these steps to ensure a smooth and efficient removal process:
- Step 1: Disconnect the supply lines – Grab your wrench and locate the supply lines underneath the sink. Use the wrench to loosen the nuts connecting the supply lines to the faucet. Once loosened, carefully remove the lines and place a bucket or towel underneath to catch any residual water.
- Step 2: Remove the mounting nuts or screws – Look for the mounting nuts or screws that secure the faucet to the sink. These are usually located underneath the sink. Use the appropriate tool, such as a basin wrench or screwdriver, to loosen and remove the nuts or screws.
- Step 3: Disconnect the drain stopper linkage (if applicable) – If your sink has a drain stopper with a linkage system, it will need to be disconnected before removing the old faucet. Locate the rod connecting the stopper to the back of the faucet and unscrew it or detach it according to the manufacturer’s instructions.
- Step 4: Lift and remove the old faucet – Once you have disconnected all the necessary components, carefully lift the old faucet upward to detach it from the sink. It may require a bit of force, so be gentle yet firm in your movements. Set the old faucet aside.
With the old faucet successfully removed, you can now proceed to the next step: preparing the new faucet for installation.
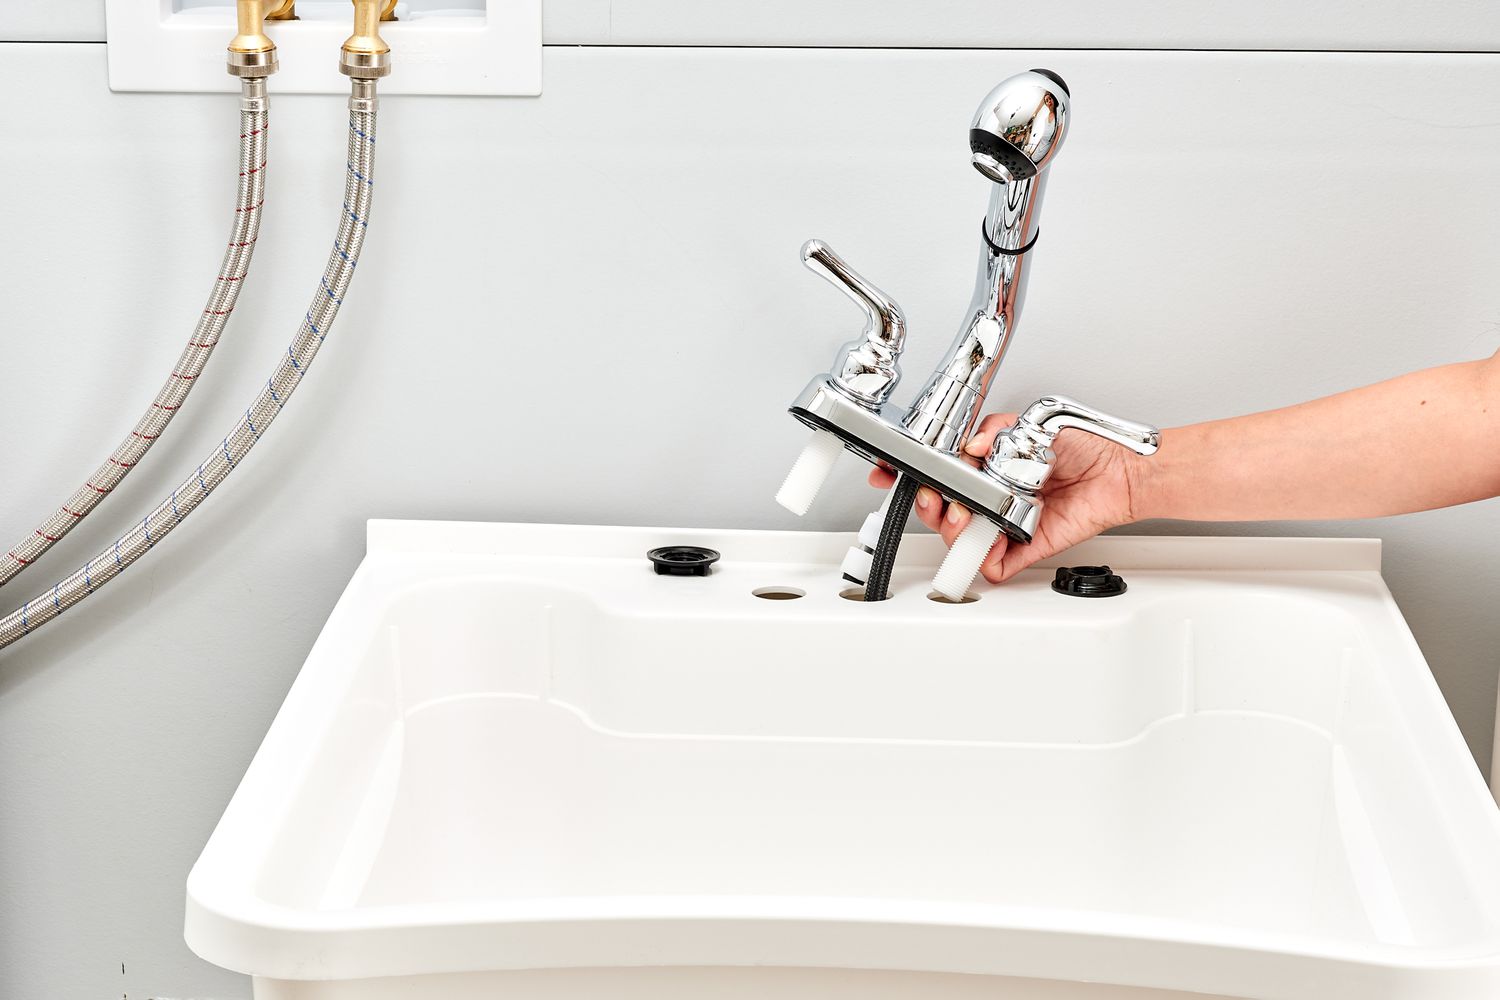
Step 4: Prepare the new faucet for installation
Now that you have removed the old faucet, it’s time to prepare the new faucet for installation. Taking the time to properly prepare the new faucet will ensure a seamless installation process. Follow these steps:
- Step 1: Read the manufacturer’s instructions – Before you begin, it’s essential to familiarize yourself with the specific requirements and instructions provided by the manufacturer. This will ensure that you have a clear understanding of the necessary steps and any additional tools or materials needed.
- Step 2: Check the faucet assembly – Unbox the new faucet and carefully inspect all the components. Ensure that all the necessary parts are included and in good condition. Additionally, make sure the style and finish of the faucet match your bathroom aesthetic.
- Step 3: Install any additional parts – Depending on the type of faucet you’ve chosen, there may be additional parts, such as a deck plate or soap dispenser, that need to be installed. Follow the manufacturer’s instructions to properly attach these components.
- Step 4: Apply plumber’s tape – Plumber’s tape, also known as Teflon tape, helps create a watertight seal. Wrap a few layers of plumber’s tape around the threading on the water supply lines to prevent any leaks.
By thoroughly preparing the new faucet for installation, you’ll have everything in place to securely and efficiently install it in the next step.
When changing a bathroom sink faucet, be sure to turn off the water supply before starting the installation process. This will prevent any water from leaking and causing a mess during the replacement.
Read more: How To Replace Sink Faucet
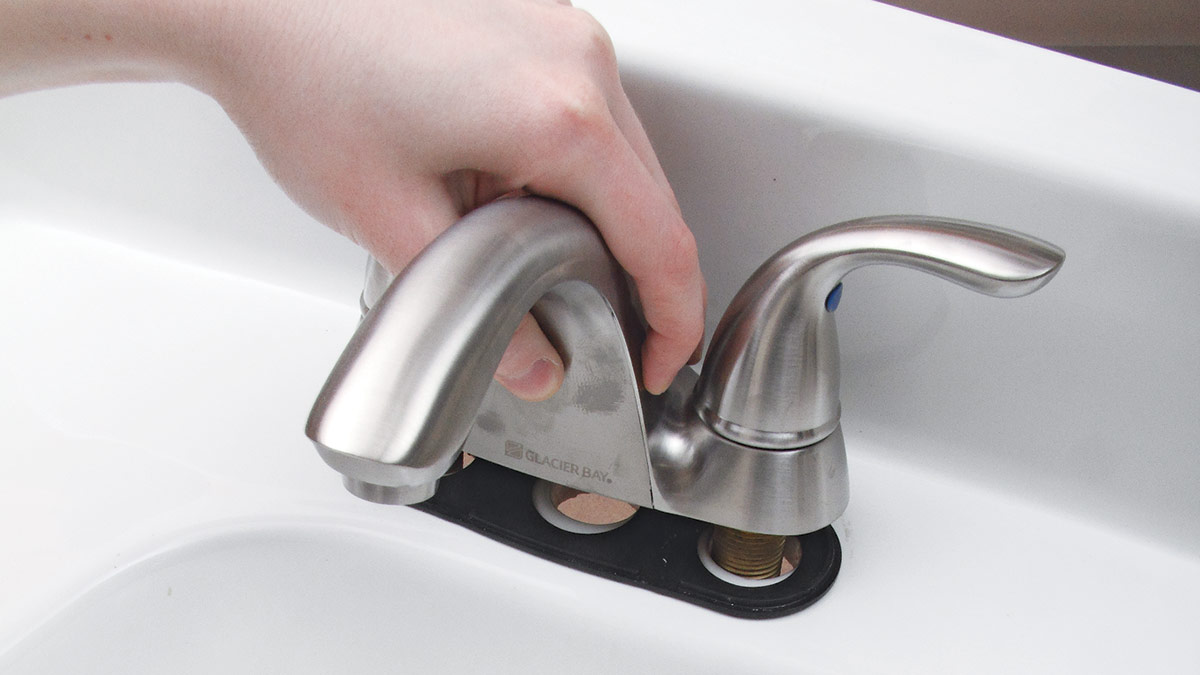
Step 5: Install the new faucet
Now that you’ve prepared the new faucet, it’s time to install it in your bathroom sink. Follow these steps to ensure a successful installation:
- Step 1: Position the new faucet – Carefully place the new faucet into the mounting holes on the sink. Make sure it is aligned correctly and centered.
- Step 2: Secure the faucet – Depending on the type of faucet you have, there may be mounting nuts or screws that need to be tightened to secure it to the sink. Use the appropriate tool, whether it’s a basin wrench or a screwdriver, to tighten the nuts or screws. Ensure that the faucet is stable and properly attached to the sink.
- Step 3: Connect the supply lines – Take the water supply lines and carefully connect them to the corresponding hot and cold water inlets on the new faucet. Use your wrench to tighten the nuts, ensuring a secure and leak-free connection. Be cautious not to overtighten, as this may cause damage to the connections.
- Step 4: Reconnect the drain stopper linkage (if applicable) – If your sink has a drain stopper with a linkage system, reattach the rod to the back of the new faucet according to the manufacturer’s instructions.
- Step 5: Double-check the installation – Before moving on to the next step, double-check that all connections are secure and tight. Give the faucet a gentle wiggle to ensure it is firmly in place.
With the new faucet successfully installed, you’re now ready to move on to the next step: connecting the water supply lines.
Step 6: Connect the water supply lines
With the new faucet securely installed, it’s time to connect the water supply lines to ensure proper water flow and functionality. Follow these steps to connect the water supply lines:
- Step 1: Turn on the water supply – Before connecting the supply lines, turn on the water supply valves underneath the sink to allow water flow to the faucet. This will help you detect any potential leaks as you connect the lines.
- Step 2: Connect the supply lines – Take each water supply line and attach it to the corresponding hot and cold water inlets on the faucet. Use an adjustable wrench to tighten the nuts, ensuring a secure connection. Be careful not to overtighten, as this can damage the connections.
- Step 3: Check for leaks – Once the supply lines are connected, carefully inspect the connections for any leaks or drips. Look for signs of water leakage around the nuts and make any necessary adjustments to ensure a watertight seal. It’s also a good idea to place a bucket or towel beneath the connections to catch any water that may escape during this inspection process.
- Step 4: Turn off the water supply – After confirming that there are no leaks, turn off the water supply valves underneath the sink to prevent any unwanted water flow while you finish up the installation process.
By properly connecting the water supply lines, you’ll ensure that your new faucet is ready for use and prevent any potential water damage or leaks.
Step 7: Test the new faucet
Now that the new faucet is installed and the water supply lines are connected, it’s time to test the functionality of the faucet. Follow these steps to ensure everything is working properly:
- Step 1: Turn on the water supply – Open the water supply valves by turning them counterclockwise. This will allow water to flow to the faucet.
- Step 2: Test the hot and cold water – Turn on the hot and cold water handles one at a time to verify that water is flowing correctly from both sides. Check for any irregularities, such as low water pressure or unusual noises.
- Step 3: Check for leaks – While the water is running, carefully inspect all the connections and the base of the faucet for any signs of leaks or drips. Pay close attention to the supply line connections, as well as the area where the faucet meets the sink. If you notice any leaks, tighten the connections or consult a professional plumber for assistance.
- Step 4: Test the functionality – Test the various features of the faucet, such as the sprayer (if applicable) or any additional settings or modes. Ensure that everything is working as intended and that there are no issues with water flow or functionality.
- Step 5: Turn off the water supply – Once you have completed testing the faucet and are satisfied with its performance, turn off the water supply valves by turning them clockwise.
By thoroughly testing the new faucet, you can identify and address any issues before completing the installation process. This will help ensure a long-lasting and functional addition to your bathroom.
Step 8: Clean up and final touches
With the new faucet successfully installed and tested, the final step is to clean up and add any finishing touches to complete the project. Follow these steps to wrap up the installation:
- Step 1: Wipe down the sink – Use a clean cloth or paper towel to wipe down the sink, removing any dust, debris, or fingerprints that may have accumulated during the installation process. This will give your bathroom sink a clean and polished appearance.
- Step 2: Inspect for any loose parts – Double-check that all components of the faucet are securely in place. Give the faucet a gentle wiggle and ensure that there are no loose parts that need to be tightened.
- Step 3: Dispose of the old faucet – Properly dispose of the old faucet and any packaging or materials from the new faucet. Recycle or discard them according to your local waste disposal guidelines.
- Step 4: Make any cosmetic adjustments – If necessary, make any cosmetic adjustments to ensure that the faucet aligns properly with the sink and complements your bathroom aesthetics. This may involve adjusting the angle or position of the faucet to achieve the desired look.
- Step 5: Enjoy your new faucet – Finally, step back and admire your newly installed bathroom sink faucet. Turn on the water supply and enjoy the improved functionality and aesthetic appeal of your updated bathroom fixture.
Congratulations! You have successfully changed your bathroom sink faucet. By following these steps and taking the time to properly complete each stage of the installation, you can ensure a smooth and satisfying outcome.
Remember, if you encounter any difficulties or are not comfortable with any step of the process, it’s always a good idea to consult a professional plumber for assistance.
Read more: How To Take Off Sink Faucet Head
Conclusion
Changing a bathroom sink faucet may seem like a daunting task, but with the right tools, materials, and instructions, it can be a rewarding and achievable DIY project. By following the step-by-step guide outlined in this article, you’ll be able to replace your old faucet and update the look of your bathroom with ease.
We started by gathering the necessary tools and materials, ensuring that you have everything you need for the installation process. Then, we turned off the water supply to prevent any accidents or leakage. Next, we removed the old faucet and prepared the new one for installation.
After that, we securely installed the new faucet, connecting the water supply lines and checking for any leaks or issues. We tested the functionality of the new faucet, ensuring that it operates smoothly and meets your expectations. Finally, we cleaned up the work area, made any necessary adjustments, and completed the project with a polished finish.
Remember, as with any DIY project, it’s important to read the manufacturer’s instructions and take necessary safety precautions. If you are unsure about any step of the process or encounter difficulties, it’s always a good idea to consult a professional plumber for assistance.
Now that you have successfully changed your bathroom sink faucet, take a moment to appreciate the transformation and enjoy the improved functionality and aesthetics of your updated bathroom fixture. The satisfaction of completing a DIY project and the joy of having a beautiful and functional faucet will make all your efforts worthwhile.
Thank you for following our guide, and we hope it has been helpful in your faucet replacement journey. Happy DIY-ing!
Frequently Asked Questions about How To Change A Bathroom Sink Faucet
Was this page helpful?
At Storables.com, we guarantee accurate and reliable information. Our content, validated by Expert Board Contributors, is crafted following stringent Editorial Policies. We're committed to providing you with well-researched, expert-backed insights for all your informational needs.


0 thoughts on “How To Change A Bathroom Sink Faucet”